Español:
Un saludos a todos, espero hayan pasado un feliz Martes
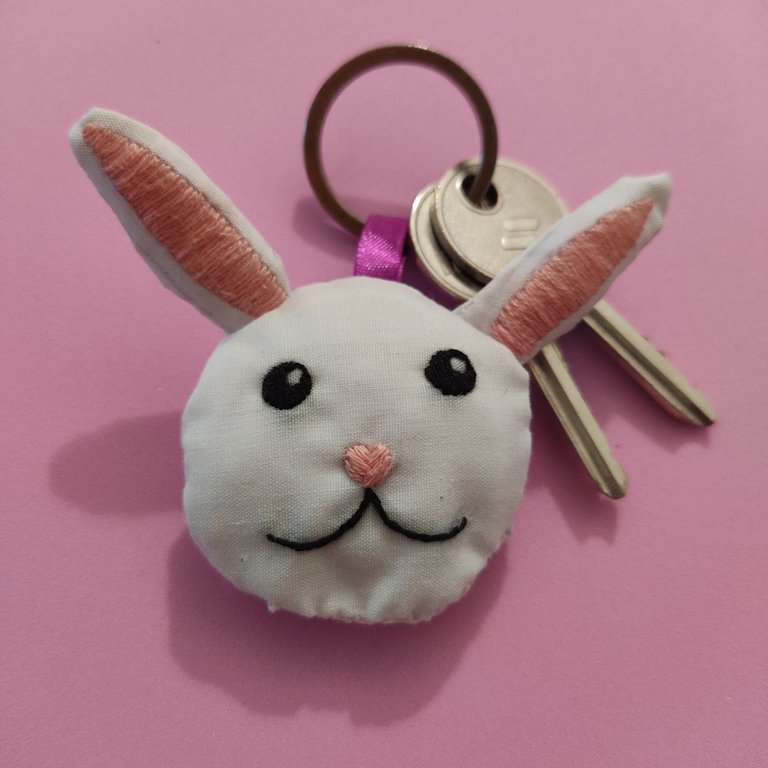
Hoy quiero compartir este pequeño llavero que realicé para las llaves de mi nuevo hogar. No soy muy buena cosiendo, pero quiero aprovechar cada pequeña oportunidad para practicar, sobre todo para hacer peluches, lo cuál es lo que más me llama la atención.
Puede que los resultados no hayan sido los mejores, pero en este blog quiero compartir no sólo los triunfos, sino también las fallas. Espero les guste y en caso total, puedan tomarlo como un tutorial para hacer sus propios llaveritos en forma de animales.
English:
Greetings to all, I hope you had a happy tuesday ♥
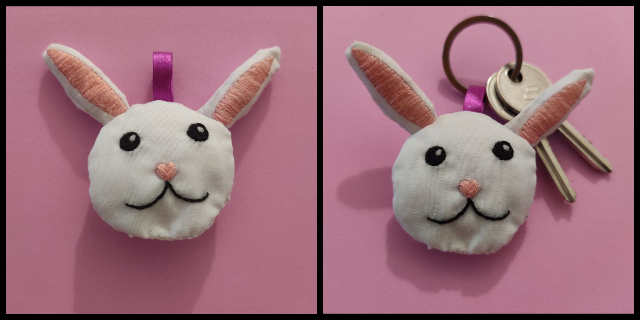
Today I want to share this little keychain I made for the keys to my new home. I'm not very good at sewing, but I want to take every little opportunity to practice, especially to make stuffed animals, which is what catches my attention the most.
The results may not have been the best, but in this blog I want to share not only the triumphs, but also the failures. I hope you like it and if you like it at all, you can take it as a tutorial to make your own keychains in the shape of animals.
~¡Comencemos!~
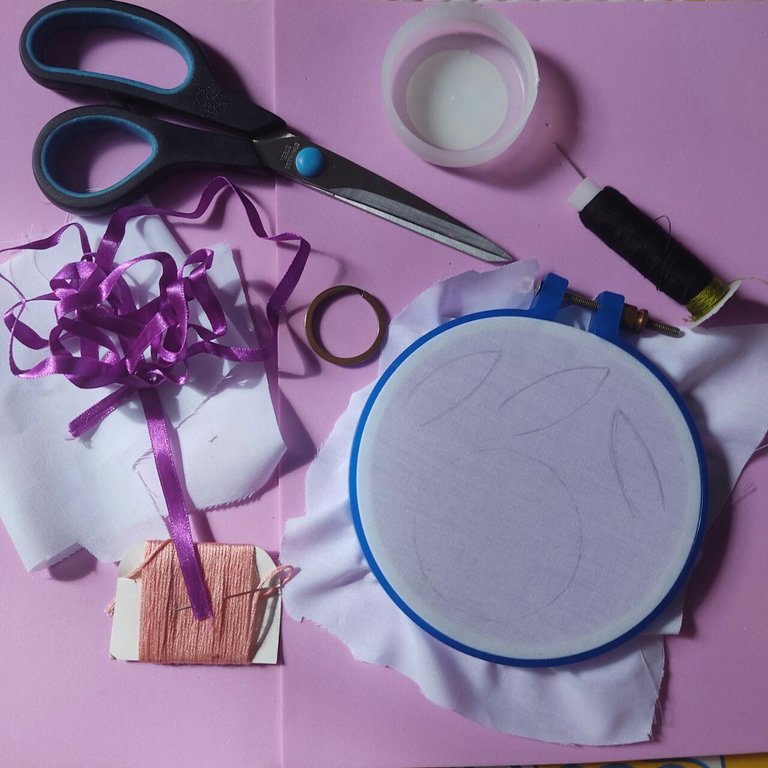
Los materiales que usé para este llavero fueron:
Retazos de tela blanca (No se necesita mucho ya que el conejito es pequeño, diría que con un trozo de 20 cm x 20 cm es suficiente).
Aro para bordar (Por supuesto, el proyecto no puede estar listo sin un bordado).
Hilo color rosa, negro y blanco.
Tijeras y aguja.
Cinta de satin (Para hacer que sea llavero).
Aro de llavero (No sé como se llama, pero es el aro que se le pone a las llaves).
Relleno.
Una tapa de plástico (Esto es sólo para dibujar el círculo de la cabeza en la tela).
Un lápiz, por su puesto, ¿Cómo voy a dibujar sin lápiz? Lo único es que se me olvidó incluirlo en la foto.
~Let's get started!~
The materials I used for this keychain were:
White fabric scraps (You don't need much since the bunny is small, I would say a 20 cm x 20 cm piece is enough).
Embroidery hoop (Of course, the project can't be ready without embroidery).
Pink, black and white thread.
Scissors and needle.
Satin ribbon (To make it a keychain).
Key ring (I don't know what it's called, but it's the ring you put on your keys).
Stuffing
A plastic cap (This is just to draw the circle of the head on the fabric).
A pencil, of course, how am I going to draw without a pencil? The only thing is that I forgot to include it in the photo.

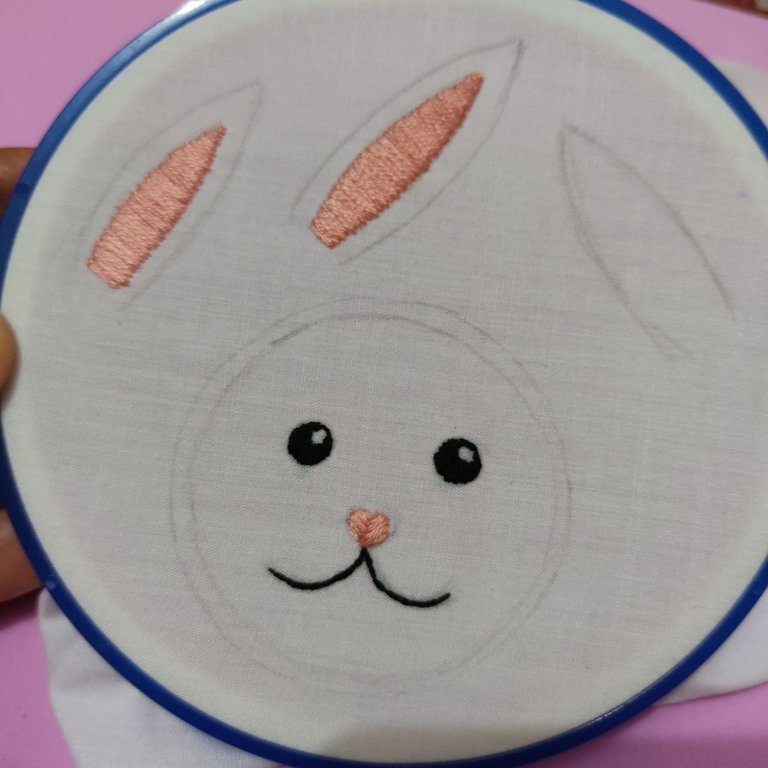
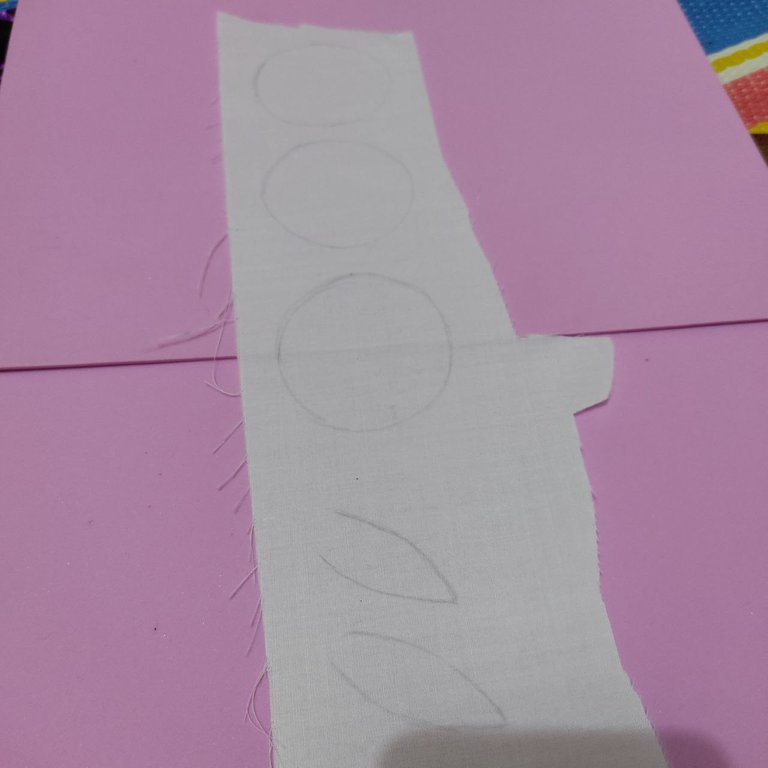
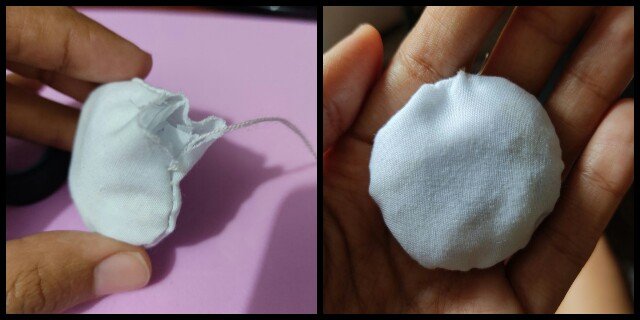
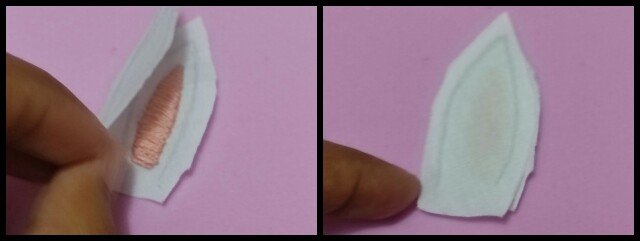
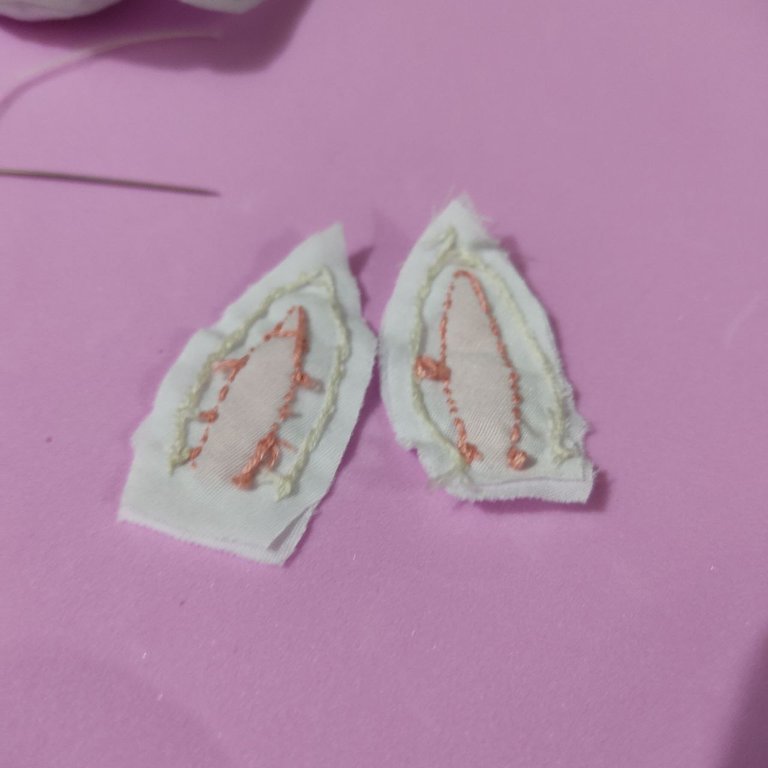
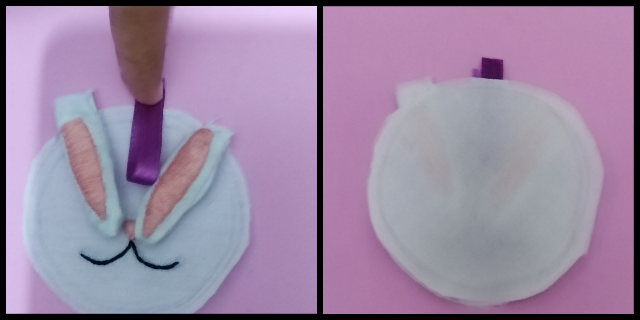
Con otro retazo de tela, dibujé otros 3 círculos, 2 de ellos eran ligeramente más pequeños que el círculo donde borde la cara y el otro es igual al círculo de la cara. Además, dibujé dos orejas más asegurándome de que fueran del mismo tamaño.
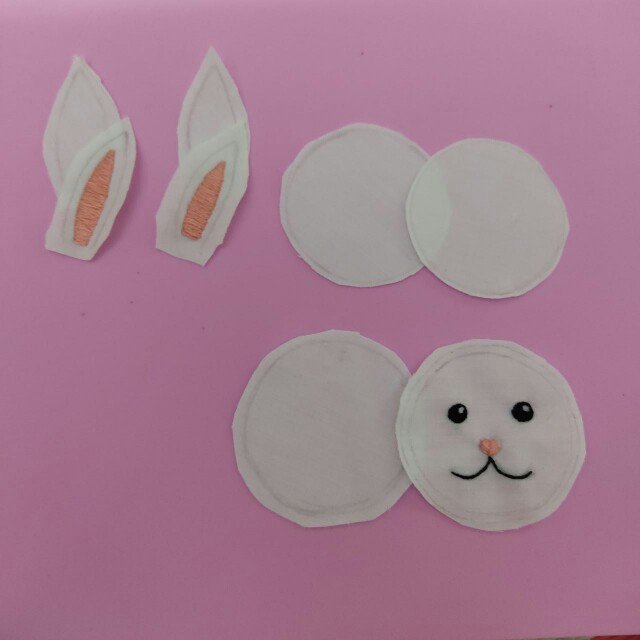
To continue, do the same procedure with the ears, putting the pink part inwards.
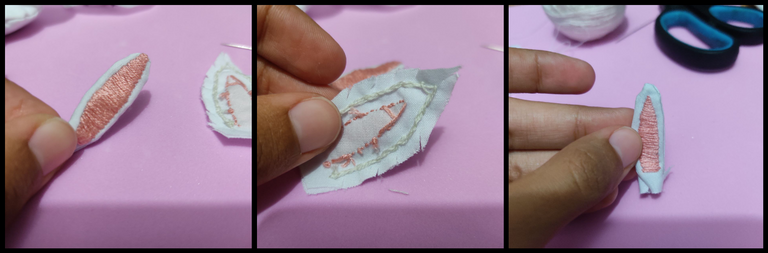
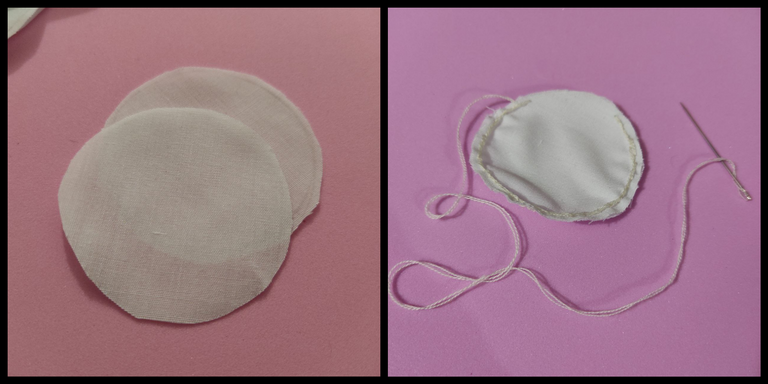
Me disponía a hacer uno de los pasos más importantes, el cual es acomodar todo adentro para coser la cabeza. Se deben colocar las orejitas mirando hacía dentro. Además de las orejas, se toma un trozo de la cinta satin, se dobla y se coloca también mirando hacía dentro. Después de esto toca poner la otra parte de la cabeza arriba y asegurar todo con agujas.
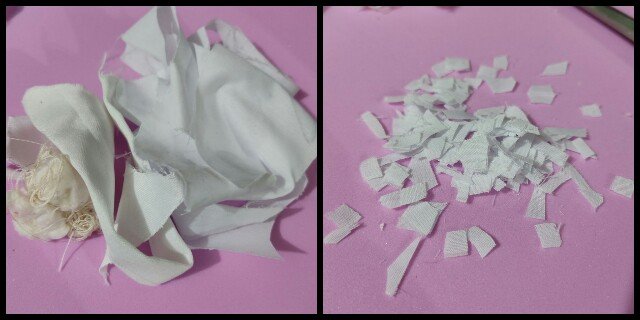
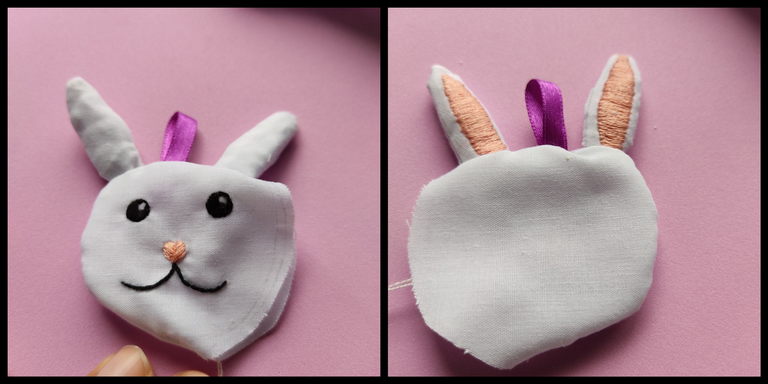
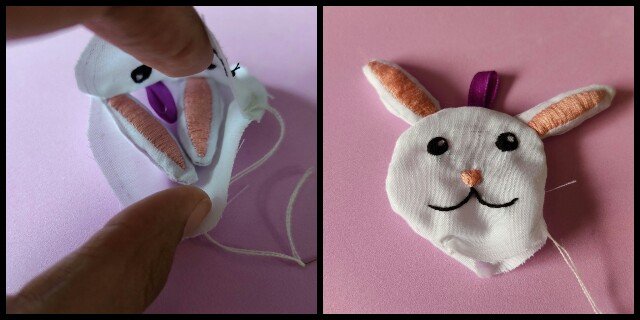
Después de haber cosido gran parte del conejito, al darle la vuelta me di cuenta de un grave error, ¡Le puse las orejitas al revés! 😂
Me reí un rato y después me dispuse a descoser, volver a acomodar y coser de nuevo el conejito. Este tipo de errores suelen pasarme seguido cuando de un peluche.
After having sewn a large part of the bunny, when I turned it over I realized a serious mistake, I put the ears on backwards! 😂
I laughed for a while and then set about unpicking, re-arranging and sewing the bunny back on. These kinds of mistakes tend to happen to me often when from a stuffed animal.
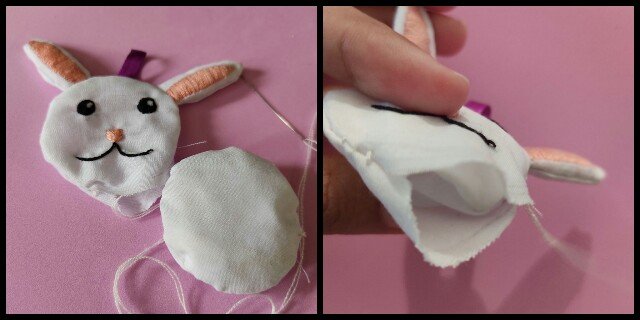
Para culminar, le puse el aro en la cinta de satin.
¡Y listo! Tengo mi conejo listo, el cual a partir de ahora cuidará mis llaves ♥🐰
Por cierto, se llama Cony.
To finish off, I put the hoop on the satin ribbon.
And that's it! I have my bunny ready, which from now on will take care of my keys ♥🐰
By the way, her name is Cony.
Muchas gracias por leer, ¡Nos vemos la próxima!
Todas las fotografías fueron tomadas por mi y me pertenecen.
El texto fue traducido del español al inglés usando el traductor de Deepl.
Thank you very much for reading, See you next time!
All photographs were taken by me and belong to me.
The text was translated from Spanish to English using Deepl translator.
Congratulations @bunnysneedle! You have completed the following achievement on the Hive blockchain and have been rewarded with new badge(s) :
Your next target is to reach 3250 upvotes.
You can view your badges on your board and compare yourself to others in the Ranking
If you no longer want to receive notifications, reply to this comment with the word
STOPCheck out the last post from @hivebuzz:
Your content has been voted as a part of Encouragement program. Keep up the good work!
Use Ecency daily to boost your growth on platform!
Support Ecency
Vote for Proposal
Delegate HP and earn more
The bunny looks really cute and this is a great idea for your keys.
Thank you ♥♥♥