Spanish
¡Hola!
Soy Lelys 🤝 bienvenidos a mi blog. Hoy vamos a realizar recuerdos, para obsequiar a los amigos artesanos. Es un detalle ideal para entregar a los participantes de los talleres y cursos. Empecemos.

🎁 Hilo pabilo.
🎁 Aguja crochet de 2,5 mm.
🎁 Aguja lanera.
🎁 Algodón para rellenar.
🎁 Tijeras.
🎁 Limpia-pipas.

- Iniciamos realizando el ovillo. Selecciona el color de tu preferencia.
- Empieza con 6 pb (punto bajo) en un am (anillo mágico)
- Realiza una vuelta de 6 aum de pb.
- Teje las vueltas de aumentos necesarias hasta alcanzar los 36 pb.
- Inmediatamente teje siete vueltas sin aumentos.
- A continuación inicias tejiendo tipo espejo, desde 4pb-1 dism. Hasta terminar con 6 disminuciones y cerrar con aguja lanera.
- Teje una cadena de 130 puntos.
- Cruzala por el ovillo en forma diagonal.
- Pega los ojitos.
- Borda la boca.
- Hazle las mejillas, solo tejiendo 6 pb en un am en hilo color blanco. Coselas al ovillo.
- En color plateado o dorado vas a tejer el ganchillo, esto lo harás en dos partes.
- Inicia con 6 pb en am.
- Teje desde la v2 hasta la v9- 6pb. Cierra.
- Deja la hebra larga para coser.
- Para la otra parte del ganchillo repites los mismos pasos hasta completar 12v.
- Coloca un trocito de limpia-pipas y dobla un poco. Cierra. Deja hebra para coser.
- Unimos con costura el gancho al ovillo (ver imagen) y es todo.
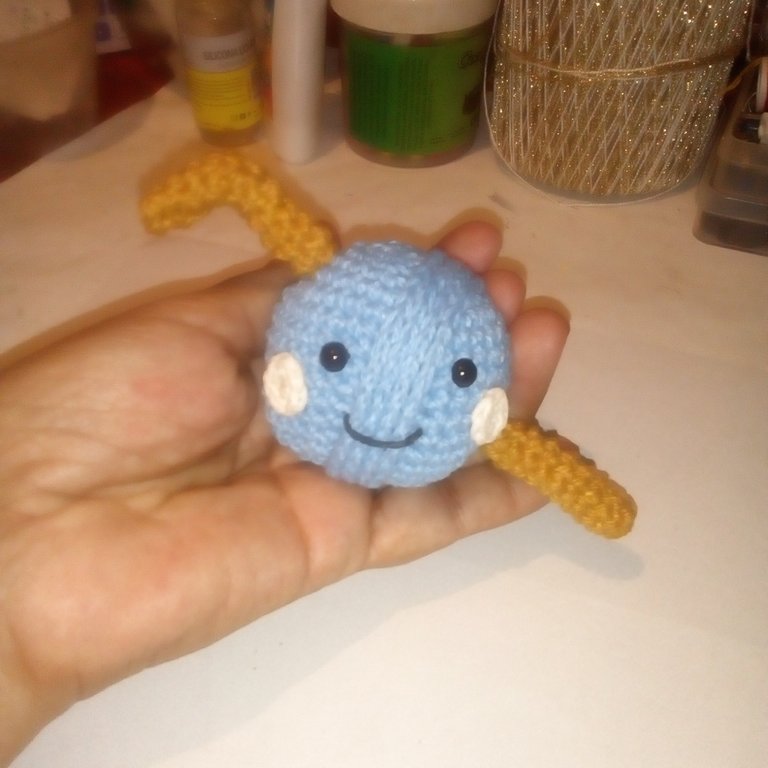
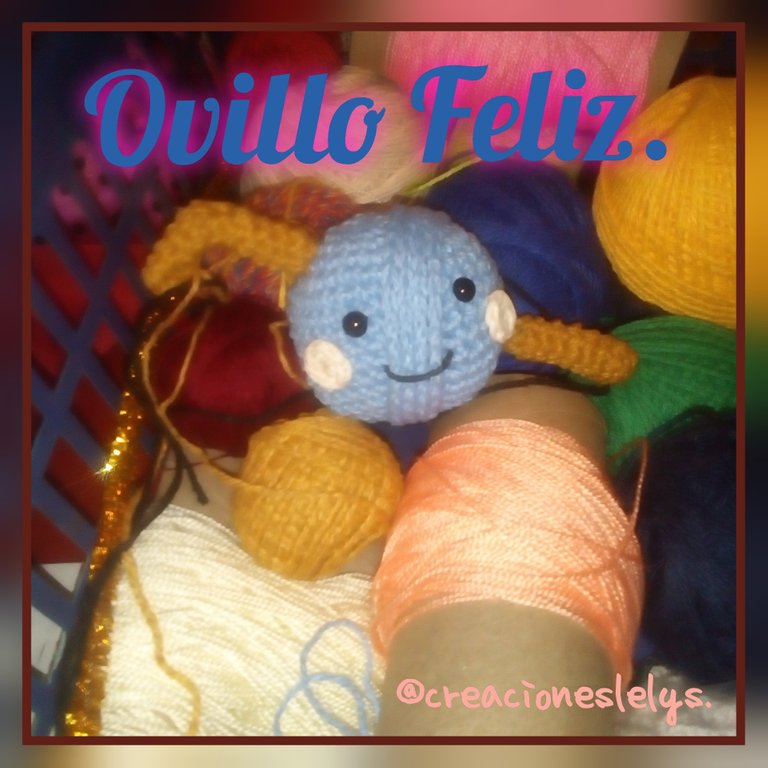
Hemos terminado. Que bien luce nuestro ovillo feliz!
Espero que te guste el proyecto y te animes a realizarlo. Todas las fotos son de mi autoria. Edite con Polish y Canva. Uso traductor de Google.
Gracias @marytp20
English
Hello!
I'm Lelys 🤝 welcome to my blog. Today we are going to make souvenirs, to give as gifts to artisan friends. It is an ideal detail to give to the participants of the workshops and courses. Let us begin.
🎁 Wick thread.
🎁 2,5 mm crochet hook.
🎁 Yarn needle.
🎁 Cotton to fill.
🎁 Scissors.
🎁 Pipe cleaners.
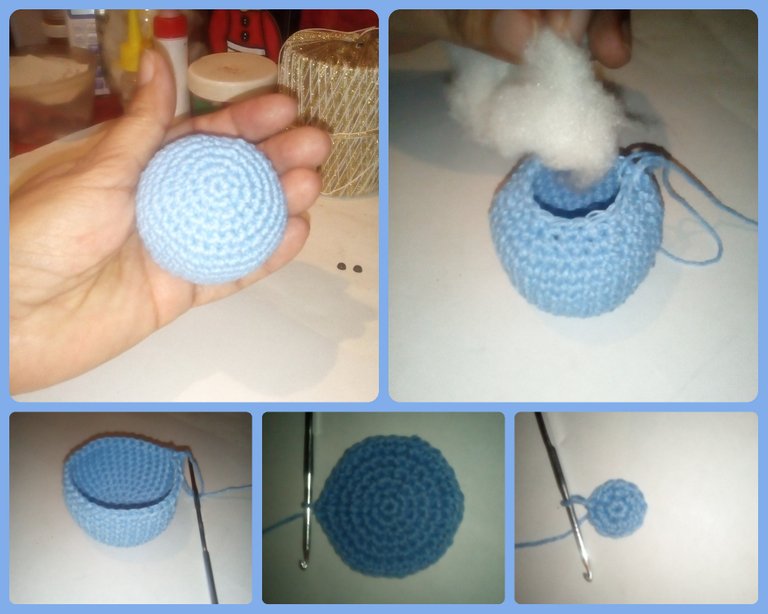
- We start making the ball. Select the color of your preference.
- Start with 6 sc (single crochet) in an am (magic ring)
- Make a round of 6 inc sc.
- Knit the necessary increases rounds until reaching 36 sc.
- Immediately work seven rows without increases.
- Then you start mirror knitting, from 4 sc-1 dec. Until finishing with 6 decreases and closing with a wool needle.
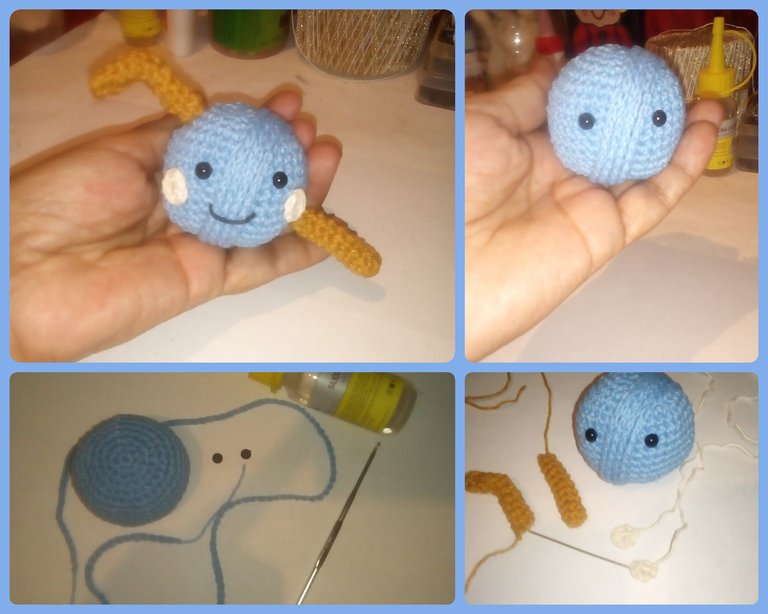
- Knit a chain of 130 stitches.
- Cross it through the ball diagonally.
- Glue the eyes.
- Embroider the mouth.
- Make the cheeks, only knitting 6 sc in an am in white thread. Sew them to the ball.
- In silver or gold you are going to crochet, this you will do in two parts.
- Starts with 6 sc in am.
- Knit from v2 to v9- 6 sc. Close.
- Leave the strand long to sew.
- For the other part of the crochet, repeat the same steps until completing 12v.
- Put a piece of pipe cleaners and fold a little. Close. Leave yarn to sew.
- We sew the hook to the ball (see image) and that's all.
We're done. How good our happy ball looks!
I hope you like the project and are encouraged to do it. All photos are my own. Edit with Polish and Canva. I use google translate.
Thank you @marytp20


Que maravilloso se ve todo!