¡Hola!
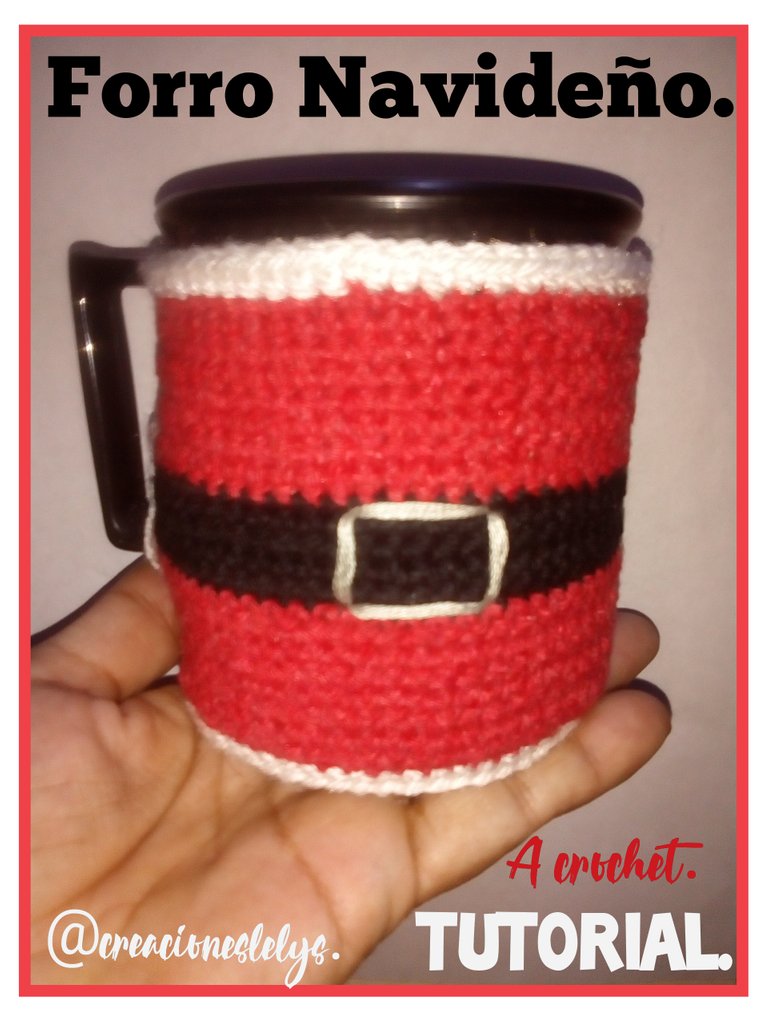
Soy Lelys 🤝 BIENVENIDOS 🤶 espero que estén muy bien amigos de esta linda comunidad de las agujas. Paso a compartir mi nuevo tejido navideño, esta vez realicé un detalle para mí. Me encanta tomar café y chocolate, entonces decidí cambiarle el forro a mi tacita y colocarle uno adecuado a la fecha festiva 🤶☃️🌲 les presento mi Protector Navideño para taza tejido a crochet.
Hi! I'm Lelys 🤝 WELCOME 🤶 I hope you are very good friends of this beautiful community of needles. I go on to share my new Christmas fabric, this time I made a detail for myself. I love to drink coffee and chocolate, so I decided to change the lining of my cup and put a suitable one for the festive date 🤶☃️nto I present my Crochet Christmas Cup Protector.

☃️ MATERIALES:
🔹 Hilo pabilo.
🔹 Estambre escolar blanco.
🔹 Aguja de crochet de 2,5 mm.
🔹 Aguja lanera.
🔹 Hilo para bordar plateado o dorado.
🔹 Tijeras.
☃️ MATERIALS: 🔹 Wick thread. 🔹 White school yarn. 🔹 2.5mm crochet hook. 🔹 Yarn needle. 🔹 Silver or gold embroidery thread. 🔹 Scissors.
☃️ PROCEDIMIENTO:
🔹 Iniciamos con una cadena del largo necesario (61 puntos) para envolver la taza. Tomando como guía el asa.
🔹 Levantamos vueltas de sólo puntos bajos. Hasta alcanzar el alto deseado. Me gusta que no cubra por completo la taza y dejar visible los bordes inferior y superior.
☃️ PROCEDURE: 🔹 We start with a chain of the necessary length (61 stitches) to wrap the cup. Taking the handle as a guide. 🔹 We raise turns of only low points. Until reaching the desired height. I like that it doesn't completely cover the mug and leave the top and bottom edges visible.
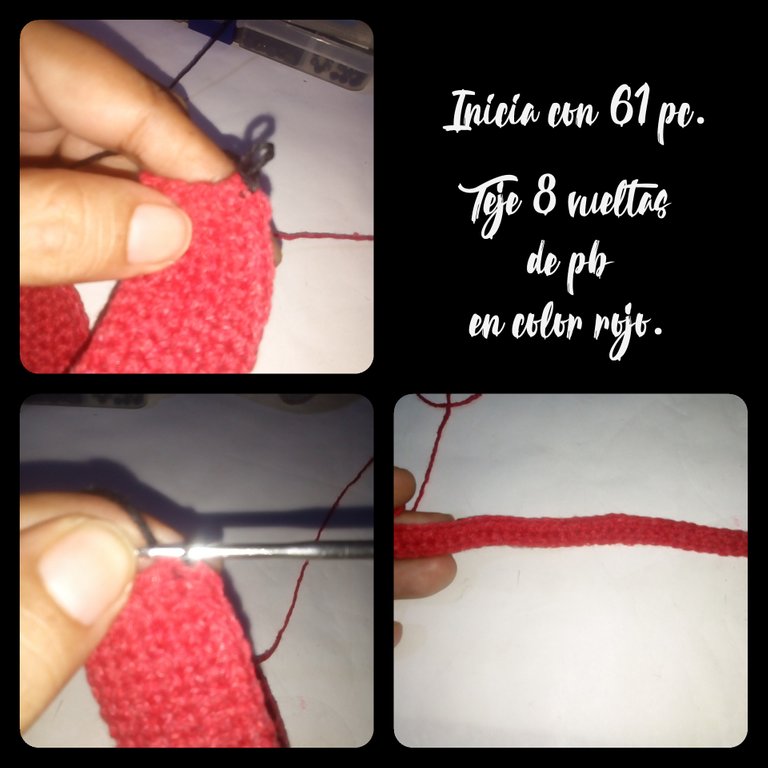
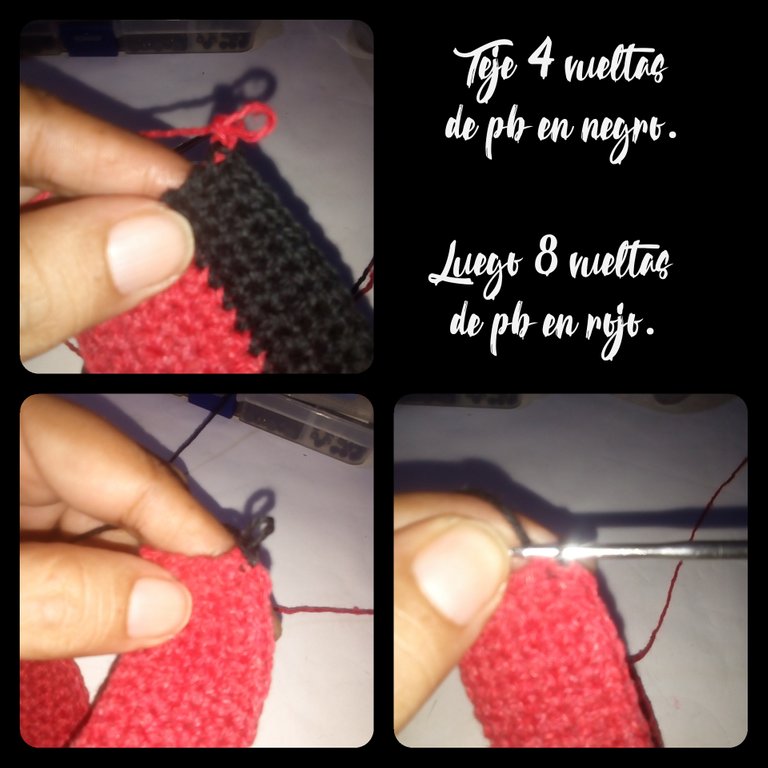
🔹 Vamos a tejer 8 vueltas de color rojo, 4 de color negro y finalizamos con 8 de color rojo.
🔹 We are going to knit 8 rows in red, 4 in black and finish with 8 in red.
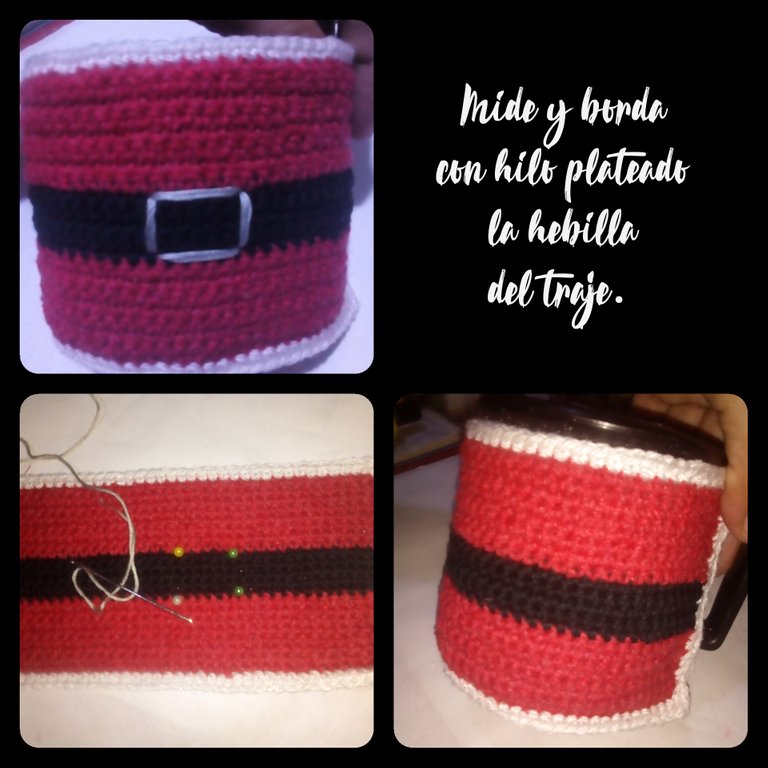
🔹 Tejemos una vuelta más en punto bajo o cangrejo en color blanco, bordeando todo el tejido inicial.
🔹 We knit one more round in single crochet or crab stitch in white, bordering all the initial fabric.

🔹 Usando el hilo plateado o dorado bordamos en forma de cuadro la hebilla del cinturón del traje.
🔹 Using the silver or gold thread, we embroider the belt buckle of the suit in a square shape.
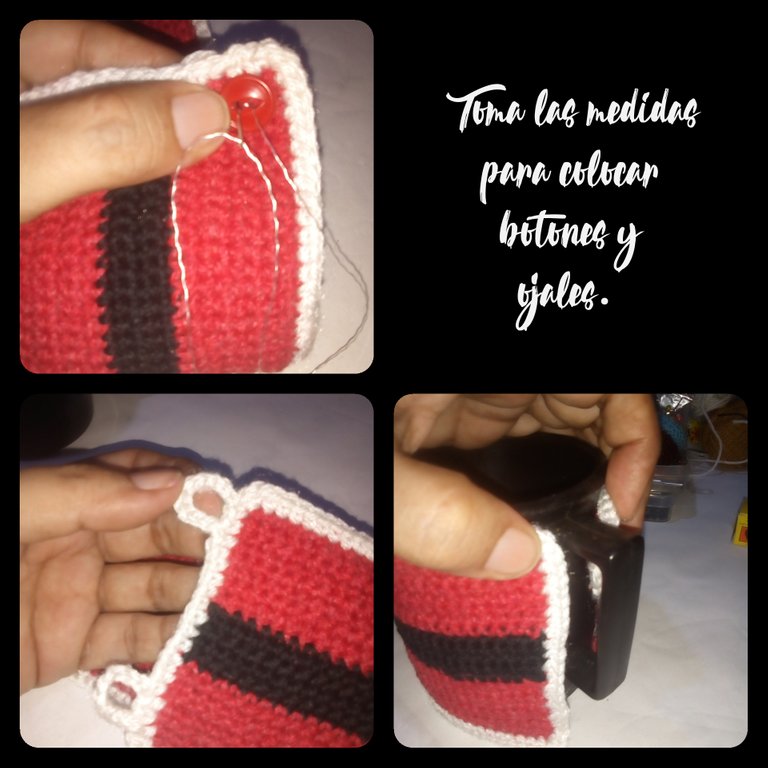
🔹 Haremos los ojales y coseremos los botones. En uno de los extremos tejemos en ambas orillas (dejando un margen) una cadena de 10 puntos. Cerramos en el punto siguiente de la base con pd.
🔹 Cosemos los botones.
🔹 We will make the buttonholes and sew the buttons. At one end we knit a chain of 10 stitches on both edges (leaving a margin). We close at the next point of the base with sl st.
🔹 We sew the buttons.
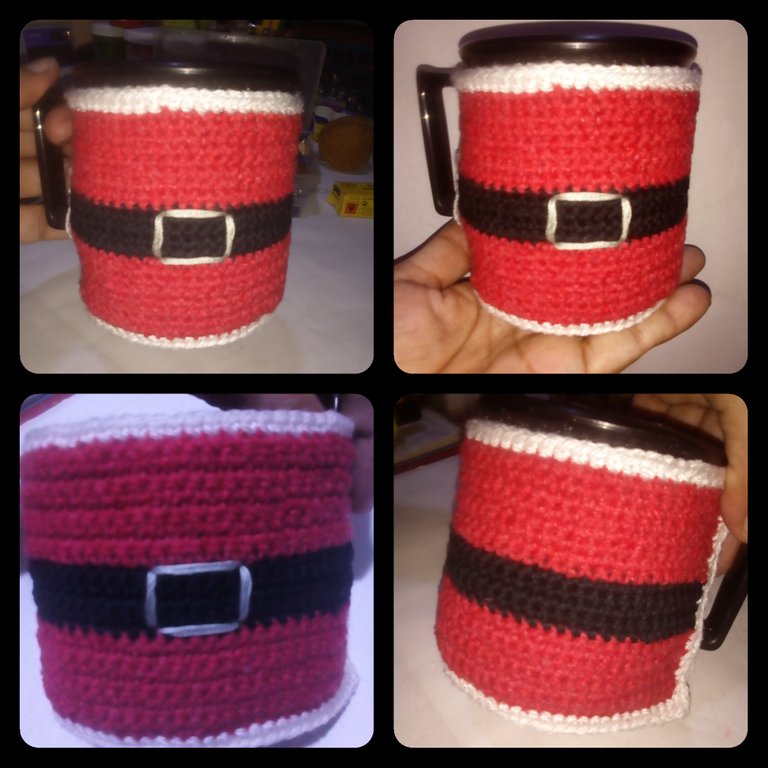
🔹 Si lo deseas puedes colocar puntadas dispersas con hilo blanco sobre el traje rojo. Se verá muy bonito.
🔹Rematamos y cortamos todas las hebras y listo. Ya tenemos nuestra taza con su forro protector nuevo.
🔹 If you wish, you can place scattered stitches with white thread on the red suit. It will look very pretty. 🔹We finish off and cut all the strands and that's it. We already have our mug with its new protective lining.
Deseo que te haya gustado el tutorial y que lo puedas hacer pronto 😉 Siempre encantada de compartirles mis proyectos crochetiles. Pronto una sorpresa para todos. Les encantará 🙋👏☃️🤶
I hope you liked the tutorial and that you can do it soon 😉 Always happy to share my crochet projects. Soon a surprise for everyone. They will love it 🙋👏☃️🤶
Todas las fotos son de mi autoría. Edité con Polish y PhotoGrid. Uso siempre traductor de Google. Gracias mil por leer mi blog. Se les quiere ❤️
All photos are my own. I edited with Polish and PhotoGrid. I always use Google translator. Thank you so much for reading my blog. They are loved ❤️

Hermoso paso a paso nos trajiste de este protector para taza, resulta útil para cuando tardas en tomarte el té o café así no se enfría tan rápido. Además con motivo navideño, acorde a la fecha. Muy lindo ❤️
Hola. Me gusta mucho porque el tejido es sencillo y se hace muy rápido. Claro, aprovechando la ocasión hice uno navideño para mi tacita. Gracias por tu visita 🙋