A few weeks ago I posted about my project where I'm trying to use a javascript-based 3D engine to make a visualization tool to help design crochet patterns. The final crochet project at the time of that post was something of a failure, so this week I took on the task of debugging the problem. The program, which is still in the proof-of-concept phase, uses small 3D spheres to show where the individual stitches in a spherical pattern are, and the user can click on the spheres to change the colors, and the program shows you where in the pattern those color changes happen, so you can plan out the color changes you want in the pattern to achieve the thing you want. The original project was meant to be a sphere with the number 2021 written on it, in honor of the new year.
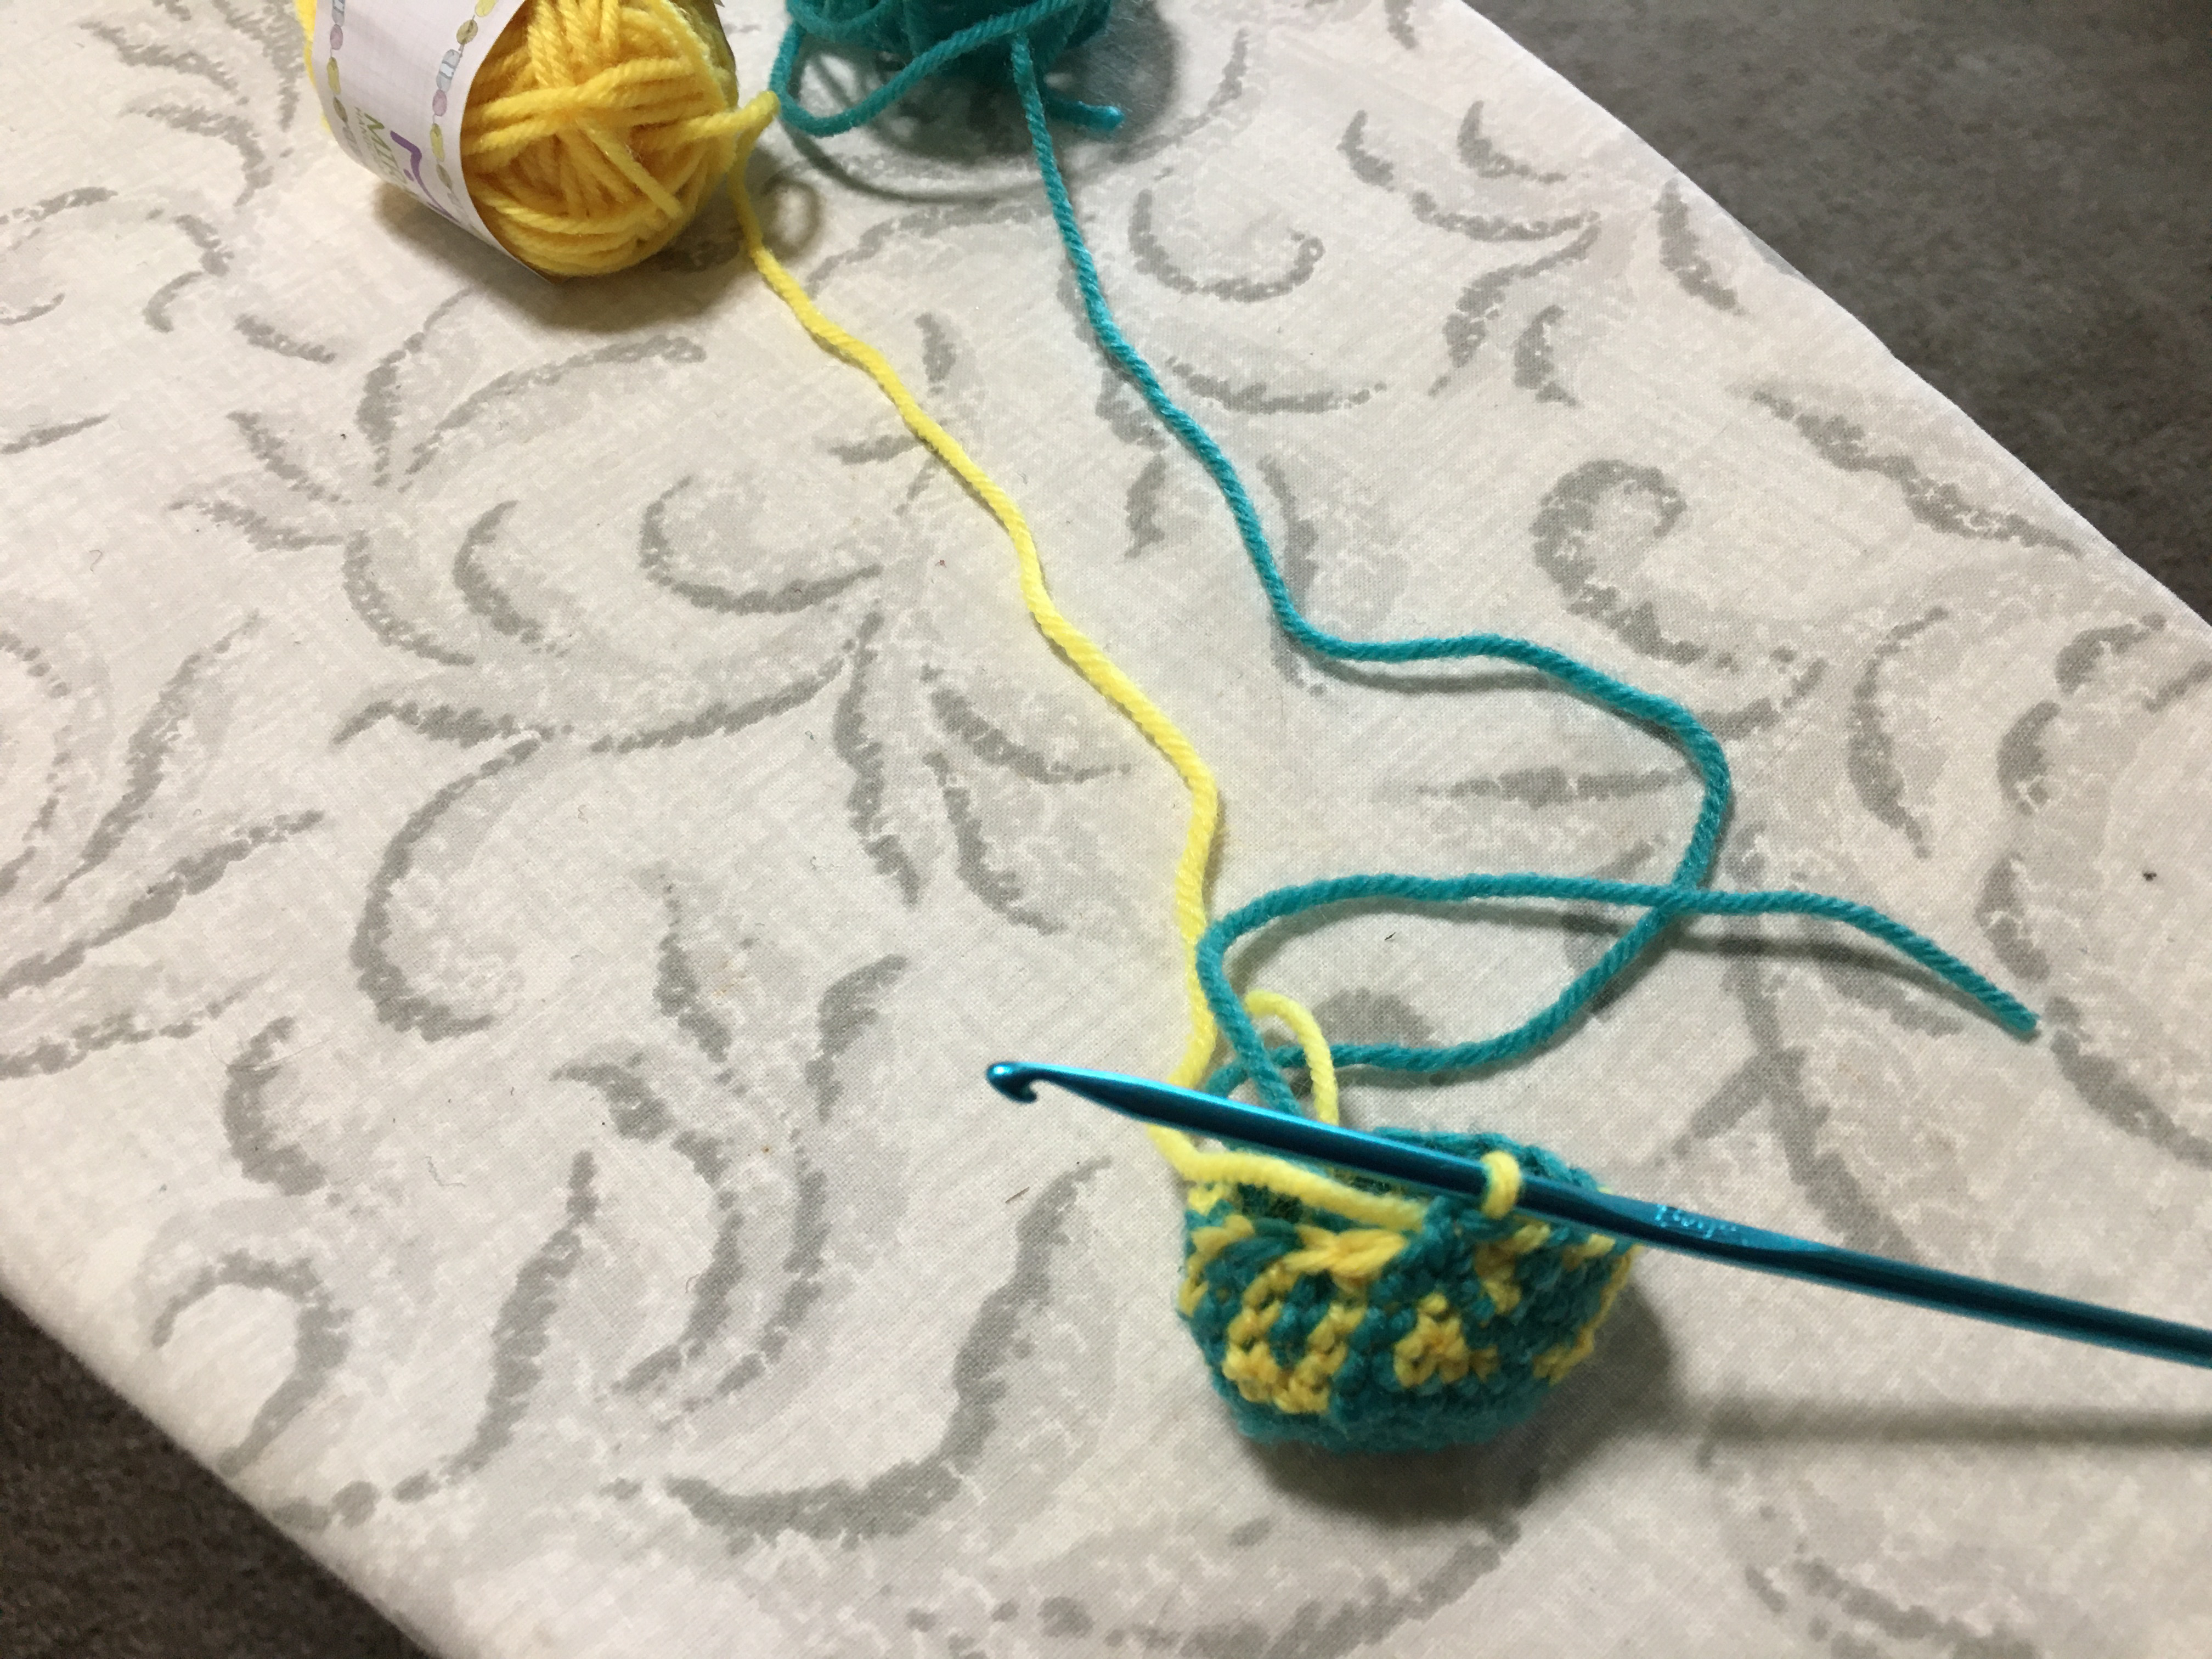
I had assumed that the problem would be in the most complicated part of the process, figuring out where in 3D space the stitches are that correspond to each stitch in the crochet pattern. I figured it would be much easier to debug if I had a simple reference, so I decided to make a pattern where the first stitch in every round was one color and the rest were all another, since I thought that would show any discrepancies clearly. To my surprise, the thing I crocheted and the 3D model turned out to be a really good match.

Since those two lined up, I had to assume that the problem was actually in the crochet implementation of the 2021 sphere, not with the pattern. In retrospect that makes a lot of sense: I put a lot of time and thought into making the software program work, but I was in a rush to hit the deadline when it came to the actual crocheting, so that's where the problems crept in: the part I was so confident in that I thought I could speed through it.
To double-check, I decided to make a new 2021 sphere, this one done carefully and not in a rush, and with a pattern I wrote as clear instructions, not just colored, unnumbered stitches on a computer screen.
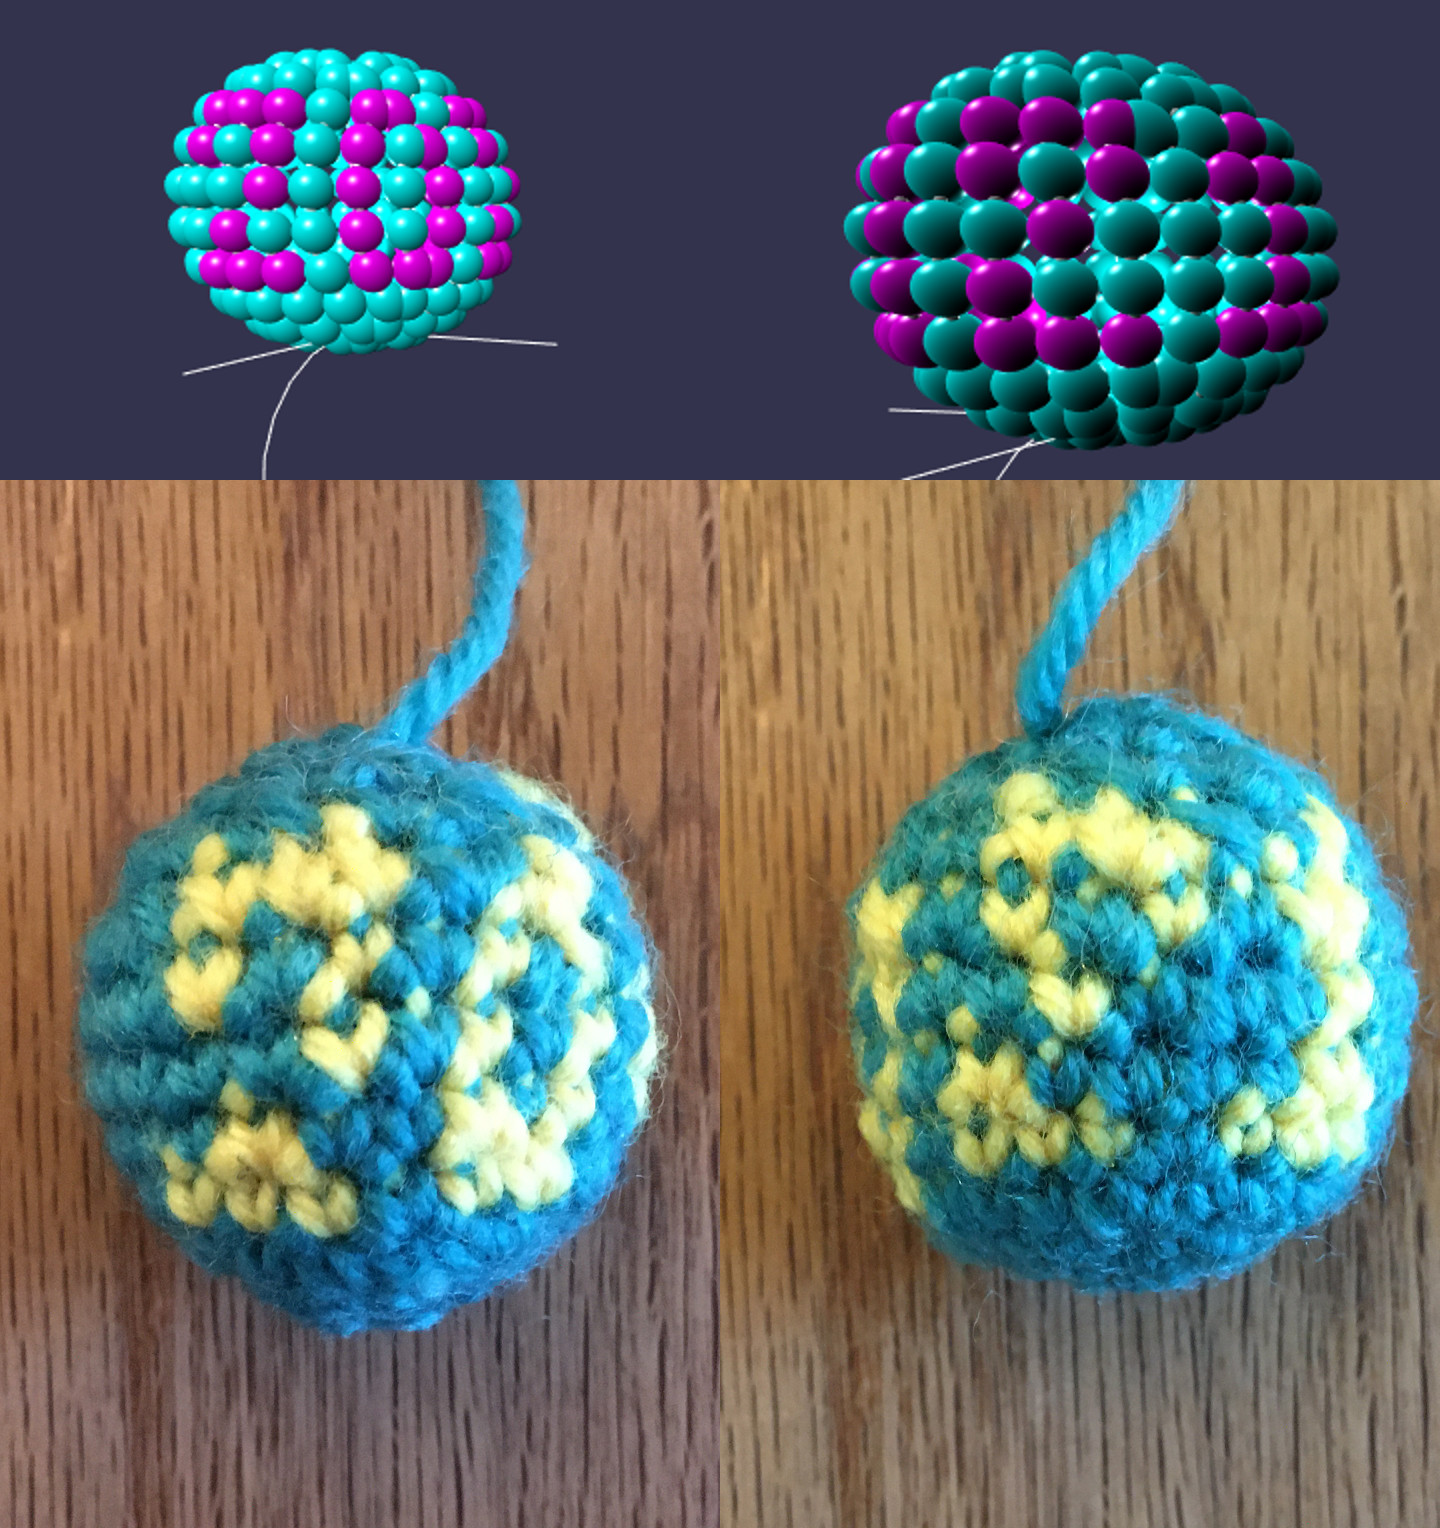
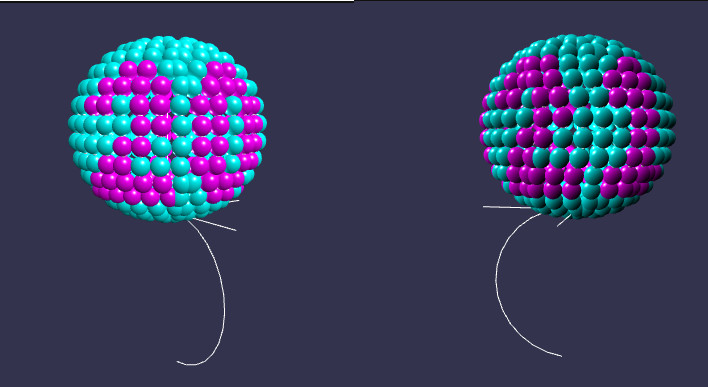
At first I was a little skeptical, but when I looked closely I realized that aside from the “twist” created by doing amigurumi-style continuous rounds, this time my crocheted final matched the model pretty well. The big problem is that second “2” in 2021 – how did I ever think that was going to look like a 2 in crochet form? If you don't know it's supposed to be a 2 there's no reason to think the “hook” of the 2 will be open on the left side based on how I set up the “pixels” on the 3D model.
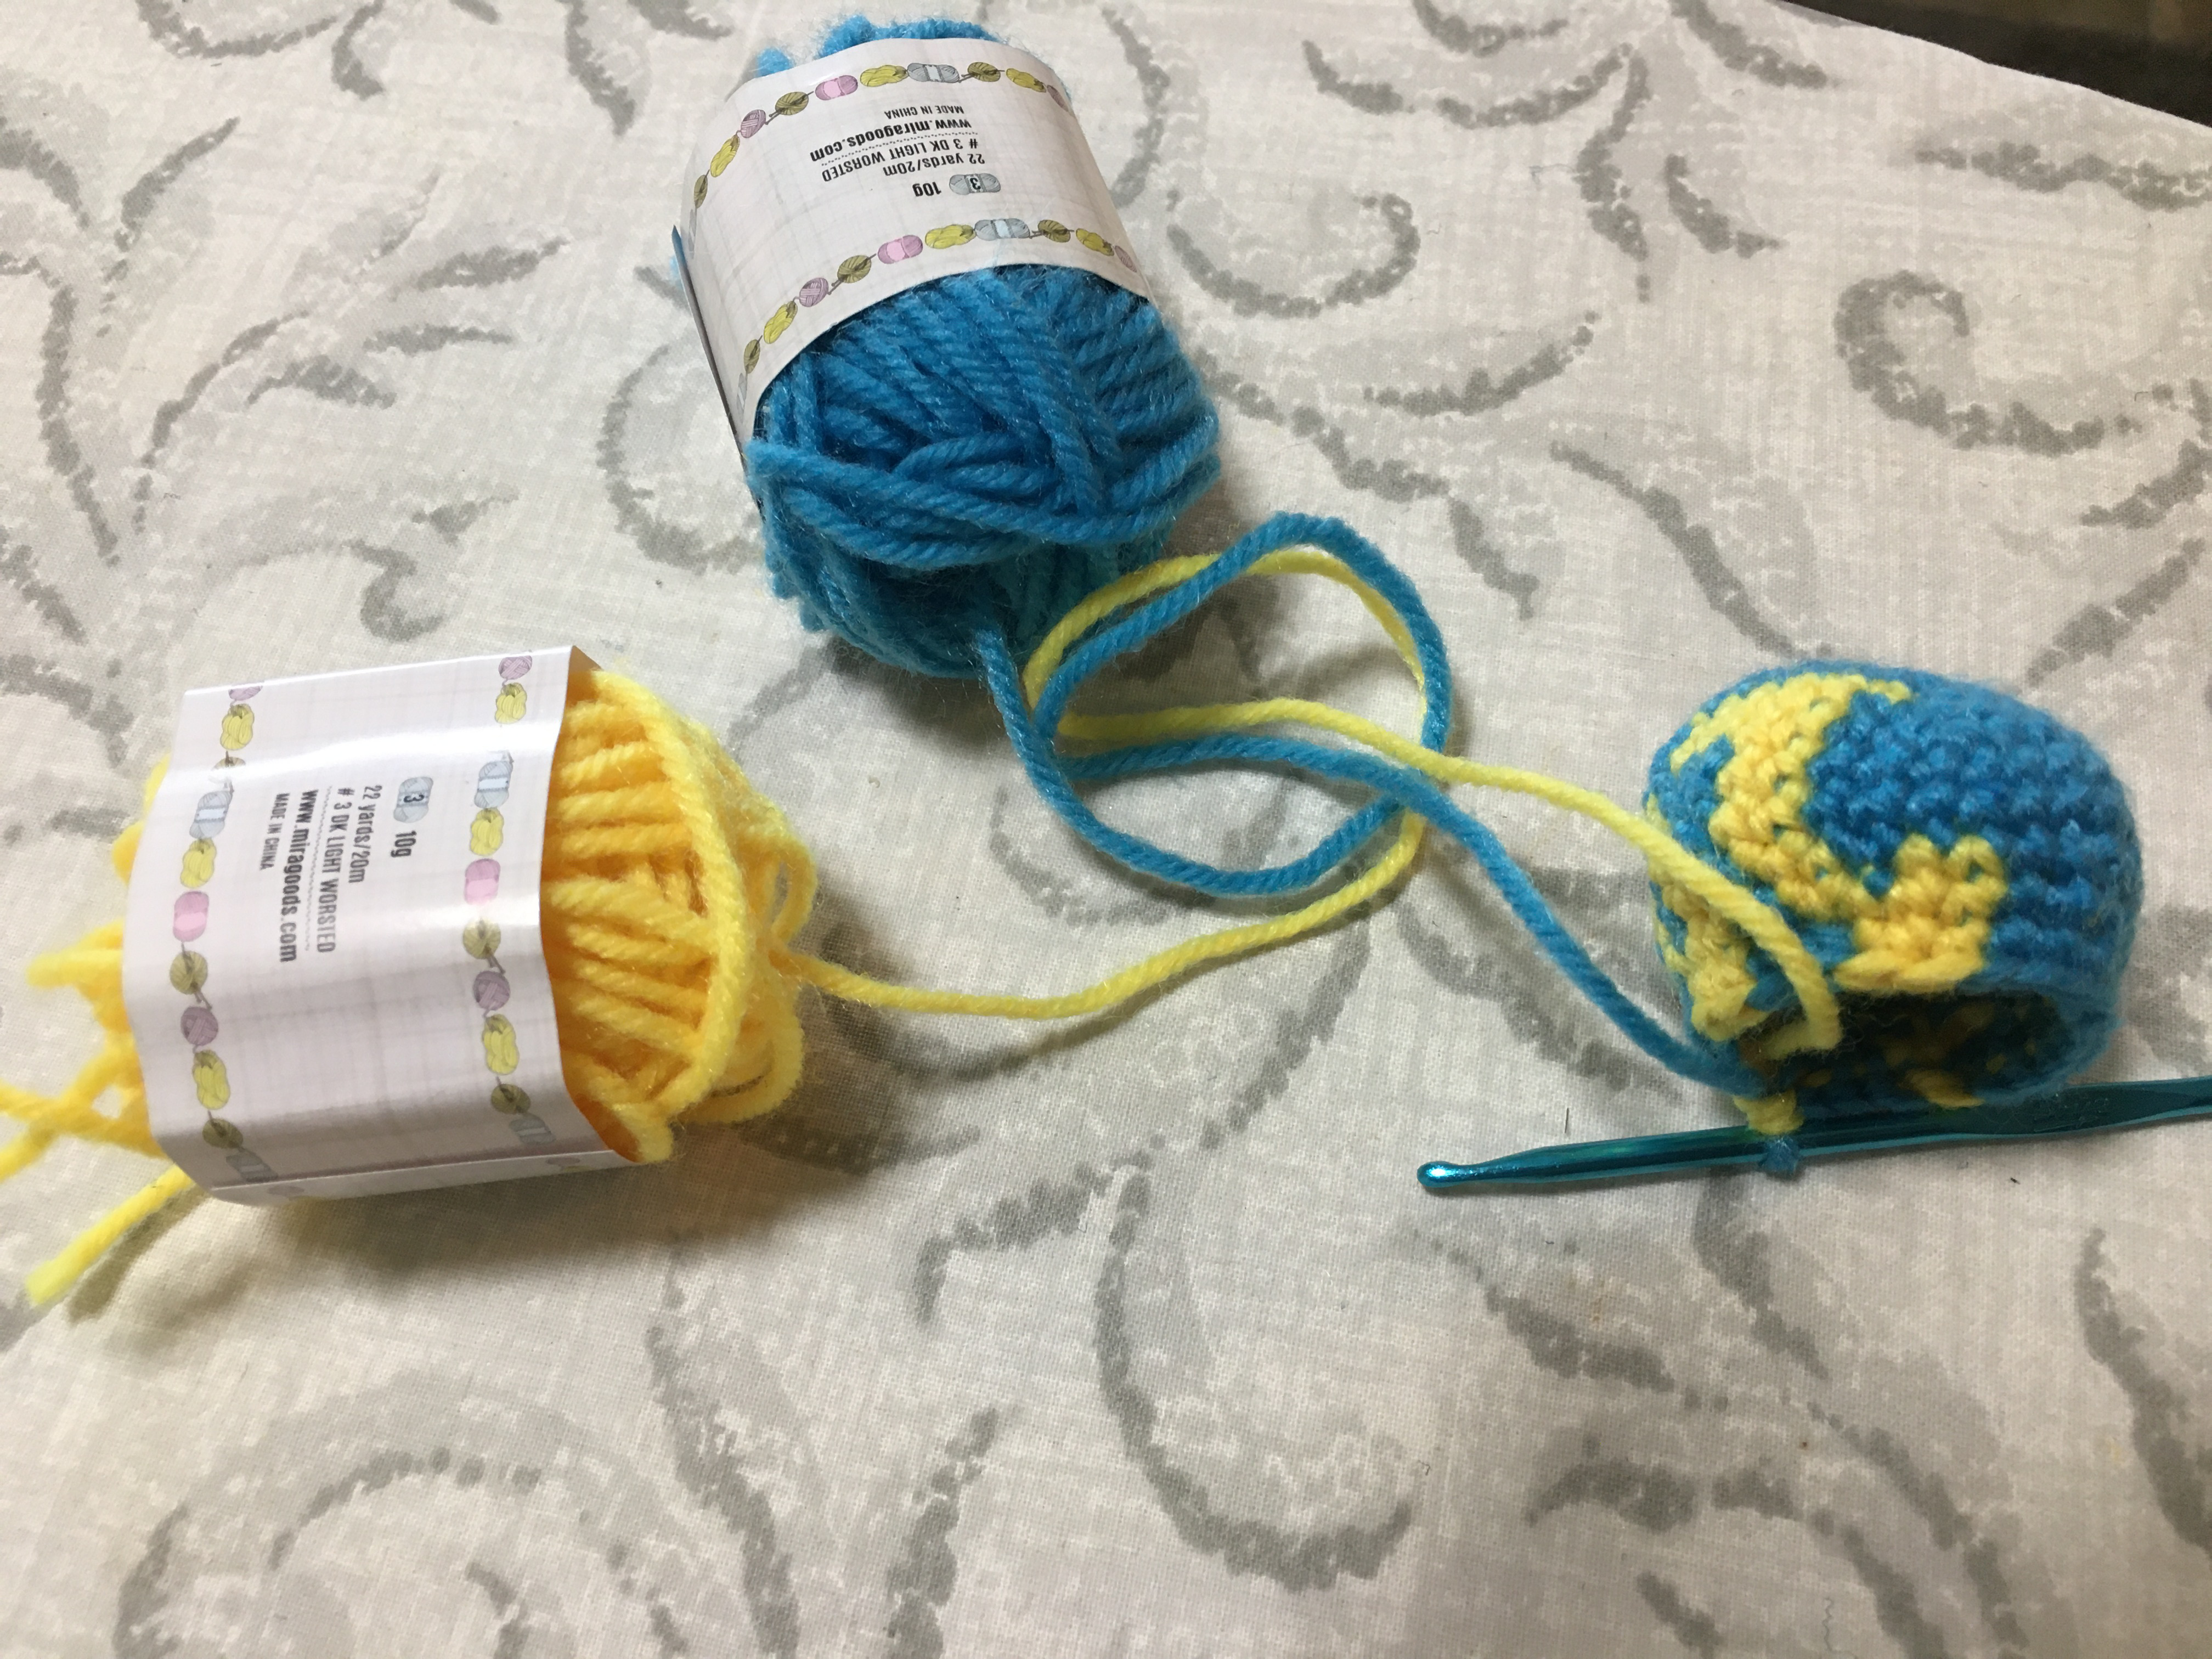
So, to make absolutely sure the program was working the way it was supposed to I decided I should do one more project: a bigger sphere with thicker numbers.
I had to do a manual step, where I converted the colored sequence of stitches the program spits out into a human-usable pattern that tells you where the color changes happen:
start with blue
rnd 1: magic circle, then sc 6 [6]
rnd 2: inc 6 [12]
rnd 3: [inc sc] x6 [18]
rnd 4: [inc sc 3] [inc sc 3] [inc sc 2] [inc sc 3] [inc sc 2], switch yellow [23]
rnd 5: INC SC, switch blue, sc, switch yellow, SC 2, switch blue, sc 2, switch yellow, sc in same stitch, SC 5, switch blue, inc sc 4, switch yellow, SC INC SC, switch blue, sc, switch yellow, SC 2
rnd 6: INC SC, switch blue, sc 2, switch yellow, SC 3, switch blue, inc, switch yellow, SC 5, switch blue, sc inc sc 5, switch yellow, SC INC SC 2, switch blue, sc, switch yellow, SC 2, switch blue
rnd 7: sc, switch yellow, sc in same stitch, SC, switch blue, sc 2, switch yellow, SC 2, switch blue, sc, switch yellow, SC 2, switch blue, sc 3, switch yellow, SC 2, switch blue, sc 2 inc sc 8, switch yellow, SC 2, switch blue, sc 4, switch yellow
rnd 8: SC 2, switch blue, sc 3, switch yellow, SC 2, switch blue, sc, switch yellow, SC 2, switch blue, sc 2, switch yellow, SC 2, switch blue, sc 13, switch yellow, SC 2, switch blue, sc 4, switch yellow
rnd 9: SC, switch blue, sc 4, switch yellow, SC 2, switch blue, sc, switch yellow, SC 2, switch blue, sc, switch yellow, SC 2, switch blue, sc 14, switch yellow, SC 2, switch blue, sc 3, switch yellow, SC
rnd 10: SC2tog (switch to blue for second), switch to yellow, SC 2, switch to blue, sc, switch to yellow, SC 2, switch to blue, sc, switch to yellow, SC 2, switch to blue, sc, switch to yellow, SC 2, switch to blue, sc, switch to yellow, SC 2, switch to blue, sc sc2tog sc 8, switch to yellow, SC 3, switch to blue, sc 2, switch to yellow, SC
rnd 11: SC2TOG SC, switch to blue, sc 2, switch to yellow, SC 3, switch to blue, sc2tog, switch to yellow, SC 4, switch to blue, sc 2 sc2tog sc 6 sc2TOG (switch to yellow for second) SC 2, switch to blue, sc 2, switch to yellow, SC
rnd 12: SC2TOG, switch to blue, sc 2, switch to yellow, SC 2, switch to blue, sc sc2tog, switch to yellow, SC 2, switch to blue, sc 3 sc2tog sc 5, switch to yellow, SC2TOG, switch to blue, sc 3, switch to yellow, SC, switch to blue,
rnd 13: [sc2tog sc 3] [sc2tog sc 3] [sc2tog sc 2] [sc2tog sc 3] [sc2tog sc 2]
rnd 14: [sc2tog sc] x6 (stuff the sphere)
rnd 15: sc2tog 6
Fasten off with a long end, use that to sew the top hole closed
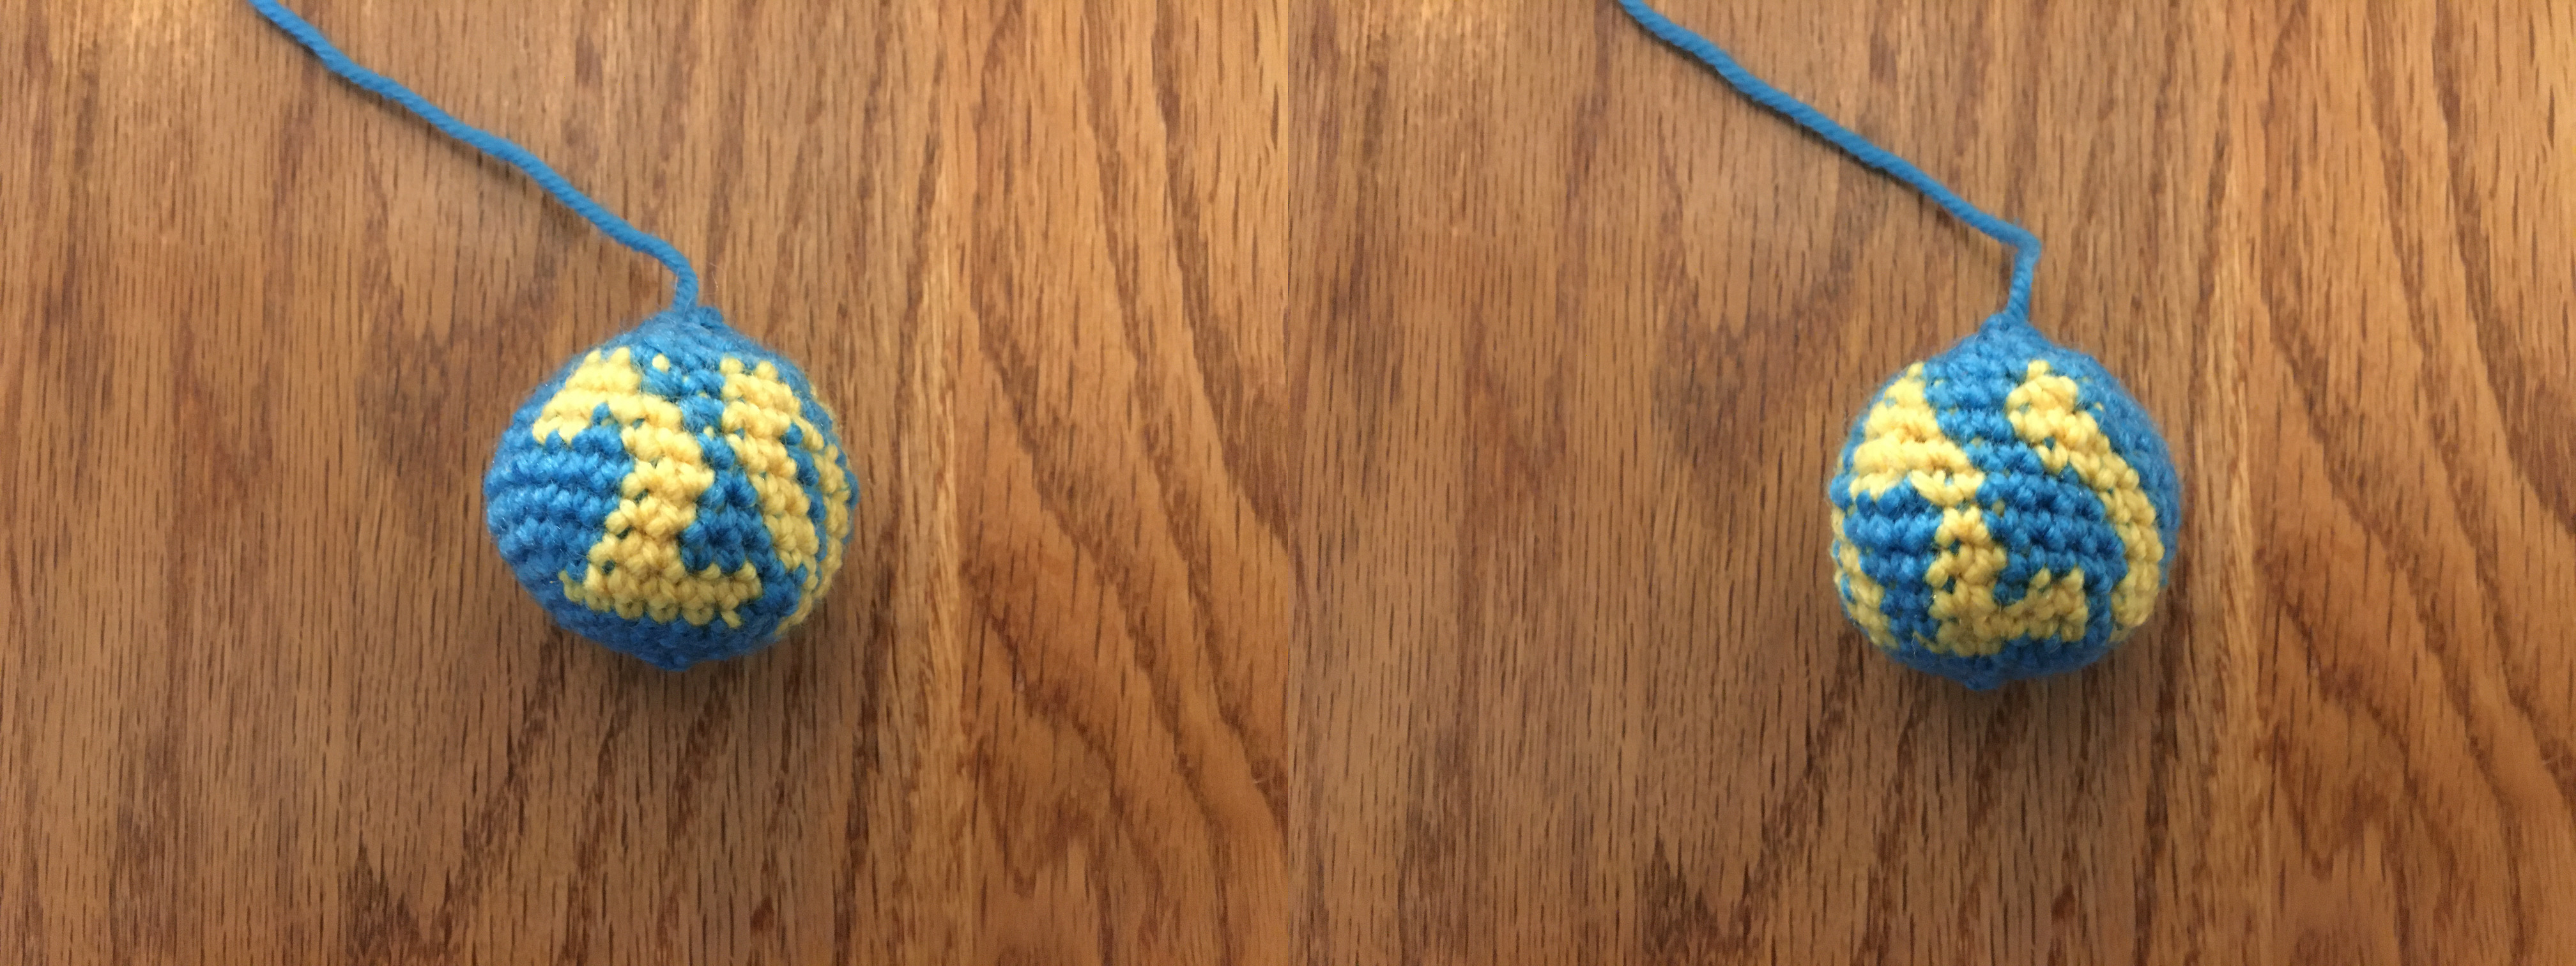
I started getting nervous at the second round that had color changes since I didn't think things were lining up the way I expected. And later on, I nearly abandoned the project when it called for a color change that seemed totally unconnected to anything, until I realized it was the top of the hook of a “2” curving down.
I was glad I persevered, because it turned out pretty similar to the virtual plan (aside from the twist effect which the program doesn't know about yet).
So that was a bit of work, but I think it confirmed for me that the original problem was happening on the side with yarn and crochet hooks, not the side with javascript code and 3D models. I think that I can consider this concept proven, and I can proceed to the next stage of the project (which is a bit daunting, since I need to design the software more carefully, rather than the “just get something working” strategy I pursued for the proof-of-concept phase). It was also a good reminder that things work out better when I take my time and do them right, not try to race to the end.
I love this project. As a needleworker and a math/engineering geek, I love patterns with good illustrations, charts, schematics, etc.
Thanks!
That's a nice project :)
Thank you!
Congratulations @danmaruschak! You have completed the following achievement on the Hive blockchain and have been rewarded with new badge(s) :
You can view your badges on your board and compare yourself to others in the Ranking
If you no longer want to receive notifications, reply to this comment with the word
STOPTo support your work, I also upvoted your post!
How cool it is to see a project like this! In order to make the figures (2021) come out straight, I recommend that you weave only the front strands. Although I see that the decreases also cause the curvature.
Thanks! In this current version the software doesn't include the twist effect that comes from doing continuous rounds, but if it did I think that I wouldn't need to compensate later since both the computer model and the physical crochet would match. The way I'm planning to do the next version should automatically account for things like the twist between rounds, so I will be able to test this theory.