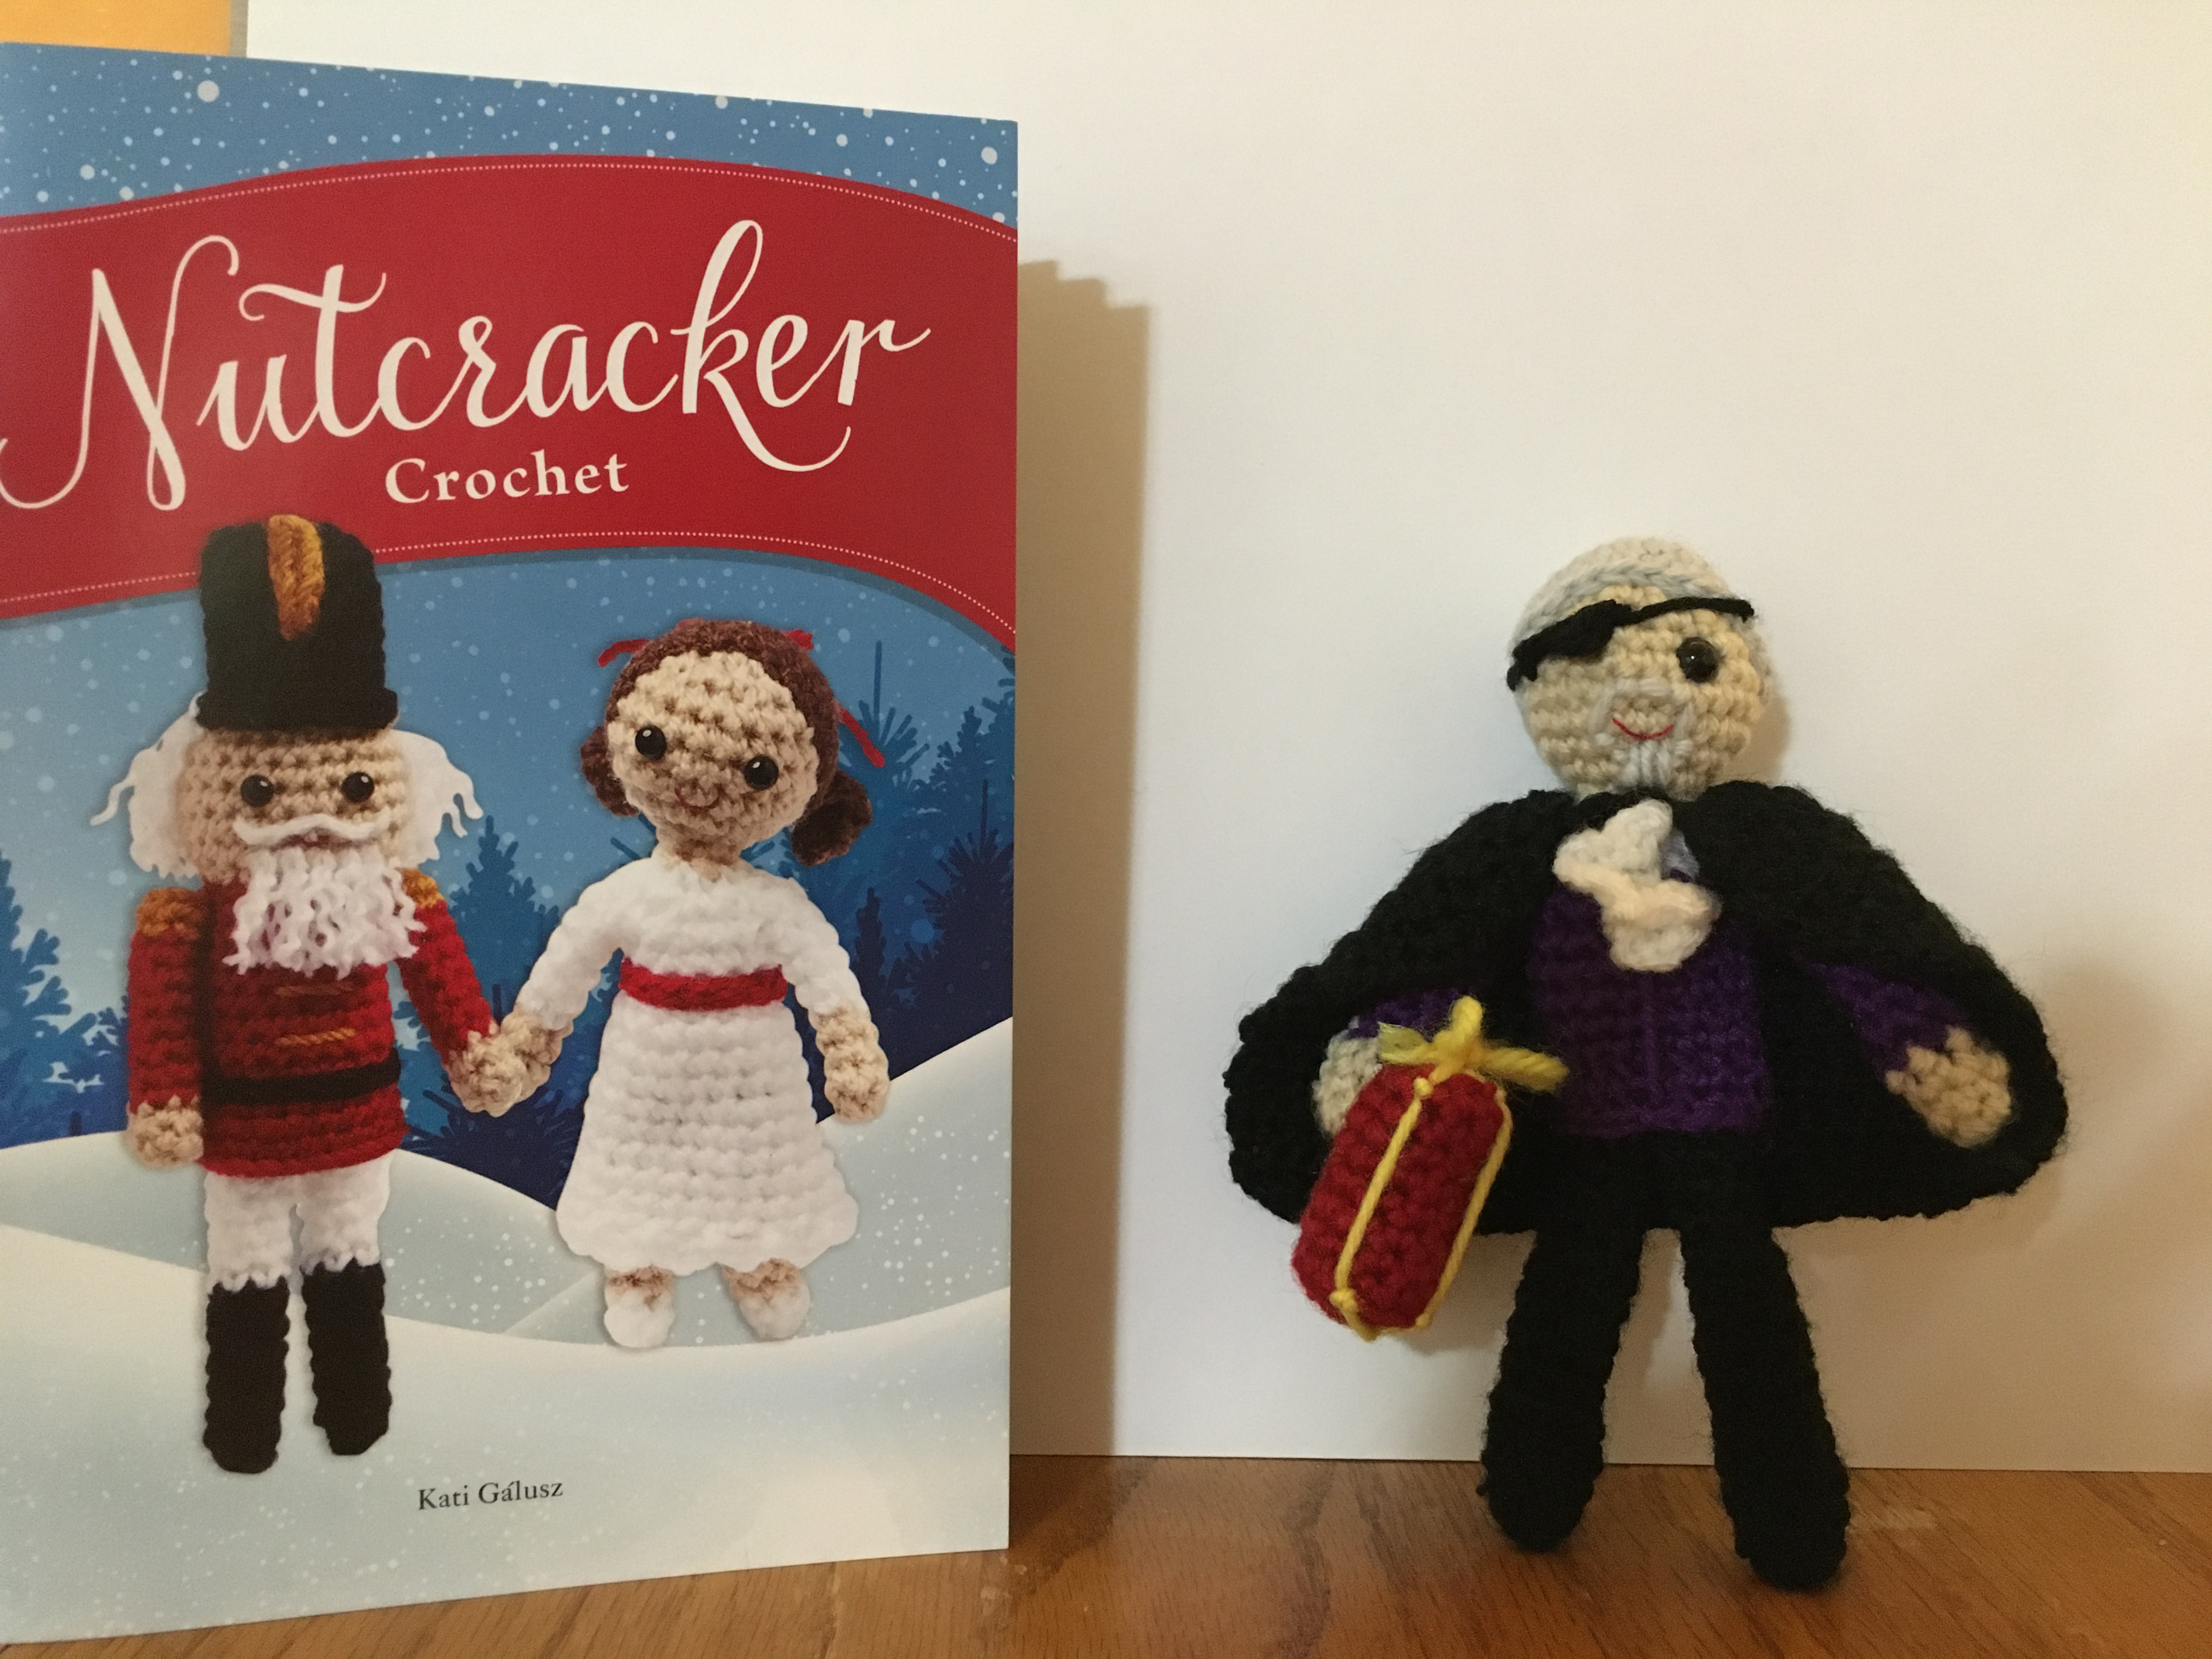
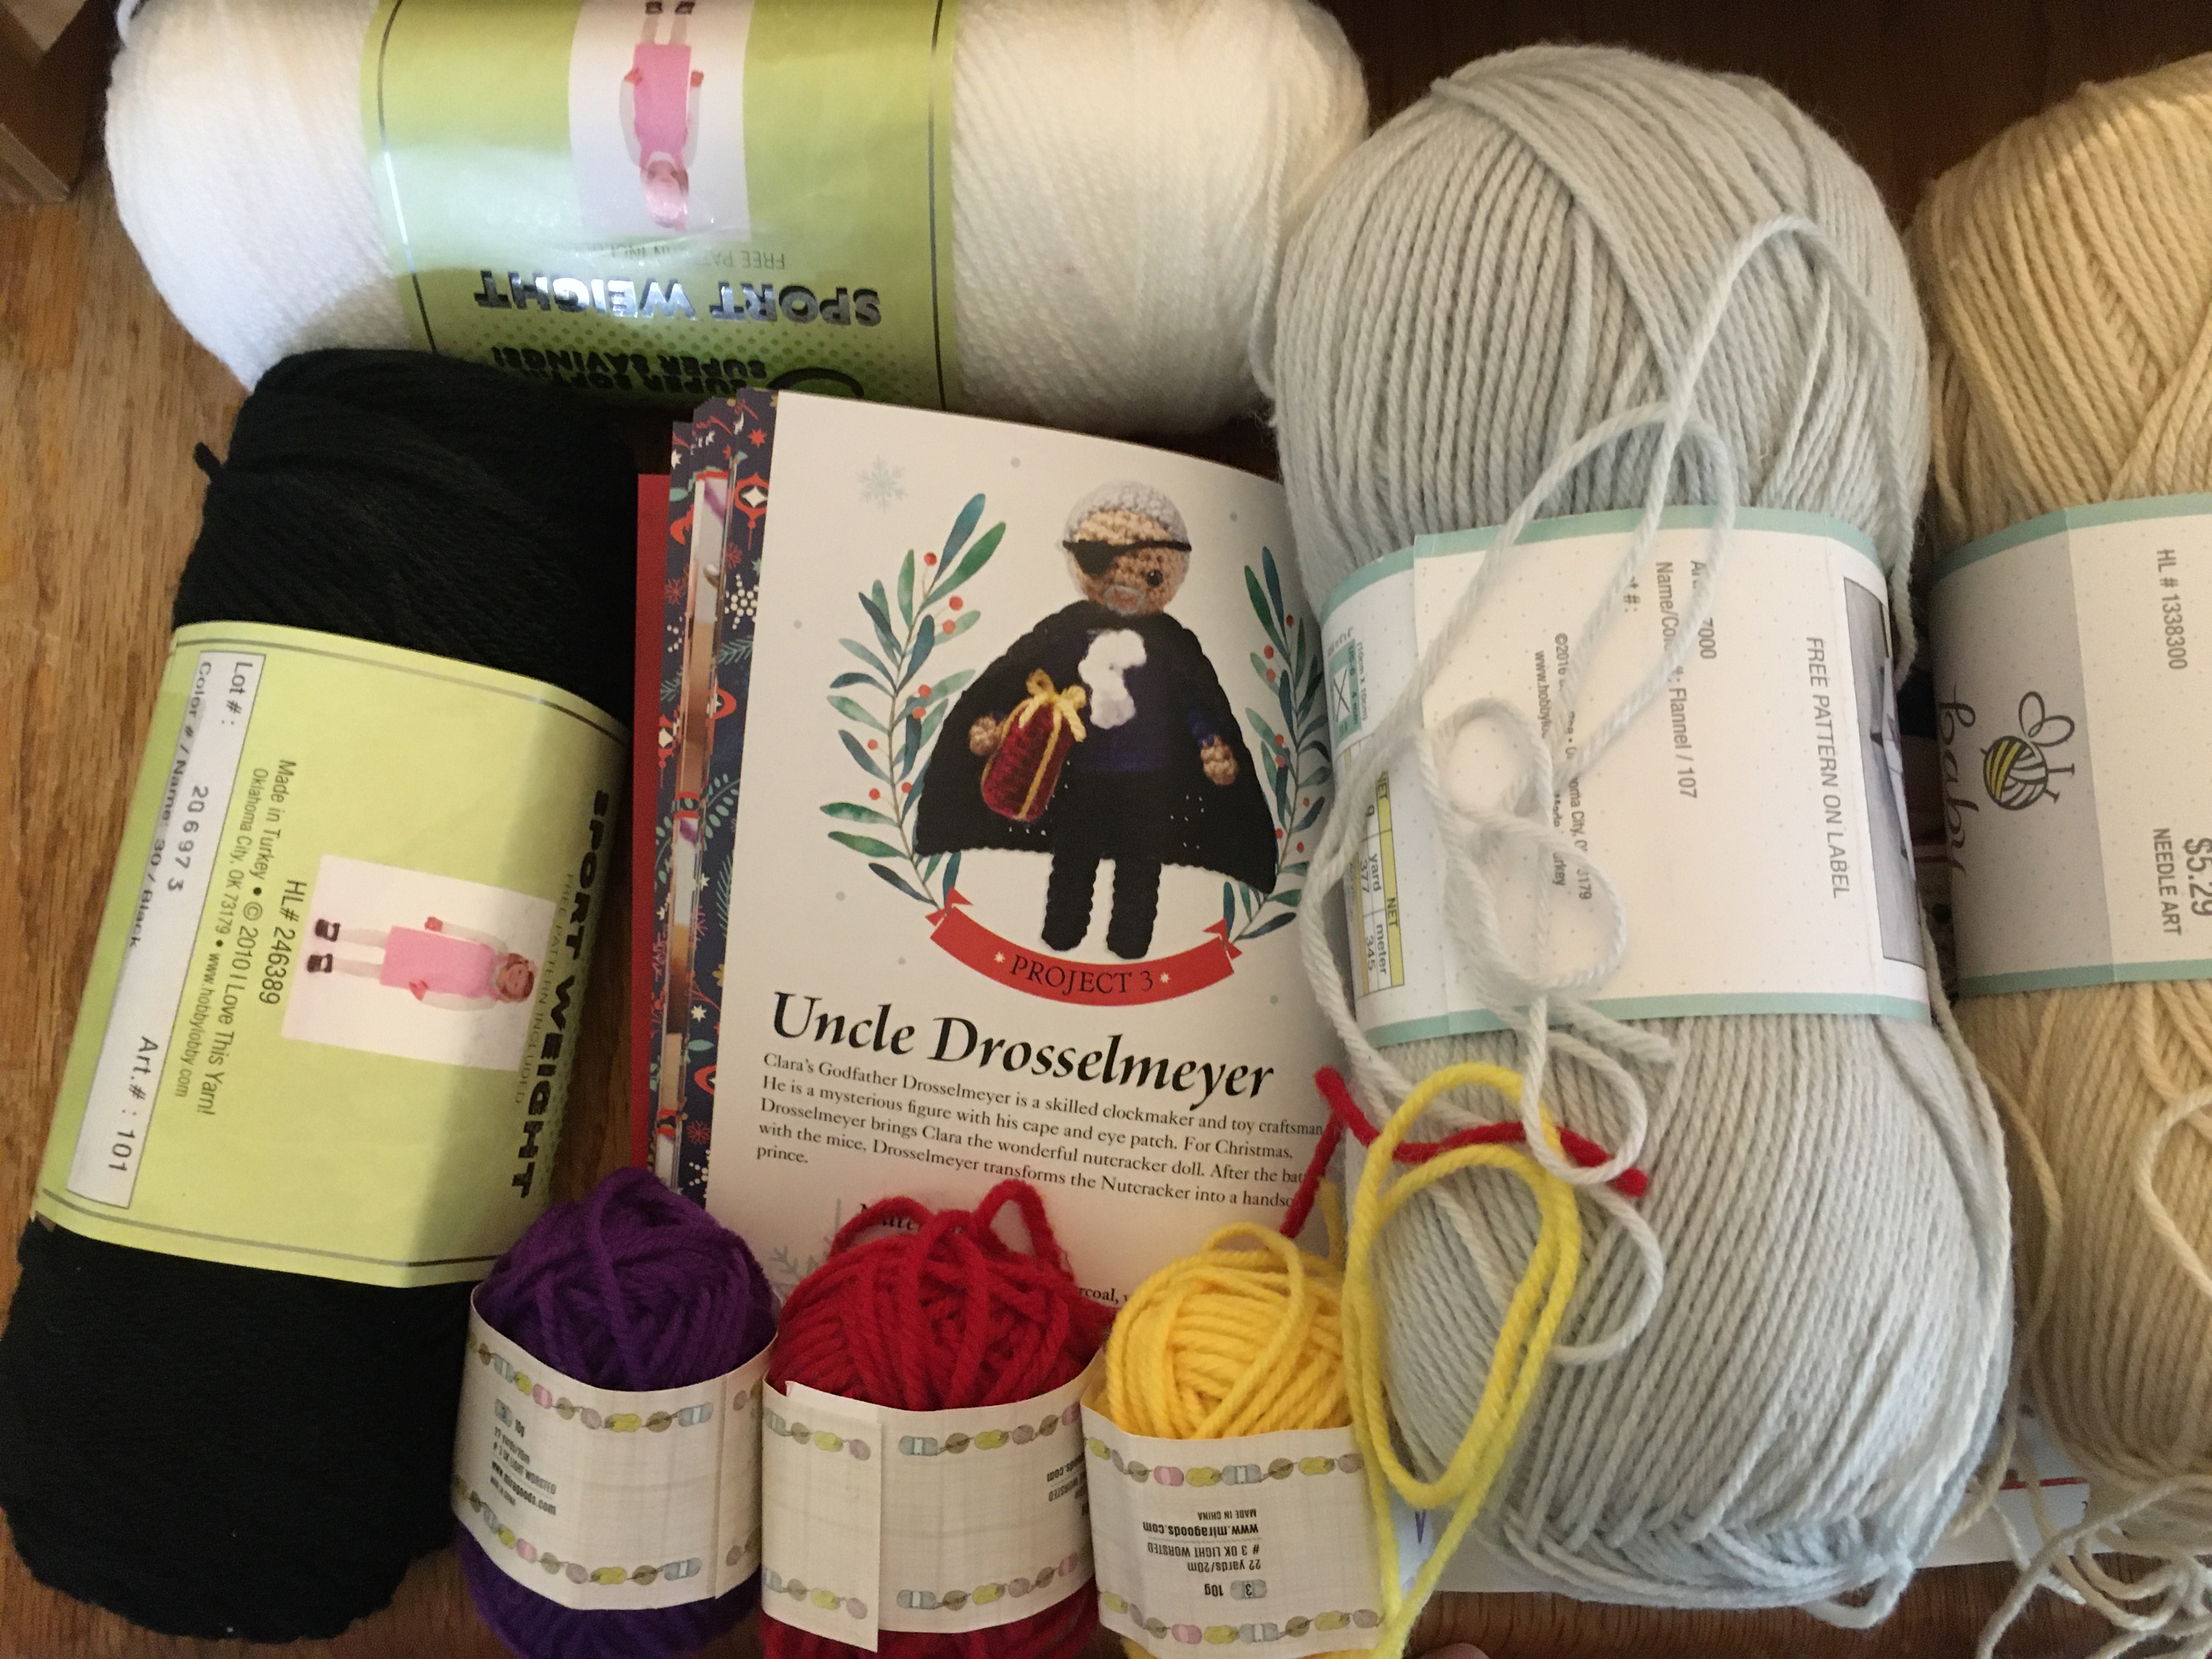
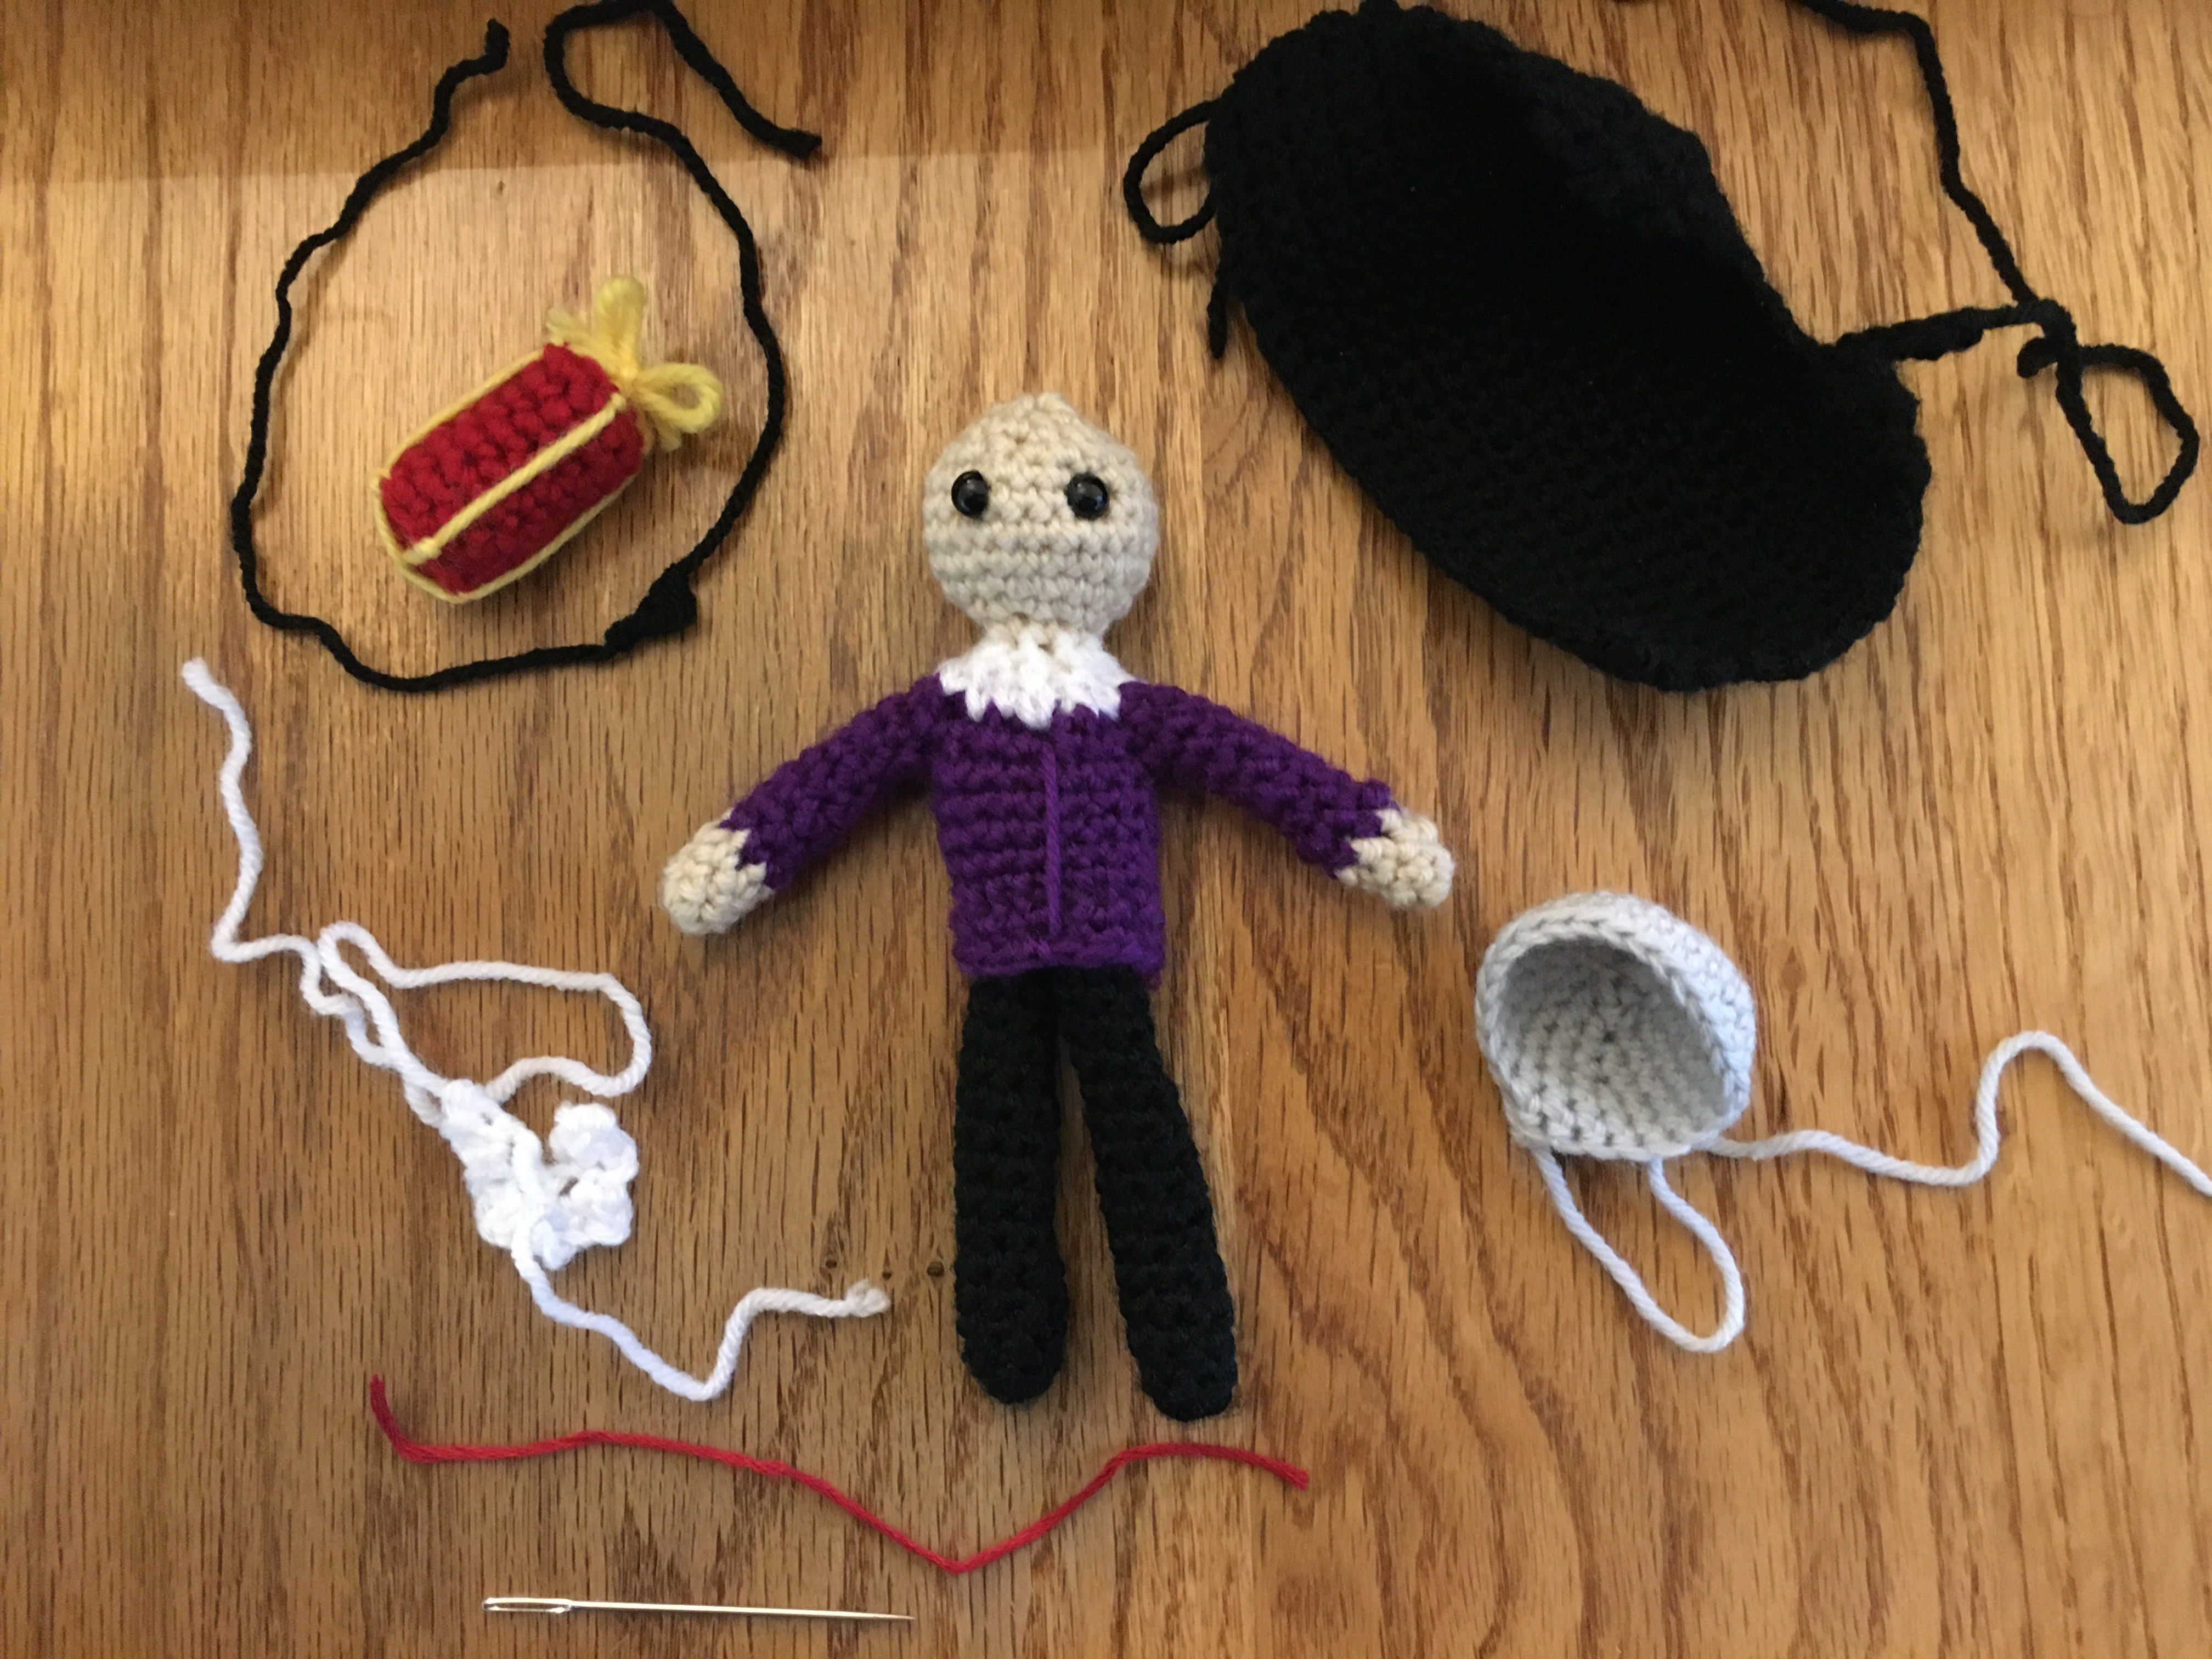
Before embarking on this set of projects from the Nutcracker Crochet kit I got as a gift I didn't know much about the story, but apparently Herr Drosselmeyer is Clara's godfather and brings the gift of the nutcracker which is magically transformed. From the pictures in the instruction book I thought he looked pretty cool (eye-patch + cape = badass), so I was excited to start the project. I used yarn that I had around from previous projects and mostly followed the instructions from the booklet in the kit.
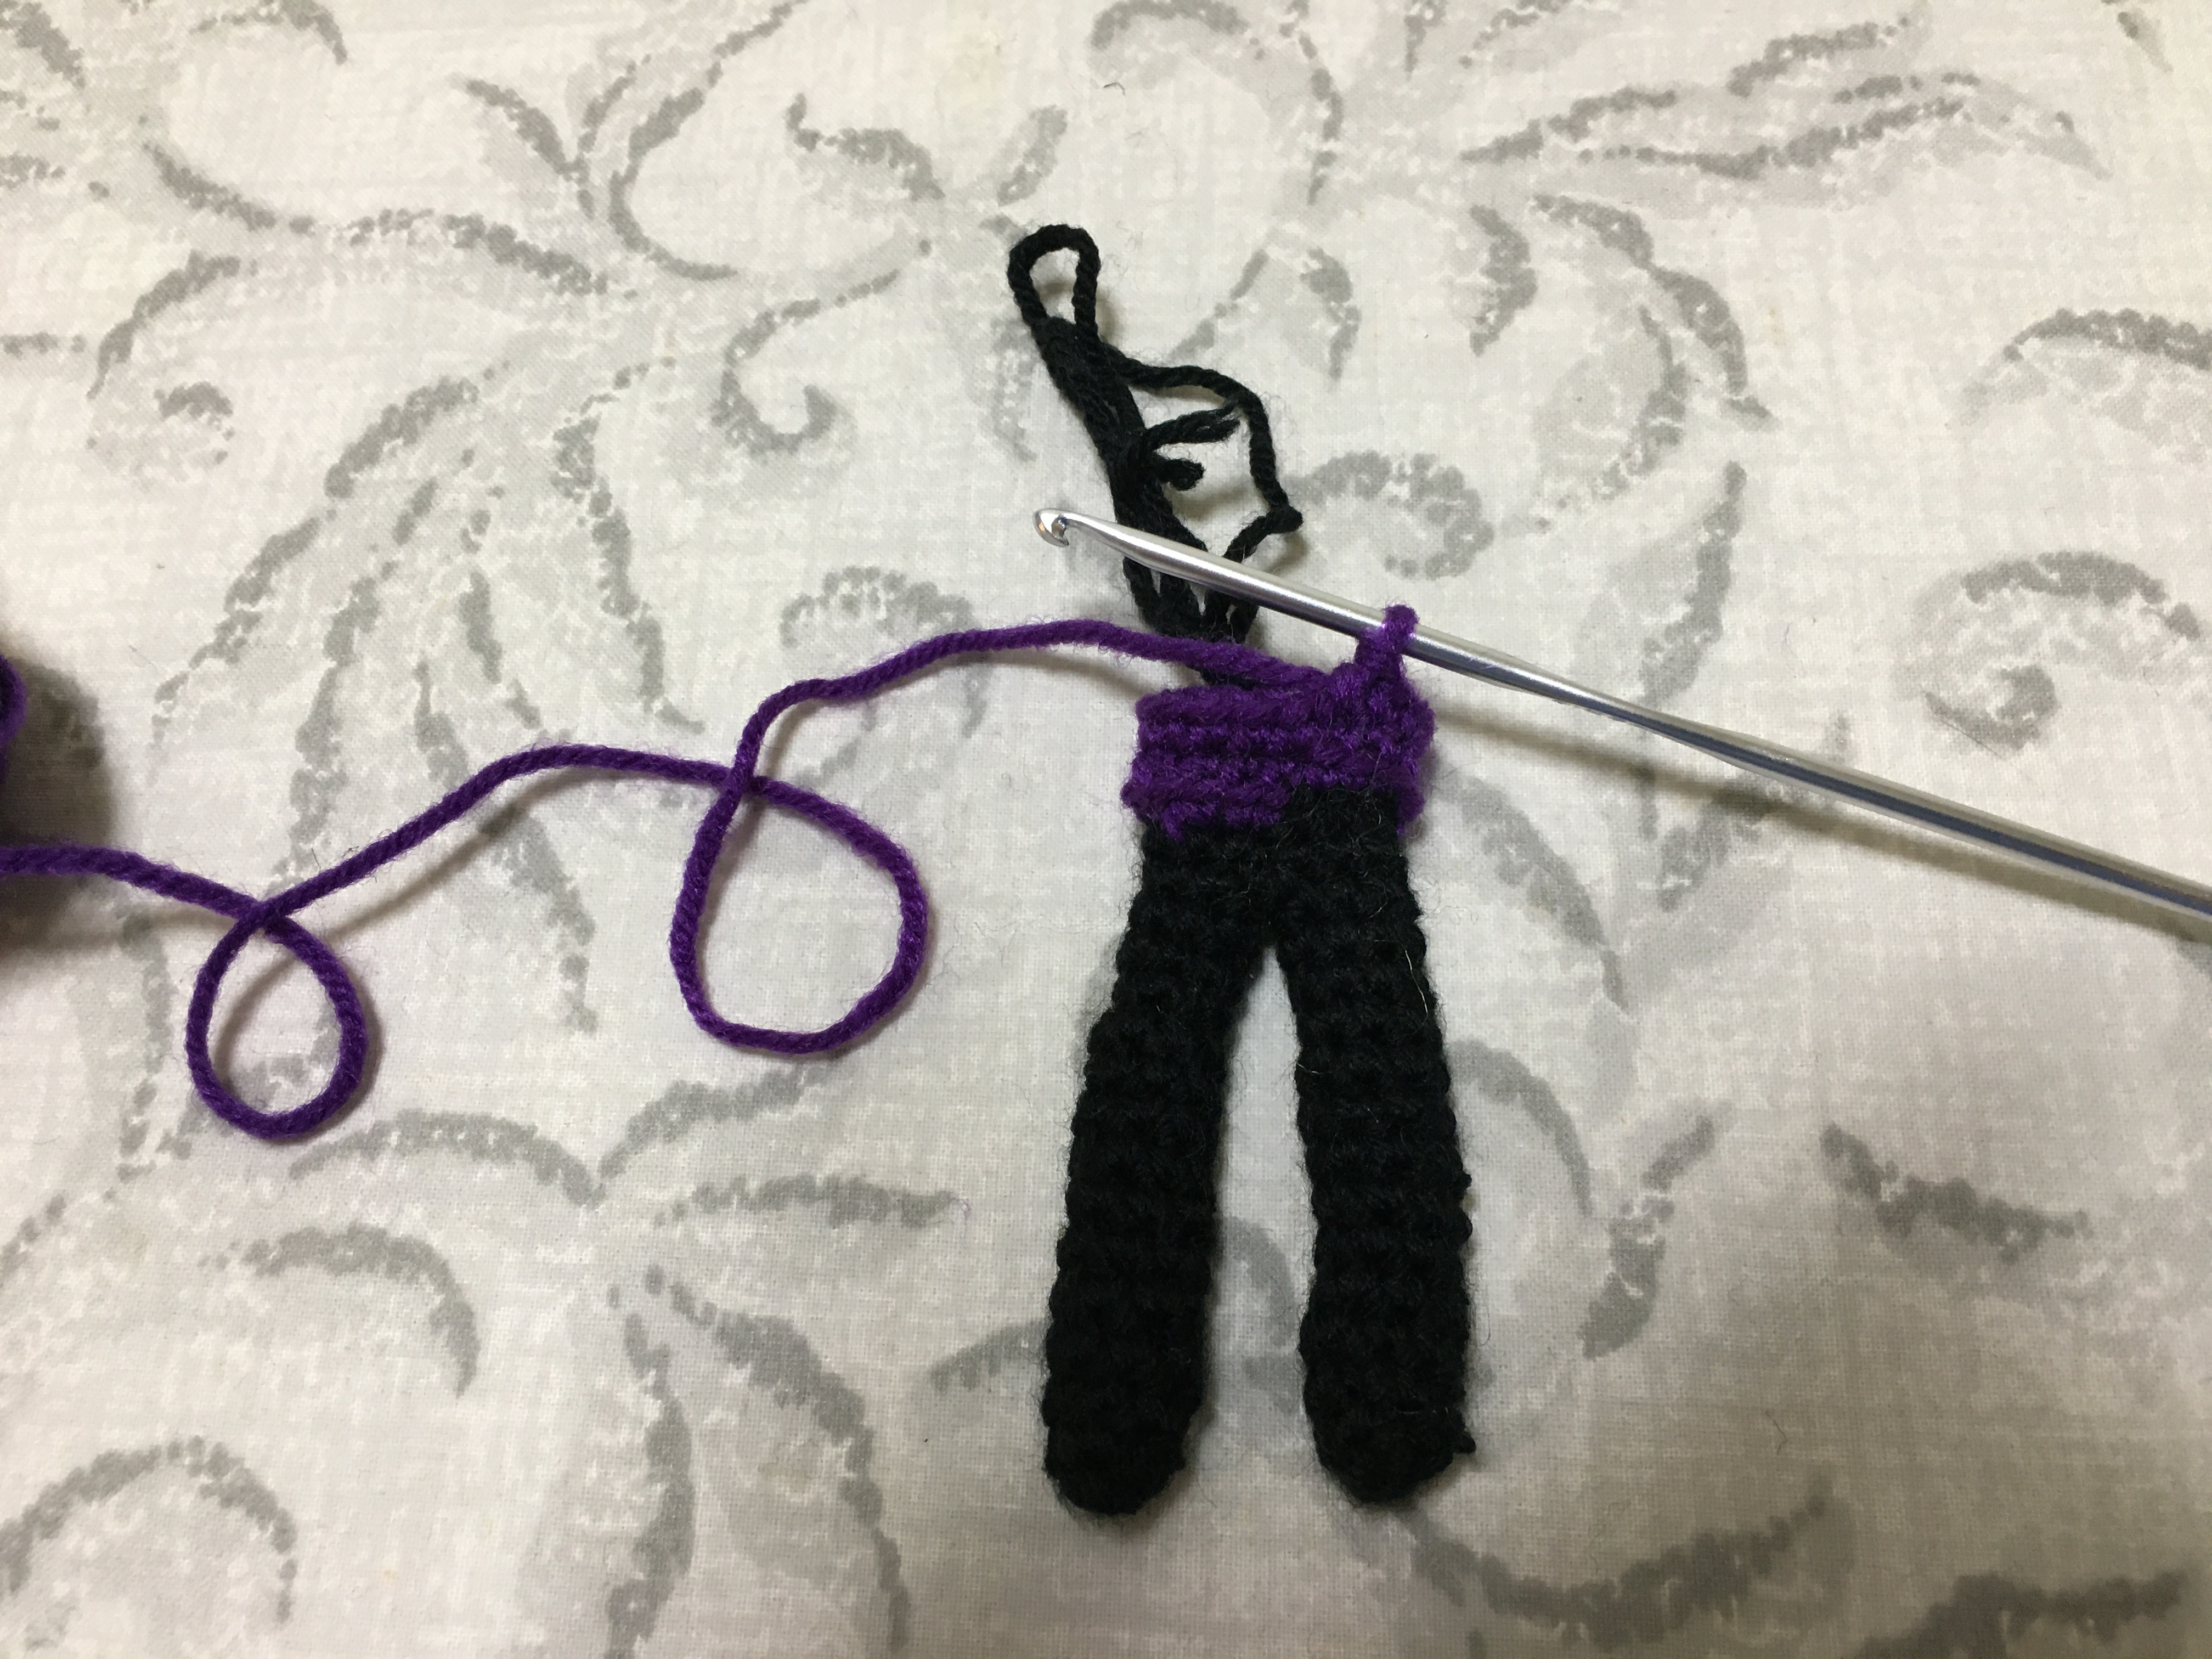
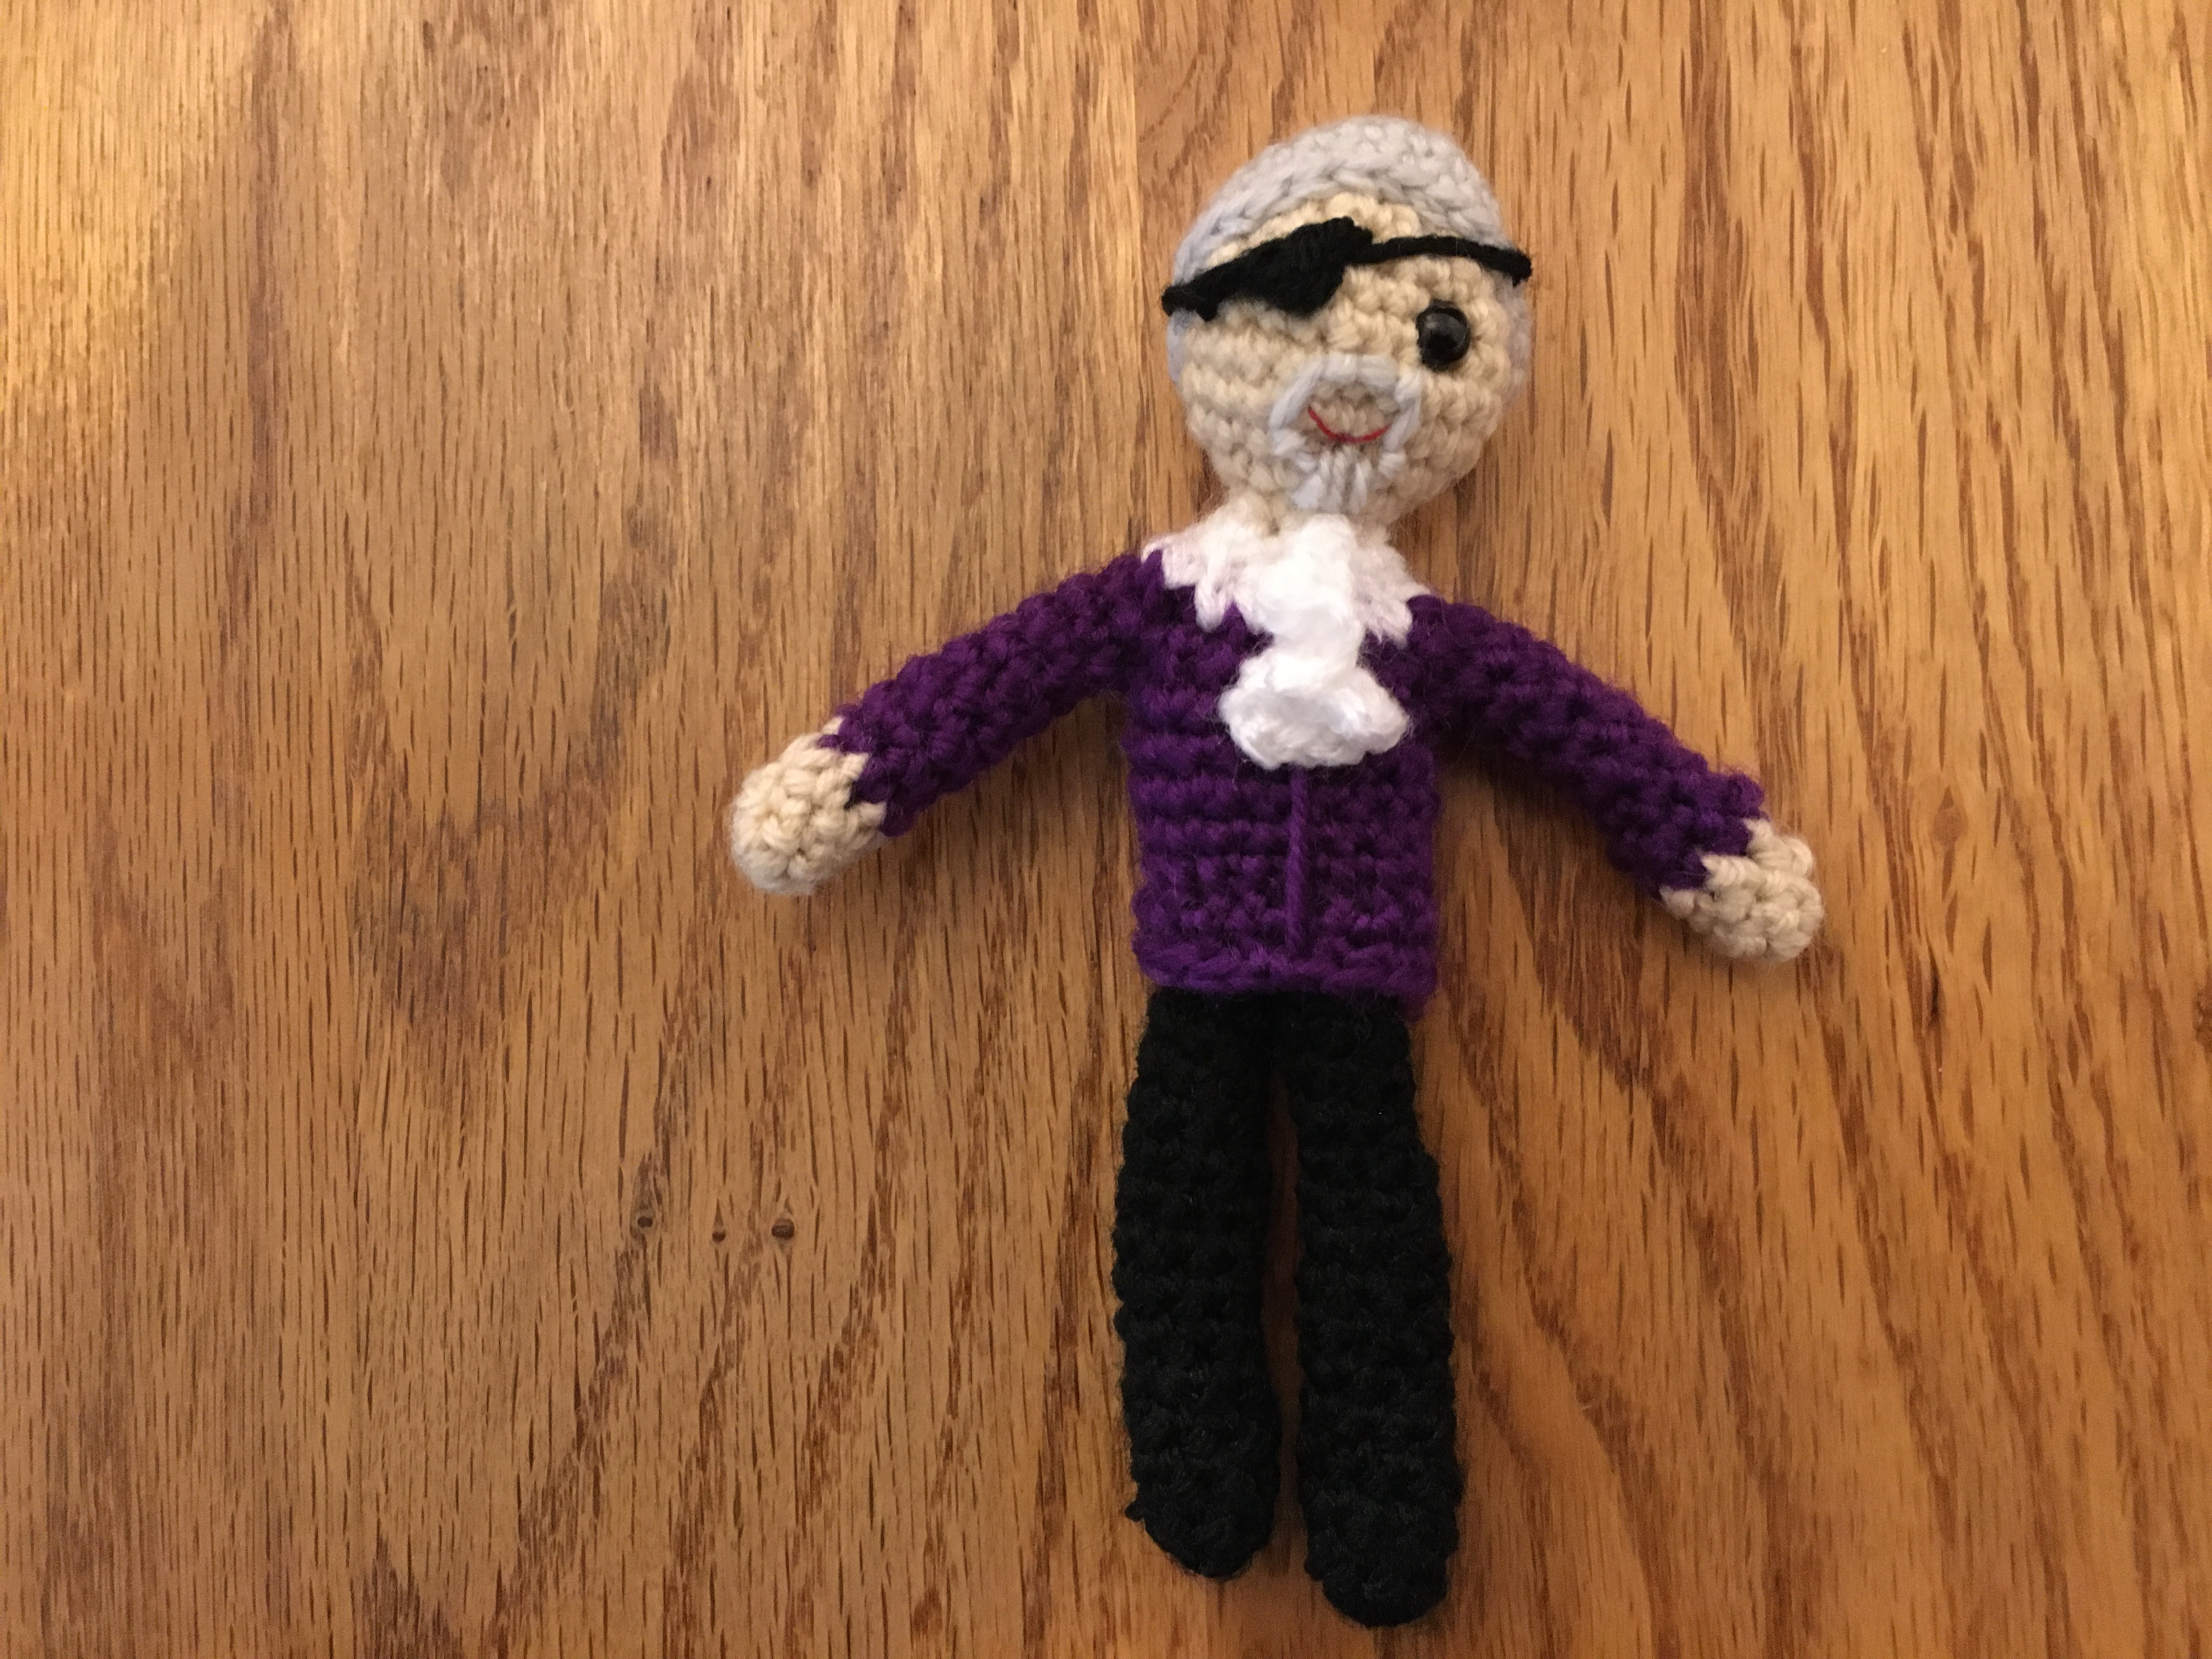
The arms and legs went pretty smoothly since I've got a bit of practice making these now, although I deviated from the pattern a little bit: it calls for switching to charcoal gray at the top of the legs (he's wearing gray shorts and black leggings, I guess?) but it didn't seem like it would show that prominently and the picture in the book looked like it was black all the way up to the waist, so I just stuck with black all the way. At first I was having trouble crocheting with the black yarn because I had trouble seeing the stitches with the indirect lighting at the desk where I was working, but I realized that I didn't really need to do this at my desk, I could just move across the room and stand directly under a light to work. First I just stuck the skein of yarn in the front pocket of my hoodie since the working yarn was coming from a center-pull, but eventually I set up my ironing board to hold the yarn when I was doing more complicated stuff like color switches. (Normally I wouldn't think of my ironing board as a great work surface for anything but ironing, but since crochet stuff is so light it worked fine and I could put it where I needed it.)
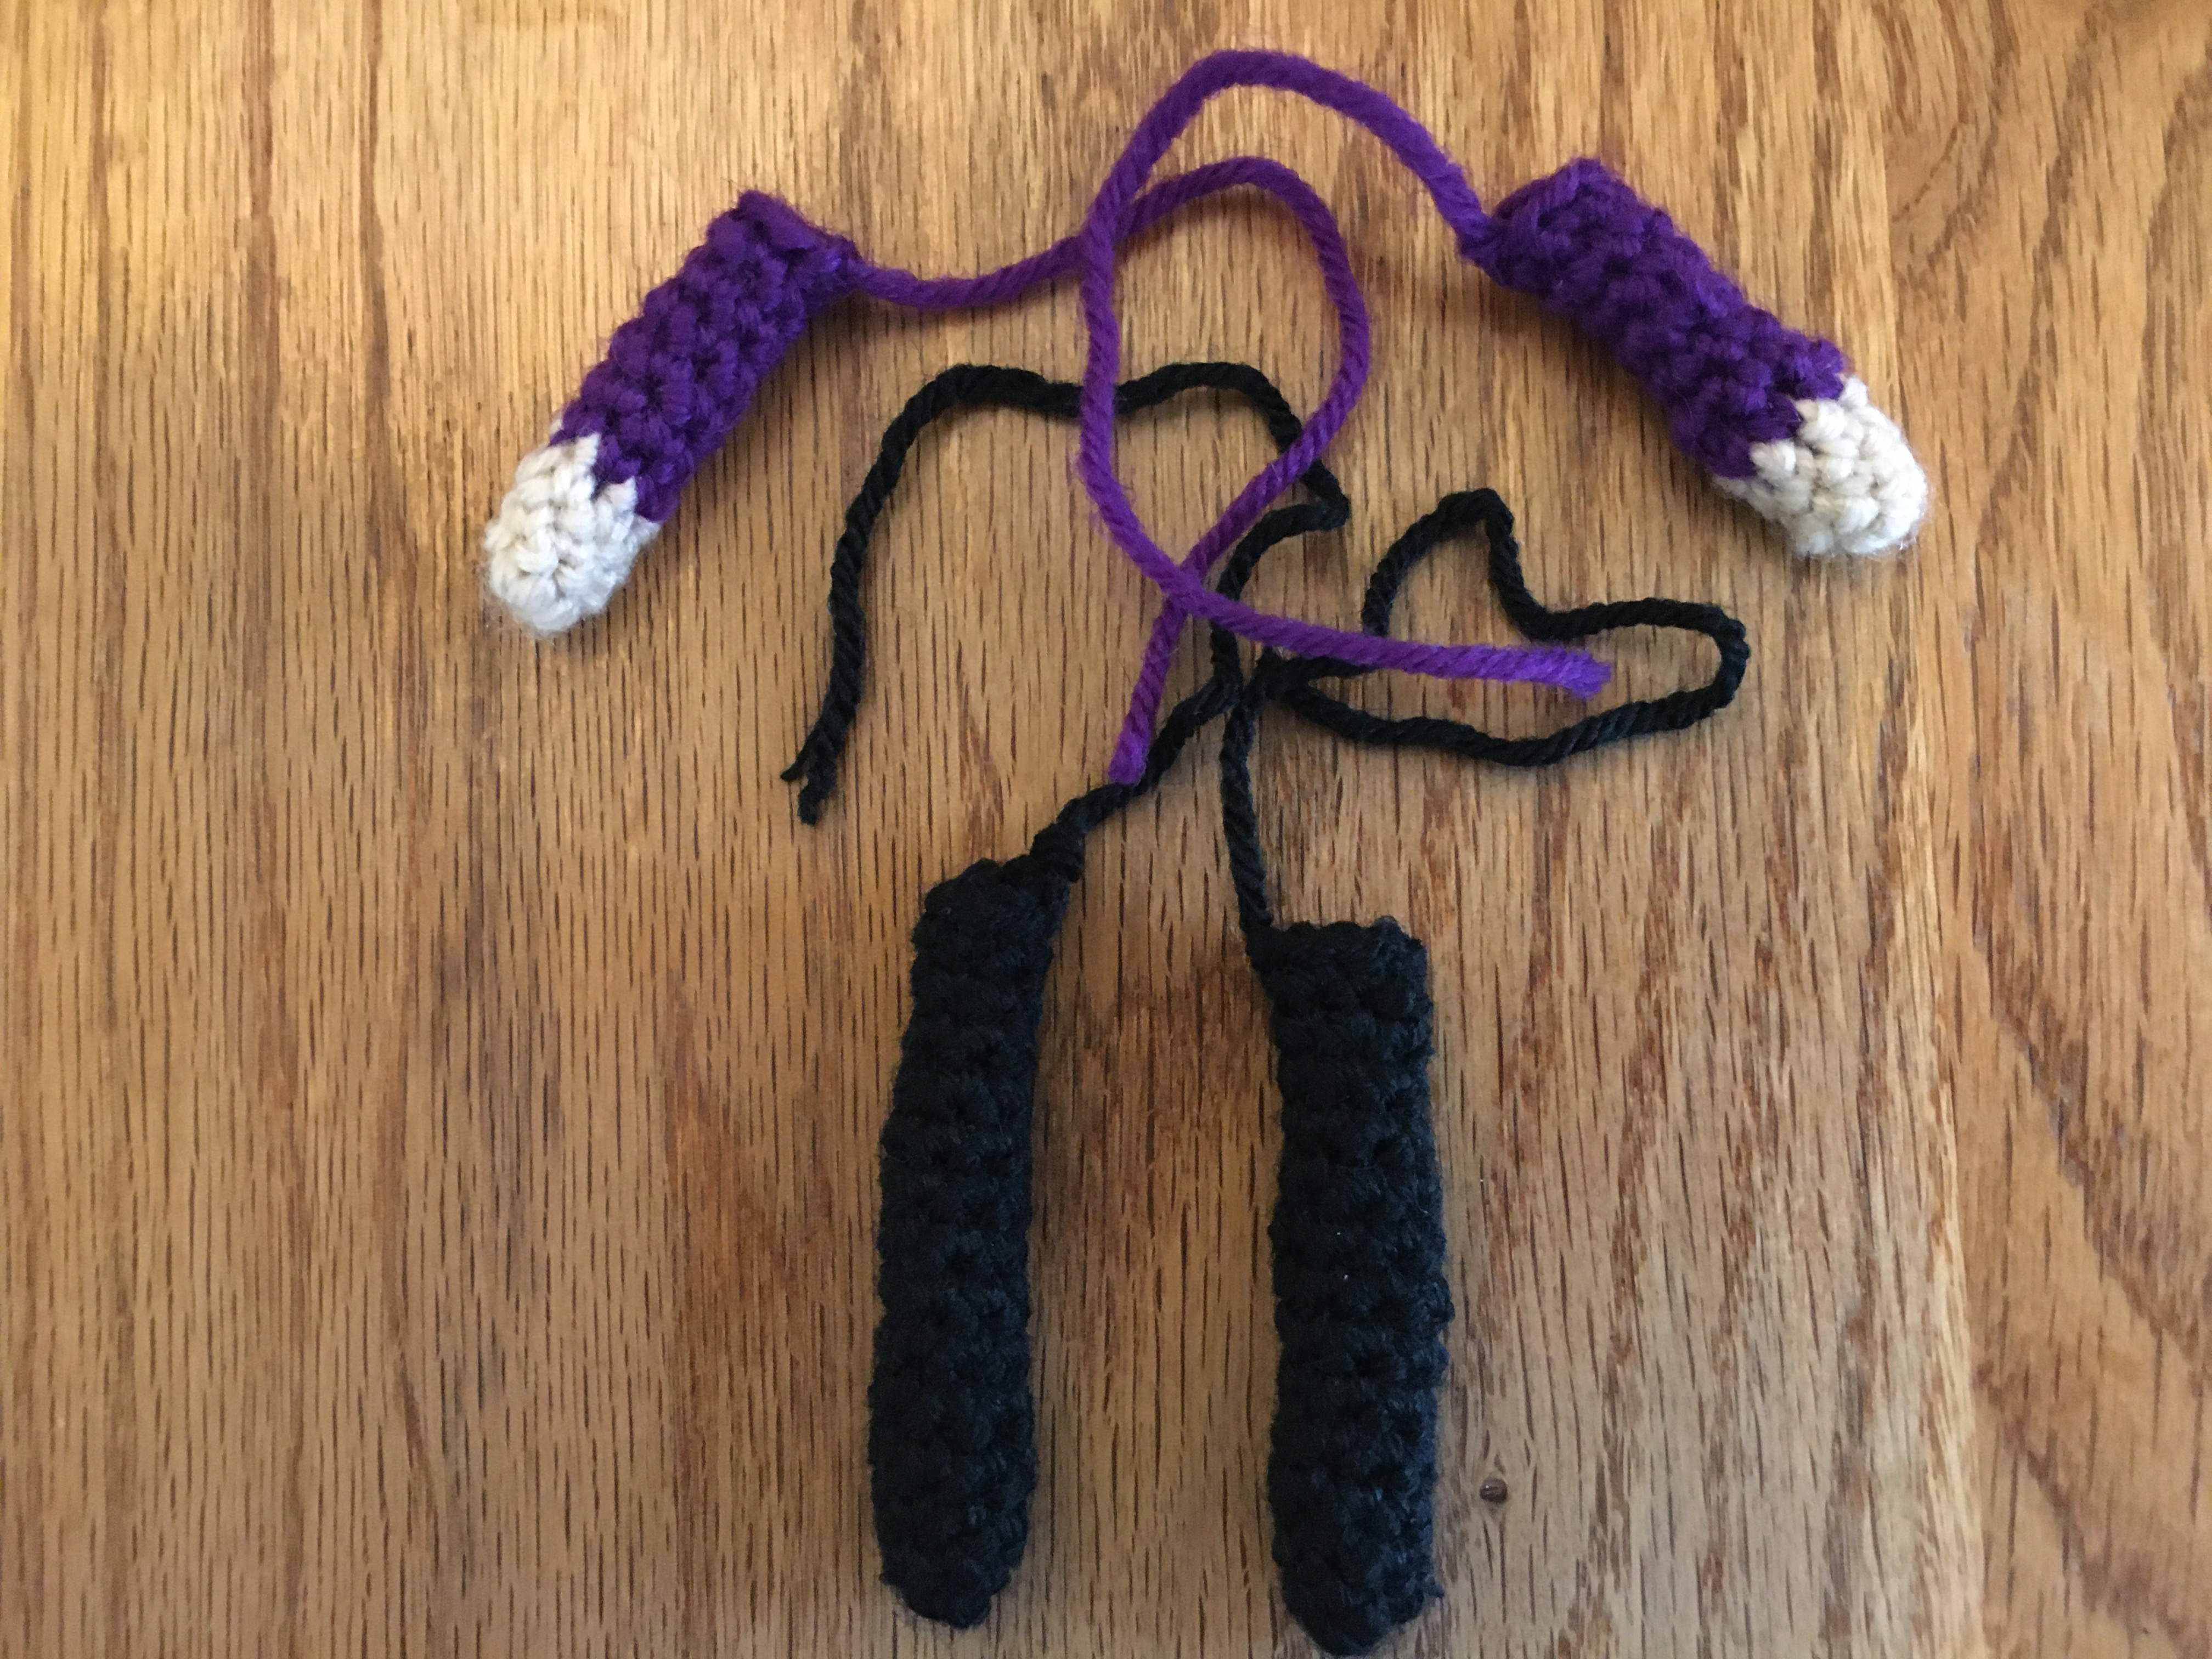
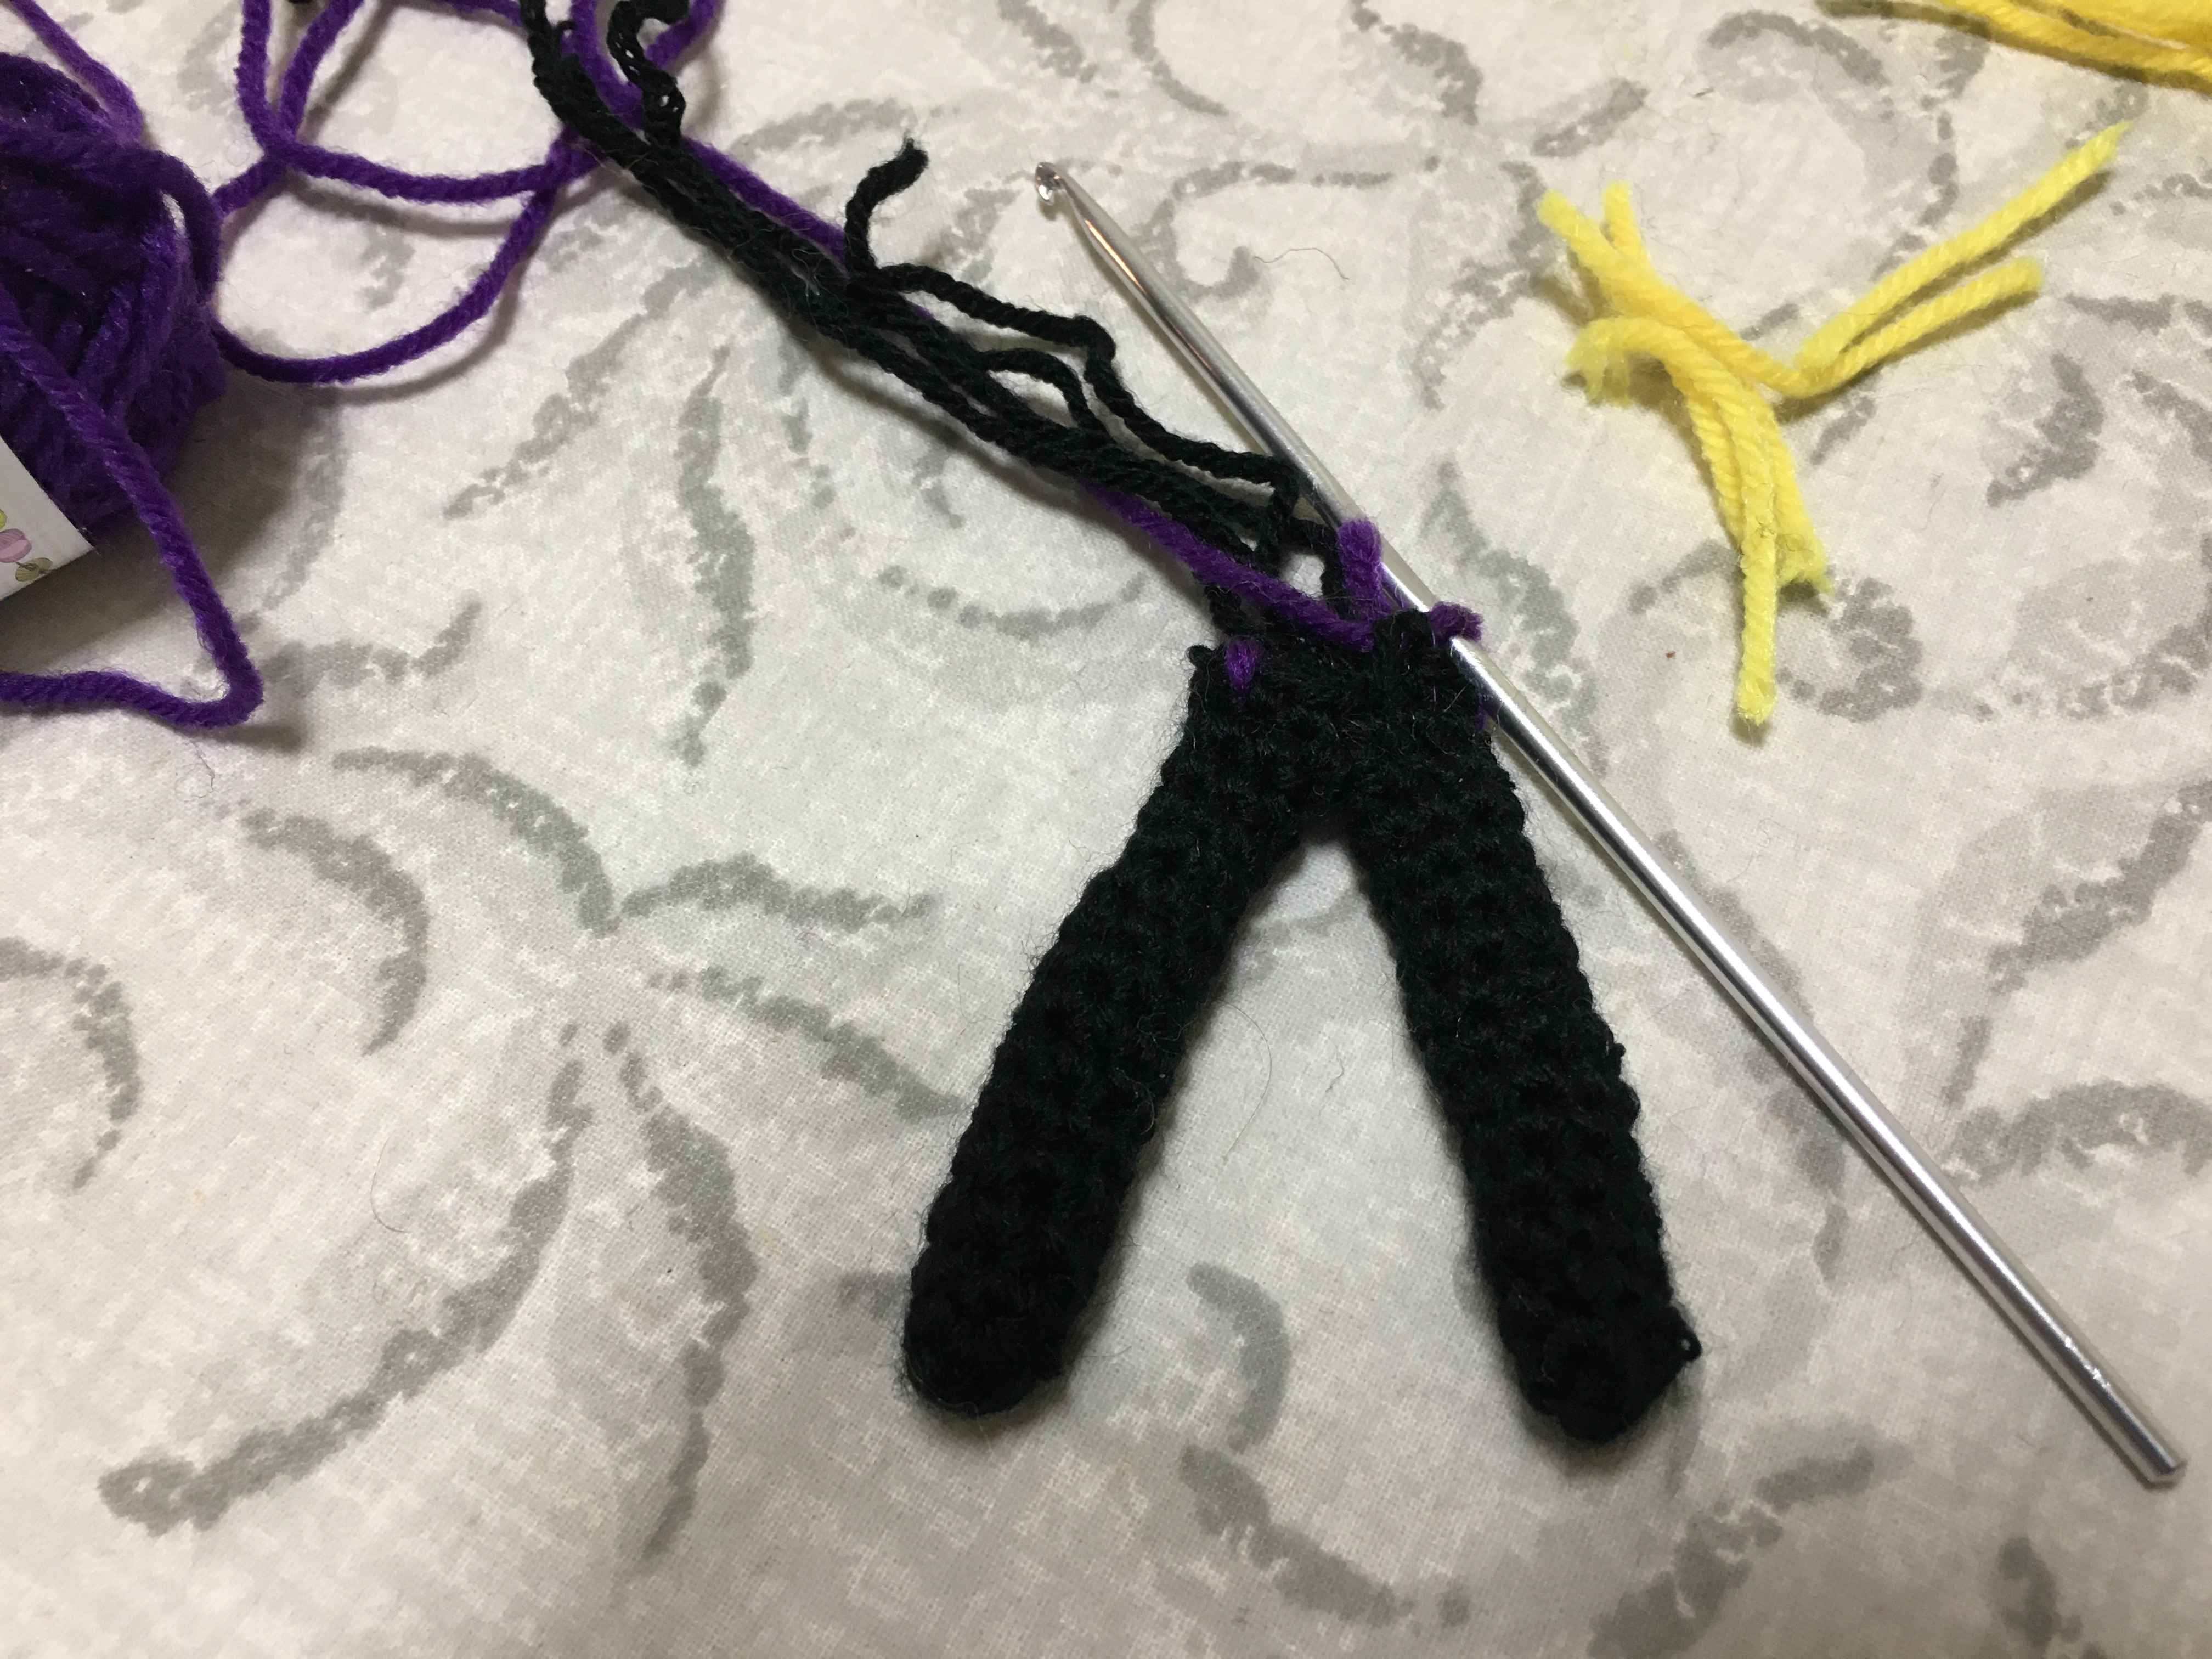
For some reason I had a lot of trouble joining the legs together, I kept losing confidence that I was putting the stitches in the right place so I would back out and start over. Eventually I tried using some lengths of yellow yarn to mark the stitches and eventually I got past it. Normally when I do color switches I carry the new color behind on the round before the switch, but apparently when I was doing the black to purple switch at the waist I must have wrapped the purple around the outside once or twice, since I have some rogue purple yarn where it shouldn't be in that last black round. At first I was frustrated and was going to back up and try again, but then I realized that the pattern calls for extending the purple jacket down for a few rounds from the join anyway, so the mistakes wouldn't be visible on the final character.
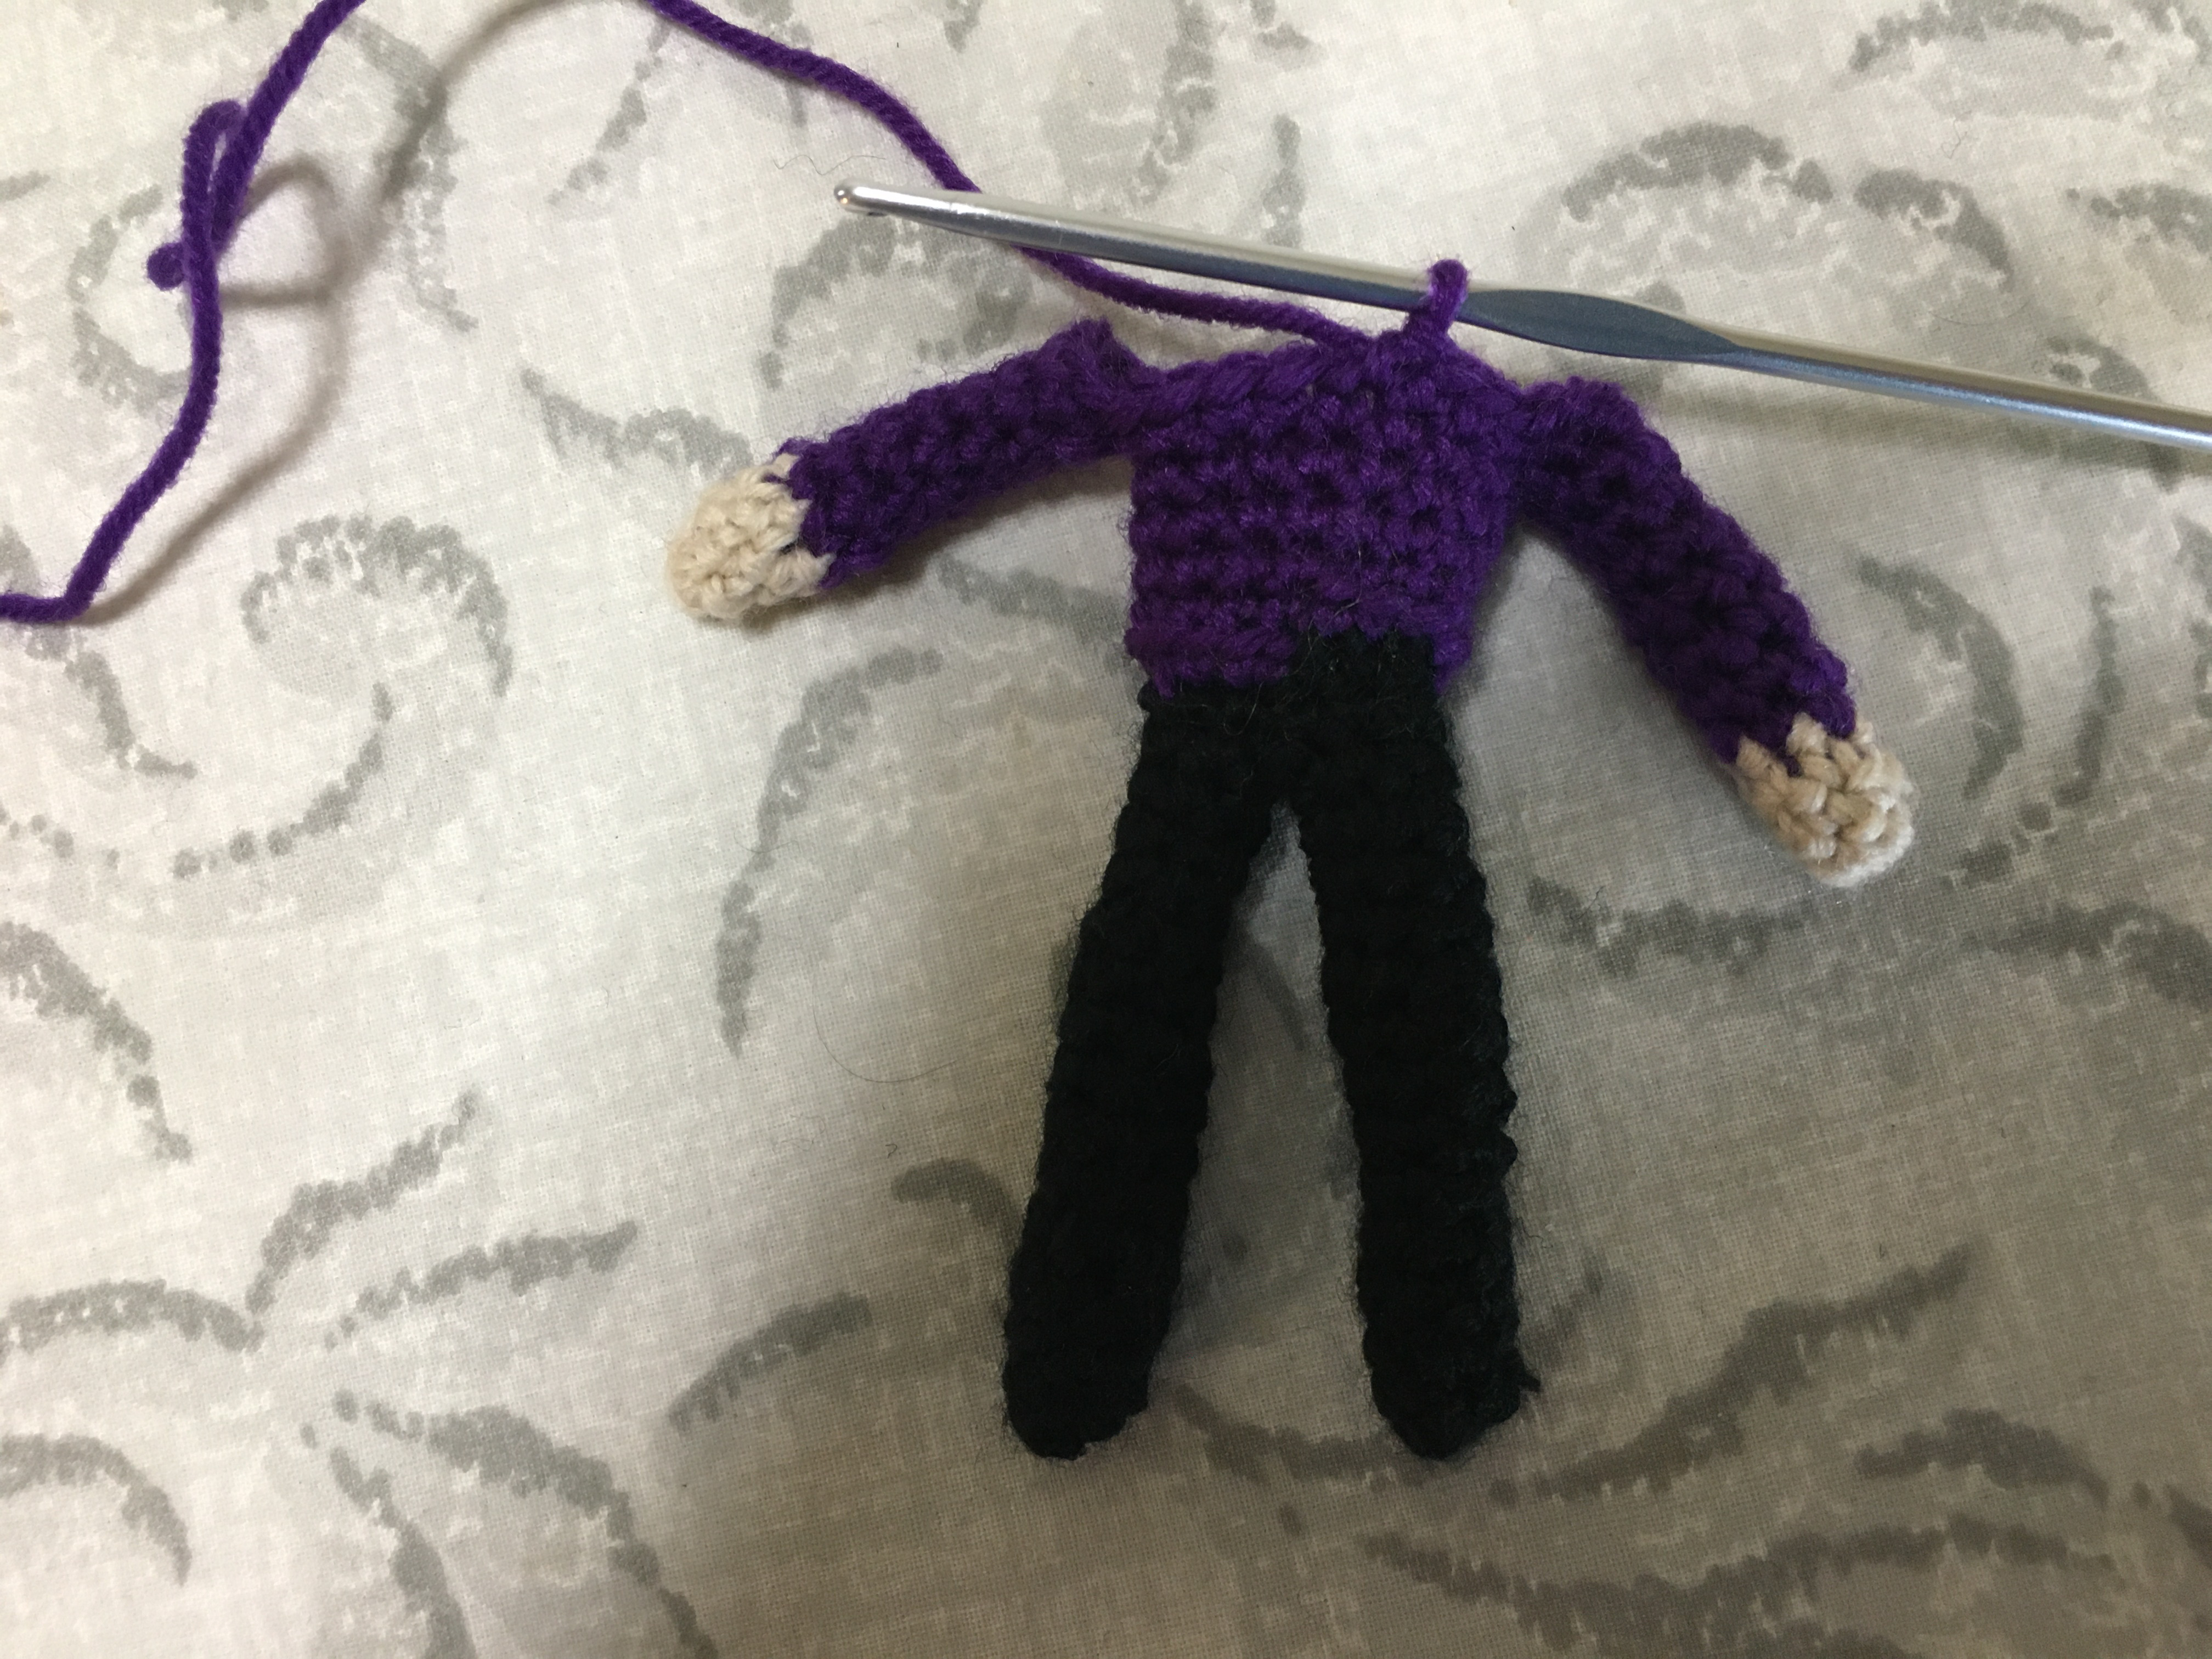
Joining the arms on was a much smoother process, since the torso is already “going” at that point so it's easier to see which stitches I need to crochet into.

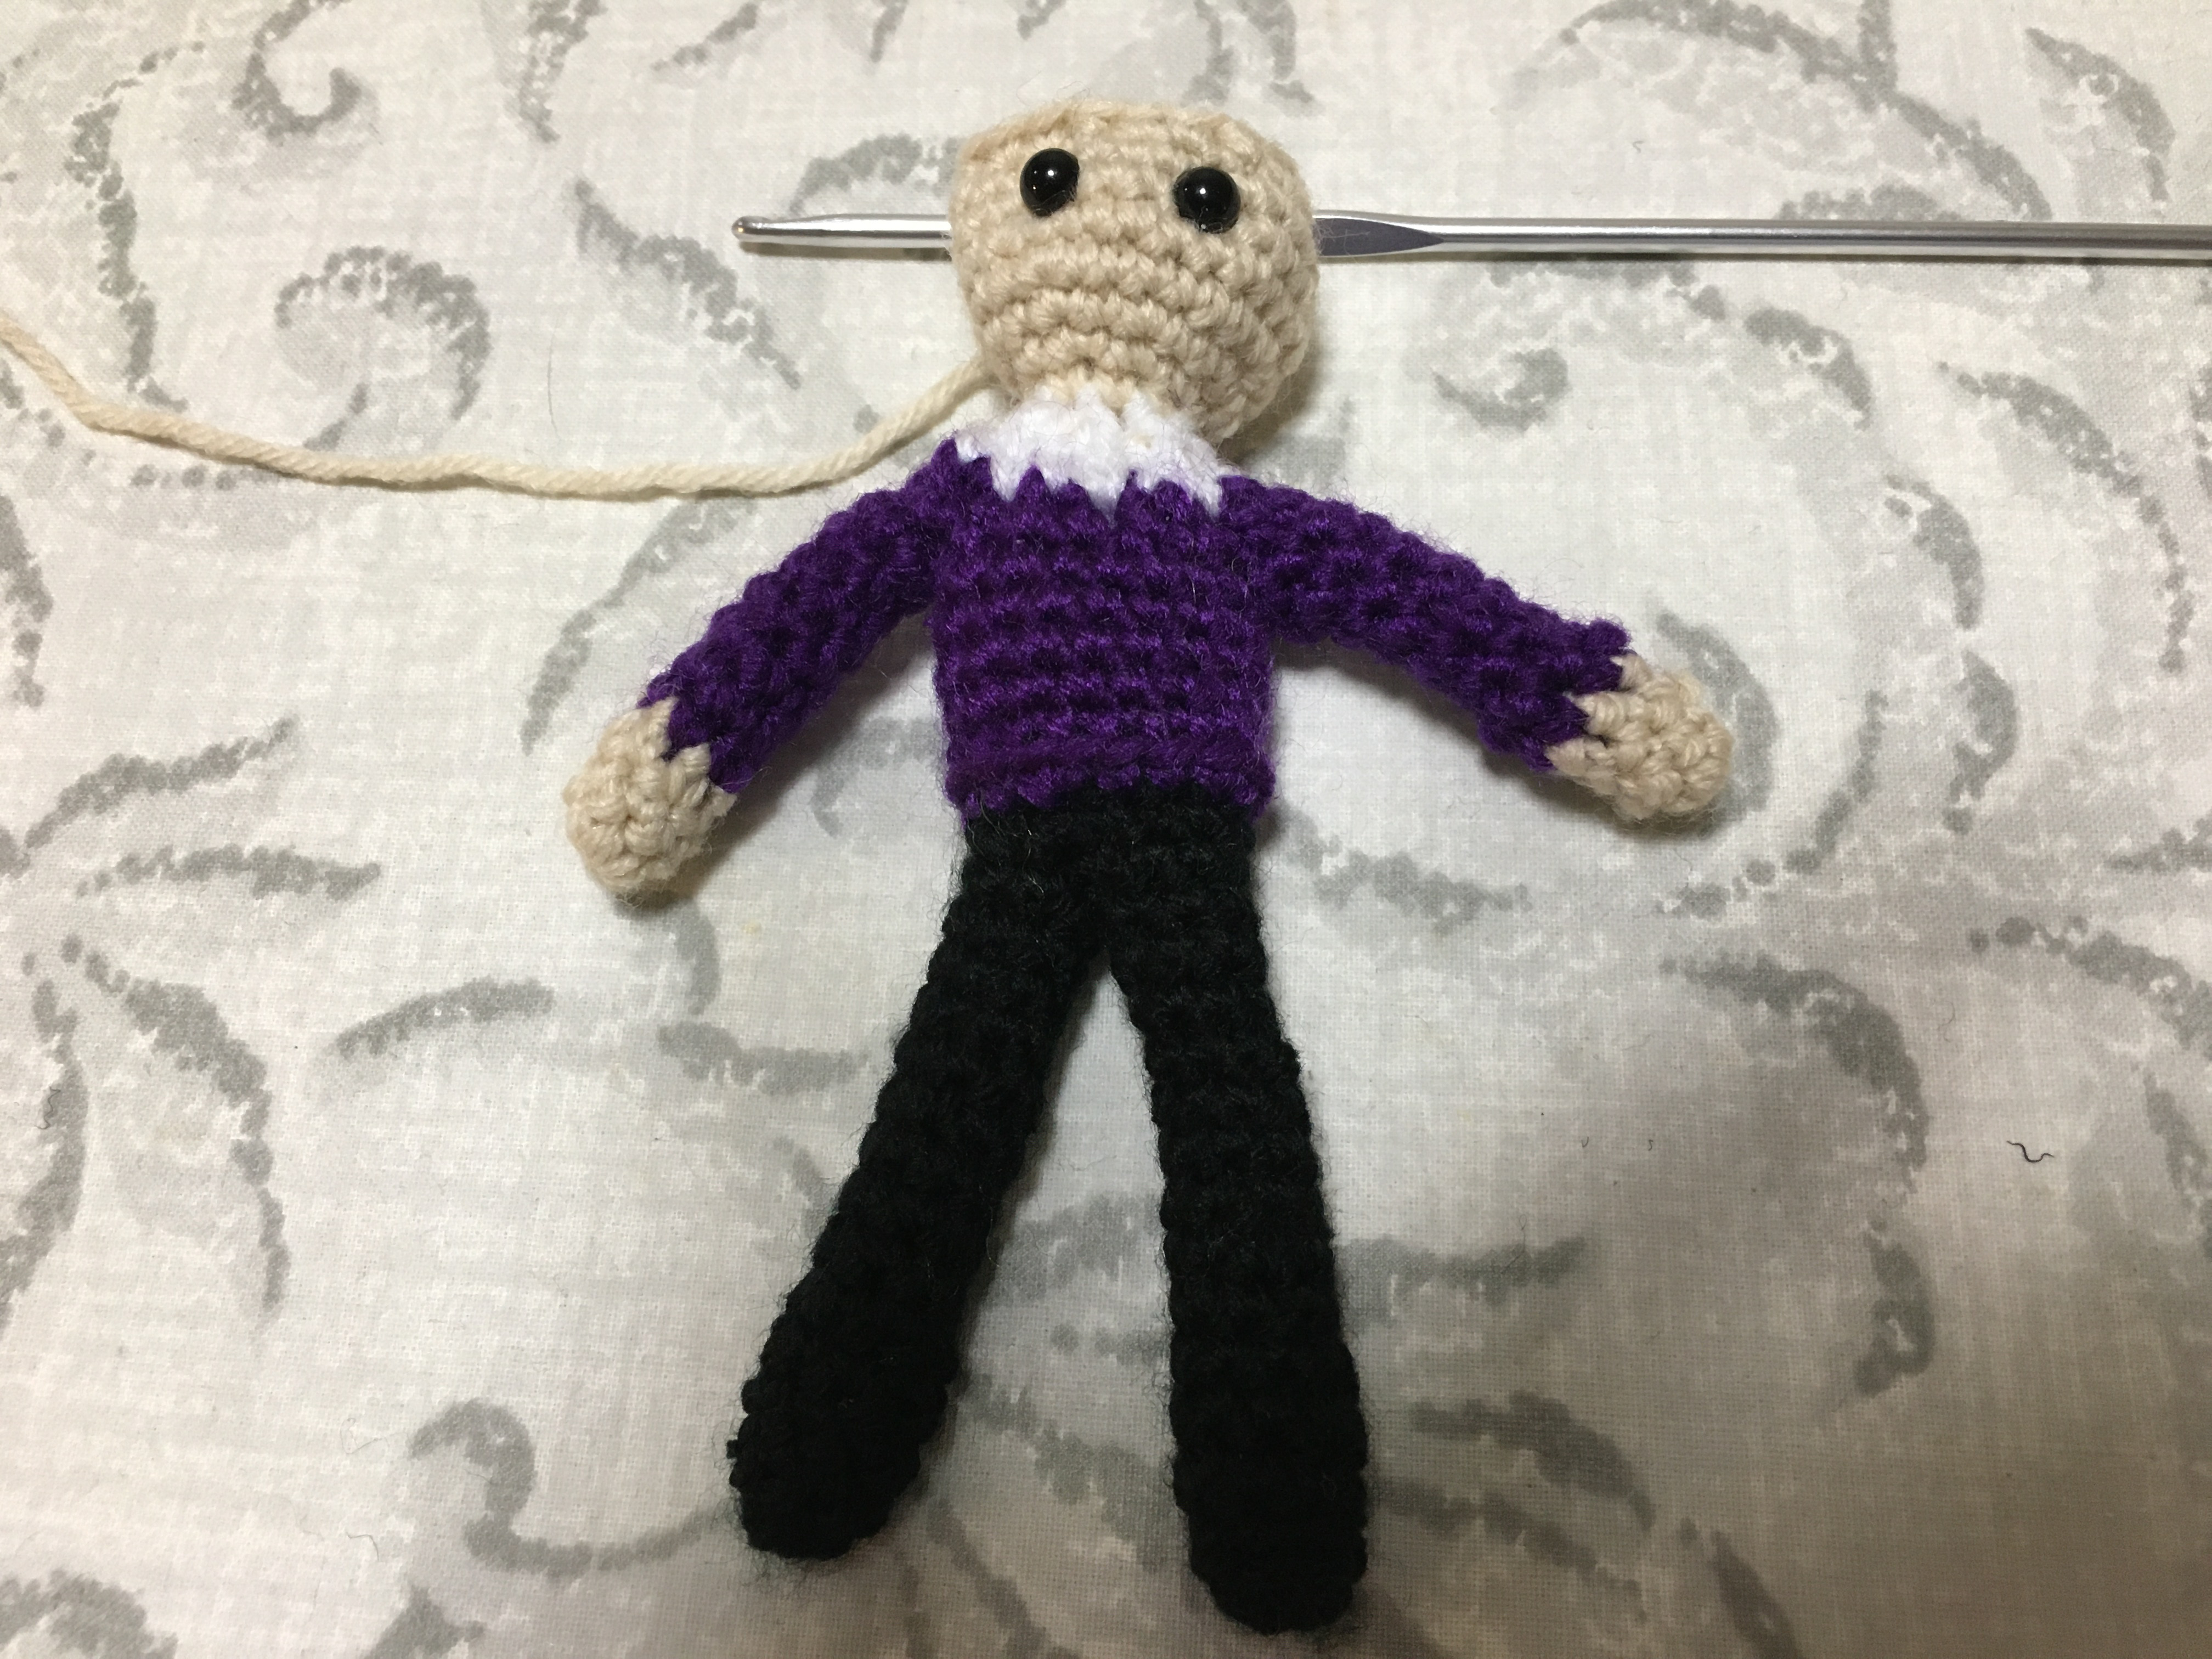
Things were a bit easier from there, since the neck and head were just expanding and decreasing rounds. Even though the final character has only one eye, the pattern suggests placing them both and removing one before putting the eye-patch on so that it's easier to keep the rest of the features symmetrical.
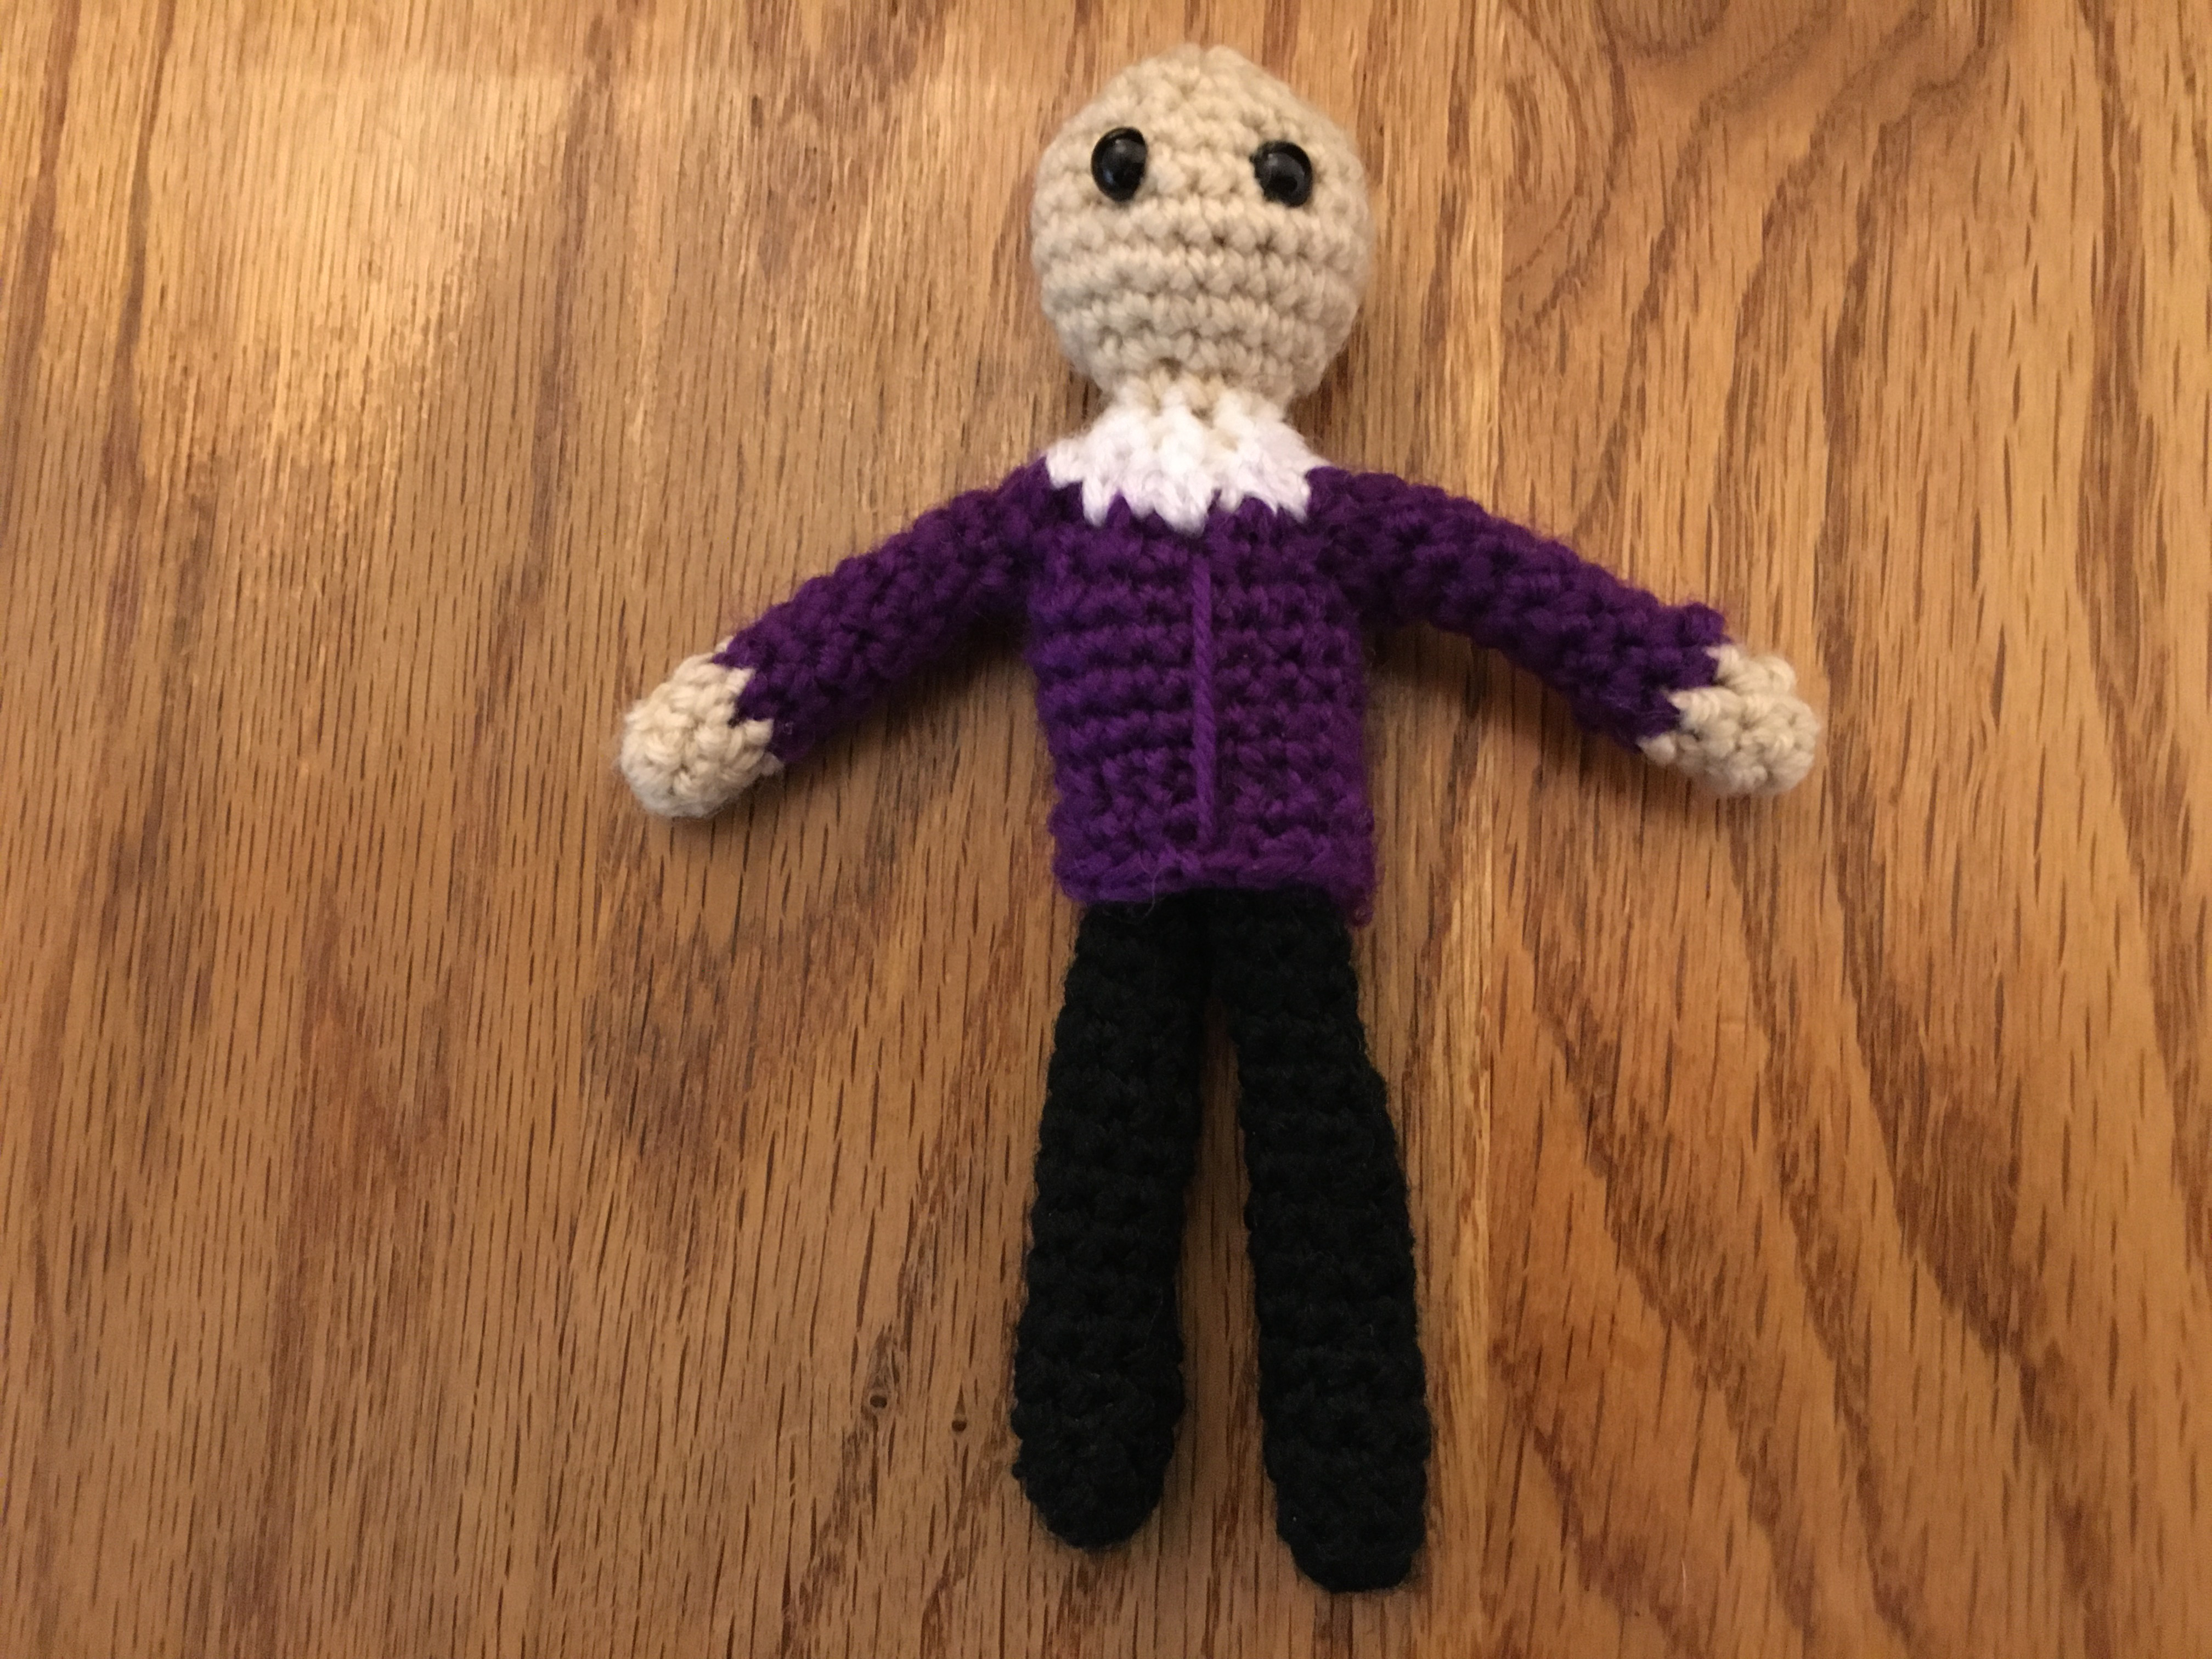
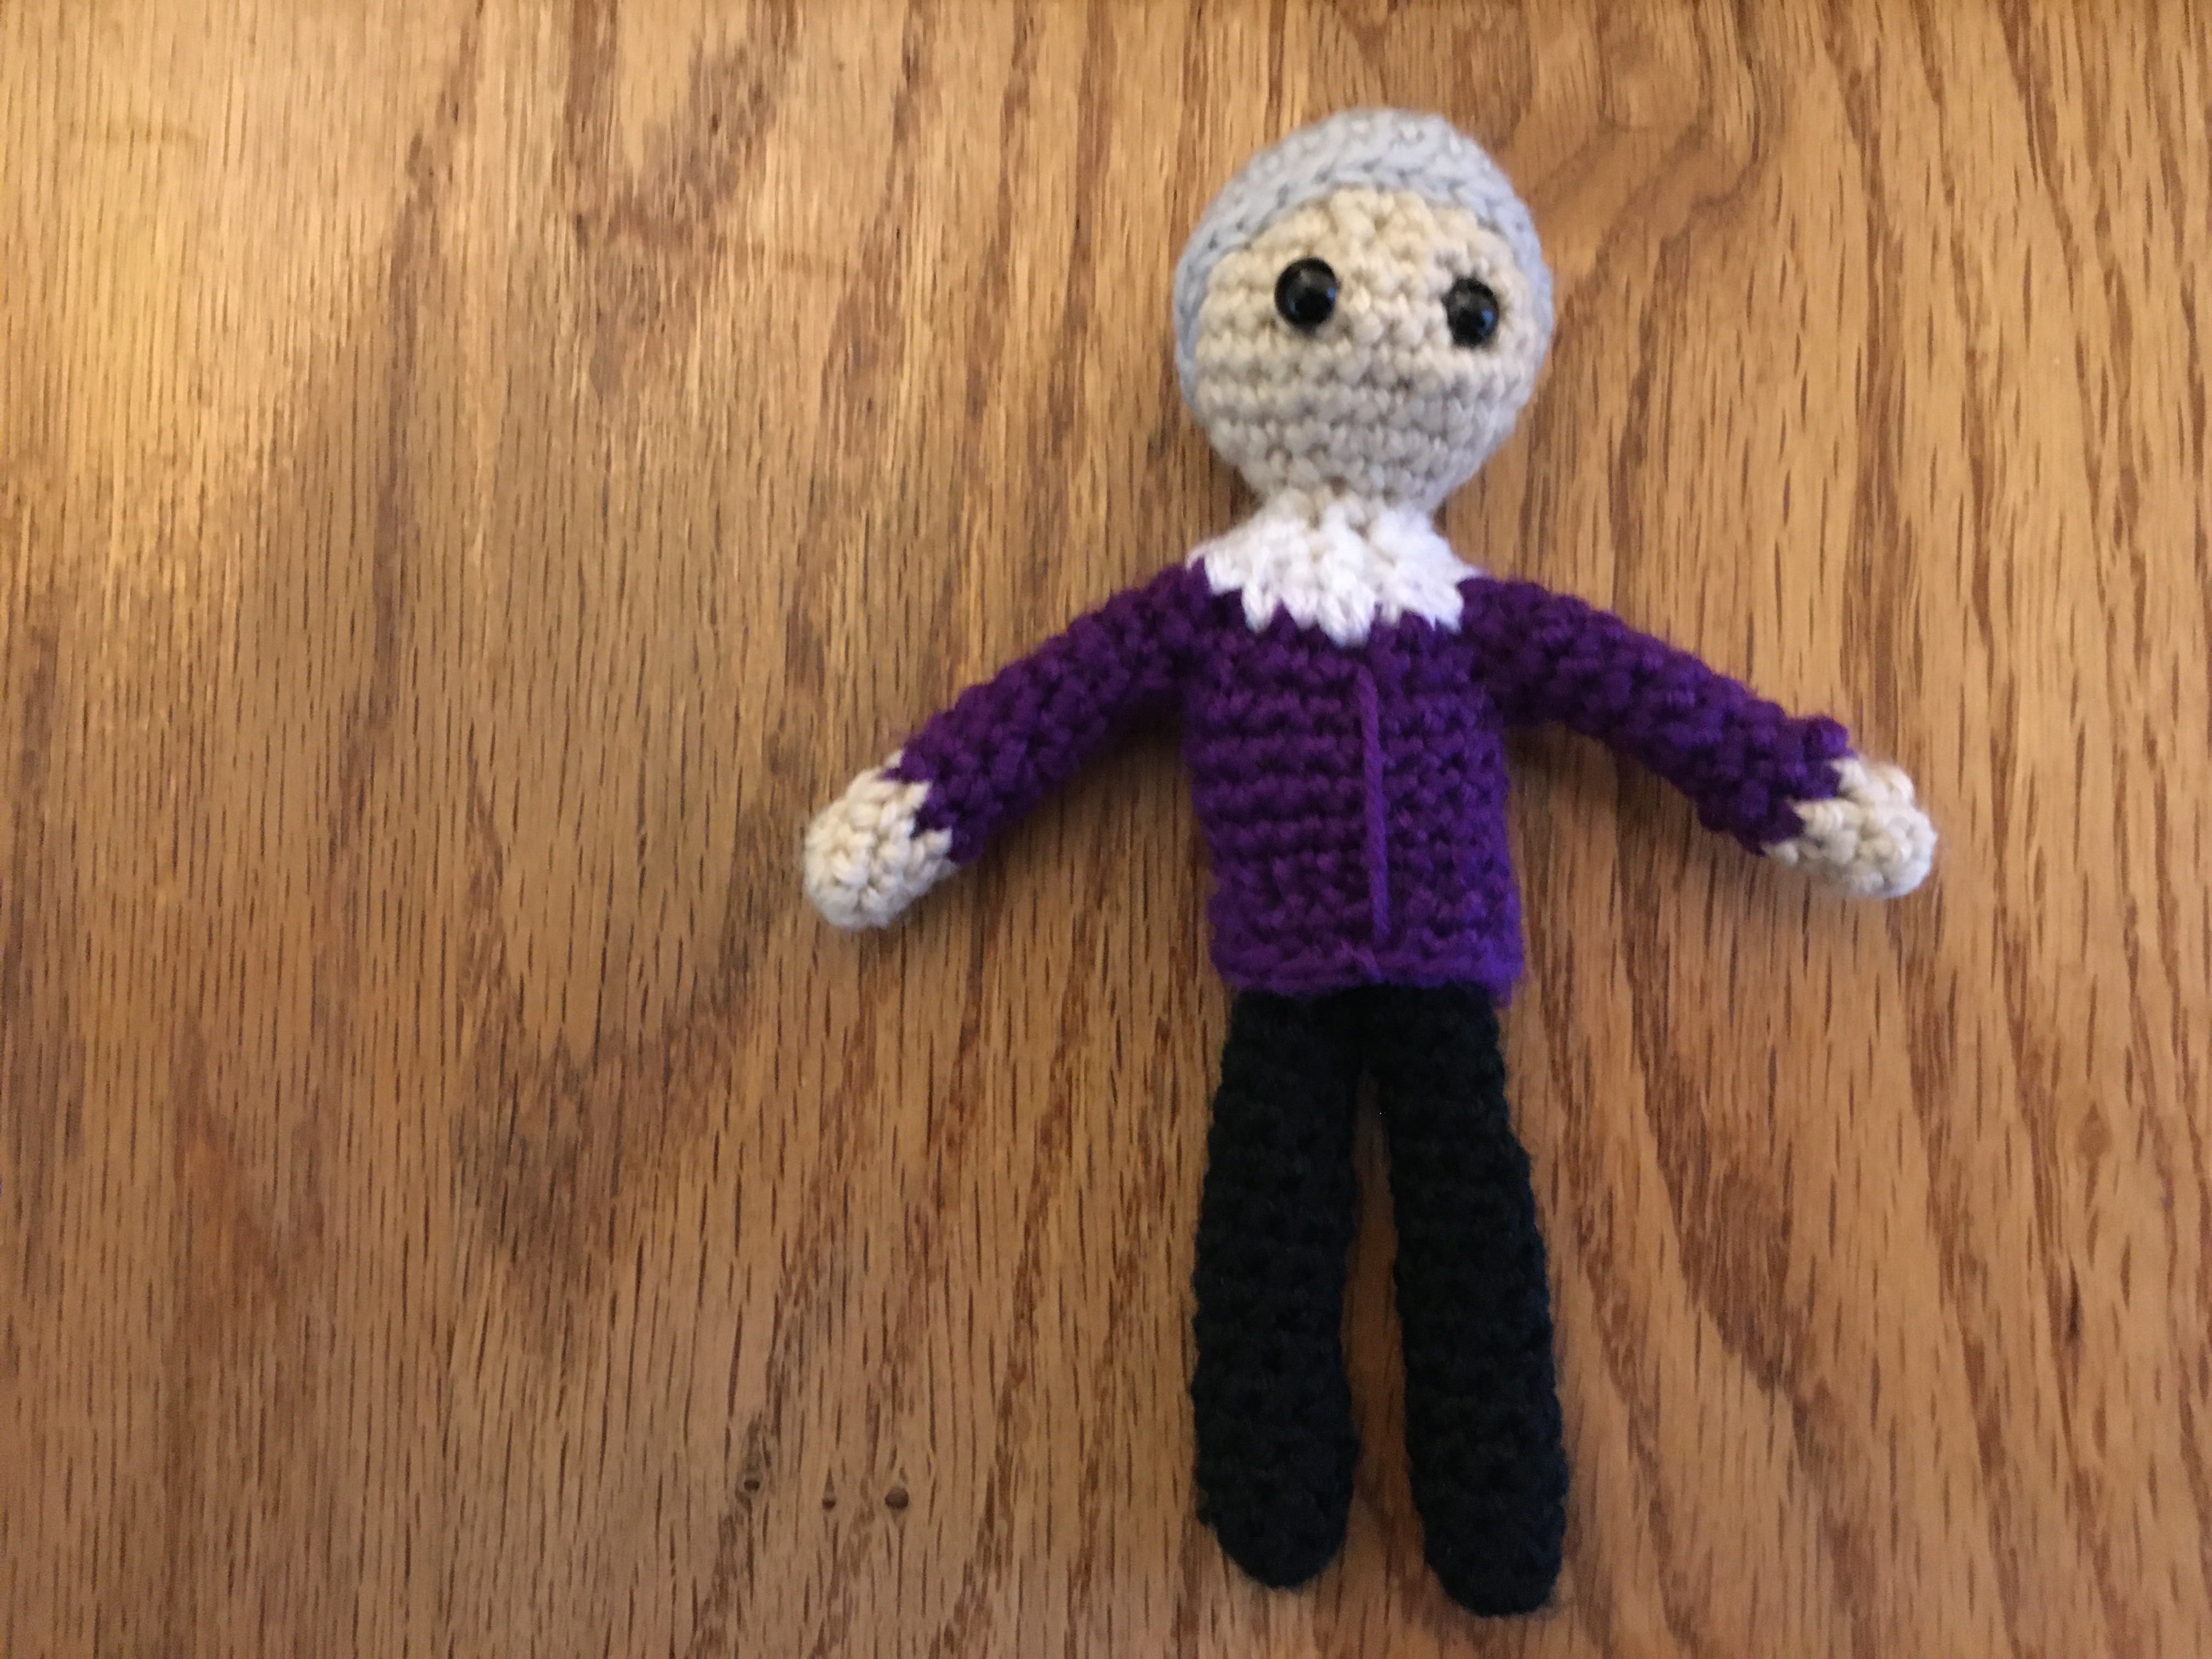
There were several elements to crochet and add on once the base figure was done.
He's got hair:
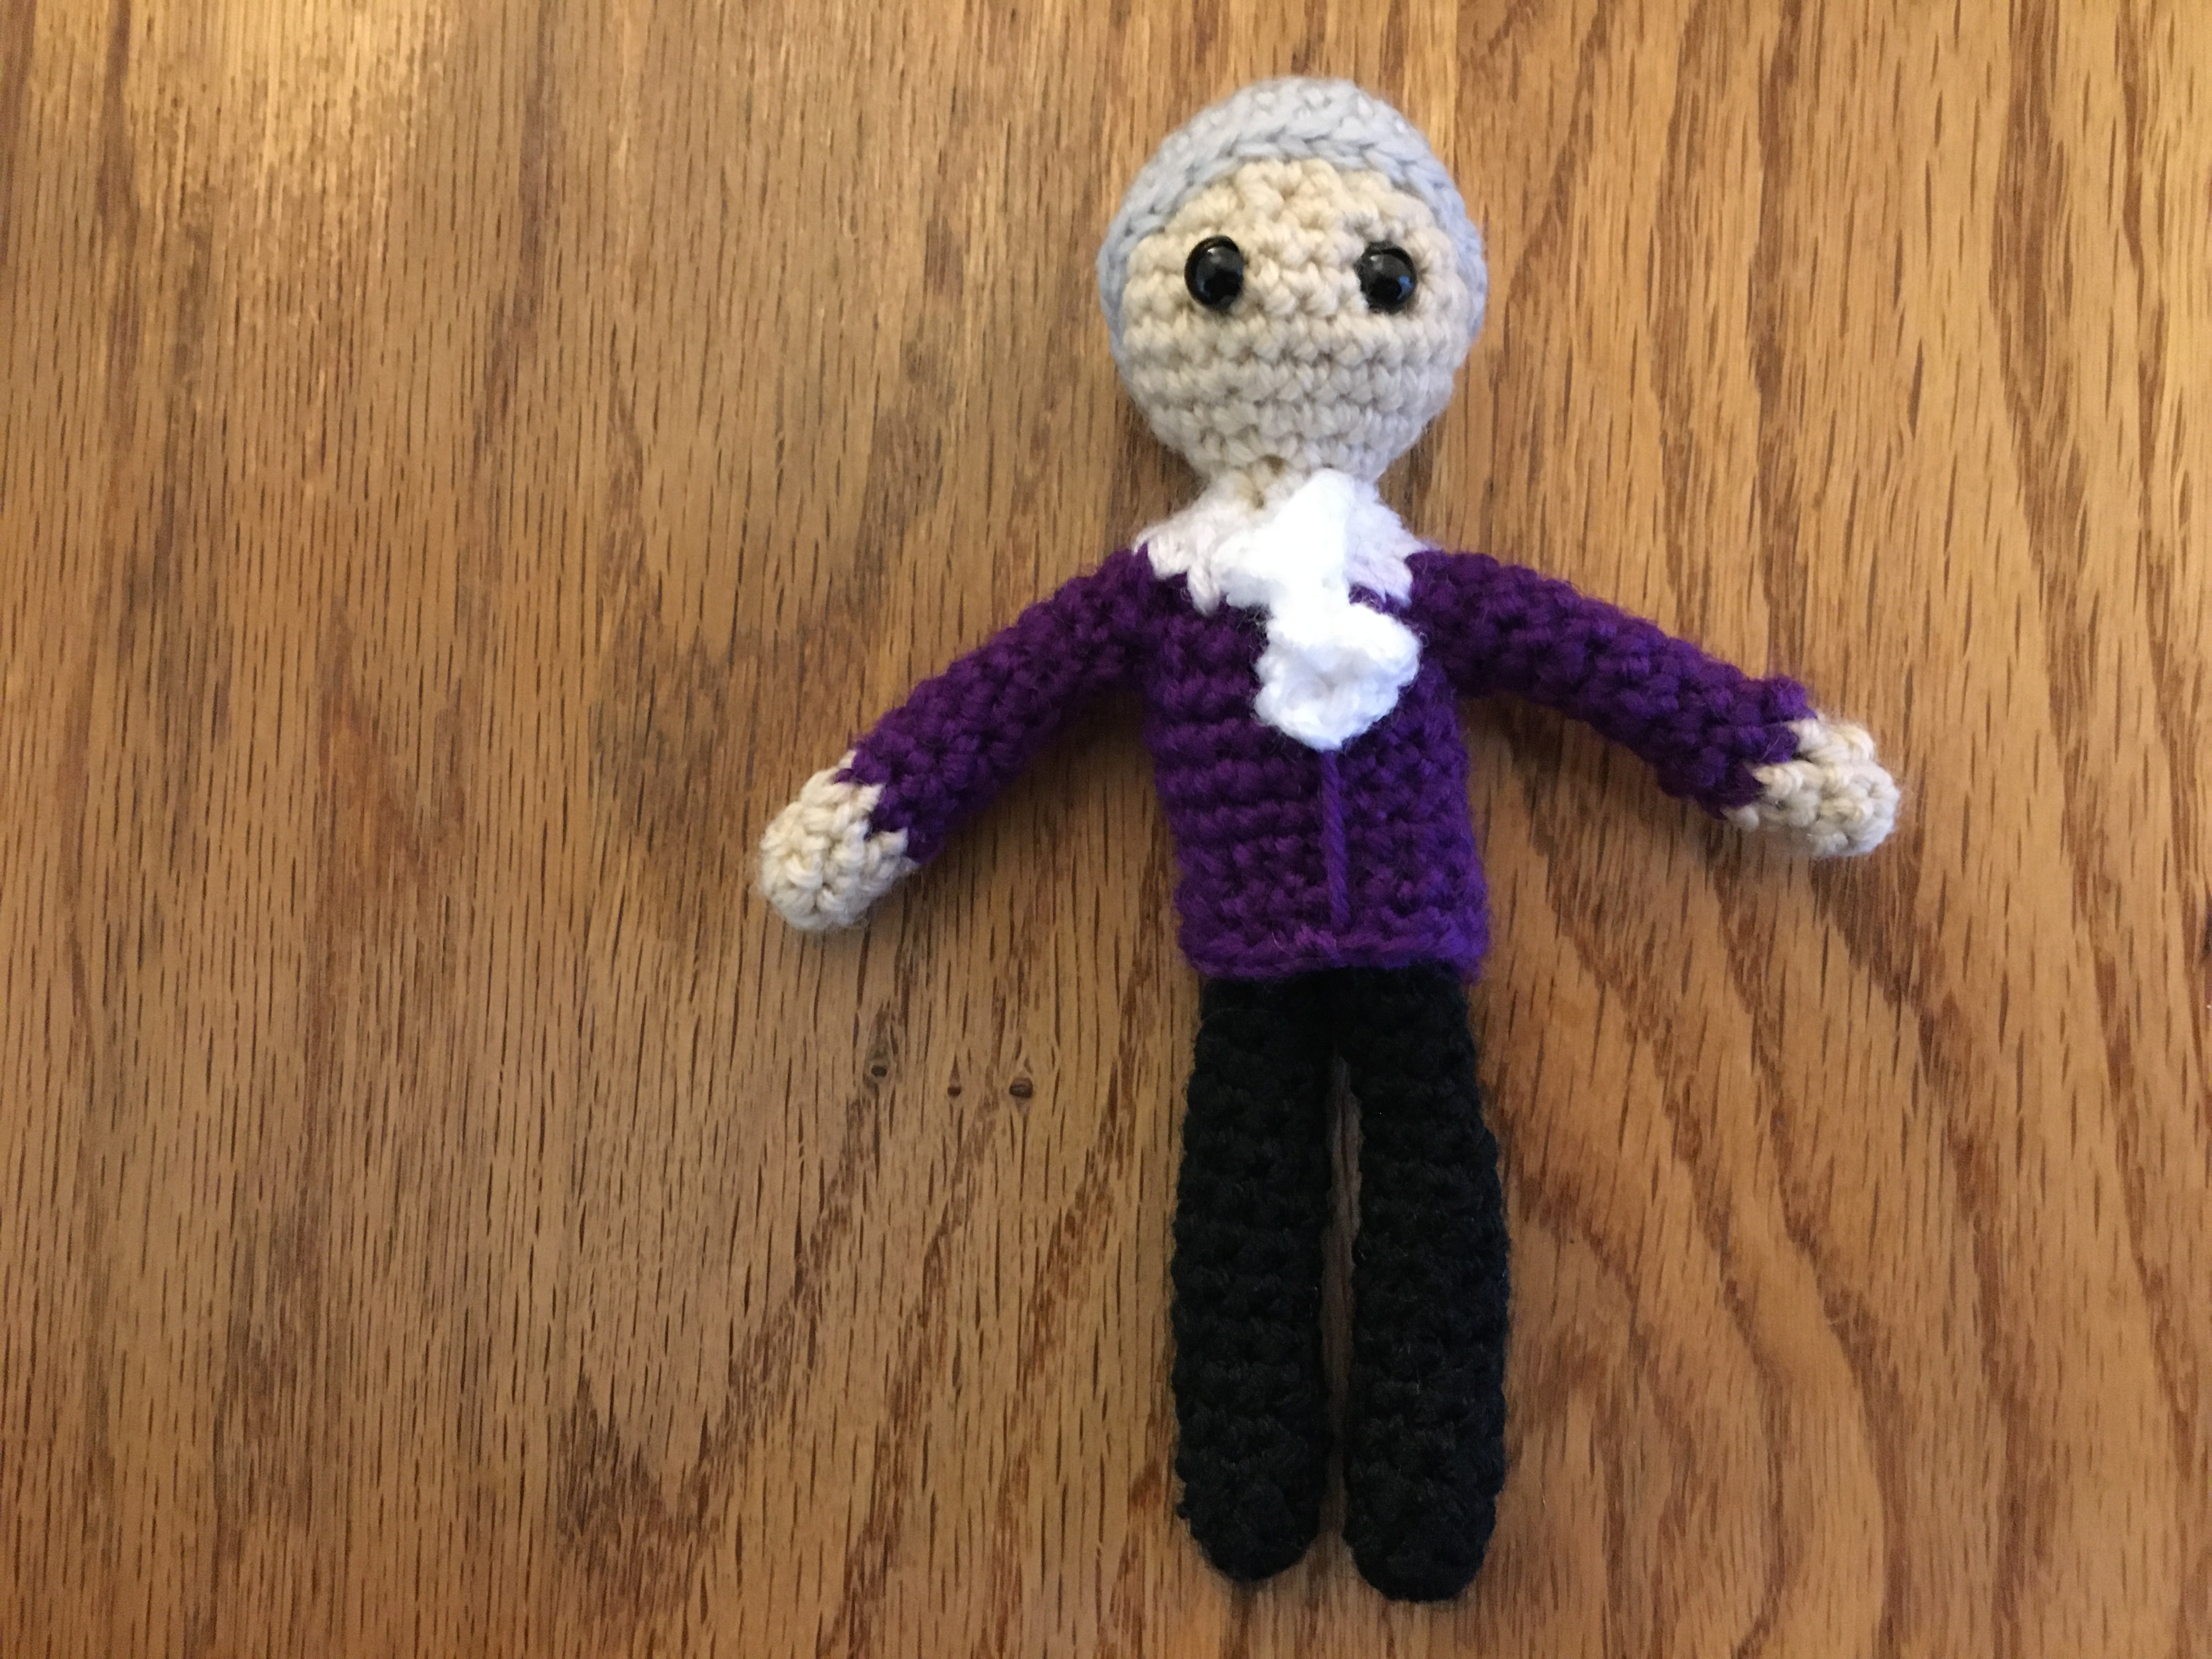
and shirt ruffle (a la the “puffy shirt” episode of Seinfeld):
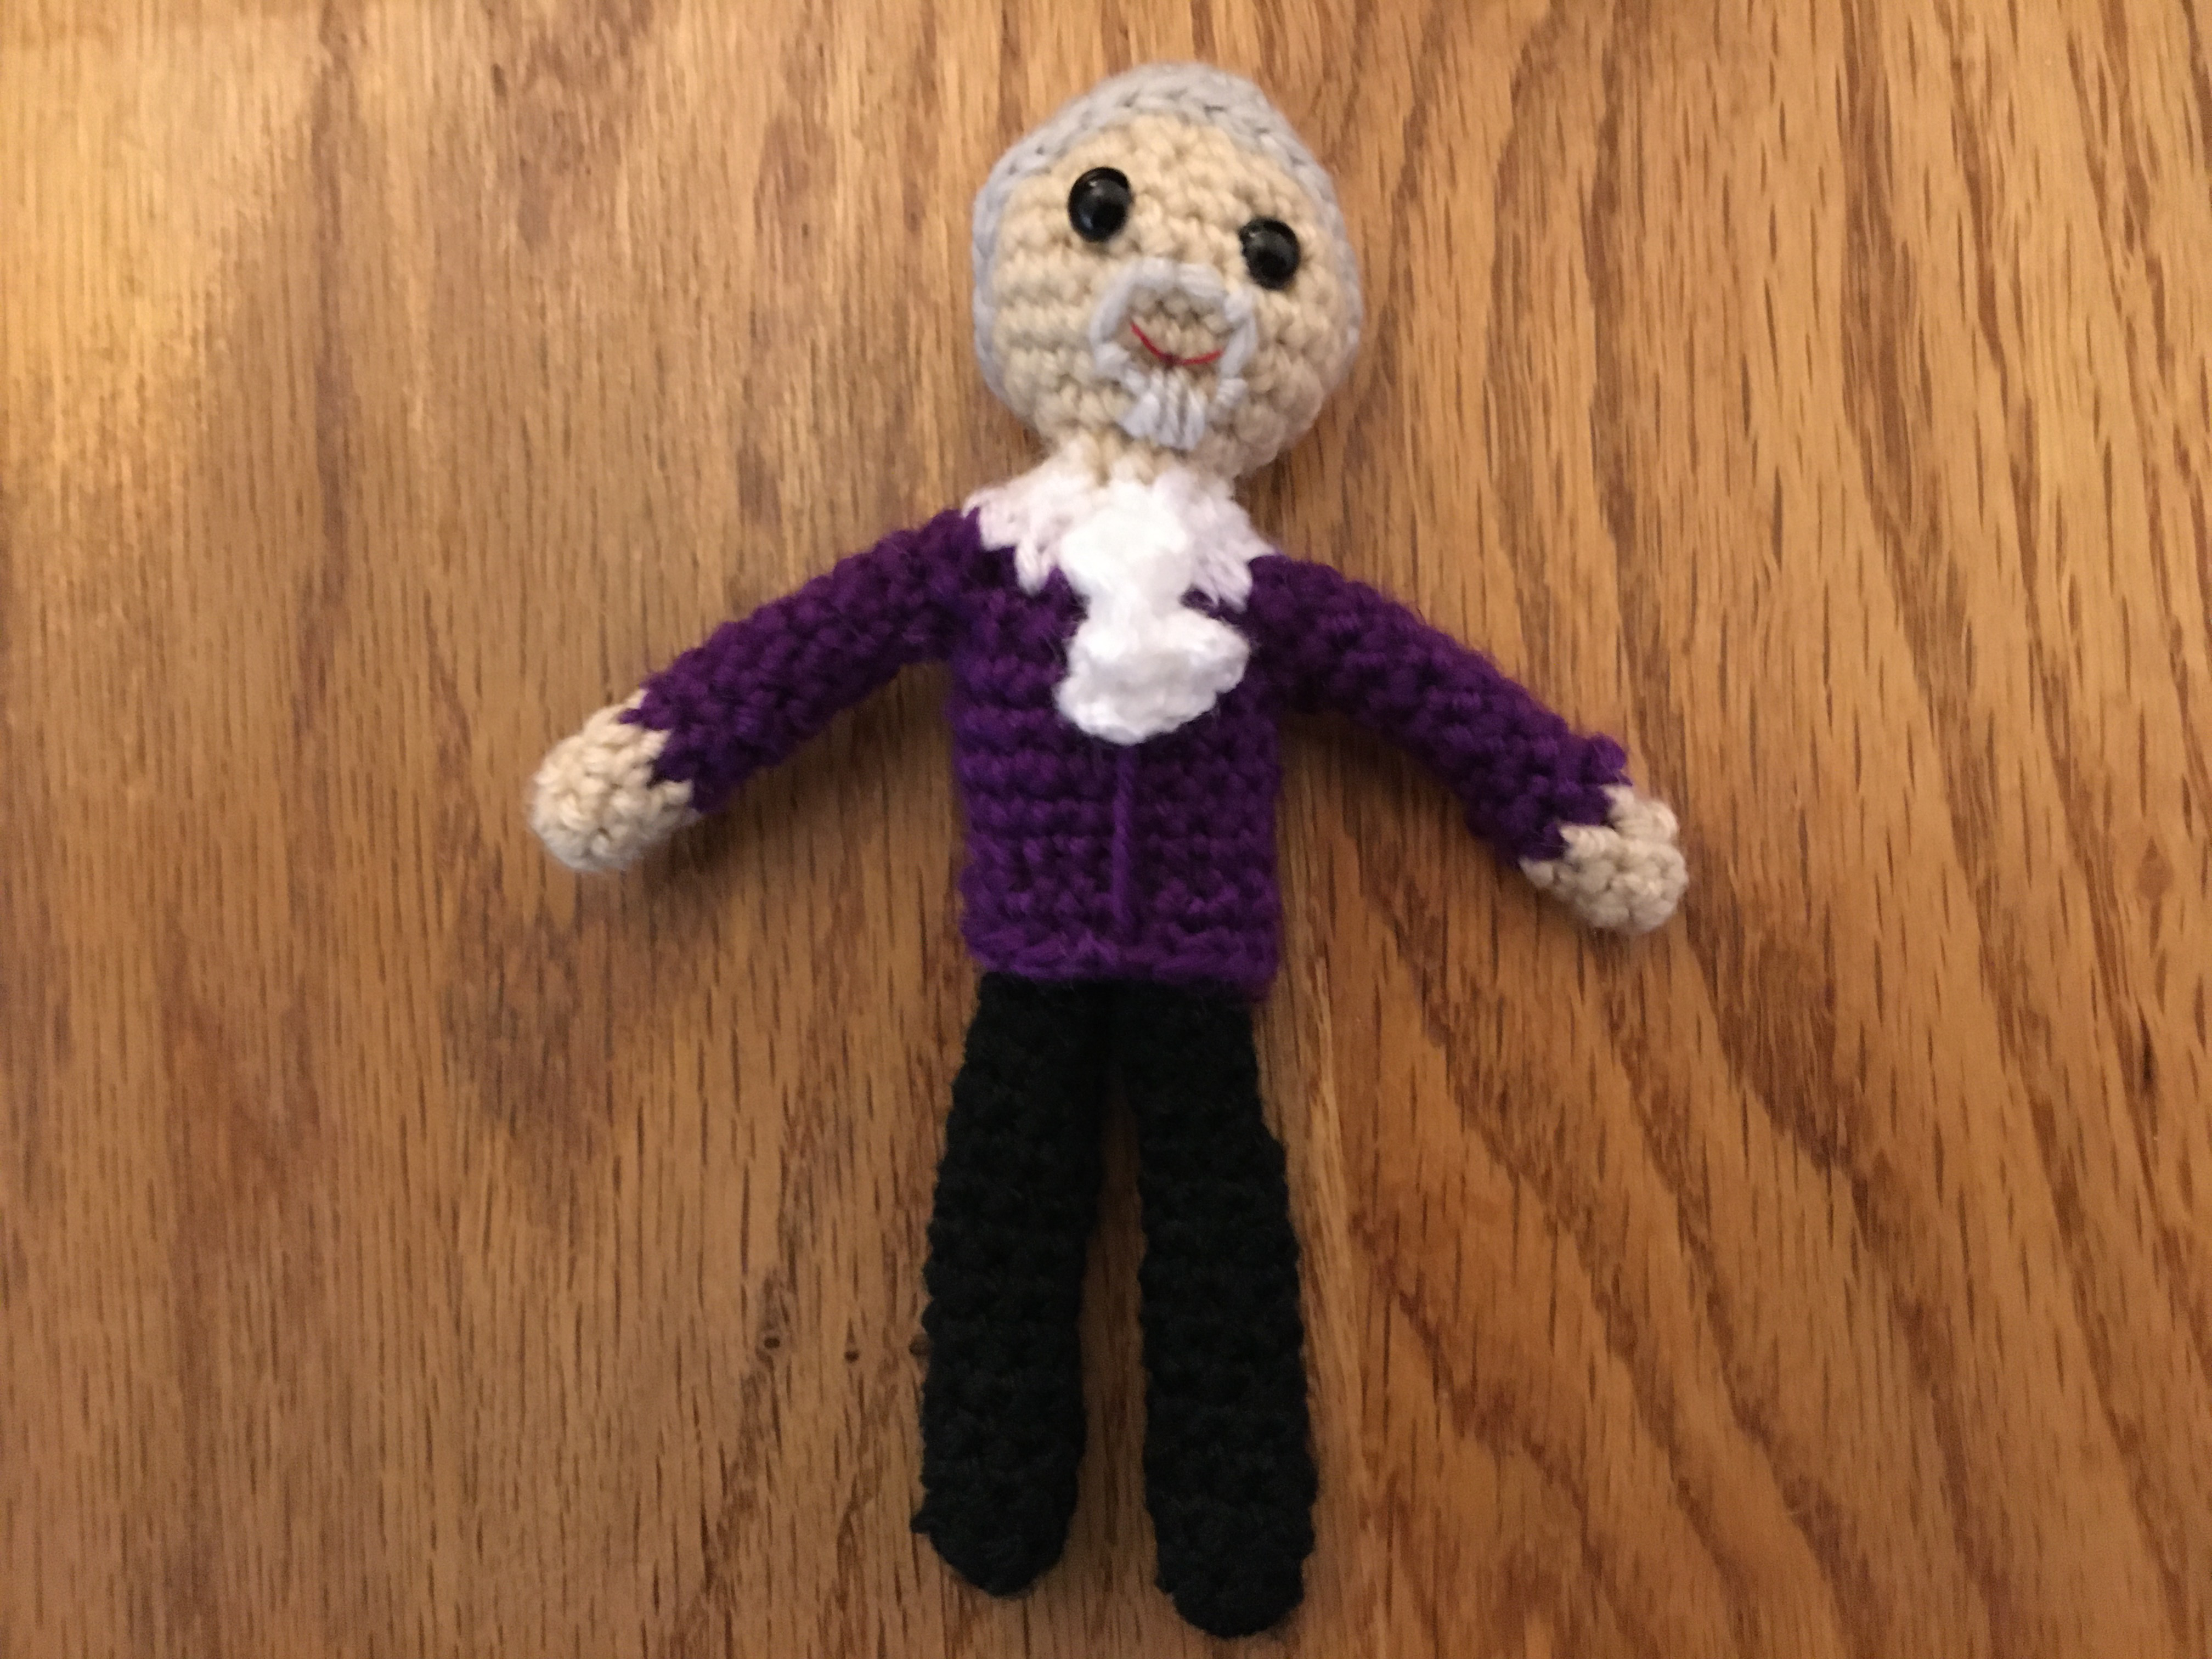
And you embroider on a smile and goatee:
With the eye-patch in place:
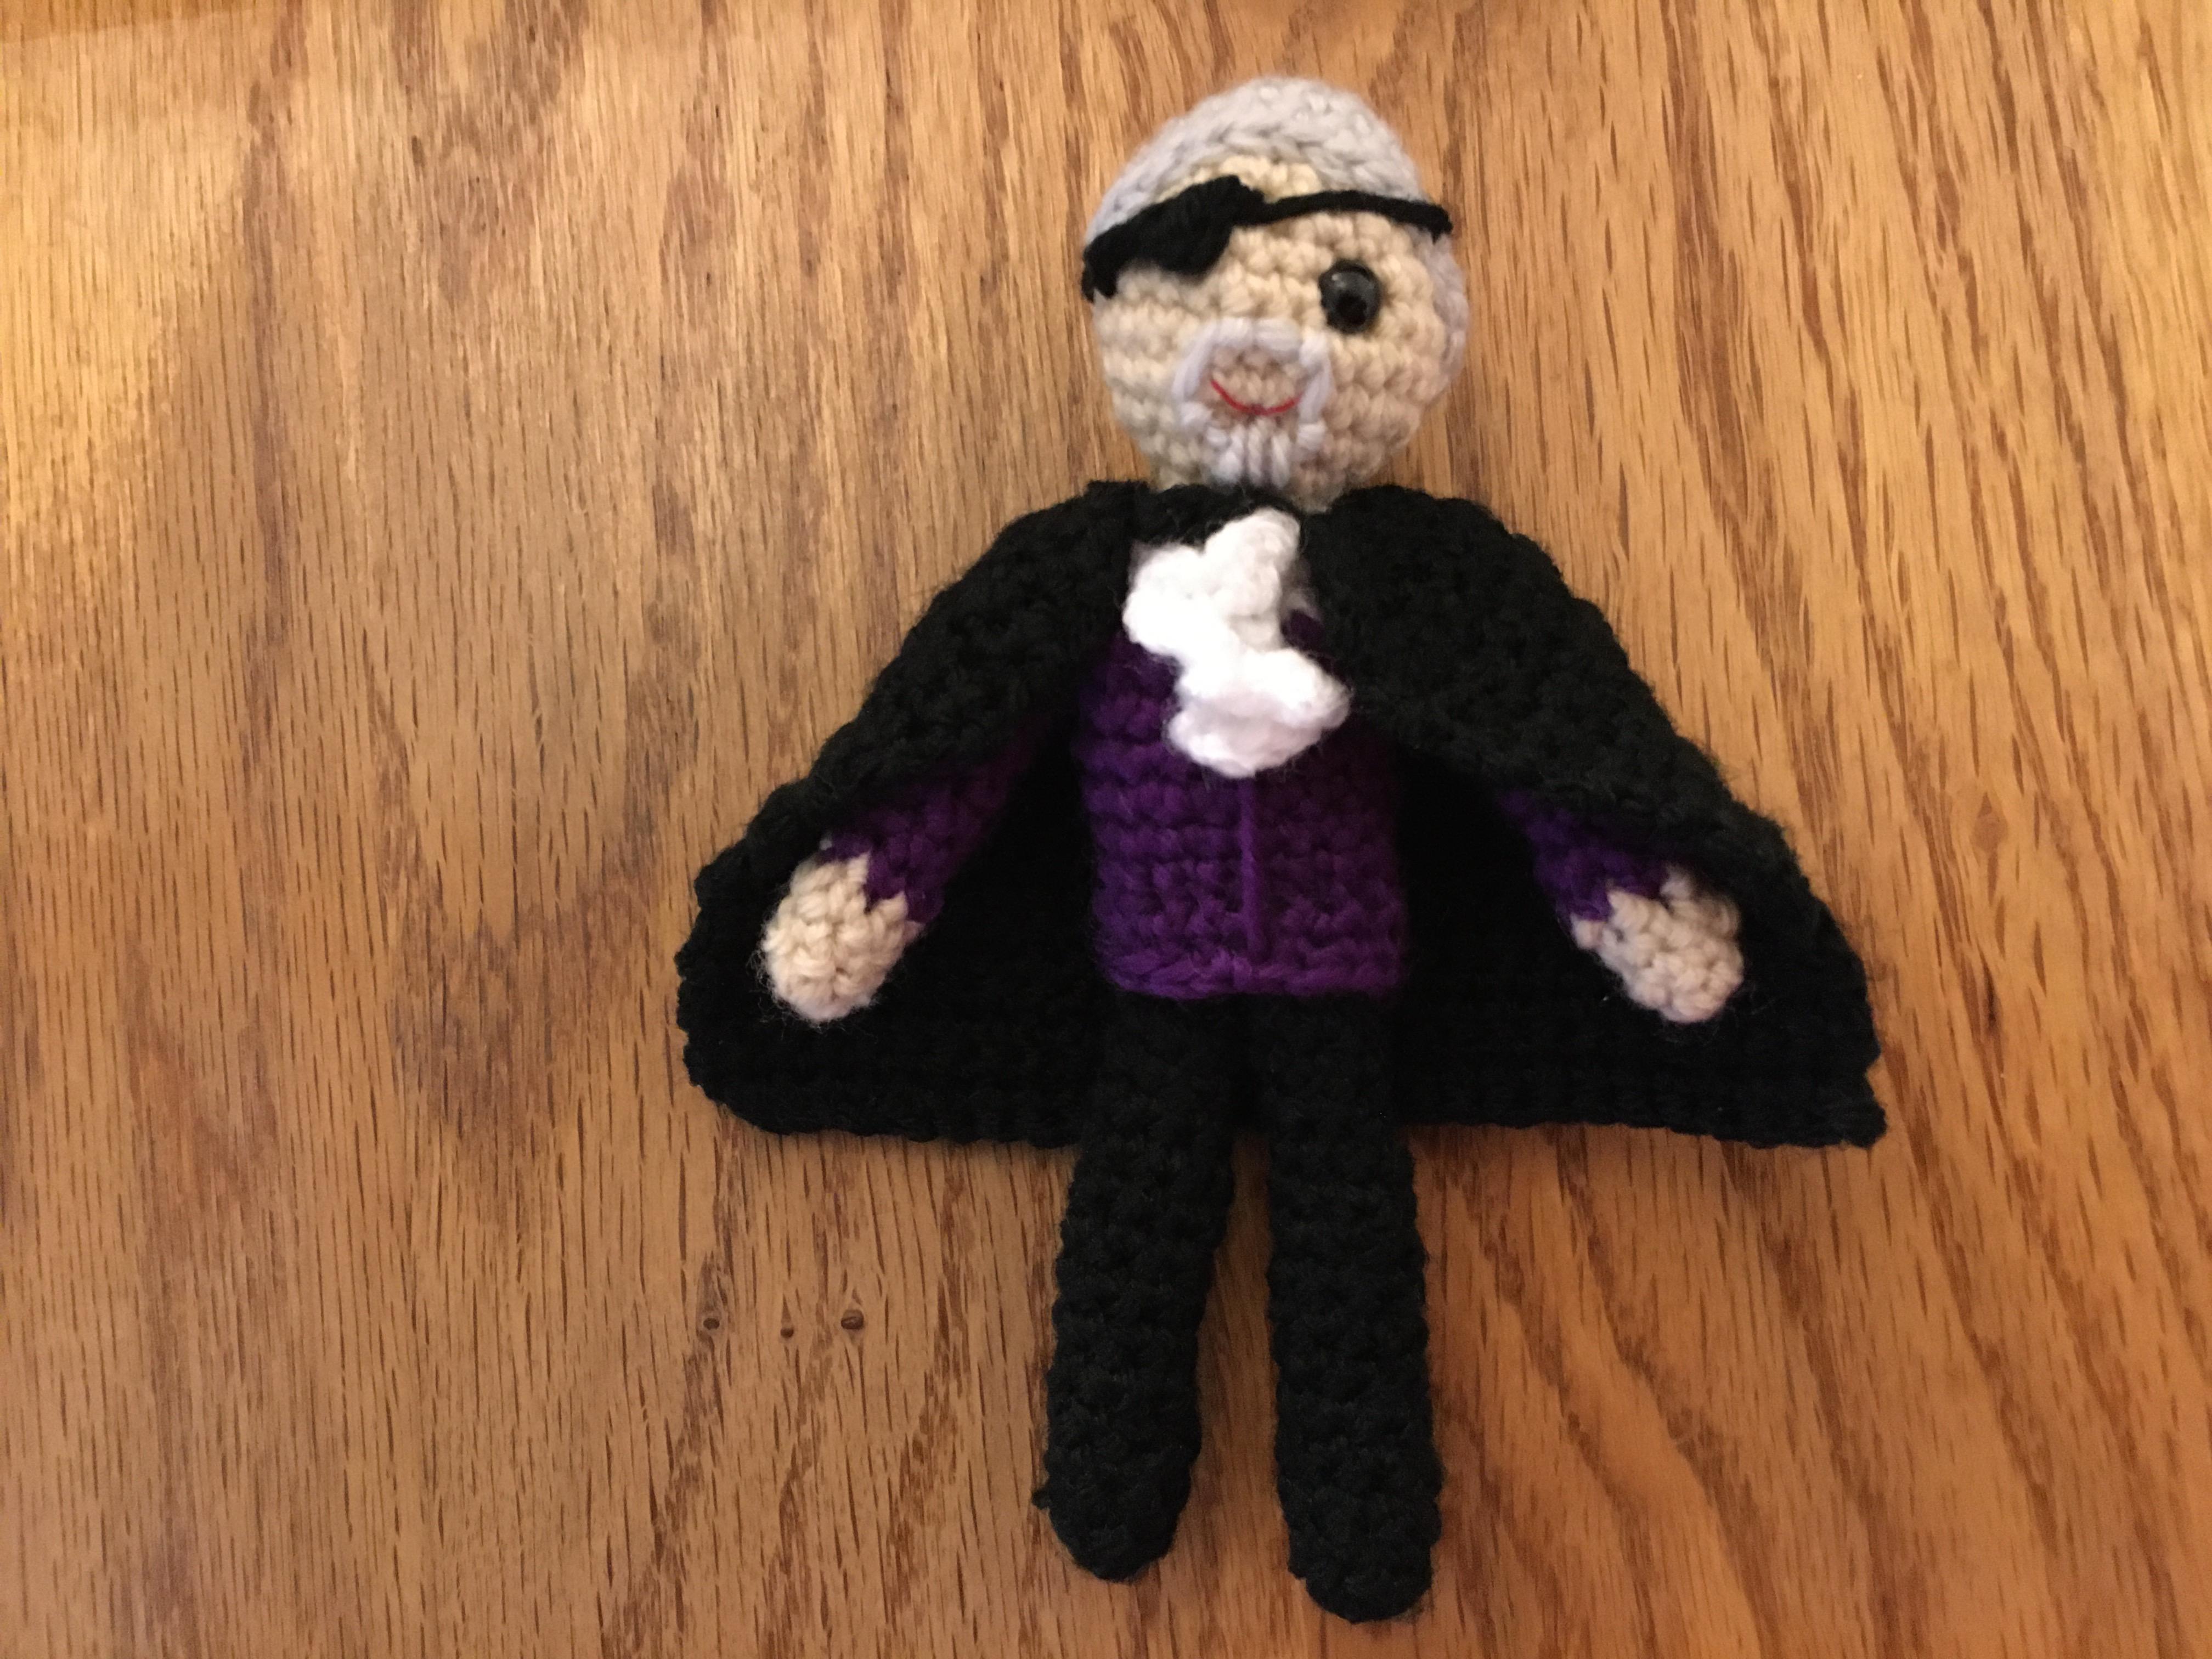
Most of my crochet work has been these amigurumi figures, so I'm almost always working in rounds, but for the cape you do the thing where you crochet a row across, turn, and then crochet another row across, so that was a change of pace for me.
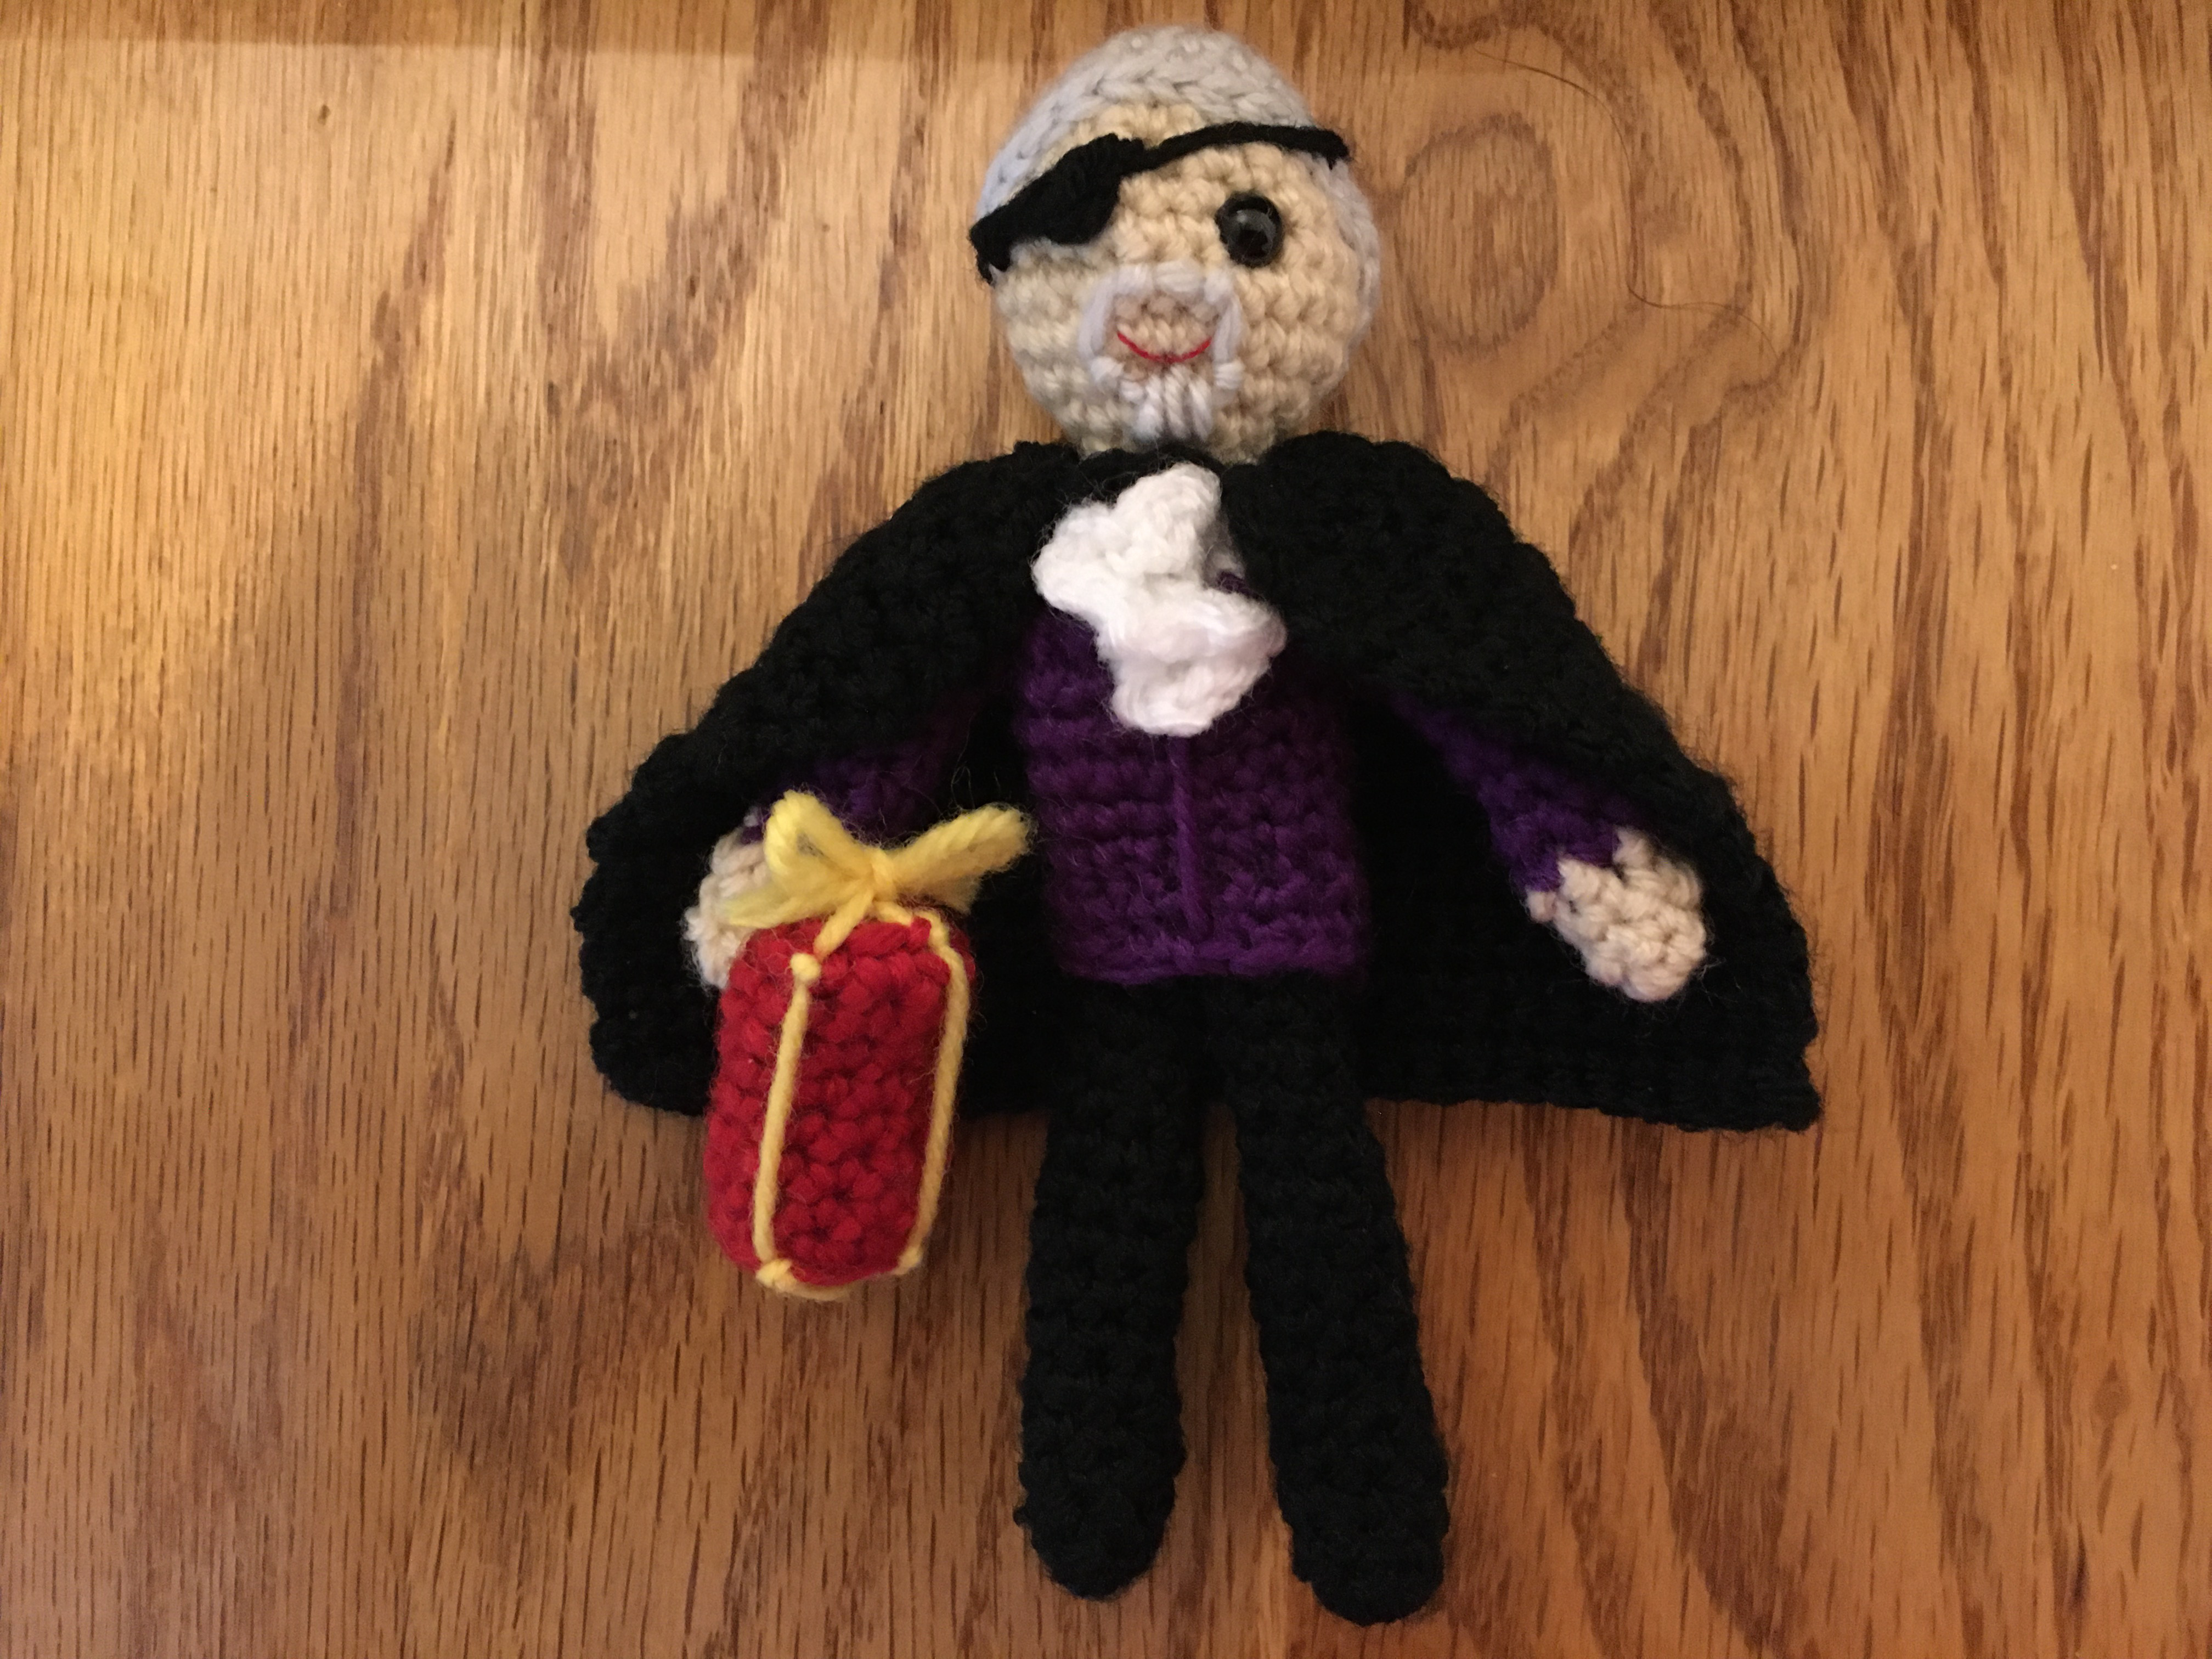
The pattern calls for permanently sewing the gift box to one of his hands, but I'm not so sure I like that idea. Right now I have it attached with the wire of a twist-tie. I had wanted to experiment with attaching a small piece of hook-section from some hook-and-loop fasteners to see if I could make it removable, but I couldn't find any in my place even though I remember having some.
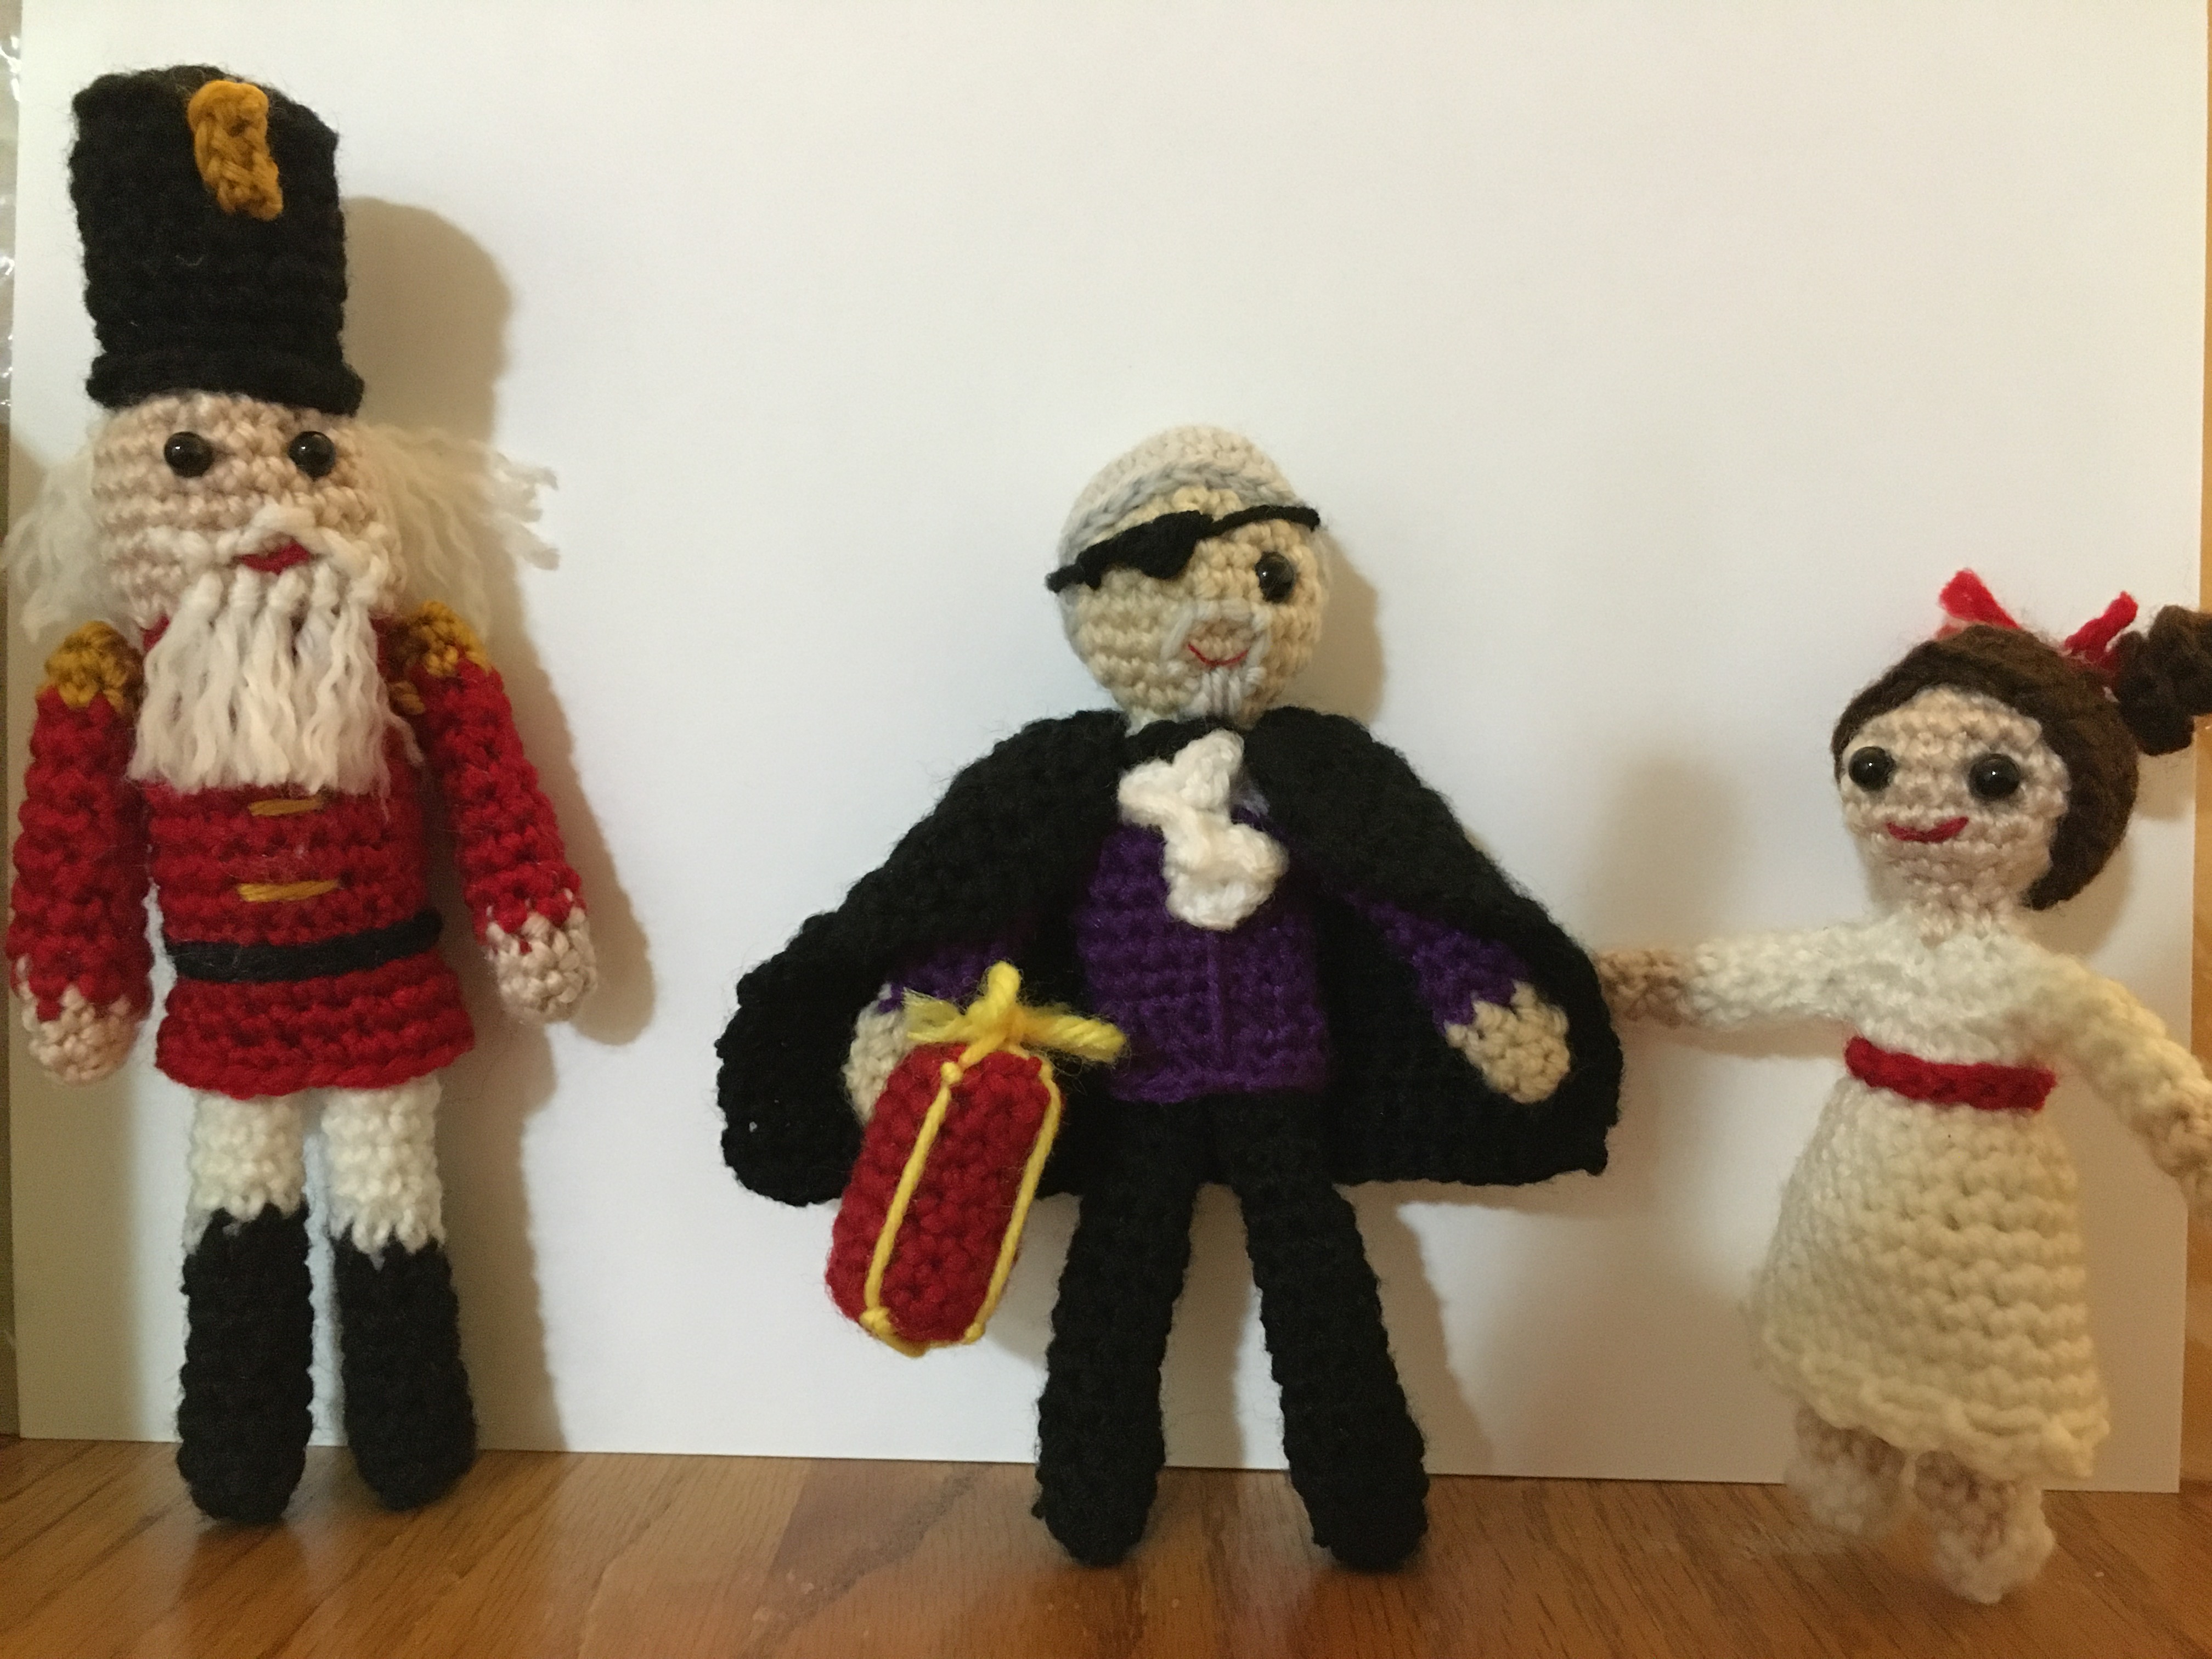
And here's my collection so far:
Overall I thought this one went pretty well. I'm much happier with the way the cosmetic and add-on elements went with this one than the last character I worked on. I was frustrated a few times, but I got through it, and I'm glad that I thought through whether the mistakes would be visible on the final product before trying to back up and restart. In theory I find crocheting to be relaxing (and as something that rewards attention and staying in the present moment it's a good mindfulness activity), but I find that I make more mistakes if I try to do it when I'm emotionally agitated, which then starts to build on itself because I get frustrated about the mistakes. Finding ways to get back to a more centered state is useful, and thinking analytically about what will or won't be visible helps with that. I plan to do a few more of the figures from this kit, but I also have another non-crochet project I need to get done before Christmas so I may focus on that first.
He was curious. Rather, what's that on his chest, it looks like a bone, haha. Good vibes!
Wow very nice Amigurumi. I love the beard!