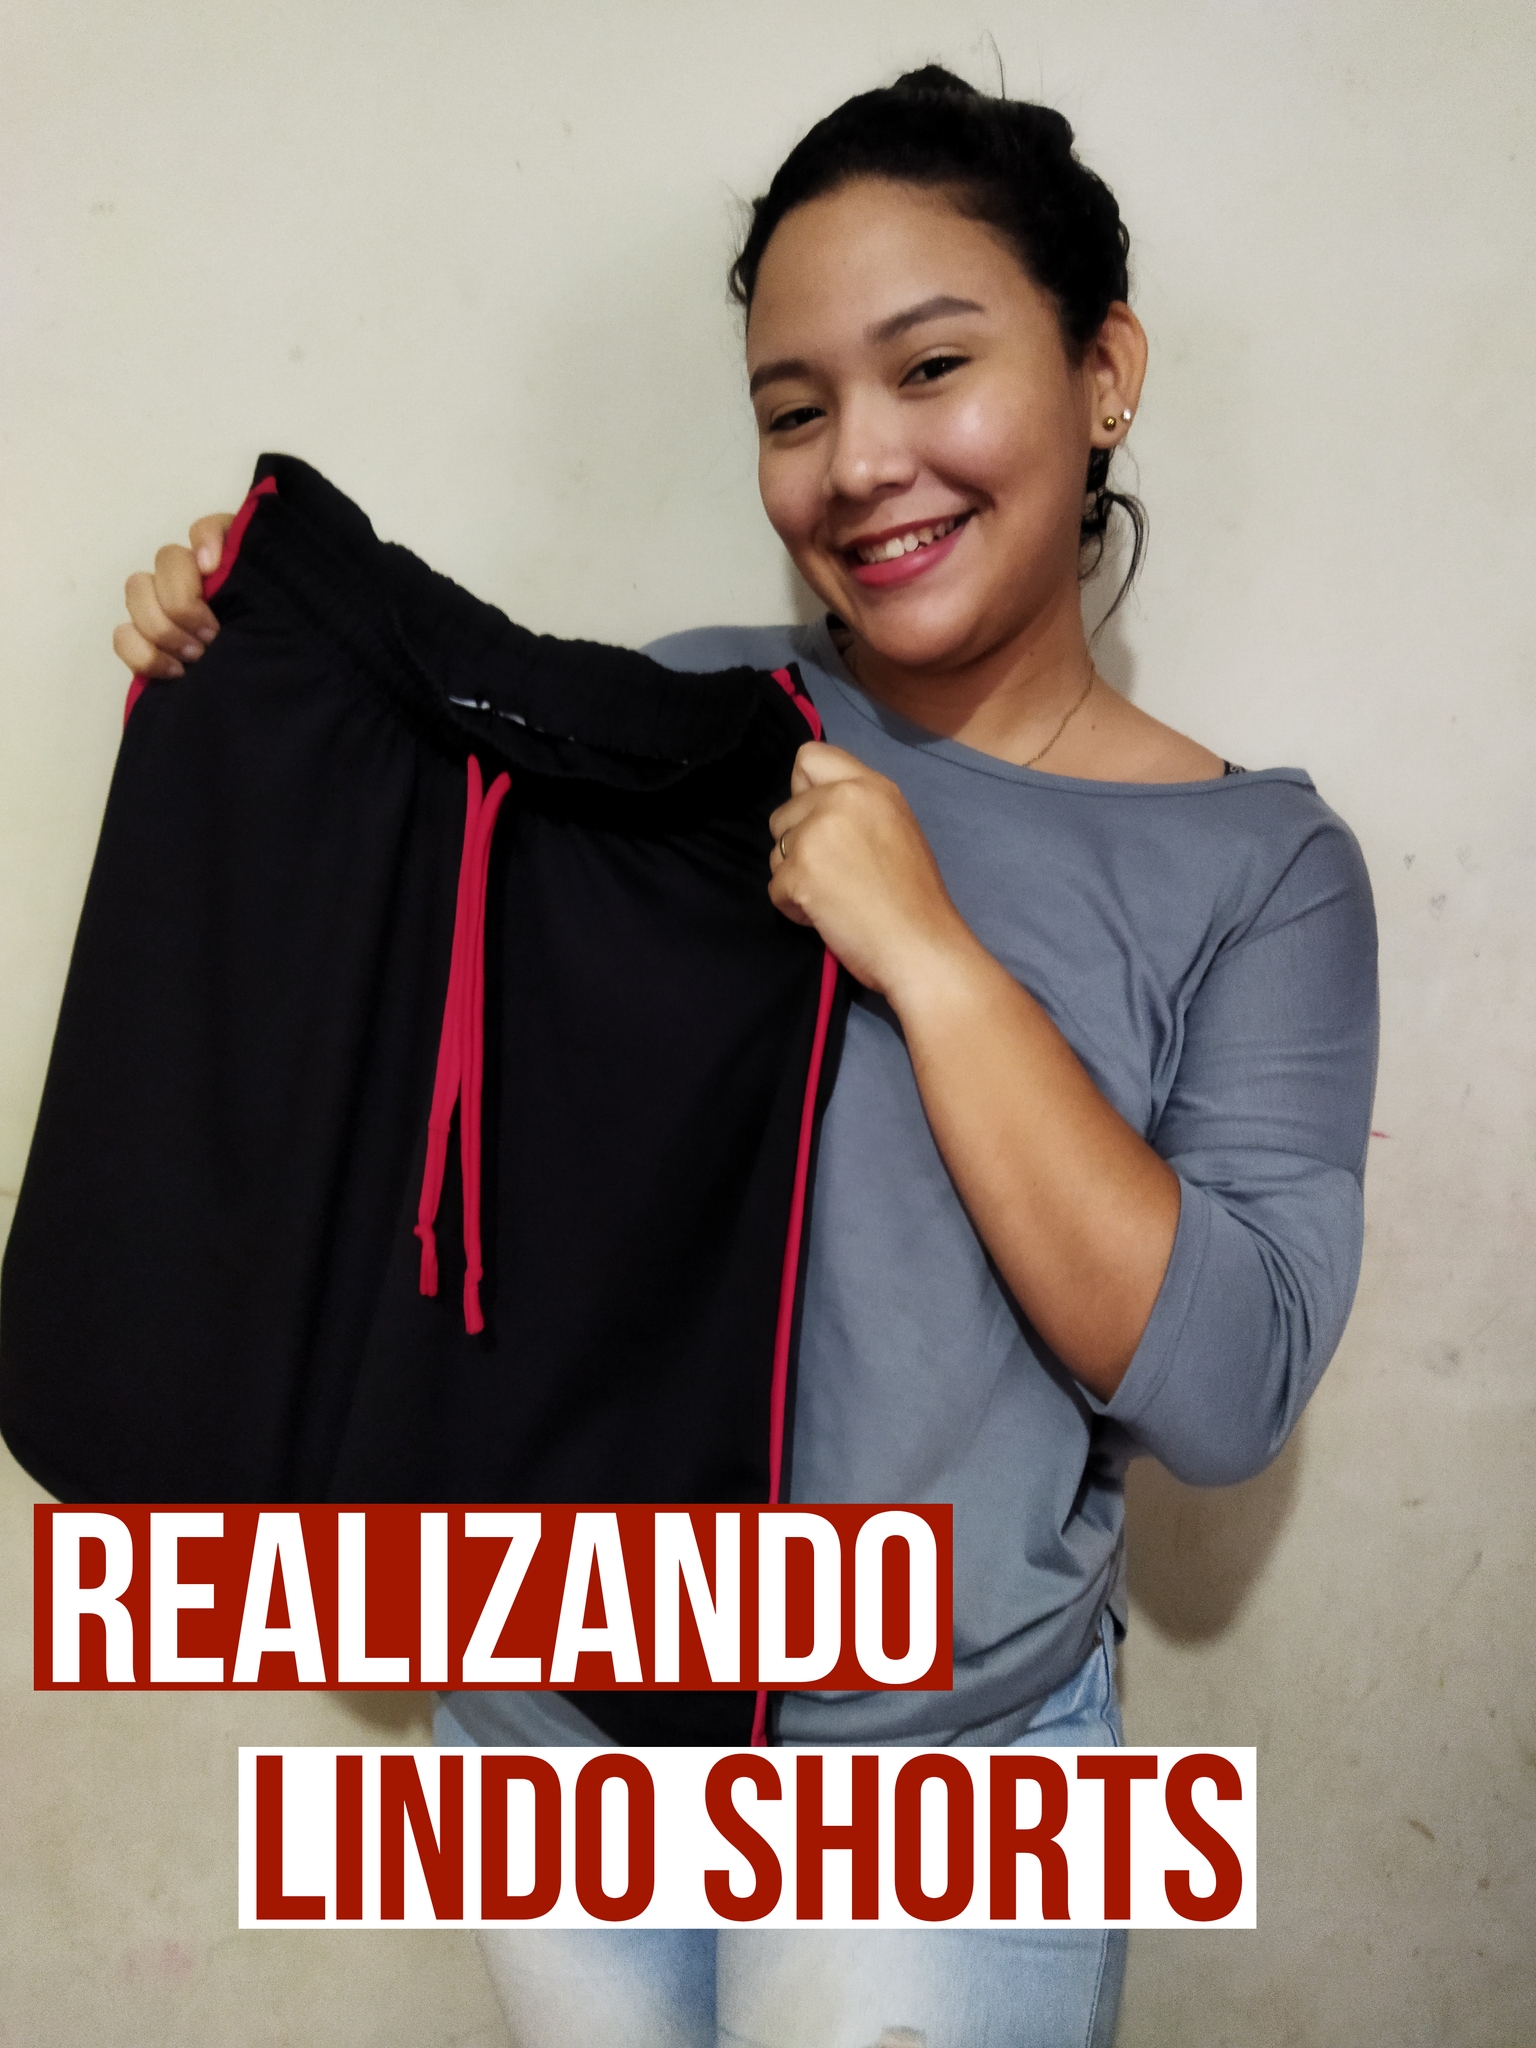
Hello my beautiful hive Family, I'm happy to be with you again, I was absent for a while because I had no Internet, but I'm back to continue sharing with you my creations in sewing and also to learn from each of you, we are a family. So let's see the step by step of this beautiful sweater that I made for me, with the neck a little something. A different design.

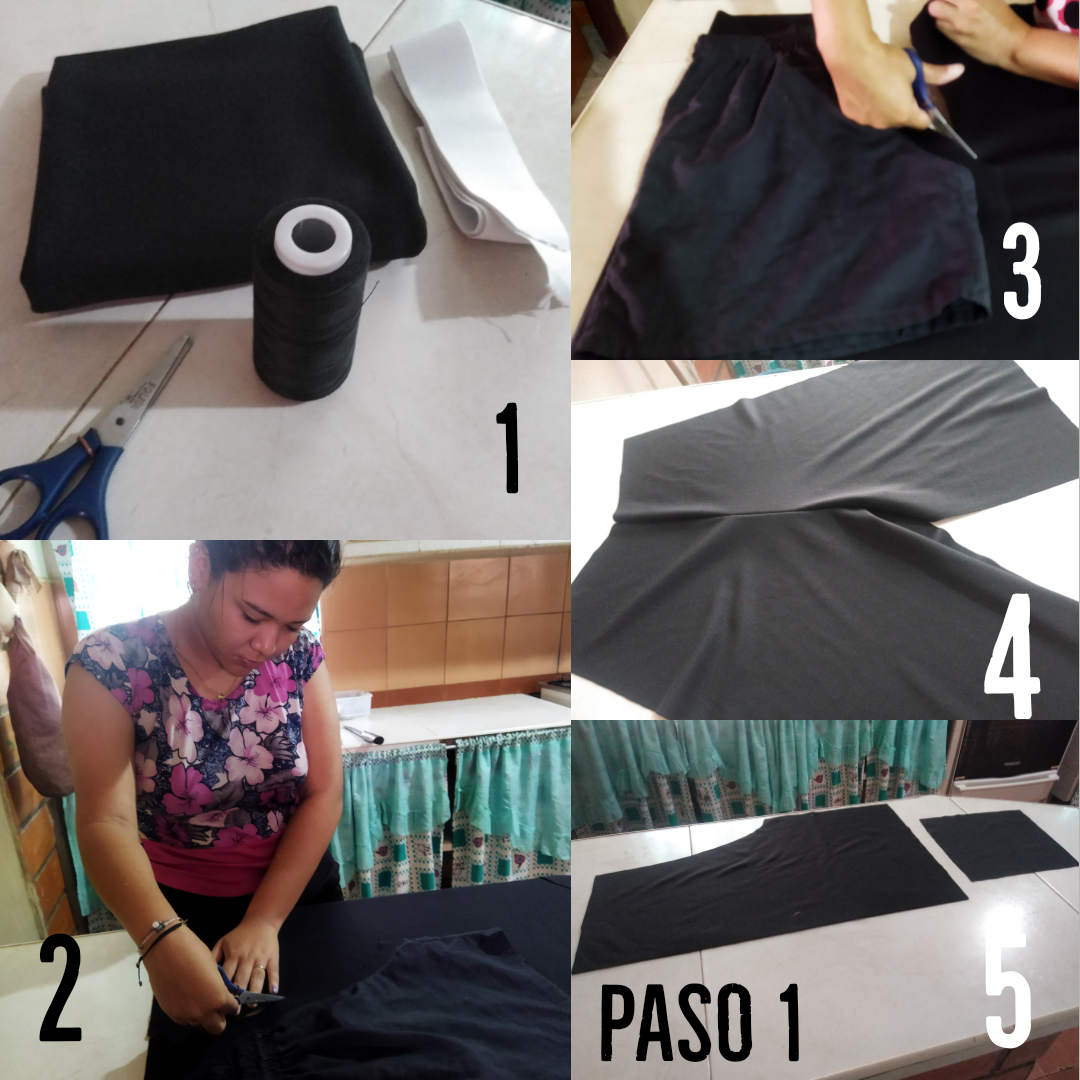
Paso 1: vamos a necesitar 80cm de la tela negra, si deseas otro color por supuesto que también sirve, pero 80cm. Vamos a necesitar una medida de la persona, que le quede sumamente bien al cuerpo, y vamos a cortar la tela con esa medida. Los cortes deben ser limpios y muy cuidadosos, vamos a hacerlo sin bolsillos, solo la parte delantera del Shorts y la trasera, la pretina y con una tela roja haremos unos detallitos para adornar nuestro shorts. Así que vamos manos a la obra.
Step 1: we will need 80cm of the black fabric, if you want another color of course it also works, but 80cm. We are going to need a measurement of the person, that fits extremely well to the body, and we are going to cut the fabric with that measurement. The cuts must be clean and very careful, we are going to do it without pockets, only the front of the shorts and the back, the waistband and with a red fabric we will make some details to decorate our shorts. So let's get to work.
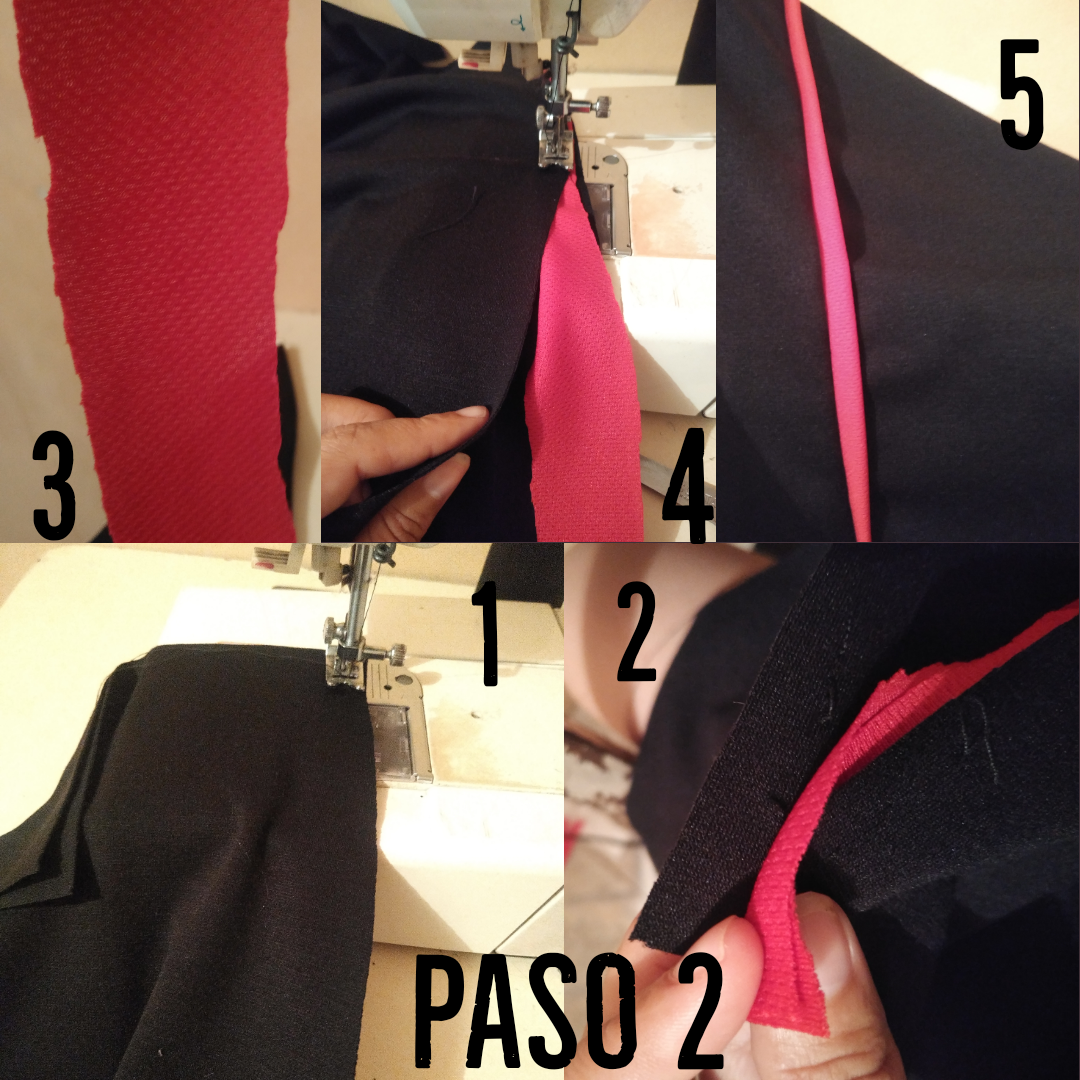
Paso 2: Vamos a comenzar con la costura de nuestro shorts, coseremos la parte de los lados del Shorts ya que pondremos la línea roja con la tela que ya cortamos para esto, haremos ésto en ambos lados de manera pulcra para obtener un gran acabado.
Step 2: Let's start with the sewing of our shorts, we will sew the sides of the shorts as we will put the red line with the fabric we already cut for this, we will do this on both sides in a neat way to get a great finish.
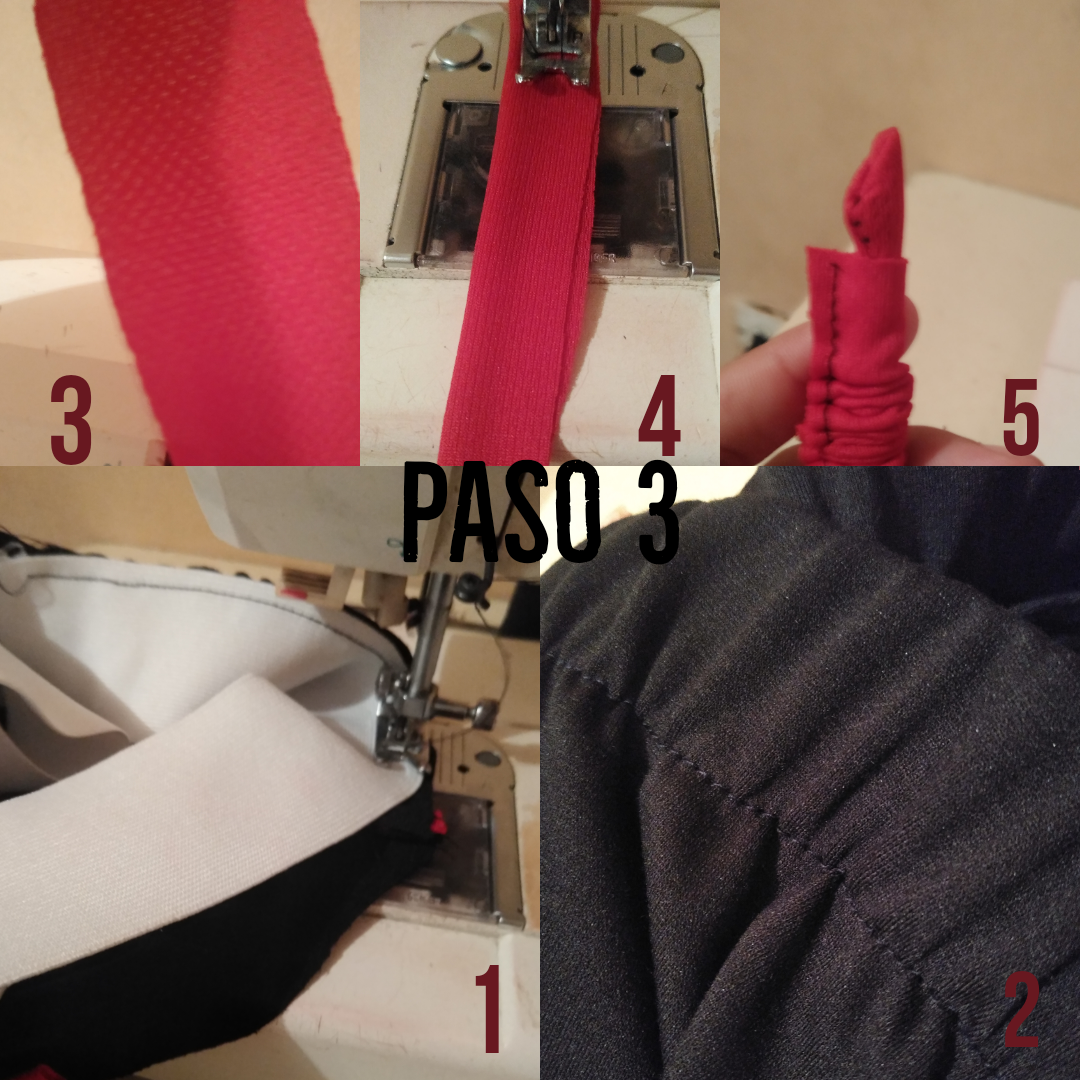
Paso 3: Vamos ahora a coser la pretina colocando la elástica gruesa y haciendo las costuras correspondientes. Luego de haber cosido los lados de el shorts coseremos también las entre piernas y ahora sí subimos a la pretina, por eso lo hacemos por pasos. Cosemos la pretina y luego de ésto vamos a coser una tira roja que luego voltearemos ya que ésta irá dentro del Shorts y mis ayudará a apretarlo y a soltarlo. La cosemos y luego la vamos a voltear.
Step 3: Now we are going to sew the waistband by placing the thick elastic and making the corresponding seams. After sewing the sides of the shorts we will also sew the between the legs and now we go up to the waistband, that's why we do it in steps. We sew the waistband and after this we are going to sew a red strip that we will then turn over since it will go inside the shorts and will help me to tighten and loosen it. We sew it and then we're going to flip it over.
.png)
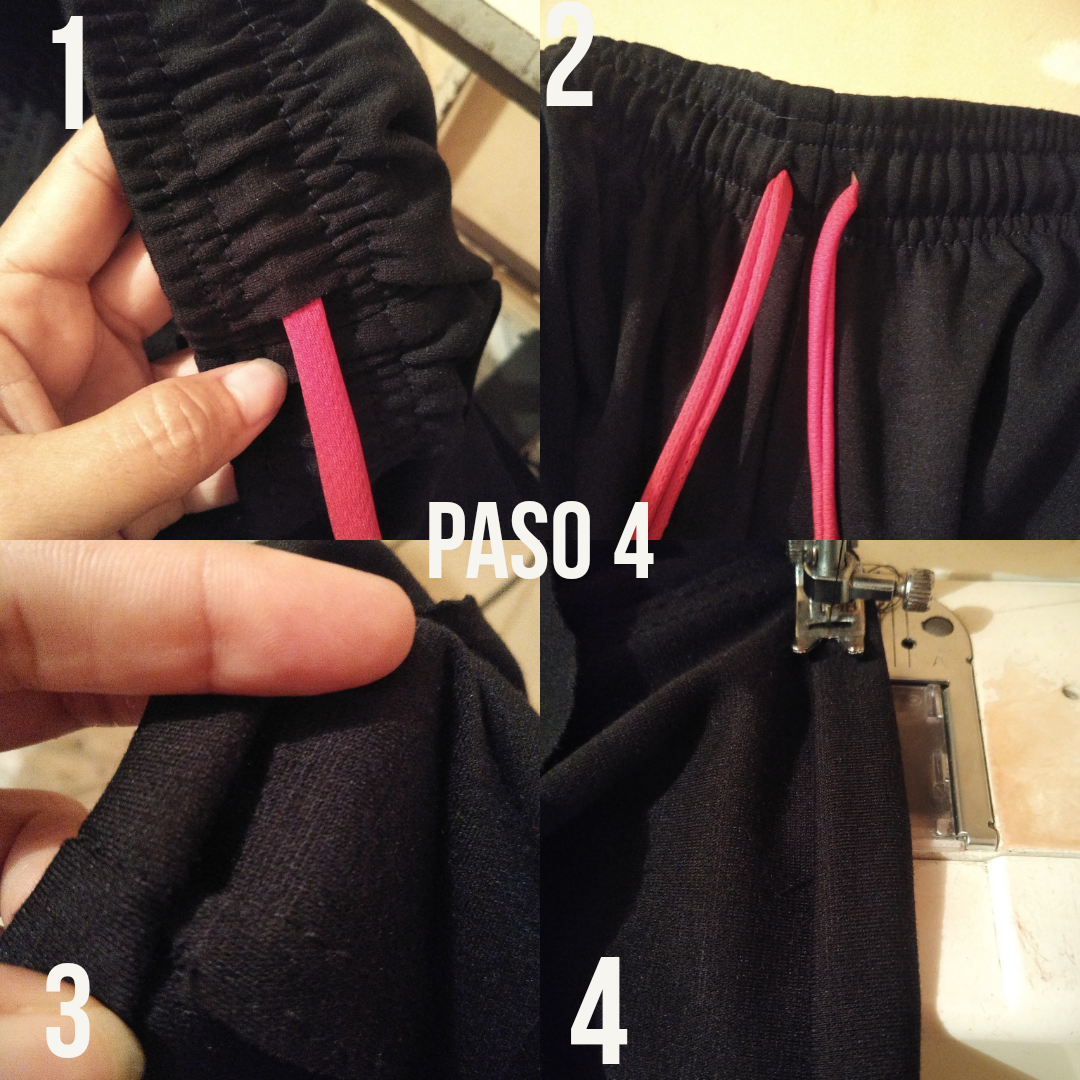
Paso 4: por último vamos a introducir la cuerdita roja a nuestro shorts con un palillo cuidadosamente. Luego vamos a dar los últimos detalles tomando el ruedo de nuestro Shorts y con ésto terminamos el procesos de costura listo para lucirlo.
Step 4: Finally we are going to introduce the red string to our shorts with a toothpick carefully. Then we are going to give the last details taking the hem of our shorts and with this we finish the sewing process ready to show it off.
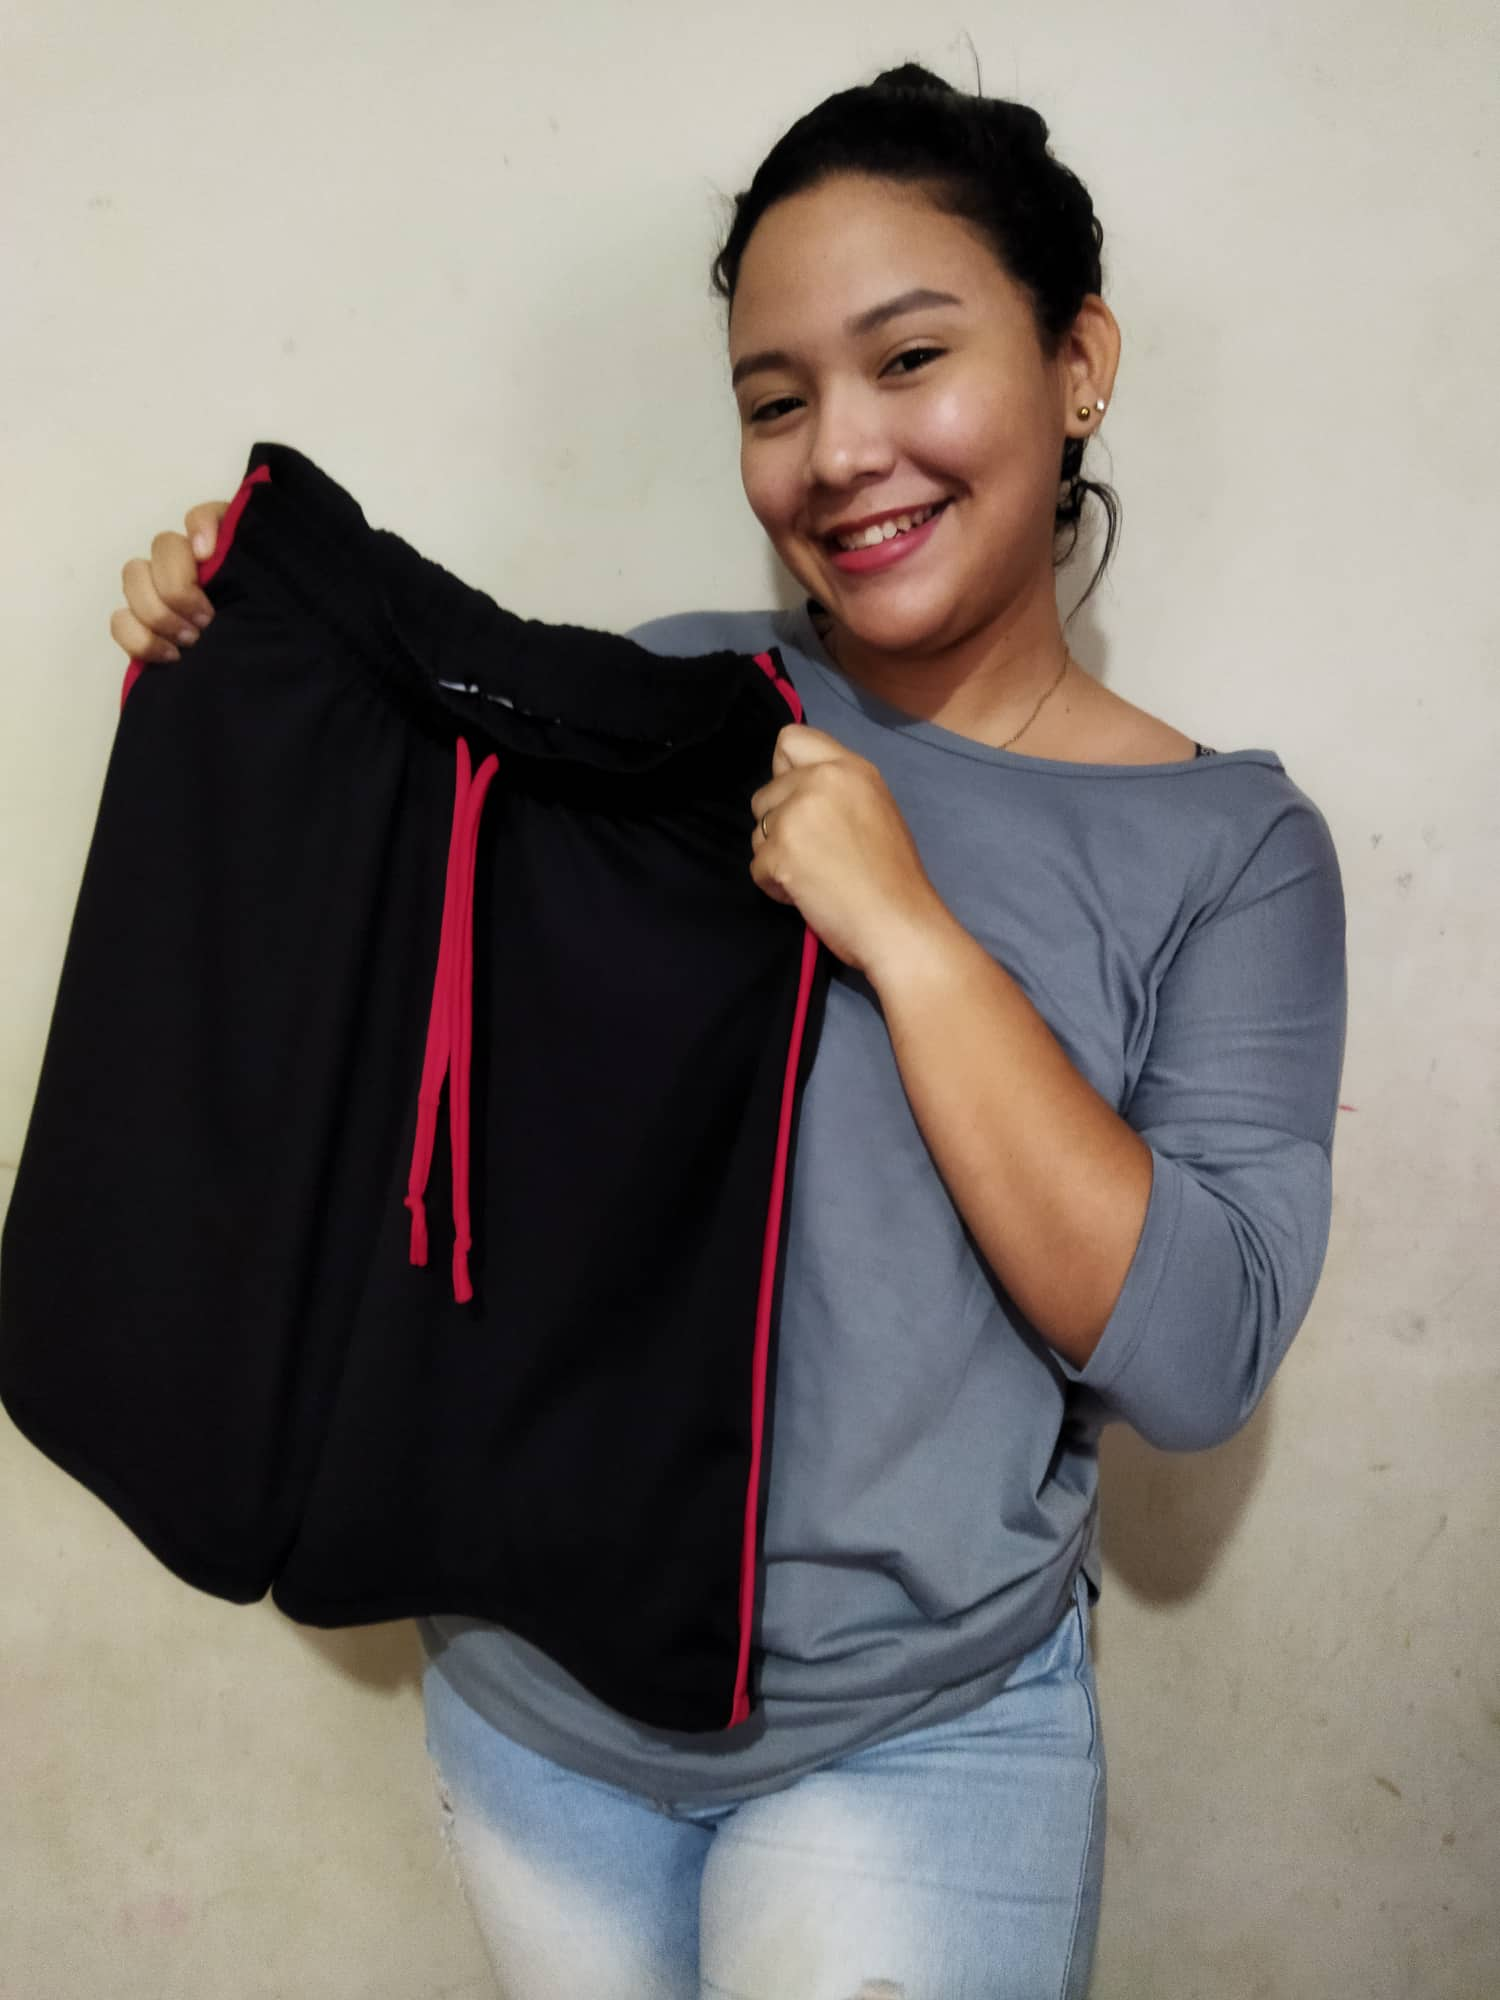
Final Result.

.png)
Hola @eribetzi, bienvenida de vuelta a la comunidad.
Gracias por compartir con nosotros el proceso de elaboración de este short.
Saludos!
Este Short quedó muy lindo, y los detalles en rojo súper acertado pues resaltan, me gustó mucho tu trabajo, saludos.
Bienvenida nuevamente querida amiga, este short te quedó muy bien
Que hermosa prenda has logrado, parece sacado de una tienda. Muy profesional y el color me encanta, buena confección. Bendiciones para ti 🌹
Dear @eribetzi,
May I ask you to review and support the Dev Marketing Proposal (https://peakd.com/me/proposals/232) we presented on Conference Day 1 at HiveFest?
The campaign aims to onboard new application developers to grow our ecosystem. If you missed the presentation, you can watch it on YouTube.
You cast your vote for the proposal on Peakd, Ecency,
Thank you!