bienvenidos❤️||welcome❤️

❤️
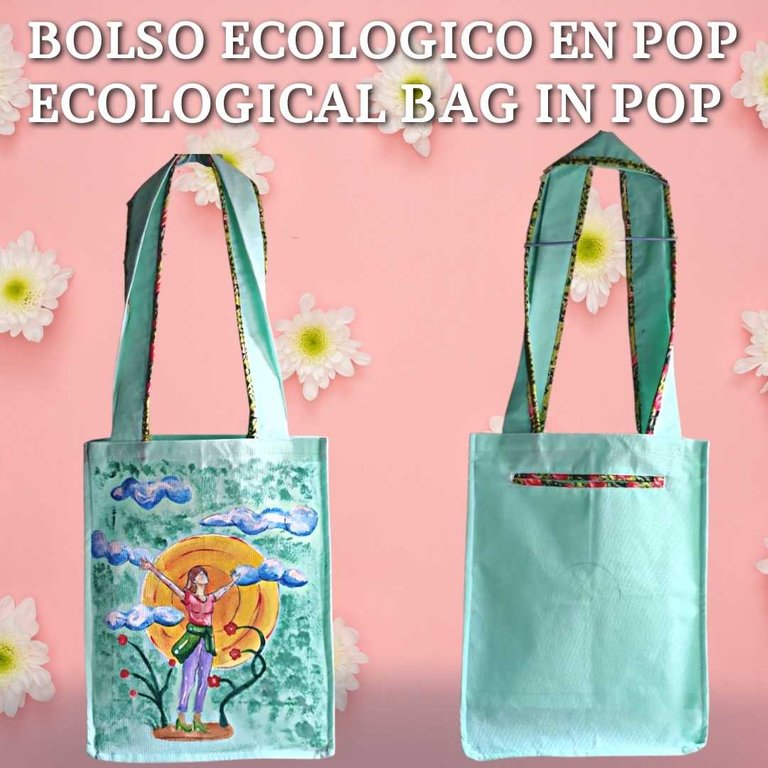
Hello my readers, I warmly welcome you to my blog, this time I will teach you how to make a personalized ecological bag! with double welt buttonhole pocket in a very simple way and few materials.
Hola mis lectores, le doy una cálida bienvenida a mi blog, en esta oportunidad les enseñare ¡Como hacer un bolso ecológico personalizado! con bolsillo ojal de doble ribete de manera muy sencilla y pocos materiales.
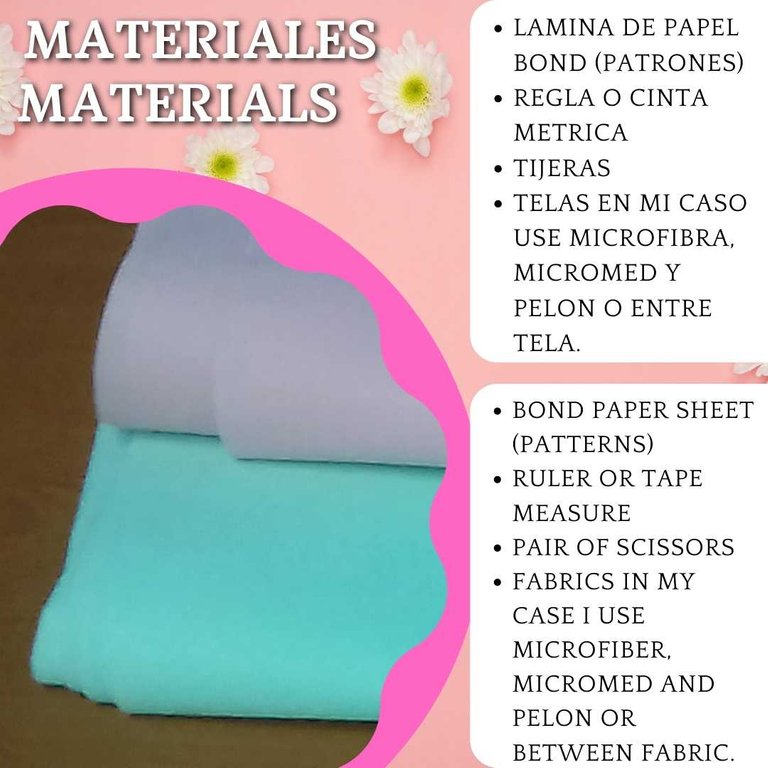
In the following image I will show you the materials to use
En la siguiente imagen les mostrare los materiales a utilizar
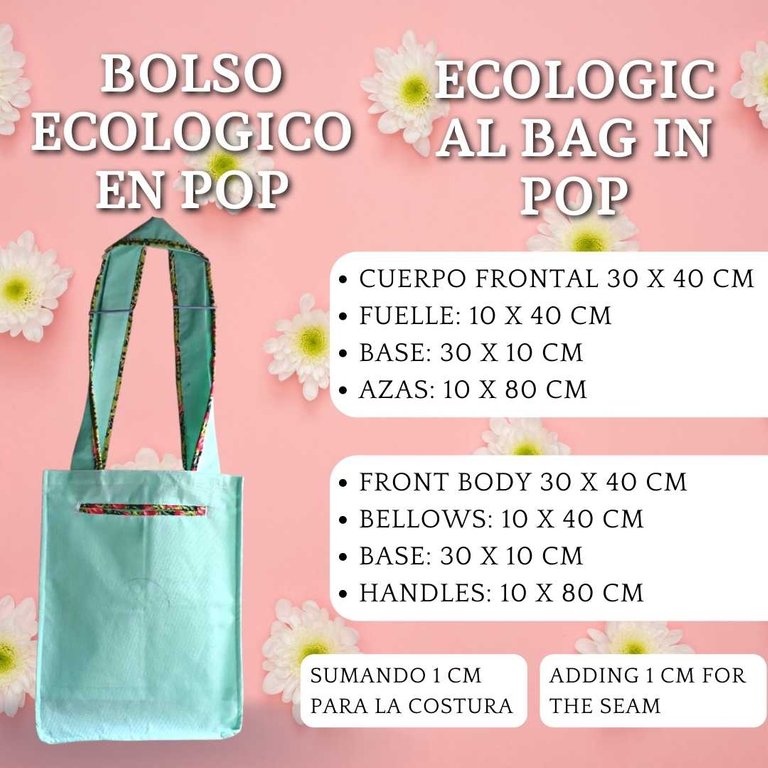
The first thing we must do when having the materials at hand, is to look for the proportional measures, in which we want to work our bag, in my case they have been the following.
Lo primero que debemos hacer al tener los materiales a la mano, es buscar las medidas proporcionales, en las que queremos trabajar nuestro bolso, en mi caso han sido las siguientes.
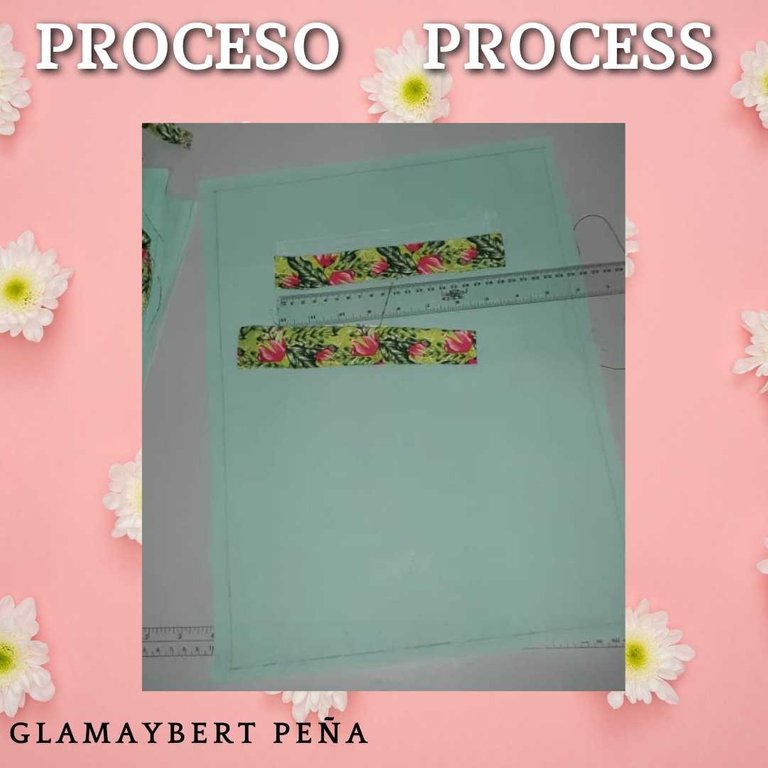
Having the measurements in which we will make our bag, we are going to take the bond paper, the pencil and the ruler to make what our sewing patterns will be.
Al tener las medidas en las que haremos nuestro bolso, vamos a tomar el papel bond, el lápiz y la regla para hacer lo que serán nuestros patrones de costura.

Once we have our sewing patterns, we will proceed to cut it on the fabric, this can be of your preference.
In my case I use POP, remember to add a centimeter to each side before cutting the fabric, that centimeter is the one we will use to sew our bag.
Ya teniendo nuestro patrones de costura, vamos a proceder a cortarlo en la tela, esta puede ser de su preferencia.
En mi caso yo utilice POP, recuerden sumar un centímetro a cada lado antes de cortar la tela, ese centímetro es el que utilizaremos para coser nuestro bolso.

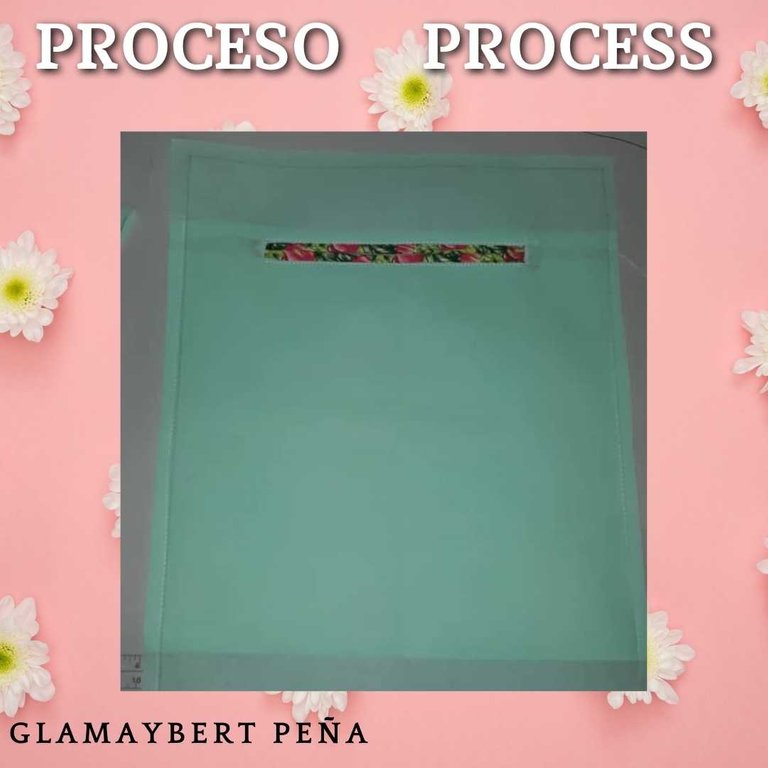
To make our buttonhole pocket with a welt, we are going to take one of the front faces of what will be our bag.
We are going to measure 7 cm from the top and with a ruler we measure 20 cm to that central line we add 1 cm to both sides.
To our central line between the square mark with 2 diagonal lines to the corners on both sides forming a triangle at our ends of the rectangle.
We finish by sewing the edges of this piece with a few stitches on our sewing machine.
We open the pocket by cutting on our central line, and we also make cuts on our diagonal lines
Push the strip of trim fabric back, into the piece through the hole that we have cut.
Start pressing the seams, the bottom of the welt rectangle and press to open the seam allowances, press the top of the welt the bottom, the sides and the top of the welt until it is totally flat.
Fold the strip of fabric that will be our border over the seam allowance to form the border, I chose a patterned fabric to highlight the pastel tone that I chose to make my bag, fold the lower and upper lip and apply pressure, and sew .
This union is called the pocket edging for the opening of our pocket.
Para hacer nuestro bolsillo ojal con ribete, vamos a tomar una de las caras frontales de lo que será nuestro bolso.
Vamos a medir 7 cm de la parte superior y con una regla medimos 20Cm a esa linea central le sumamos 1 cm a ambos lados.
A nuestra línea central entre el cuadro marque con 2 líneas diagonales a las esquinas en ambos lados formando un triangulo a nuestros extremos del rectángulo.
Terminamos cosiendo los bordes de esta pieza con unas puntada en nuestra maquina de coser.
Abrimos el bolsillo cortando en nuestra linea central, y tambien hacemos cortes en nuestras líneas diagonales
Empuje la tira de tela de ribete hacia atrás, dentro de la pieza a través del agujero que hemos cortado.
Comience a presionar las costuras, la parte inferior del rectángulo de ribete y presione para abrir los márgenes de costura, presione la parte superior del ribete la parte inferior, los lados y la parte superior del ribete hasta que quede totalmente plano.
Dobla la tira de tela que sera nuestro ribete sobre el margen de costura para formar el ribete, yo elegi una tela estampada para resaltar el el tono pastel que elgei para elabora mi bolso,dobla el labio inferior y superior y aplique presio, y cosi.
Esta unión, se le llama el ribete del bolsillo para la abertura de nuestro bolsillo.
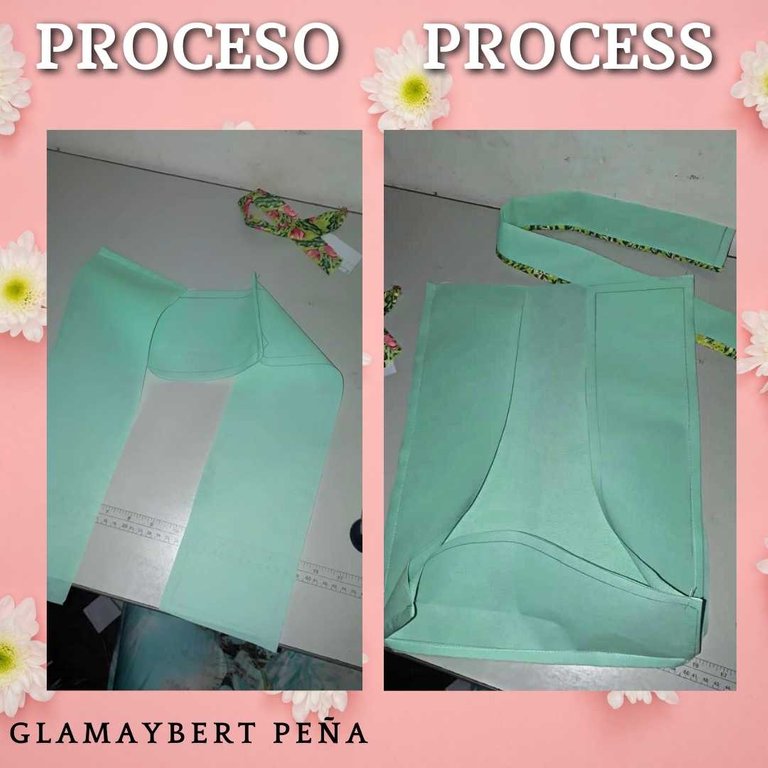
Having already made the pocket on one of the front faces of my bag, my next step was to join the already cut pieces.
-First: I joined the base with the two sides.
-Second: when the three previous pieces were sewn, I sewed the front face (which has the illustration)
-Third: having completed the first two steps, I sewed the back of my bag, remaining pending to attach the azas.
-Fourth: reinforce the edges with a piece of fabric before sewing the handles so that the bag is more strengthened.
-Fifth and last I sewed the two azas of my ecological bag.
Al ya haber hecho el bolsillo en una de las caras frontales de mi bolso mi siguiente paso fue unir las piezas ya cortadas.
-Primero uni la base con los dos laterales
-Segundo: al tener cosidas las tres anteriores piezas, cosi la cara frontal (que tiene la ilustracio)
-Tercero: al haber completados los primeros dos pasos, cosi la cara trasera de mi bolso, quedandome en pendiente anexar las azas.
-Cuarto: reforce con un trozo de tela los bordes antes de coser las azas para que el bolso este mas fortalecido.
-Quinto y ultimo cosi las dos azas de mi bolso ecologico.
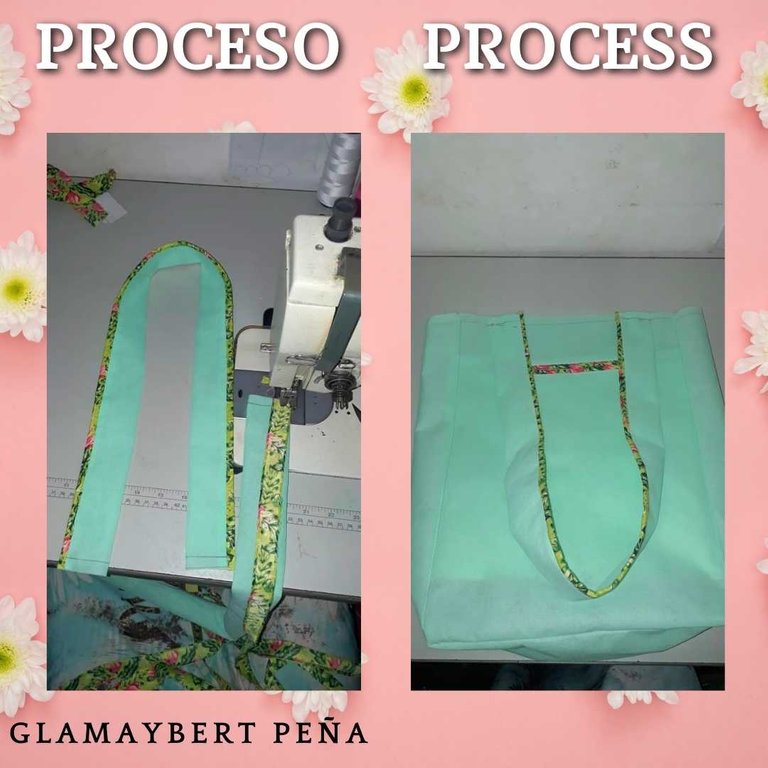
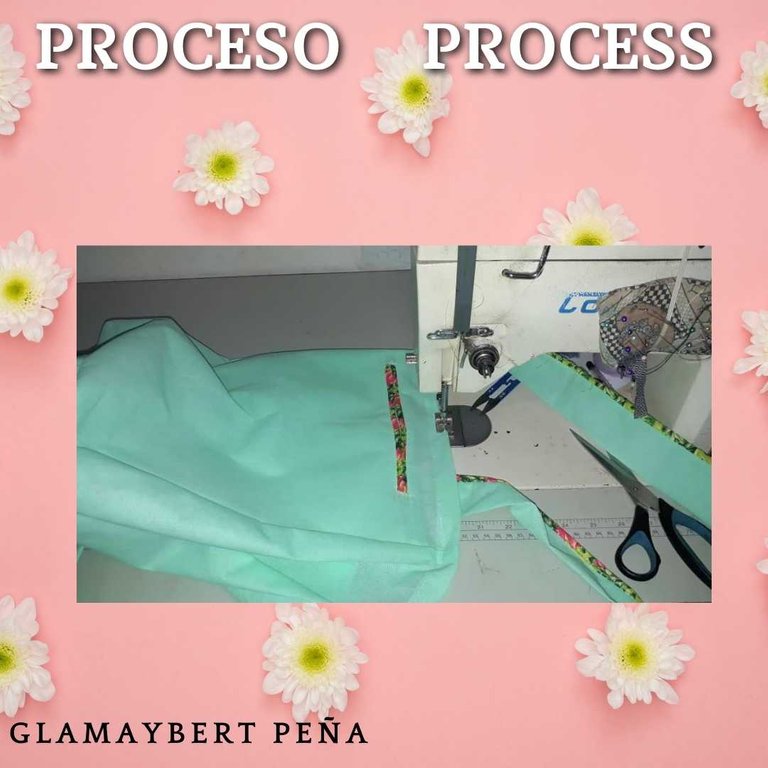
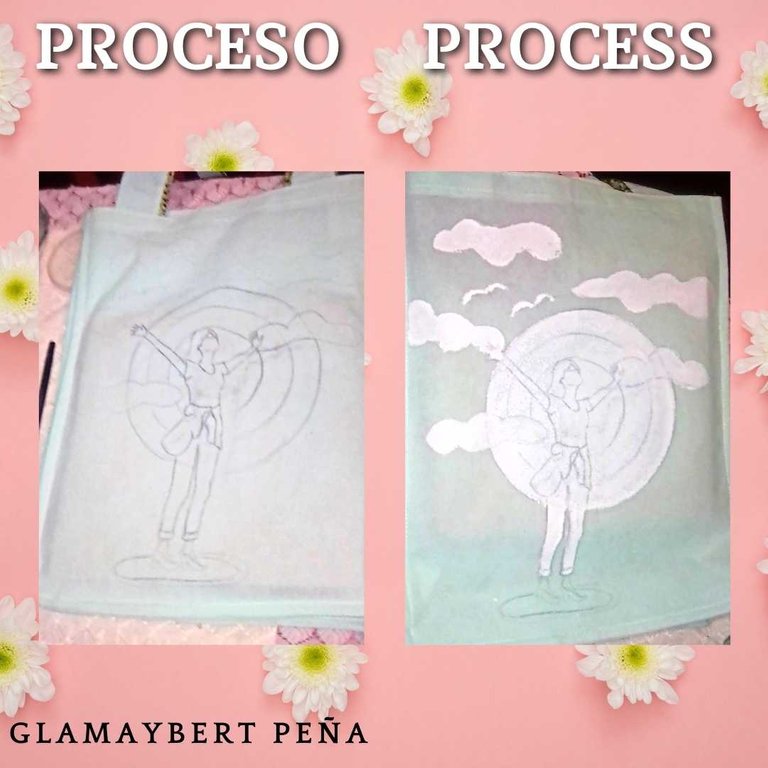
Having already assembled the bag I decided to decorate it with an illustration, in the following images I show you the process.
Al ya tener el bolso armado yo decidí decorarlo con una ilustracion, en las siguientes imagines les enseño el proceso.
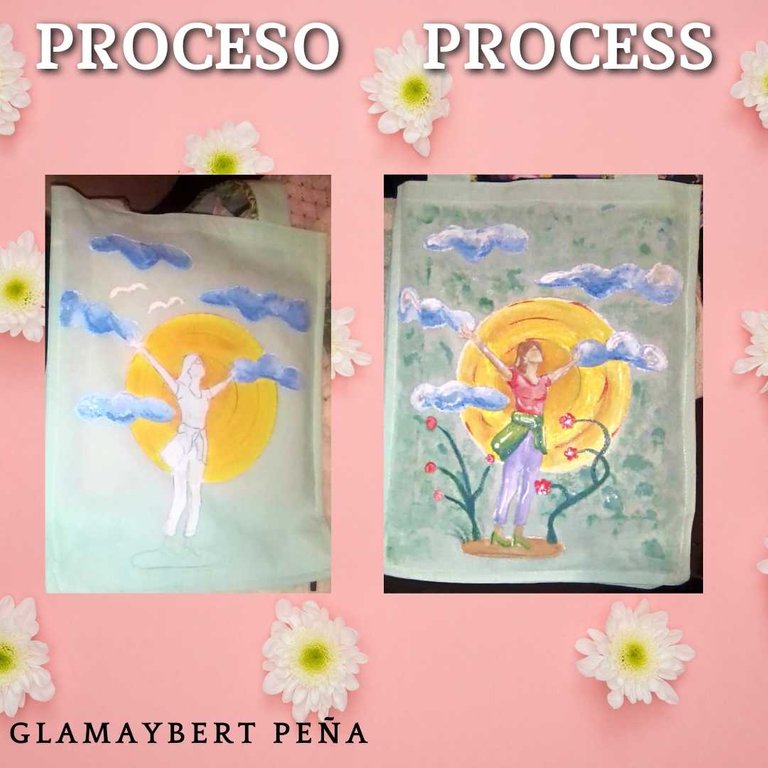
And this has been my final result. I hope it serves you and you enjoy doing it as much as I do.
Y este ha sido mi resultado, final. Espero que les sirva y disfruten hacerlo tanto como yo.


I want to thank my dear readers in advance, if it weren't for you, I wouldn't have the pleasure of being here.
Kisses and hugs from a distance.
We read in the next installment.
Byeee!
Quiero agradecer a mis queridos lectores de antemano, si no fuese por ustedes no tendría el gusto de estar aquí.
Besos y abrazos desde la distancia.
Nos leemos en la siguiente entrega.
Chau.


English version translated with Translate Google.
Banner made in Adobe Ilustrator.
Original photos and my exclusive property
100% original content
Versión en inglés traducida con Traductor Google.
Banners elaborado en Adobe Illustrator.
Fotos originales y de mi exclusiva propiedad.
100% contenido original.

❤️See you in the next installment, kisses|❤️❤️
¡Felicidades! Esta publicación obtuvo upvote y fue compartido por @la-colmena, un proyecto de Curación Manual para la comunidad hispana de Hive que cuenta con el respaldo de @curie.
Si te gusta el trabajo que hacemos, te invitamos a darle tu voto a este comentario y a votar como testigo por Curie.
Si quieres saber más sobre nuestro proyecto, acompáñanos en Discord: La Colmena.
Muchas gracias, muy agradecida 🤩🤗❤️
Your content has been voted as a part of Encouragement program. Keep up the good work!
Use Ecency daily to boost your growth on platform!
Support Ecency
Vote for Proposal
Delegate HP and earn more
Gracias por el apoyo 🤗🤩
Wow @glamaybert98 this is really outstanding thanks for coming through with it
Muchaaas graciaaas!
Muy hermoso y bien elaborado. Me gustó el detalle de color que le diste y la imagen te quedó demasiado hermoso. Además de ser hermoso la madre tierra está agradecida de no utilizar bolsas plásticas para cargar los víveres.
Muchisimas gracias, me hace muy feliz que mi trabajo sea tan bien recibido y no solo me ayuda a mi si no a todas las personas que hacemos vida en nuestra tierra.
Por un mejor mundo, muy agradecida❤️
Felicidades amiga eres un talento andante
Muchas gracias, solo porque tengo el apoyo de la mejor🌼
Congratulations @glamaybert98! You have completed the following achievement on the Hive blockchain and have been rewarded with new badge(s):
Your next target is to reach 700 upvotes.
You can view your badges on your board and compare yourself to others in the Ranking
If you no longer want to receive notifications, reply to this comment with the word
STOPExcelente tutorial, muy oportuno también 👏👏👏