Saludos comunidad estoy muy feliz de compartirles la segunda parte del disfraz de Naruto para mi hijo, como le compartí en el post anterior sobre el pantalón del disfraz el motivo de esto es el cumpleaños de mi hijo que será el 27 de este mes, realmente estaba muy preocupada por poder lograr el objetivo a tiempo así que mi entusiasmo en este momento es muy grande, al fin pude hacer el chaqueta que era un reto mí, la máquina de coser funcionó de manera decente, aun sigue siendo un riesgo usarla sin haber cambiado la pieza que tiene averiada pero en definitiva esta máquina ha sido de gran ayuda en la reducción del tiempo de elaboración de la prenda.
Greetings community, I am very happy to share the second part of the Naruto costume for my son, as I shared in the previous post about the costume pants, the reason for this is my son's birthday which will be the 27th of this month, I was really very concerned about being able to achieve the goal on time so my enthusiasm at the moment is very great, I was finally able to make the jacket which was a challenge for me, the sewing machine worked decently, it is still a risk to use it without having changed the part that is damaged but ultimately this machine has been of great help in reducing the time of making the garment.
Proceso / Process
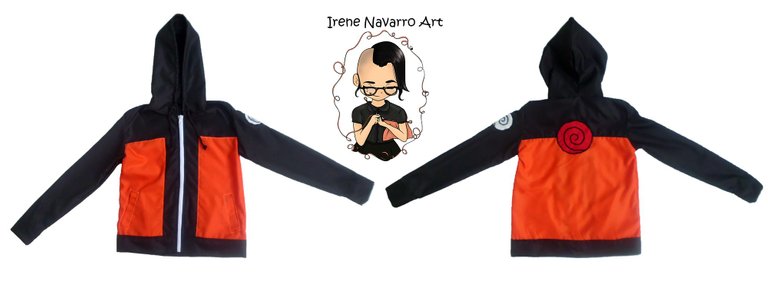
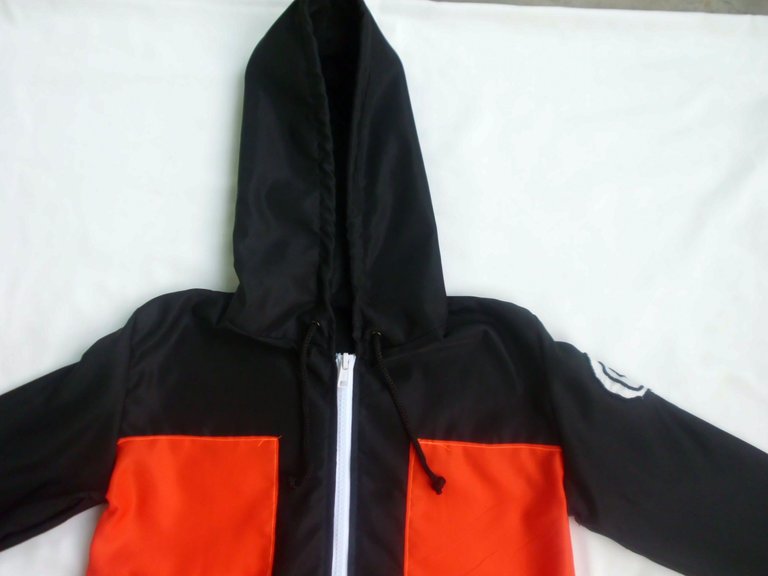
The first thing I did was look for base patterns for child sizes on the internet, I could simply take my son's measurements but since I am a novice in sewing I did not want to make a mistake, with the standard measurements I drew the base pattern on paper, I made this pattern the necessary modifications guiding me by the image of the character, taking into account that the jacket is divided into two colors: orange and black. I also decided to make a different version of the jacket, adding a hood to it so that my son can continue to wear the jacket when he wants to leave the house and there is a lot of sun, it is customary in my family to wear hooded jackets to protect ourselves from the sun because we live In a very hot area, we also have a family history of skin cancer.
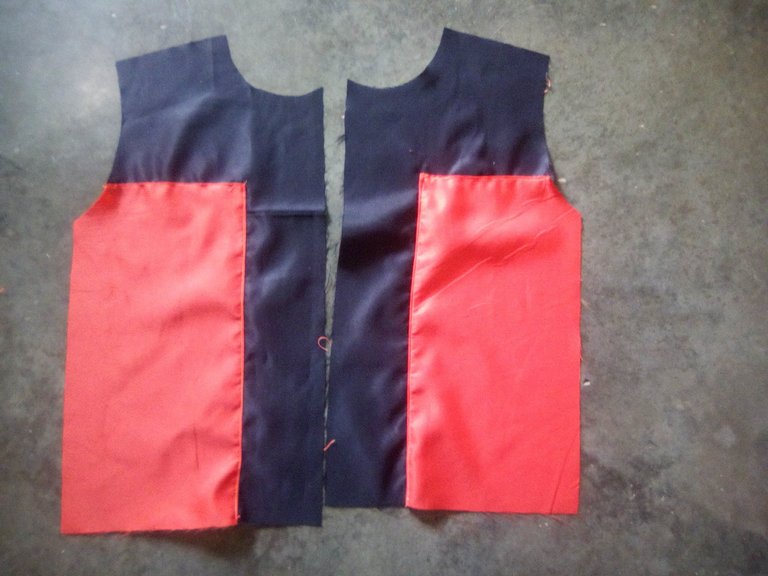
I then transferred the measurements from the paper to the fabric and made the cuts.

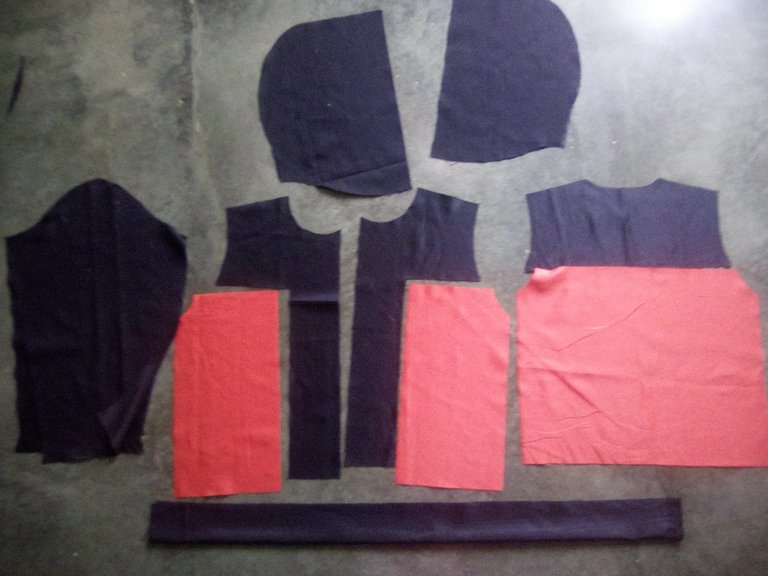
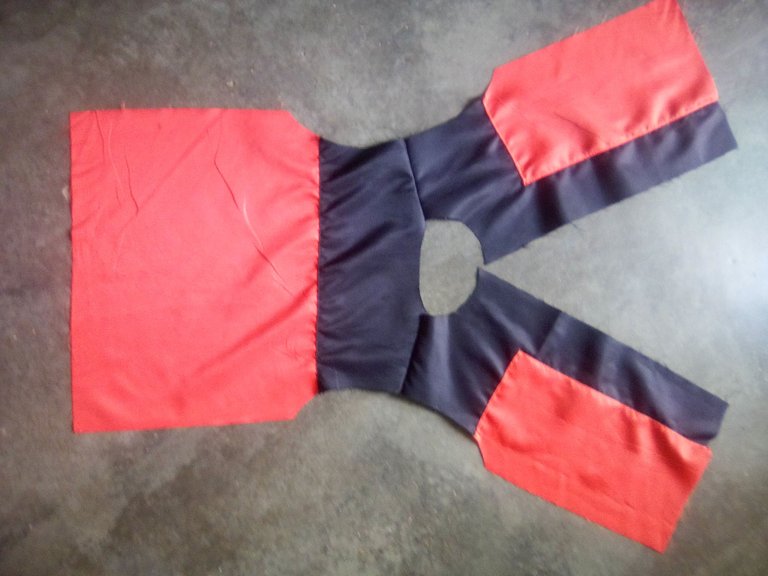
I proceeded to machine-sew the two parts of the back of the jacket.
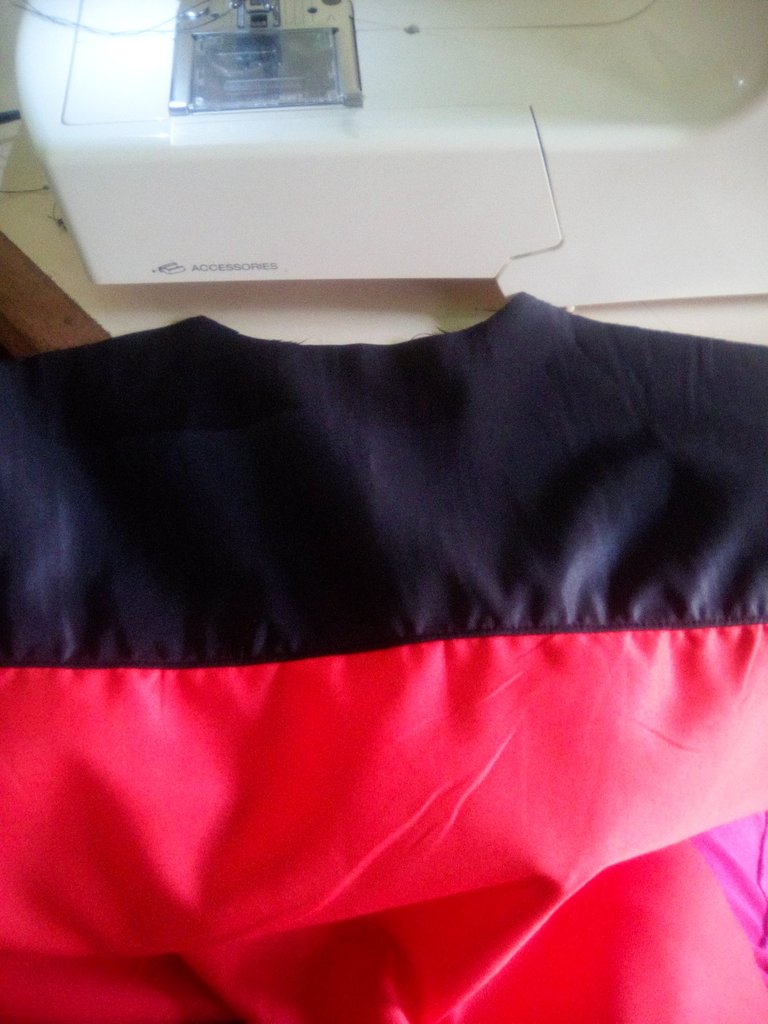
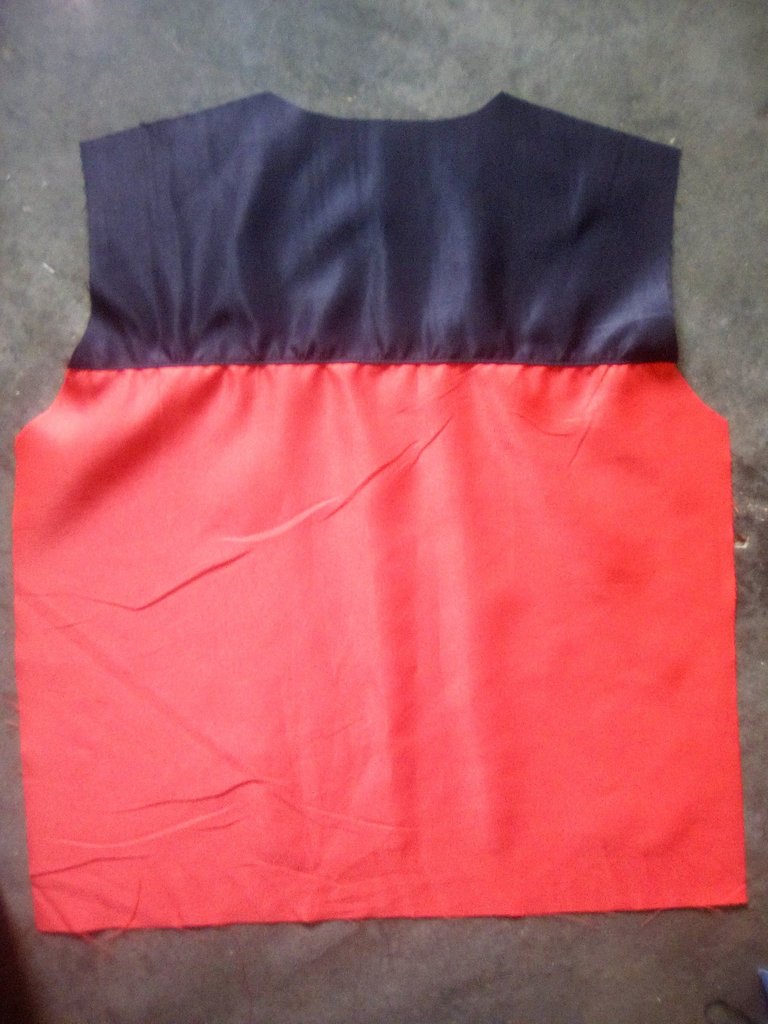
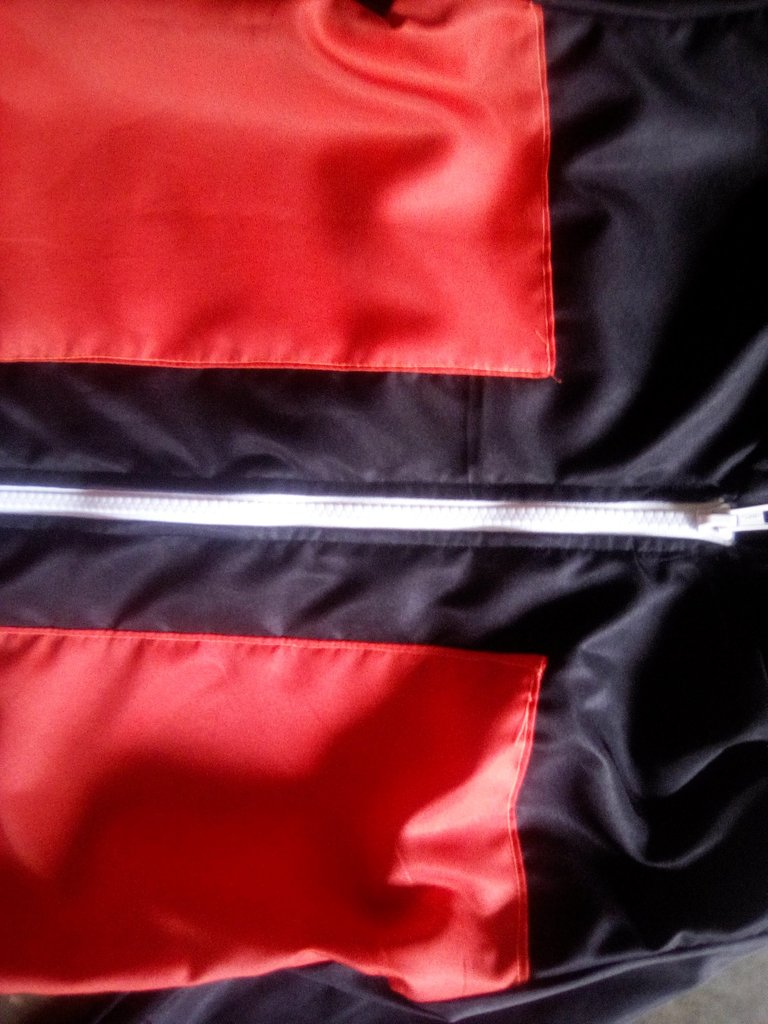
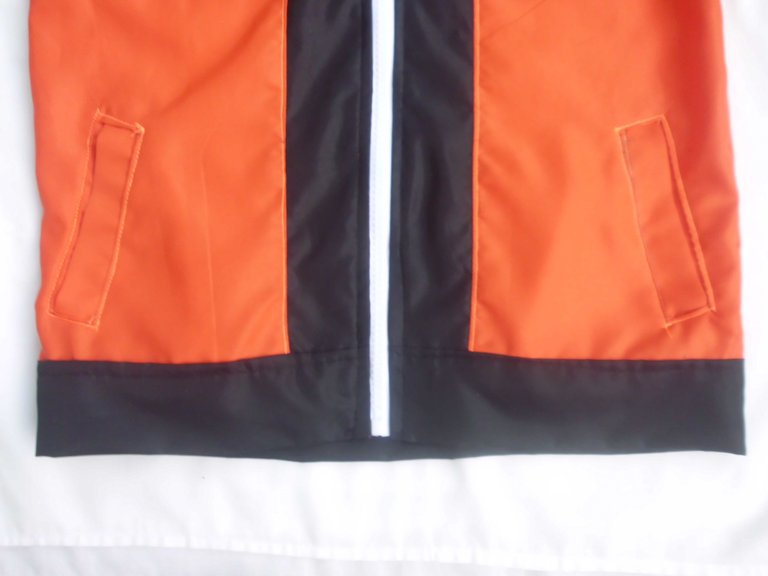
The front of the jacket is divided into two parts, also these have the upper part with black fabric, the bottom with orange fabric and a black side stripe, so that they are centered when joining the pieces. I joined the two parts from the front to the back making shoulder seams.
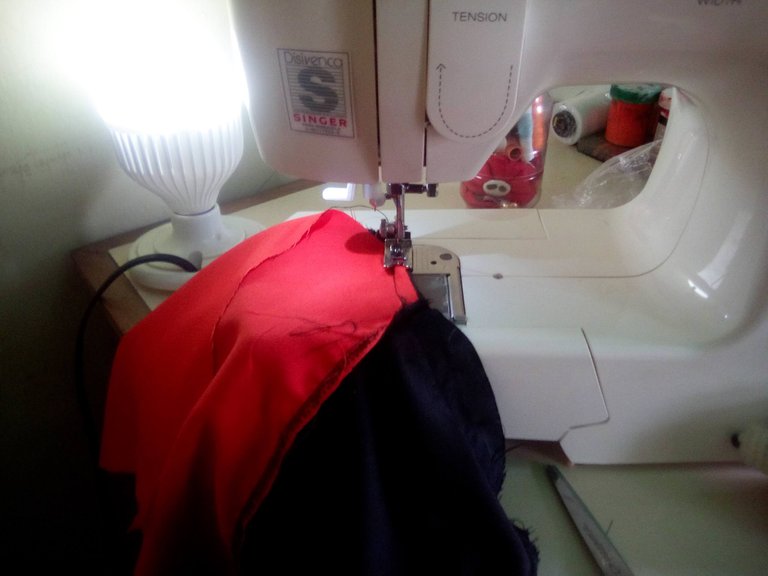
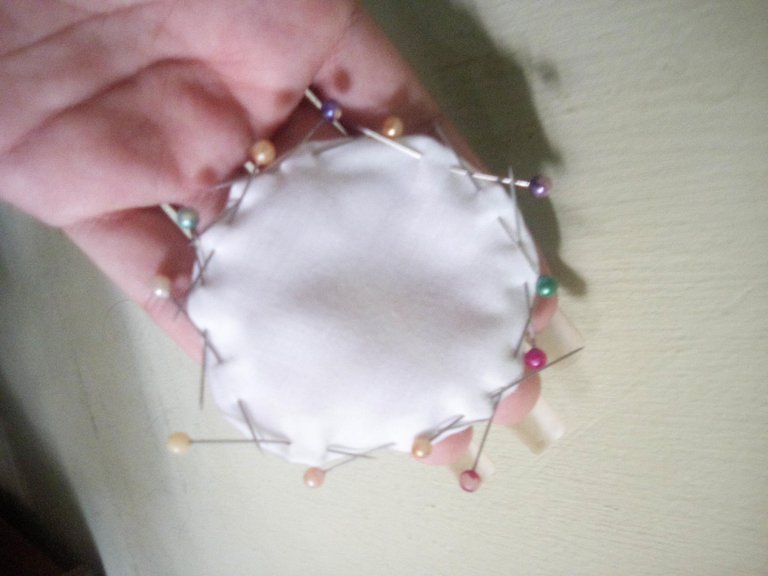
Then came the hardest part, the fabric I bought tends to slip easily when the two sides of the front face which is a bit satin so it was difficult for me to sew the sleeves even though I use pins to keep them from moving.
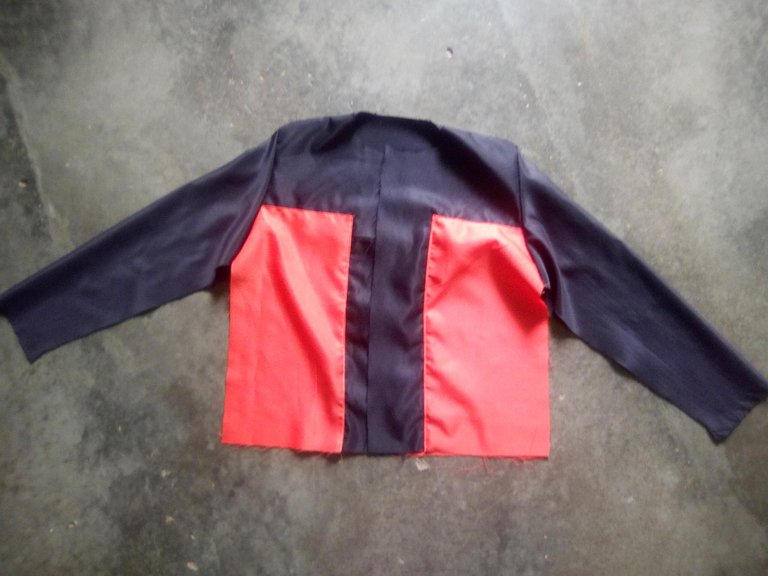
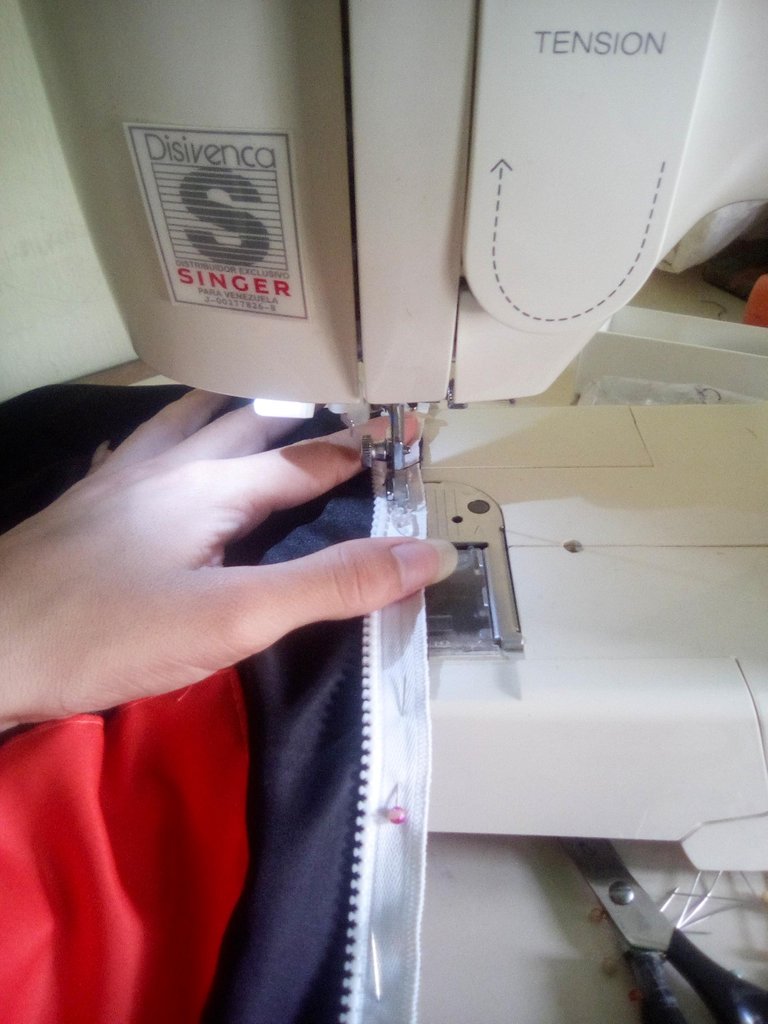
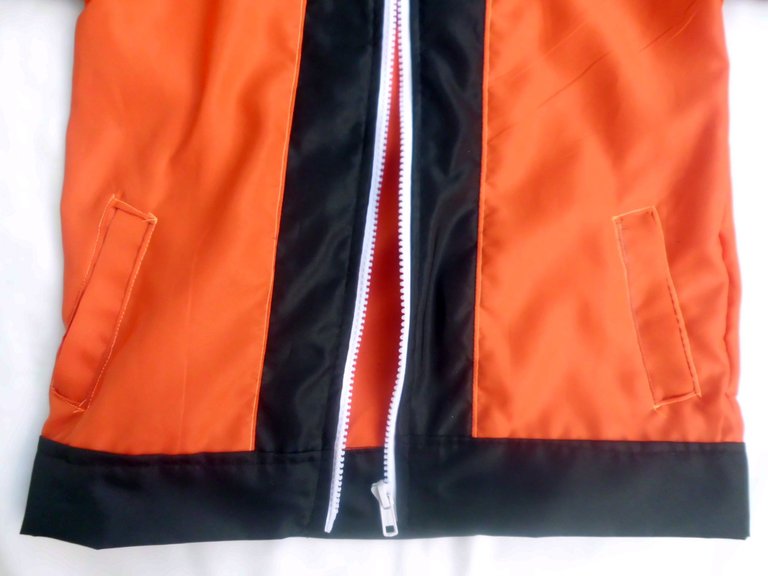
Once the sleeves were sewn, I sewed the waistband or lower strip in black, as well as the hood. I continued sewing the zipper in the central part, for this I changed the presser foot of the machine for a thinner one, it is the first time in my life that I use that accessory of the machine and I was fascinated with the results, because this allows me to do much more sewing close to the edge.
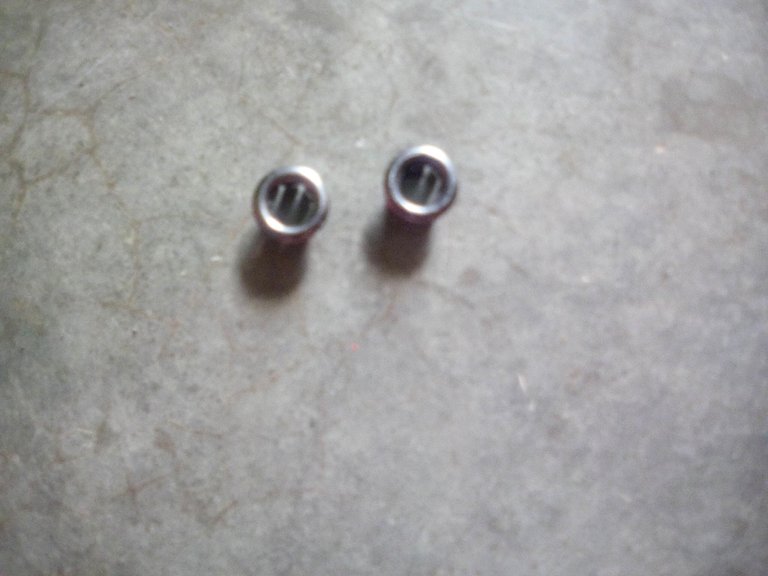
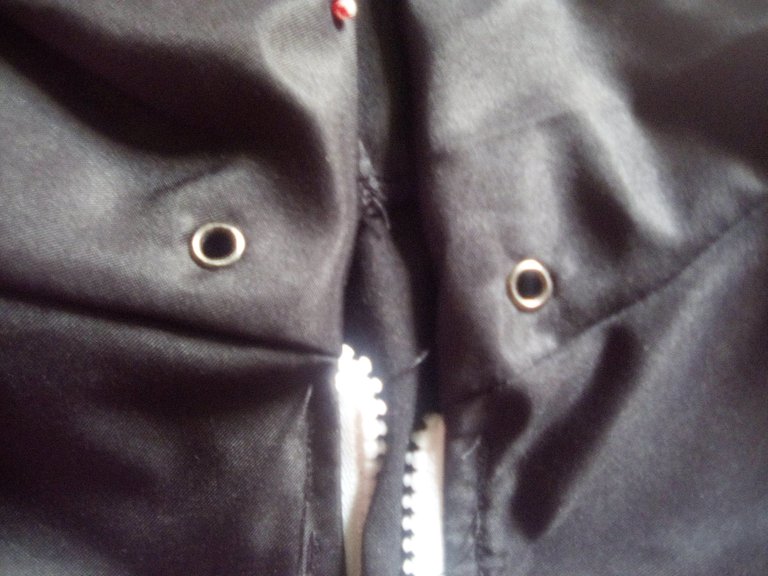
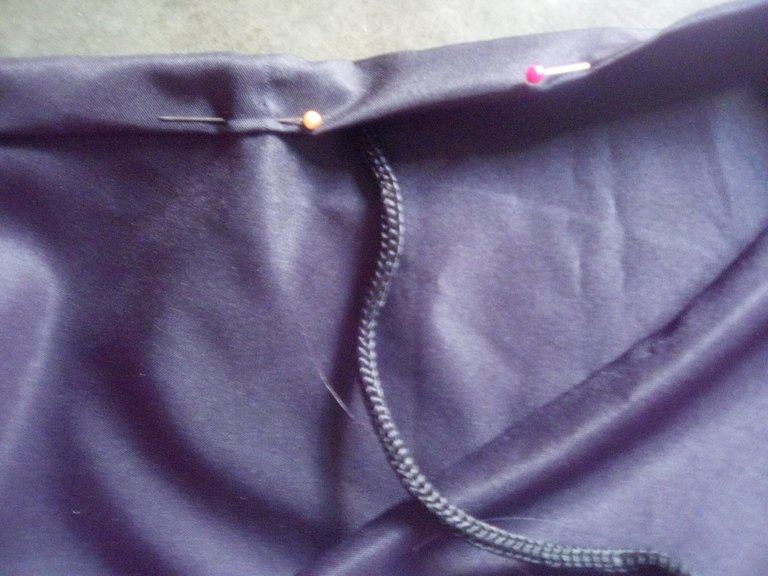
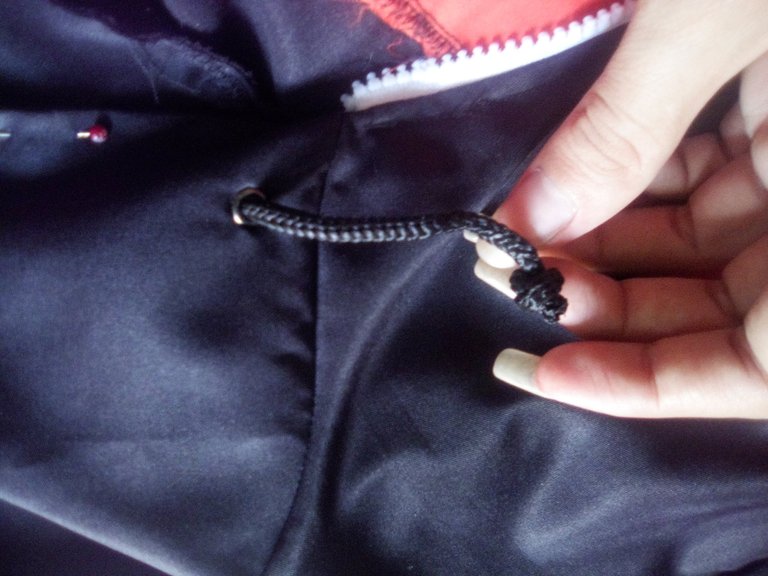
As I have told you in other publications, I really like to reuse and recycle things, so as a good accumulator that I am, I had metal eyelets that fit with tabs on the back, that is, they do not need a pressure machine and I can place them alone with the help of jewelery tweezers or pliers. I made some small holes at the beginning of the hood, I put the eyelets, then I passed a cord that I had also recycled from old garments and I wrapped the cord all around the hood with the edge of the fabric, I made a seam and I got a beautiful hood that can be wrinkled.

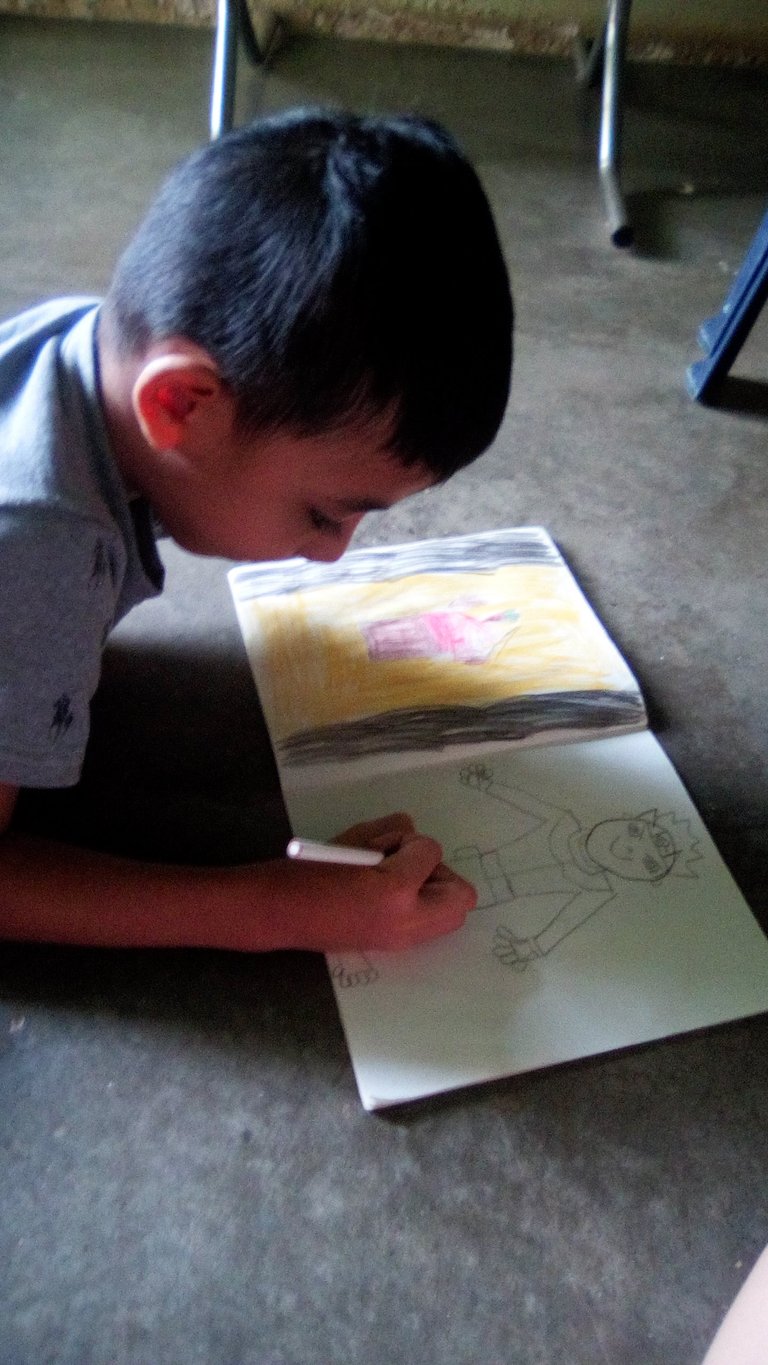
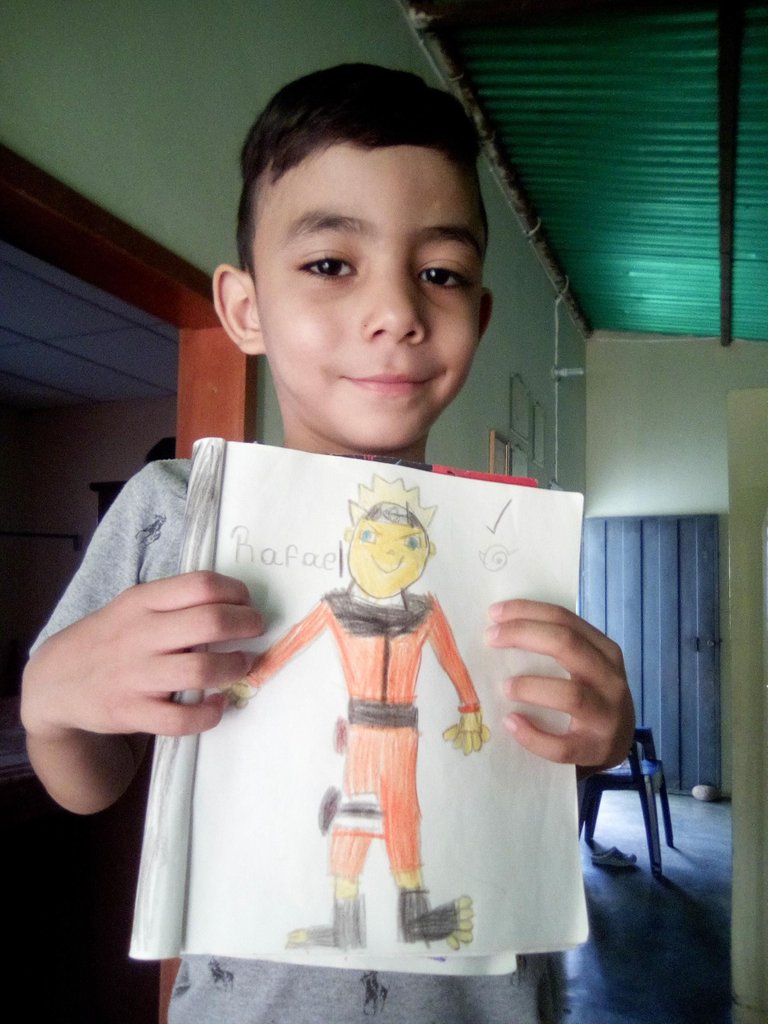
I tell you that all these days while I was working on the jacket my son was excited and as always he started playing or drawing very close to my table, he drew a Naruto and this motivated me much more to finish making the costume, just look at him its not cute?
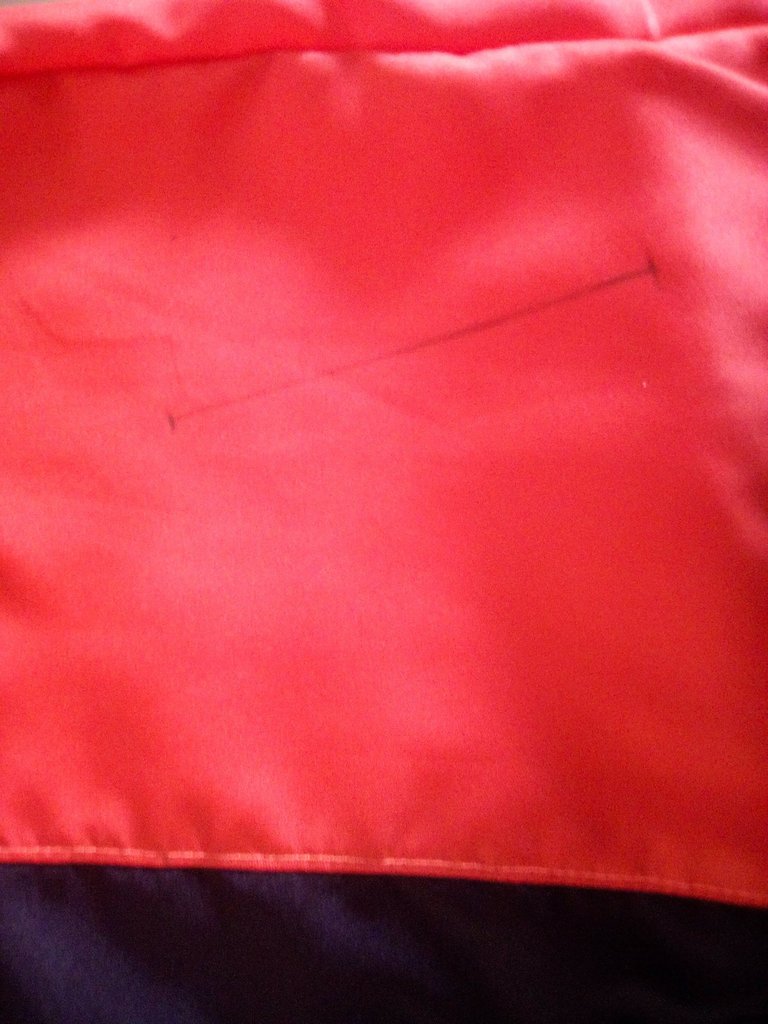
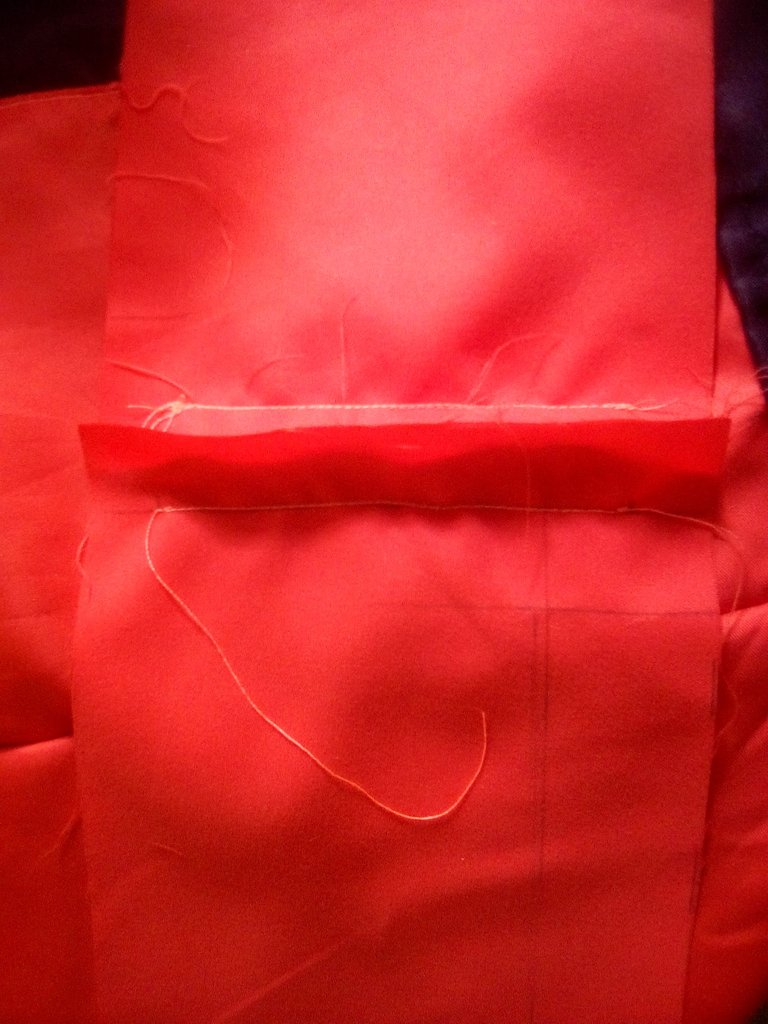
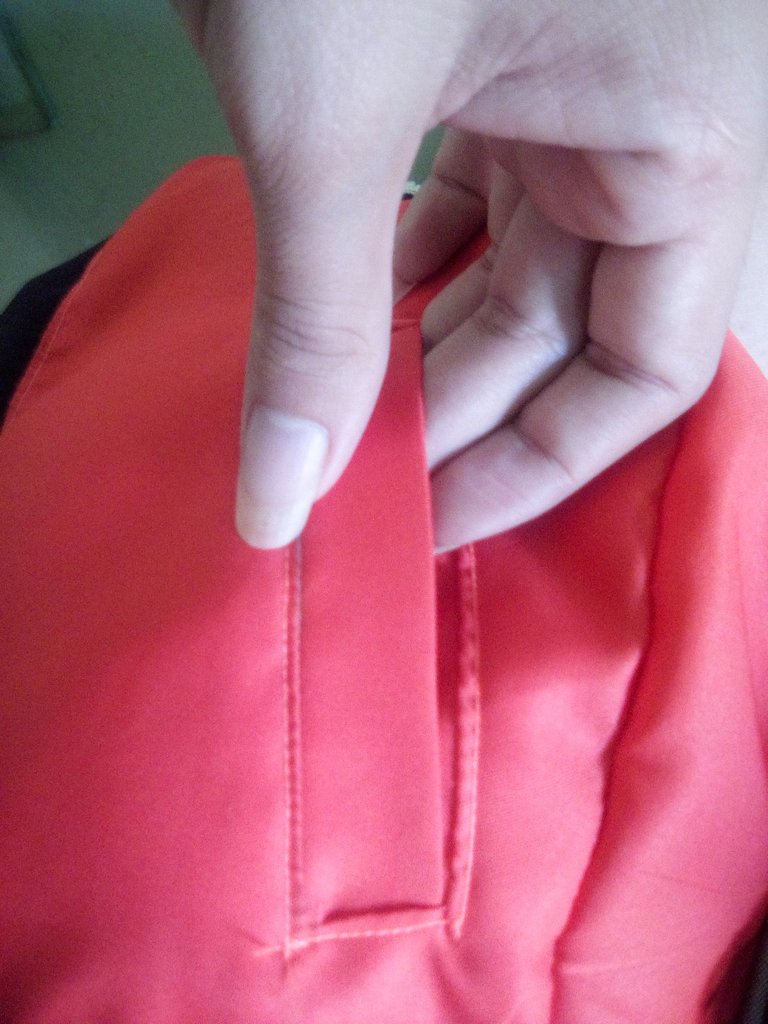
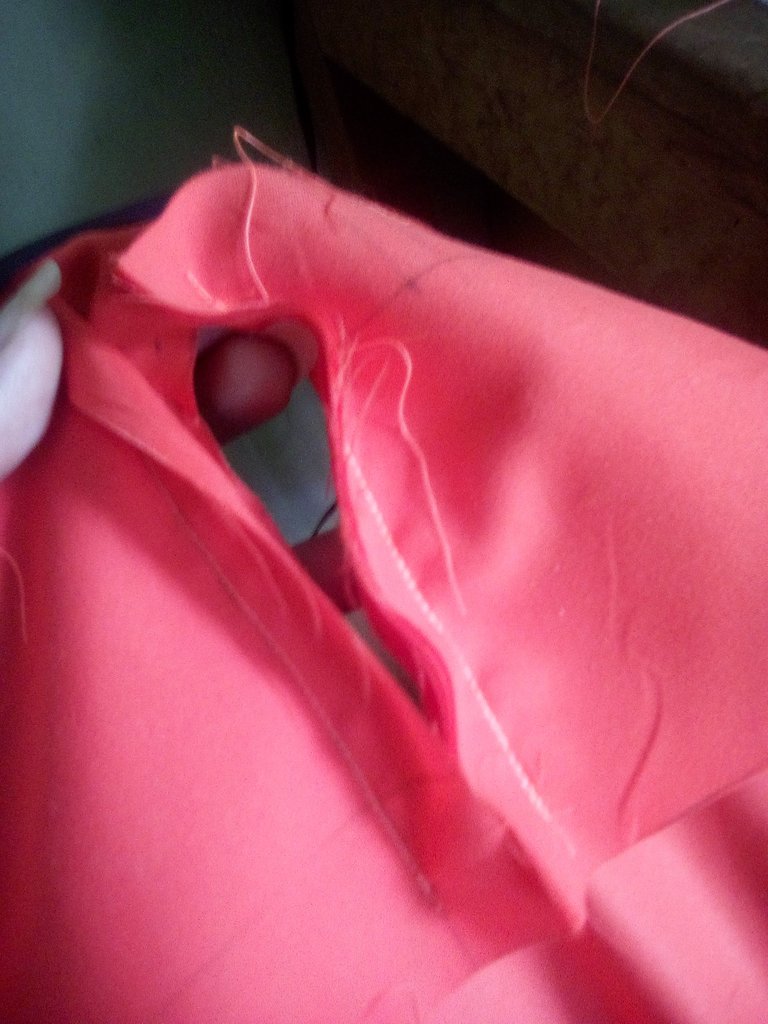
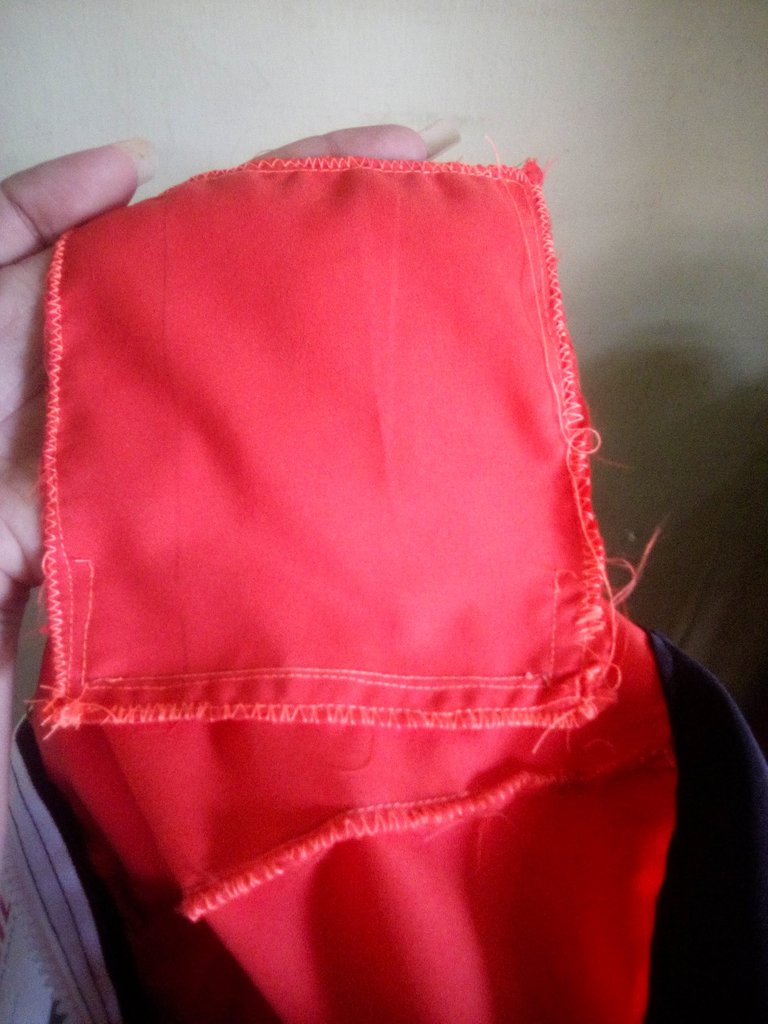
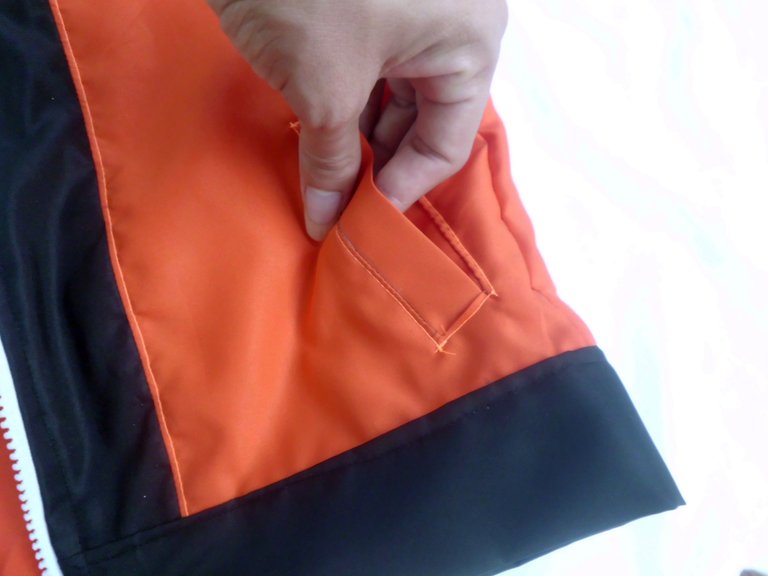
When I saw the jacket almost ready I felt that something was missing, so I decided to make it some front pockets, these pockets are with welt but they are not the same as those of the pants, these have a single visible tab on the front side, I also made them slanted.

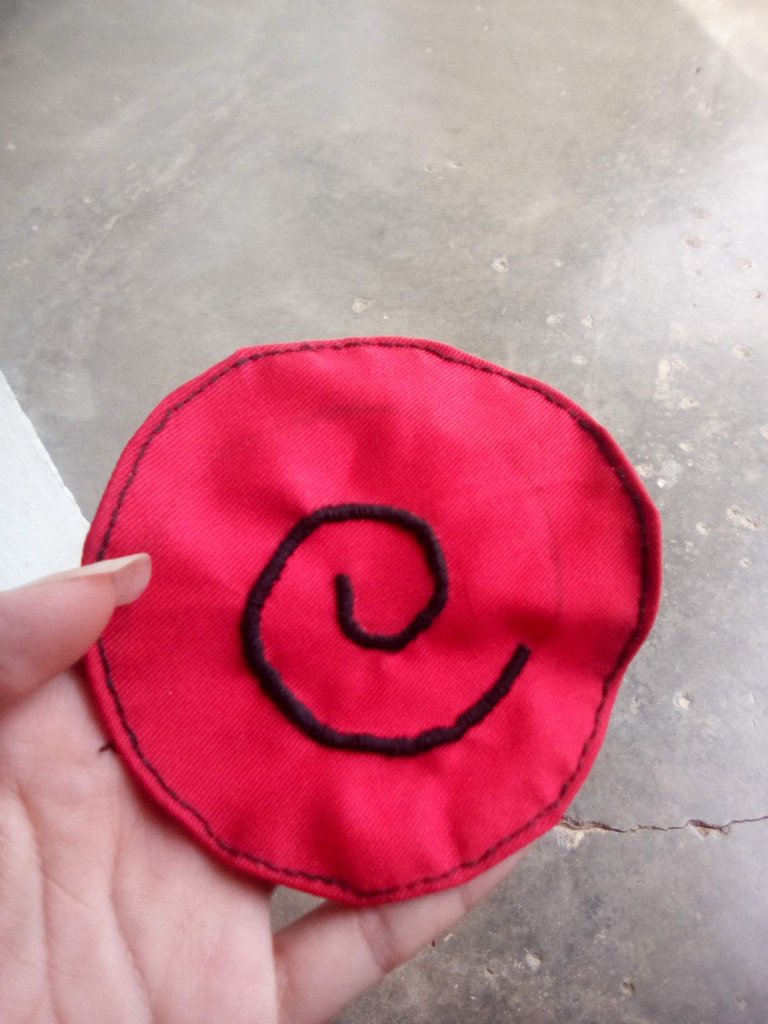
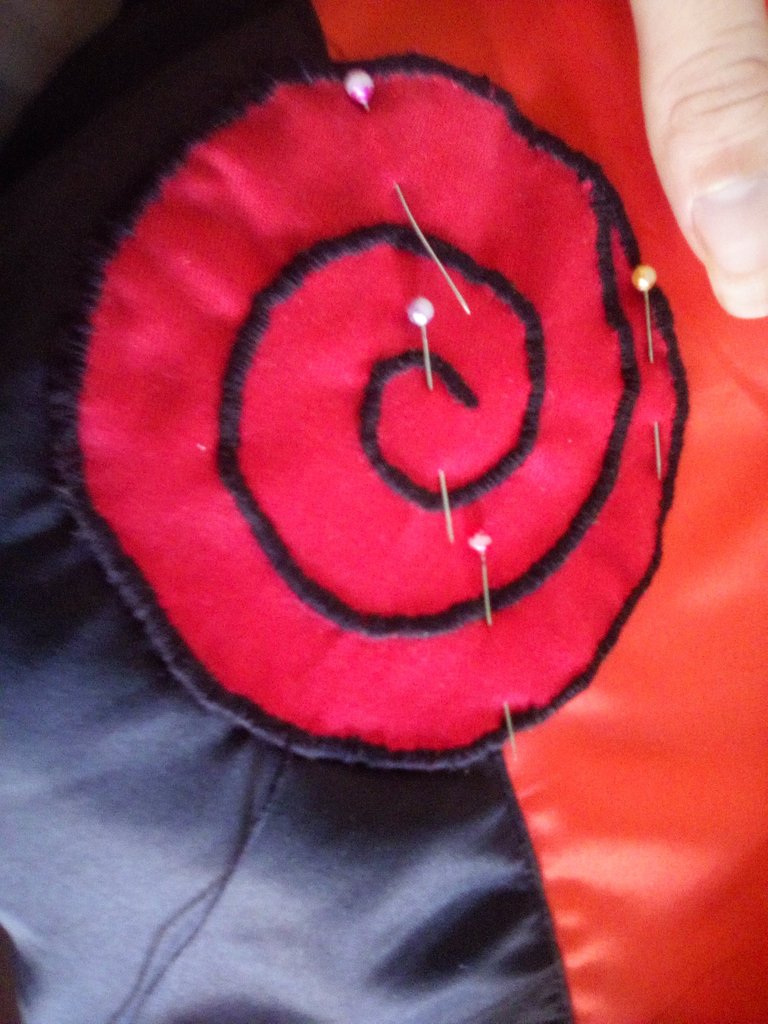
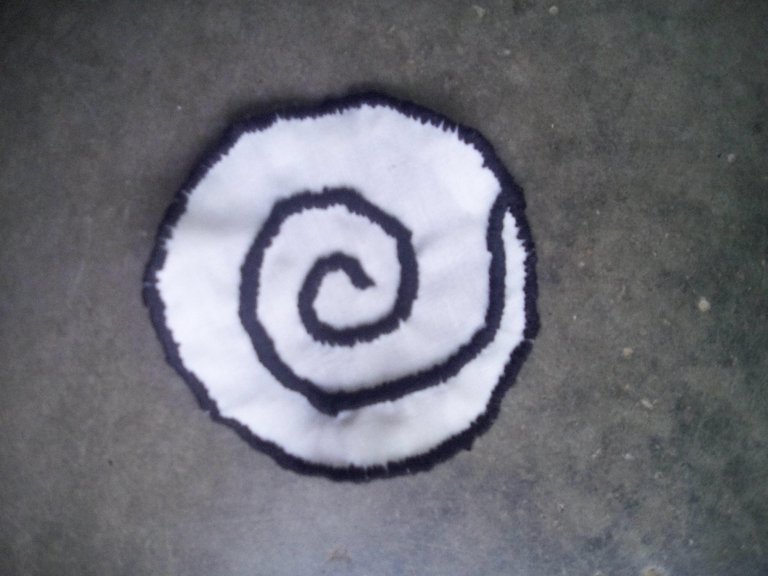
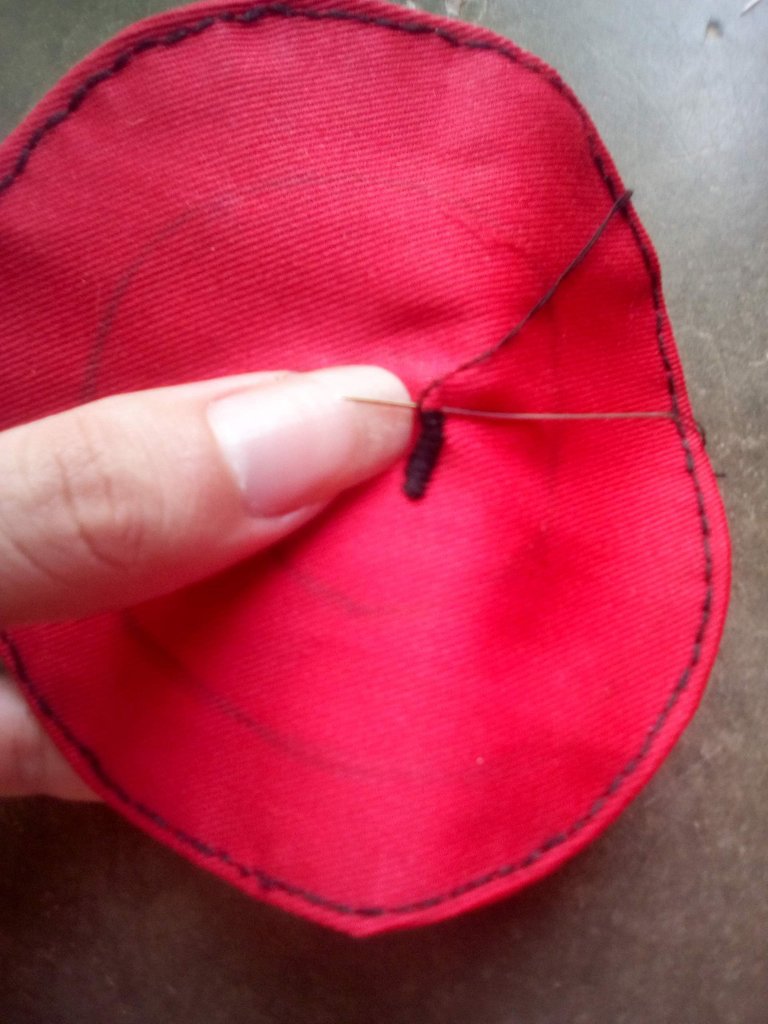
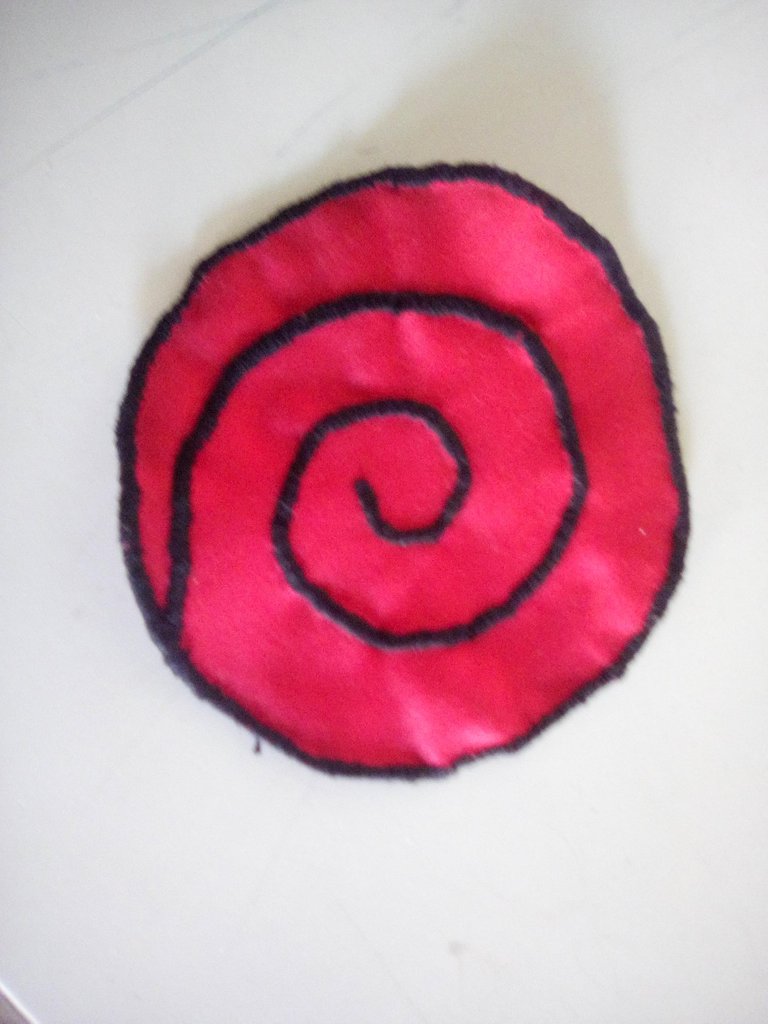
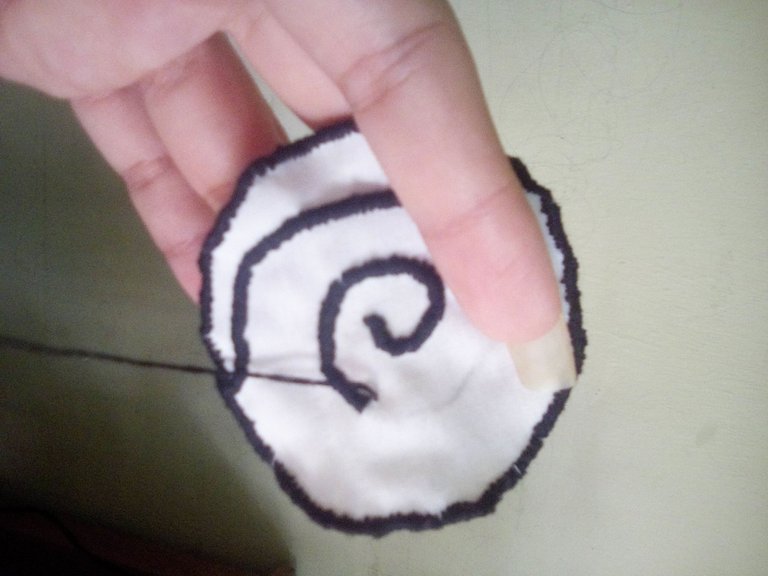
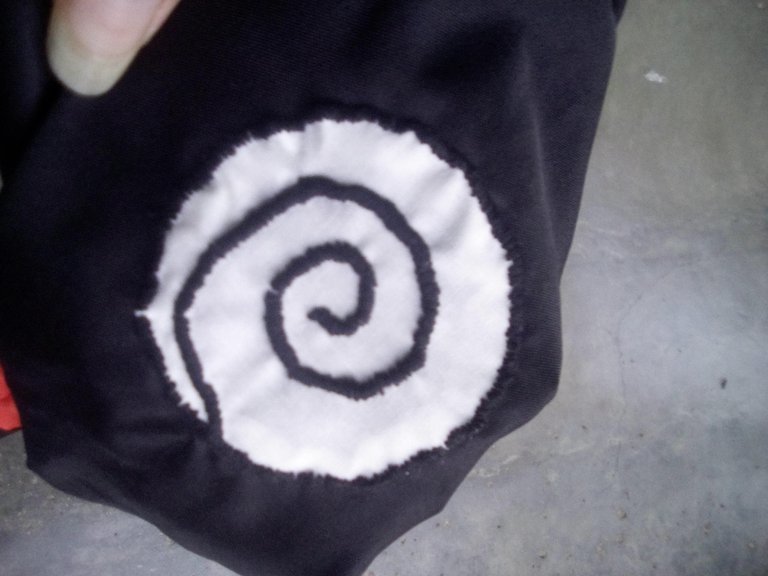
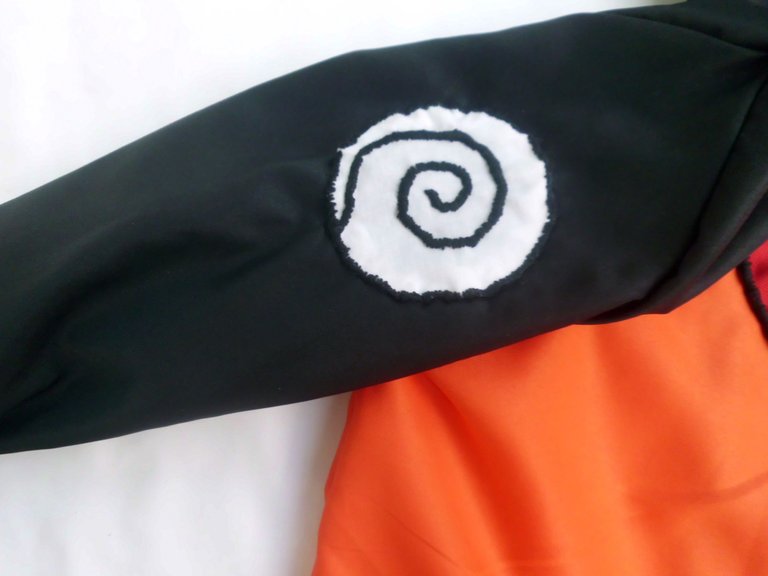
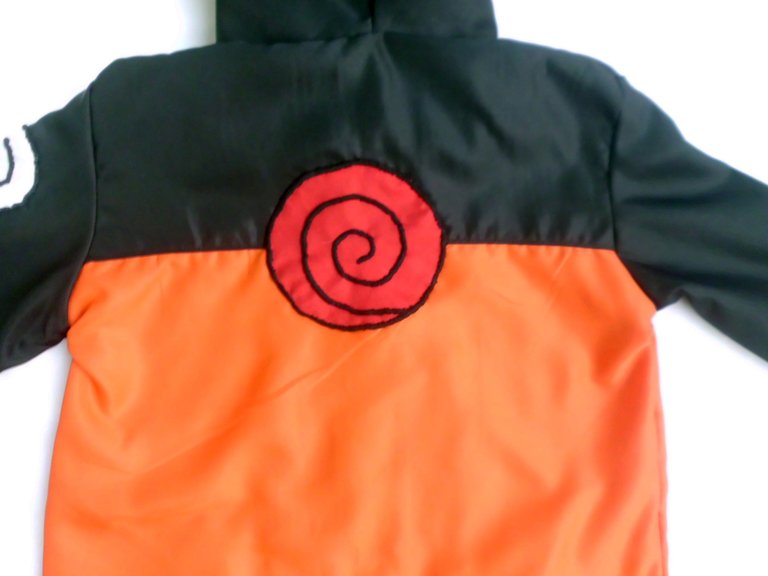
Making the spiral symbol on the back was a challenge, this symbol could not be absent because it belongs to the Whirlpool Village, which is the village of origin of the Uzumaki Clan, that is, where Naruto's mother comes from, so as a mother I am this symbol could not be missing. I tried to make the spiral with the machine's zizzag seam but the result was not pretty, so I decided to embroider the spiral completely by hand, I did it on a piece of cloth called Drill that I had saved, this is almost as thick as a canvas, This part of the process took me many hours and although it is not perfect I feel that only an embroidery machine could make it neat, I was satisfied with the result, I sewed the symbol on the back and later did the same process for the spiral symbol which is more small that goes the left arm of the character.


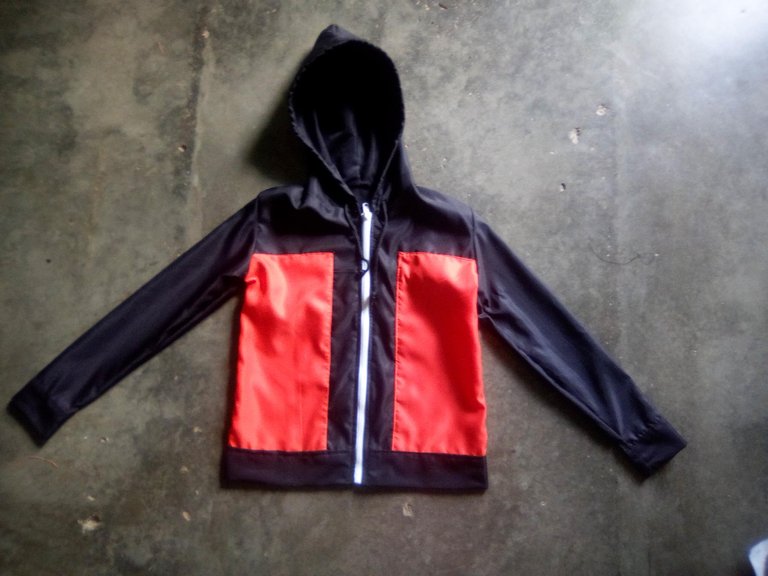
Resultado / Result
I do not share images with my son wearing the costume because I hope to do it on his birthday, also he still does not have the head band, my friend @yetsimar offered to do it, however I think the set exceeded my expectations, it took me longer to what I expected, but I want to continue learning sewing and making my son happy.

Imágenes tomadas con cámara Casio QV-R100 y teléfono Krip 4, editadas en Adobe Photoshop Cs6
Images taken with Casio QV-R100 camera and Krip 4 and edited in Adobe Photoshop Cs6
Invítenme un Café/Support Me on Ko-Fi

Si deseas apoyar mi contenido también puedes hacer donaciones por el valor de un café en Ko-Fi
If you want to support my art you can also make donations for the value of a coffee (Ko-Fi)
Espero les haya gustado. Les invito a leer mis próximas publicaciones y siempre estaré dispuesta a responder sus preguntas y comentarios, también pueden seguirme y contactarme en cualquiera de mis redes sociales. ¡Muchas gracias!
I hope you liked it. I invite you to read my next publications and I will always be willing to answer your questions and comments, you can also follow me and contact me on any of my social networks. Thank you!
Bellisimo el disfraz de Naruto, Rafa se vera genial cuando use todo el atuendo!
Ay siii gracias por la banda <3
Te quedó muy bien. Mi hija mayor cuando era pequeña era fanática de Naruto. En casa aún se encuentran unas películas en DVD de la serie de comiquitas.
Casualmente mi hijo empezó a verlo desde unos dvd guardaos que yo tenía jeje es una anime para todas las edades, tiene muy buenas enseñanzas para la vida, saludos :D
Rafael ha tenido muchas bendiciones últimamente, la bolsa de dormir, ahora su sensacional disfraz elaborado por la mejor, su mamá, de verdad que es muy suertudo. Se que lo va a disfrutar, dentro de poco el será todo un artista profesional con sus dibujos, veo que mejora cada vez más, bueno se lleva en la sangre de su mami😅 Bendiciones para tu familia. 🙌🤗🌹
Muchas gracias @cochanet es que este es su mes y trato de hacer todo lo posible porque tenga bonitos recuerdos de su niñez sobre todo ahora que todo el tiempo esta encerado por la pandemia. Un abrazo!
Me alegro sea así y no dudo que tenga bonitos recuerdos, siempre veo que lo haces sentir especial, además de que es un gran niño, empecé verlo en los post de su abuelita @yole cuando la ayudaba a recoger semeruca y siempre esta acompañándola en todo. Realmente se merece eso y más, Dios lo conserve siempre así. te retorno el abrazo cargado de bendiciones🙌🤗🌹
The rewards earned on this comment will go directly to the person sharing the post on Twitter as long as they are registered with @poshtoken. Sign up at https://hiveposh.com.
Está súper genial. Me encantó. Tú hijo debe sentirse muy feliz y ese es el mejor de los regalos que nos da la vida. Felicidades! Eres muy buena en tu habilidad en costura.
Muchas gracias por los buenos deseos <3
Qye buen trabajo, que talentosa eres amiga Irene. felicitaciones, saludos
Muchas gracias :D