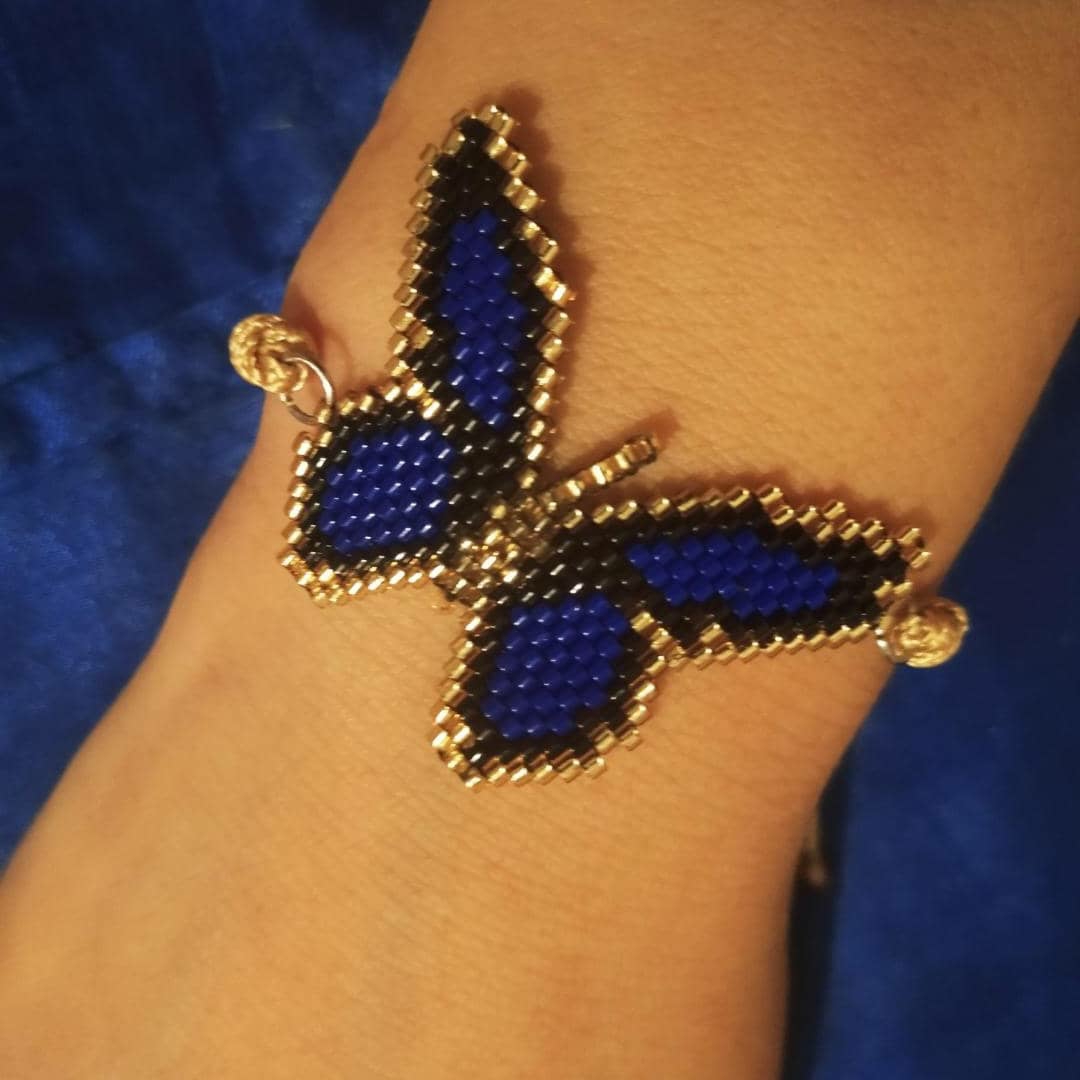
Hello community today I am going to explain in the simplest way how we can knit with the miyuki delicas so you can understand a little more the steps of how I elaborate the pieces of my other publications, although I explain them step by step, here I will make a small pictorial with the most basic stitches. If you dare you can make beautiful things like this.
Hola comunidad hoy les voy a explicar de la manera más sencilla como podemos tejer con las delicas miyuki para que puedan entender un poco más los pasos de cómo elaboro las piezas de mis otras publicaciones, aunque las explico paso a paso, acá les haré un pequeño pictorial con las puntadas más básicas. Si te animas podrás realizar cosas tan hermosas como ésta.
The materials we are going to use are:
- miyuki delicas or beads
- Nylon thread or any other resistant thread.
- Needle for miyuki
- Scissors
Los materiales que vamos a usar son:
- Delicas miyuki o mostacillas
- Hilo de Nylon o cualquiera que sea resistente
- Aguja para miyuki
- Tijera

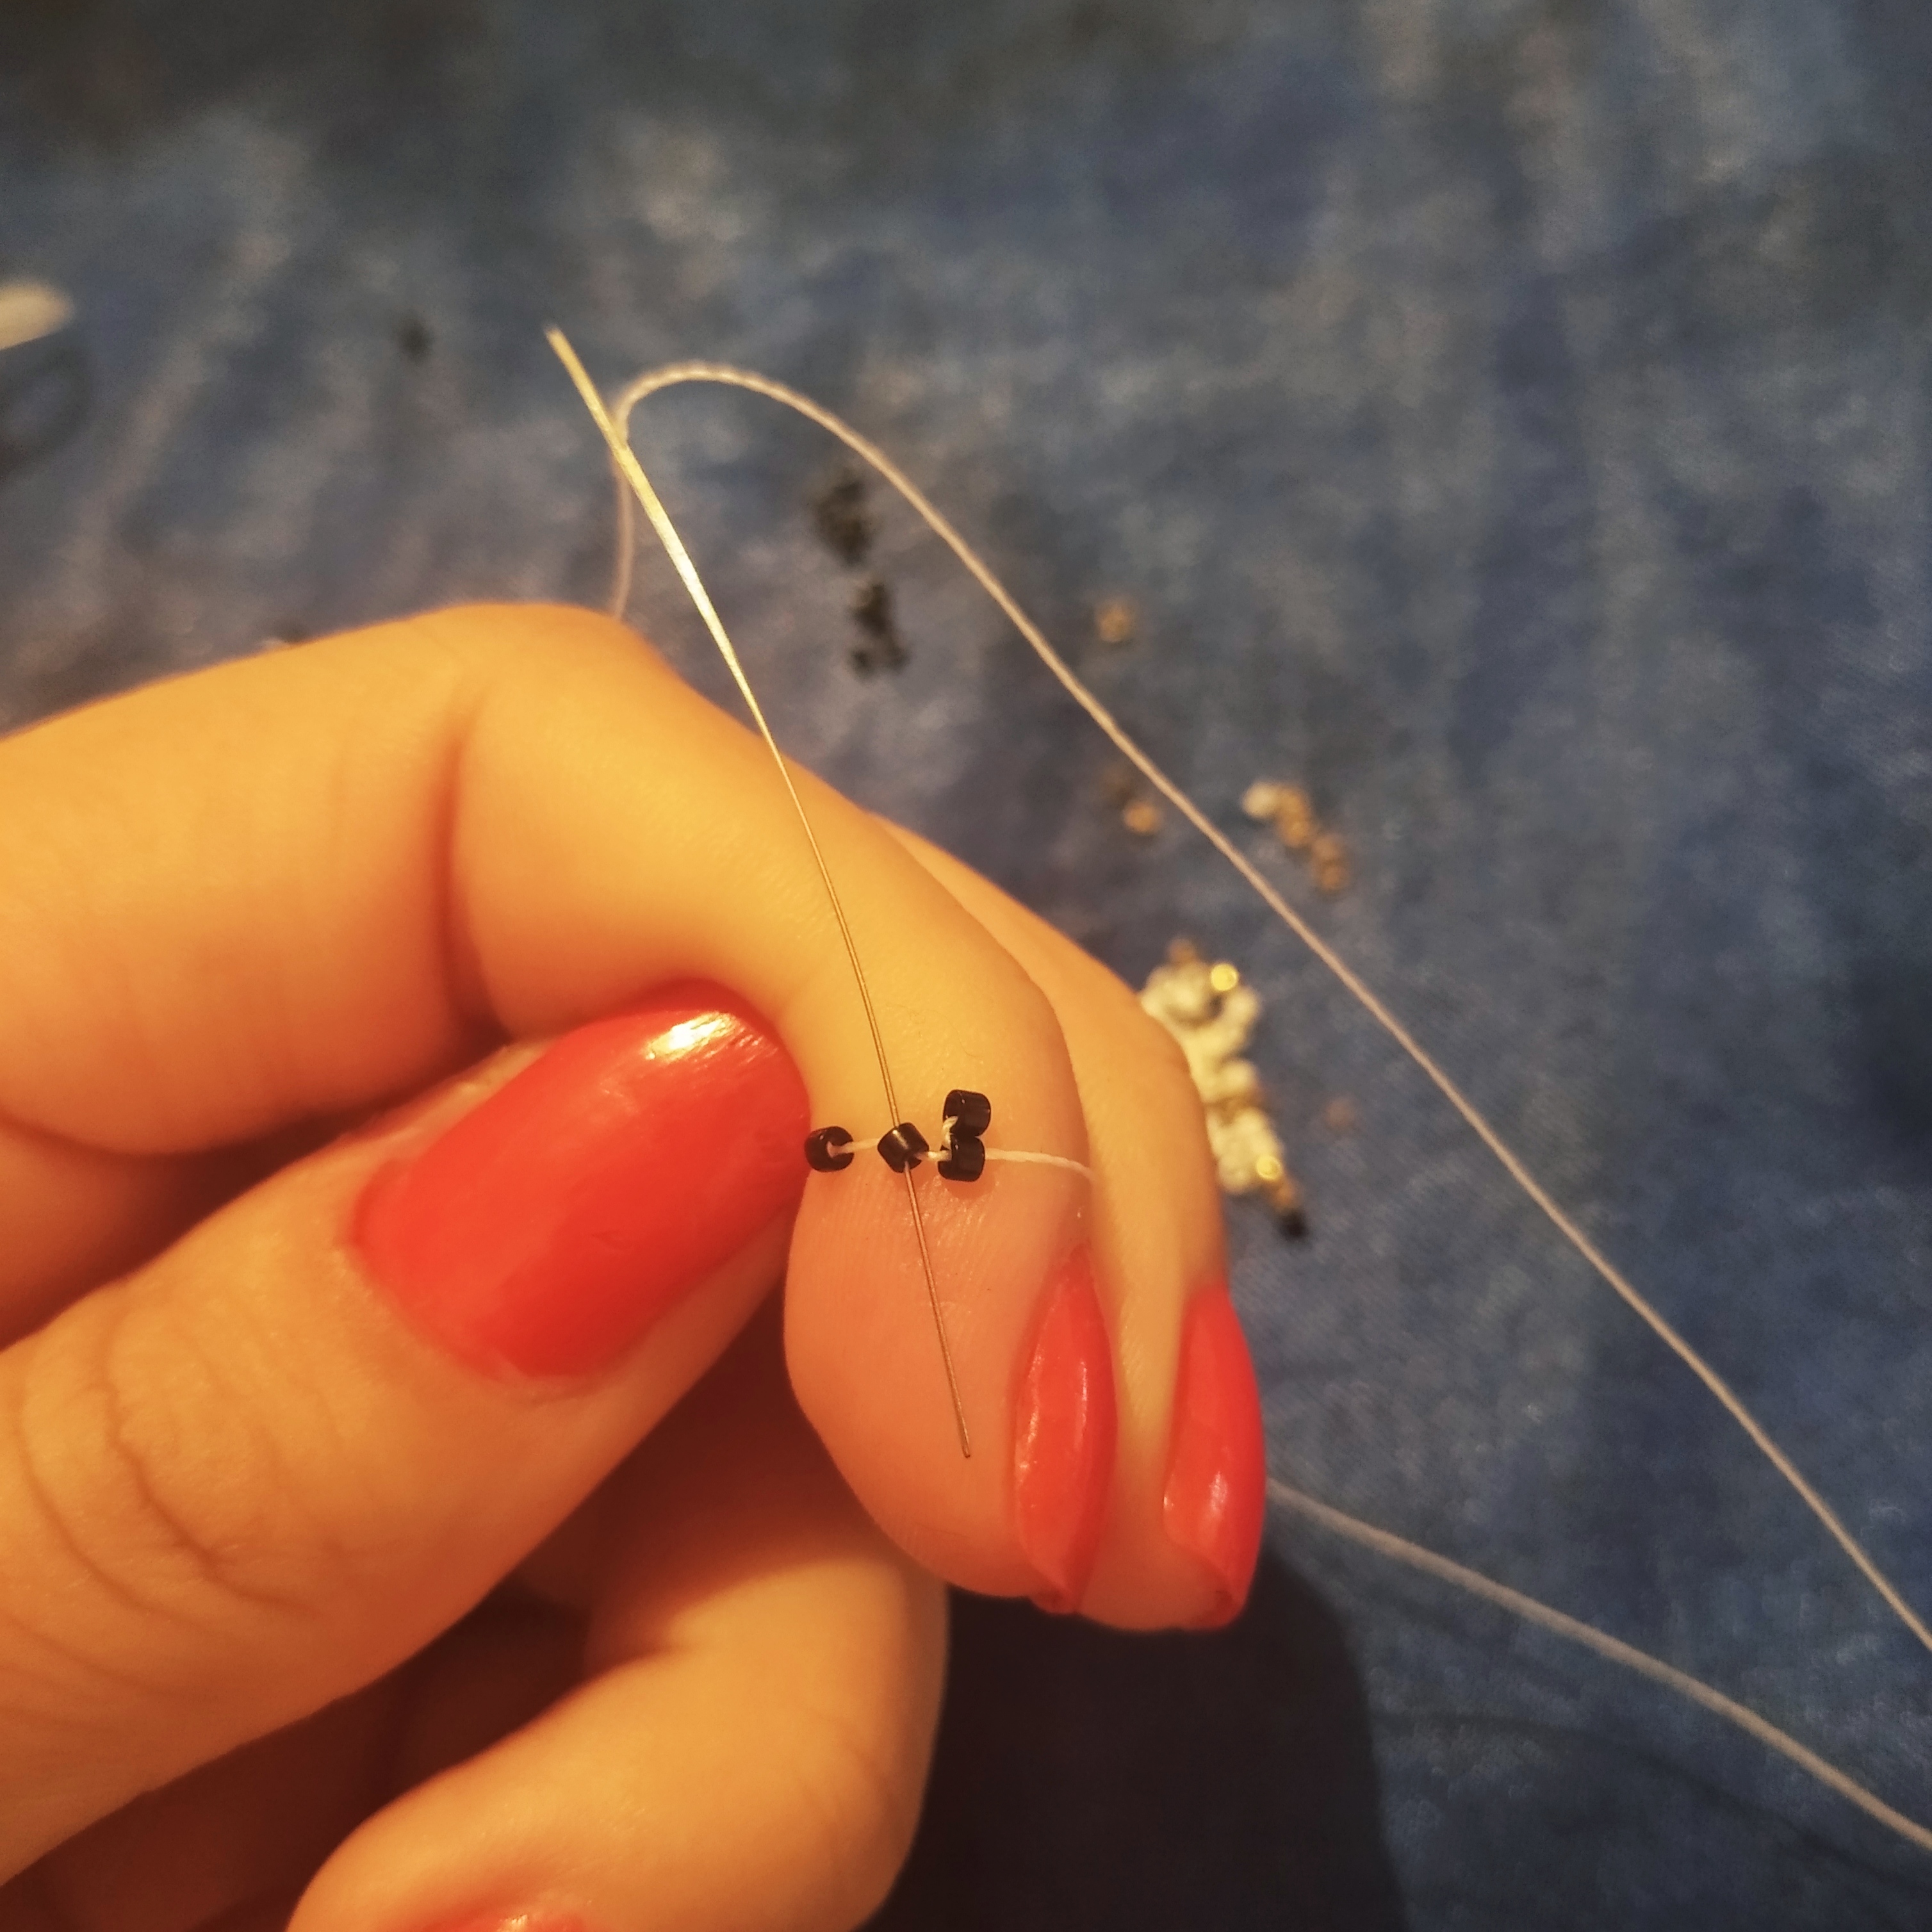
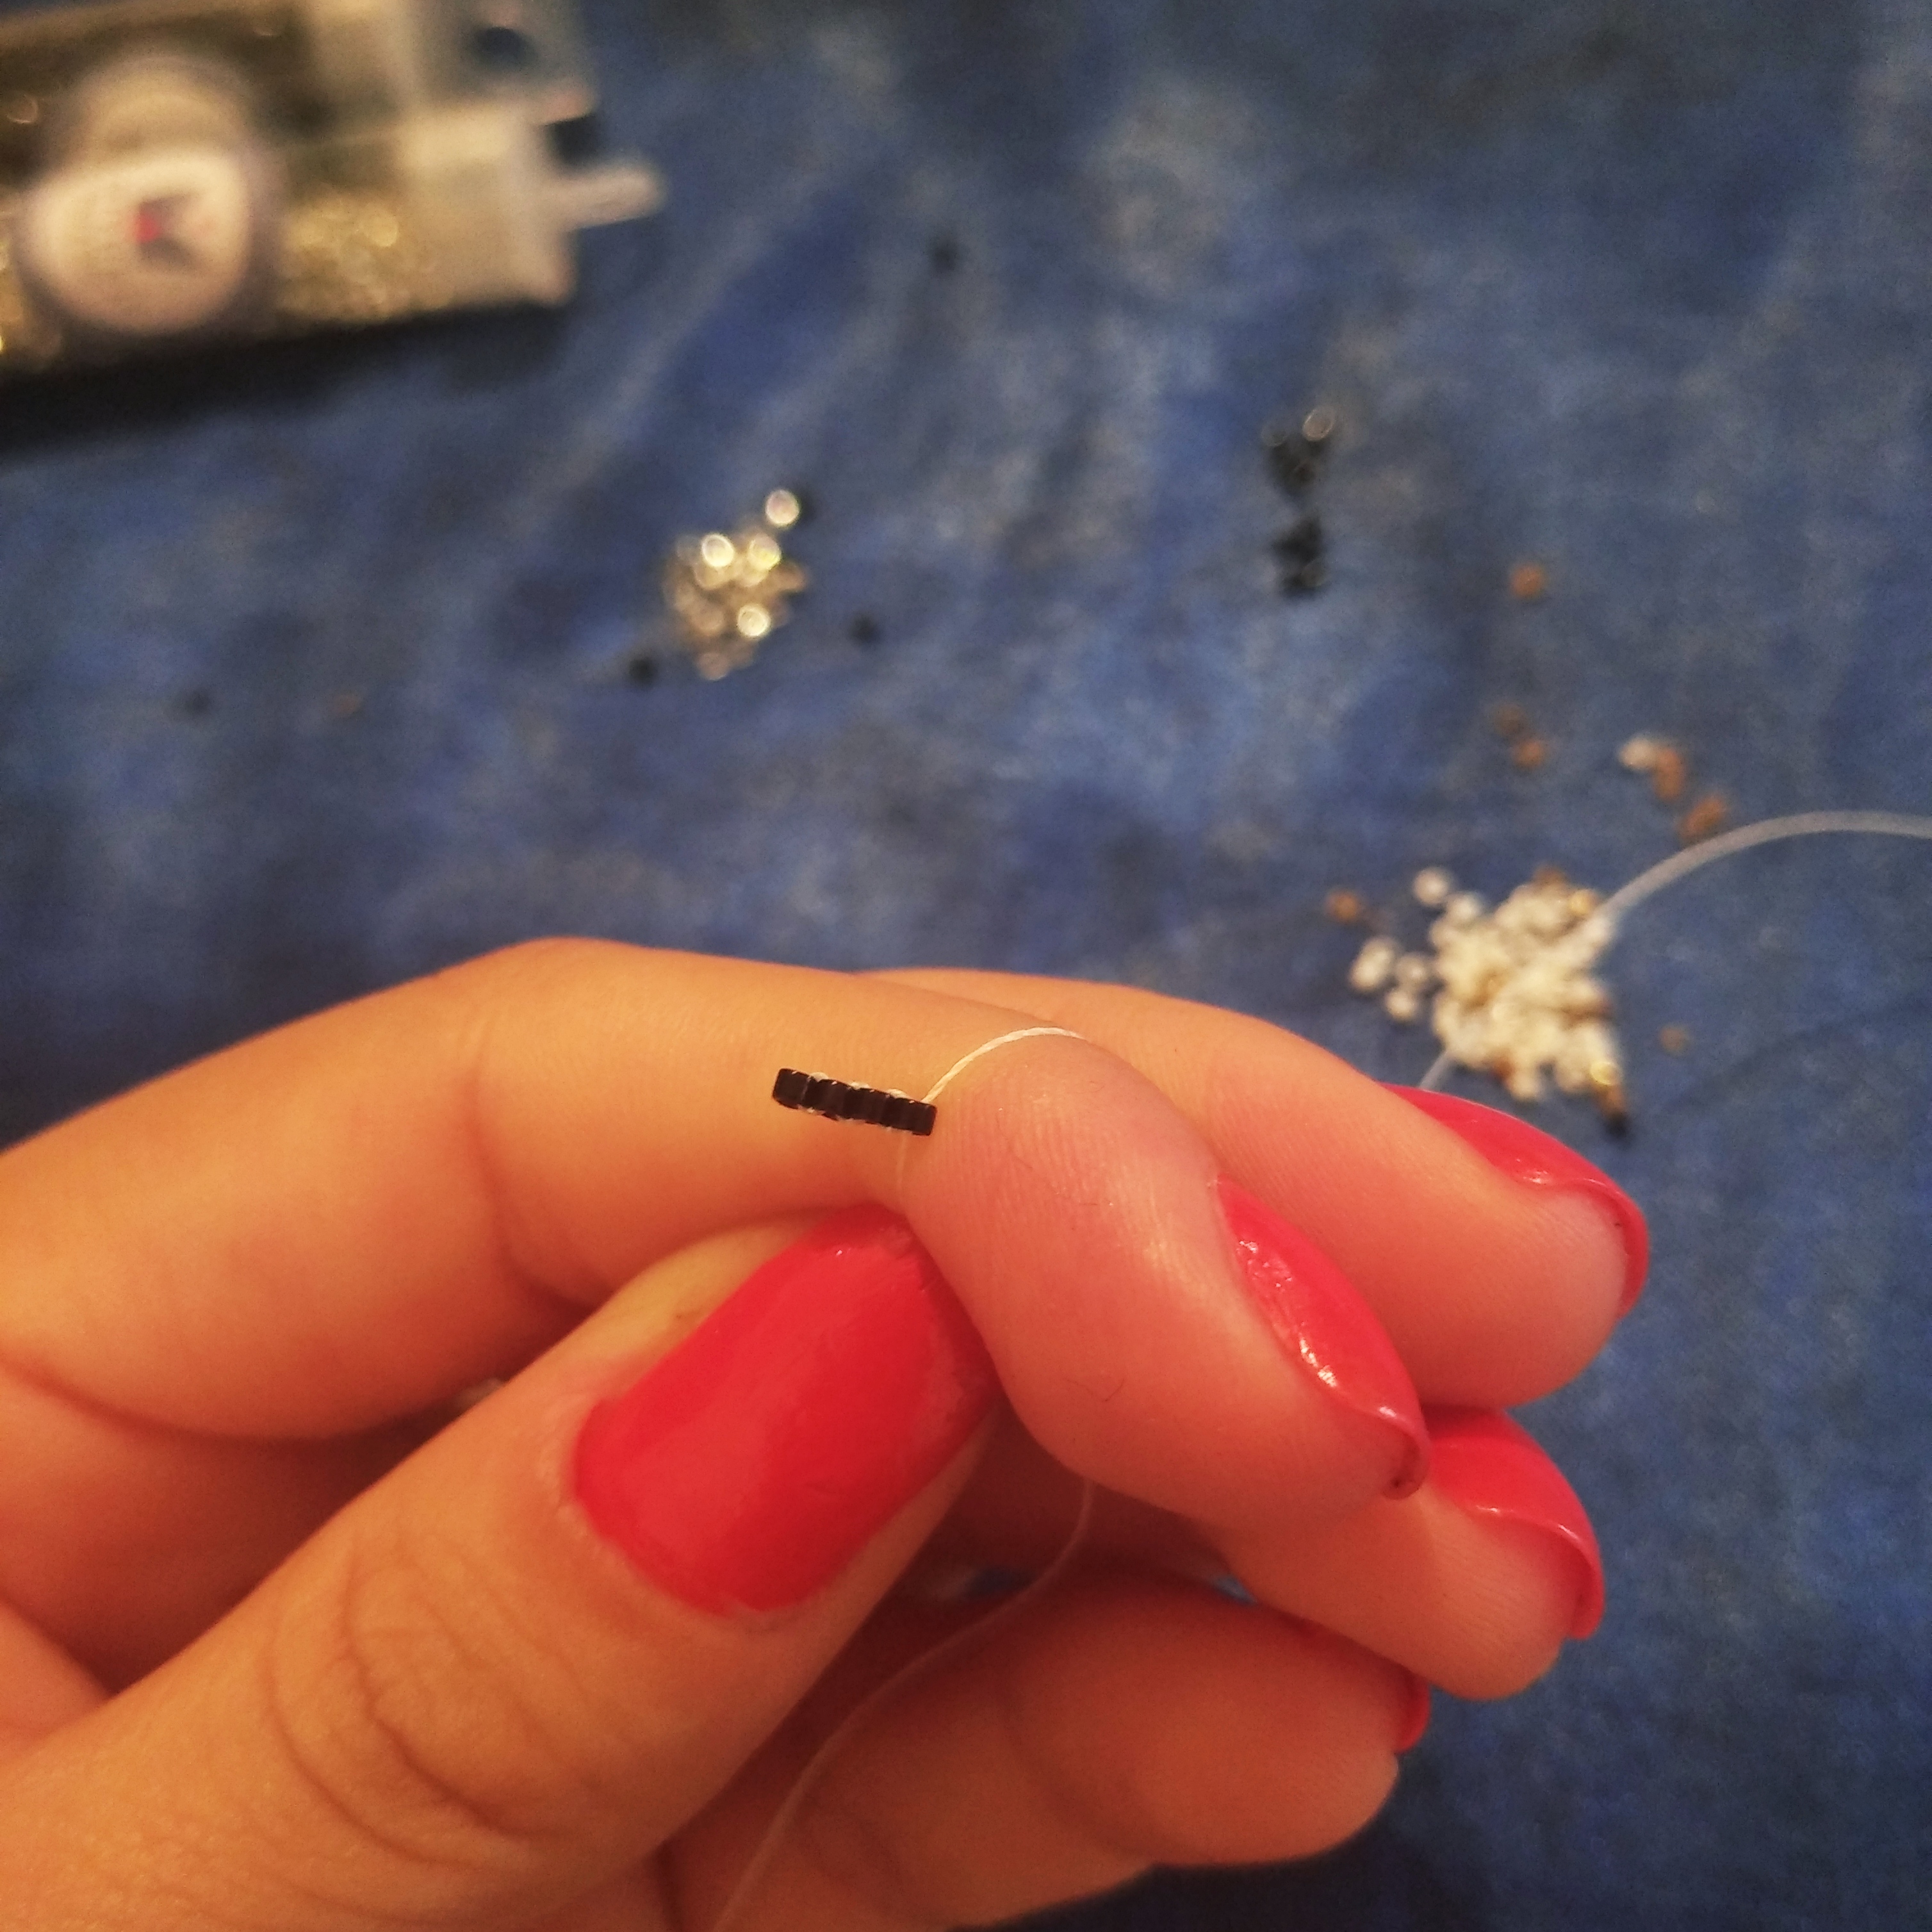
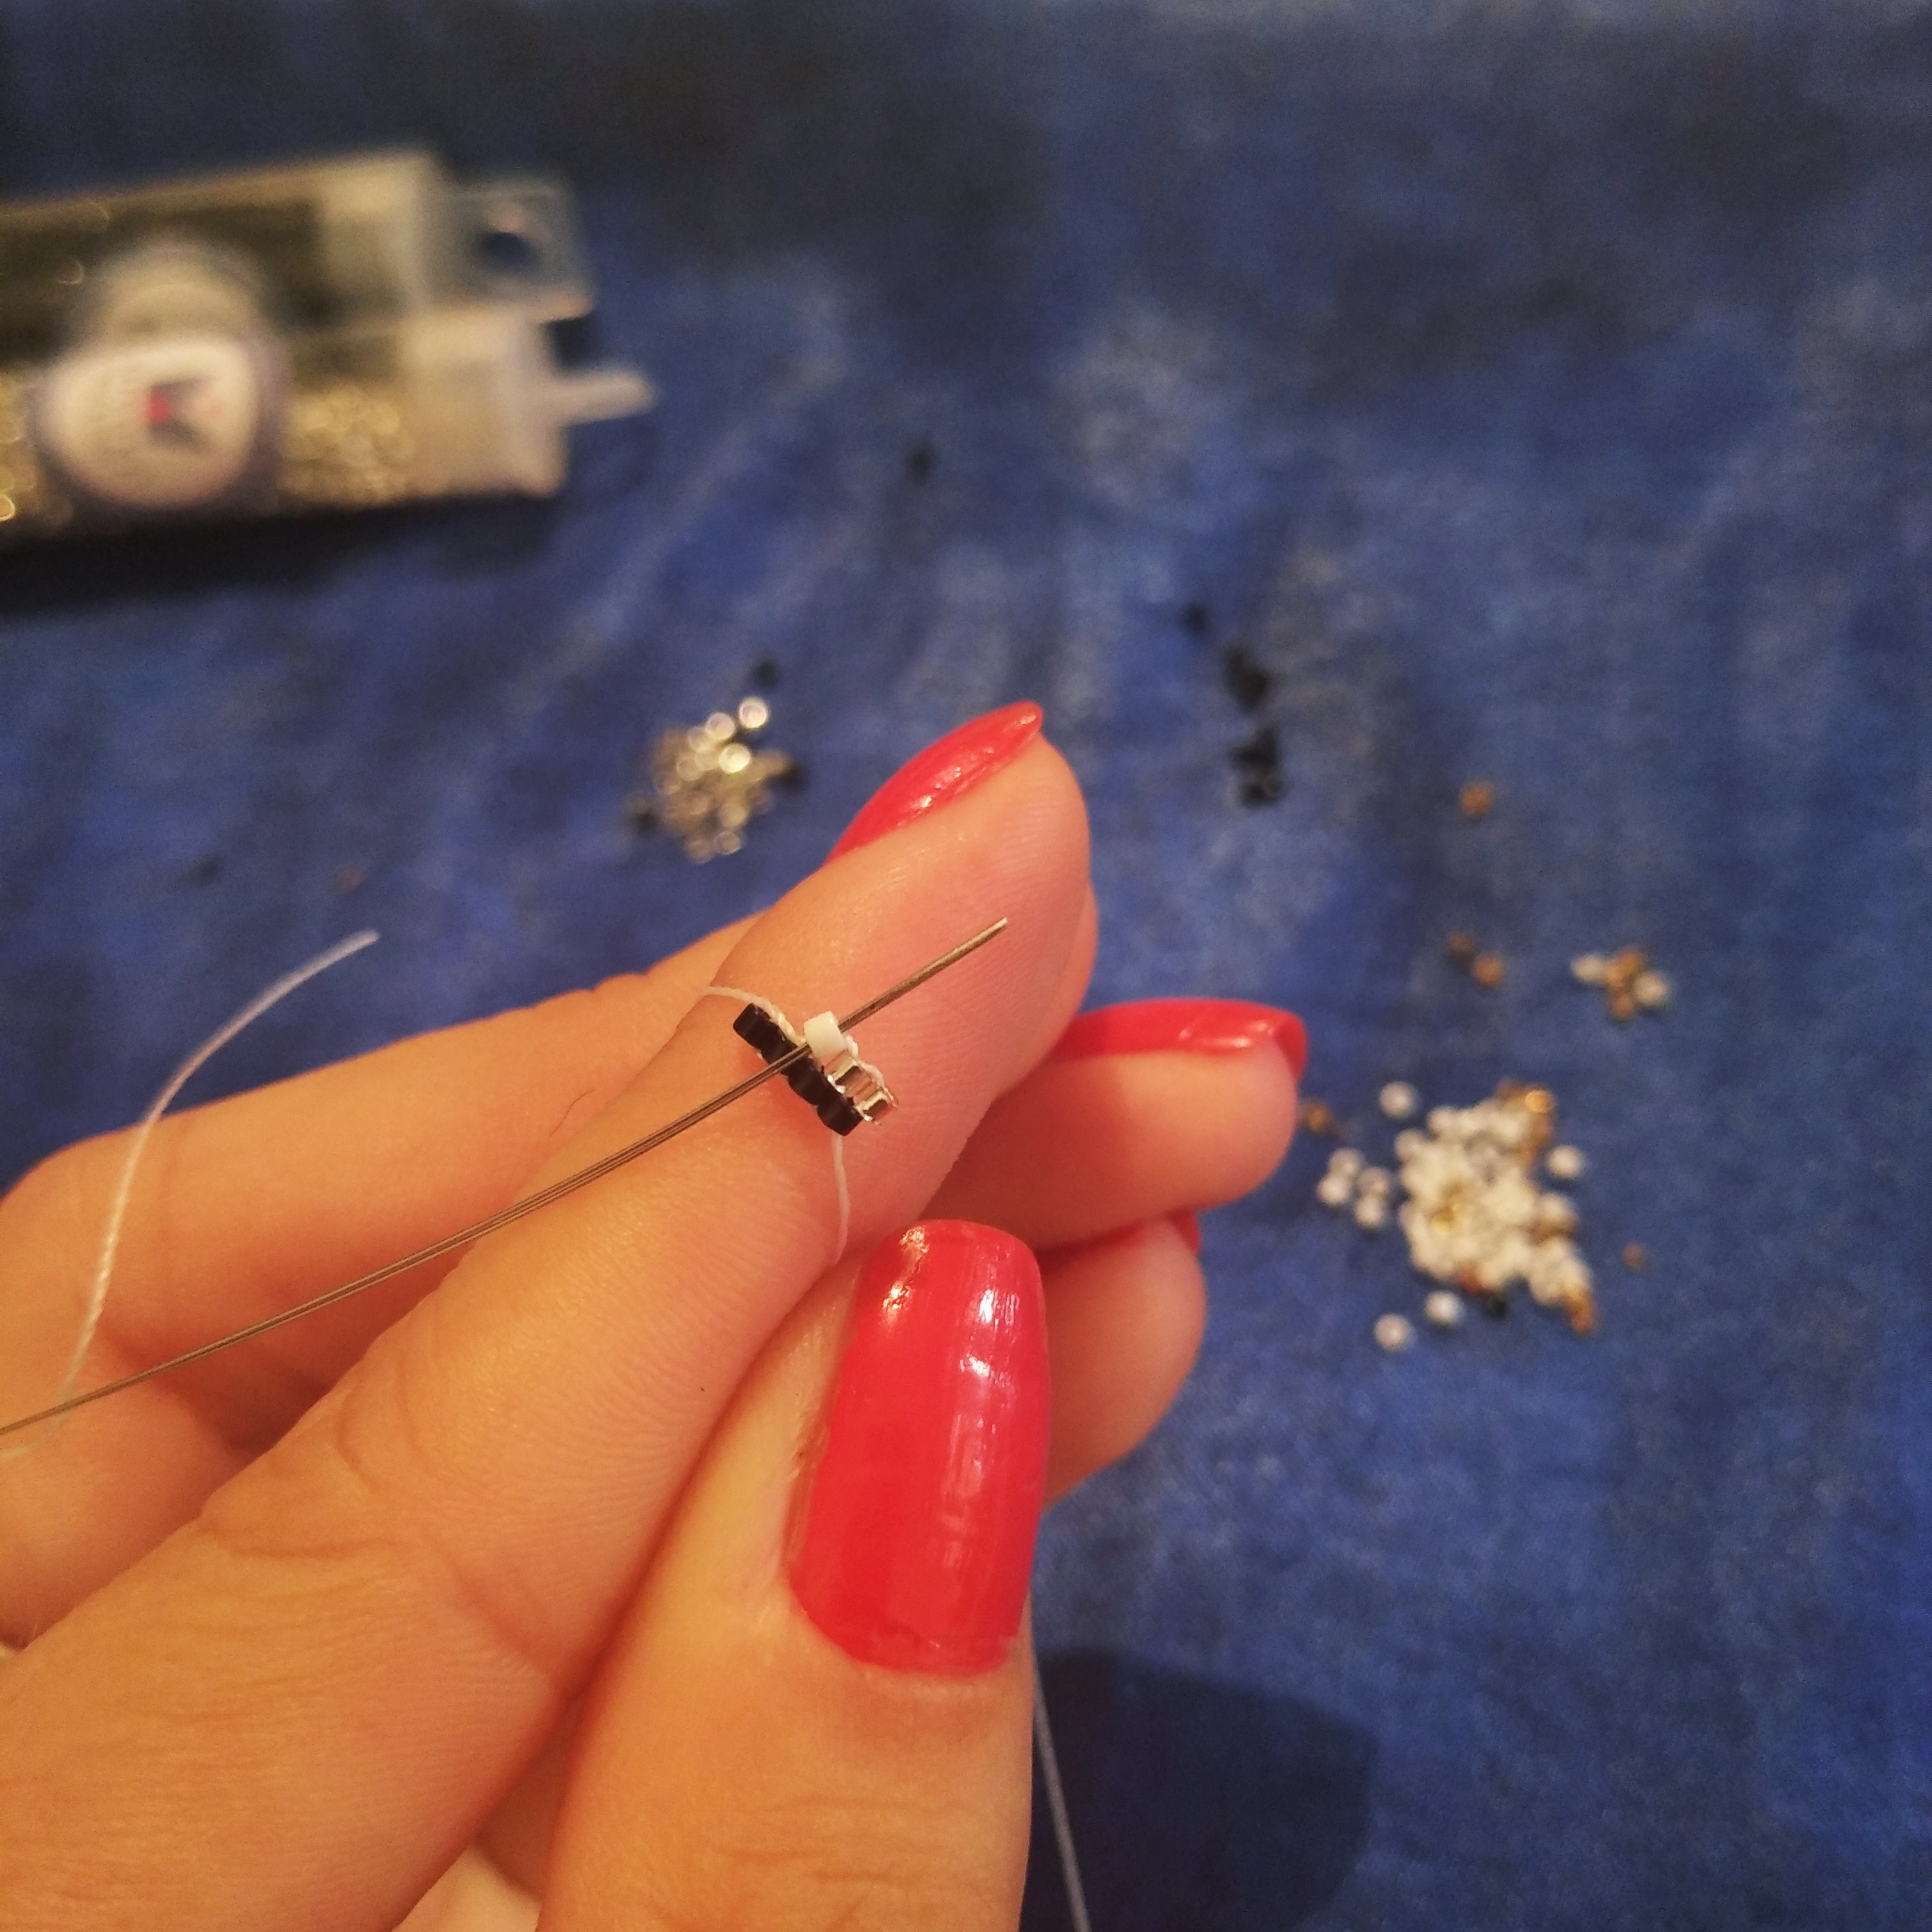
We are going to start by selecting the number of marbles that we are going to need to start our work, I started with four marbles to explain. We take them through the thread always leaving an approximate of ten centimeters at the end as shown in the image above.
Vamos a comenzar isertando el número de delicas que vayamos a necesitar para comenzar nuestro trabajo, yo para explicarles comencé con cuatro delicas. Las llevamos a travéz del hilo siempre dejando un apróximado de diez centímetros al final como se muestra en la imágen anterior.

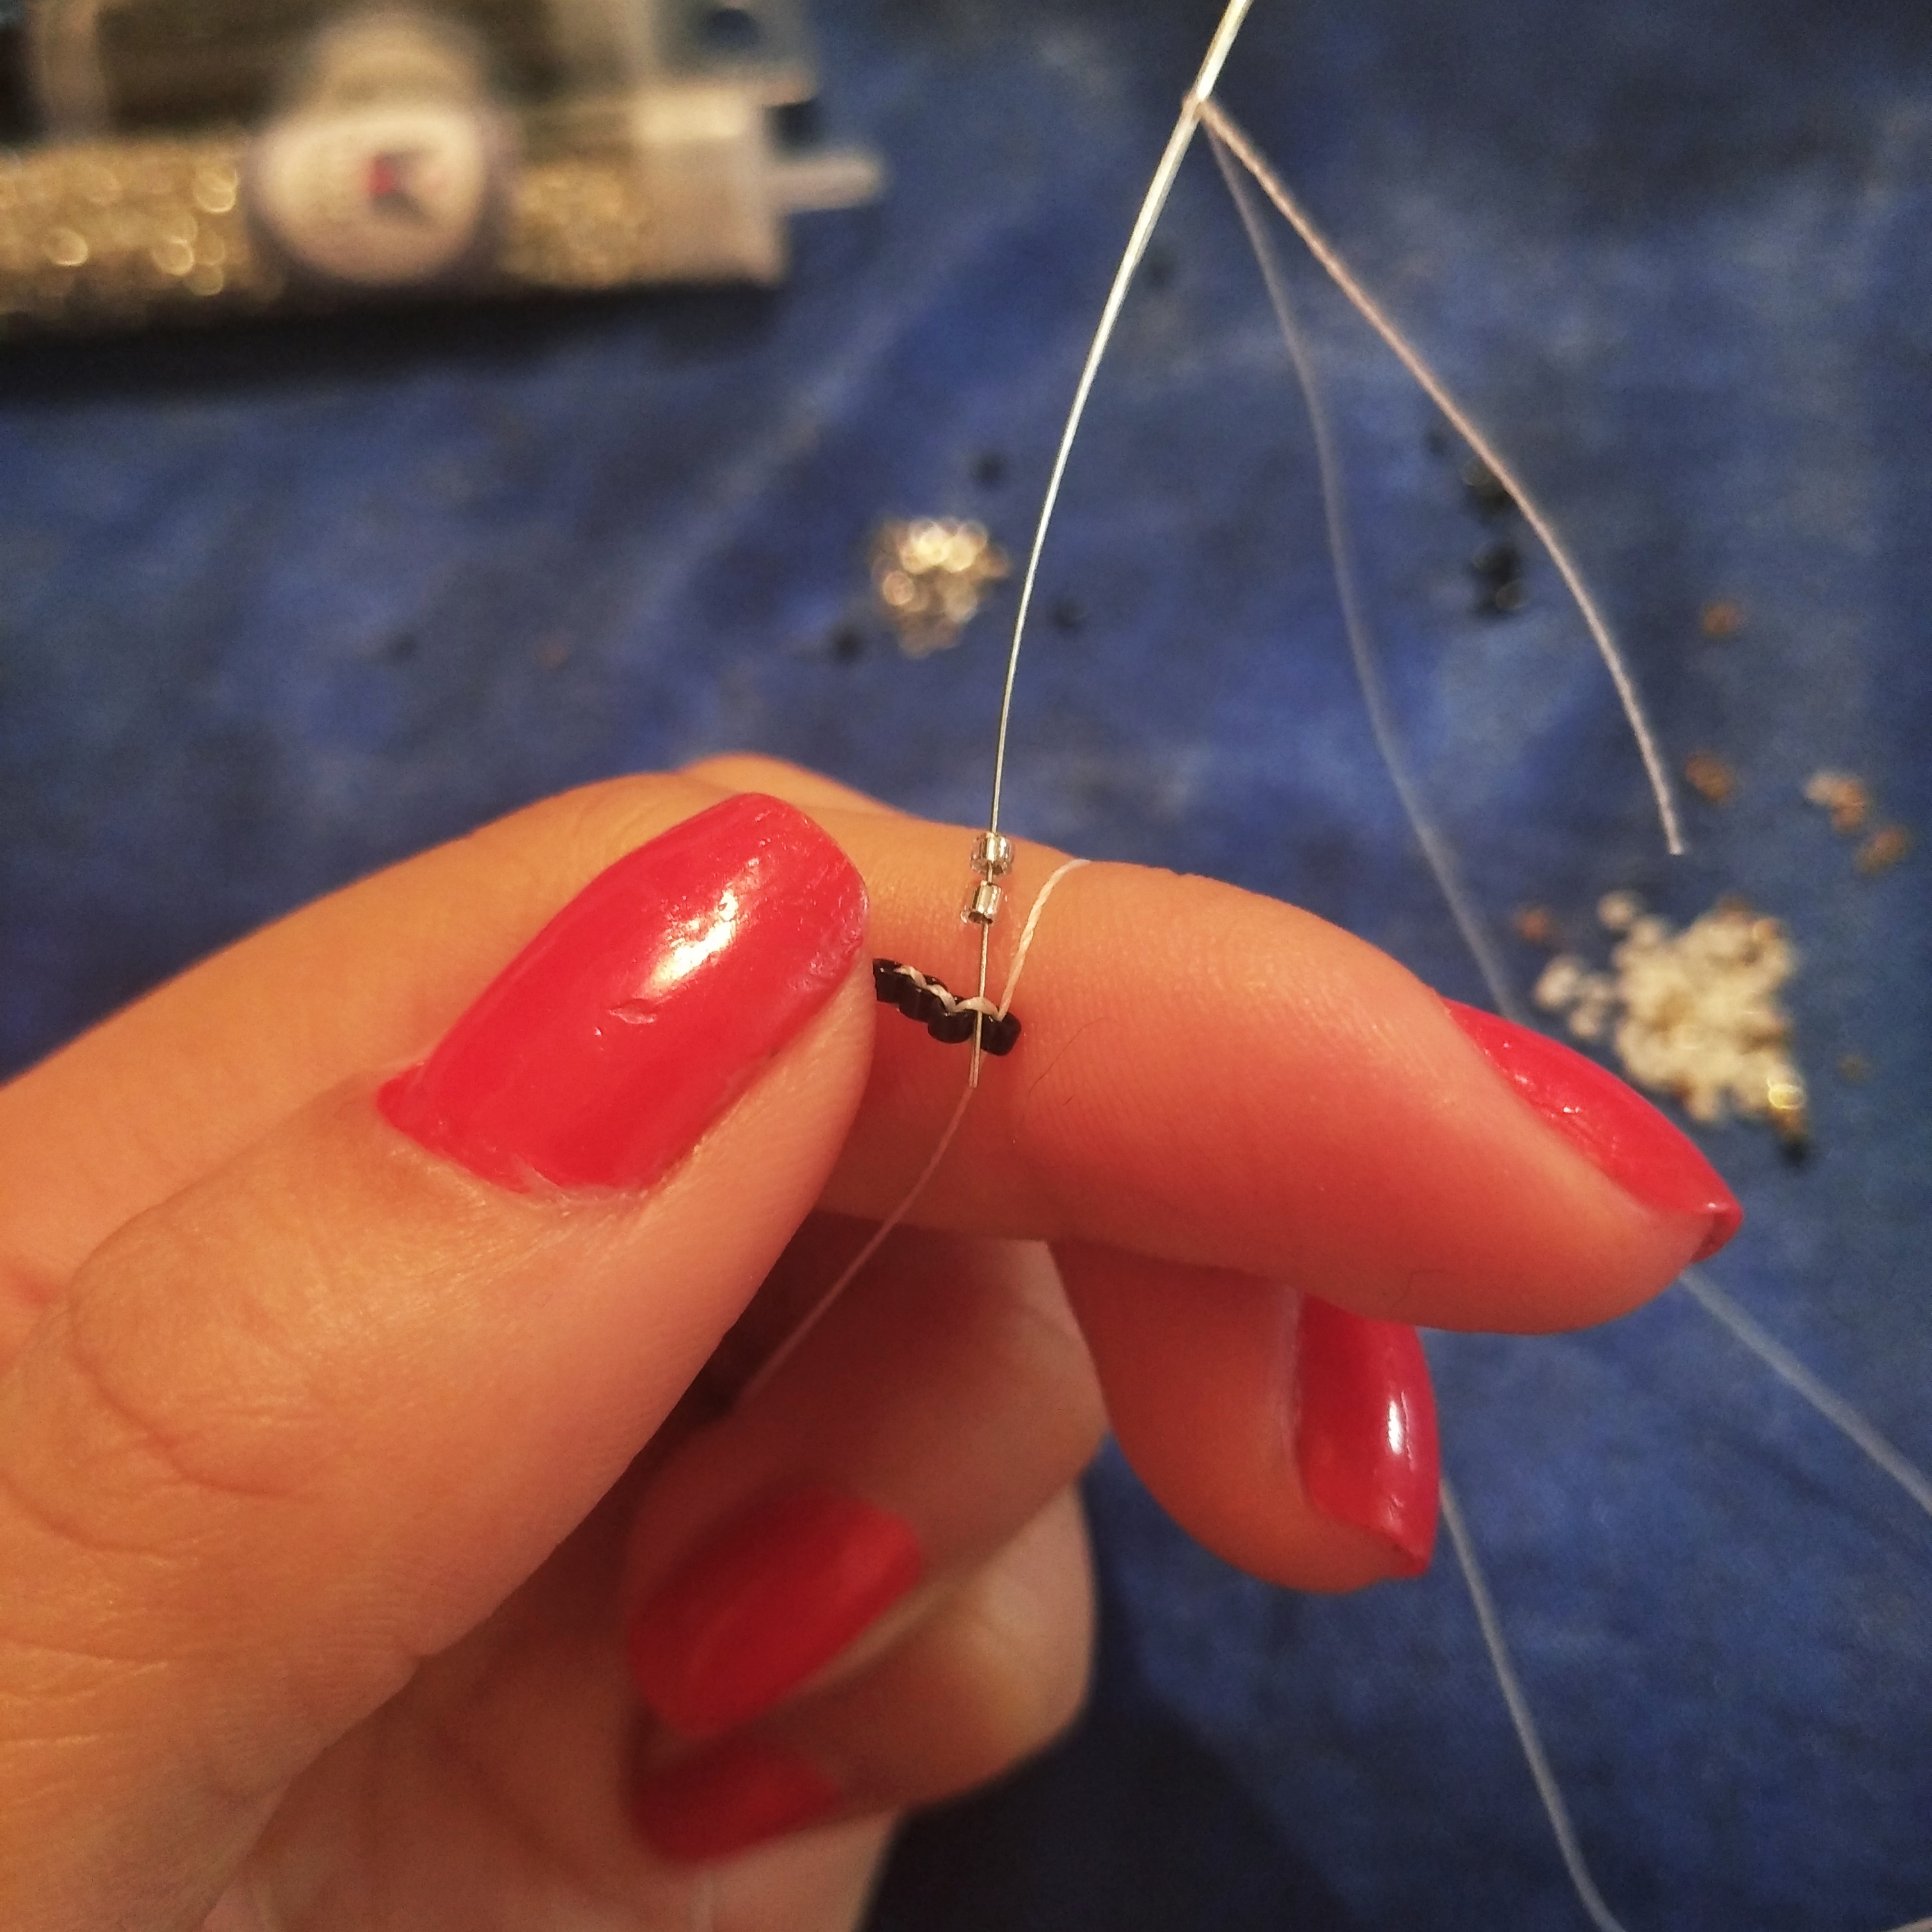
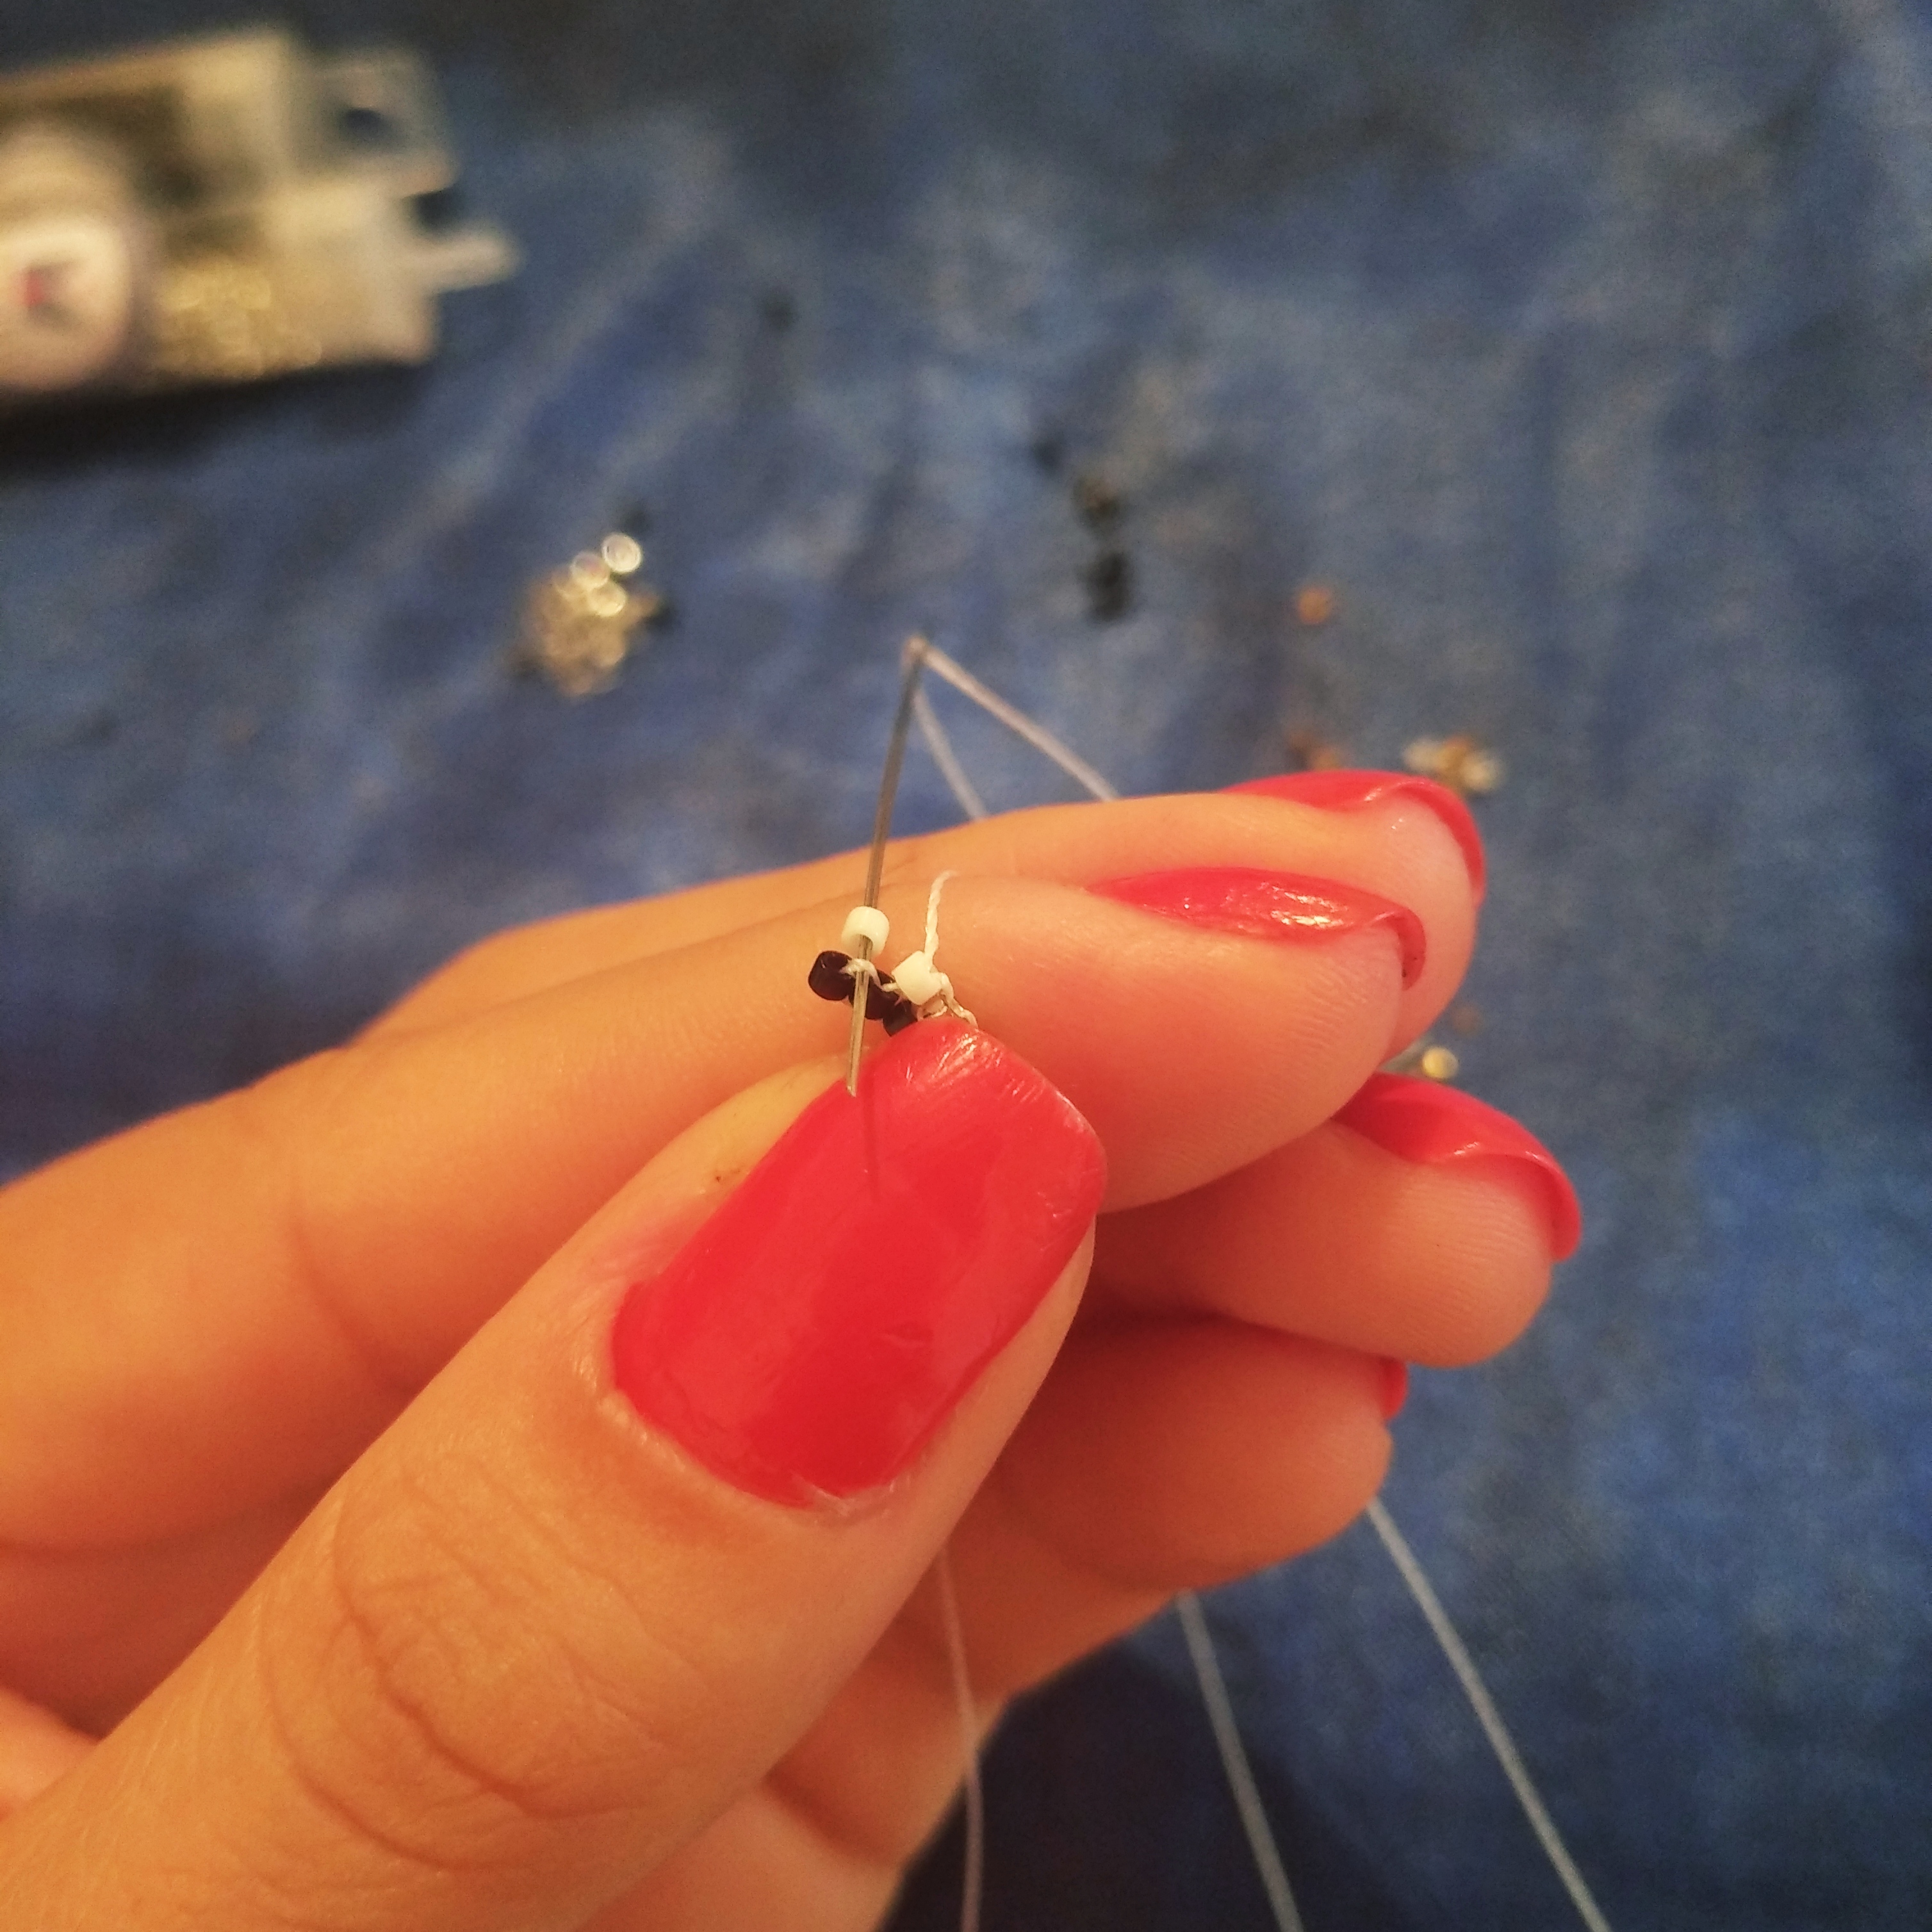
We are going to pass our needle from the back to the front through the second delica.
Vamos a pasar nuestra aguja de atrás hacia adelante por la segunda delica.
Then for the following
Luego por la siguiente
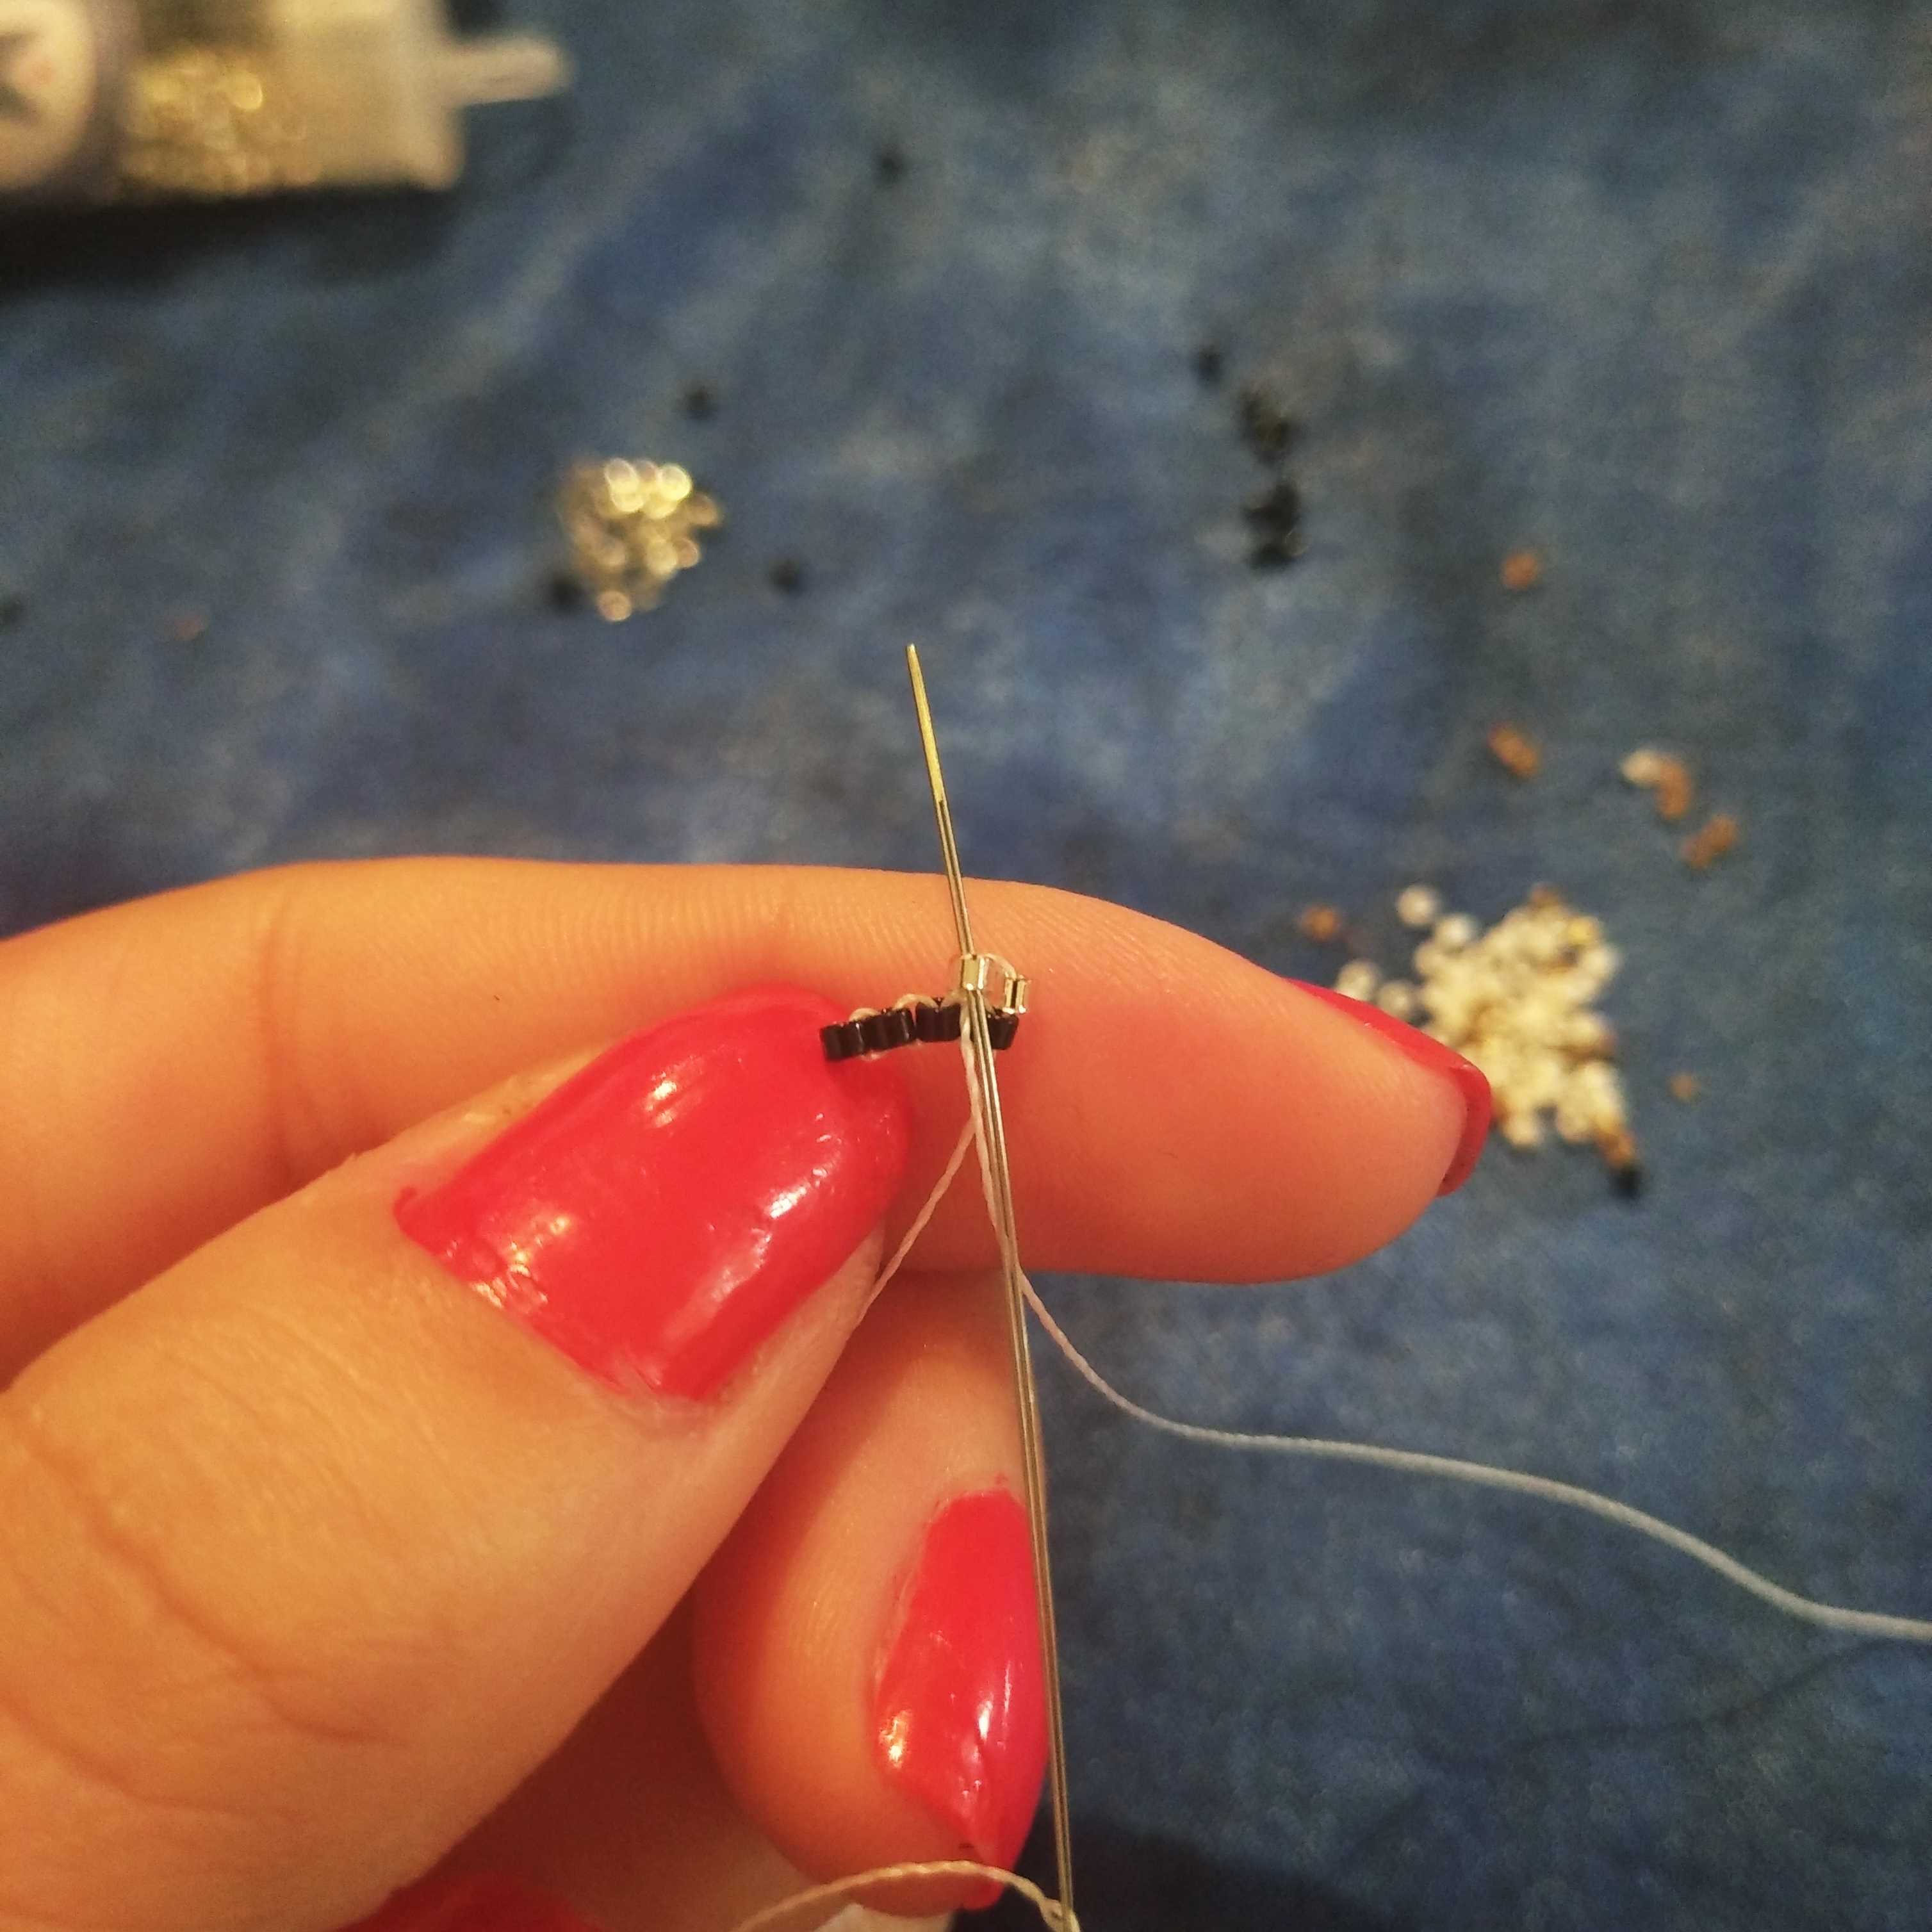
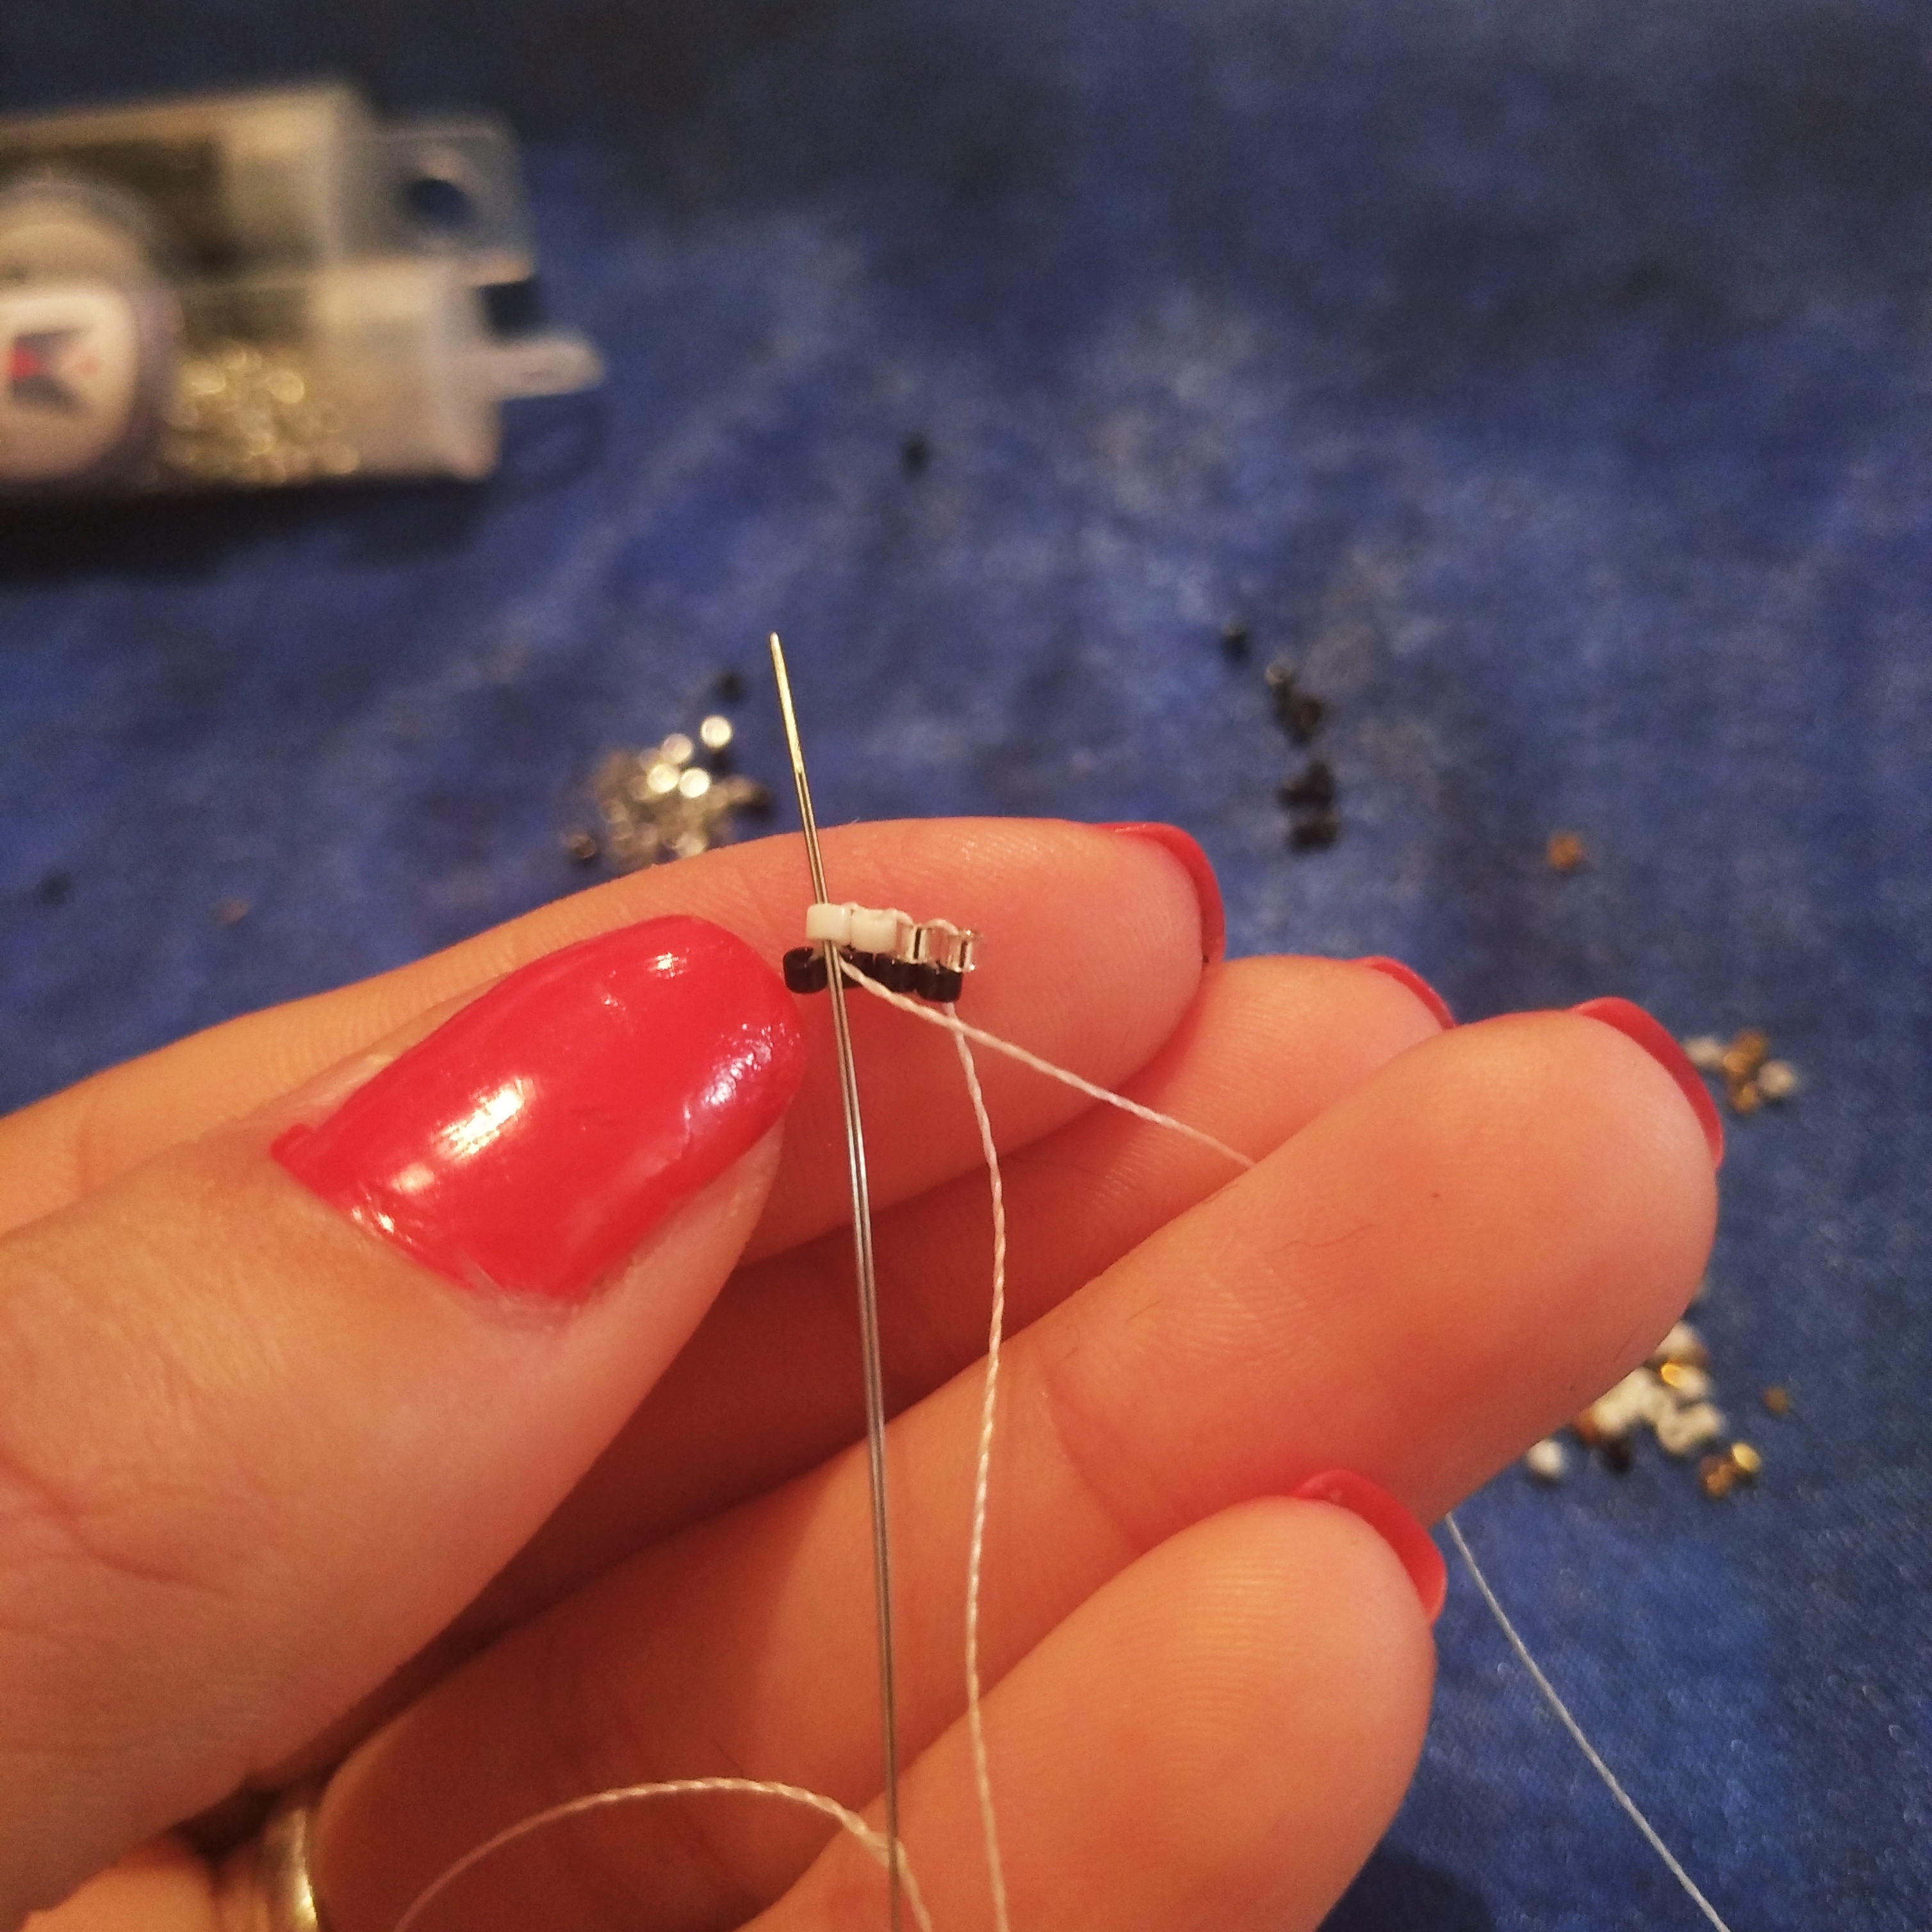
Until the last one is reached, always passing the needle from the back to the front.
Hata llegar a la última, siempre pasando la aguja de atrás hacia adelante.
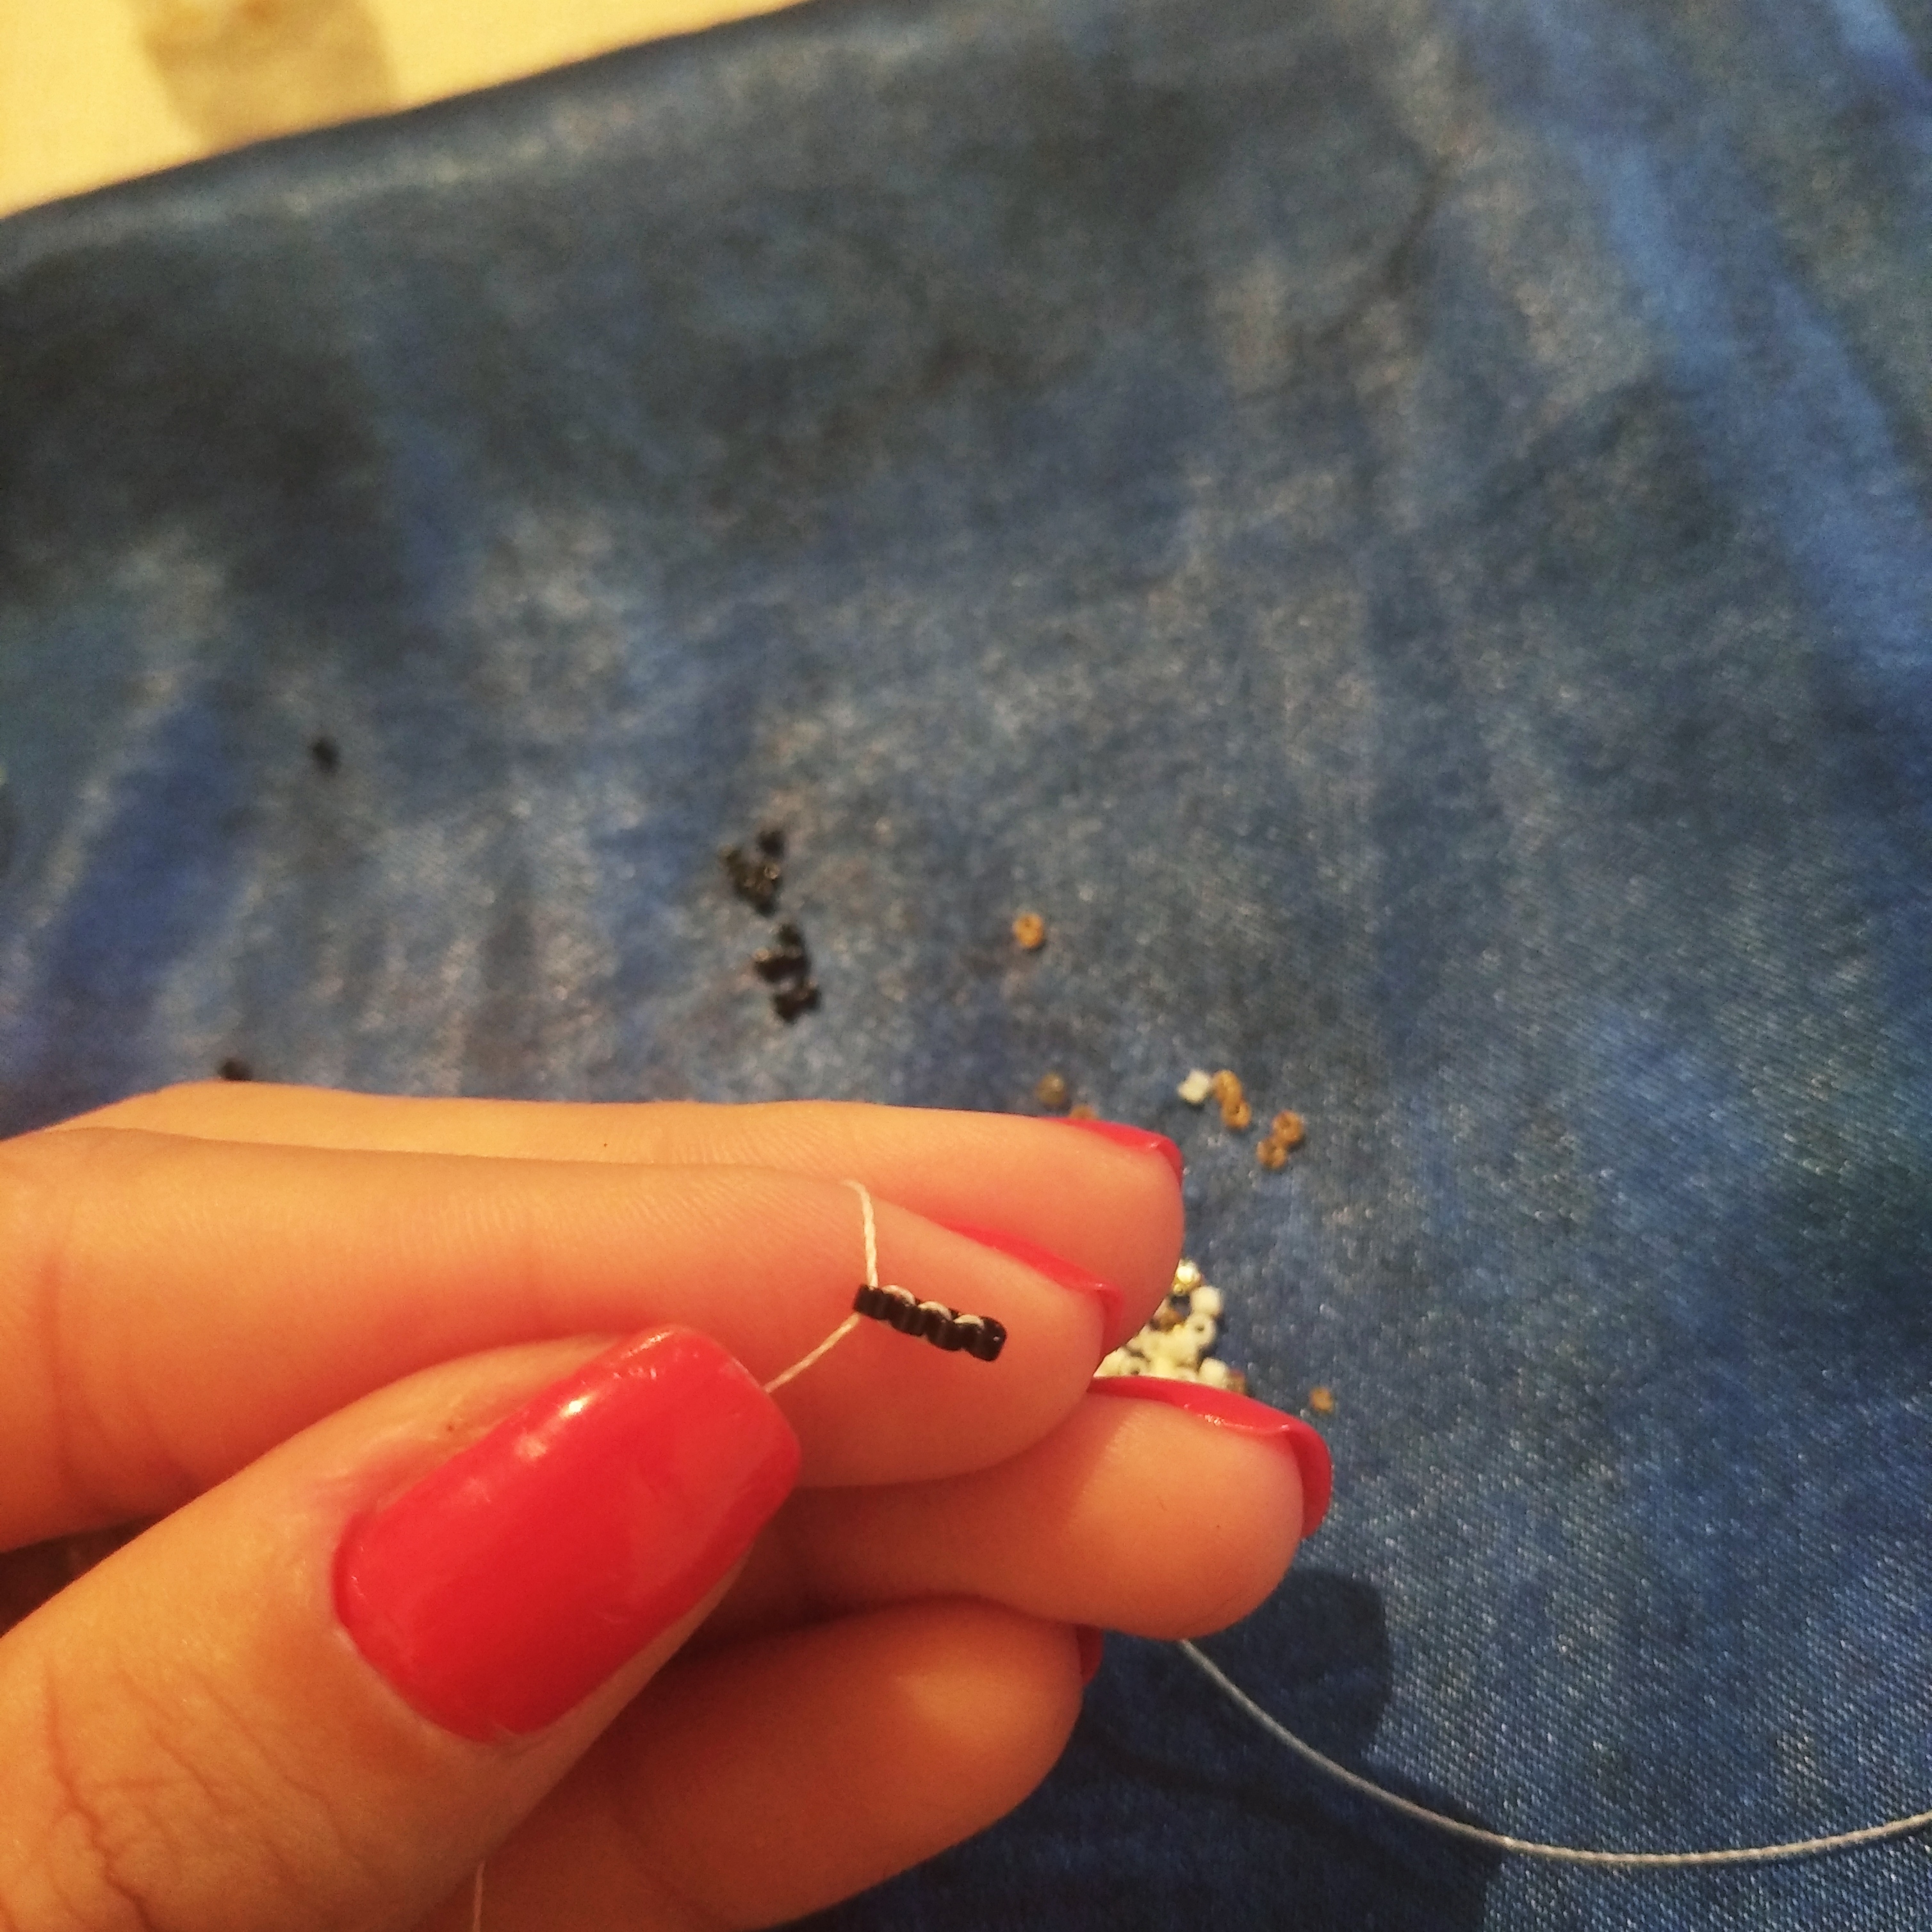
Here we see how they were placed side by side, performing this simple step.
Aquí vemos como se colocaron una al lado de la otra, realizando este simple paso.
We rotate our work or continue working it in the position in which we finished, personally I like to rotate my work every time I finish a line because it makes it a little easier to work it from right to left.
Giramos nuestro trabajo o lo seguimos trabajando en la posición en que terminamos, personalmente me gusta girar mi trabajo cada vez que termino una línea porque se me hace un poco más fácil ir trabajandolo de derecha a izquierda.
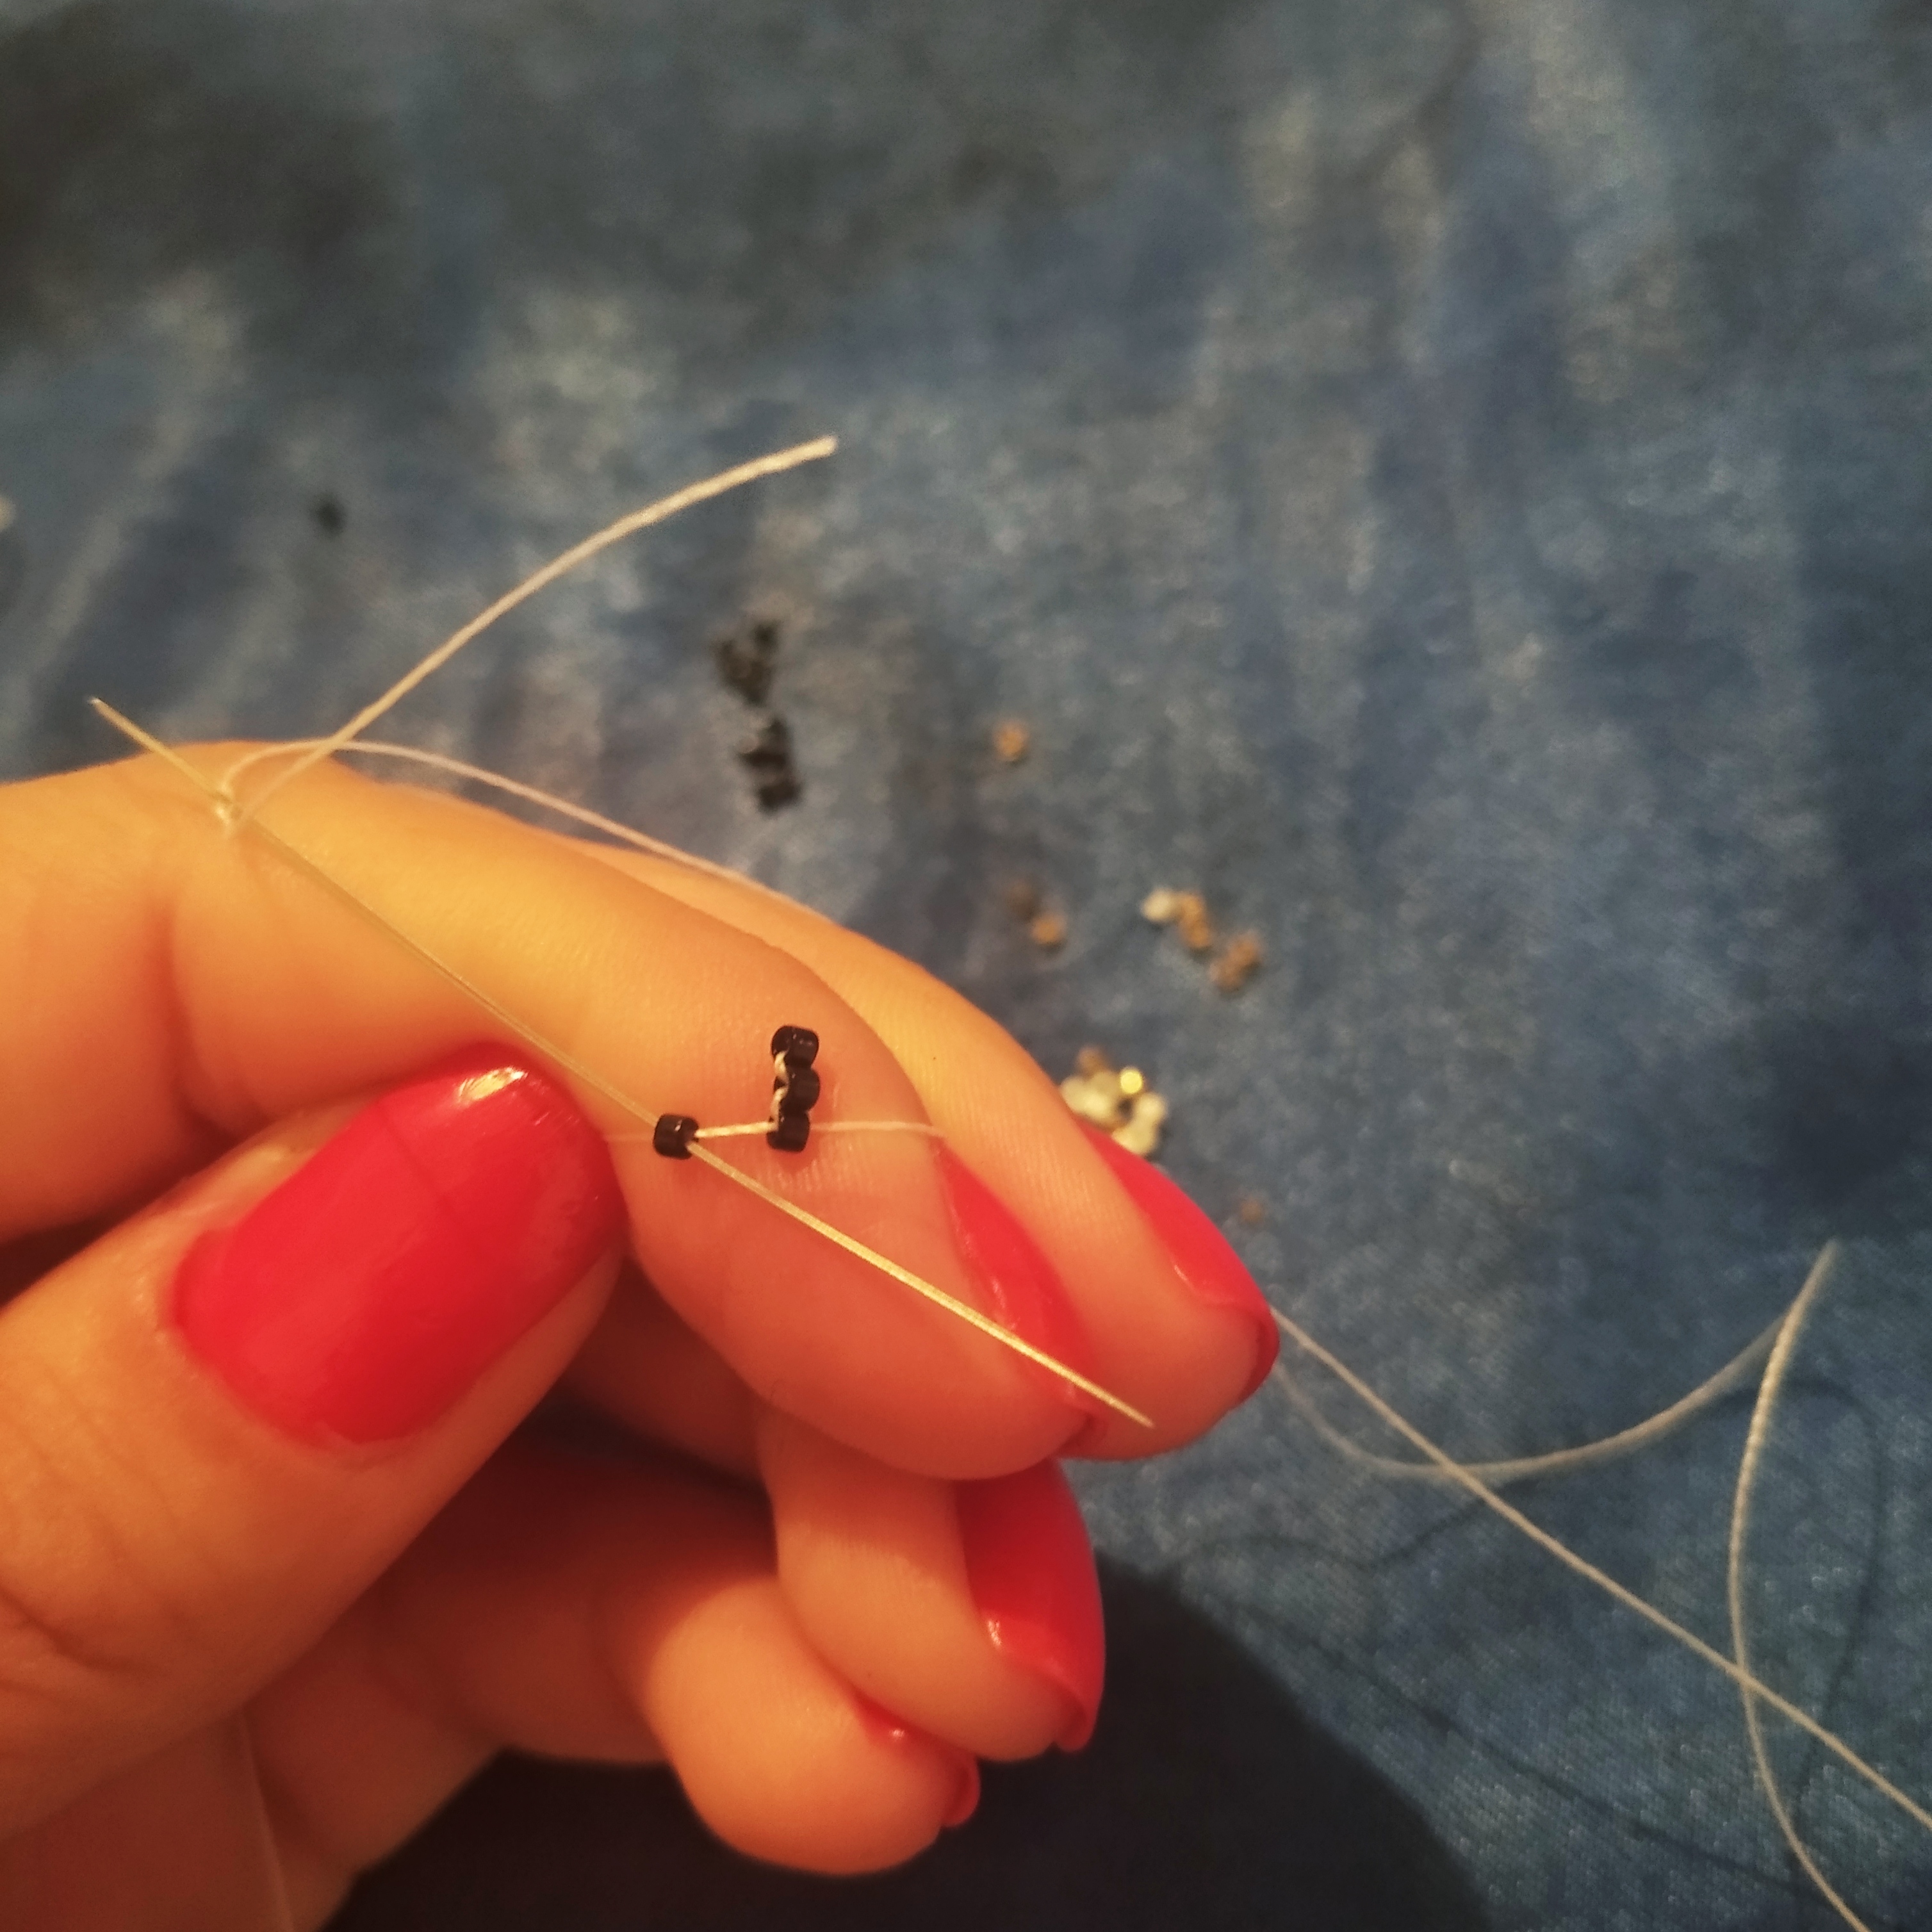
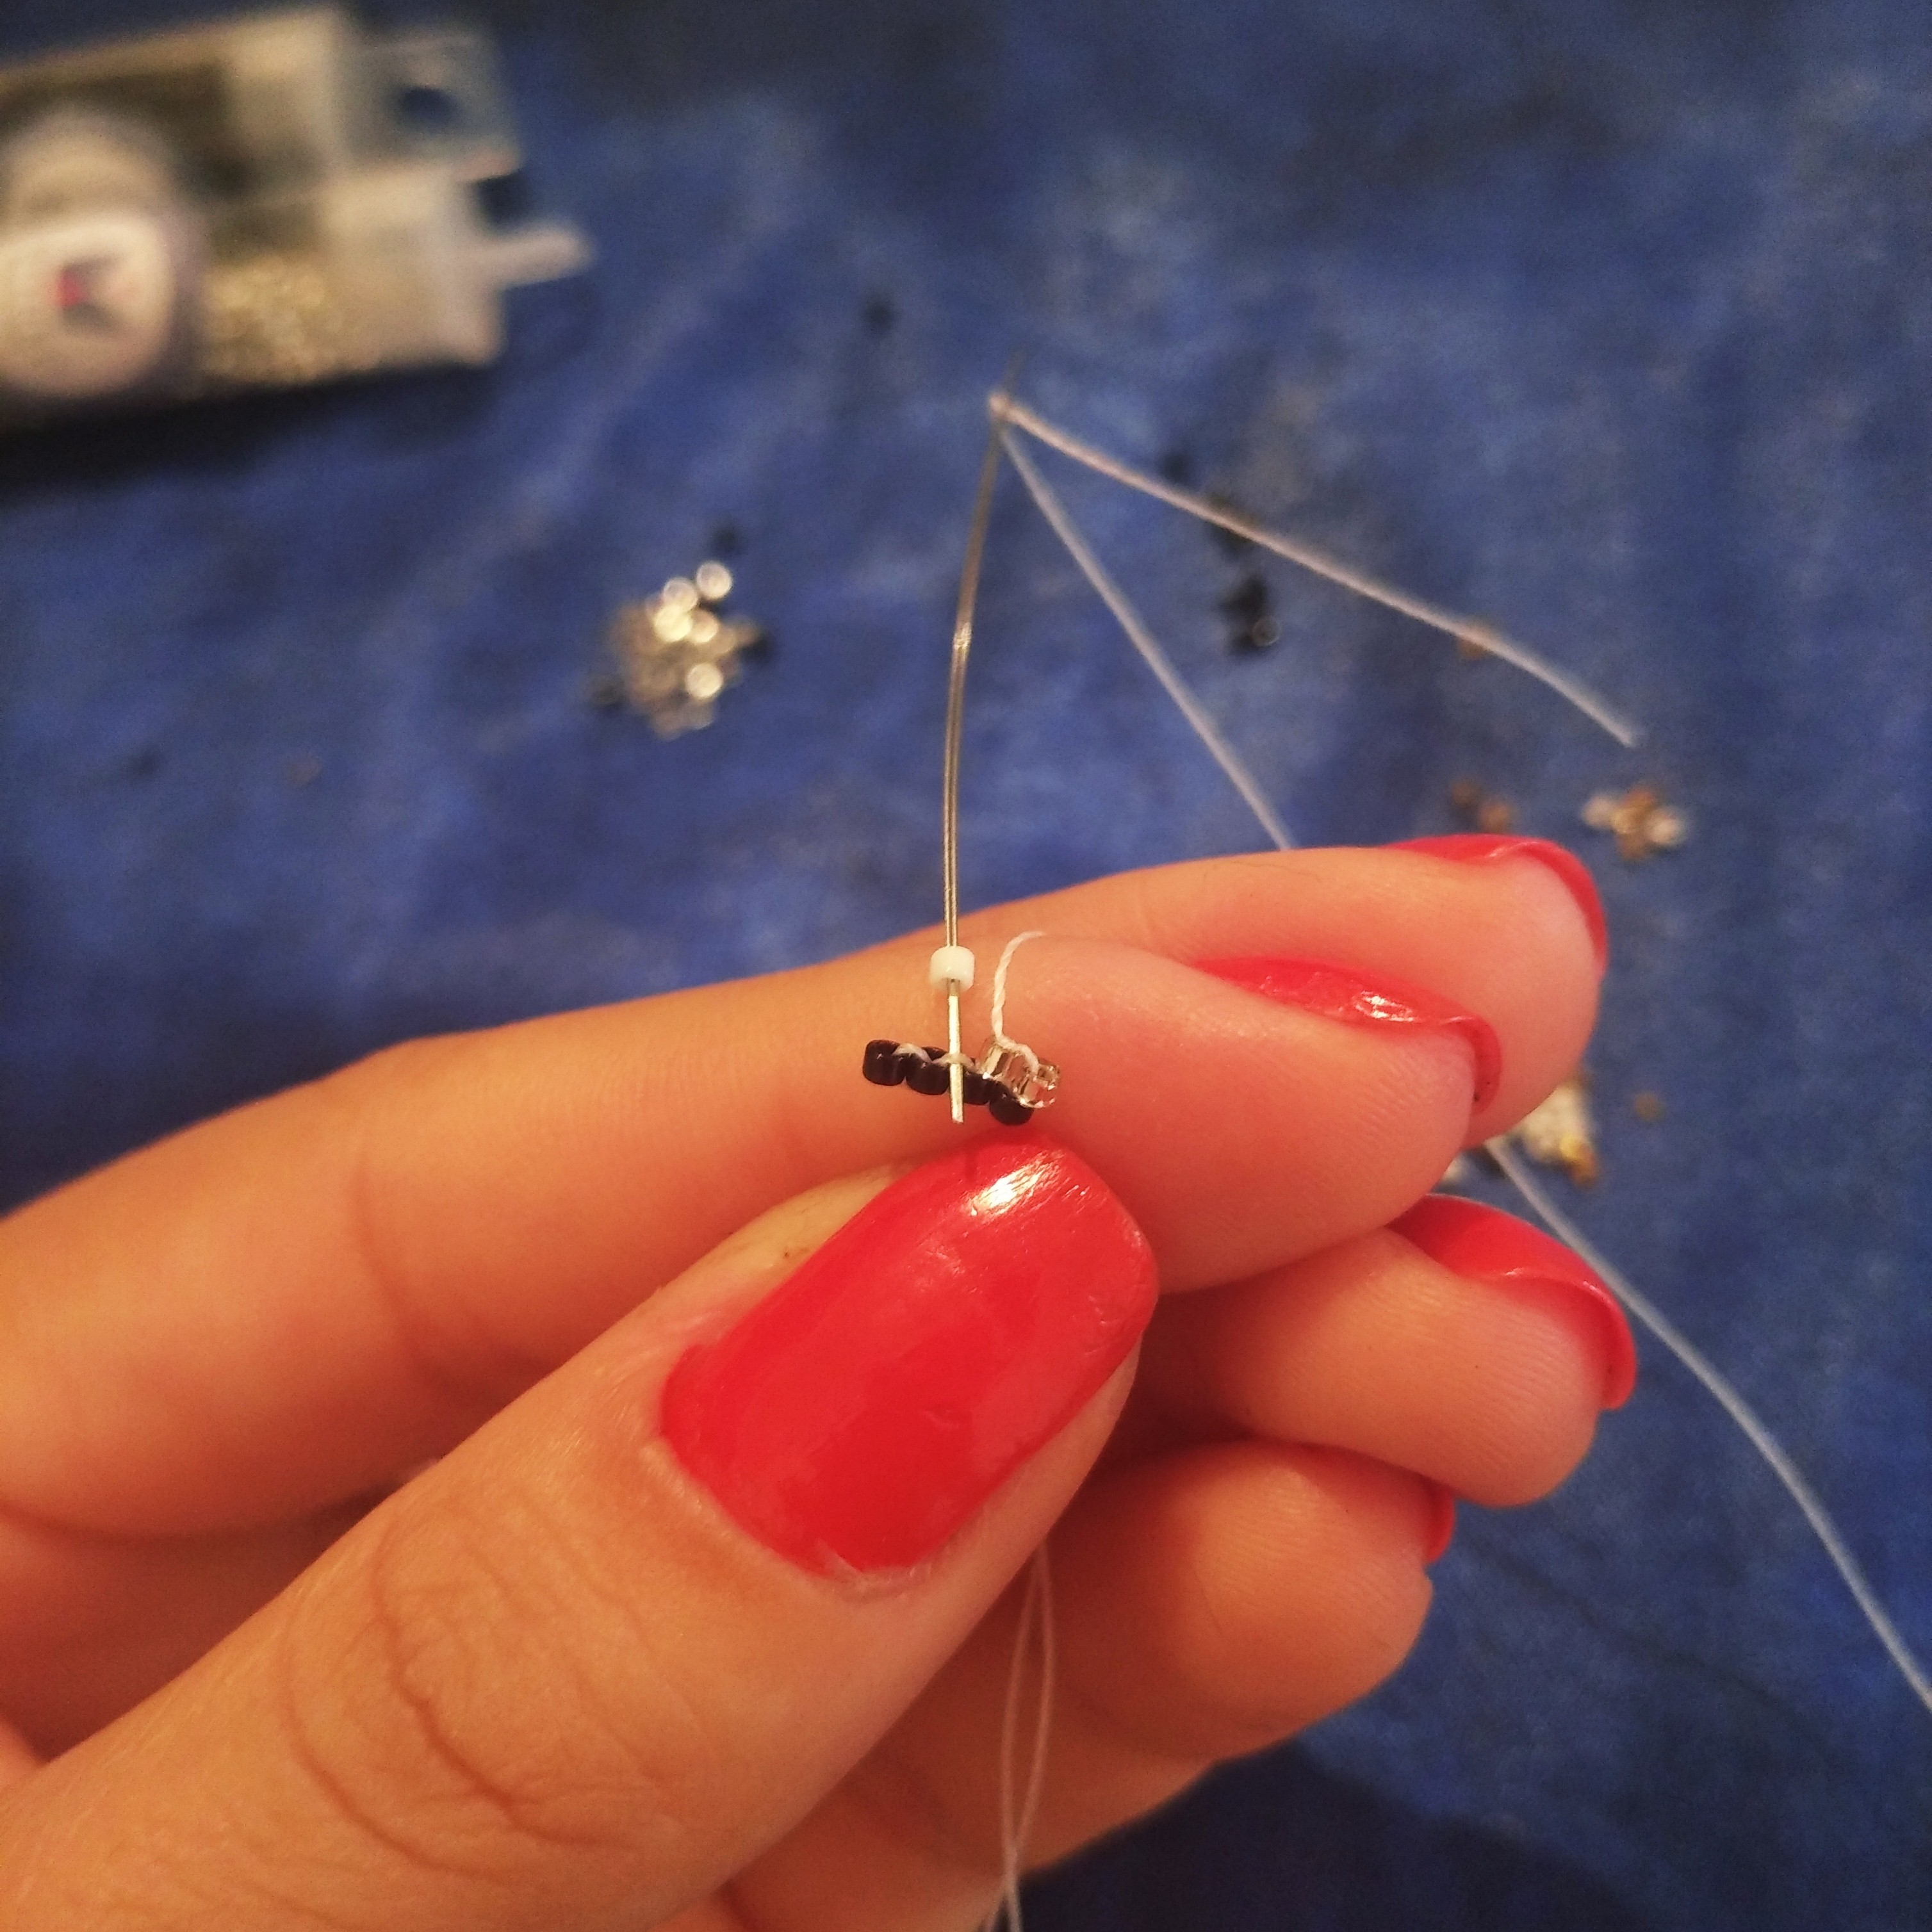
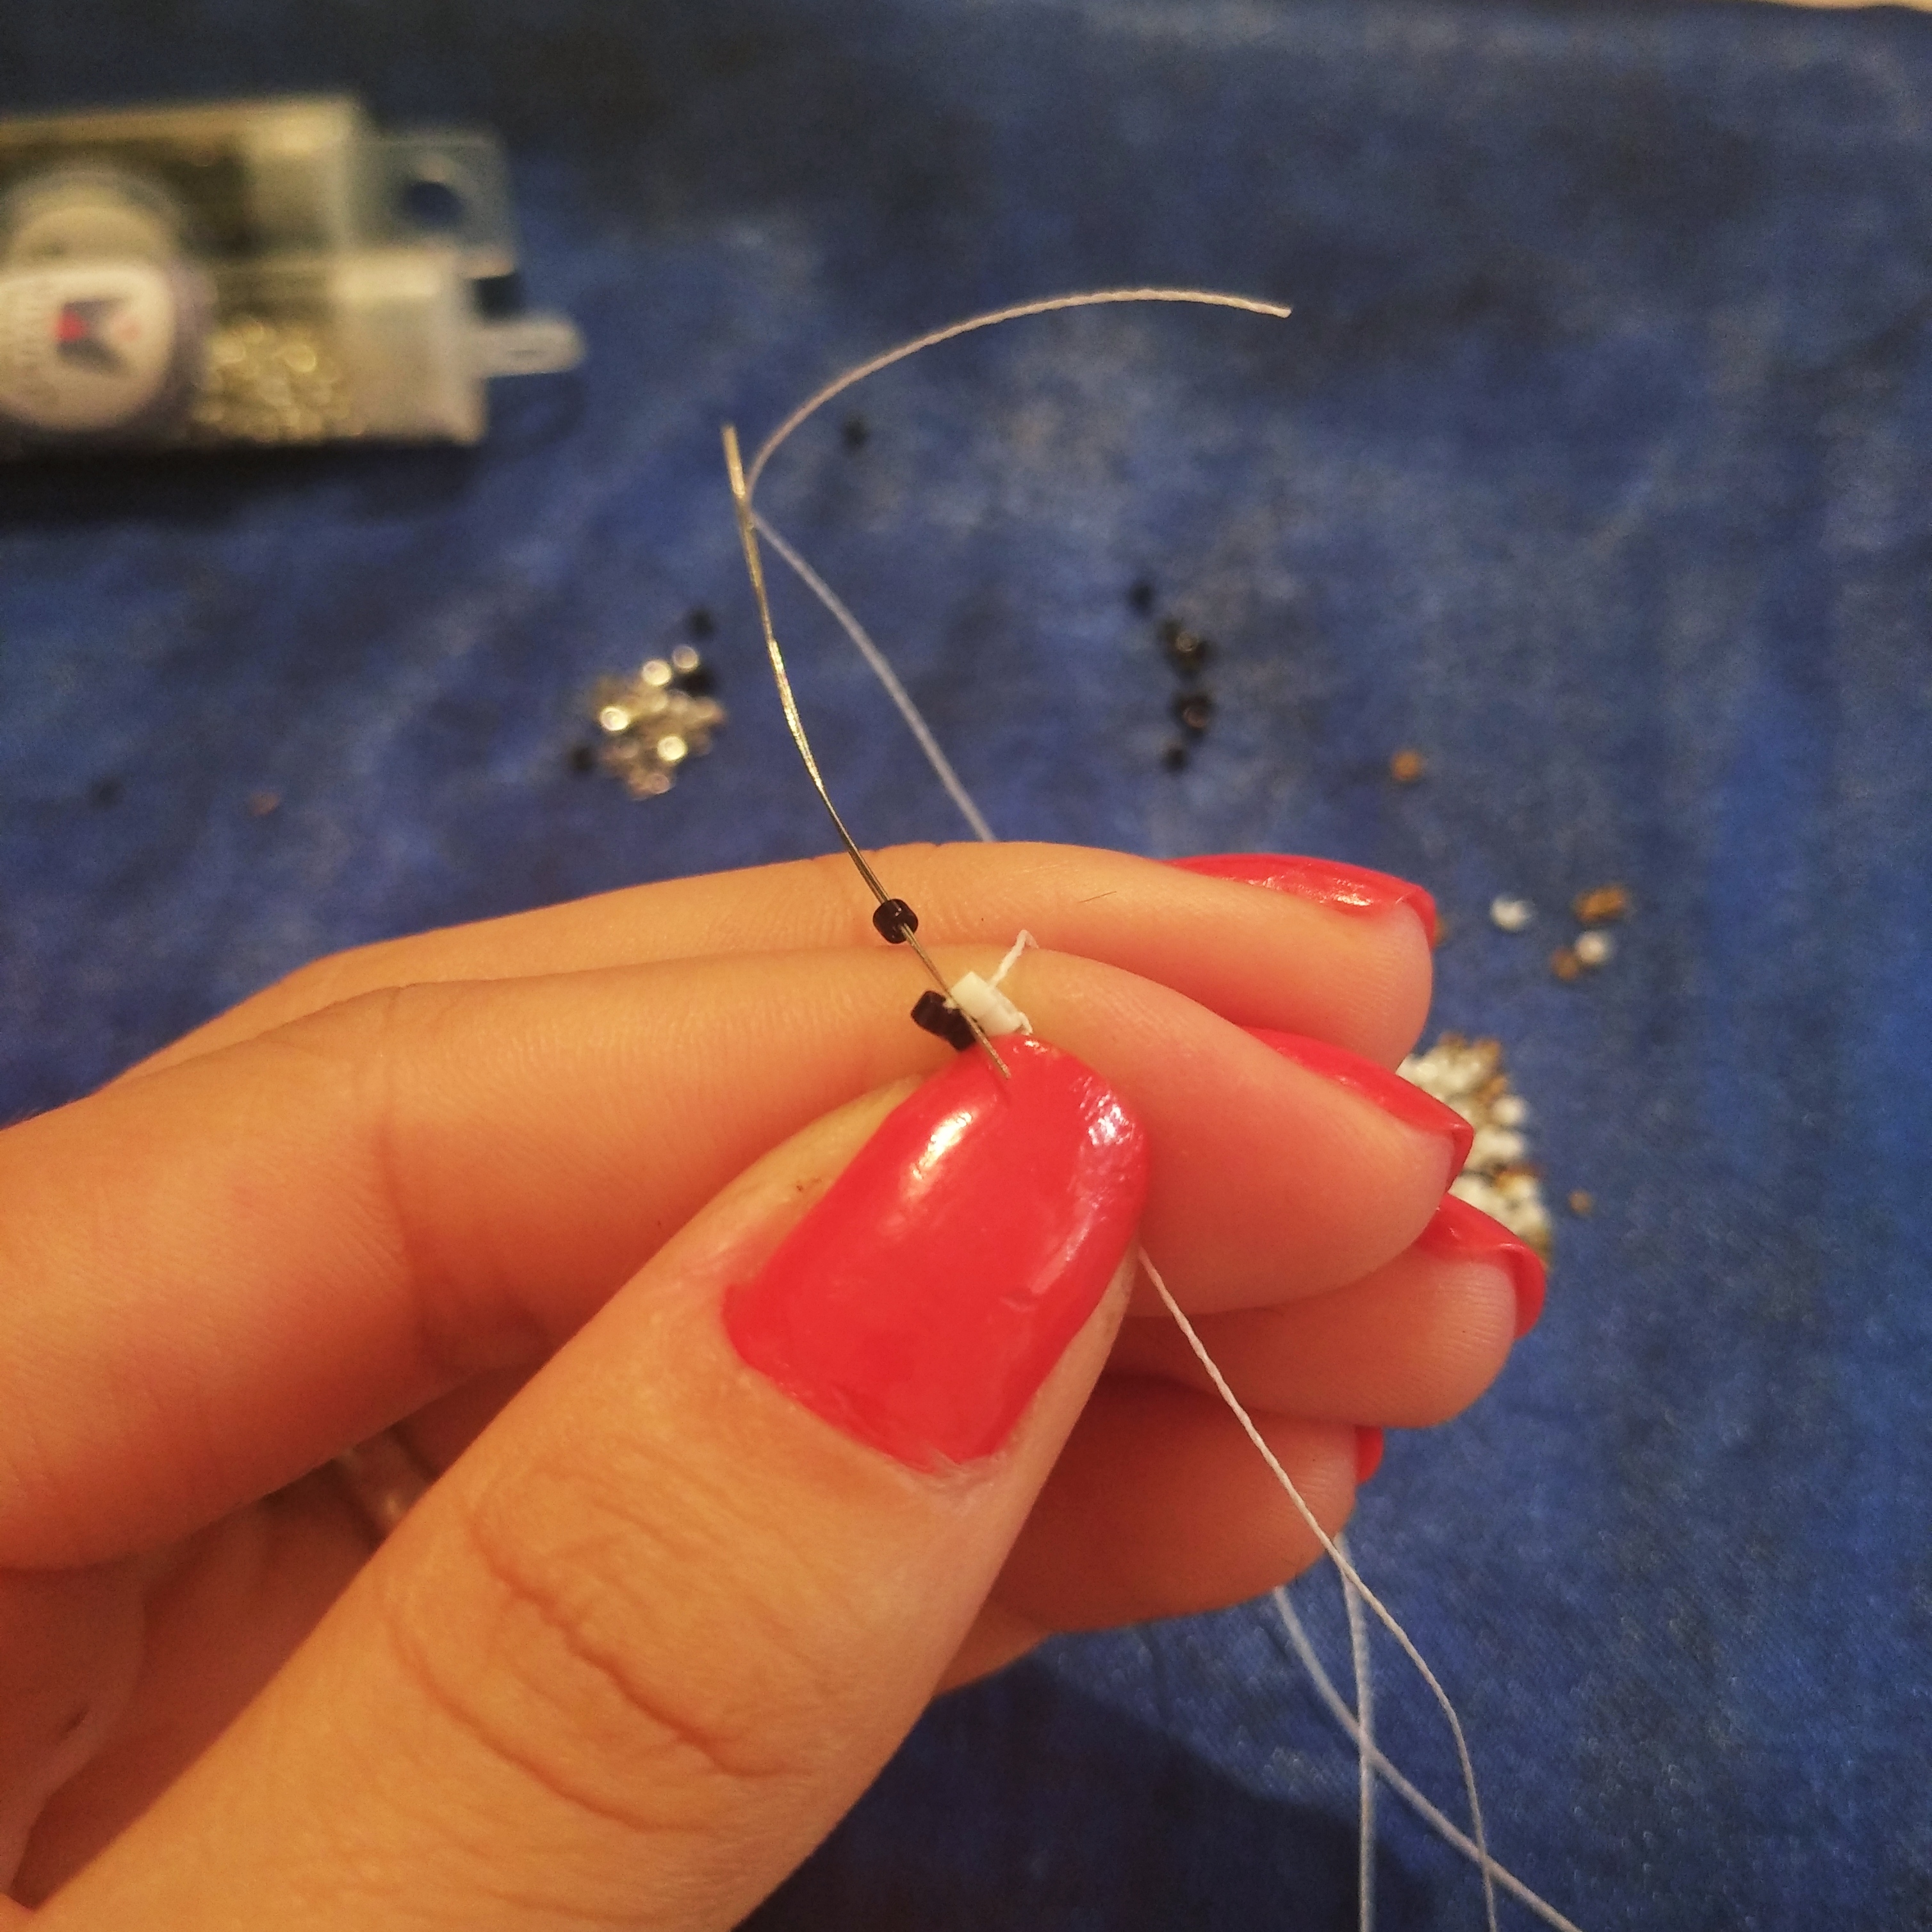
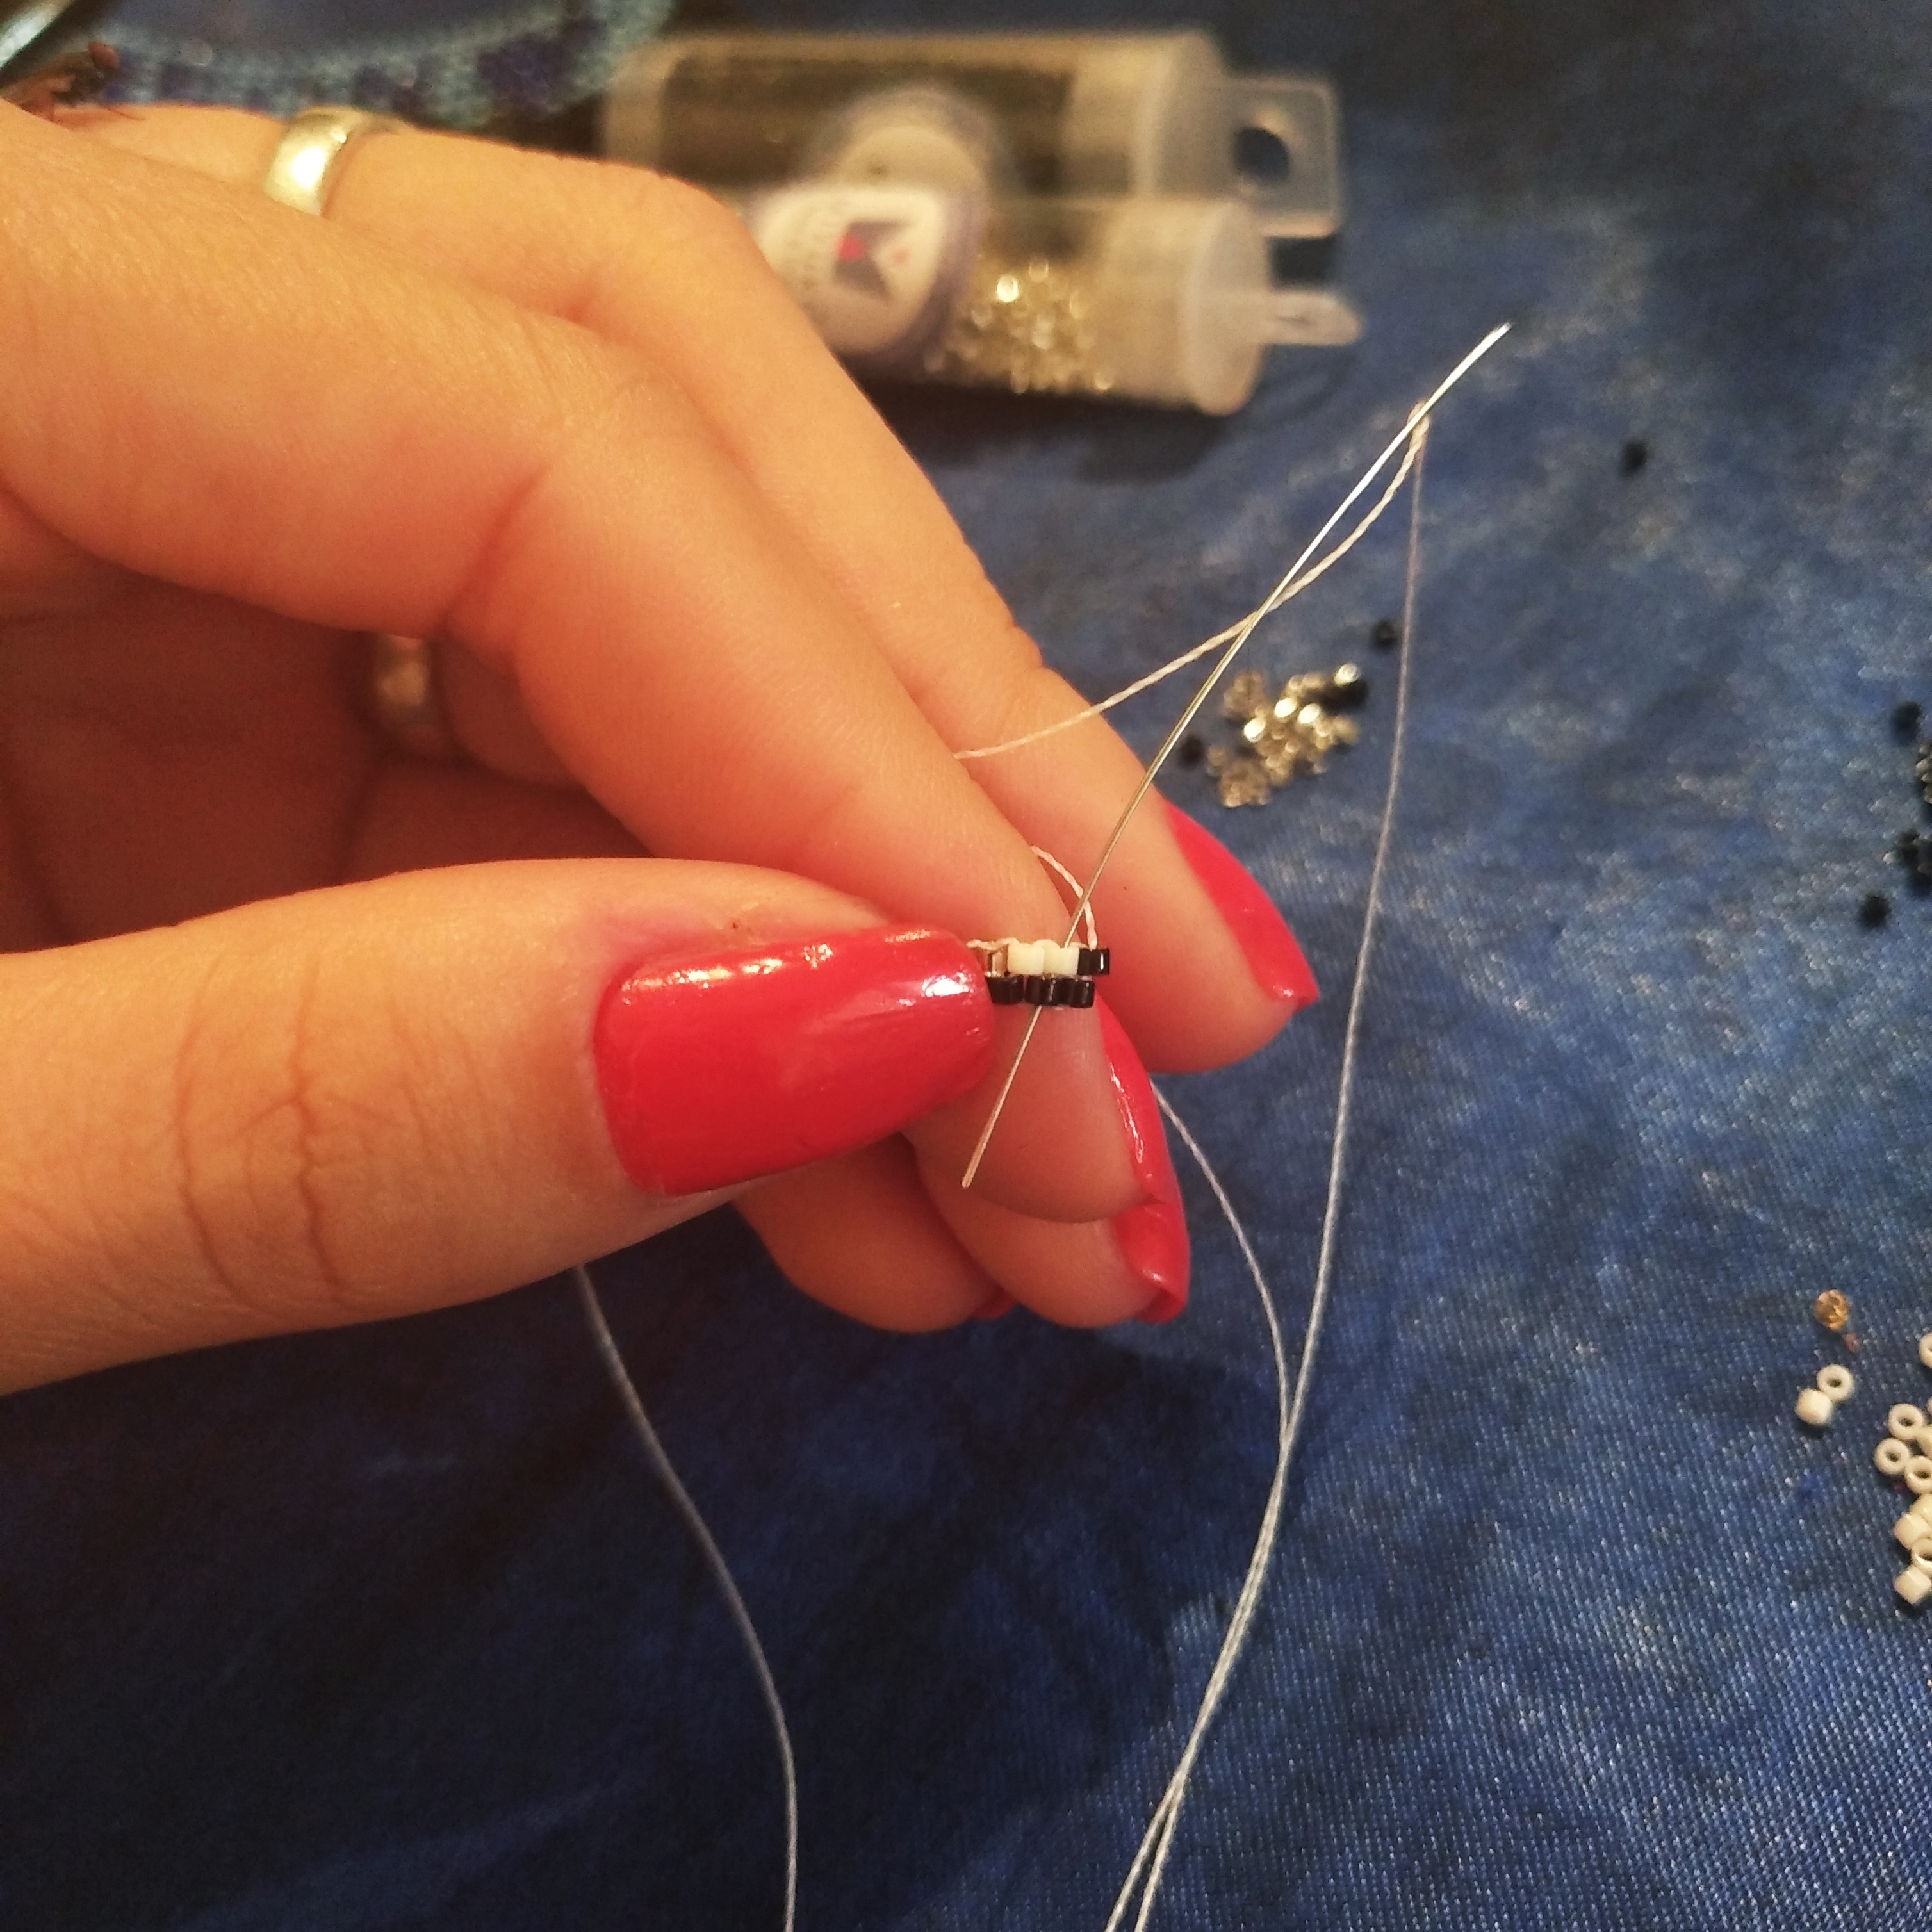
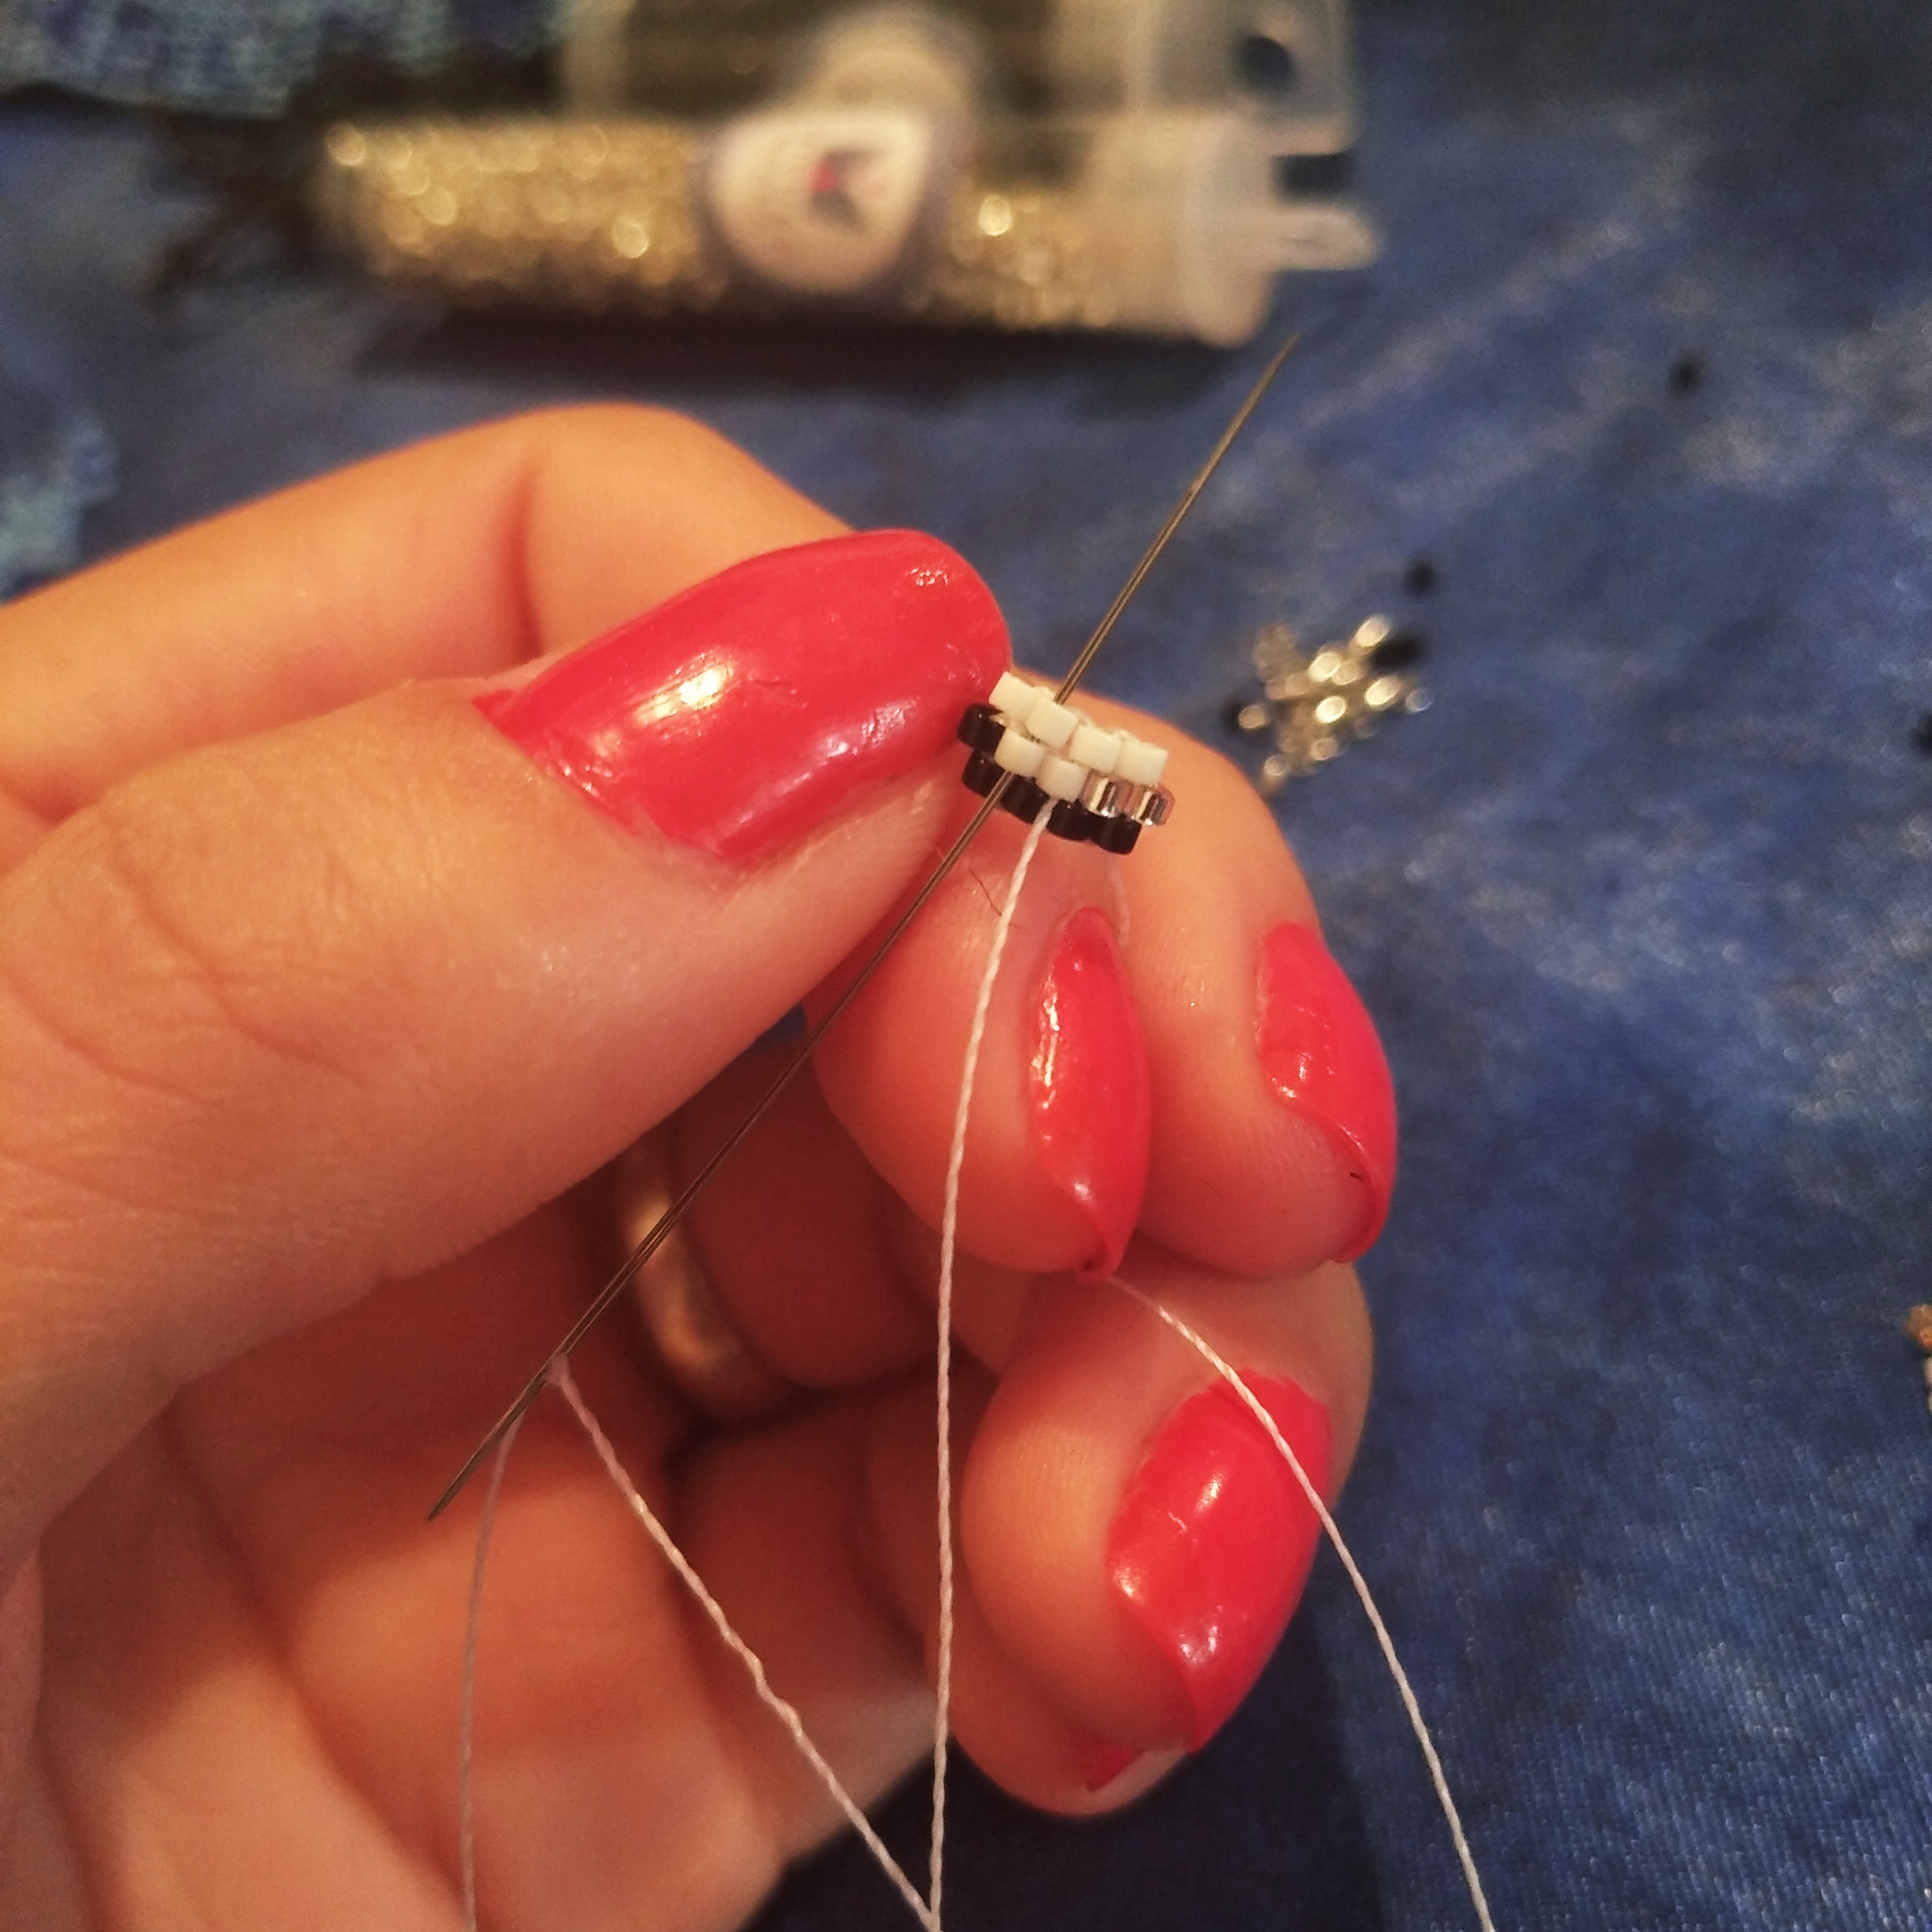
To start each row, we will always introduce two marbles in the needle and pass the needle through the thread in front of us, the one that joins the two marbles of the row below, as we can see in the previous image.
Para comenzar cada línea, siempre vamos a introducir dos delicas en la aguja y pasaremos la aguja por el hilo que tenemos al frente, el que une las dos delicas de la línea de abajo, como podemos ver en la imágen anterior.
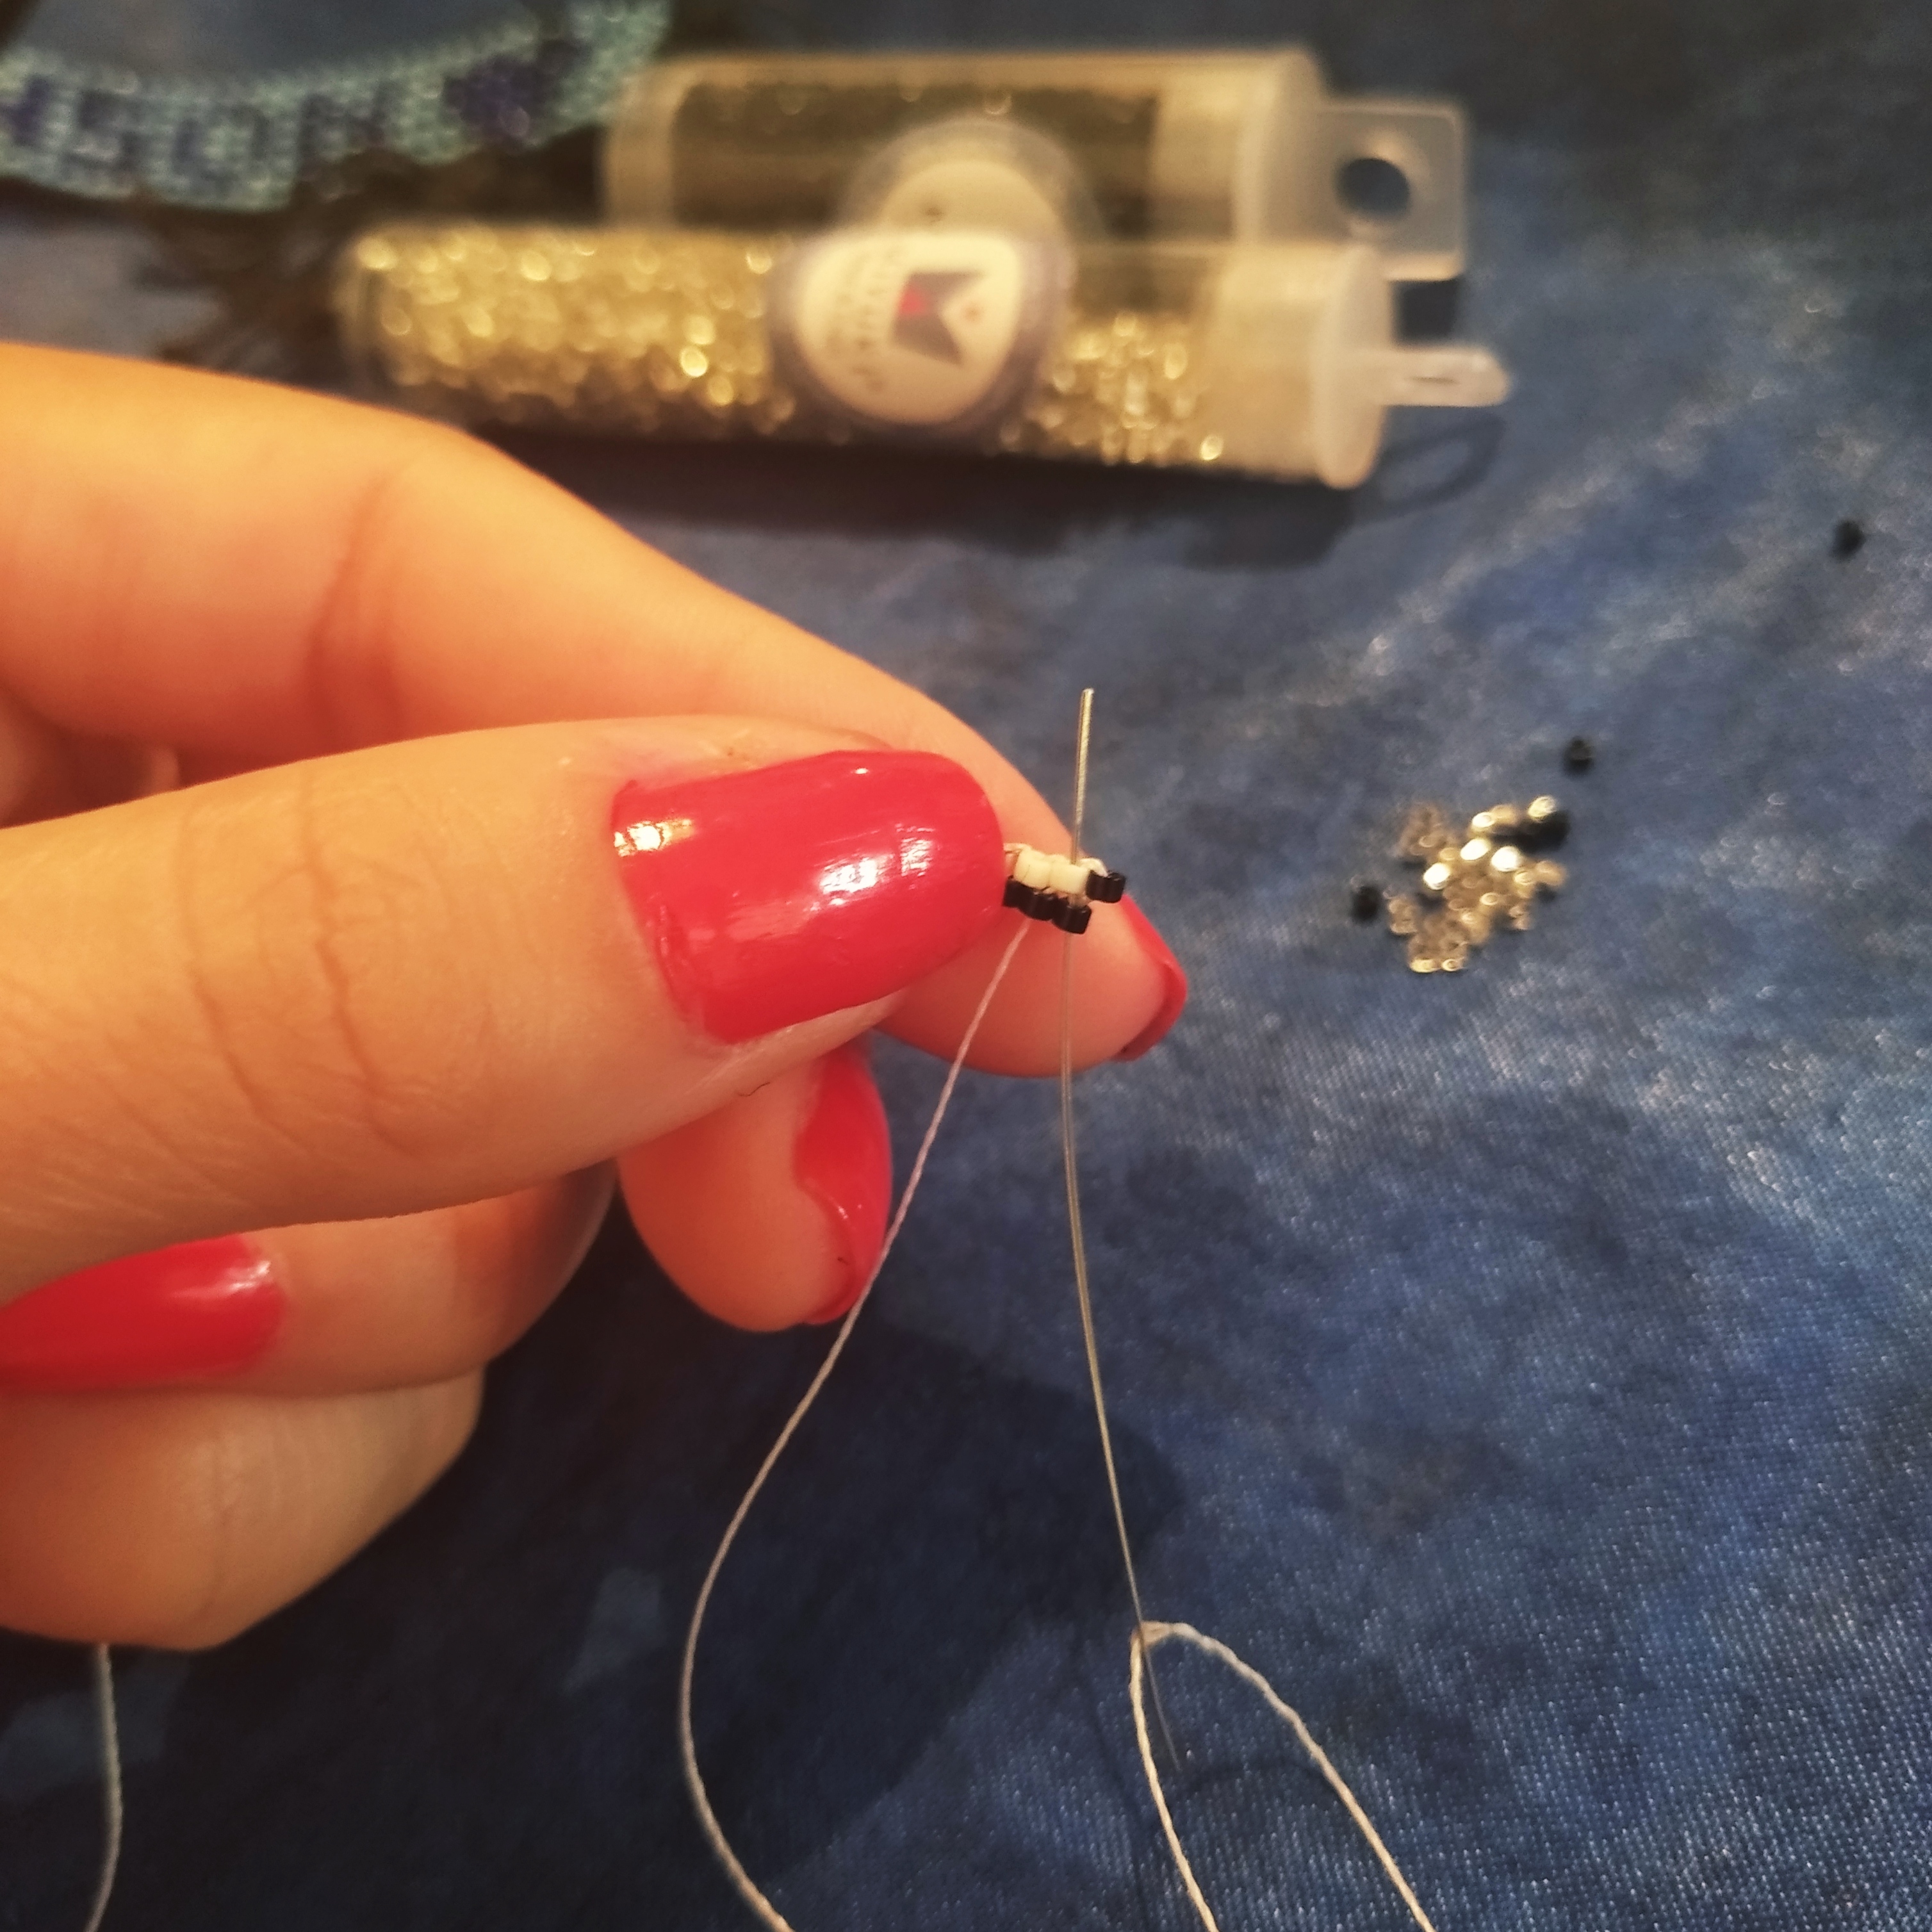
We finish attaching the marbles that we have just placed, returning the needle through the second marble as shown in the previous image.
Terminamos de fijar las delicas que acabamos de colocar, regresando la aguja por la segunda delica como vemos en la imágen anterior.
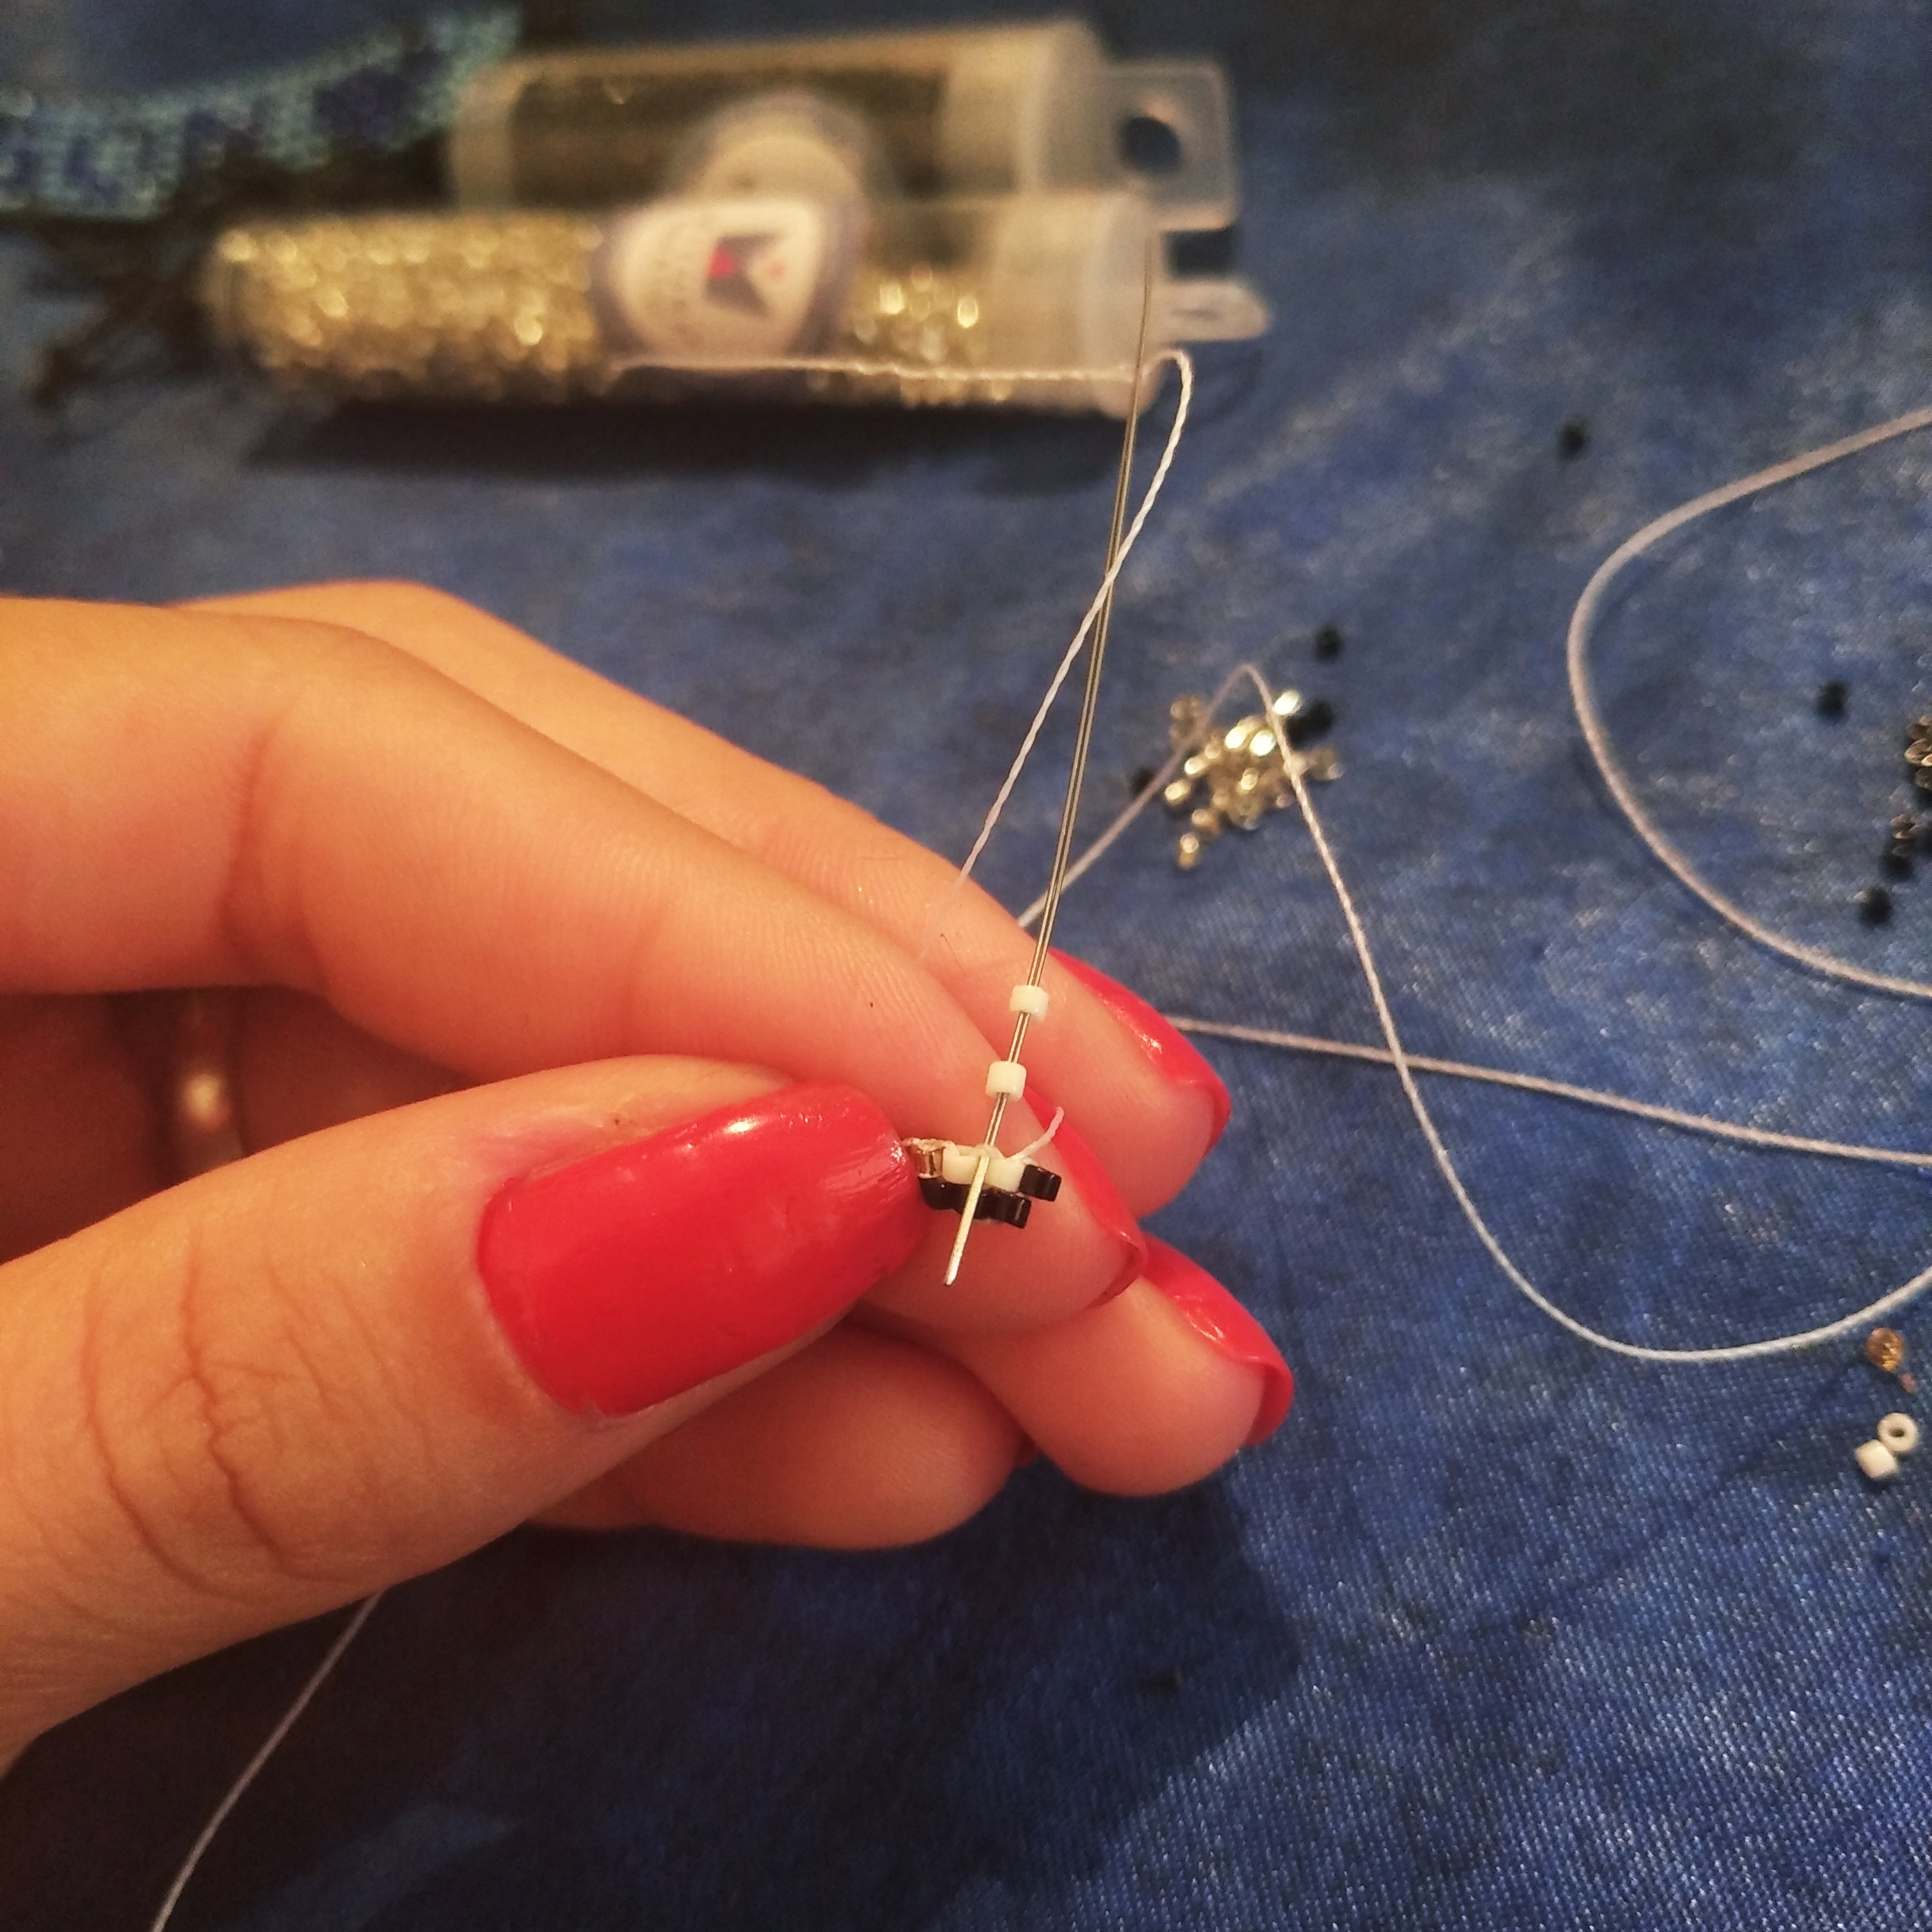
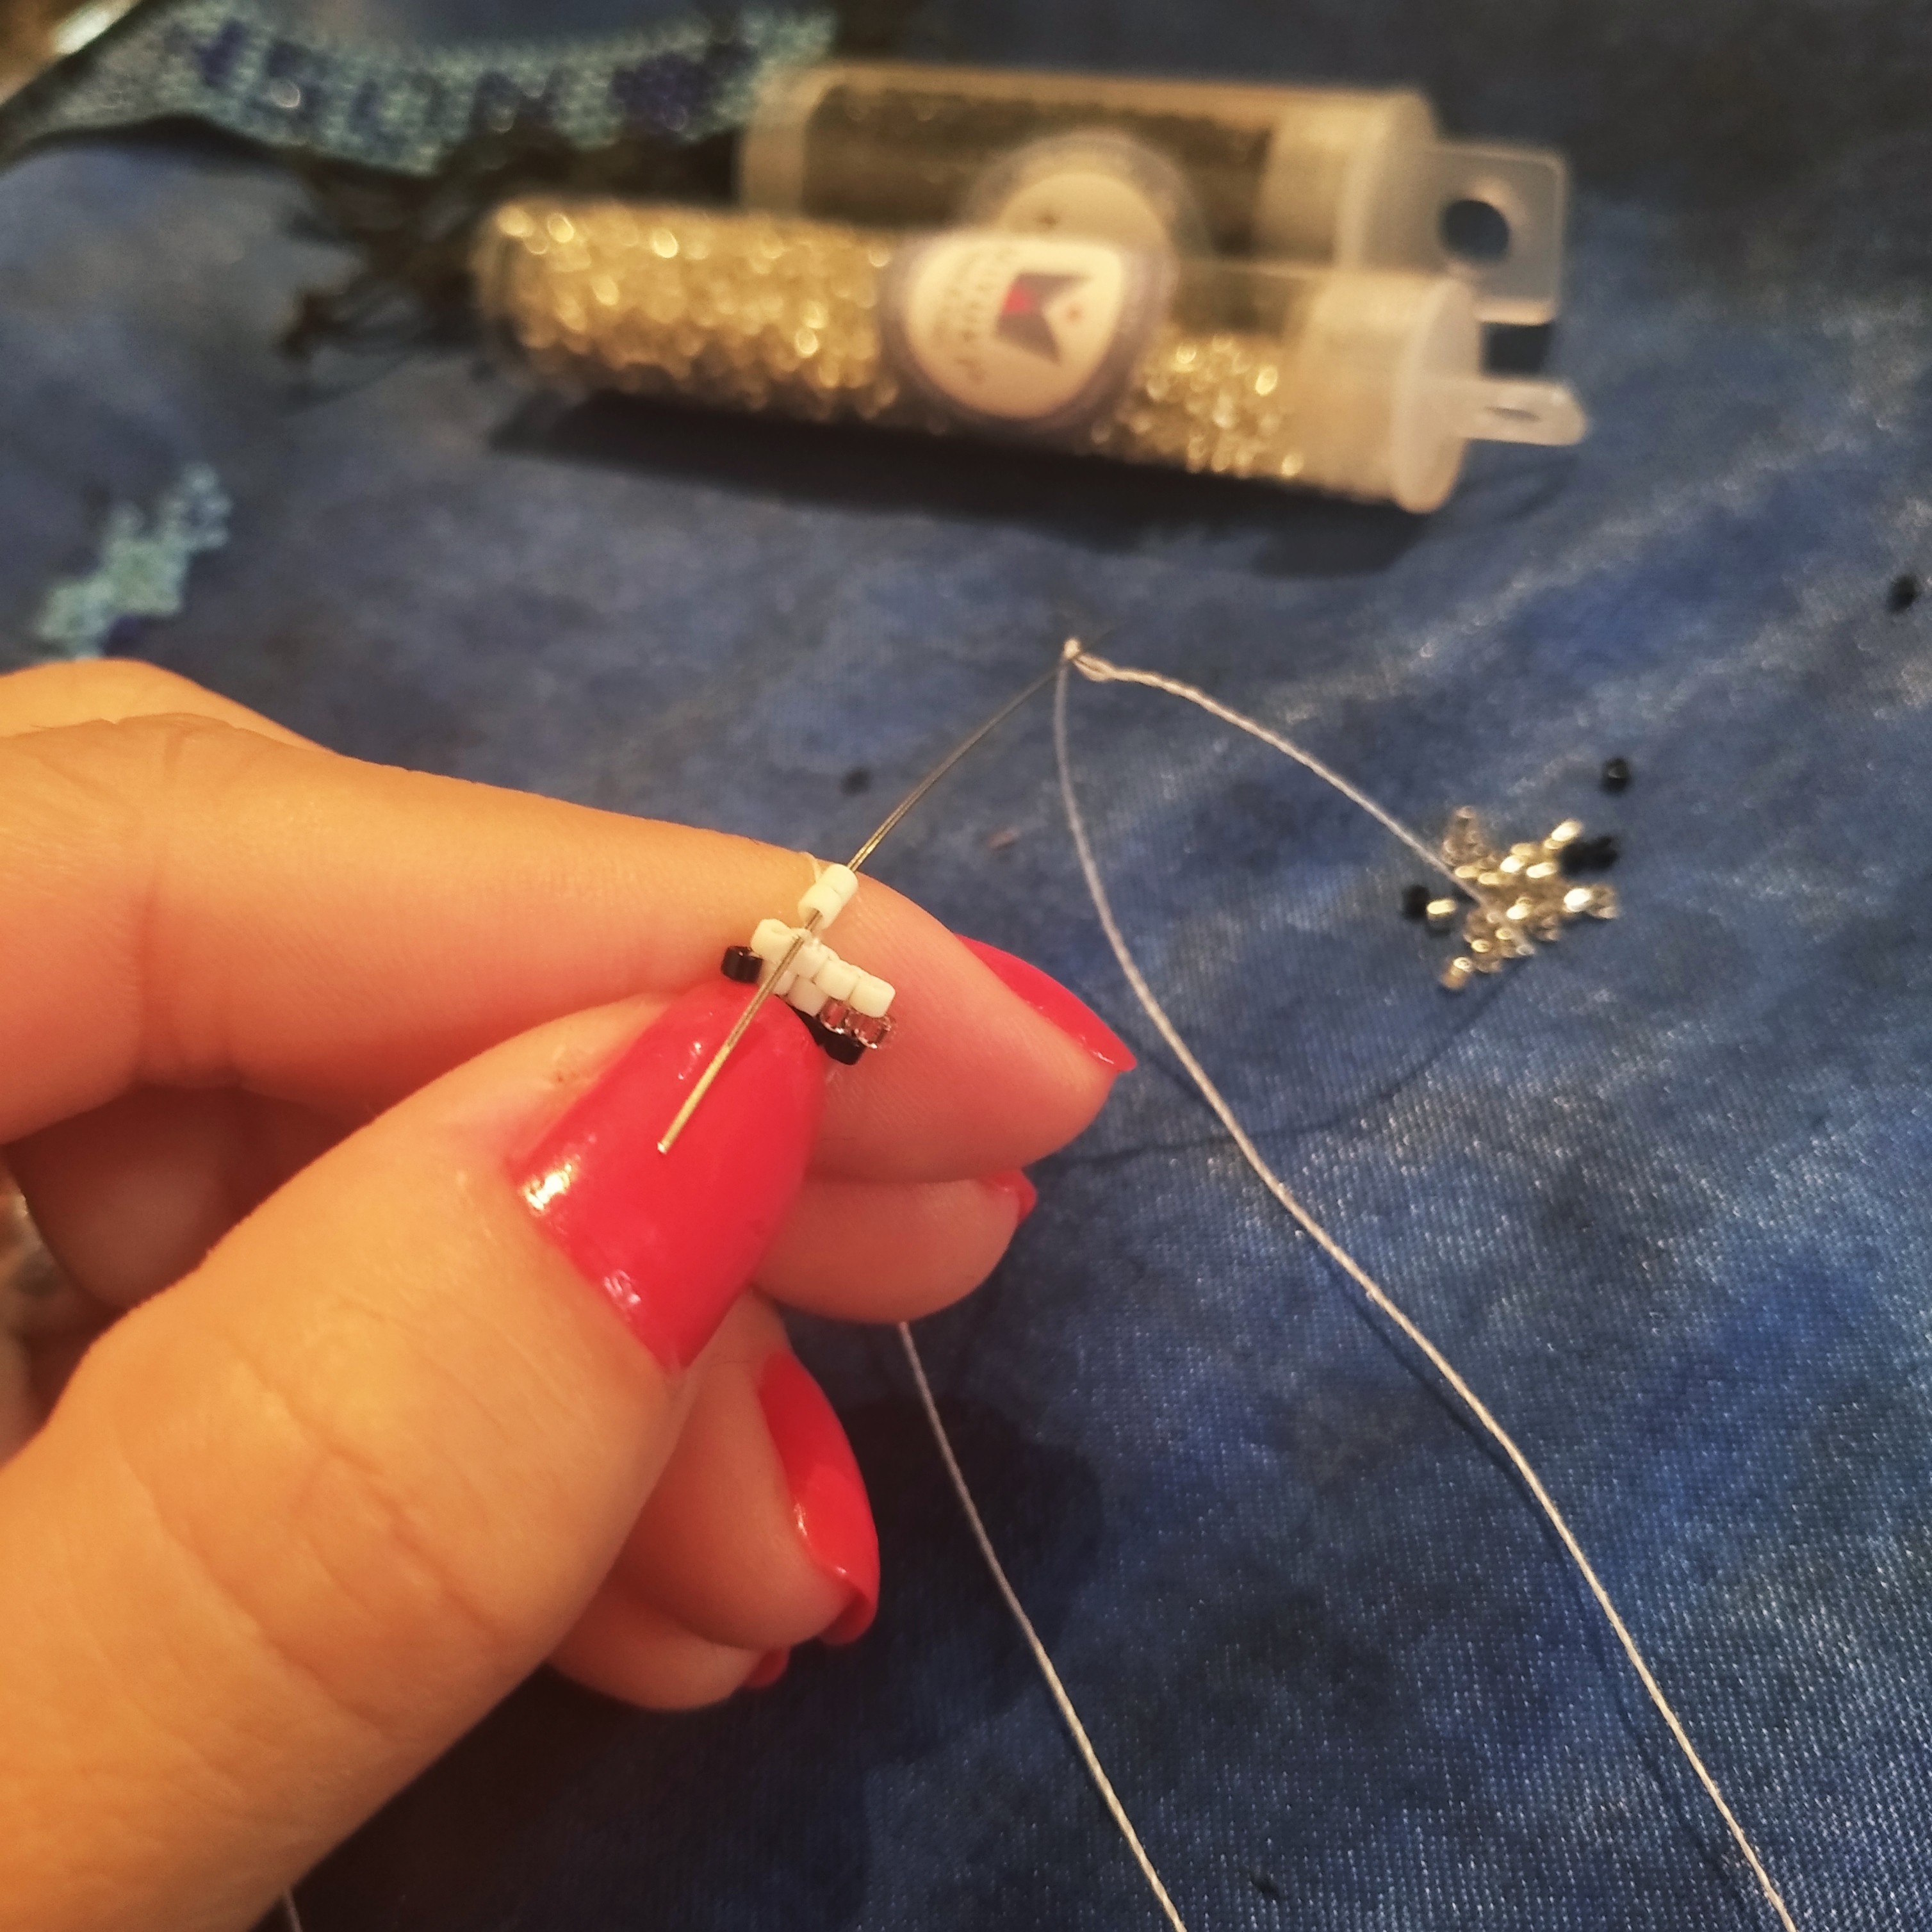
After placing our first two delicas of our new row, we continue placing delicas but one by one, doing the same procedure, passing it through the thread that we have in front, the one that joins the two delicas of the row below.
Luego de colocar nuestras primeras dos delicas de nuestra nueva línea, seguimos colocando delicas pero de una en una, haciendo el mismo procedimiento, pasándola por el hilo que tenemos adelante, el que une las dos delicas de la línea de abajo.
Remember to always return the needle through the same marrow we just placed so that it is well fixed to the line below.
Recuerden siempre regresar la aguja por la misma delica que acabamos de colocar para que quede bien fijada a la línea de abajo.
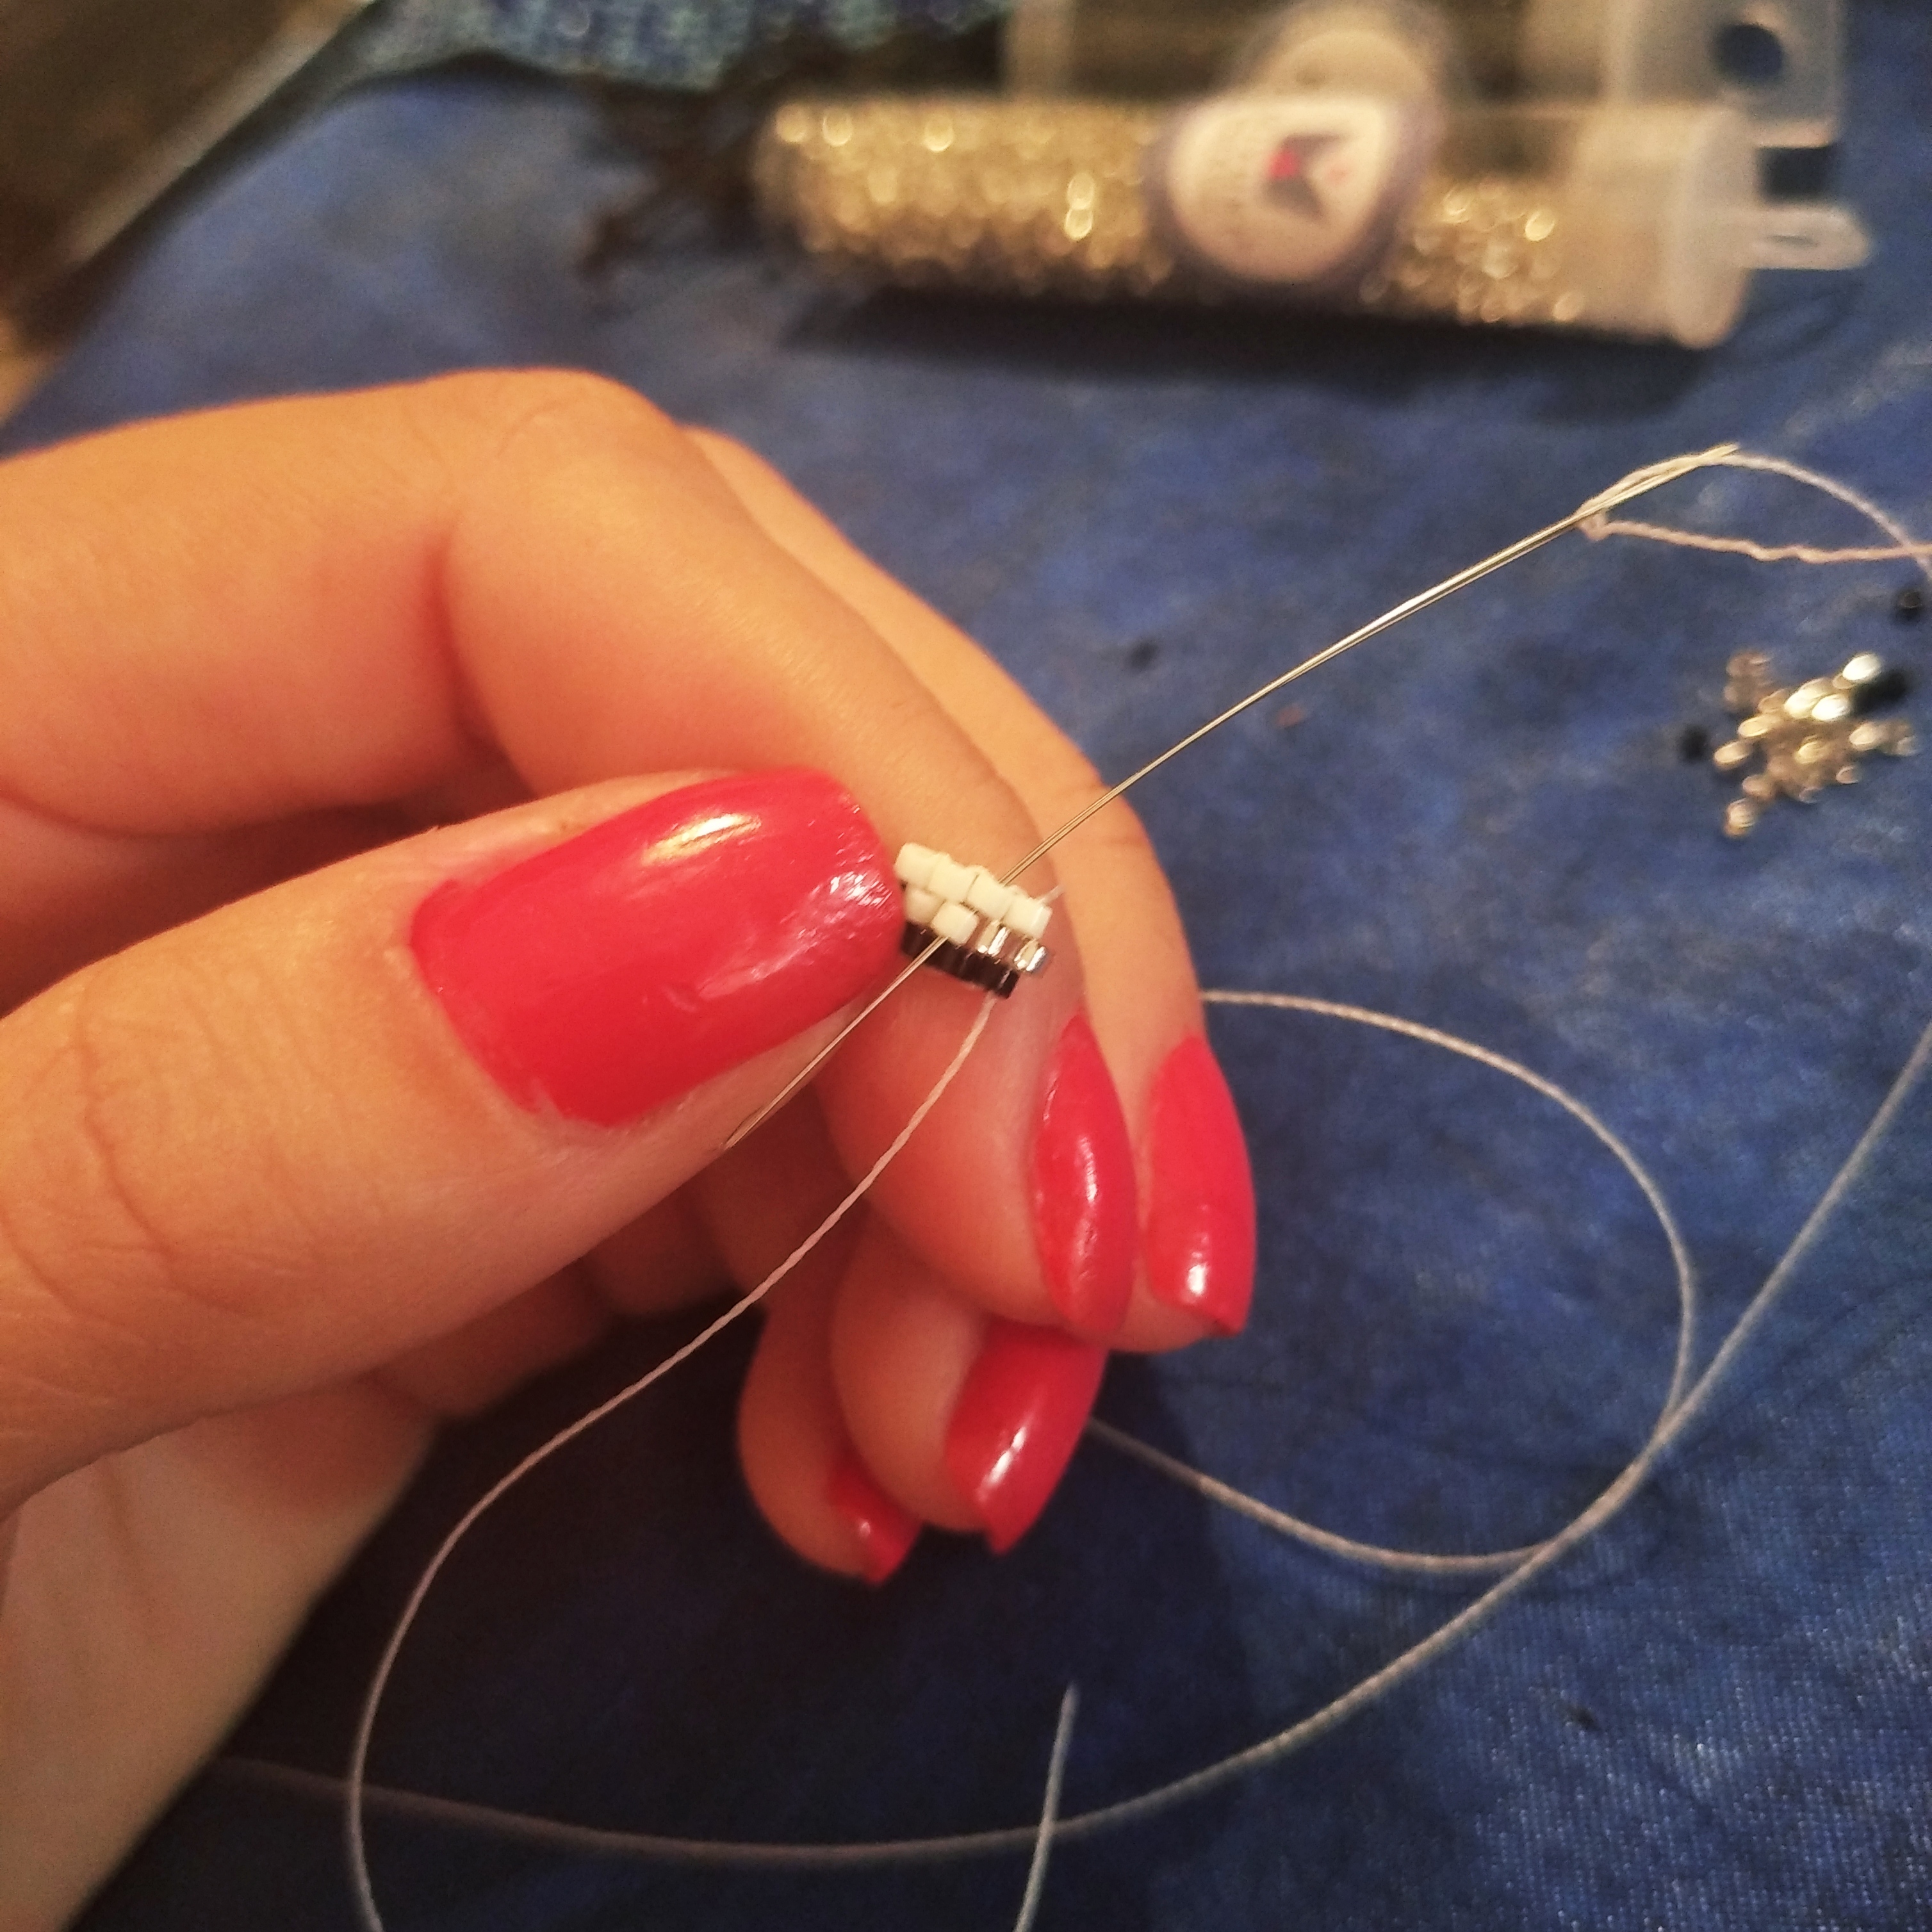
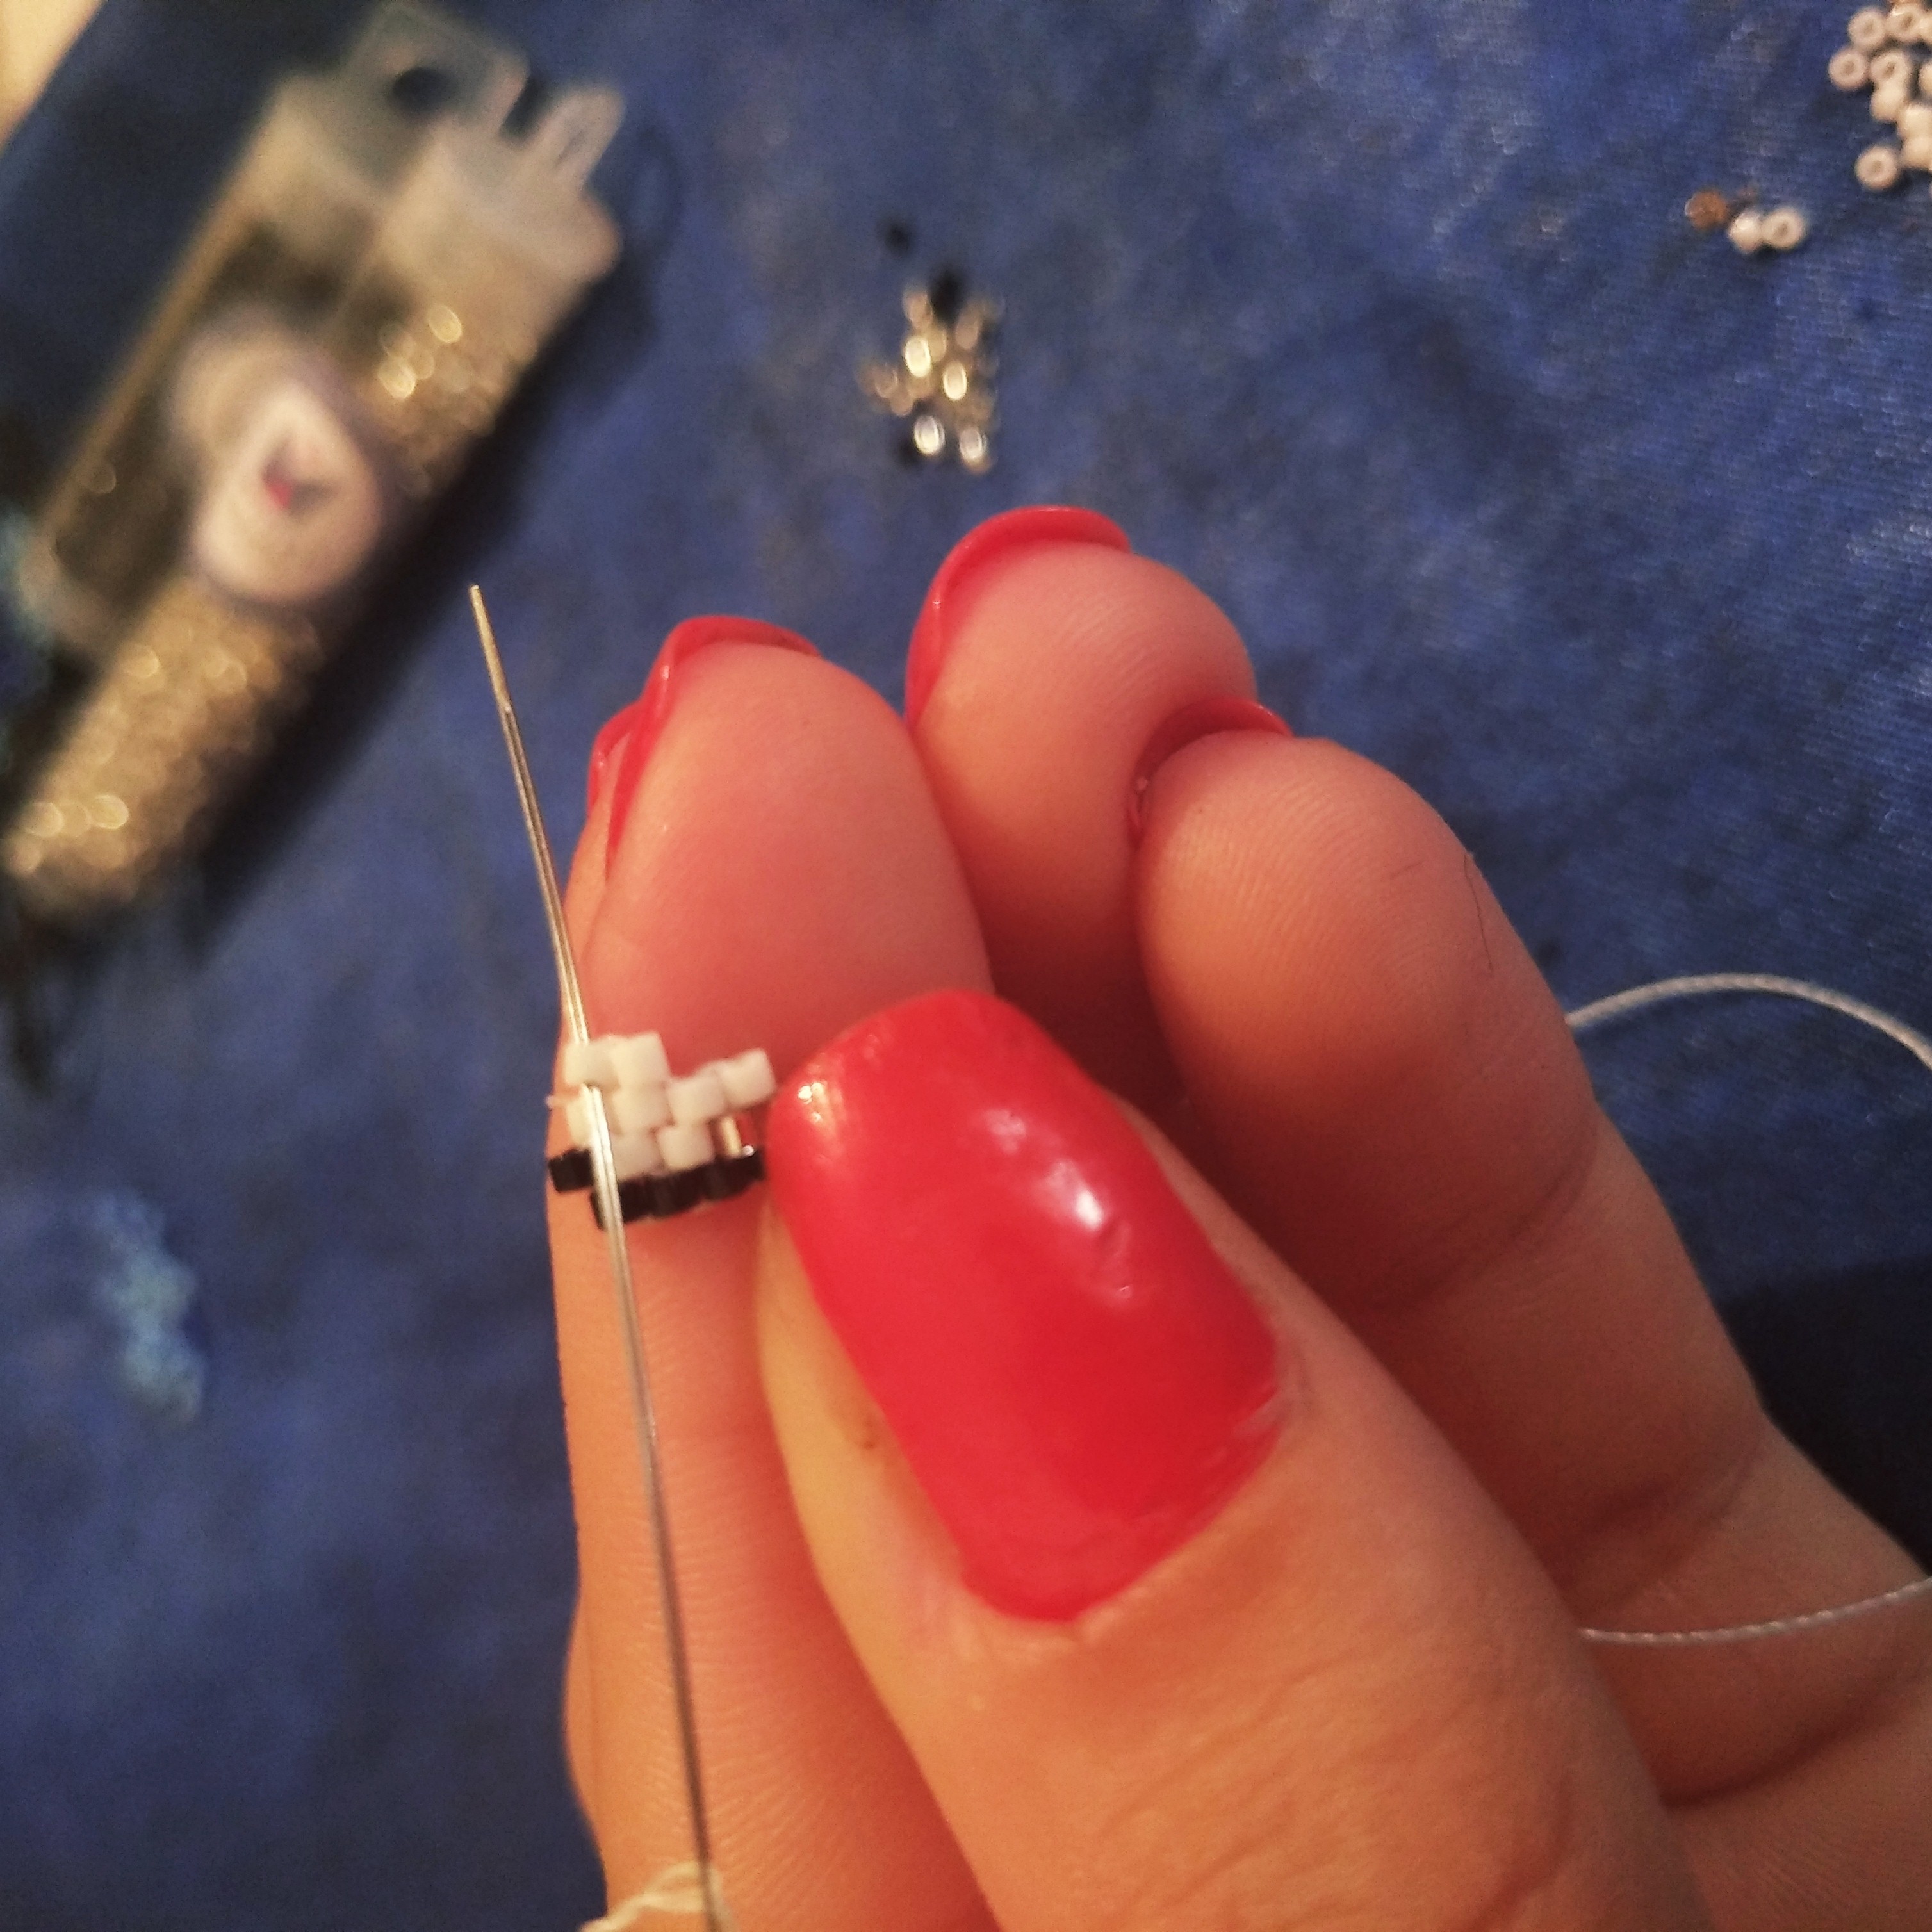
We continue to place our delicas one by one.
Seguimos colocando nuestras delicas una a una.
Let's not forget to fix by returning our needle through the same delica.
No olvidemos fijar regresando nuestra aguja por la misma delica.
The last one we are going to place in the same thread where we placed the previous delica. But if the design we are working on does not require us to place delica, we just leave that line there.
La última la vamos a colocar en el mismo hilo donde colocamos la delica anterior. Pero si el diseño que estemos elaborando no necesita que coloquemos delica, sólo dejamos esa línea hasta ahí.

We set our last delica of our line as we have done with each of the previous ones.
Fijamos nuestra última delica de nuestra línea como lo hemos hecho con cada una de las ateriores.
Here, I turned my work to continue working from right to left, but as I mentioned before you can continue from left to right.
This step is called decreasing and it is nothing more than starting the next row starting at a different point than where we had finished, moving our thread passing the needle through the marbles until we pull it through the marble where we need to start our next row as shown in the previous image and in the next one.
Acá, giré mi trabajo para seguir trabajando de derecha a izquierda, pero como les mencioné anteriormente ustedes pueden seguir de izquierda a derecha.
Este paso se llama disminución y no es más que comenzar la siguiente línea iniciando en otro punto diferente a dónde habíamos terminado, moviendo nuestro hilo pasando la aguja por las delicas hasta sacarlo por la delica dónde necesitamos comenzar nuestra siguiente línea así como se muestra en la imágen anterior y en la siguiente.
I only moved it to the second delica as shown in the image.
Yo sólo la moví hasta la segunda delica como se ve en la imágen.
Starting from where I placed my yarn which was the second delica, I start my next row as I already mentioned, always introducing two delicas to begin with, passing the needle through the yarn in front of us.
Partiendo desde dónde ubiqué mi hilo que fué la segunda delica, inicio mi siguiente línea como ya les mencioné, siempre introduciendo dos delicas para comenzar, pasando la aguja por el hilo que tenemos en frente.

We look at the second delica.
Fijamos en la segunda delica.
Once the line is finished, I will make another decrease but this time going out through the third delica of the line we just finished, I passed my needle through the second delica of my line above and through the third delica of the line below.
Terminada la línea, haré otra disminución pero esta vez saliendo por la tercera delica de la línea que acabamos de terminar, pasé mi aguja por la segunda delica de mi línea de arriba y por la tercera de la línea de abajo.
I went through the fourth delica of the bottom row to pull my needle through the third delica of the top row which was where I wanted to start my new row.
Pasé por la cuarta delica de la línea de abajo para sacar mi aguja por la tercera delica de la línea de arriba que era dónde quería comenzar mi nueva línea.
Once we know where we want, we start our new line of delicas, as I said before, always starting with two delicas.
Ya ubicados dónde queremos, comenzamos nuestra nueva línea de delicas, como ya he dicho antes siempre comenzando con dos delicas.
Remember to always fix the marbles, returning the needle through our marble that we have just placed, in this case as we are starting with two marbles at the same time, we return through the second marble.
Recordar siempre fijar las delicas, regresando la aguja por nuestra delica que acabamos de colocar, en este caso como estamos iniciando con dos delicas al mismo tiempo, se regresa por la segunda delica.
I hope this pictorial will help you and that you will be encouraged to elaborate the designs that I have already published and that I will be sharing here.
the next ones that I will be sharing here. Thanks for coming this far.
The pictures were taken with a Redmi 8 phone.
Translation made with Deepl Translator
Así termino este pictorial, espero que les ayude y que se animen a elaborar los diseños que ya he publicado y
los próximos que les estaré compartiendo por acá. Gracias por llegar hasta aquí.
Las fotos fueron tomadas con teléfono Redmi 8
Traducción hecha con Deepl Traductor
Congratulations @kisbeilyt! You have completed the following achievement on the Hive blockchain and have been rewarded with new badge(s) :
Your next payout target is 50 HP.
The unit is Hive Power equivalent because your rewards can be split into HP and HBD
You can view your badges on your board and compare yourself to others in the Ranking
If you no longer want to receive notifications, reply to this comment with the word
STOPSupport the HiveBuzz project. Vote for our proposal!
Wao! Te admiro, que trabajo tan minucioso y preciso. Además se tiene que tener buena luz y vista para trabajar estos proyectos tan hermosos.
Gracias por comaprtir.
Saludos
Gracias , eespero seguir aportando un poco más de mi trabajo y que se animen a intentarlo.
So nice 👍 👍