Hola Comunidad HIVE

Hoy quiero hacer mi presentación al concurso de OCD Community Boost Contest #7: Highlighting NeedleWorkMonday. No soy costurera de profesión, no he realizado cursos de ningún tipo, pero me gusta mucho y cada día trato de aprender.
Por no estar formada en este arte no domino el lenguaje técnico de costura, de las piezas o de su creación para ser explicado como debe ser, pero, trato de hacerme entender de la manera más básica posible.
Para este concurso elegí hacer una braga corta o enterizo como también lo conocen, lo elegí porque es la prenda que me identifica, esto es una de las reglas del concurso, me gustan mucho por su practicidad, es una sola pieza al momento de vestirnos, según el modelo se adapta fácilmente a cualquier momento de disfrute que tengamos y yo soy así muy práctica y me gusta arreglarme sin perder mucho tiempo pero quedar muy bien presentable. Como dije dependiendo el modelo es una prenda versátil, para el calor de Cumaná son súper cómodos y ligeros.
Para este prenda recordé que mi hija me había regalado una pieza de tela que para variar no utilicé, pero que guardé para una ocasión especial y esta es la ocasión especial.
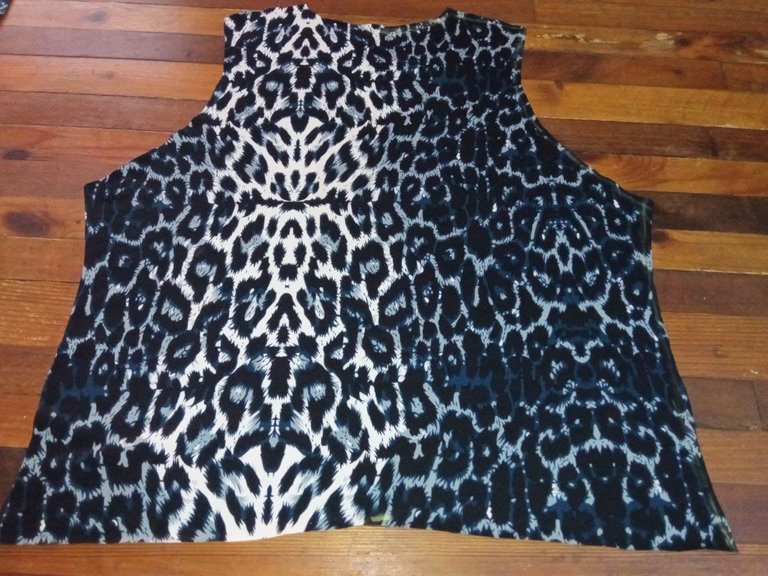
Es una tela en estampado Animal Print del tipo MICRO 180, así estaba identificada acá en la tienda, es stresh muy cómoda y el modelo será uno que ya tengo y me gusta mucho.
Today I want to make my presentation to the OCD Community Boost Contest #7: Highlighting NeedleWorkMonday. I am not a seamstress by profession, I have not taken any courses of any kind, but I like it very much and every day I try to learn.
For not being trained in this art I do not master the technical language of sewing, of the pieces or their creation to be explained as it should be, but, I try to make myself understood in the most basic way possible.
For this contest I chose to make a short panty or enterizo as it is also known, I chose it because it is the garment that identifies me, this is one of the rules of the contest, I like them very much for its practicality, it is a single piece at the time of dressing, depending on the model it adapts easily to any moment of enjoyment that we have and I am very practical and I like to fix myself without wasting much time but to be very well presentable. As I said depending on the model is a versatile garment, for the heat of Cumana they are super comfortable and light.
For this garment I remembered that my daughter had given me a piece of fabric that for a change I did not use, but I kept for a special occasion and this is the special occasion.
It is a fabric in Animal Print of the MICRO 180 type, so it was identified here in the store, it is very comfortable and the model will be one that I already have and I like it very much.
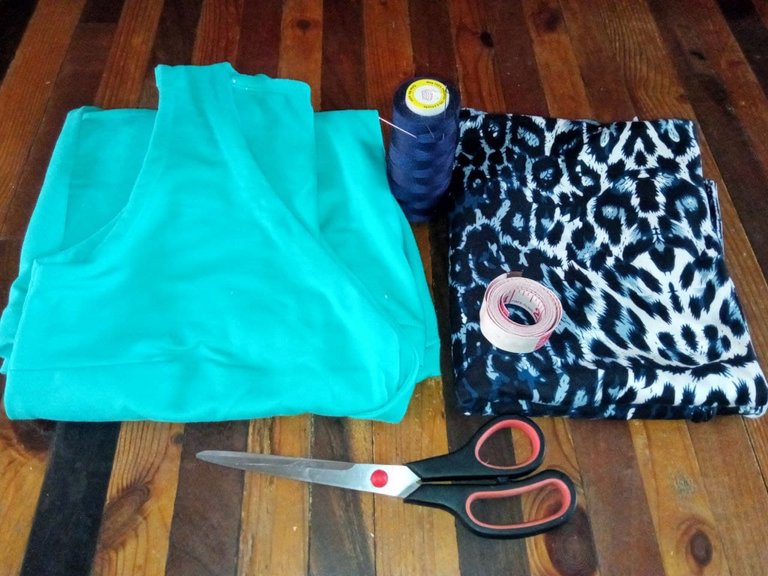
Los materiales a utilizar son:
- 1 Metro de Tela
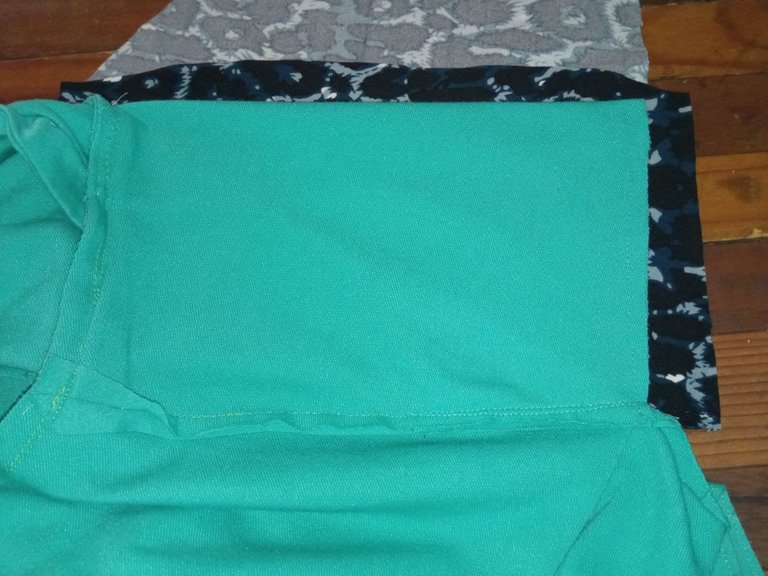
- 1 prenda de medida
- hilo
- Tijera
- Alfileres
The materials to be used are:
- 1 meter of fabric
- 1 garment of measure
- thread
- Scissors
- Pins
Paso a Paso
Step by Step
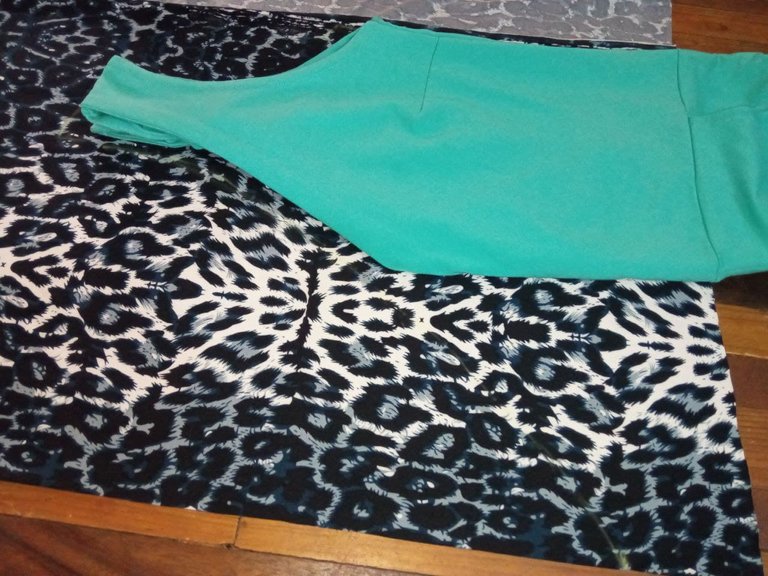
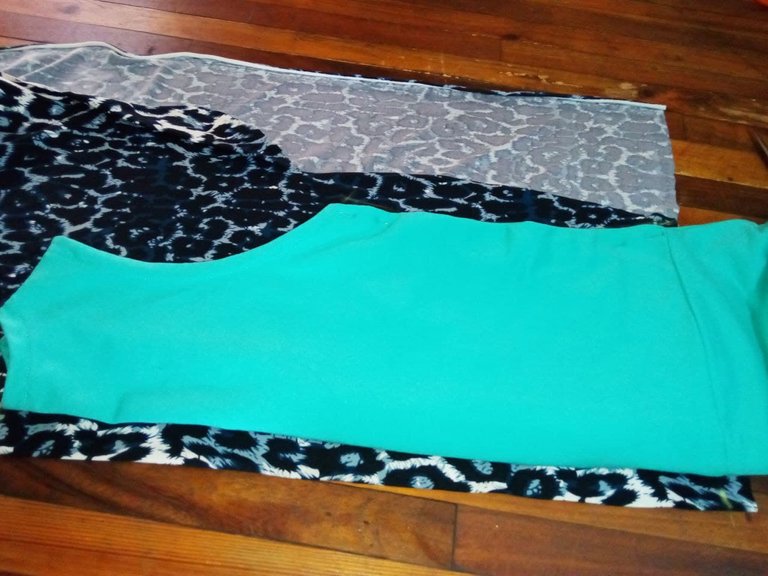
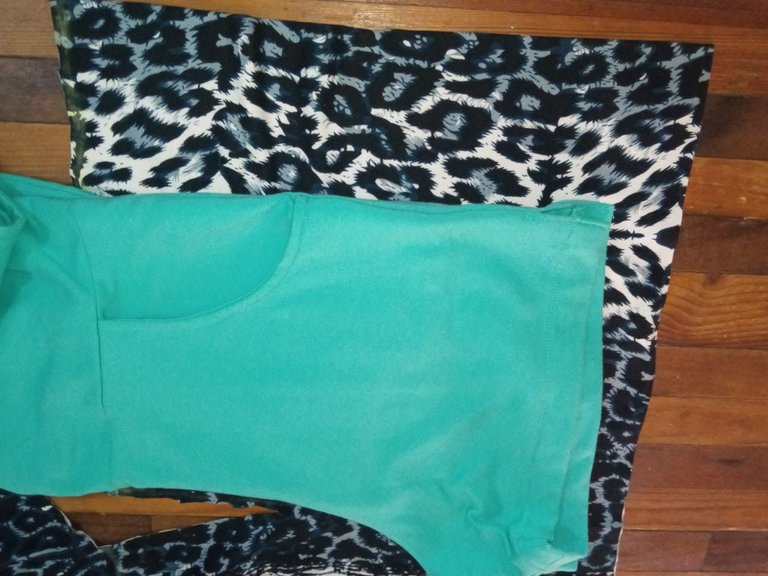
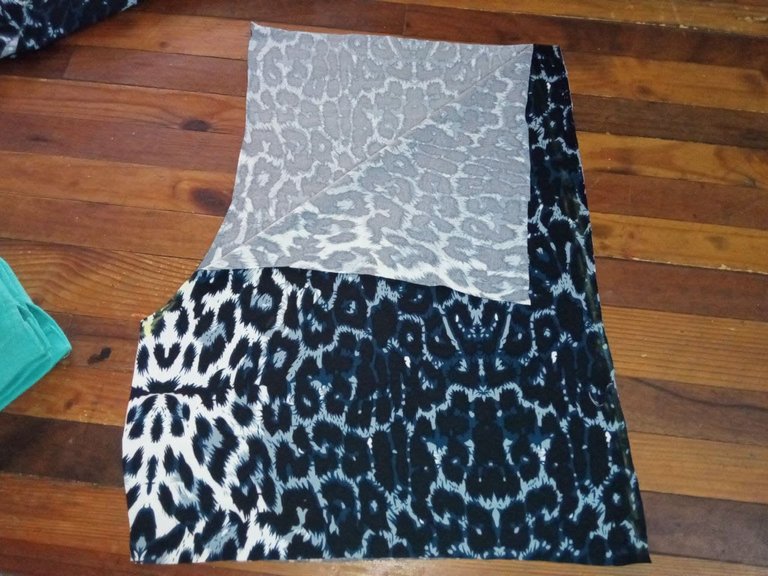
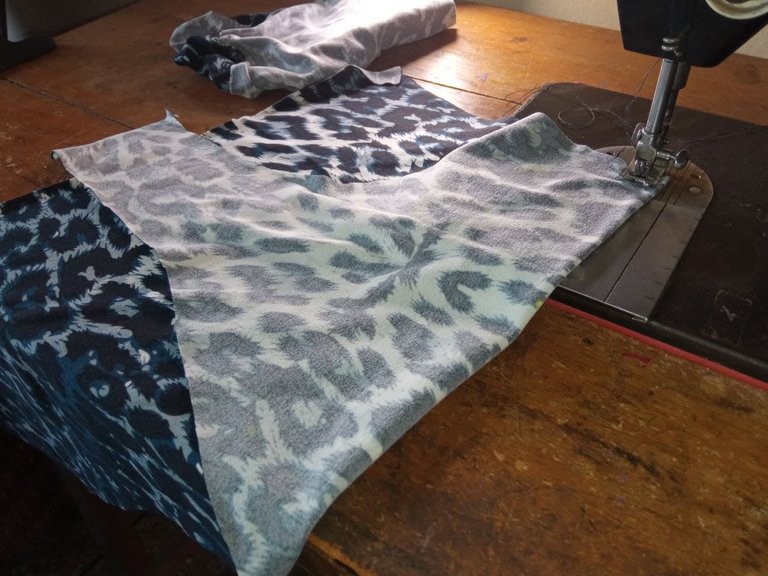
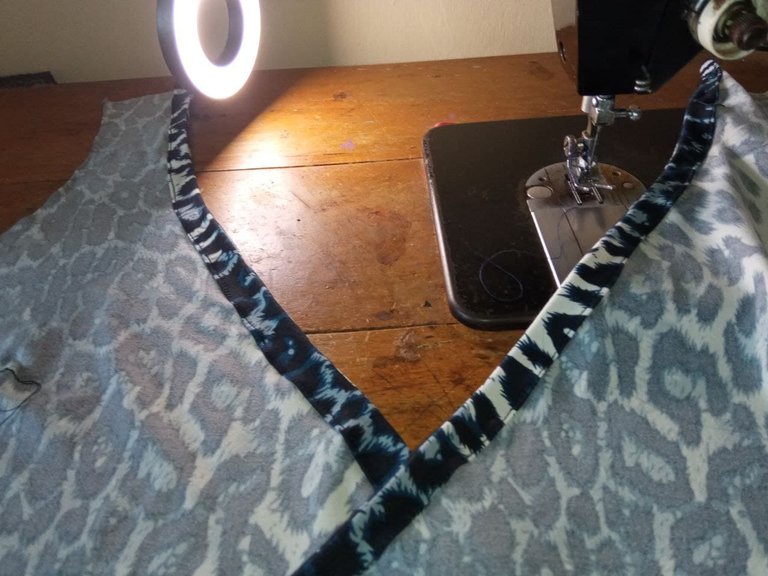
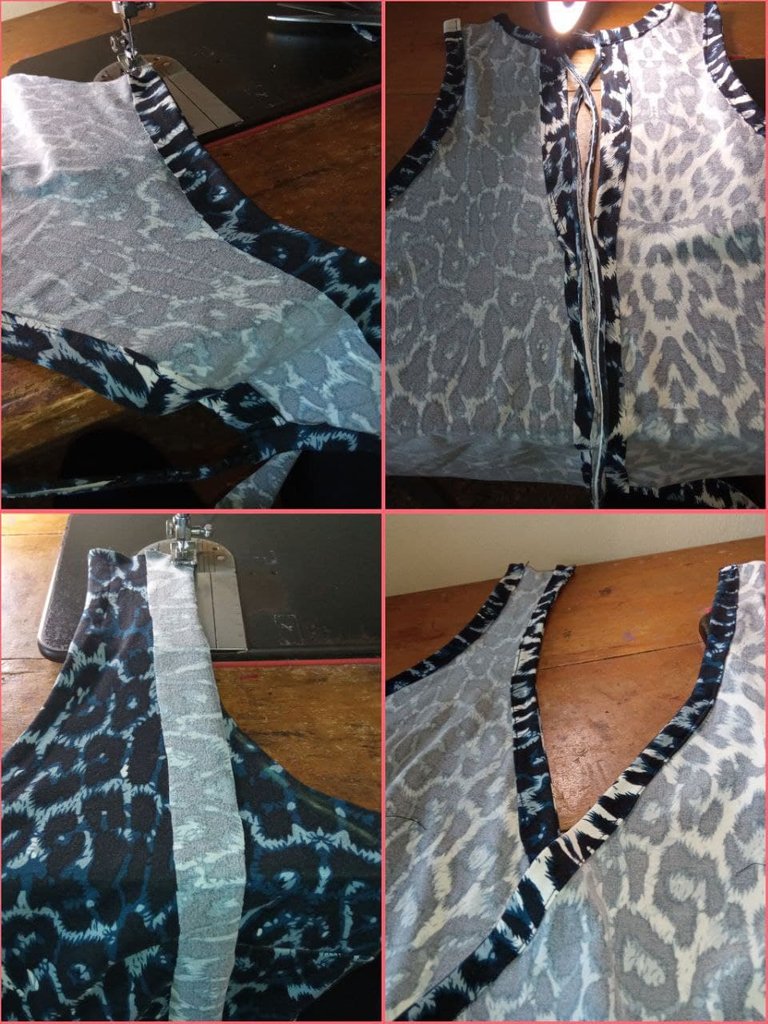
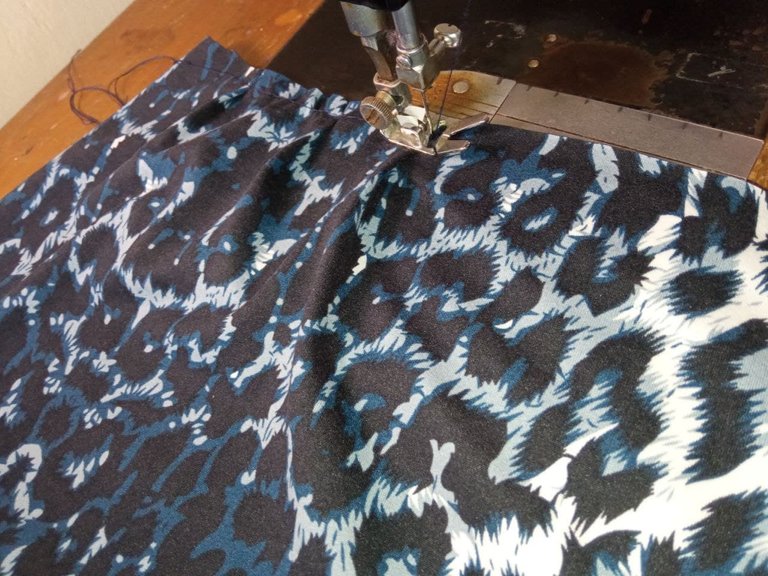
Comenzamos con la parte superior de la prenda (blusa).
1.- Cortamos dos piezas iguales, ya que en la parte delantera el modelo es cruzado. Cuidando de dejar los cm de costura y pinzas.
We start with the upper part of the garment (blouse).
1.- We cut two equal pieces, since the front part of the model is crossed. Taking care to leave the cm of seam allowance and darts.
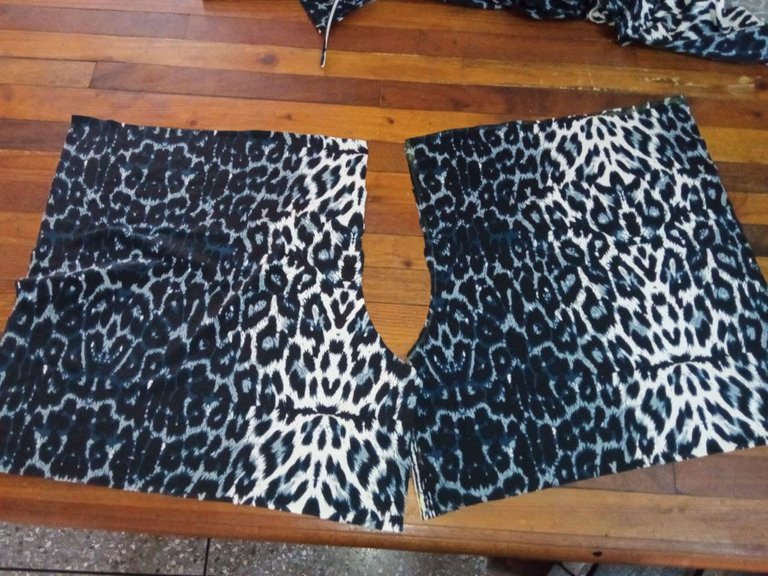
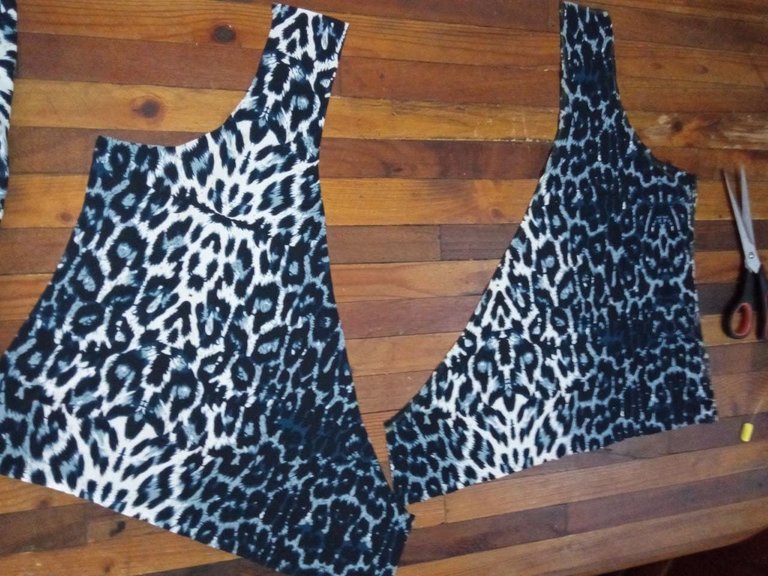
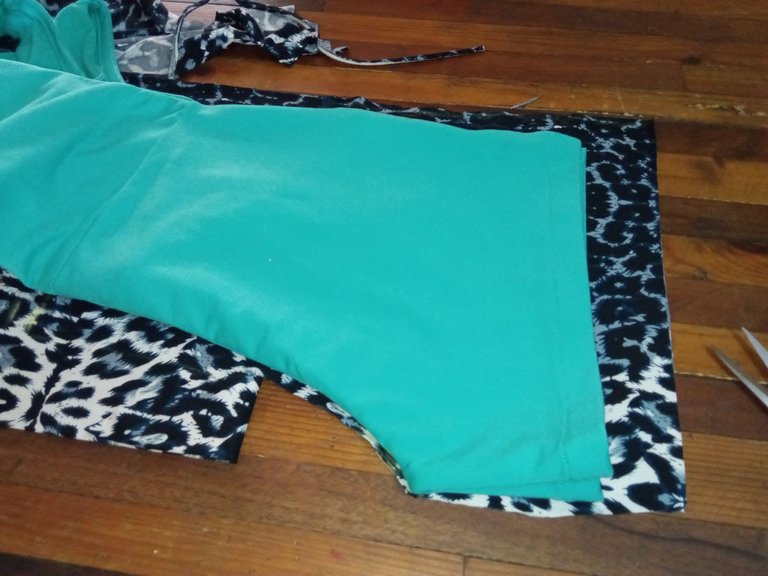
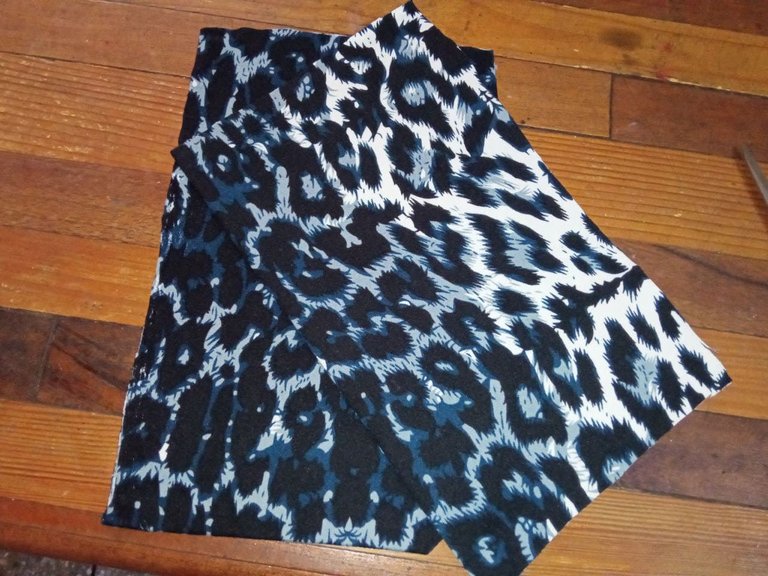
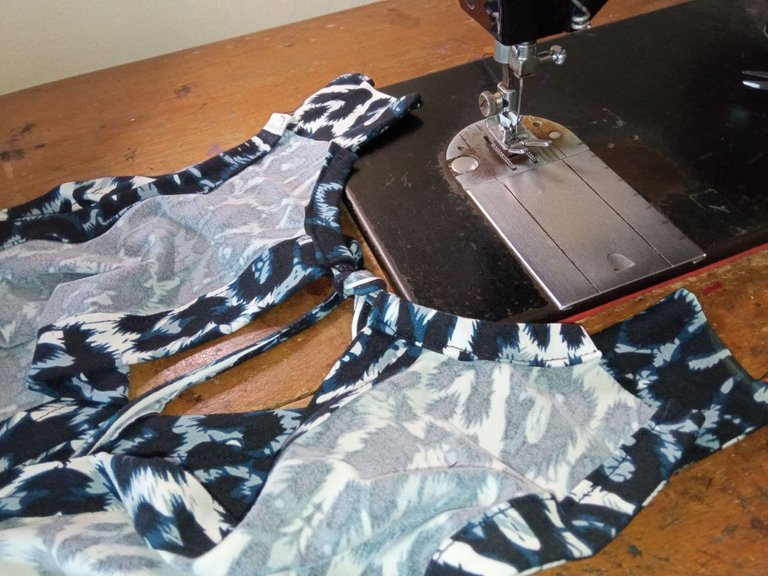
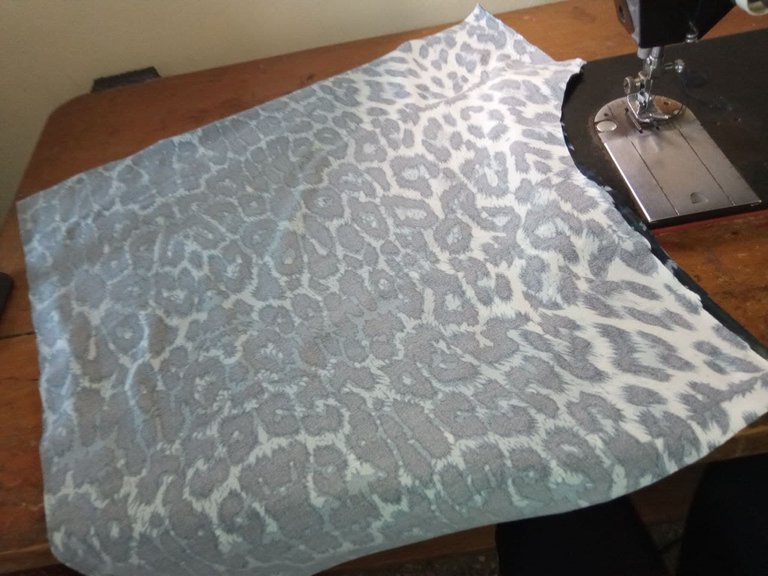
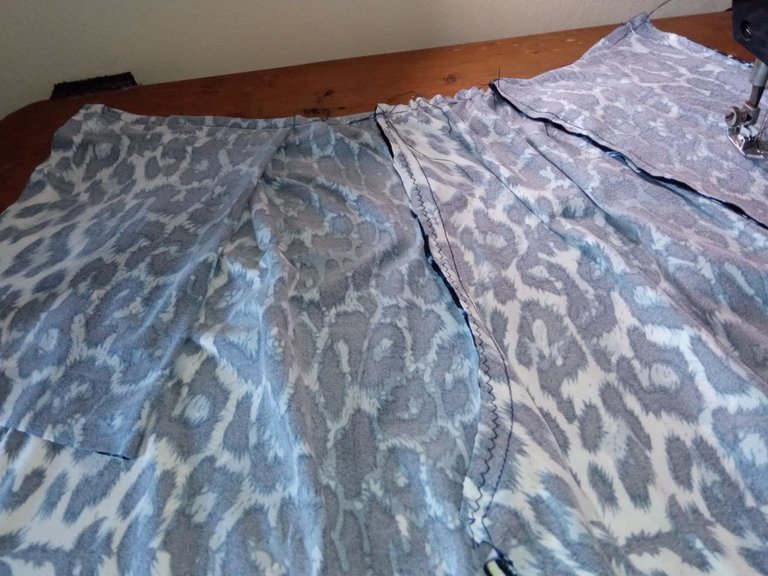
Corte del pantalón, en este caso Short:
1.- Cortamos dos piezas para la parte delantera del pantalón. En este caso Cortamos más ancho que el de la medida, porque lo haré rizado a diferencia de la medida que es liso o al cuerpo.
Cutting the pants, in this case Short:
1.- We cut two pieces for the front of the pants. In this case we cut wider than the size, because I will make it curly, unlike the size that is smooth or to the body.
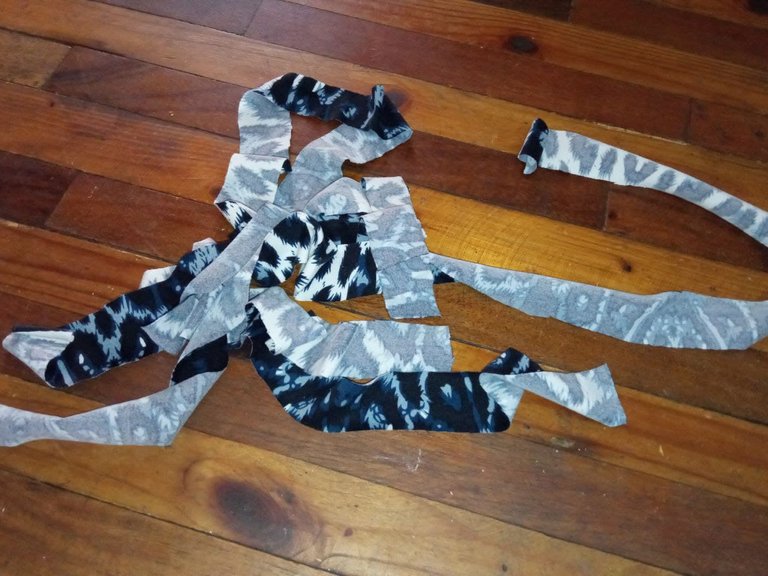
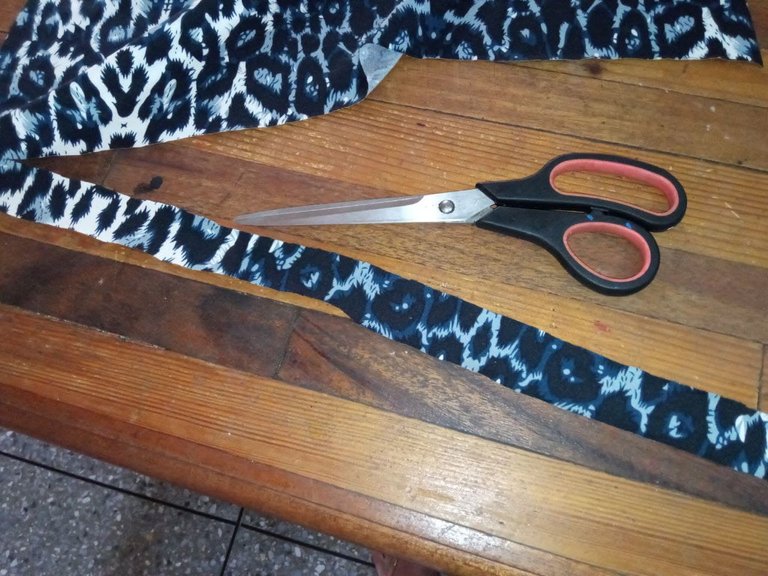

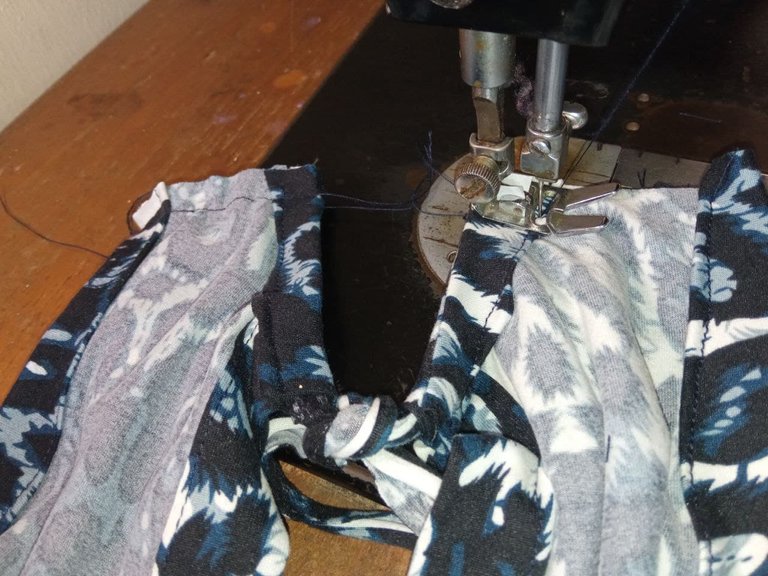
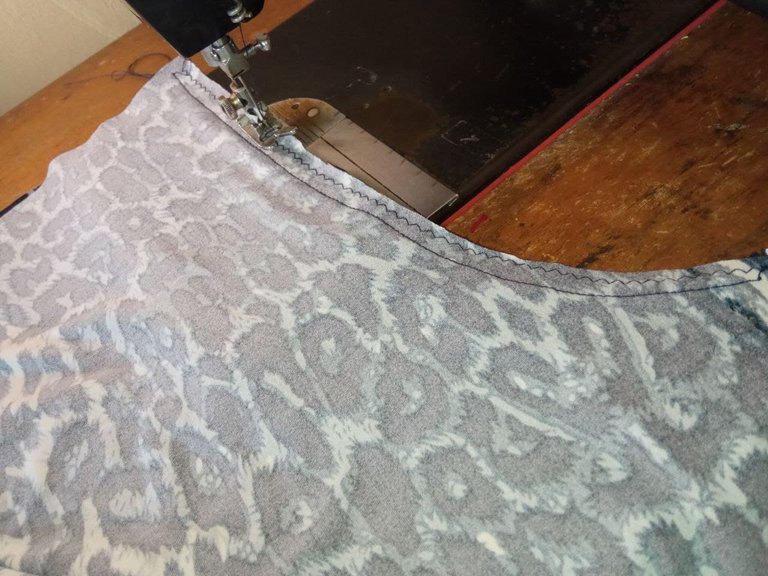
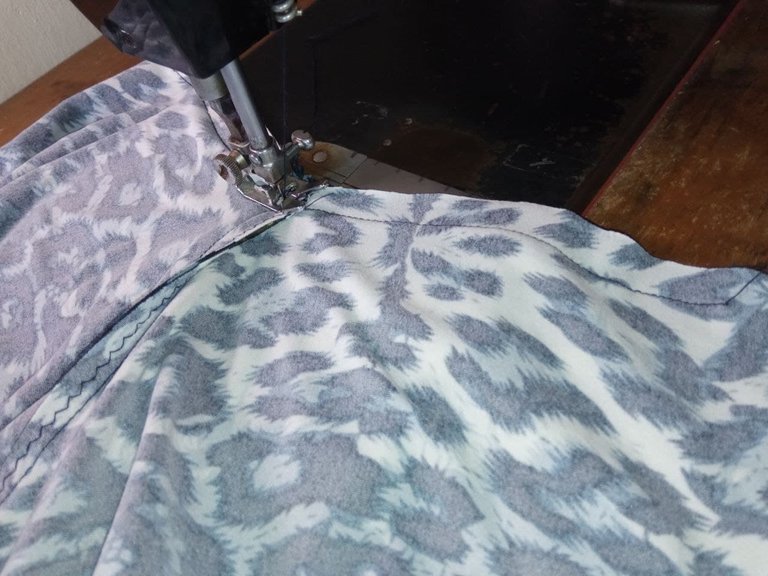
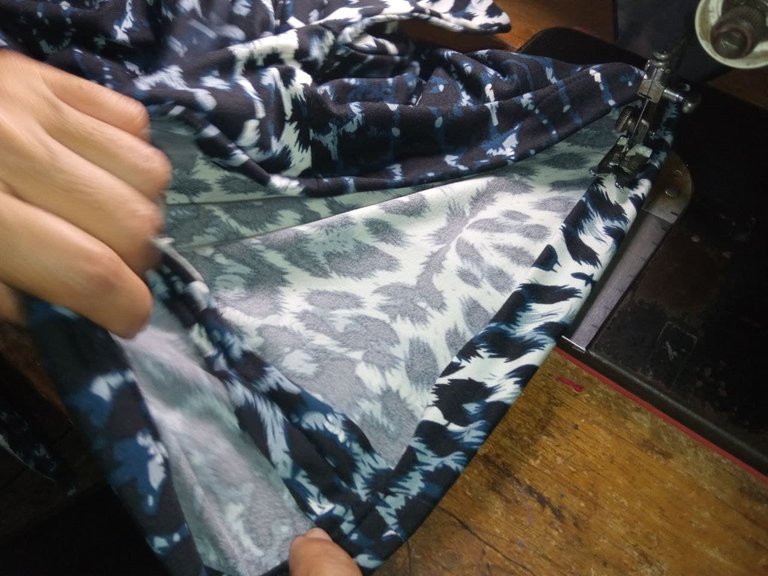
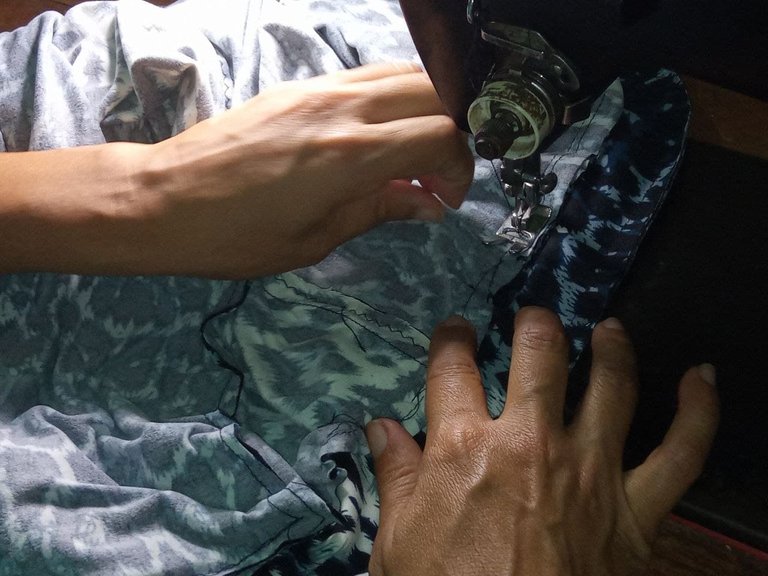
Ya Cortadas todas las pasamos a la máquina...
Once all the strips are cut, we pass them to the machine...
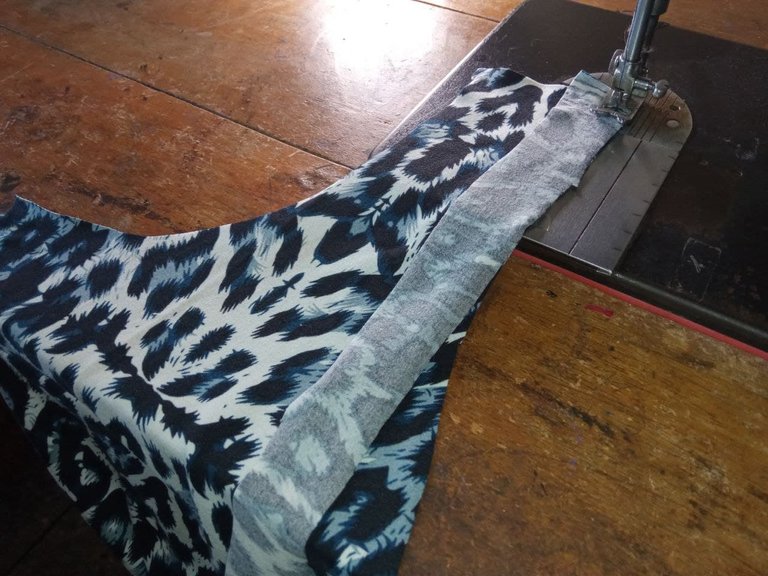
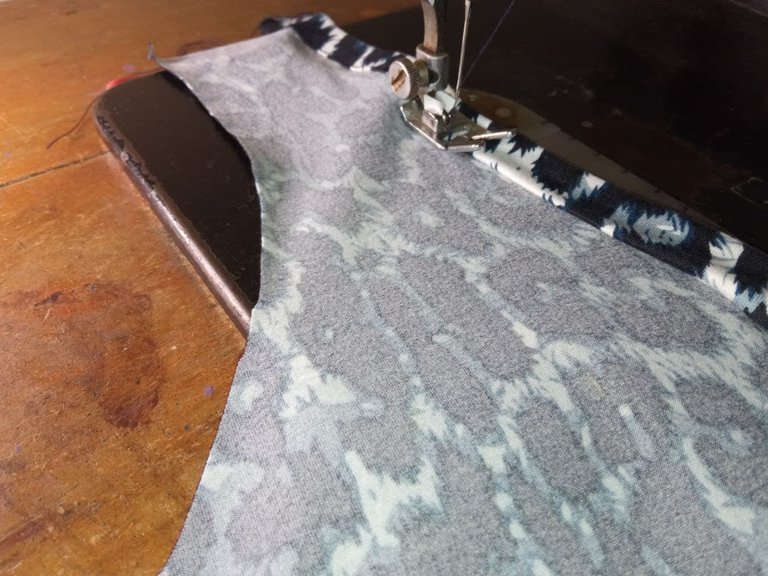

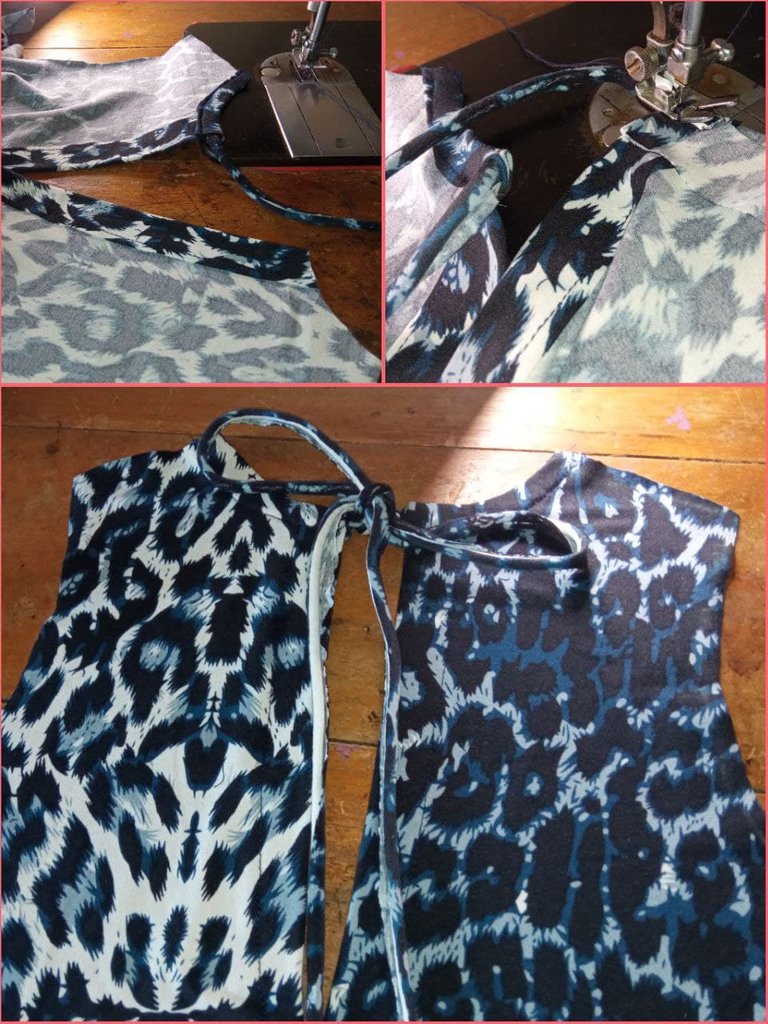
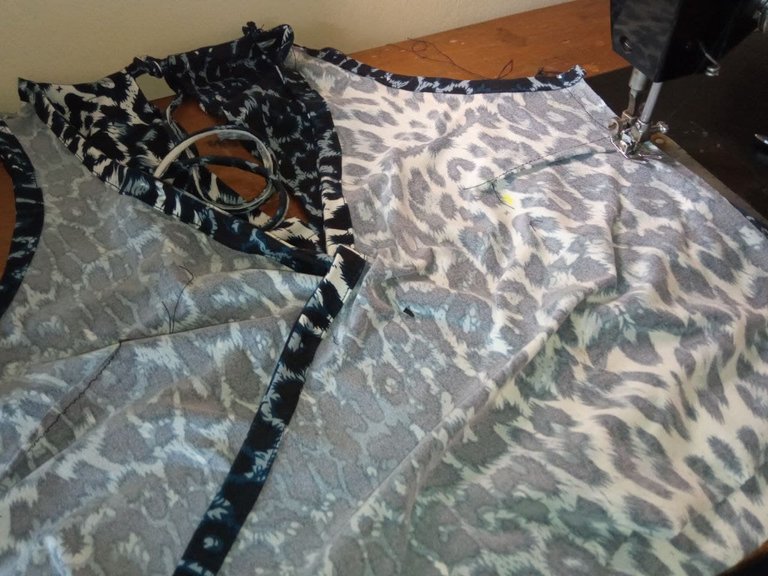
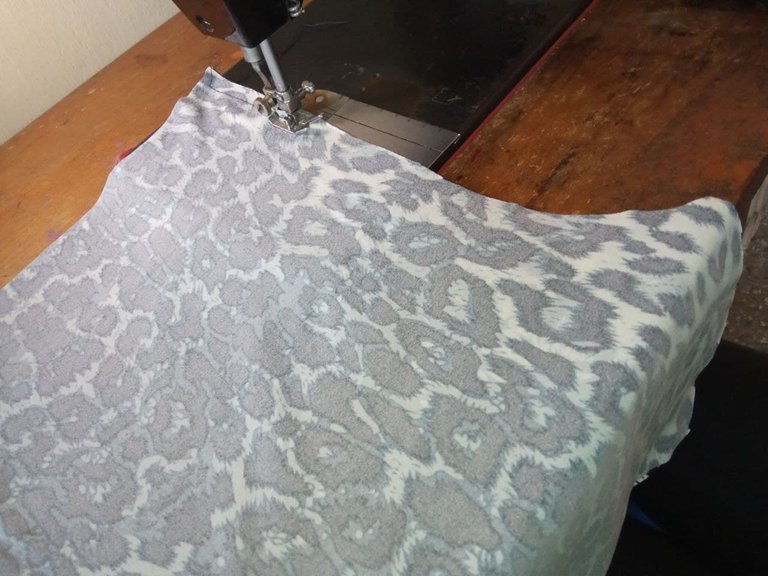
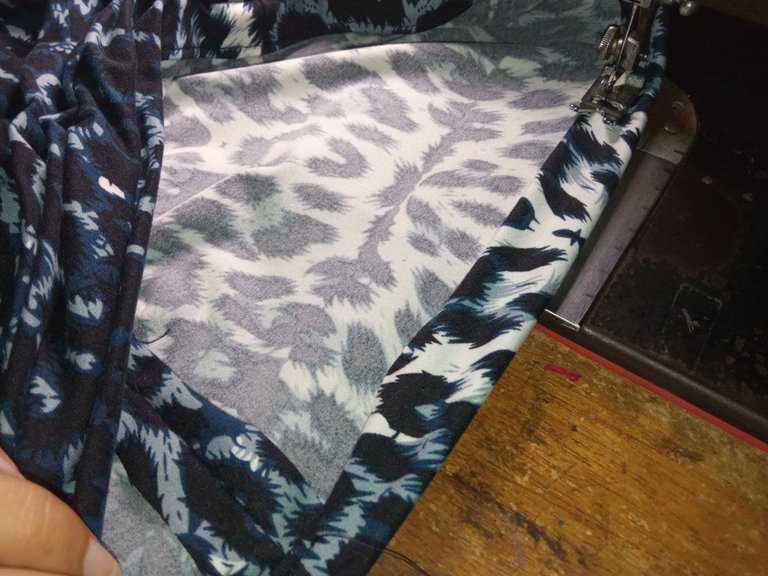
Comenzamos a coser el pantalón:
1.- Cosemos las dos piezas delanteras por el frente.
We start sewing the pants:
1.- We sew the two front pieces on the front.


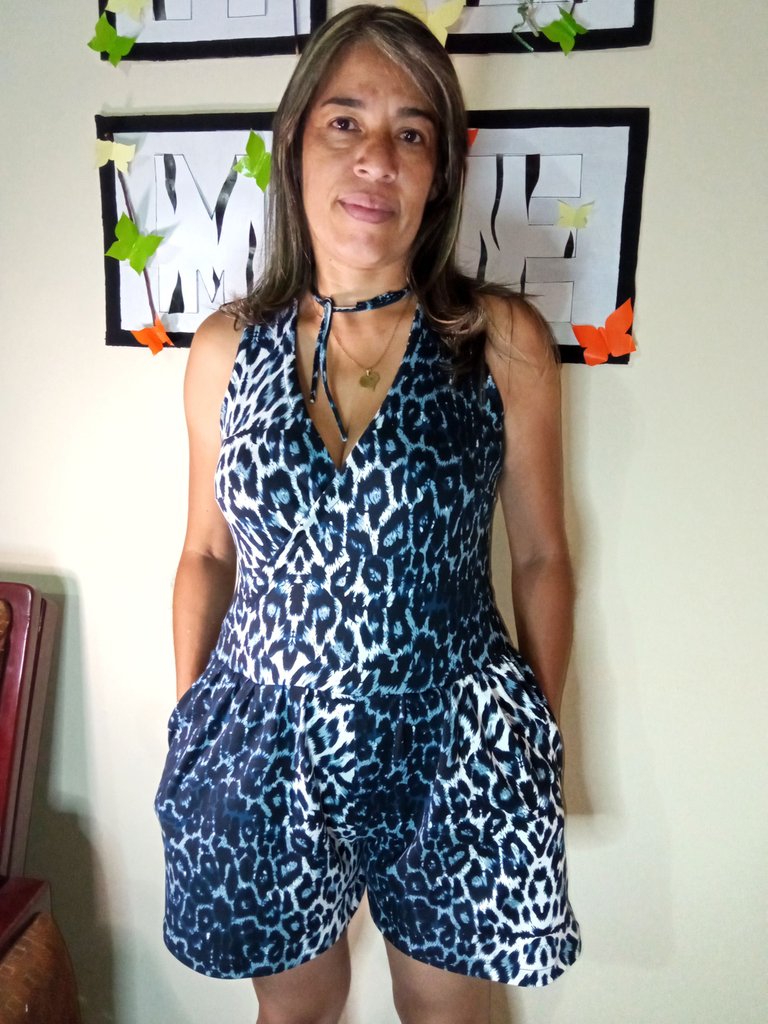
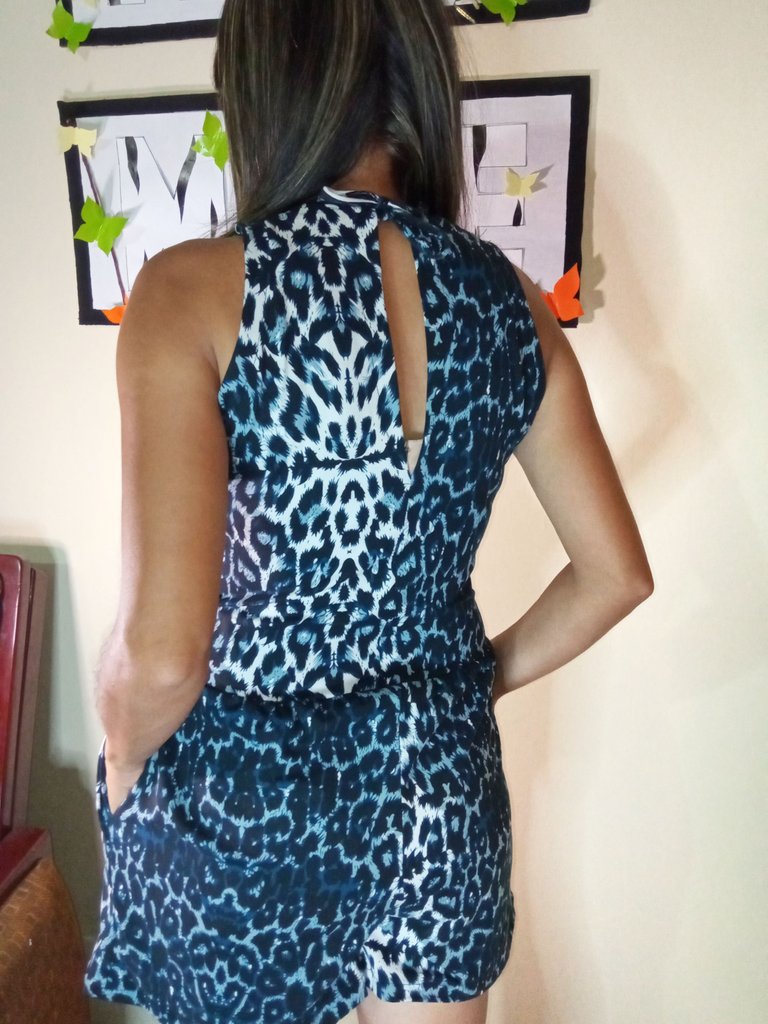
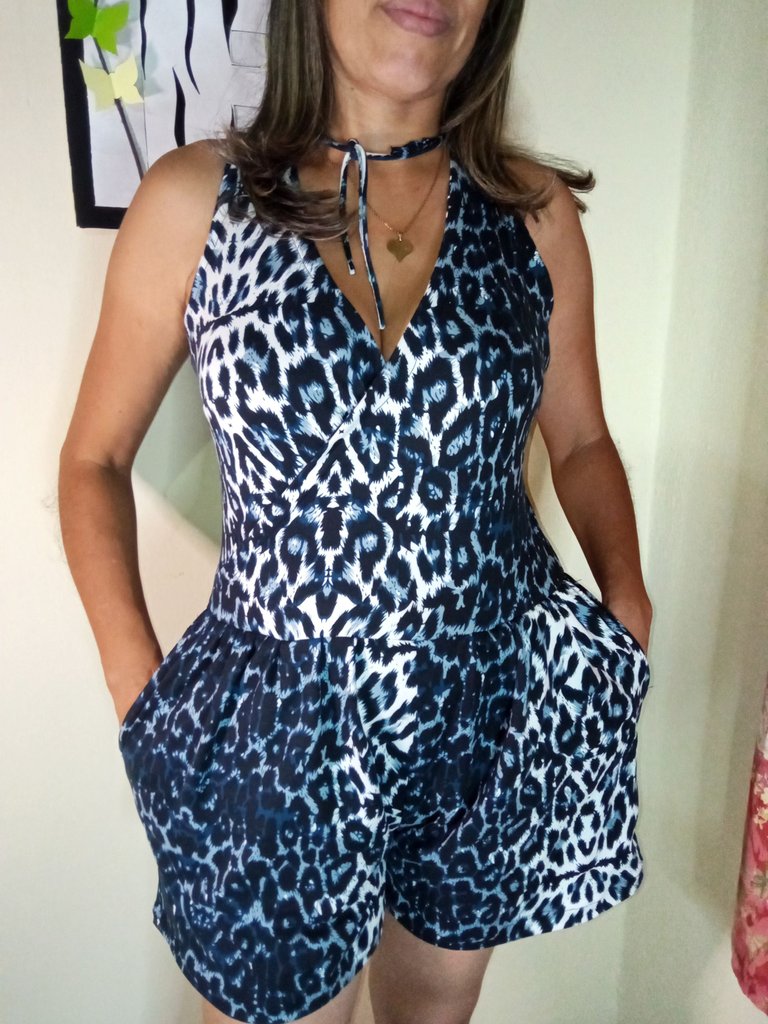
Terminada la prenda puedo decir que me gusto mucho el resultado final, me sentí satisfecha por el trabajo realizado, un poco largo pero no imposible. Espero me haya echo entender y se animen a confeccionar sus propias prendas de vestir.
Once the garment was finished I can say that I really liked the final result, I felt satisfied with the work done, a little long but not impossible. I hope I have made myself understood and I encourage you to make your own garments.
Fotos de mi Propiedad, tomadas con un Telefono Redmi 9
Quedó bellísimo 😍 y la modelo lo hace lucir mejor. Felicidades amiga por tan linda confección.
Gracias amiga por lo que me toca 😀 Tratando cada día de seguir mejorando
Hermosa creación 😍
Gracias Camila...
Buen trabajo, quedó hermoso 😍
Gracias, me encanta que te guste. Cualquier sugerencia para mejorar la recibiré con gusto
¡Me encanta!, hace años que no uso un enterizo. Yo le pondría un cinturón grueso a manera de adorno. ¡Buenas vibras!.
Gracias... Si, espectacular con un cinturón para dar mayor impacto al lucirlo...
Lovely dress, am not a lady tho but I like it 😁 and the sewing process is so simple that I can even try sewing it for my sister too😁
It's nice that you liked it, it's nice to know that even though you're not a woman you value my work. And don't doubt it, I'm sure your sister will love it, so I look forward to seeing your creation for her. Regards
Yes, i do appreciate handworks because its not easy to craft out something on your own so I give it to you my dear, you deserve it 👏 👏
You can visit my blog @smilestitches to view my creativity as well, i would be glad if you could 😊😁
Muy cierto se necesita tiempo, dedicación y esfuerzo para lograr un buen acabado.... Gracias, ten por seguro que visitaré tu blog....
Very true, it takes time, dedication and effort to achieve a good finish..... Thank you, I will be sure to visit your blog.
Thank you so much am glad you liked it
Hola me encanta esta presentación y la braga esta demasiado bella
Gracias amiga, para resaltar más nuestra belleza 😀😀
excelente modista y modelo
quiero uno.
Gracias Cuñada. Es la idea 😀😀 Que bueno que te gustó....
Hello @mariela-b! Welcome to the NeedleWorkMonday Community!
Your outfit turned out so cute! I love the print of fabric as well as the style of it. It looks great on you.
Thank you for sharing the process of your work with such clear photos. Also for touching on the contest topic about how this project relates to your character.
Please remember that in order for your entry to qualify you must share the link to this post in the comment section of the original contest announcement :)
Every week needleworkers from around the globe get together to share our work, patterns, tips, ideas and shortcuts as we support one another. Our goal is to inspire the Hive blockchain to give crafting a try.
On Monday’s we use the #needleworkmonday tag and on all other days we use the #needlework tag without the word Monday attached. We share and post our work directly from the Community page.
We encourage our members to share the process of their work through photos (as you have done here). This not only validates your work but it takes us along the creative journey with you :)
For more information about what we do and for our posting guidelines please visit our FAQs.
Thank you ~
Hello and thank you very much for your good comments for my work, I do it with great dedication. I would love to continue learning more every day and I think it is excellent to have advice from more experienced people in this beautiful art, as well as to continue showing my creations on this platform.
You're welcome! We'd love to have you continue sharing your work here in this community :)
I will do so