Happy Monday fellow Hiveians and needleworkers! I used to dread Mondays. Sundays have that bittersweet feel to me knowing that weekend has gone by and come morning time, it's time to hustle once again. Now, I still hustle. But this time, I am actually excited. Thanks to the @needleworkmonday community, I have found a home where I find amazing projects and inspirations, hoping that my projects also inspire others.
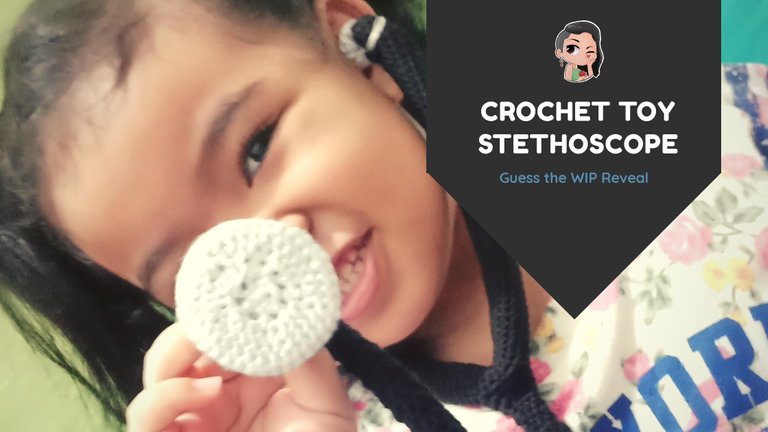
Last week, I started a new project for my little kid. And as of last Friday, she has been enjoying playing with her new toy. She was very vocal in saying she'd like to be a doctor to fight the virus and take care of me and her dad. She might have thought that she already achieved that dream because now she says she wants to be a police officer, not a doctor.
She had full three days to enjoy her toy stethoscope. And now she is shifting careers. I hope she doesn't ask me to crochet a badge. Ahh children. So cute, so innocent, so fickle.
The process

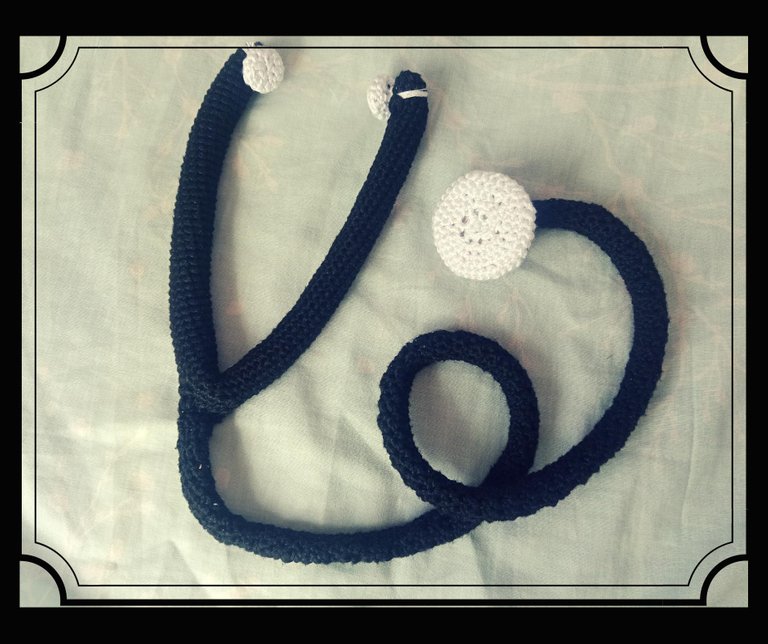
Seeing that my crochet stethoscope enjoyed three days in the spotlight, I would like to share how simple and easy the process is.
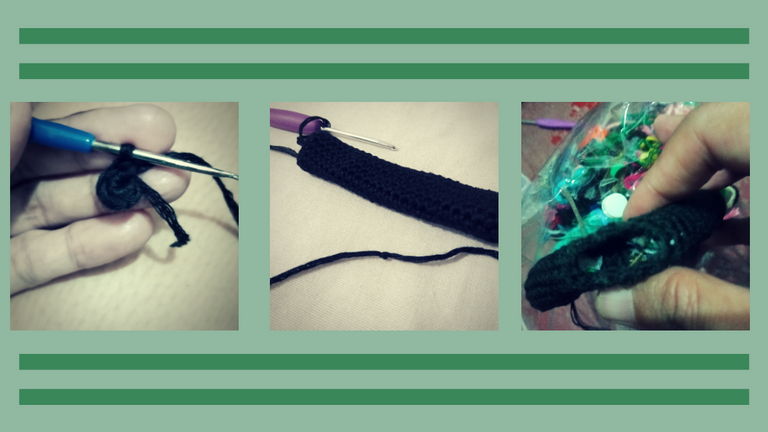
It all starts with a Magic ring with 6 single crochets around. Do not close the ring, single crochet twice on the first single crochet you made. That's the start of row 2. make two single crochets on each stitch until you reach the first sc you made for row 2. Do not close the ring, just continue working upwards, this time mke one single crochets on each stitch. The length totally up to you but when you decide that you want to end the rows, your next step would be to single crochet on 5 stitches. Make about 4 or 5 rows of this. It will serve as the "bridge" from one ear to the other. Then on the last row of the bridge, chain 7 and close the ring by making a slip stitch into the first single crochet.
Now you can make one single crochet on each stitch, do not close the ring this time, make continuous single crochet until it is the same length as the first part. Close the ring by decreasing the last three rows.
You can then feed the stuffings into the ear tube. To make the tubing where the chest piece is connected at the end, make double crochets around the open part of the tubing. decrease until you wind down to 12 double crochet ring. From then on, make double crochet on each stitch, closing on each row. Start the next rows with 3 chains.
I connected the white yarn at the end of the tubing, increasing until I reached my desired circumference for the chest piece. I inserted the circle cardboards into the chest piece to make it sturdy. Once ai inserted the cardboard, I started decreasing the stitches until I reached the center. Weave off ends.
As for the ear tip, I made a circle by starting with the magic ring. I did the same thing with the chest piece. I inserted small circle cardboards and then closed it off by decreasing the stitches. Then I sew the ear tips into the end of the ear tubing.

I must say my kid and I enjoyed playing the doctor. She loves it when I'm the sick patient and she cures me. We have our pretend medicine, our pretend hospital bed and of course, our toy stethoscope.
Guess the WIP winner
I almost forgot about the Guess the WIP. Thank you to the four ladies who made their guesses.
@marblely | @rowee22 | @june21neneng | @puellacreativa
You will receive equal amounts of the HBD earnings from the announcement post.
I have a great project for this week's guess the WIP. Please stay tuned!
¨ðº°˜¨ ¨˜°ºð¨

Connect with her through her Facebook Page: The Leftie Crocheter and on Instagram. Feel free to subscribe to her Youtube Channel: The Leftie Crocheter


#posh
It is great!! I totally like it! With a hook and a thread we can change the world by making an other one! Hehe!
Hehe. Right you are! Cheers to us needleworkers!
I just love the ideas you have! Making small toys and using them to play with your kid, it's kind of the best way to use our crafting magic ;)
Haha. Thanks! She's the best client I have. Keeps on coming back for more and more. And right now, playtime is the best time all the time. Lol.
Toys made in crochet are amazing but you are even better: a stethoscope. So lovely and unusual and so cool that your daughter has such creativity and want to heal corona (lets wait, perhaps she will be a famous doctor one day <3)
I remember that you do commissions but do you also have a shop for your crochet creations? I imagine that such toys would be a good seller as they are fluffy, cute and help the children to have a broad horizon for their imagination (not only cars and dolls...)
Yeah I do commissions every now and then but I don't have a physical shop. My creativity is often driven by my daughter's requests. Maybe we'll have our very own crochet toy shop someday.
Congratulations! Your post has been placed in the spotlight for this week's @NeedleWorkMonday Featured Posts 102! Thank you for your quality post and for being a part of the needlework community!
#NeedleWorkMonday is an initiative that supports and rewards the needlework community while inspiring the HIVE blockchain. Subscribe to our NeedleWorkMonday Community today!
For more information on #NeedleWorkMonday and the @needleworkmonday community please visit our FAQs!
This is so cute! Nobody would have been able to guess this. Your daughter is adorable :)
Que lindo y muy útil para los niños. que bien.