Hola amigos, he estado ausente por aquí. Pero siempre sigo trabajando de alguna manera. Dando clases de yoga, danza, entrenandome, estudiando... siempre en movimiento. Aun estando en pausa sigo soñando y dejando volar mi imaginación en los próximos pasos que daré, a veces vivo mas en las nubes, que en la tierra. Y bueno, no vengo a hablar de mi jeje. esta vez tejí un gorro con trenzas. No es primera vez que lo tejo, pero si primera vez que lo comparto con ustedes. Los primeros dias que teji estas trenzas duraba horas, de verdad, eran horas intentando hacerlas. Hasta que la practica todo lo puede y luego no dejaba de tejer gorros con trenzas, las amaba y aun las amo. No es muy fácil explicar la forma de tejer en trenzas, quisiera mas adelante grabar videos, porque no se si al escribirlo me hago entender. Acepto opiniones y sugerencias, de verdad, me ayudarían mucho.
Hello friends, I have been absent around here. But I always keep working in some way. Teaching yoga, dance, training, studying ... always on the go. Even being on hiatus I keep dreaming and letting my imagination fly in the next steps I will take, sometimes I live more in the clouds than on earth. And well, I'm not here to talk about my hehe. this time I knit a hat with braids. It is not the first time I knit it, but it is the first time I share it with you. The first days that I wove these braids lasted hours, really, they were hours trying to do them. Until she practices it, she can do it all and then she didn't stop knitting hats with braids, I loved them and still love them. It is not very easy to explain how to weave in braids, I would like to record videos later, because I do not know if writing it makes me understand. I accept opinions and suggestions, really, they would help me a lot

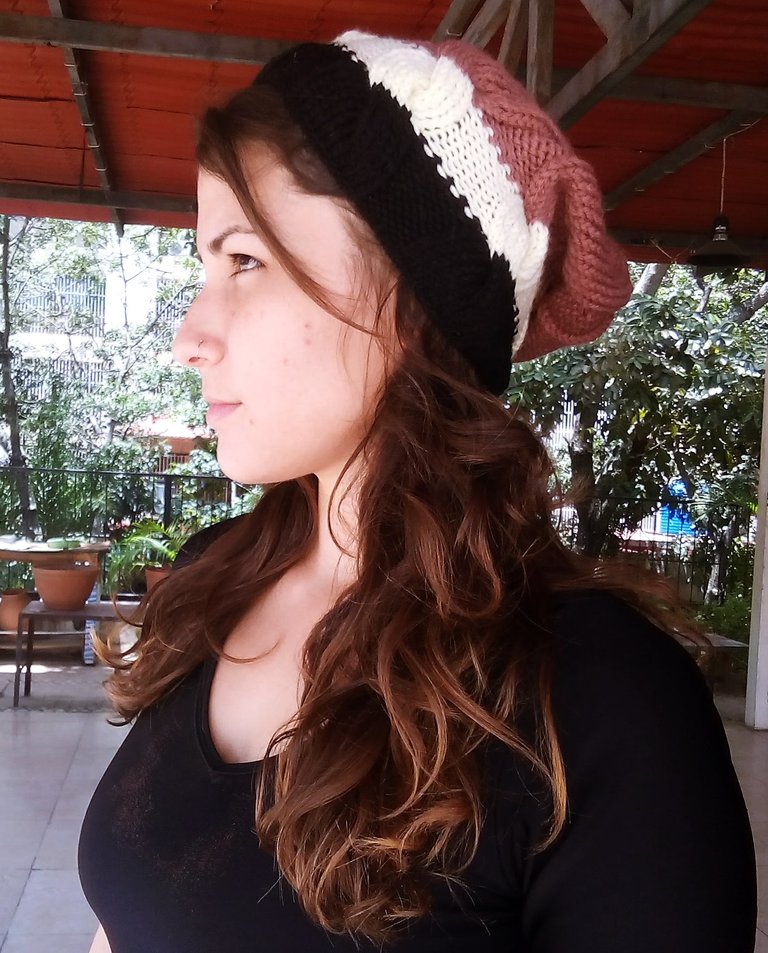
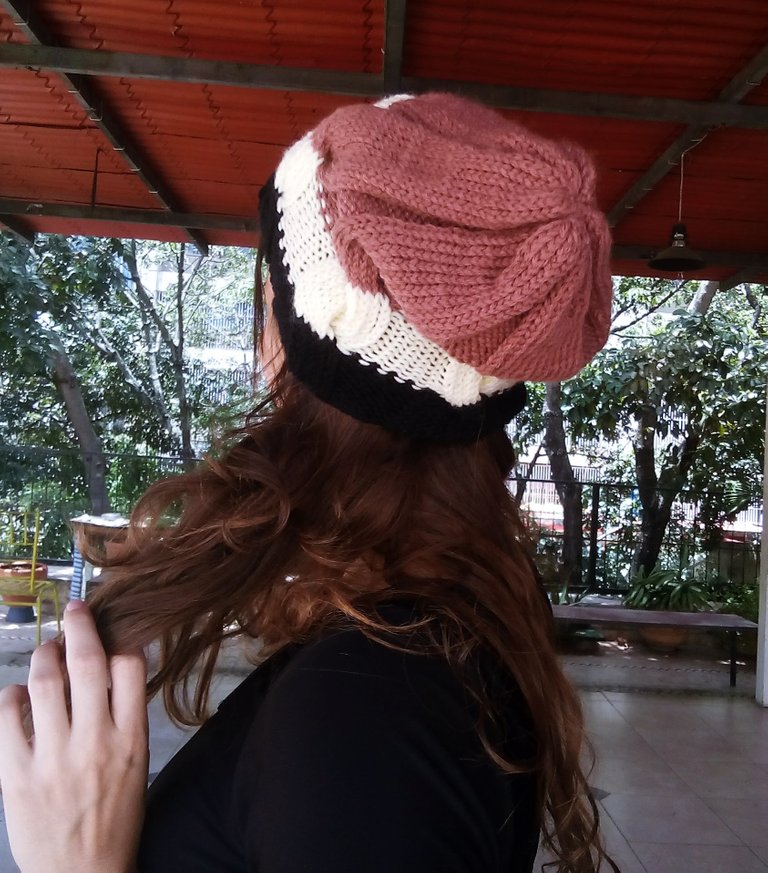
Final de la elaboración de gorro.Fotografía de: @perkysleen./ End of hat making.Photograph of:@perkysleen
Elaboración de gorro tejido con trenzas con aguja circular.
Making a knitted hat with circular needle braids.
Materiales: /Materials:
- Aguja circular Nº. 4,0. ./ Circular needle Nº. 4,0.
- Ganchillo Nº 2,5. / Needle Nº 2,5.
- 50 grs de hilo. / 50 grams of thread.
<center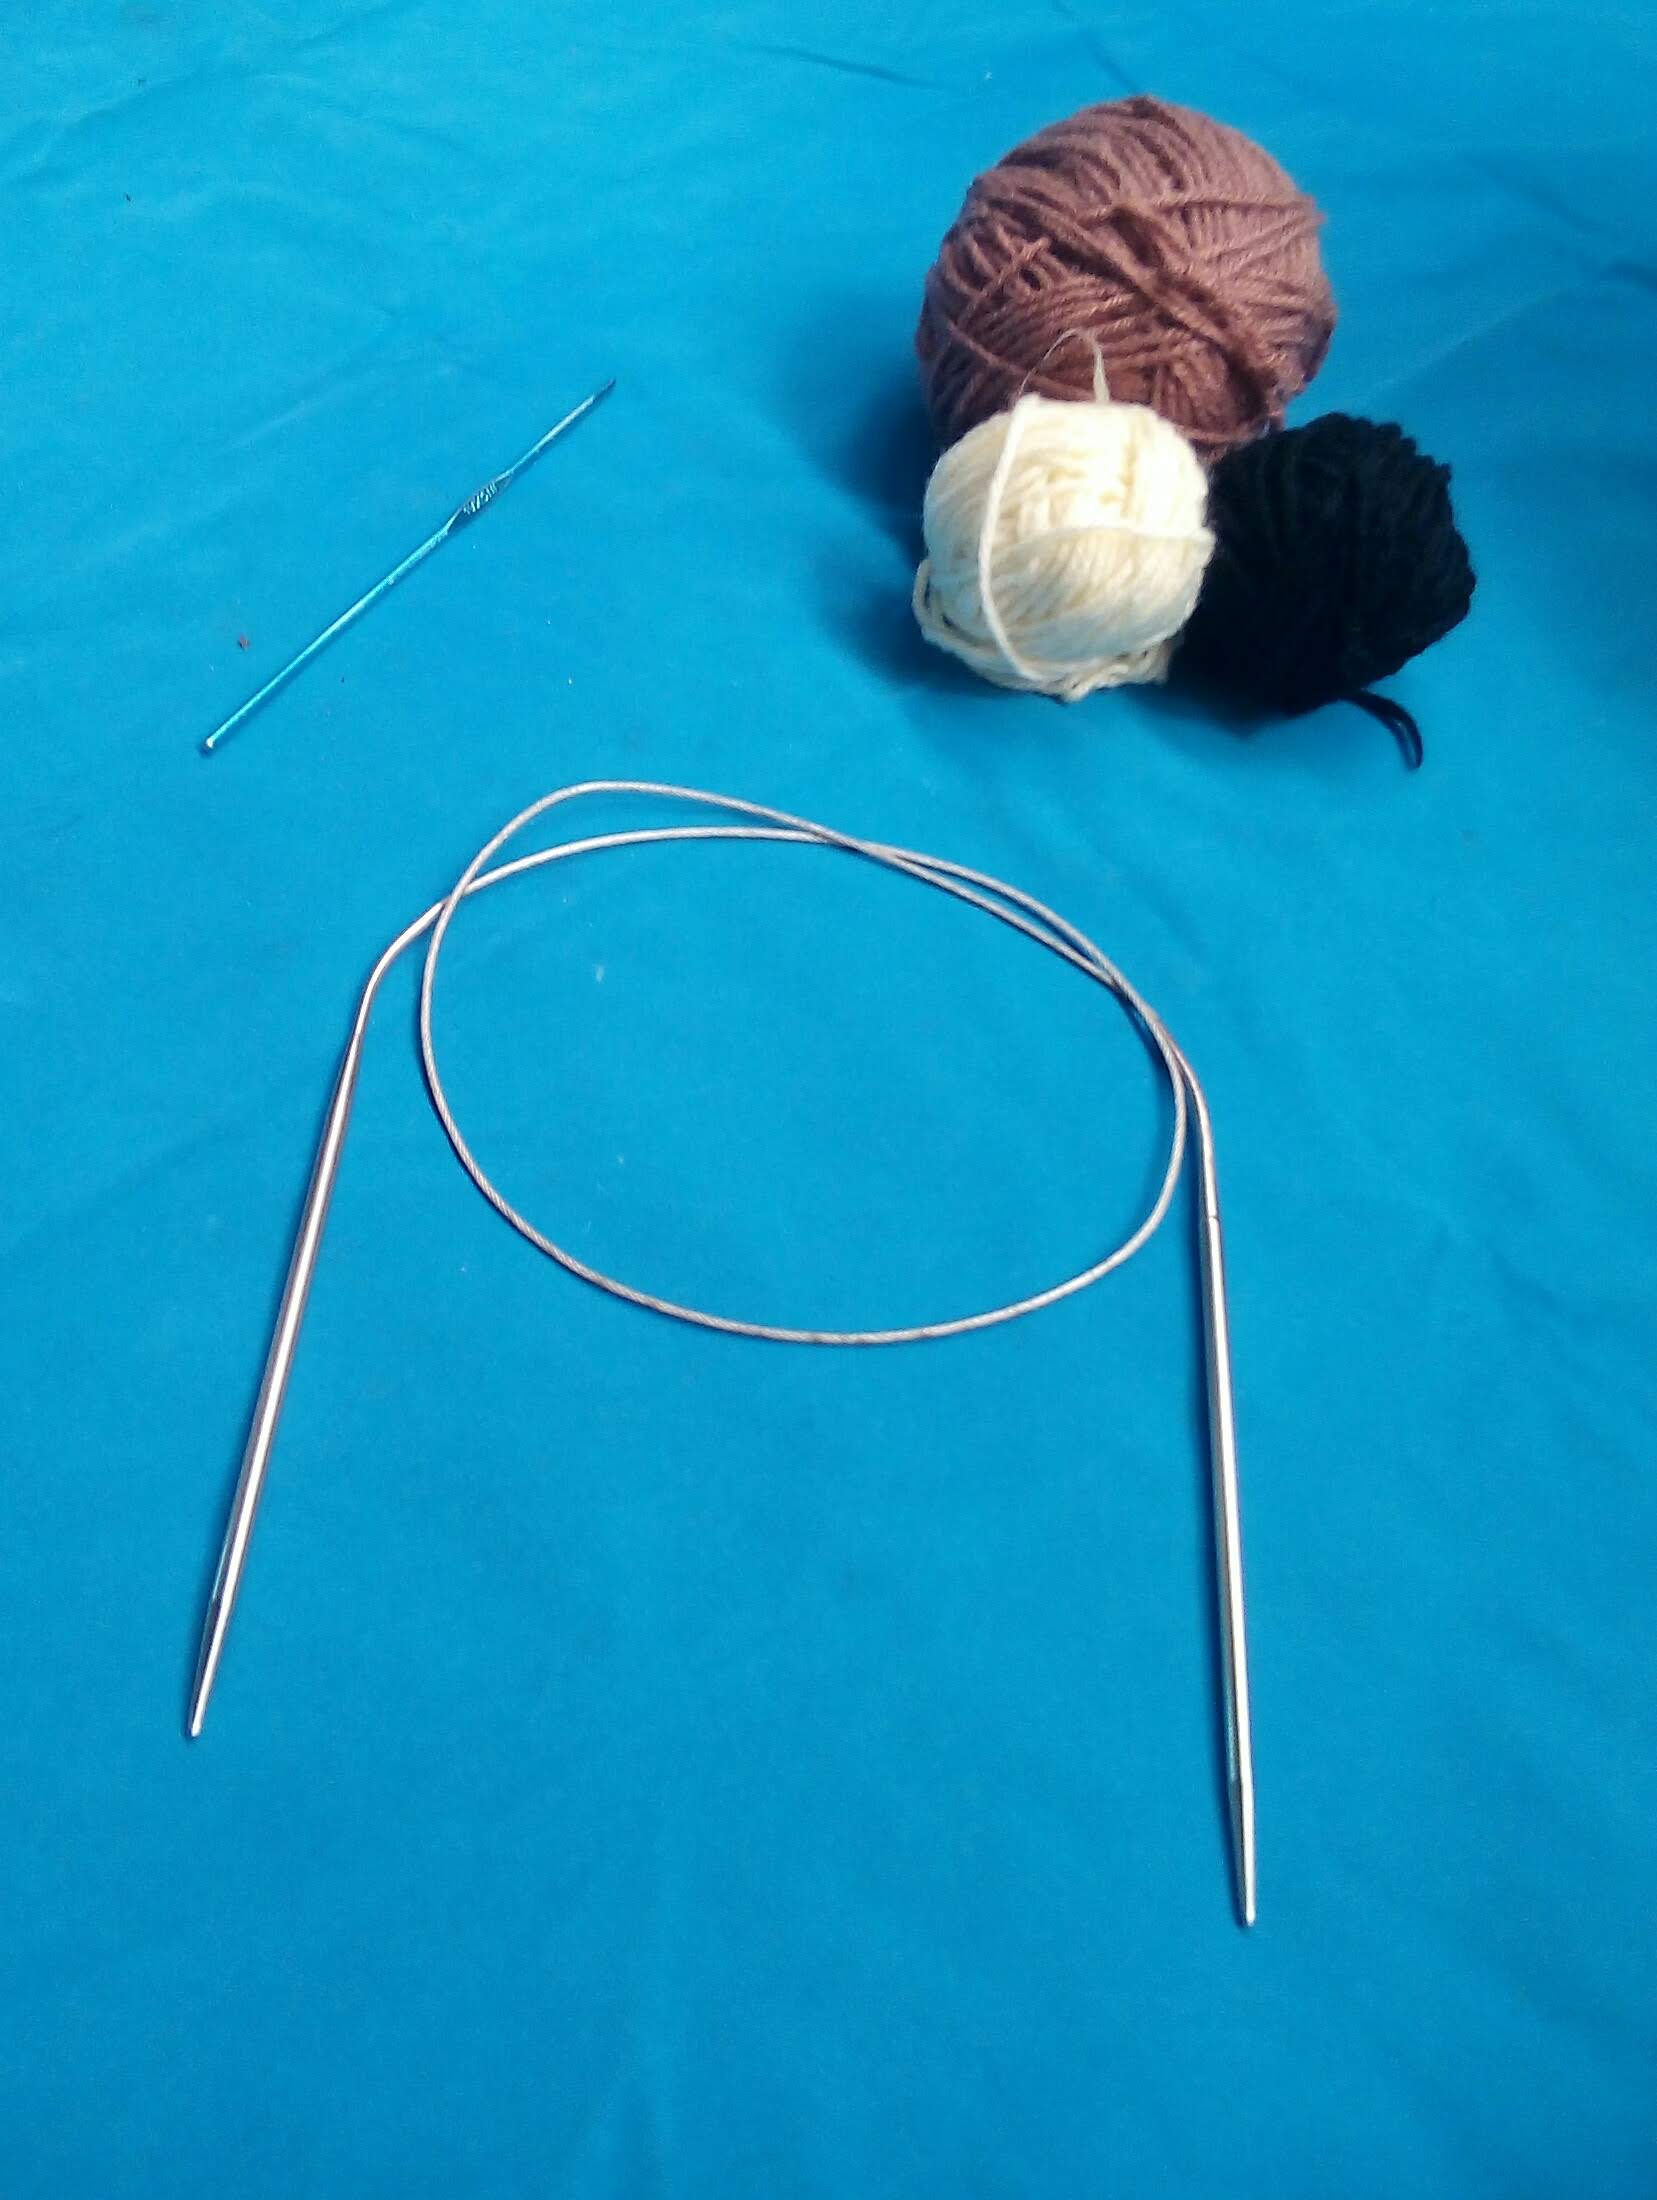
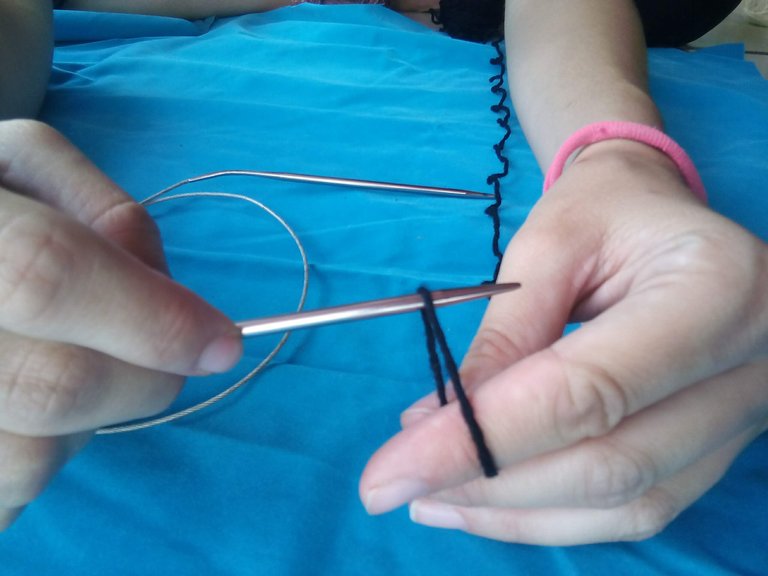
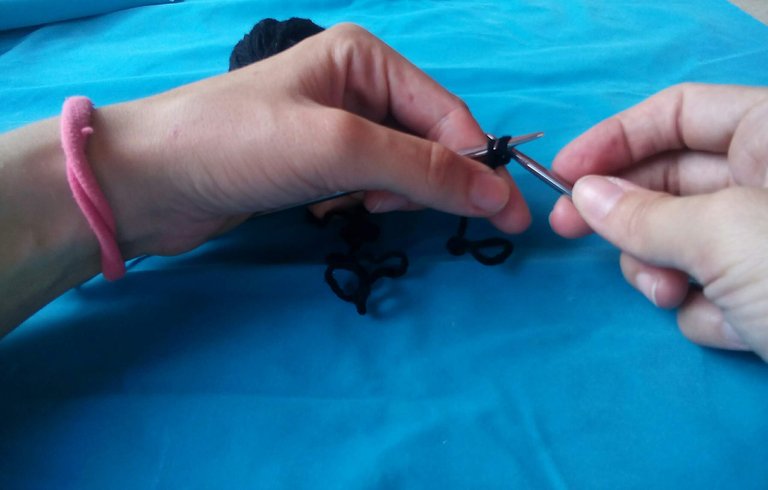
Paso 1:
Iniciamos con un nudo para darle paso a la elaboracion de una cadeneta de 102 puntos derechos. Vamos a ir tomando el hilo hasta colocarlo en la aguja.
Step 1:
We start with a knot to give way to the elaboration of a chain of 102 right stitches. We are going to take the thread until it is placed on the needle.
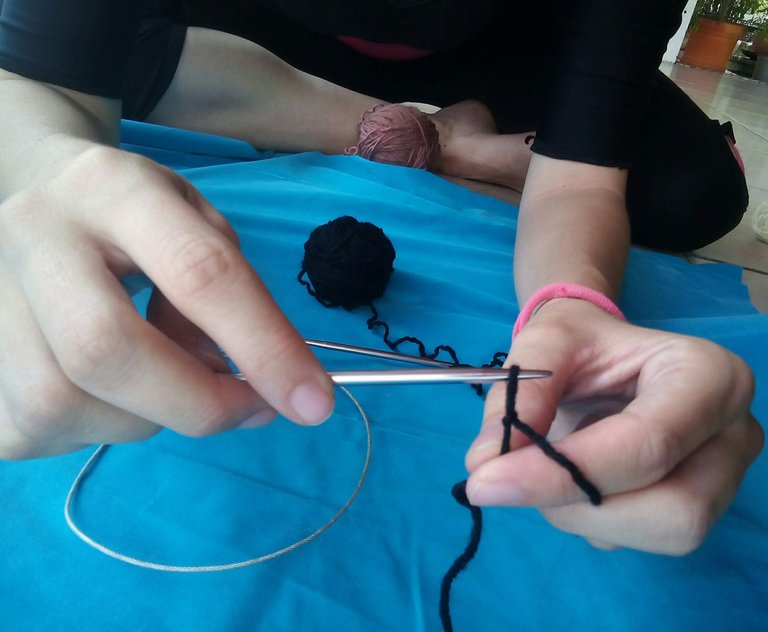
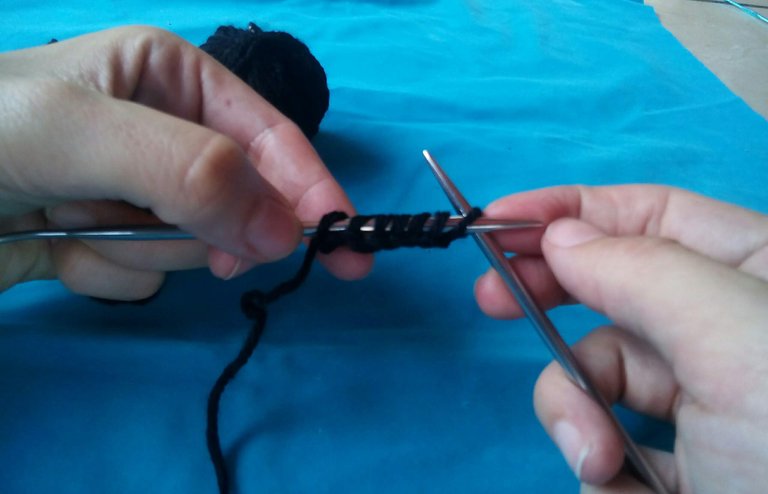

Paso 2:
Seguidamente unimos ambos extremos para que el circulo quede al ancho de la cabeza y no quede tan grande.Este paso es muy importante , todos los puntos deben estar derechos y alineados, sino el tejido quedara doblado y deforme. Al tener los puntos unidos de ambos extremos, seguimos tejiendo, pero esta vez con 12 puntos derecho y 5 puntos al revés, hasta culminar el circulo.
Step 2:
Then we join both ends so that the circle is at the width of the head and is not so big. This step is very important, all the points must be straight and aligned, otherwise the fabric will be bent and deformed. As we have the stitches joined at both ends, we continue knitting, but this time with 12 knit stitches and 5 back stitches, until the circle is finished.


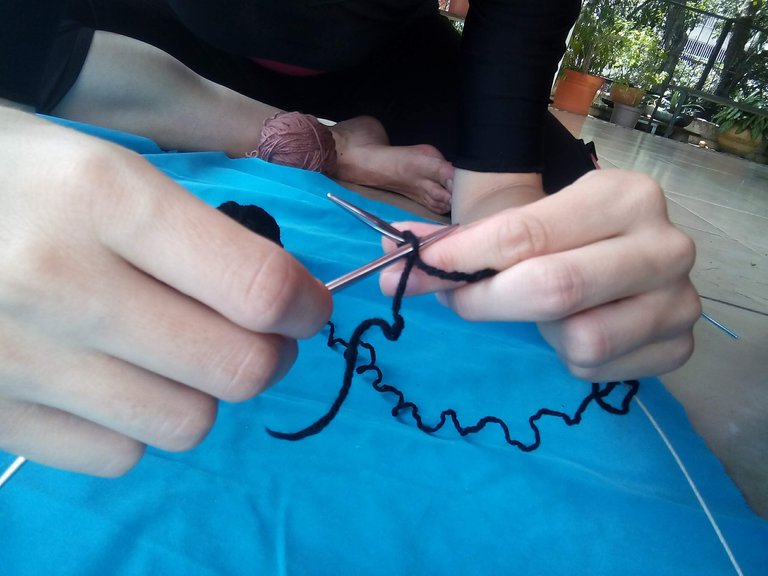
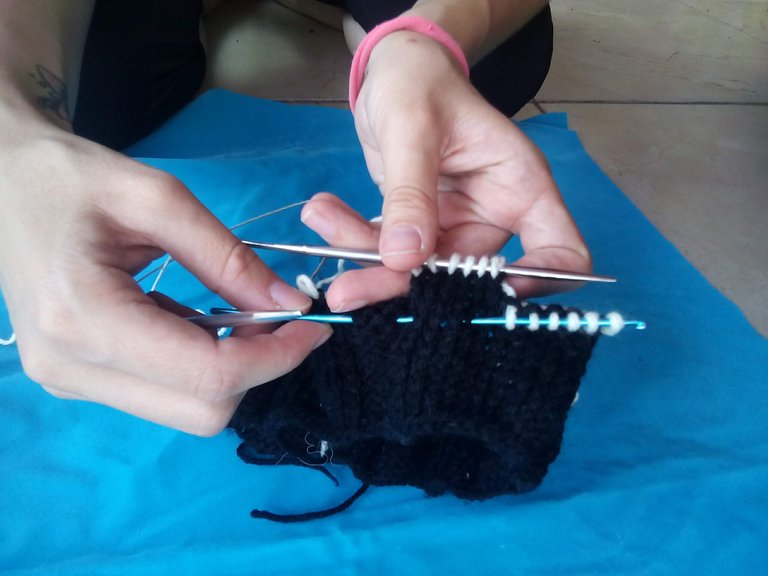
Paso 3:
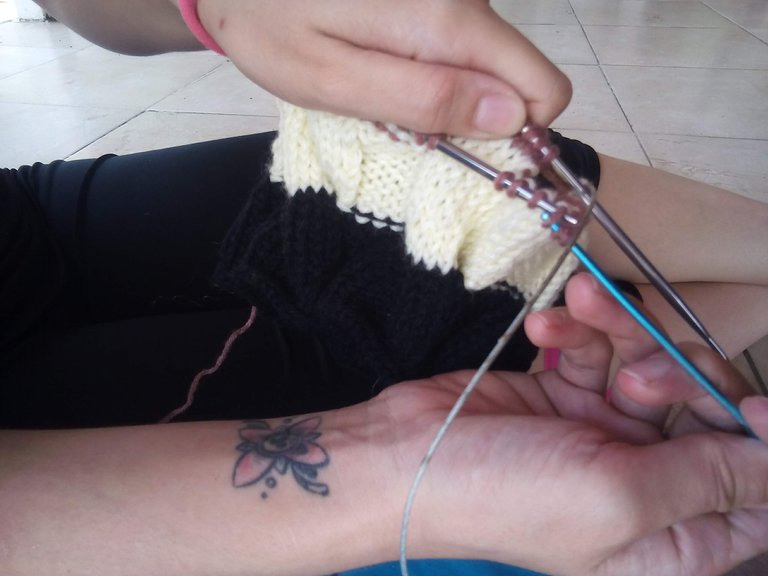
Seguimos tejiendo 10 vueltas mas, siempre siguiendo los 12 puntos al derecho y 5 puntos al revés. Al llegar a la 11 vuelta, cambiamos de color,(si prefieres seguir tejiendo con negro , pues adelante, necesitarías 100 grs de hilo negro para que te alcance).
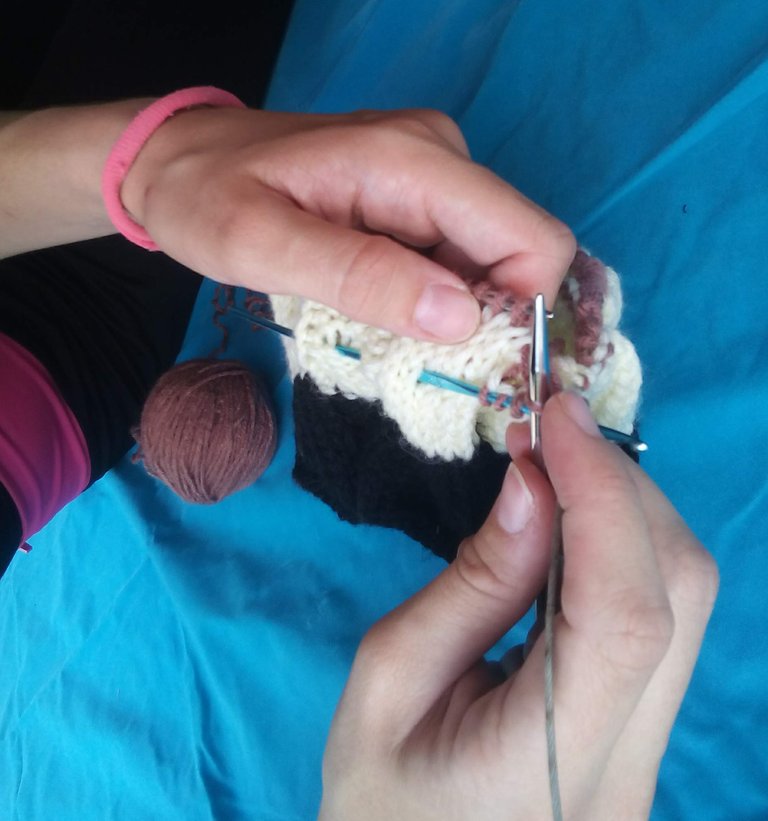
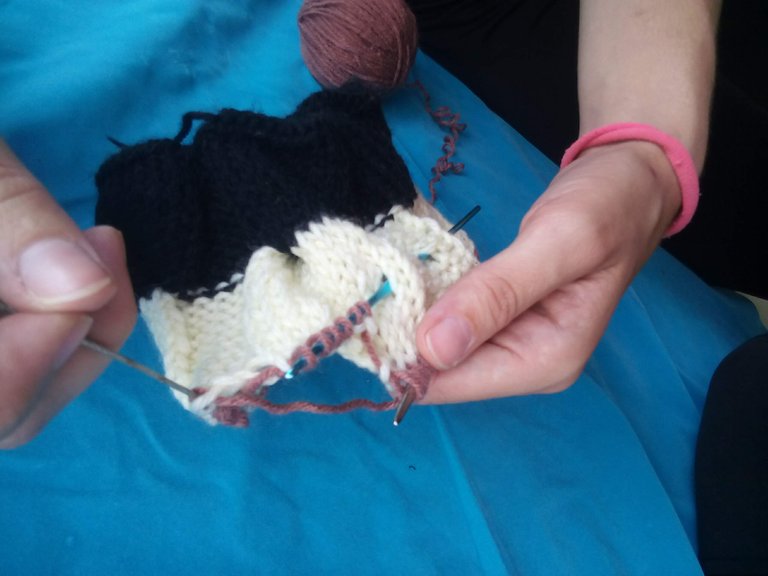
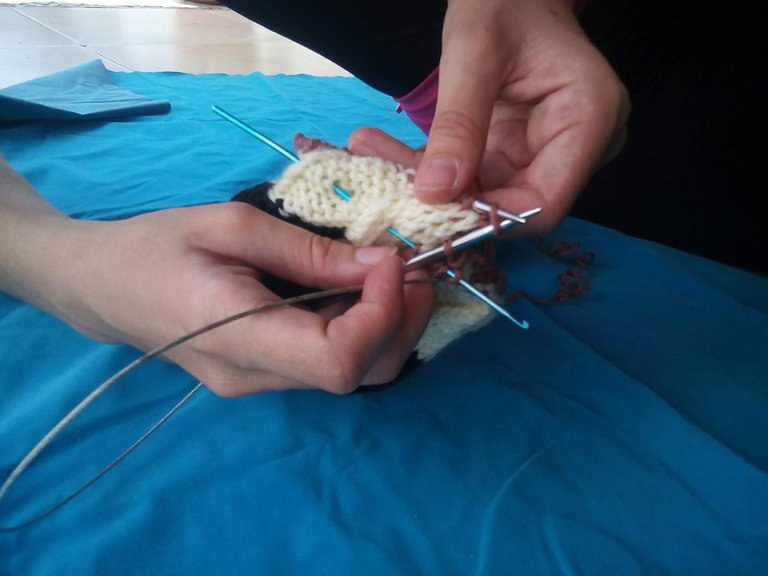
Continuaremos con las trenzas, con ayuda del ganchillo vamos a dividir los 12 puntos al derecho en 2, por lo tanto pasaremos esos 6 puntos a la aguja y lo engancharemos por delante a lo que llevamos tejido y comenzaremos tejiendo los puntos que están en la aguja circular. Luego pasamos los puntos que están en el ganchillo a la aguja circular y tejemos esos puntos, siempre tejemos con el punto al derecho. Y continuamos tejiendo los puntos siguientes, hasta el la 20 vuelta, sin hacer trenzas.
Step 3:
We continue knitting 10 more laps, always following the 12 stitches to the right and 5 stitches backwards. When we reach the 11th round, we change color, (if you prefer to continue knitting with black, then go ahead, you would need 100 grams of black thread to reach you).
We will continue with the braids, with the help of the crochet we are going to divide the 12 stitches to the right into 2, therefore we will pass those 6 stitches to the needle and we will hook it in front to what we have knitted and we will begin by knitting the stitches that are on the needle circular. Then we pass the stitches that are on the hook to the circular needle and we knit those stitches, we always knit with the stitch to the right. And we continue knitting the following stitches, until the 20th round, without making braids.
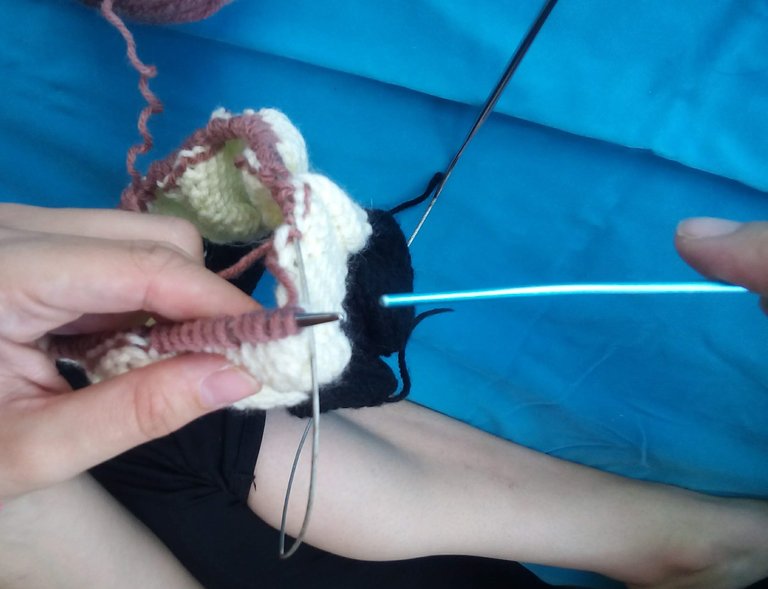
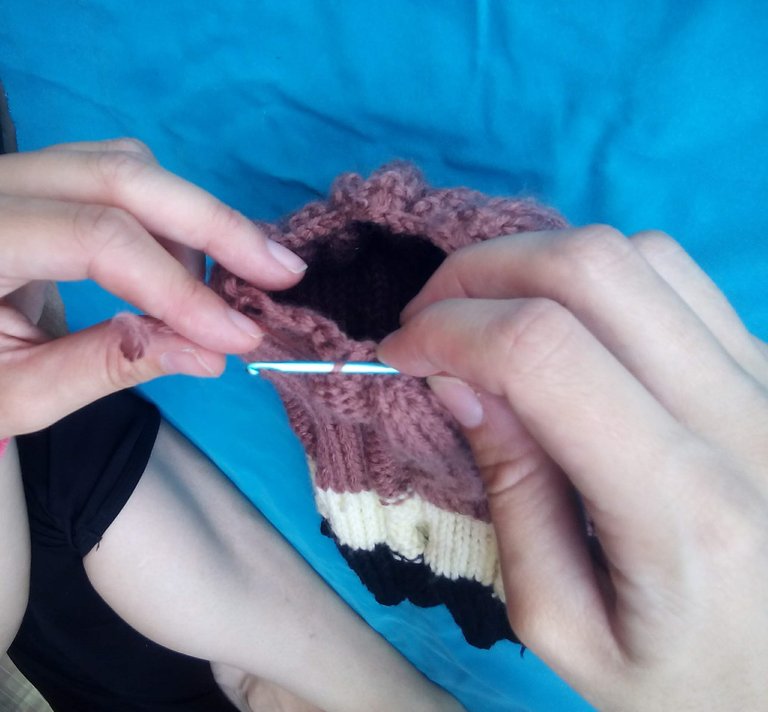
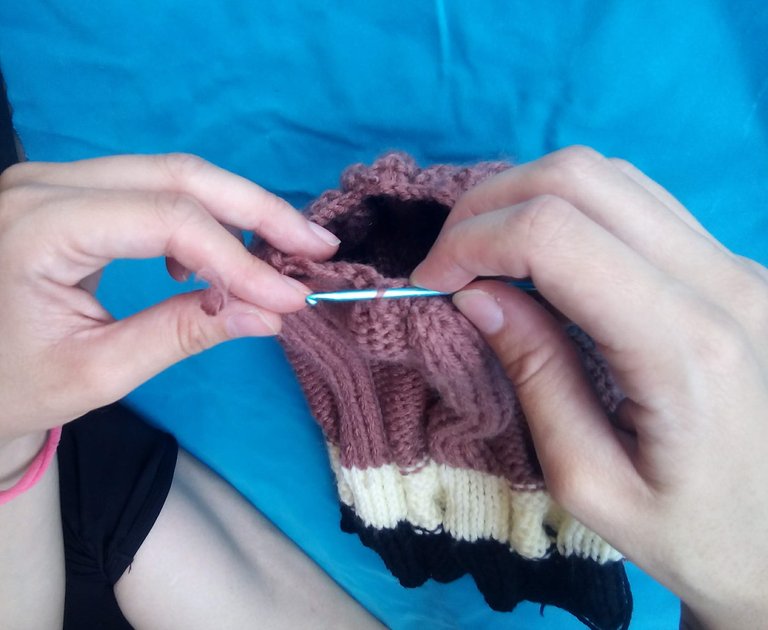
Paso 4:
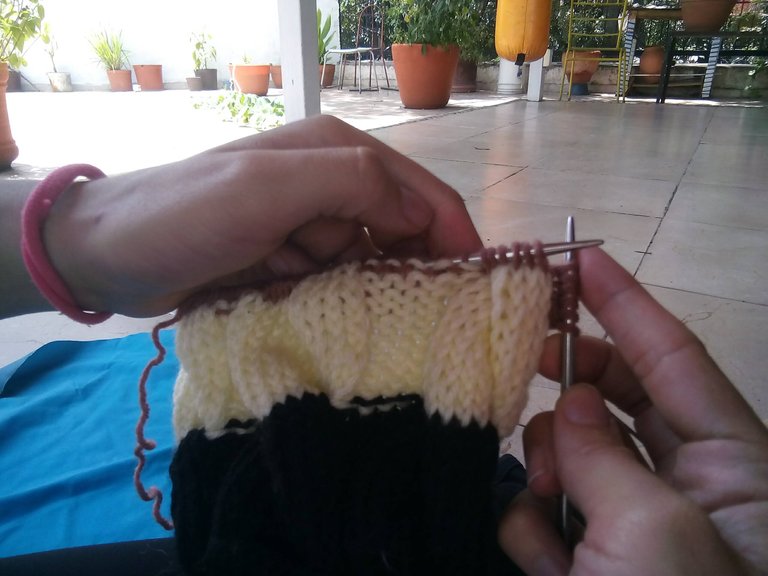
Esta vez volví a cambiar de color, para darle mas sentido estético.
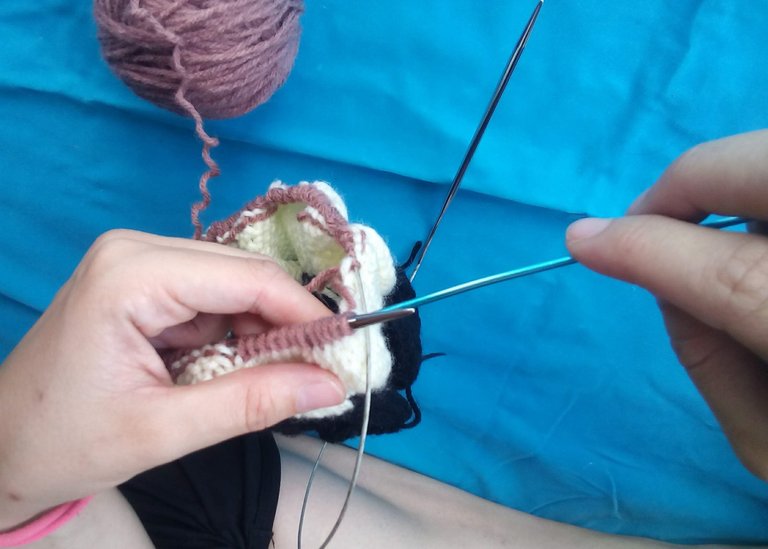
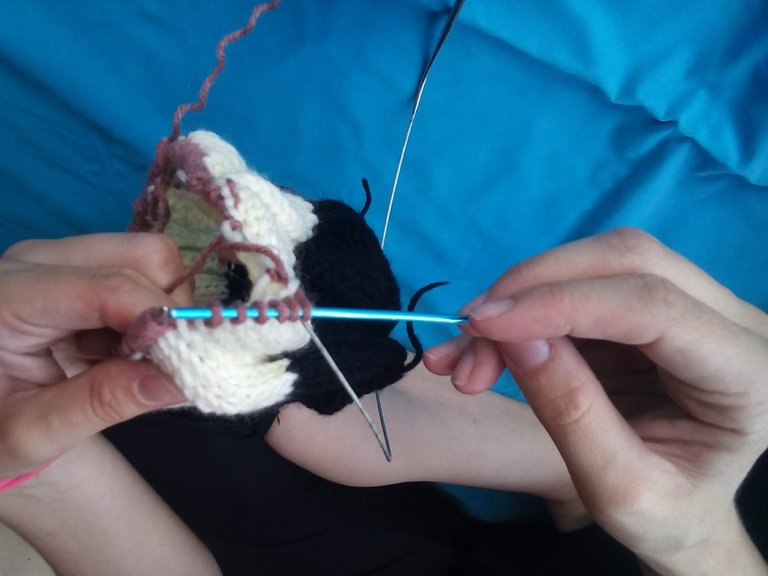
Luego de tejer el color crema, coloco el color rosado pálido, tejiendo solo una vuelta y en la vuelta 22, continuo tejiendo de nuevo las trenzas, igual que al principio se realizo con el hilo color negro, esta vez se hará con este color.: Con ayuda del ganchillo. Acá lo explico mejor en las fotos.
Step 4:
This time I changed color again, to give it more aesthetic sense.
After knitting the cream color, I put the pale pink color, knitting only one round and on round 22, I continue to weave the braids again, as at the beginning was done with the black thread, this time it will be done with this color. : With the help of the crochet hook. Here I explain it better in the photos.
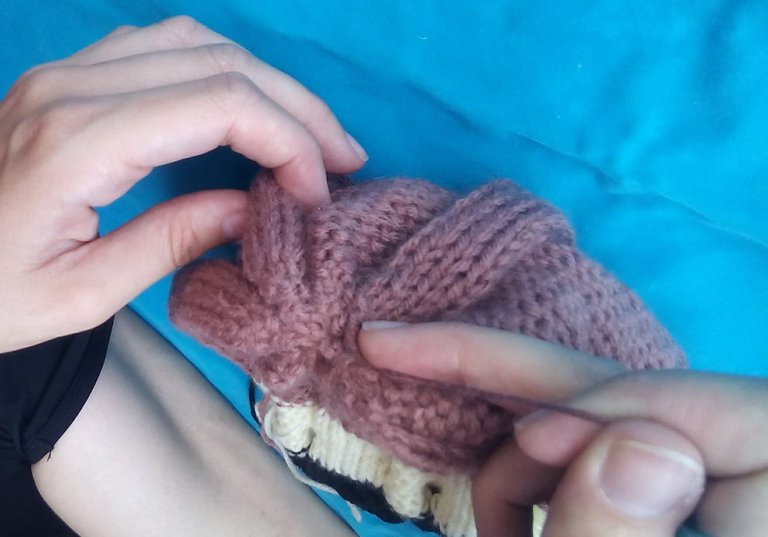
Paso 5:
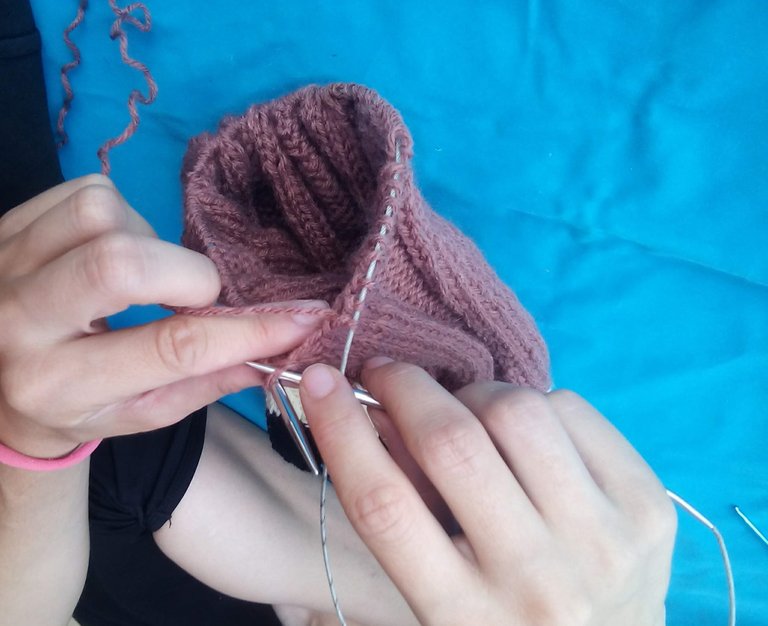
Continuamos tejiendo en punto al derecho y punto al revés, haciendo 3 disminuciones esparcidas, cada 4 vueltas.Hasta llegar a la altura que deseamos el gorro y vamos cerrando los puntos, haciendo disminuciones hasta que queden pocos puntos y con el hilo sobrante se hala para que ejerza presion y cierre completamente.
Step 5:
We continue knitting to the right and knit to the reverse, making 3 scattered decreases, every 4 rounds, until we reach the height that we want the hat and we are closing the stitches, making decreases until there are few stitches and with the excess thread it is pulled to that exerts pressure and closes completely.
Paso 6:
Ya puedes lucirlo y ser feliz con tu nueva creación.
Step 6:
You can now wear it and be happy with your new creation.
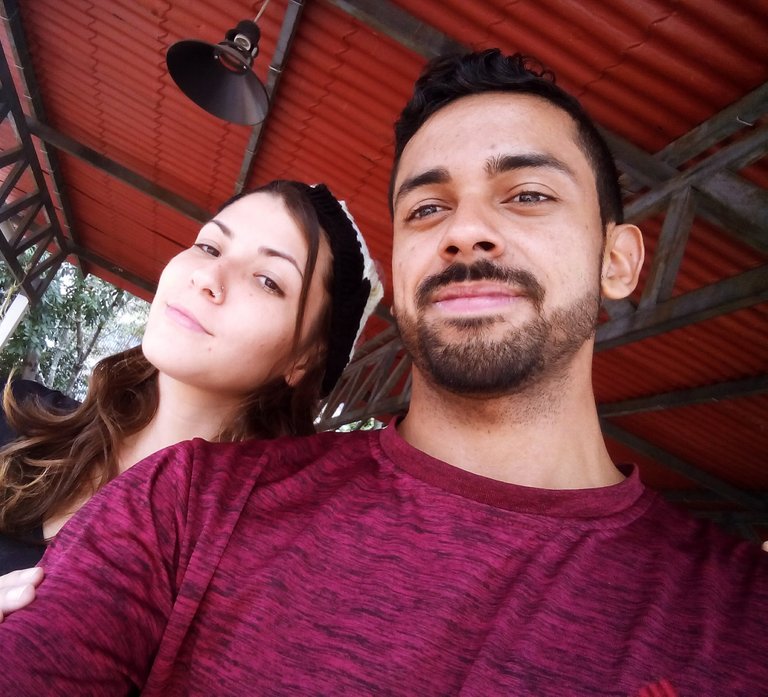
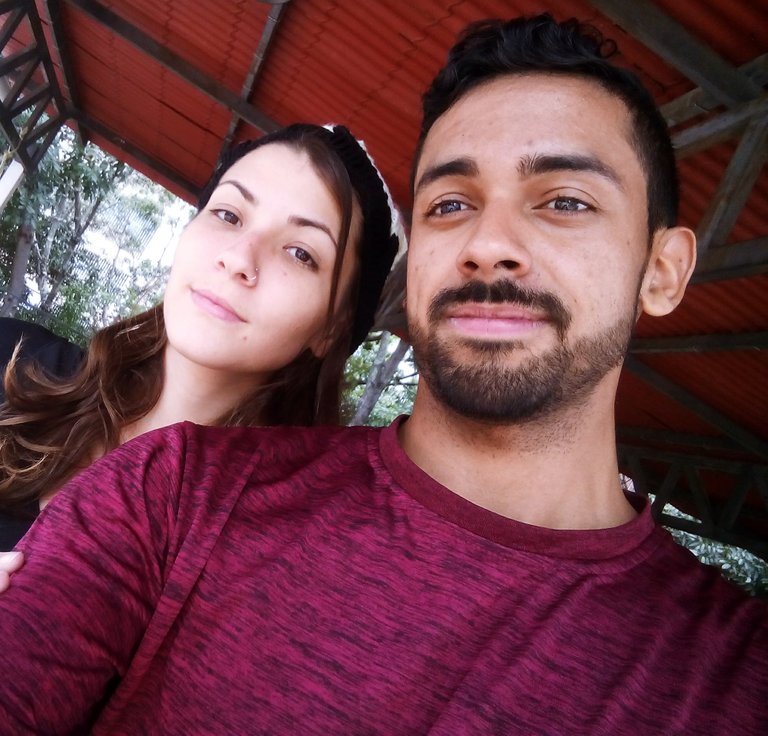
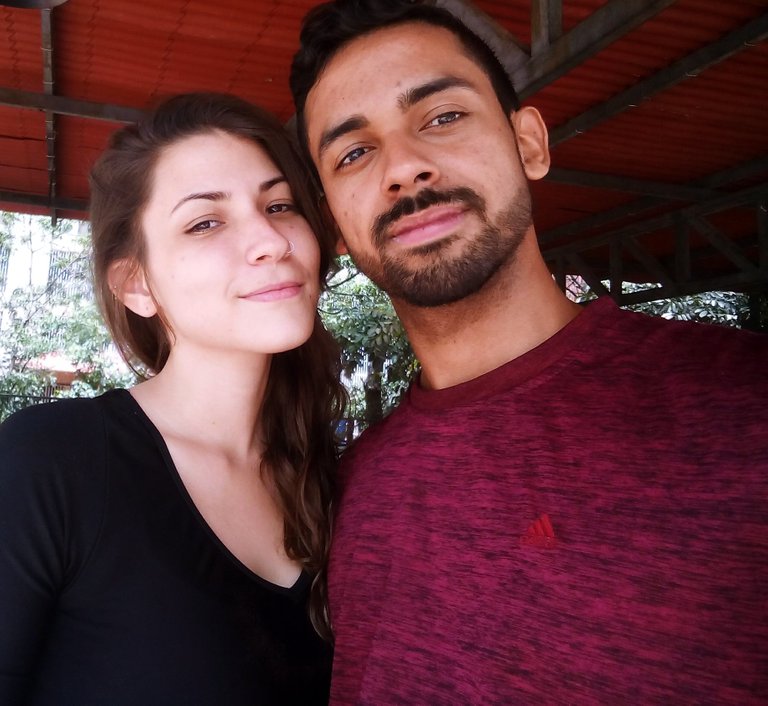
Estas fotos fueron fotografiadas por @perkysleen, quien me apoya y me ayuda a realizar esta labor. Ademas me tiene mucha paciencia cuando luego de tomar 10 fotos solo me gusta solo 2 , o quizá 1.
El gorro tejido es creado por mi persona.
These photos were photographed by @perkysleen, who supports me and helps me to do this work. Who has a lot of patience with me when after taking 10 photos I only like 2, or maybe 1.
The knitted hat is created by me.
Espero les guste y les sirva de motivación para realizar sus accesorios dirigidos mas hacia lo hermoso de la artesanía, y nada mejor que producir la mayoría de las cosas con nuestras propias manos. Si lo puedes imaginar, lo puedes crear. Saludos y muchas gracias por visitar, leer y observar.
I hope you like it and it will motivate you to make your accessories directed more towards the beauty of crafts, and nothing better than producing most of the things with our own hands. If you can imagine it, you can create it. Greetings and thank you very much for visiting, reading and observing.
Hello @vicnzia! Welcome to the NeedleWorkMonday Community! Thank you for sharing your work in such a detailed process. We encourage that here in this community :)
Your knitted hat is very cute and I really love the color combo you used. I’m not a knitting expert (crocheting is my thing) but there are other knitters here that could possibly help with your question about pattern writing and/or video tutorials. @neumannsalva @muscara @shanibeer
On Monday’s we get together to share our work, passion, tips and shortcuts using the #needleworkmonday tag. On all other days we use the #needlework tag without the word Monday attached.
Please post anything needlework related directly to the NeedleWorkMonday Community making sure to also post it to your blog.
For more information on what we do and for our posting guidelines please visit our FAQs.
I look forward to seeing more of your work. Please let me know if you have any questions ~
Buenas noches @crosheille. Gracias por la bienvenida.
Estoy super contenta de haber encontrado esta comunidad donde apreciaan el talento de las tejedoras y tejedores. Es muy hermoso observar todos los trabajos que hacen, los admiro porque es un arte que amerita paciencia, dedicación y amor.. mucho amor.
Estaré creando mas tejidos, claro que si, y nos veremos de nuevo en las agujas ejeje. Nuevamente muchas gracias por el apoyo y entrega a toda la comunidad.
I am so glad you found this community too!
You are very welcome. It’s a pleasure bringing so many talented needle artists together to support and uplift one another :)
Will see you again soon ~
Encantado en poder ayudarte, mi amor! 😊 Sabes que creo mucho en tu talento. 🙏🍀
Somos un equipoo, amor mio.
Gracias por creer y confiar en mi.
Nice creativitiy
This post has been appreciated and featured in daily rewards for quality content. Keep up the good work
Muchas Gracias =)
Congratulations @vicnzia! You have completed the following achievement on the Hive blockchain and have been rewarded with new badge(s) :
You can view your badges on your board and compare yourself to others in the Ranking
If you no longer want to receive notifications, reply to this comment with the word
STOPHermoso trabajo creativo @vicnzia , me gusta la combinación de colores, es todo un arte. Tienes un blog muy interesante con la sala de entrenamiento.
Gracias por apreciar este arte. Saludos.
Felicidades amiga, que éxito
Gracias amigoo! éxito para tii también.
Hola...Que bello te quedó y el paso a paso muy claro. La gama e colores que elegiste, para mí e perfecta. Saludos.
Saludos, seguí tu sugerencia de publicar en esta comunidad y de verdad aprecian mas los tejidos. Muchas gracias por eso. y que bueno que te guste el gorrito, seguimos mejorando poco a poco . Mucho exito.
Qué bien que aceptaste la recomendación! Súper. Mañana es lunes, día de publicar en la comunidad... Me alegra te haya ido mejor.
Hello @vicnzia! Your post was selected by our staff on behalf of the OCD Community Incubation Program and has received an OCD upvote! Congratulations!!! Please keep sharing these quality posts :)
I invite you to share anything needlework related directly to the NeedleWorkMonday Community. On Monday’s we use the #needleworkmonday tag and on all other days the #needlework tag.
Written by @crosheille for the NeedleWorkMonday Community ~
Holaa, muchas gracias por el apoyo . Así sera, cada día mejorando un poco mas mis tejidos.
Un gran saludo .