 Un gran saludo para tod@s, hoy les quiero mostrar un bolso de mano hecho con mangas de pantalón de jean, realmene el resultado fue genial, hace un tiempo tenía ese pantalón guardado, y a pesar de que me quedaba bien, pues decidí transformarlo en bermuda y con las mangas que me sobraron se me ocurrió hacer este fantástico bolso, asi que a continuación te mostraré el procedimiento a seguir.
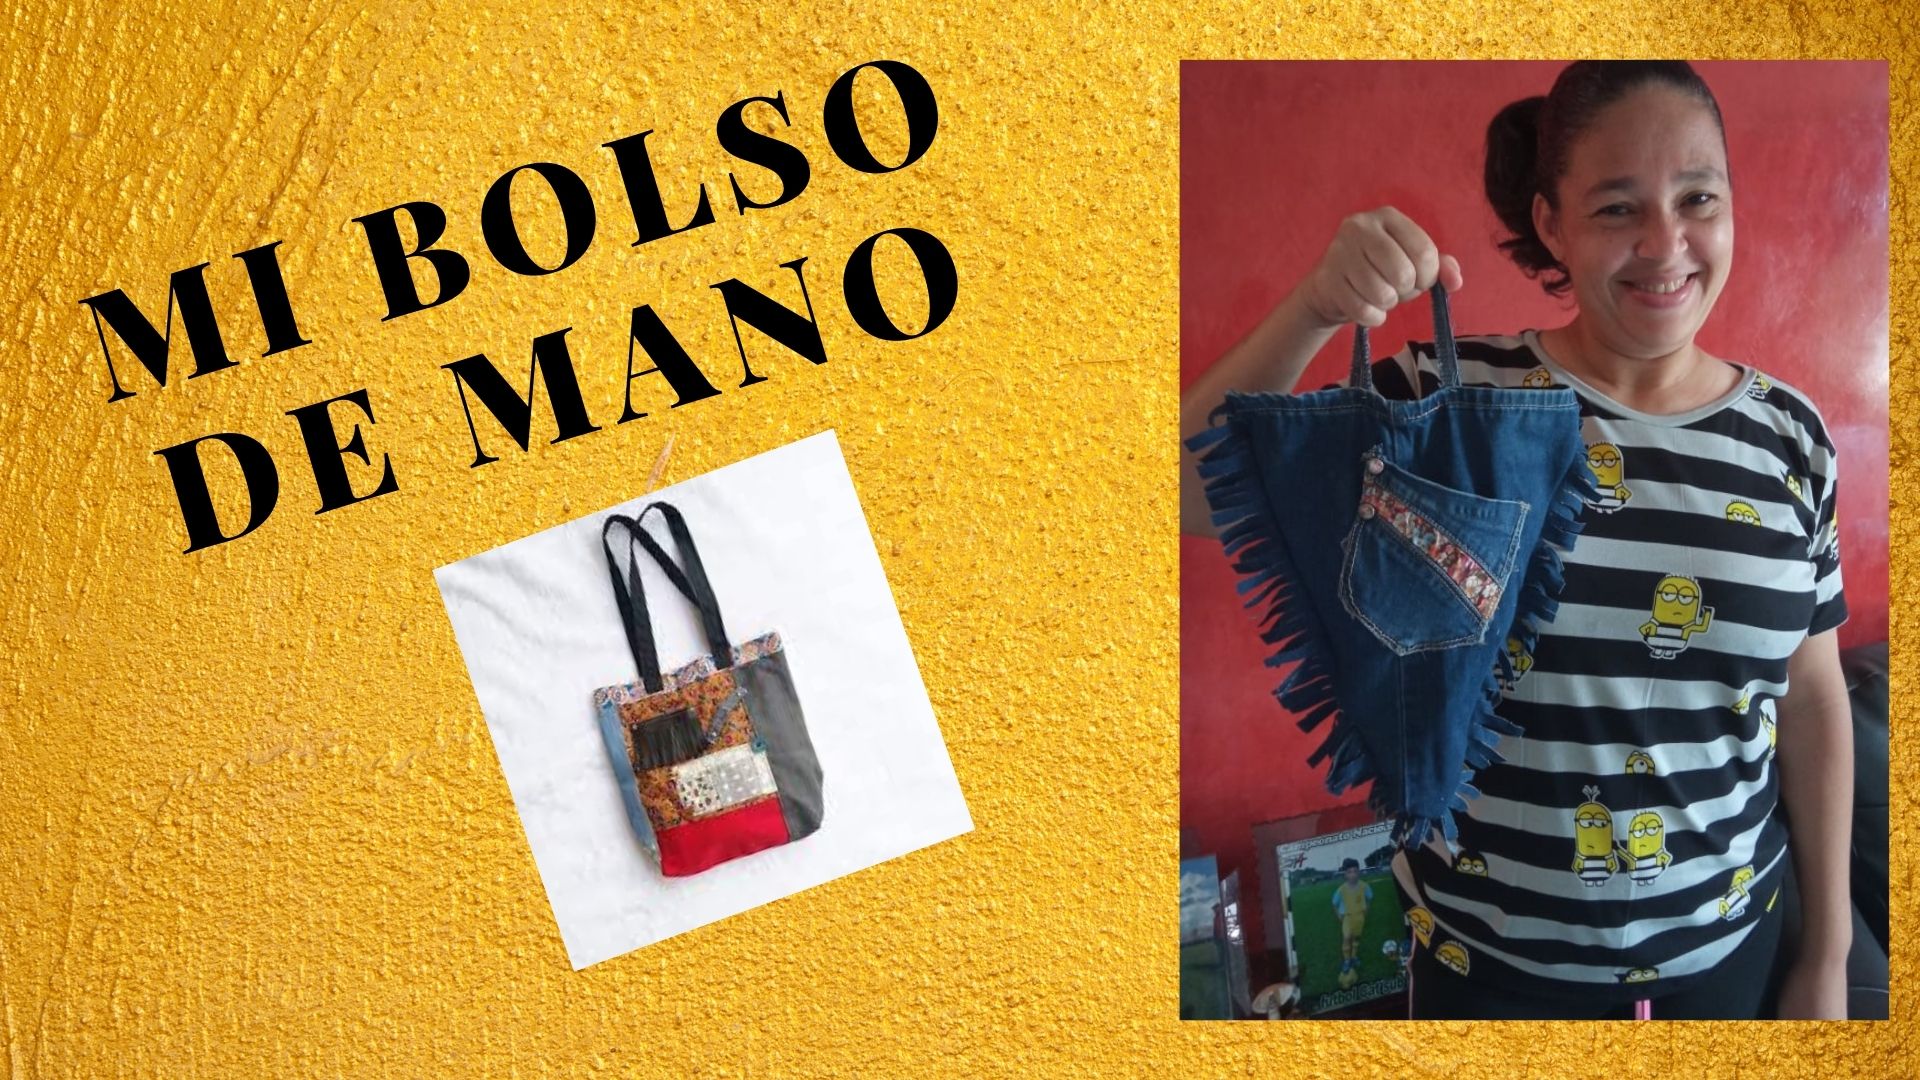
A big greeting to everyone, today I want to show you a handbag made with jean pants sleeves, the result was really great, some time ago I had those pants in storage, and although they fit me well, I decided to transform them into shorts and with the sleeves I had left over I decided to make this fantastic bag, so next I'll show you the procedure to follow.

- Los materiales a utilizar son :
- Aguja de coser.
- Hilo.
- Tijera.
- Pantalón.
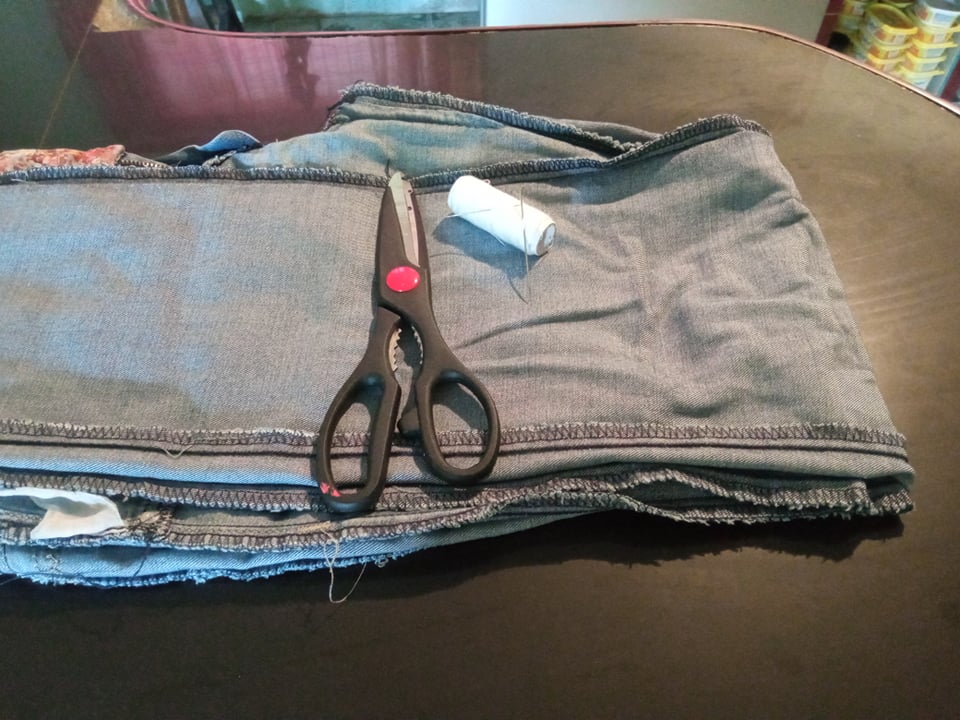
- The materials to be used are :
- Sewing needle.
- Thread.
- Scissors.
- Pants.
- Paso 1: Lo primero que debemos hacer es doblar el pantalón a lo largo, luego cortamos un poco más abajo de las rodillas, hasta obtener dos piezas iguales, tal cual como se muestra en la foto.
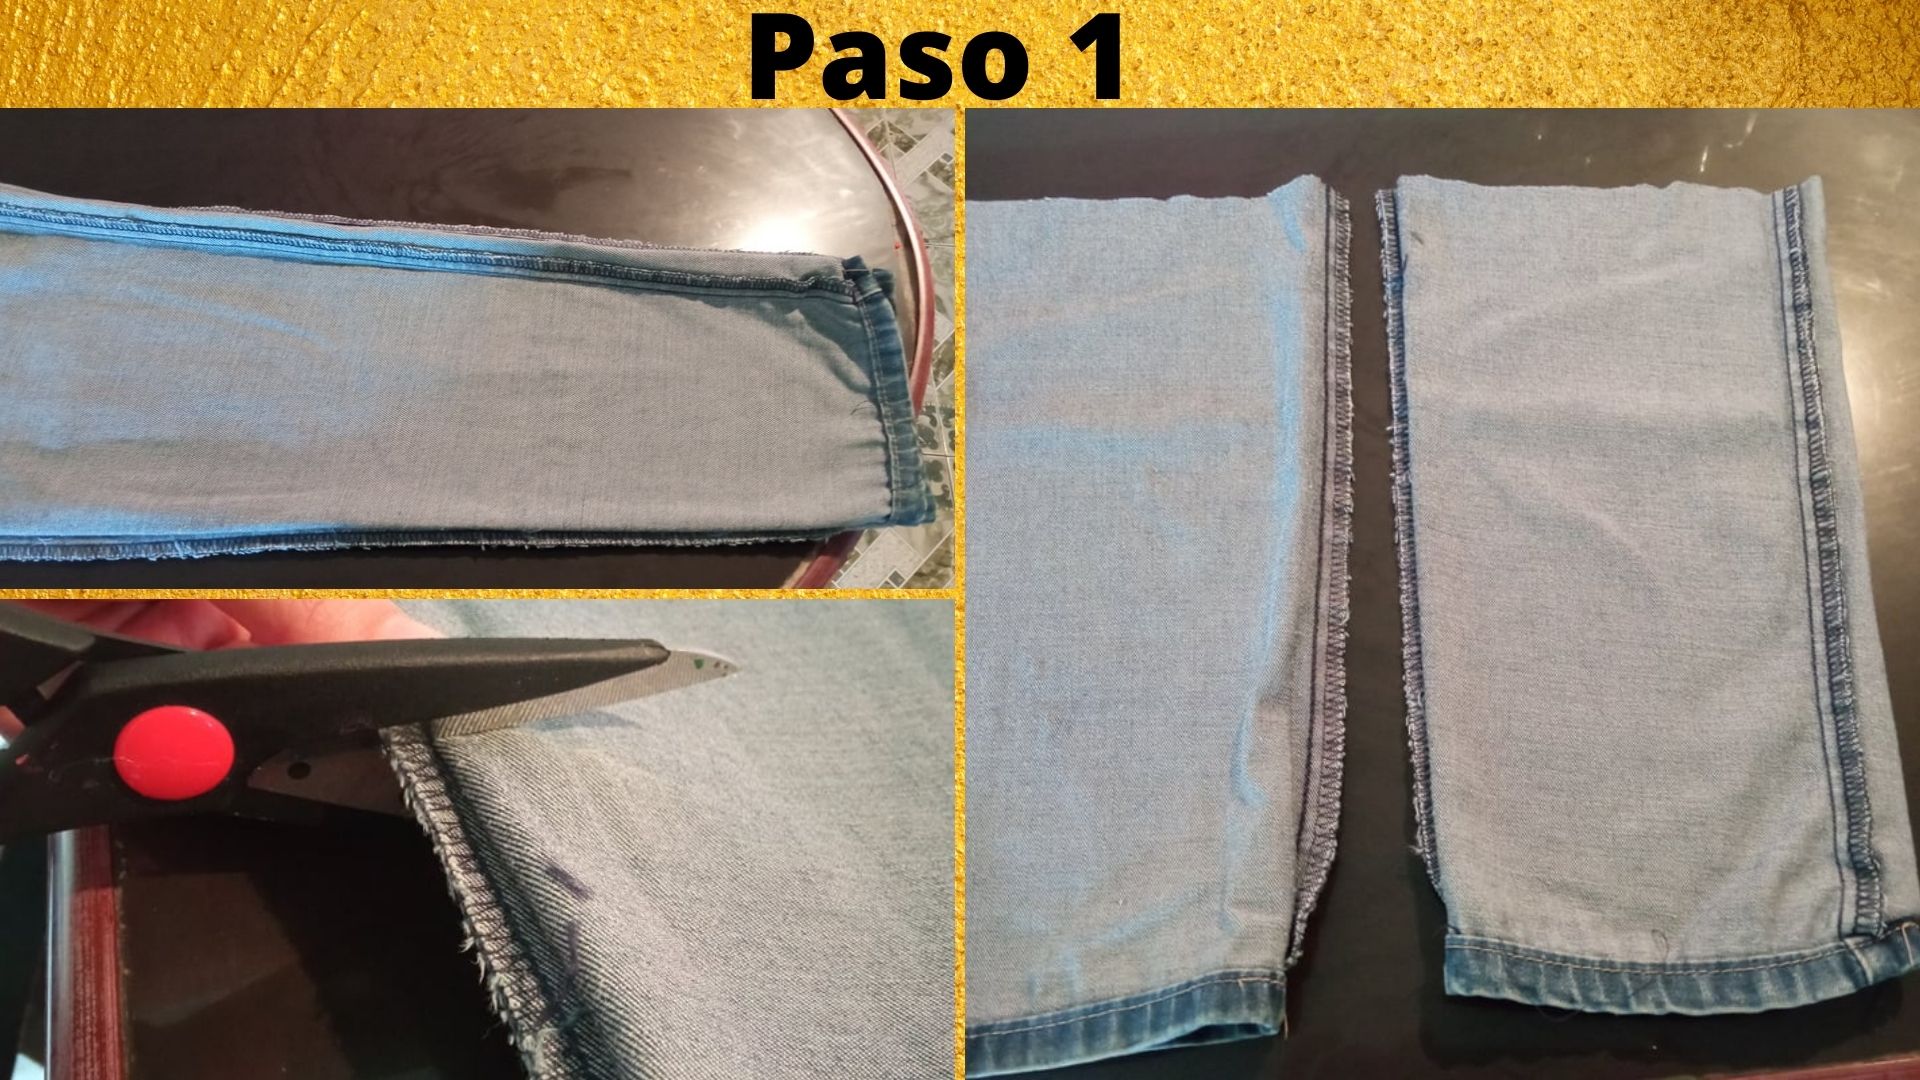
- Step 1: The first thing to do is to fold the pants lengthwise, then cut a little below the knees, until two equal pieces are obtained, as shown in the photo.
.jpg)
- Paso 2: Una vez que ya tenemos las 2 piezas, comenzamos a cortar desde el ruedo de la manga del pantalón hasta arriba en forma de triángulo, esto lo debemos hacer con las 2 piezas.
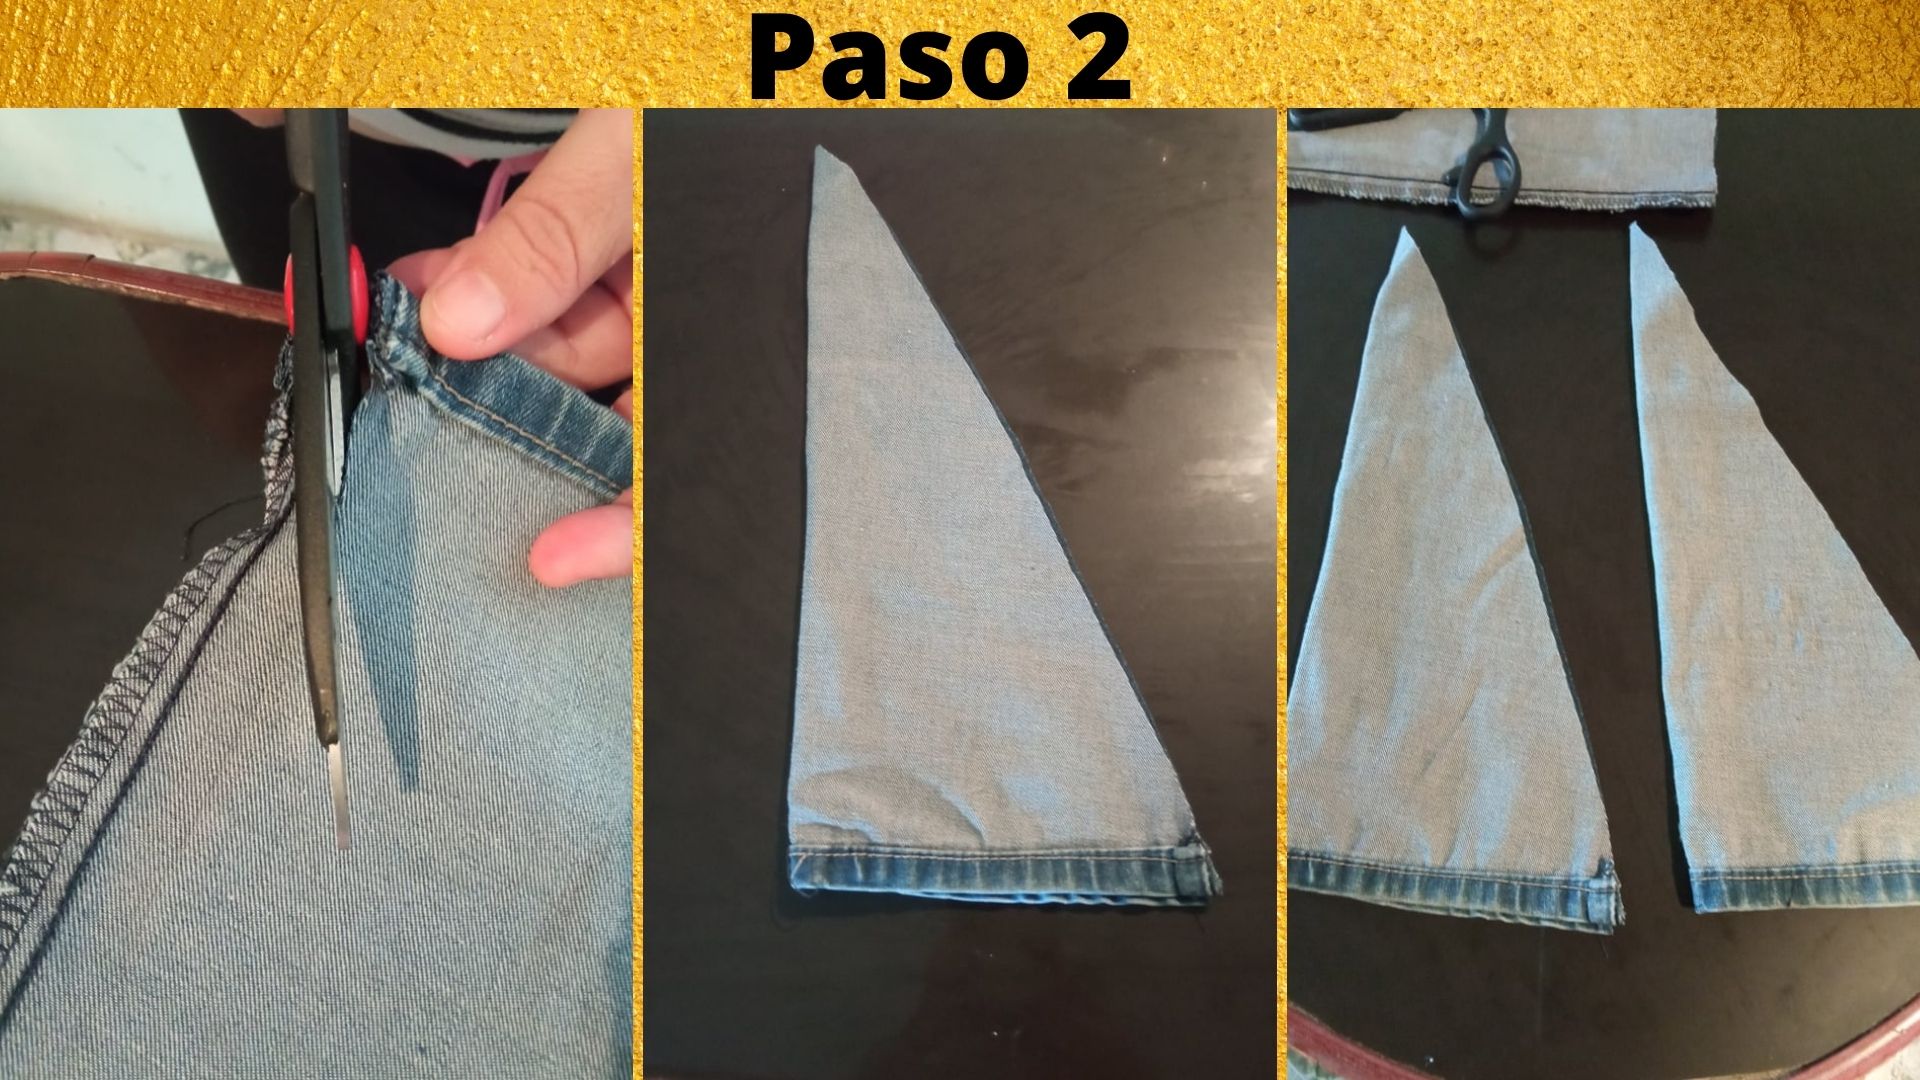
- Step 2: Once we have the 2 pieces, we start cutting from the hem of the sleeve of the pants to the top in the shape of a triangle, this should be done with the 2 pieces.
.jpg)
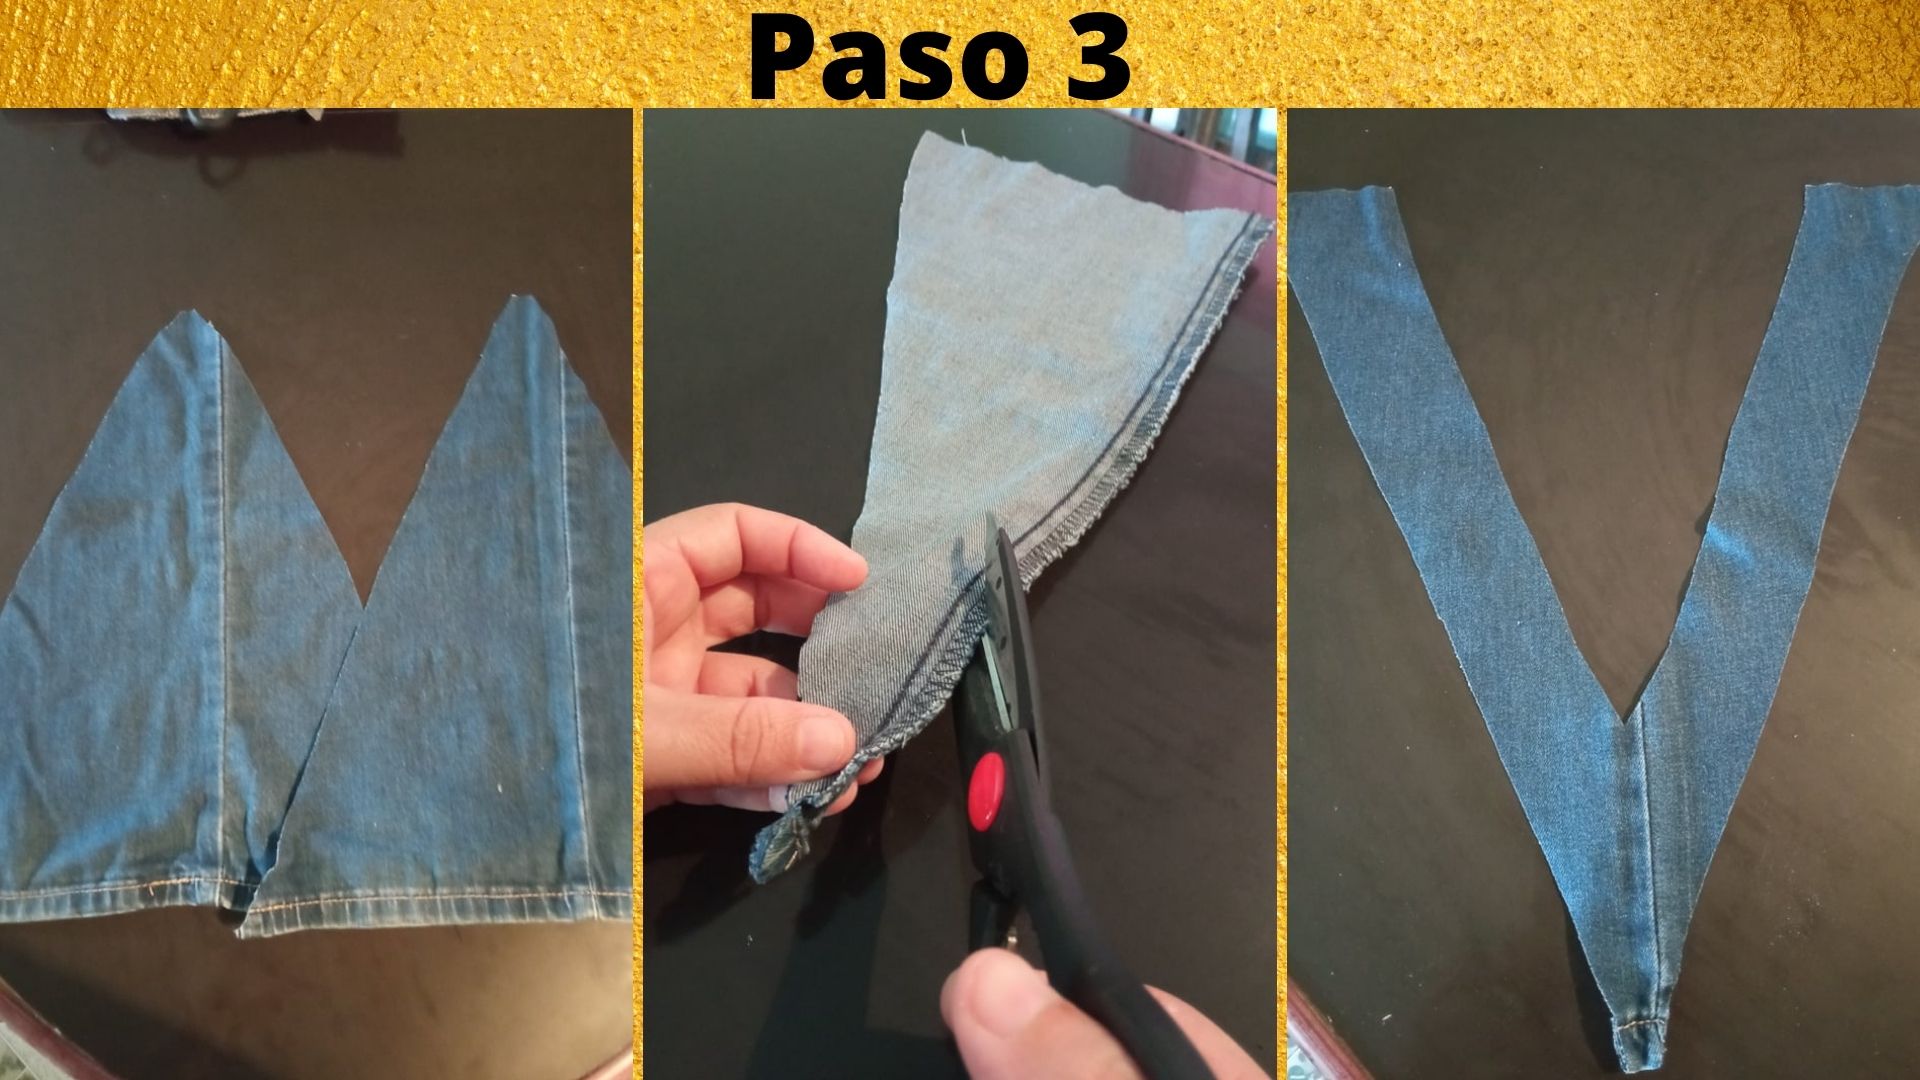
- Paso 3: Luego que ya cortamos, abrimos nuestras piezas la cual quedará tal cual como muestra la imágen, con el retazo que nos sobró al recortar la pieza, lo cortamos desde la costura hasta arriba hasta quedarnos en forma de V.
- Step 3: After we cut, we open our pieces which will be as shown in the image, with the piece that we left over when we cut the piece, we cut it from the seam up to the top until we get a V shape.
.jpg)
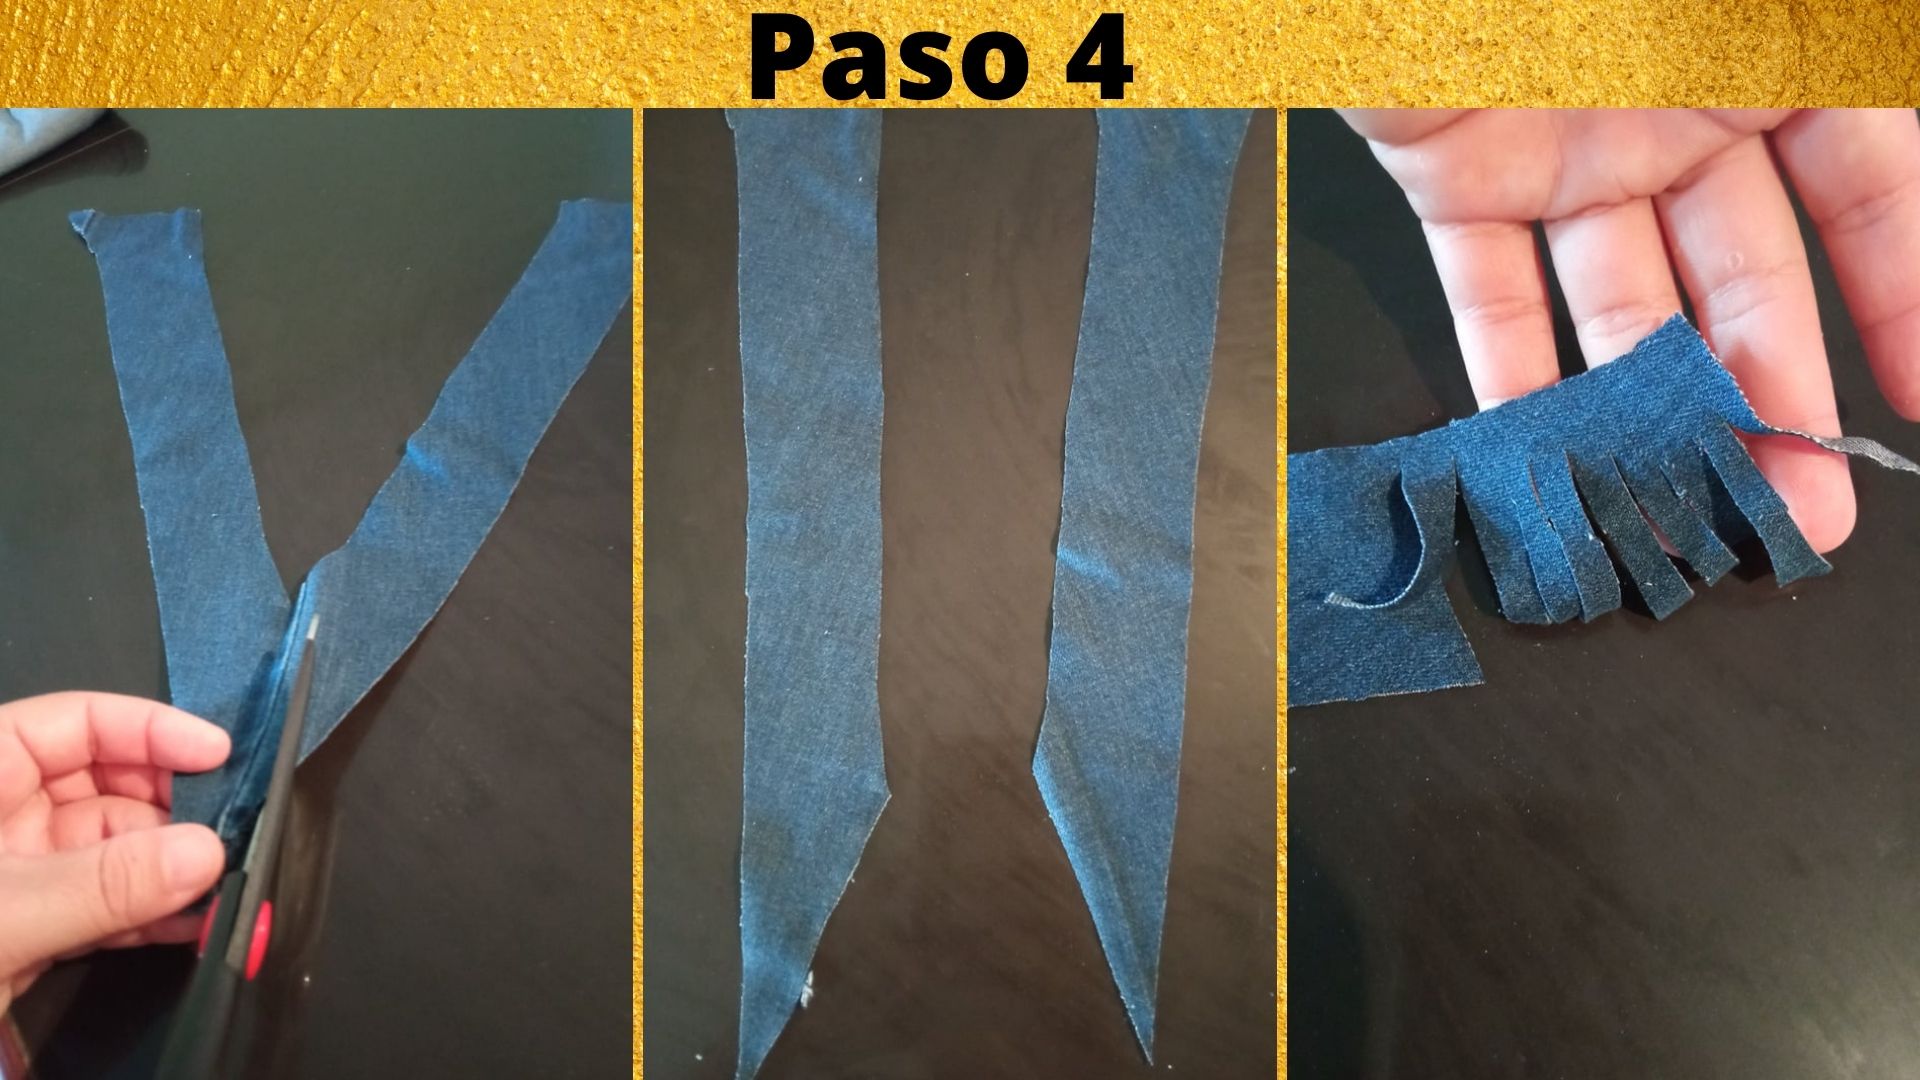
- Paso 4: Luego cortamos, quitando la costura, hasta quedarnos 2 tiras, después comenzamos a cortar en tiritas dejando 1cm en la parte de arriba.
- Step 4: Then we cut, removing the seam, until we have 2 strips, then we start cutting in strips leaving 1cm at the top.
.jpg)
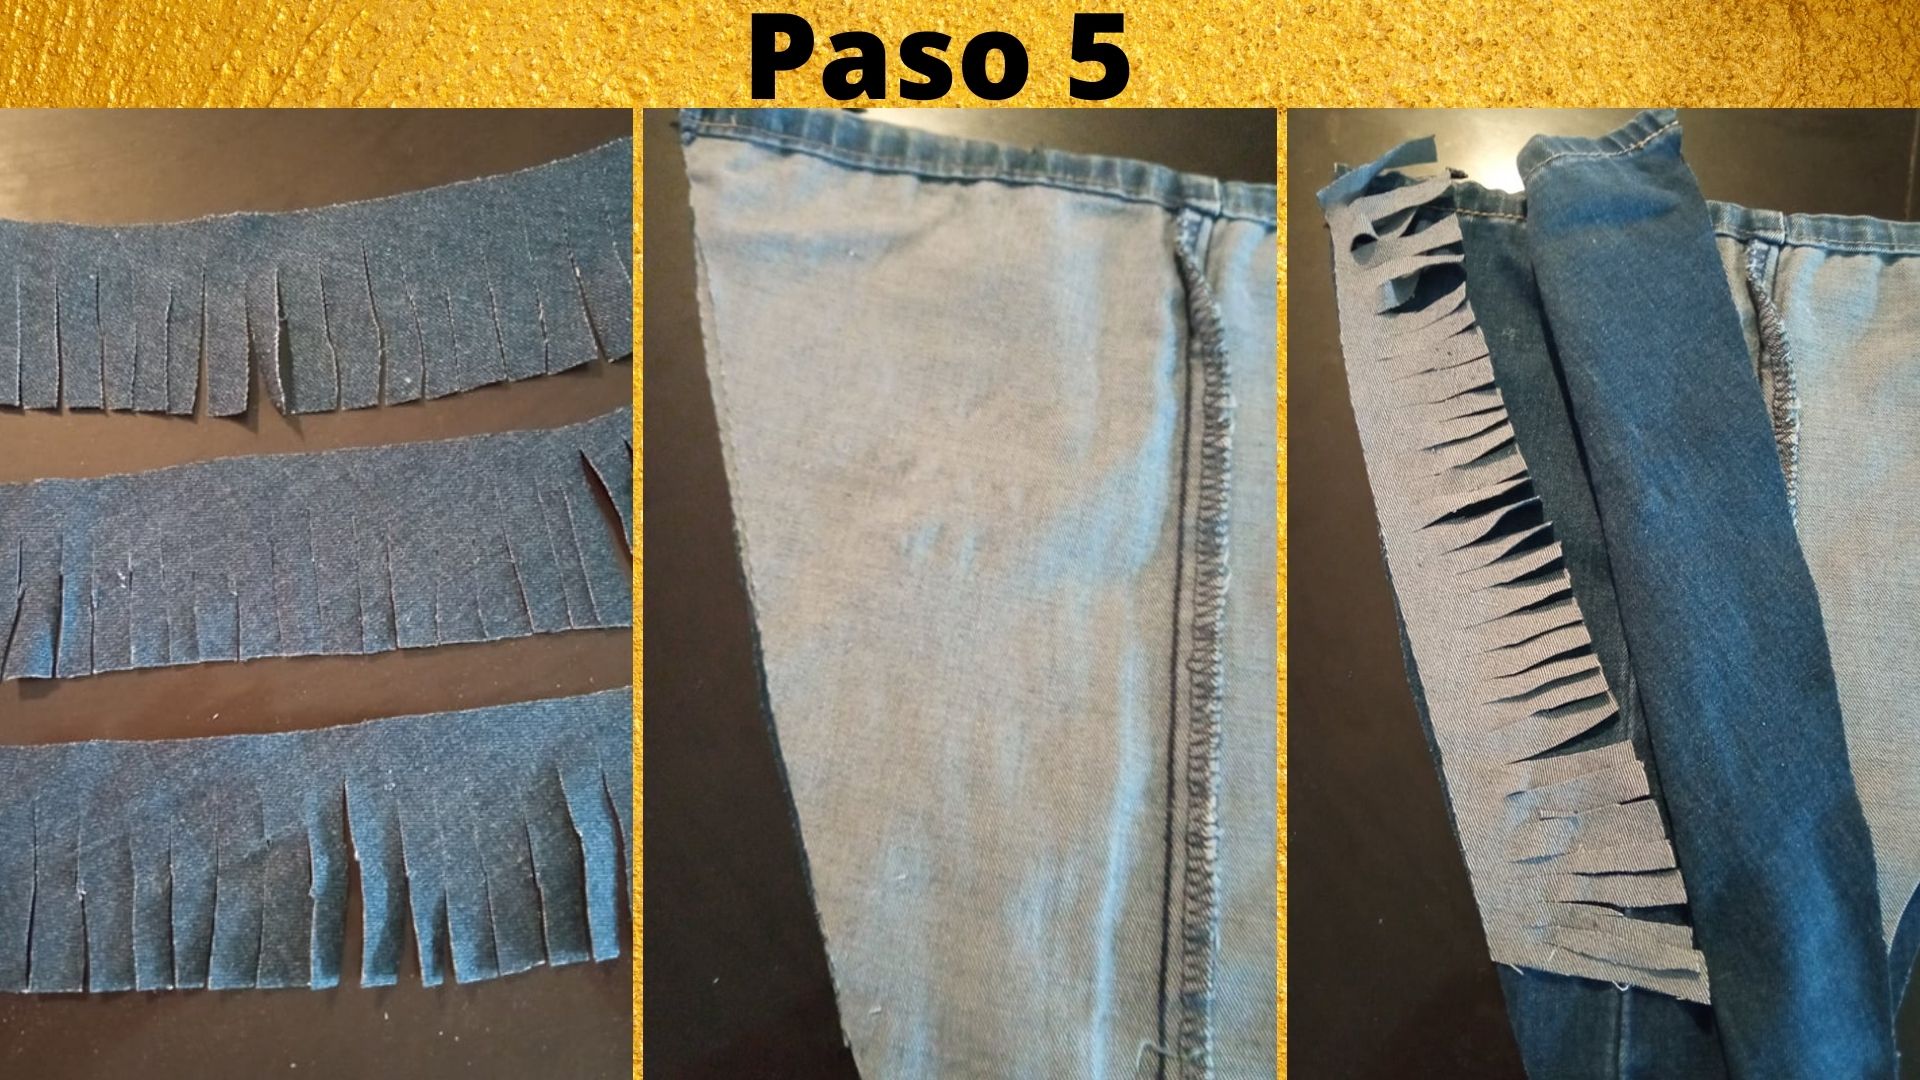
- Paso 5: Cuando ya tenemos nuestras tiras ya en tiritas, colocamos las piezas ya recortadas derecho con derecho, levantamos la pieza de arriba y colocamos la tira hacia la parte de adentro, tal cual como se muestra en la imágen.
- Step 5: When we have our strips already in strips, we place the pieces already cut right to right, lift the top piece and place the strip towards the inside, as shown in the image.
.jpg)
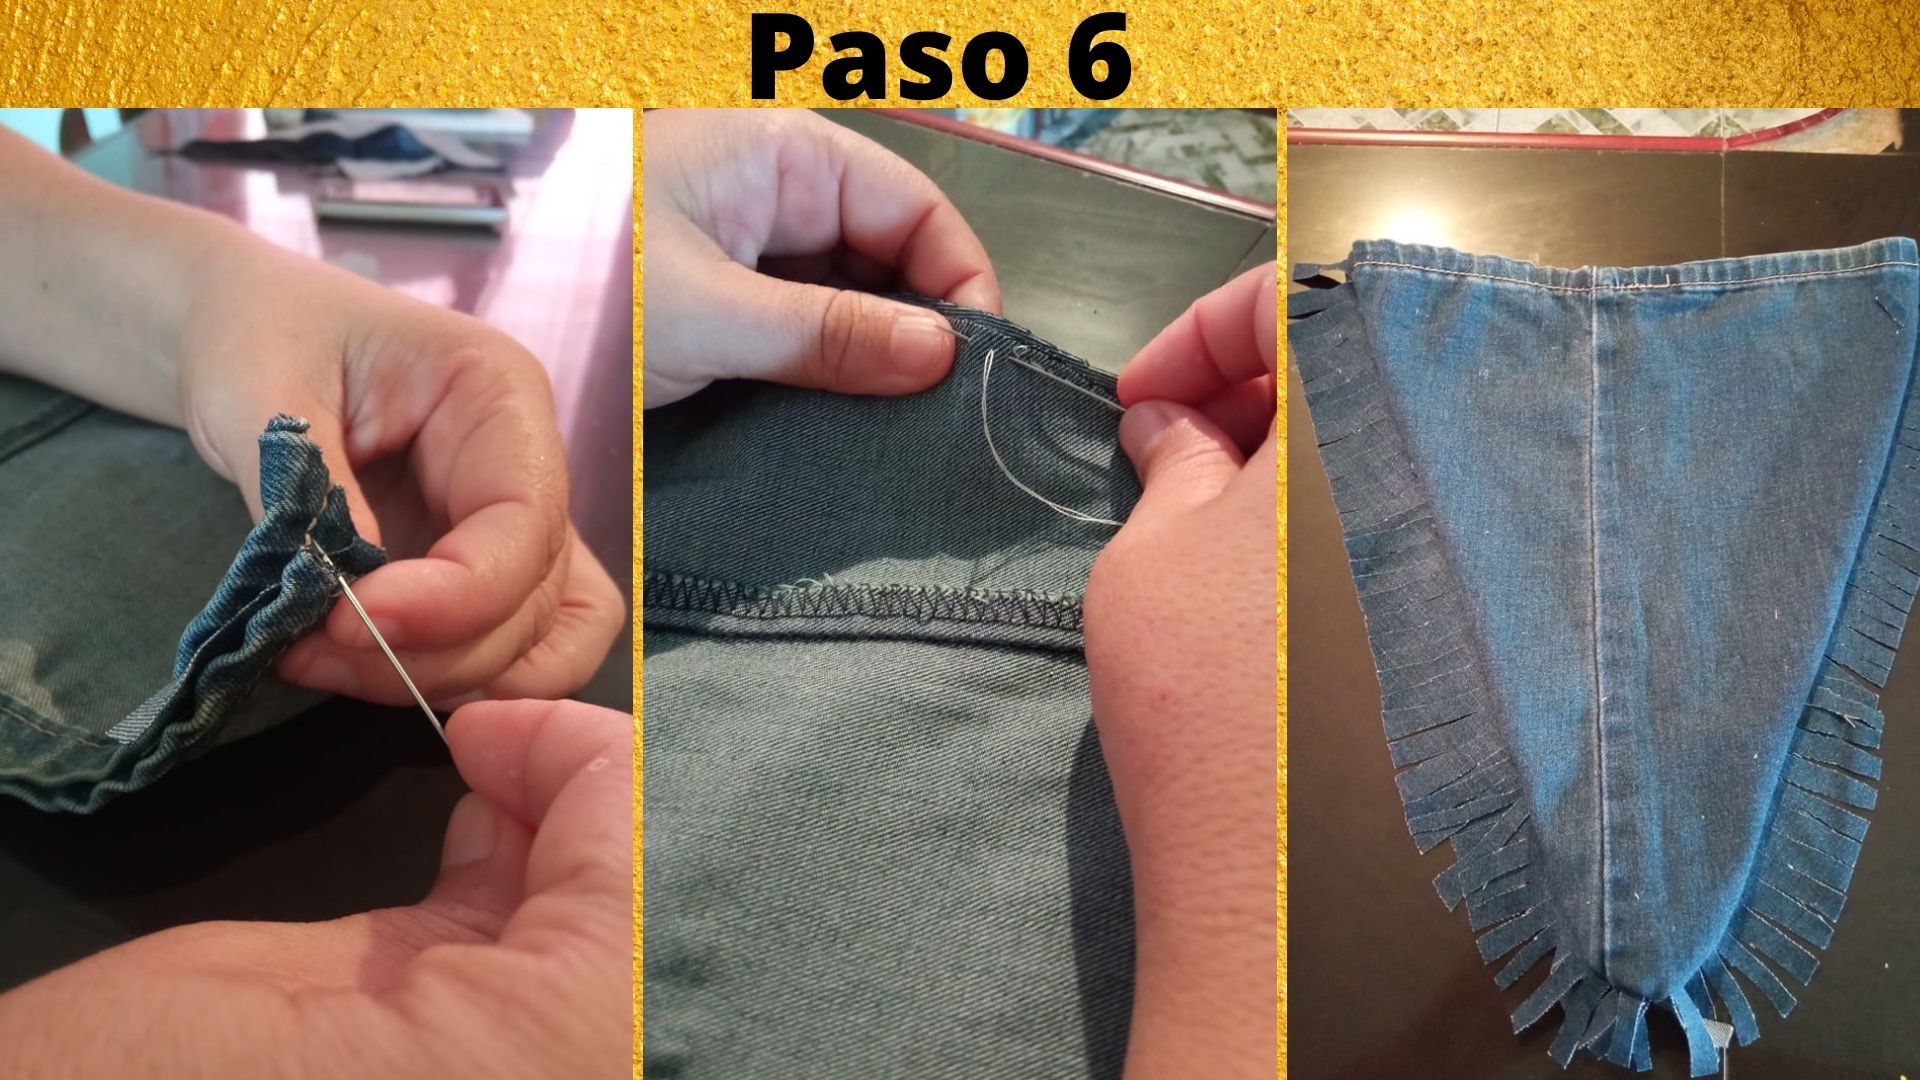
- Paso 6: Procedemos a coser por toda la orilla de las piezas, empezando desde la parte de arriba, una vez que ya hemos cosido todo, volteamos, y nos debe de quedar tal cual como muestra la imágen.
- Step 6: We proceed to sew all around the edge of the pieces, starting from the top, once we have sewn everything, flip, and we should be as shown in the image.
.jpg)
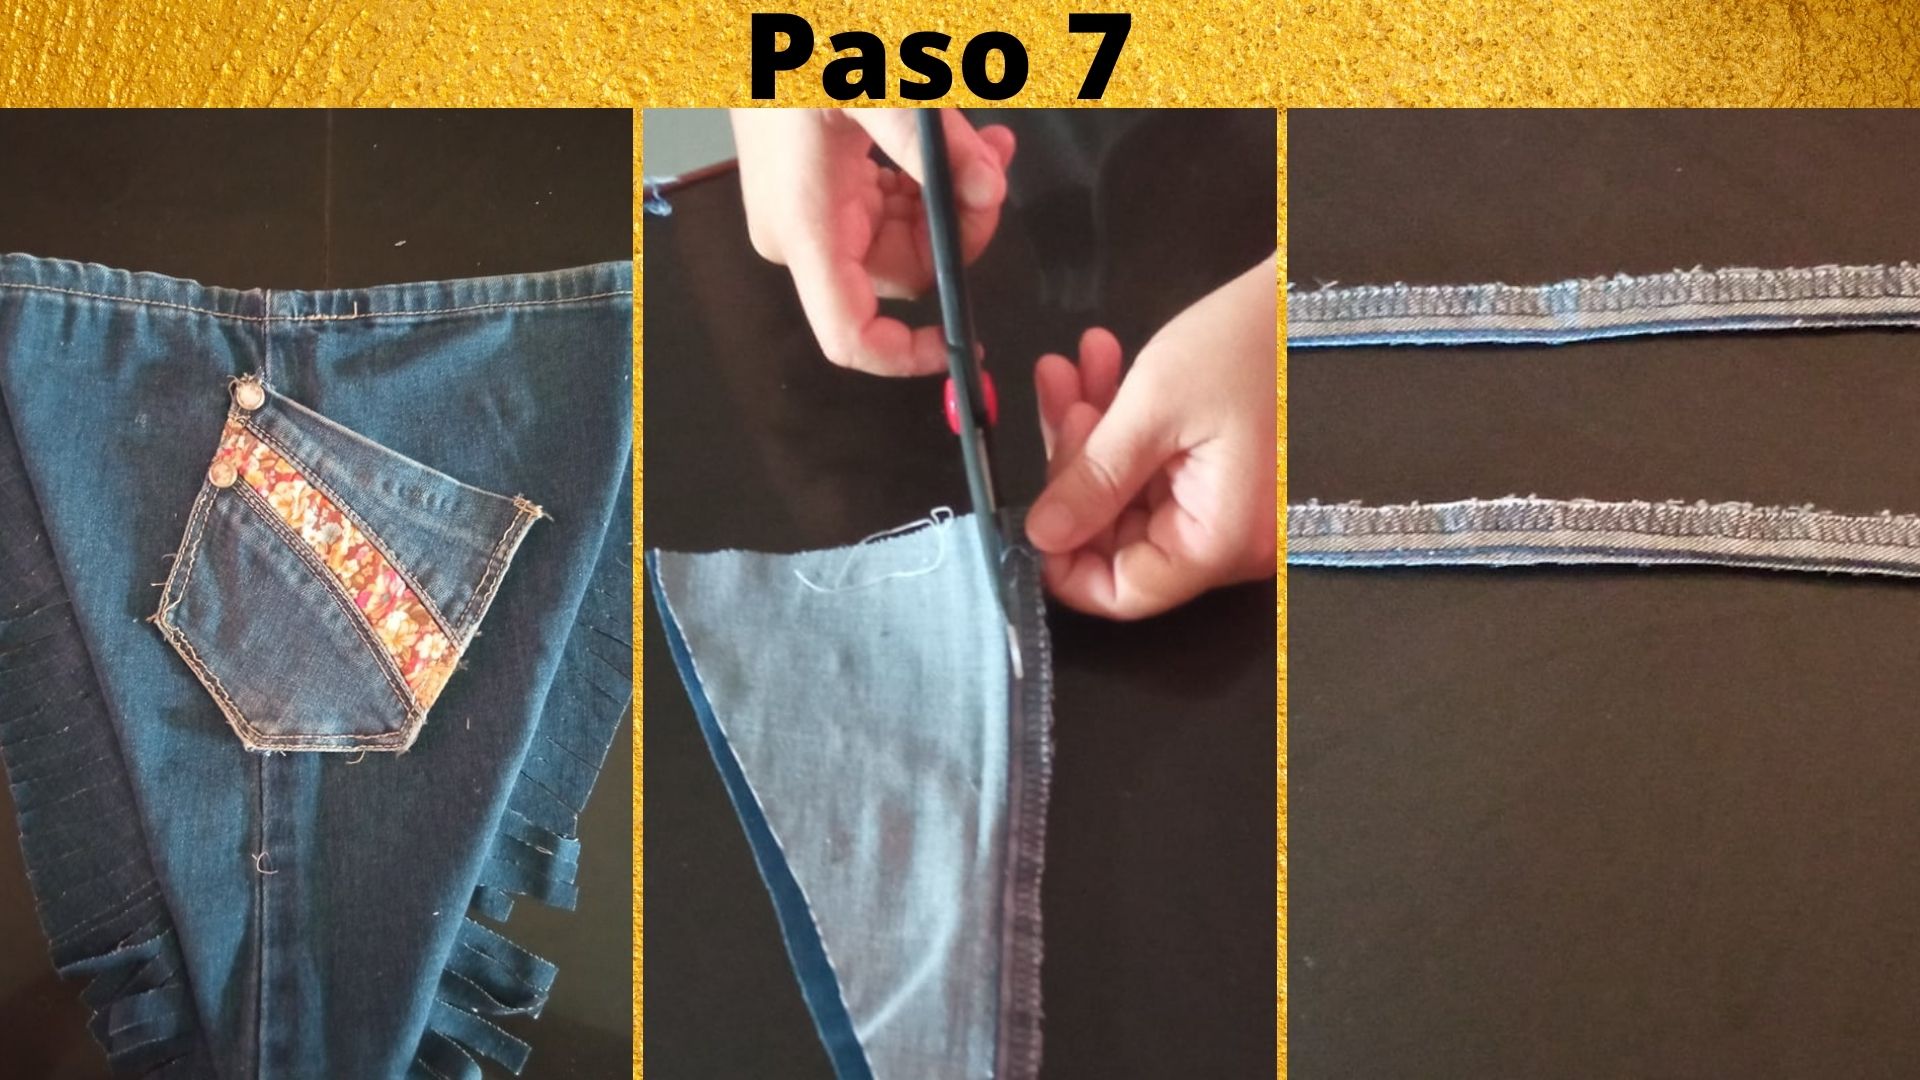
- Paso 7: Usted puede adornar el bolso con lo que usted prefiera, en mi caso le coloque un bolsillo del mismo pantalón que utilicé, luego con retazos sobrantes, cortamos la costura, esto nos servirá para el agarradero del bolso.
- Step 7: You can decorate the bag with whatever you prefer, in my case I put a pocket of the same pants I used, then with leftover scraps, cut the seam, this will serve for the handle of the bag.
.jpg)
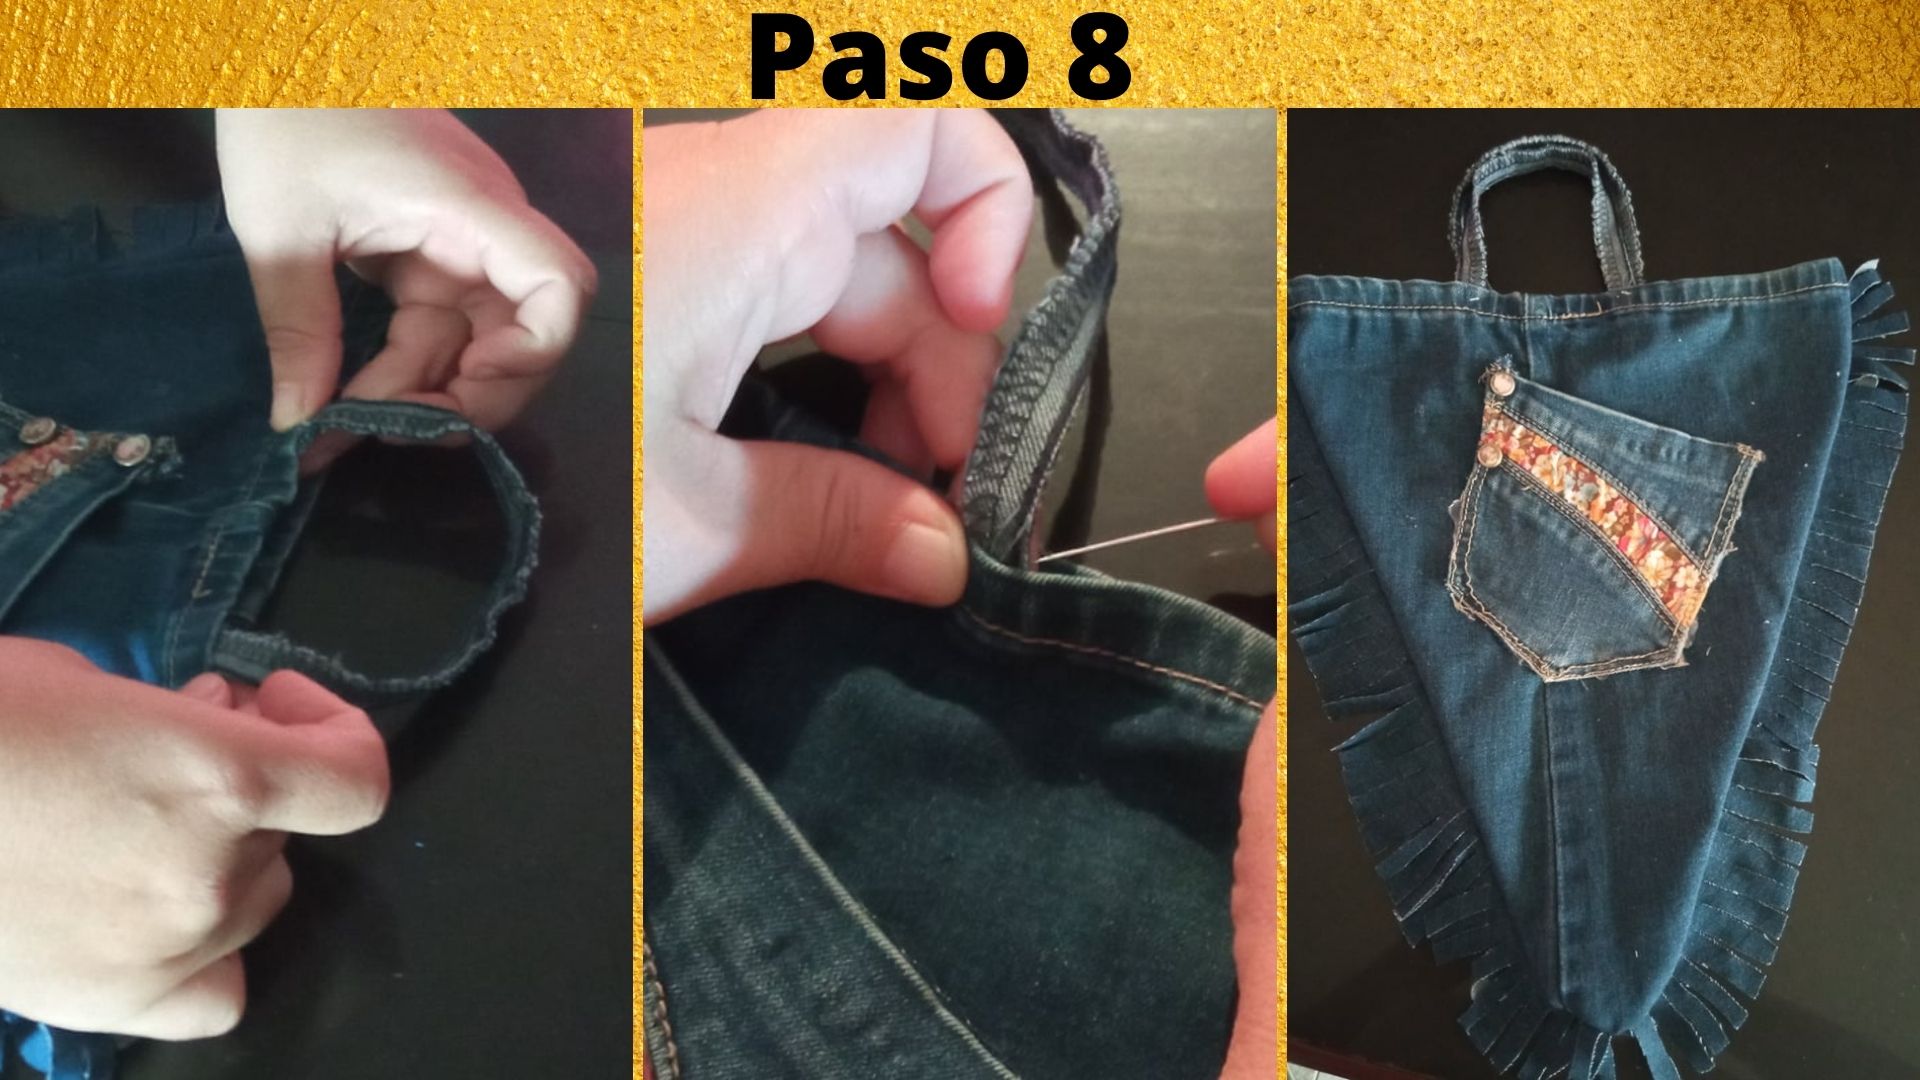
- Paso 8: Por último colocamos las tiras que servirán de agarradero dentro de una de las piezas y procedemos a coserlas, esto lo debemos hacer con las 2 piezas.
- Step 8: Finally we place the strips that will serve as a handle inside one of the pieces and proceed to sew them, this should be done with the 2 pieces.
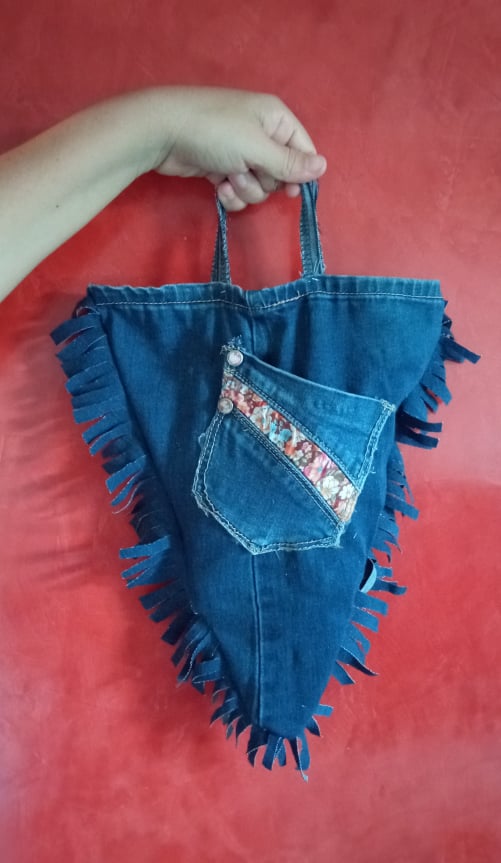
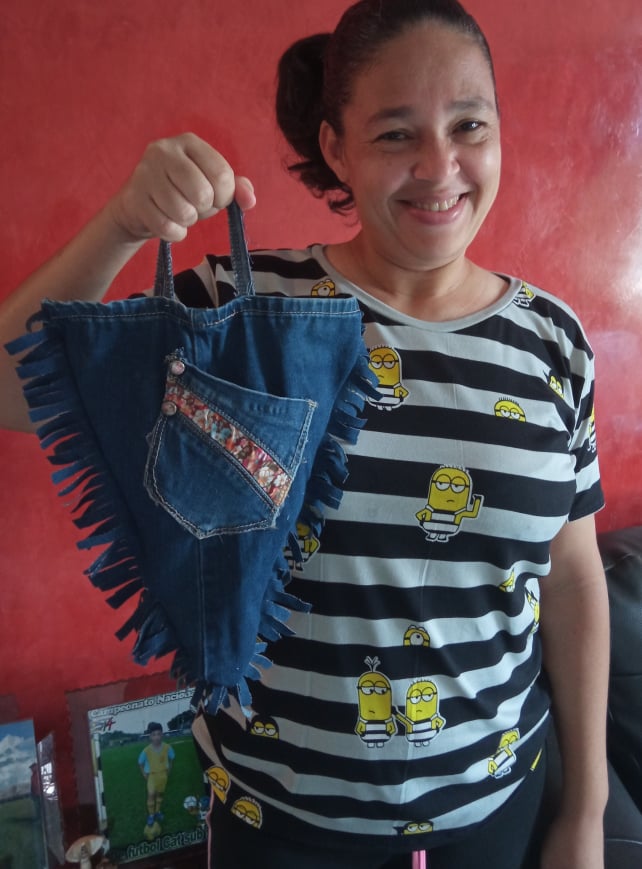
Aqui tenemos nuestro resultado final.
Here we have our final result.
 Todas las fotos son de mi autoría, y editadas desde canva.
All photos are of my authorship, and edited from canva.
Todas las fotos son de mi autoría, y editadas desde canva.
All photos are of my authorship, and edited from canva.

Quedó muy lindo..!! Gracias por compartir..!!
Mcuhas gracias leticiapereira, saludos y bendiciones..
You dismantled a jean trouser to do this stylish bag, the bag is lovely it even has designs by the sides, and the shape of the bag is kinda funny but its nice weldone and thanks for sharing the processes.....
Greetings, well I wanted to make the pants a casual shorts, and not to waste the rest, well, I turned it into a small bag for a walk, glad you liked it, blessings.
😂 its nice
Hello @yannet80 ! Your post was selected by our team on behalf of the OCD Community Incubation Program and has received an OCD upvote! Congratulations!!! Please keep sharing these quality posts 😊
What a cute bag! I love the slanted pocket and fringes :)
I invite you to share anything needlework related directly to the NeedleWorkMonday Community. On Monday’s we use the #needleworkmonday tag and on all other days the #needlework tag.
Written by @marblely for the NeedleWorkMonday Community.
A pleasure to share with you, thank you very much. Greetings to all.
Amiga quedo muy lindo
Gracias viviana.
Hola @yannet80, está muy lindo e ingenioso tu bolso de Jean, me encantó tu idea. Gracias por compartir en nuestra comunidad.
Muchas gracias kattycrochet.