Hello as this my beautiful community of hive, I want to show you how to make a beautiful portrait that has a shark with very nice material can be placed in the room of the small house, very easy to perform and especially if you follow the steps you will be very well.
Hola como esta mi bella comunidad de hive, quiero mostrarle como realizar un bello retrato que tiene un tiburón con material de provecho muy simpático lo puede colocar en la habitación del pequeño de la casa , muy fácil de realizar y sobre todo si sigues los pasos te quedara muy bien.
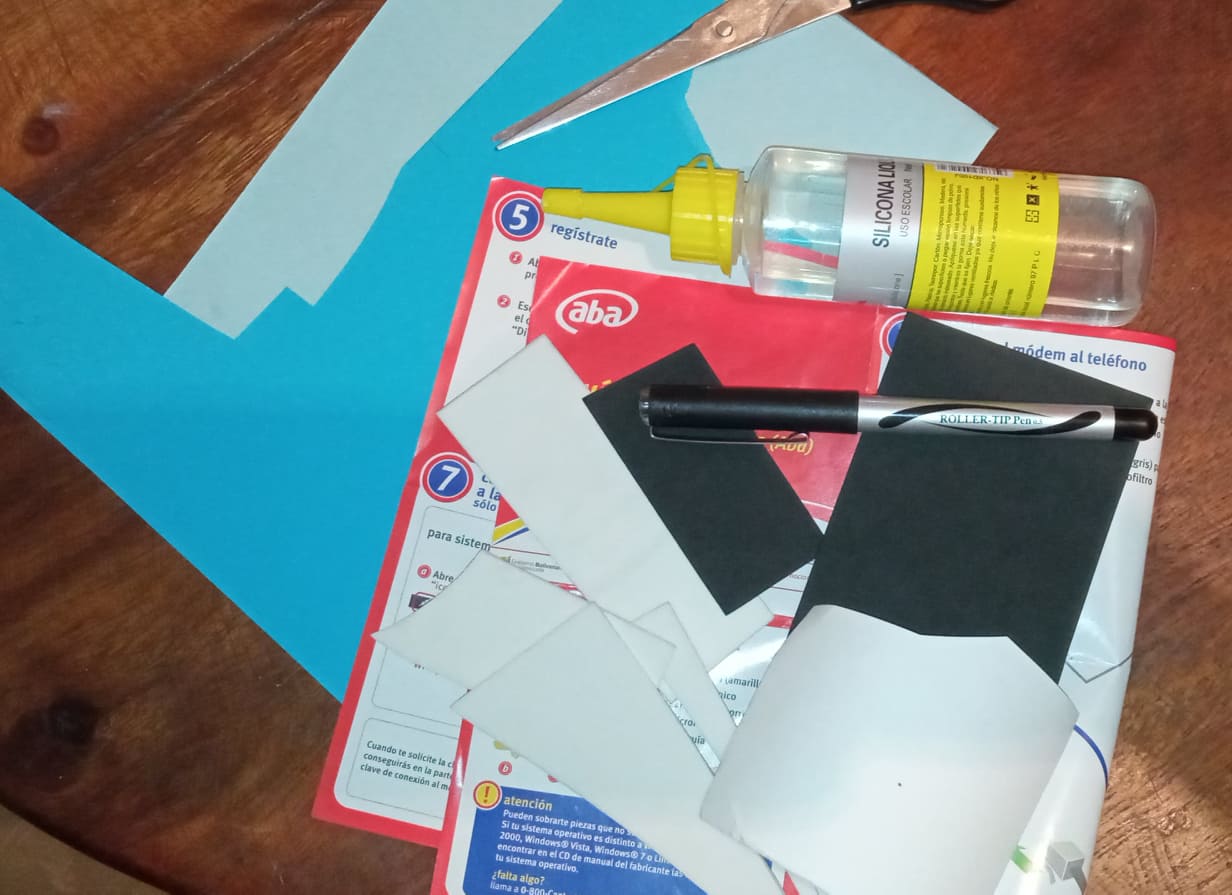
What will I use?
-Silicon.
-Marker.
-Foami.
-Scissors.
-Paperboard.
-Cardboard.
Que utilizare?
-Silicon.
-Marcador.
-Foami.
-Tijera.
-Papel de provecho.
-Cartulina.
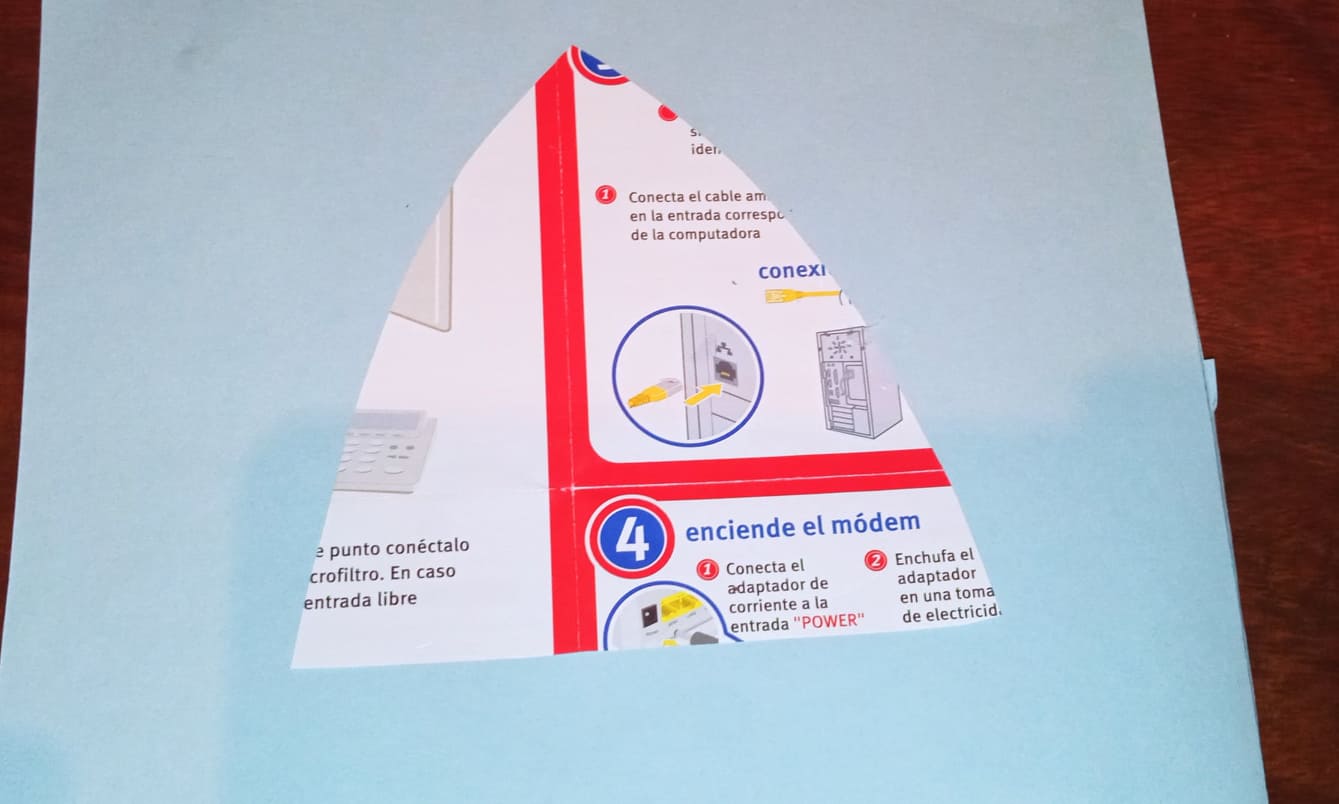
Step 1
We paint the parts of the shark.
Paso 1
Pintamos las partes del tiburón.

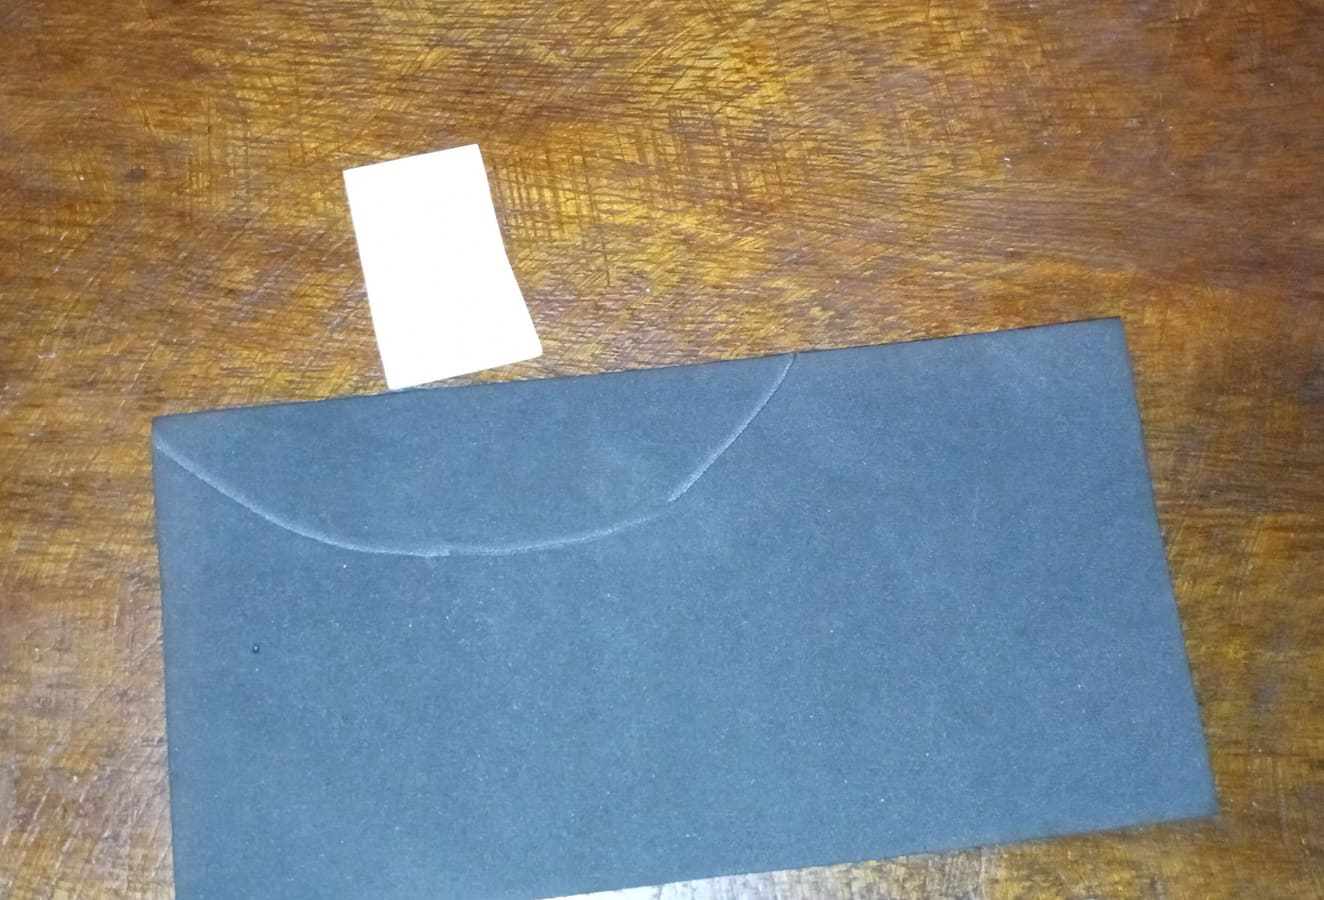
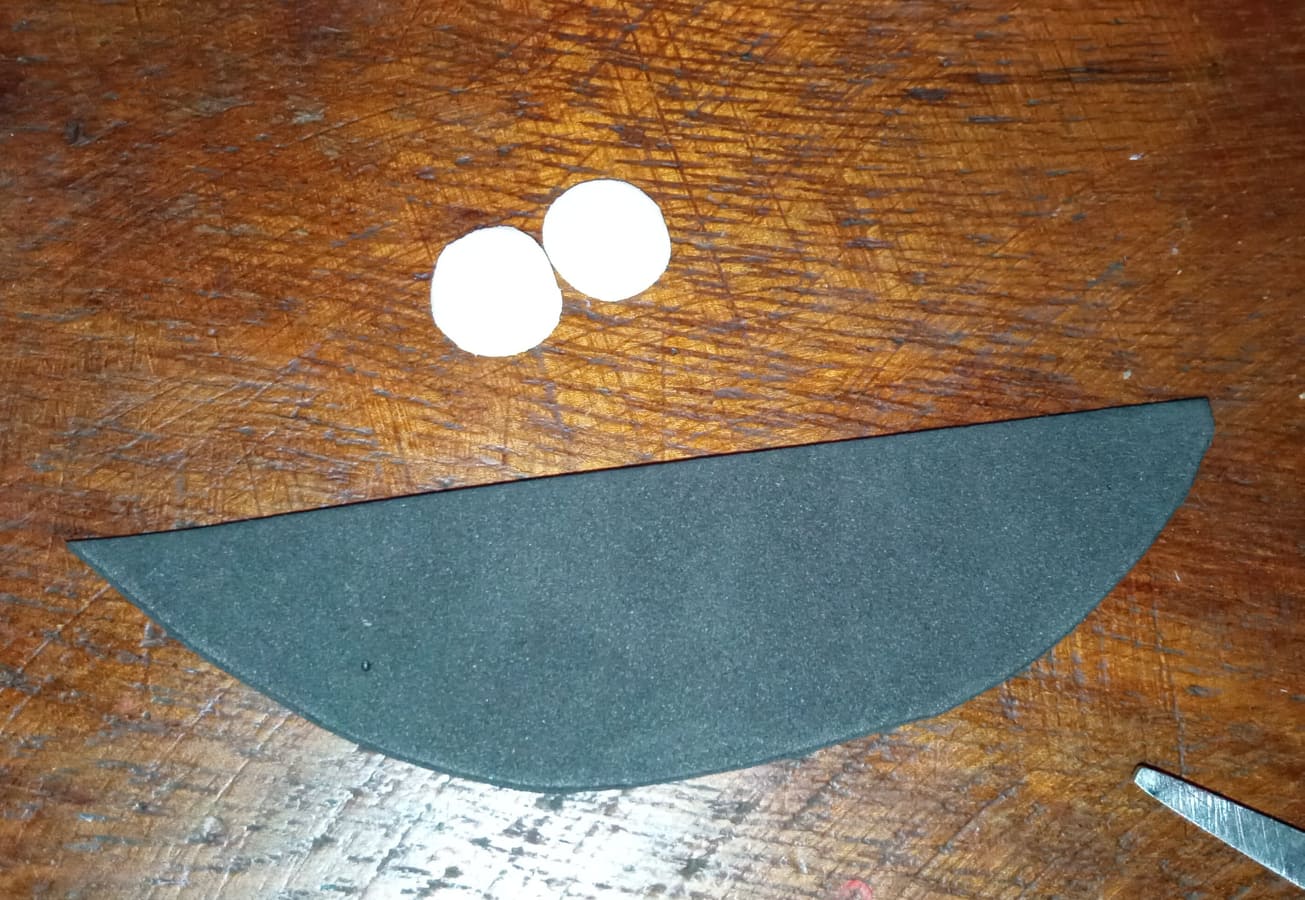
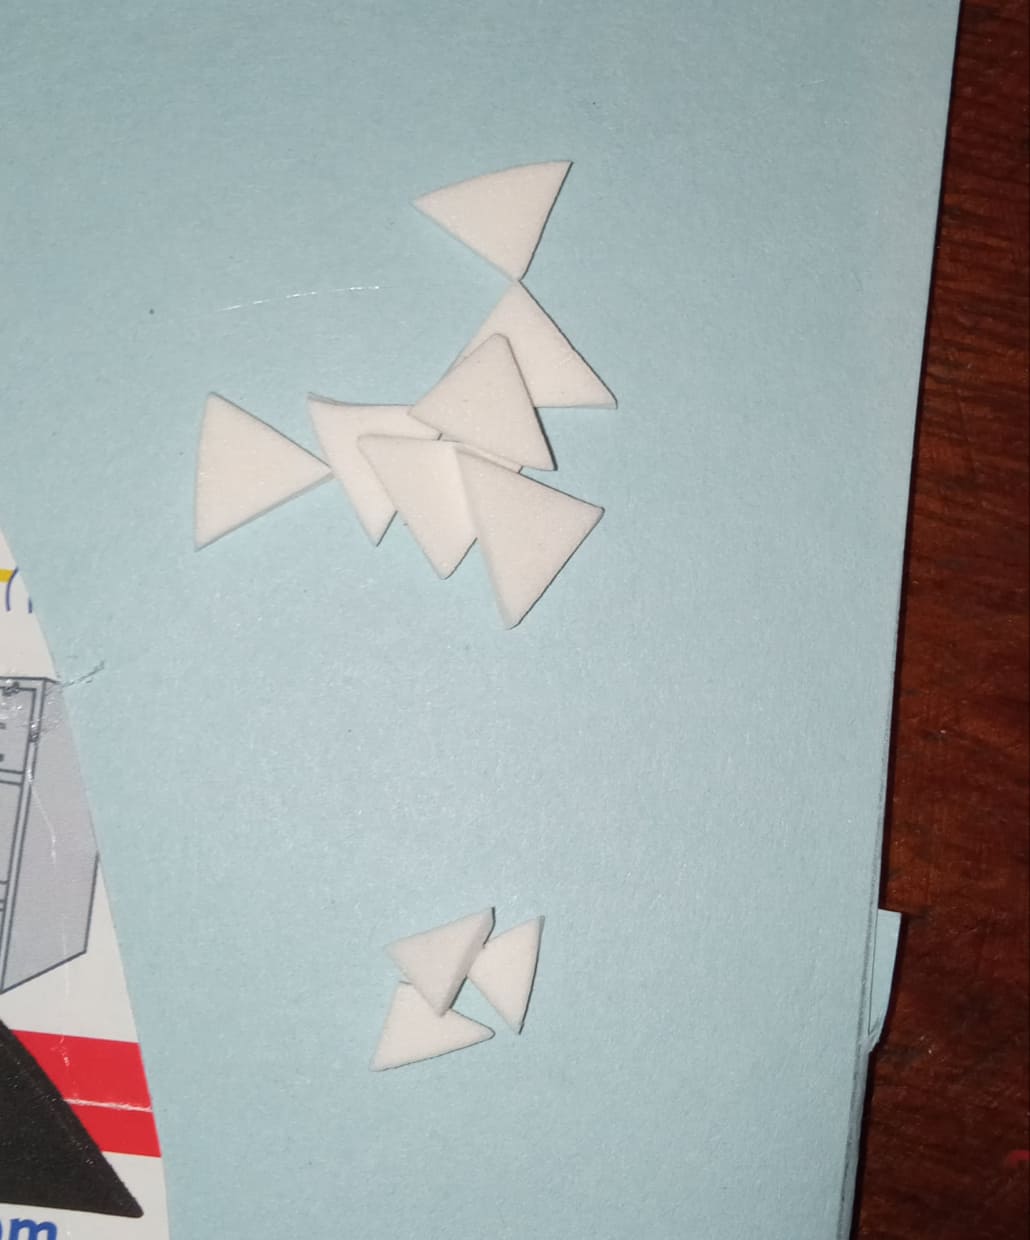
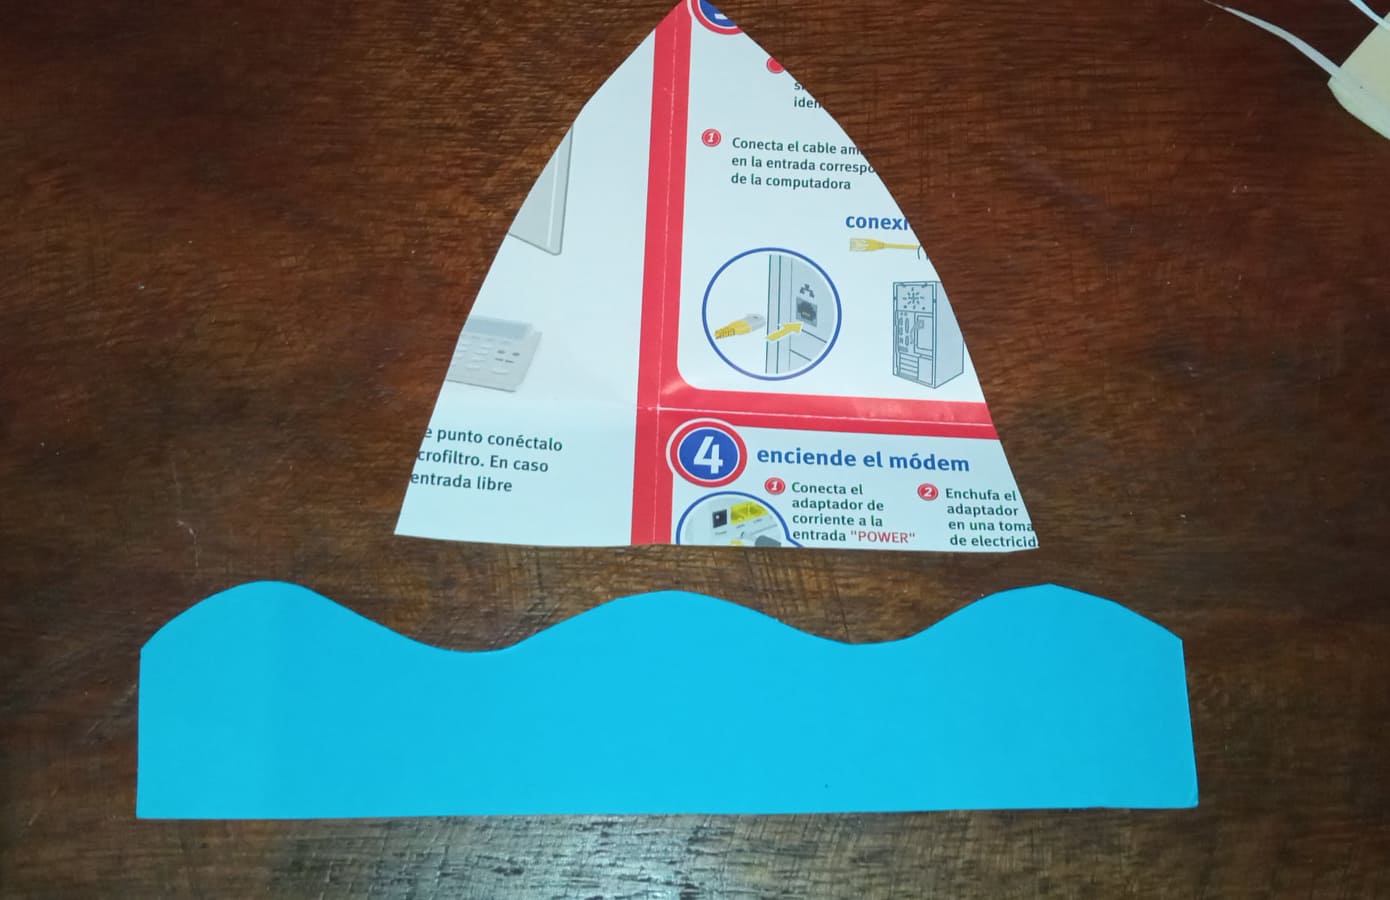
Step 2
Cut out the eyes, the mouth parts, the shark, the teeth and the waves.
Paso 2
Cortamos lo ojos las partes de la boca, el tiburón, los dientes y las olas.
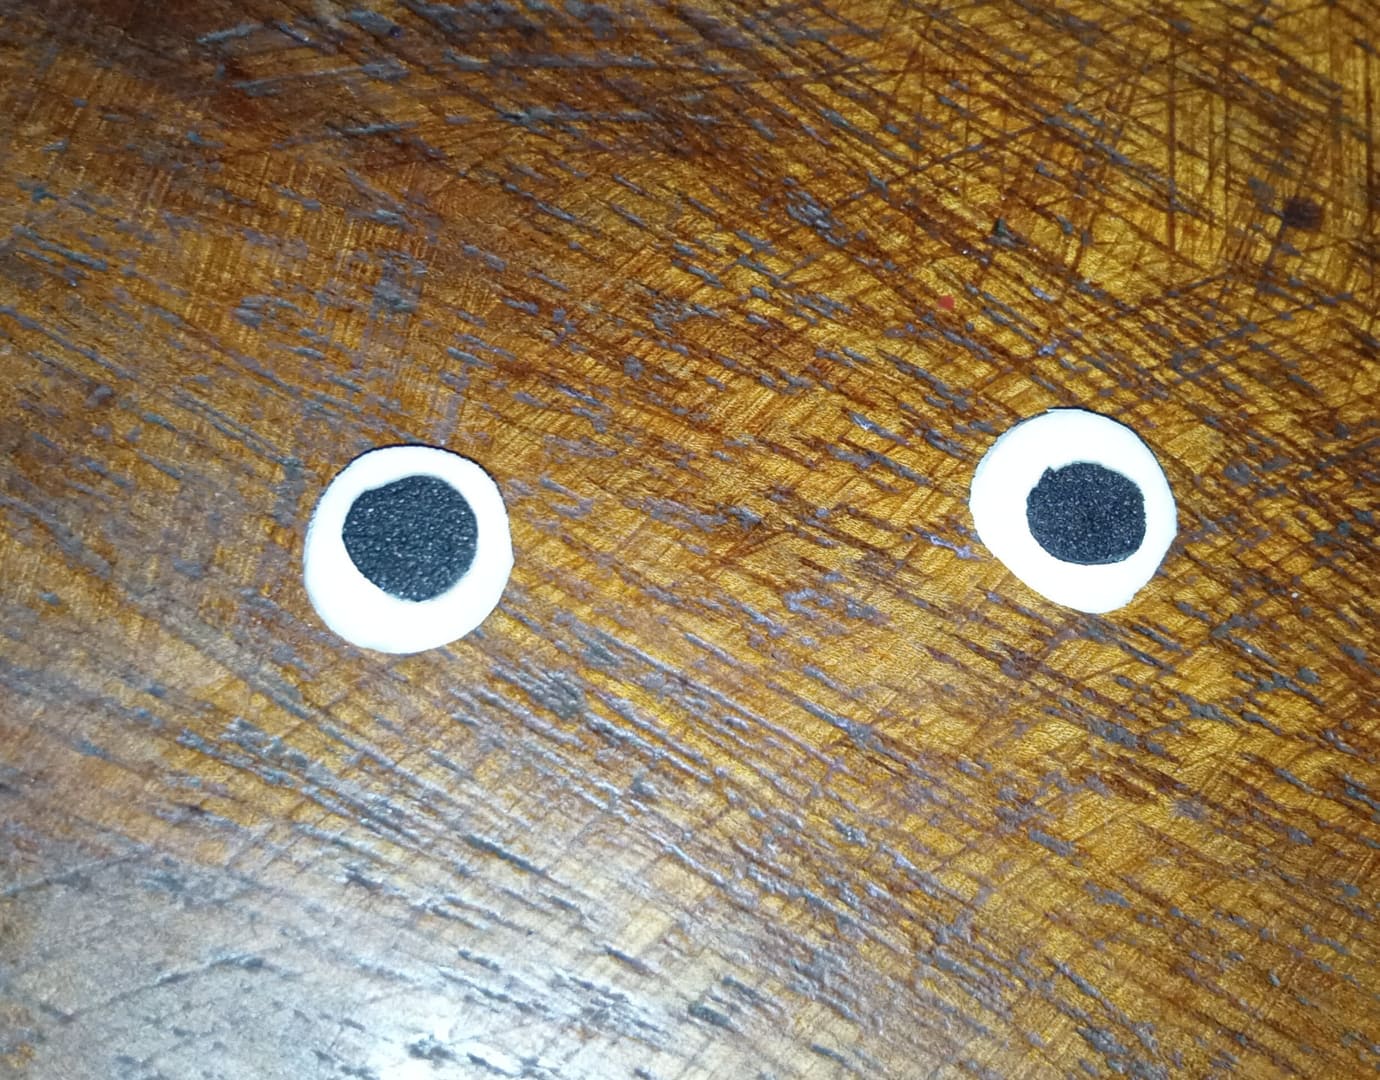
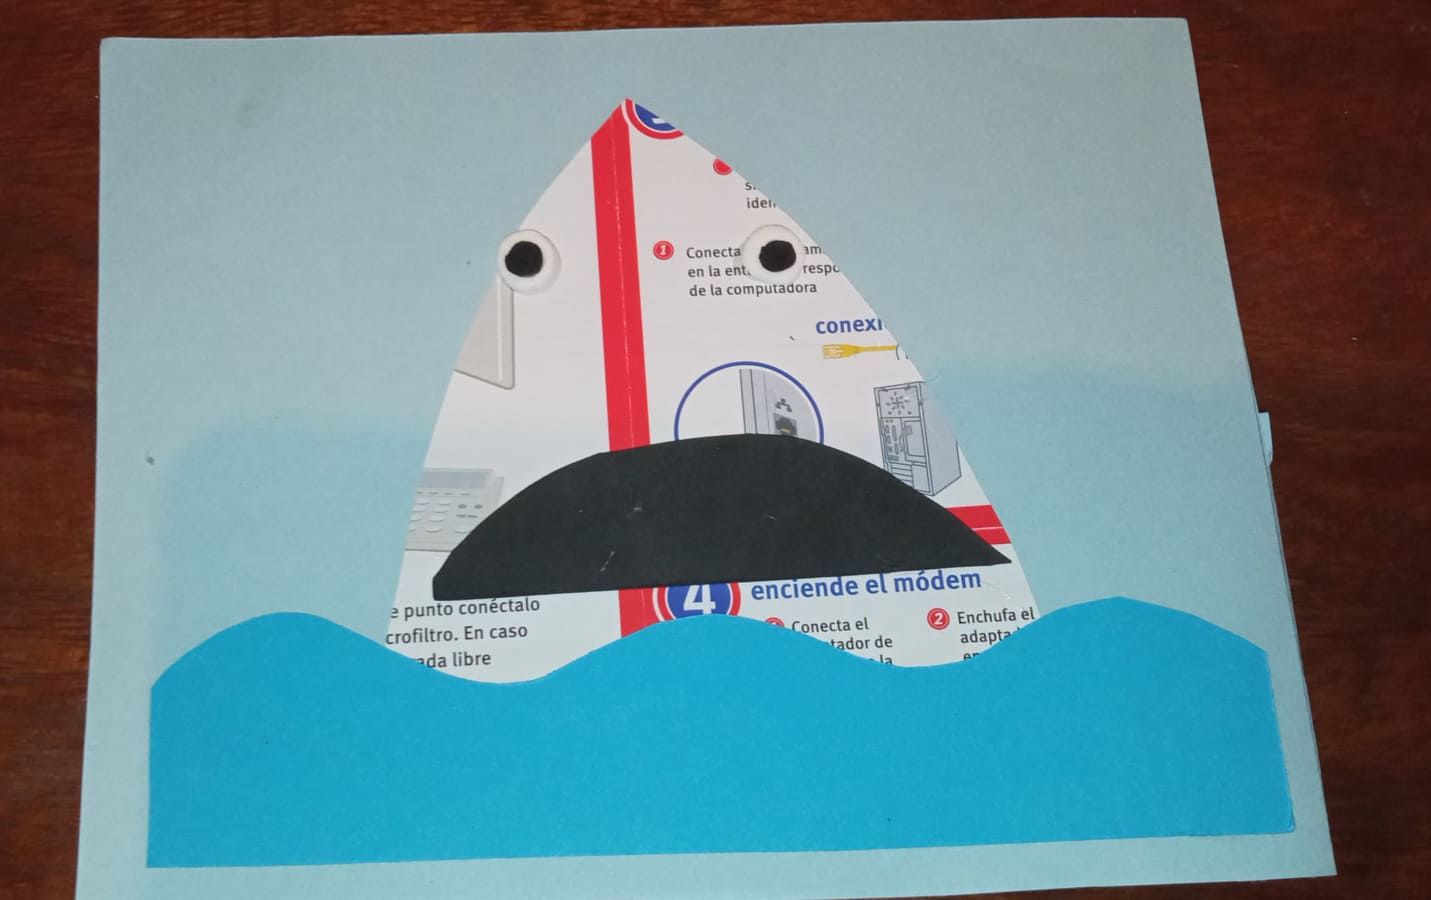
Step 3
Glue the shark shape on the cardboard and the eyes.
Paso 3
Pegamos la forma del tiburón en la cartulina y los ojos.
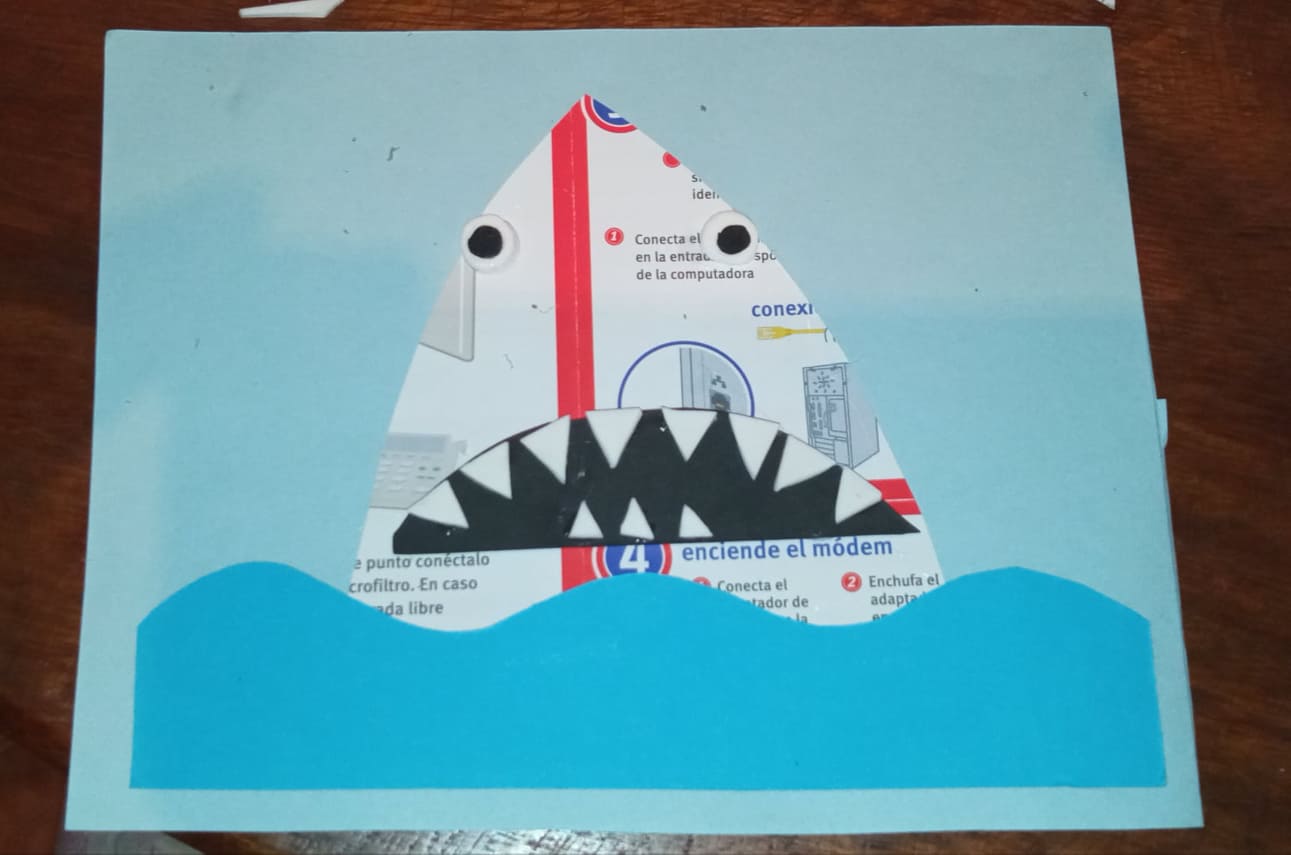
Step 4
Here we continue gluing the mouth, eyes and teeth.
Paso 4
Aquí seguimos pegando la boca , los ojos y los dientes .
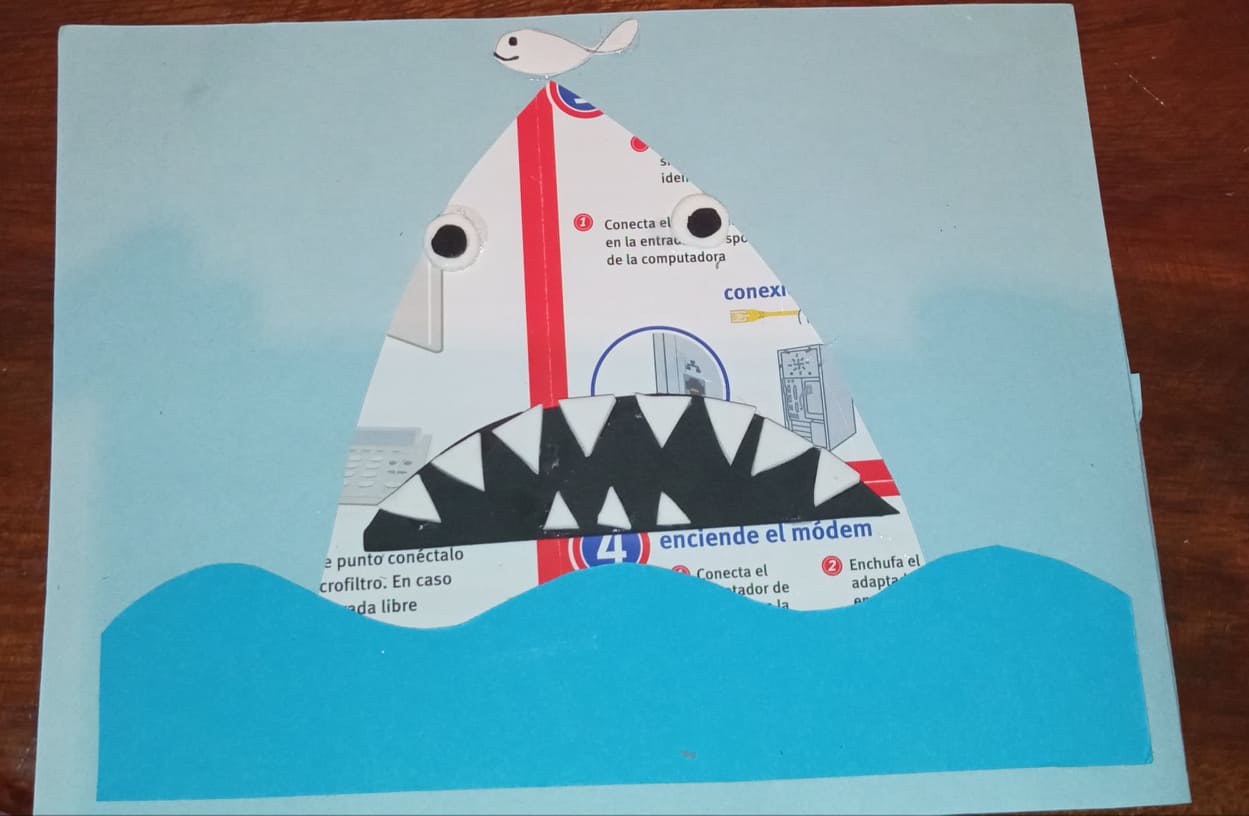
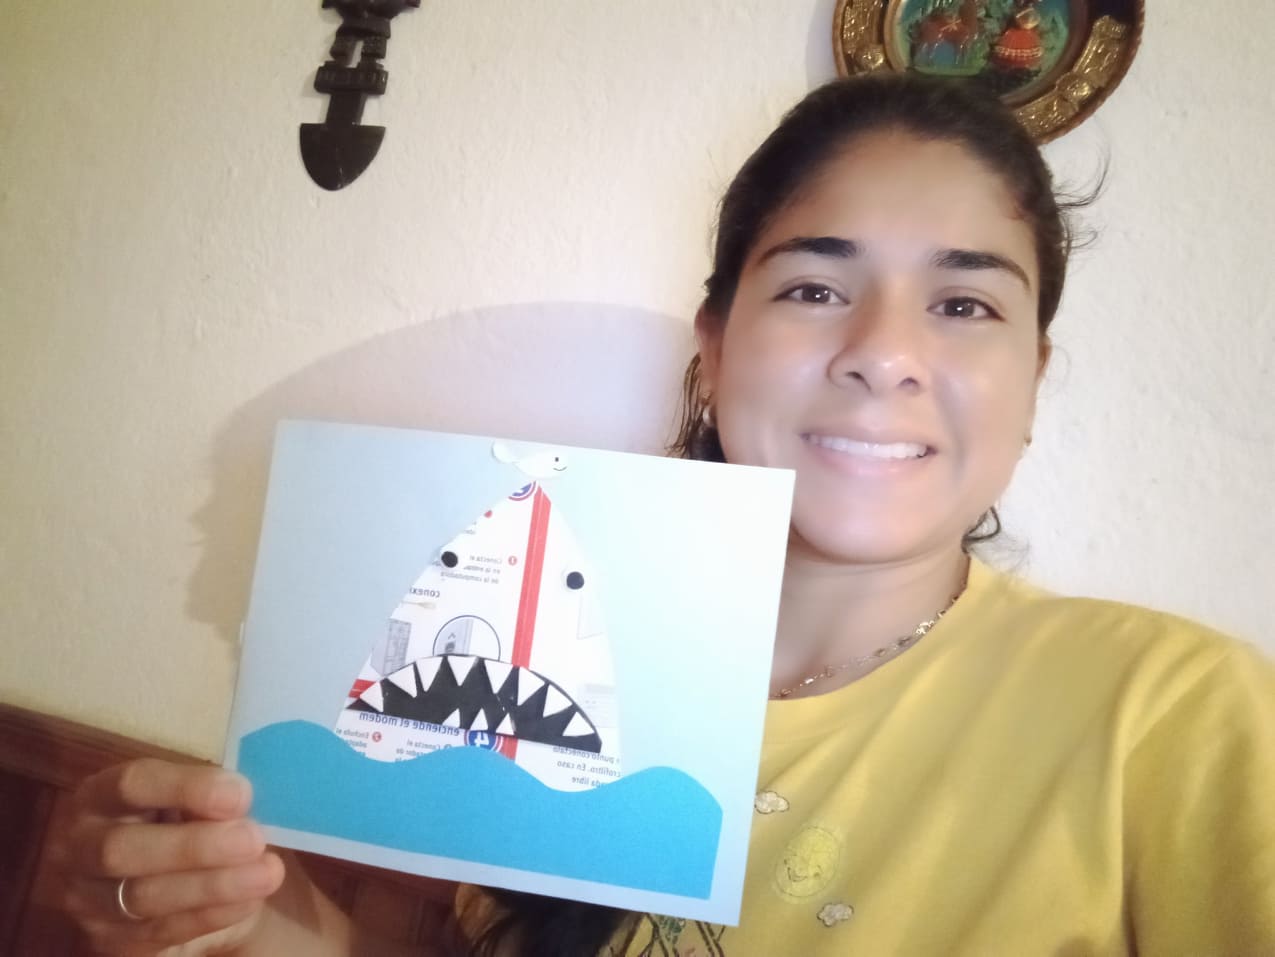
Step 5
We finish by gluing a fish on the picture... and it looks beautiful like this.
Paso 5
Finalizamos pegando un pez en el cuadro.. y así de bello quedo.
Come on try it, you will have good results. See you in the next publication, I will have many surprises.
Vamos inténtalo, tendrás buenos resultados .nos vemos en la próxima publicación, tendré muchas sorpresas.
RESOURCES USED / RECURSOS UTILIZADOS
• Incollage/ para unir y reducir las fotos.
• Photos taken by redmi 9. / Fotos tomadas por redmi 9.
• The translator is used www.Deepl.com / Se utiliza el traductor www.Deepl.com