Hello, dear readers
Today, we continue the steps in the making of Embla, my first Venezuelan cuatro. If you found this story in this entry, please go and check the previous one here.
Buen día, estimados lectores.
Hoy continuaremos viendo los pasos en la construcción de Embla, mi primer cuatro venezolano. Si acabas de encontrar esta publicación, te sugiero que des click aquí para ver la primera parte.
It’s time to start working on the body of the instrument.
To start this process it is necessary to make a single piece of wood. The reason tops are made with two pieces goes from the merely aesthetic to the actual tone production. When you laminate wood, you have the chance to see the disposition of the its veins. This can help you create a pattern that is pleasing to the eye. However, that’s not all, you must take into consideration that wood tends to bend over time. That’s why the pieces you select for the top need to have straight veins; at least, as straight as possible.
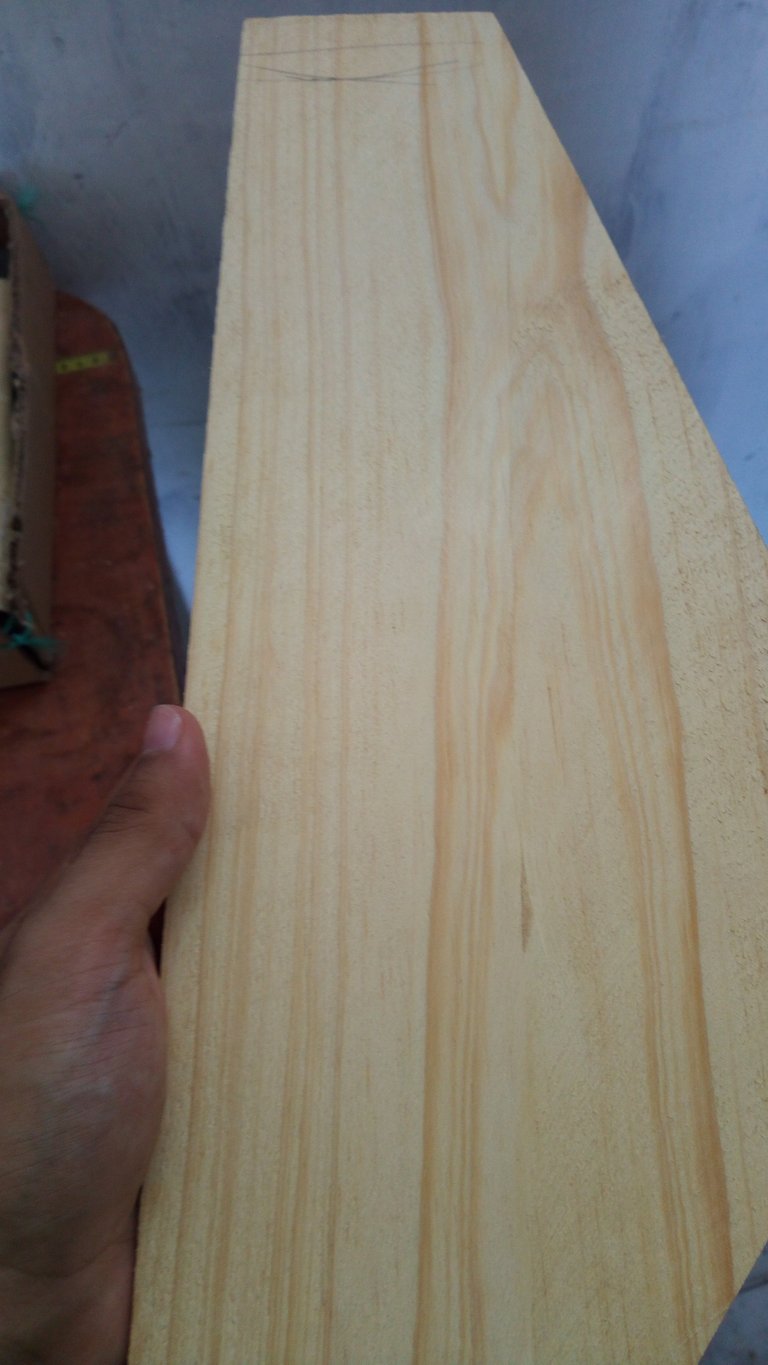
Not only that, but you also need to select the pieces in which you can see parallel veins. These intervals are the ones that will help it vibrate and produce sound. Even though, this is a string instrument, you have to think about it in terms of a drum. The strings carry on vibration towards the bridge; the bridge, to the top; and the top moves creating sound which is amplified by the rest of the body.
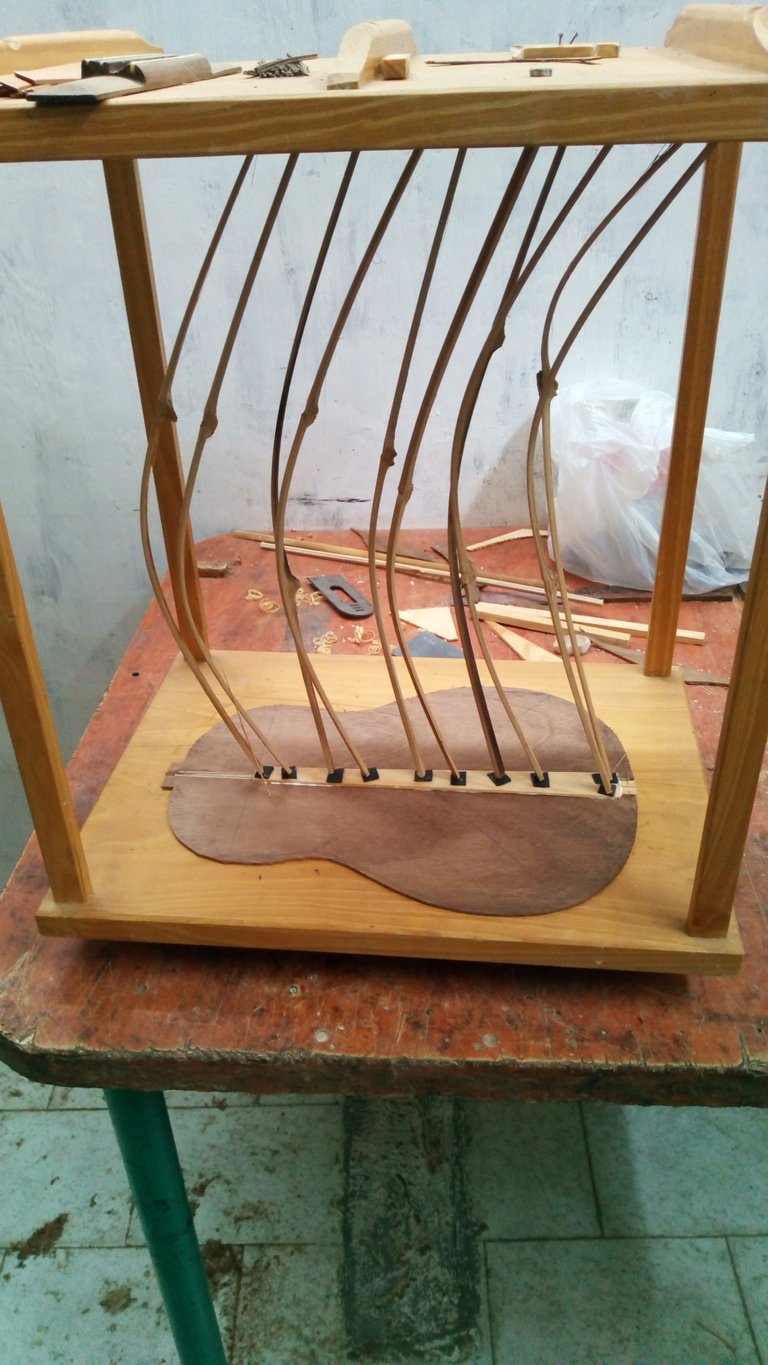
Once the pieces are selected. It is time to thin and even them out. For this, you need to keep you plane very sharp and watch out: tops need to slim to see light through them, but not so much or they will break. Once the top is glued together. It is time to work its opposite piece: the back of the body.
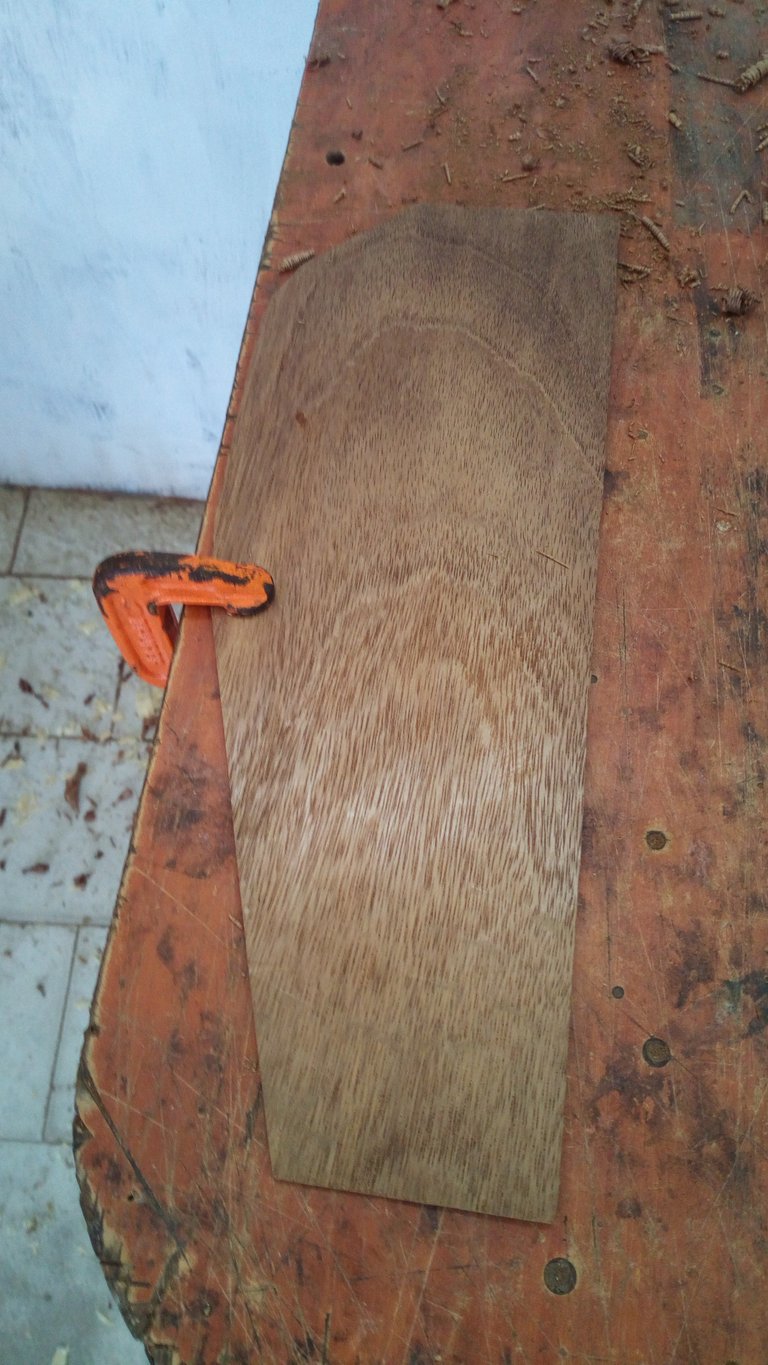
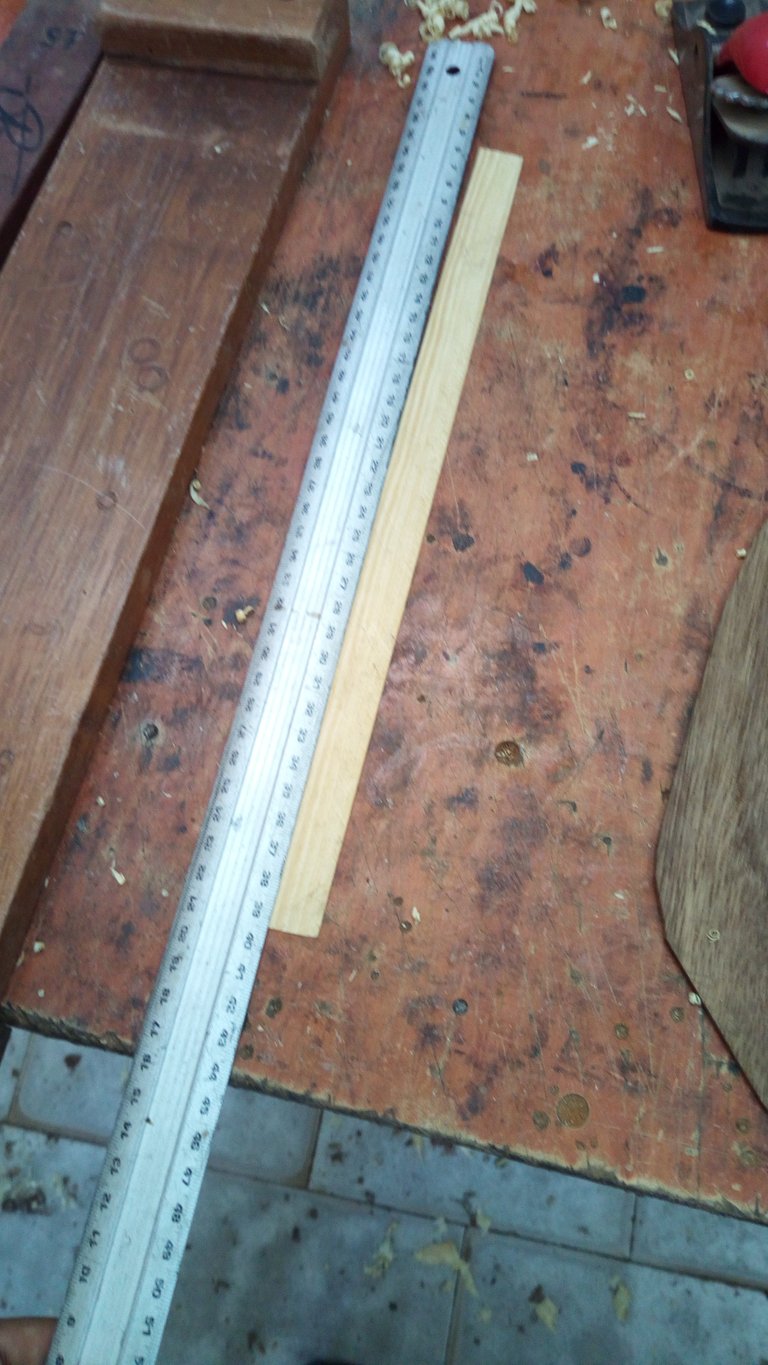
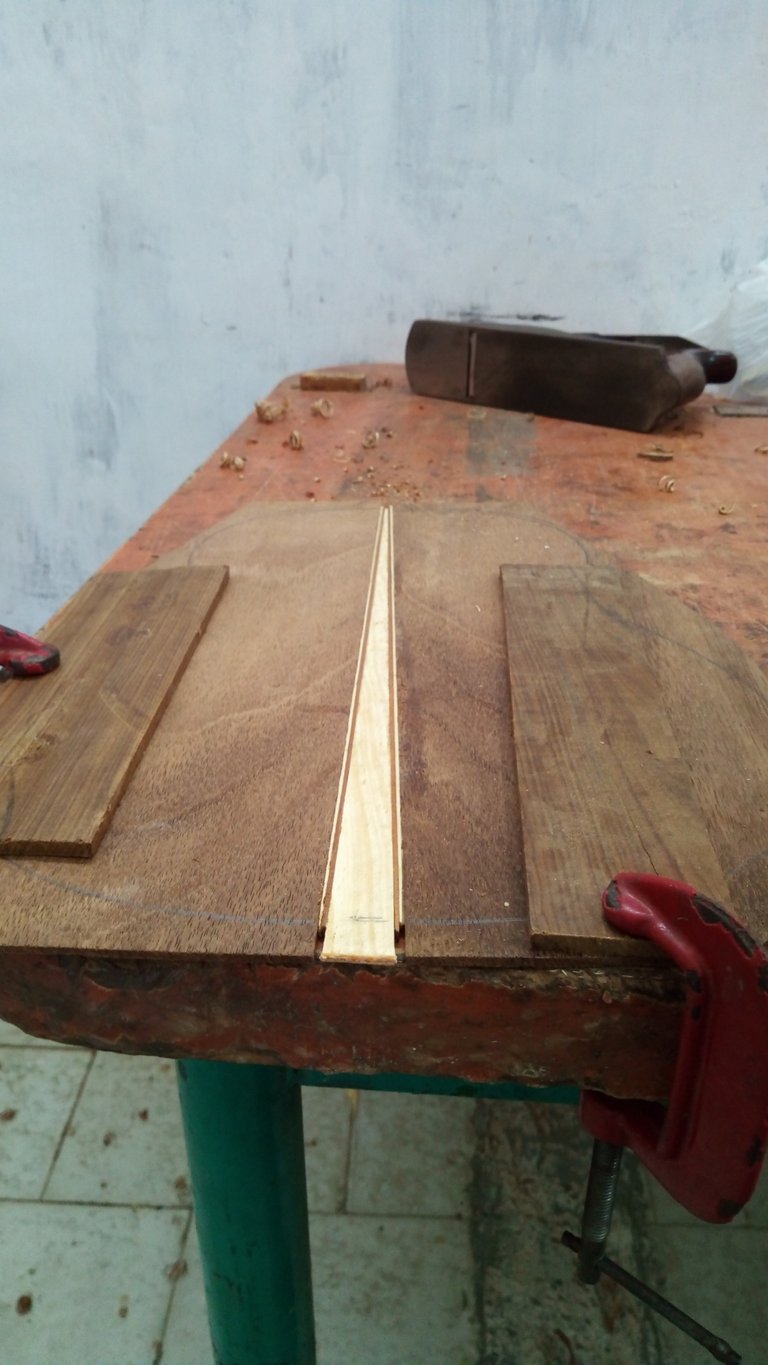
Here you can add some details. I went on I kept on the theme of wedges. I made this one out of mahogany and pine, using again the sandwich technique
to put in the middle of the pieces.
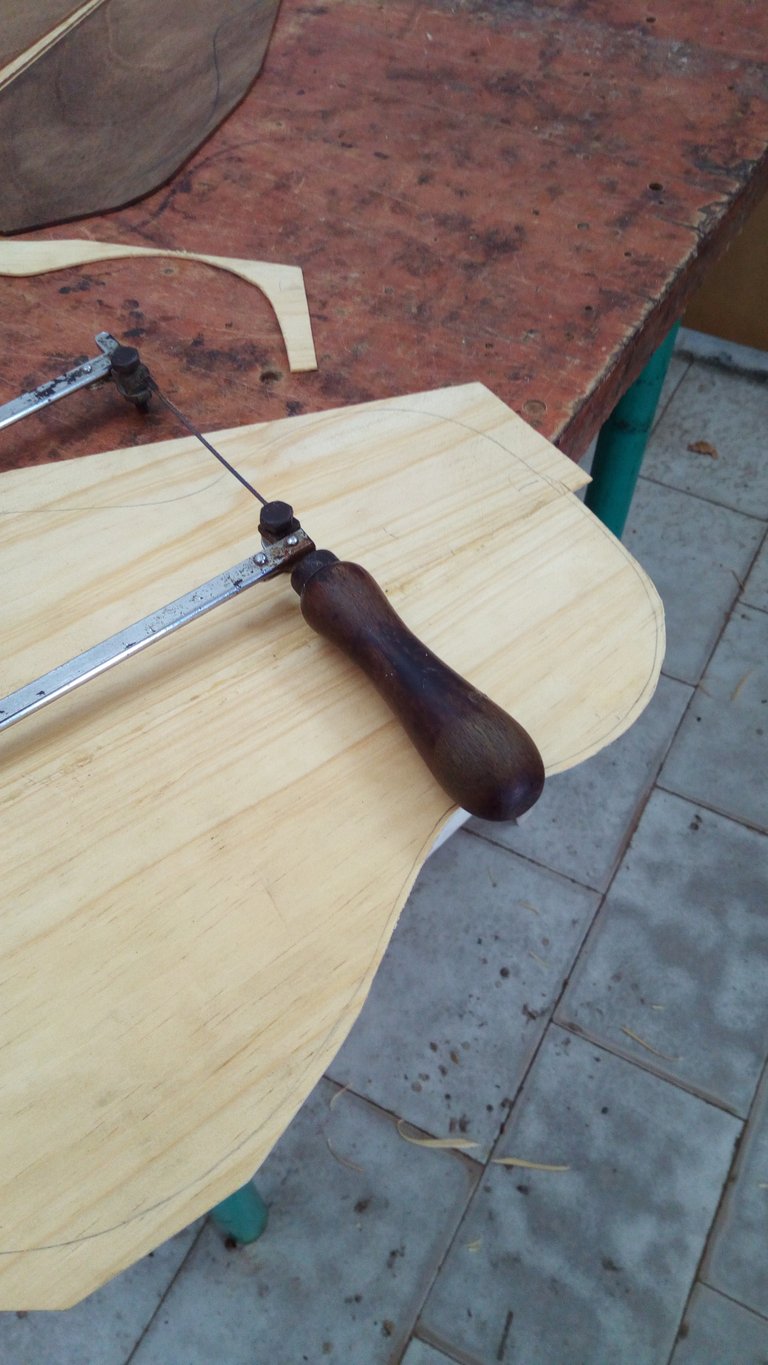
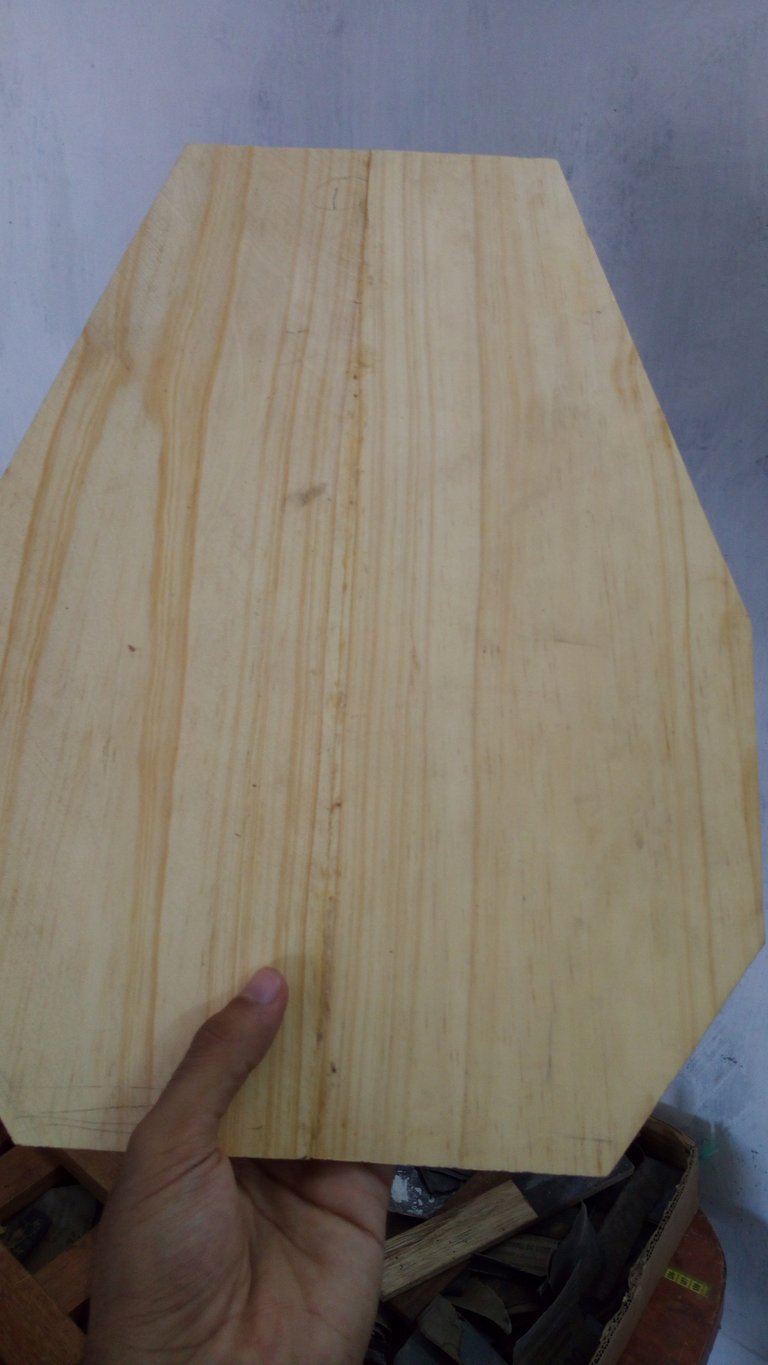
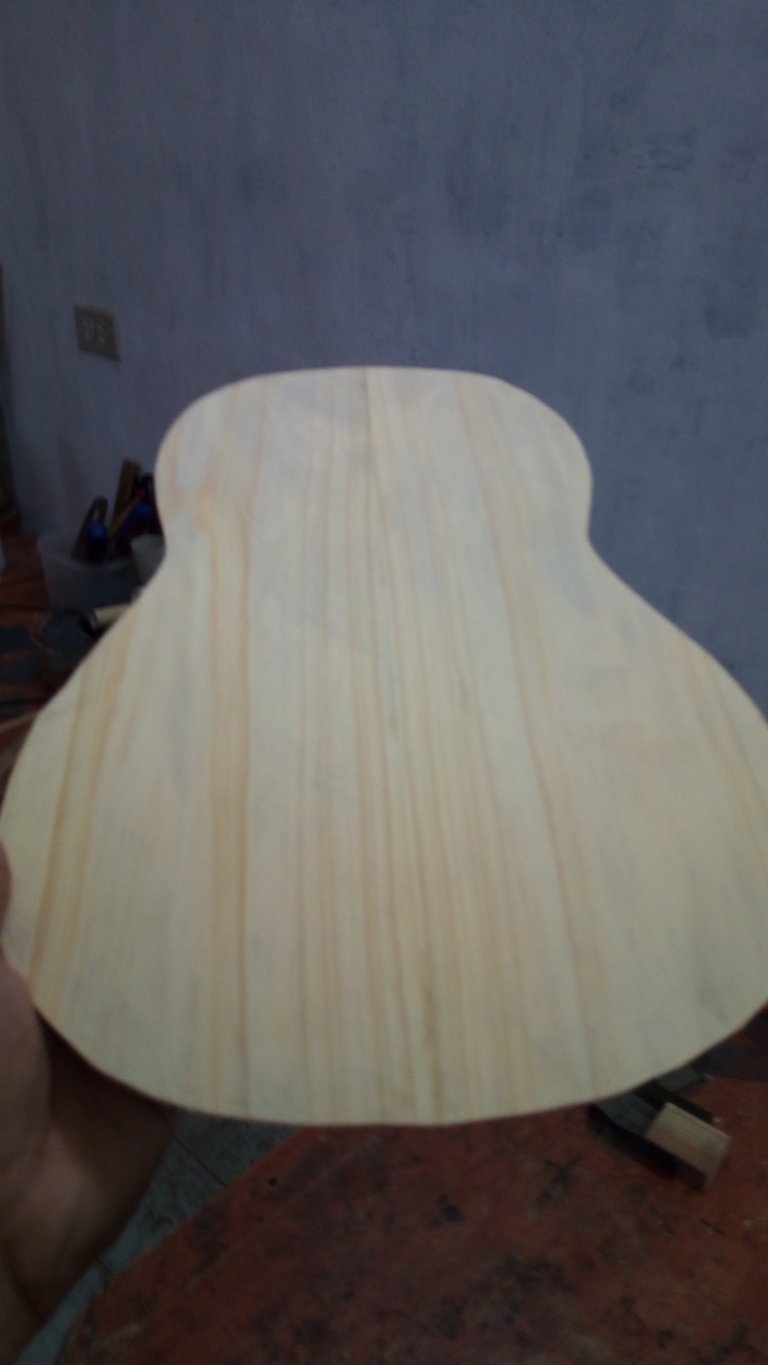
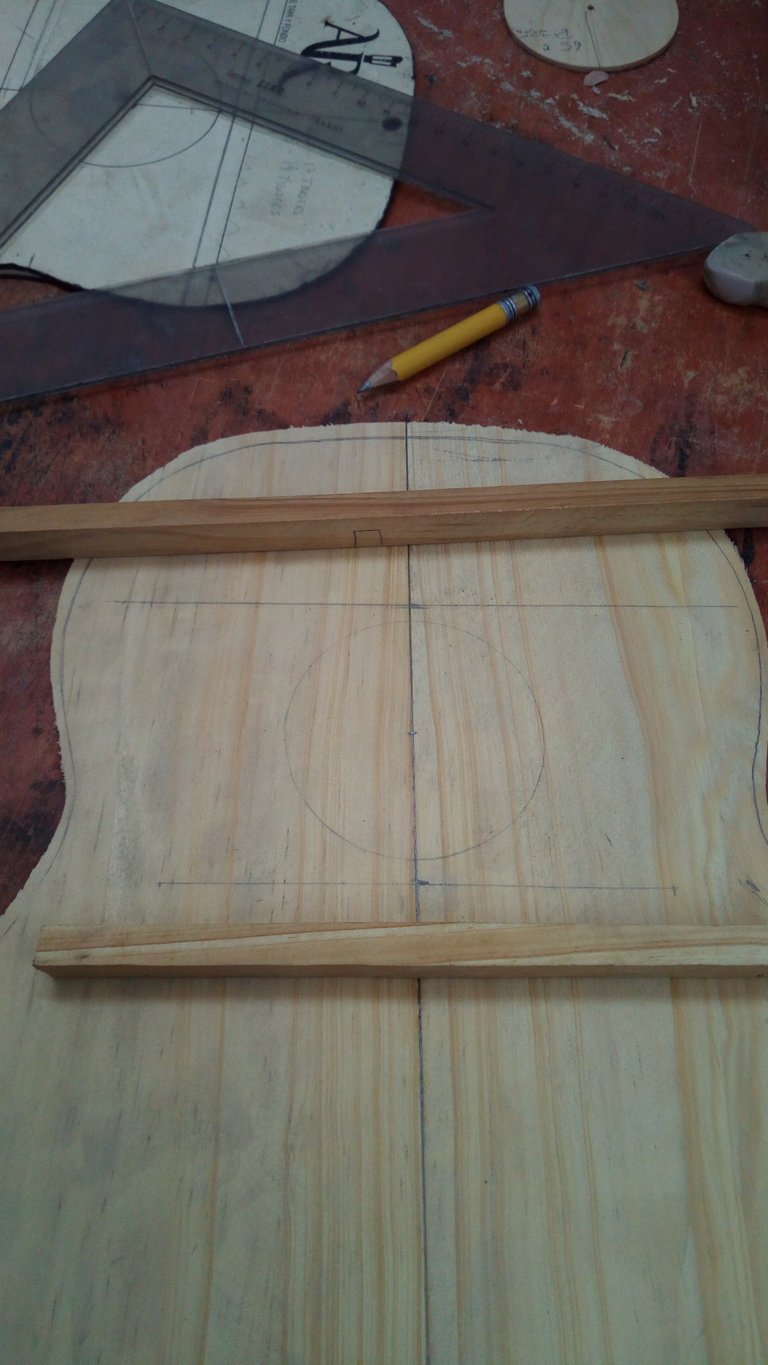
Once all is glued. It is time to give both pieces its shape. We all know the classical pear shape guitars and their cousins have. This cuatro is not different. I used one of the molds my teacher has in his workshop. After drawing the lines, keeping a steady pulse, I carved out both pieces to give them the appearance of the pictures. The last details added was a reinforcement to the back piece. When making these instruments, it is never a bad idea to reinforce joints. After all, I built this instrument to last a lot of years.
Es hora de empezar a trabajar en la caja amónica.
Lo primero que se debe hacer es juntar las piezas de madera. La razón por la cual se tiene estas por separado es tanto estética como acústica. Al laminar la madera, se puede tener una visión más clara de la disposición de sus vetas. Esto sirve para crear un patrón estético en la tapa. Pero eso no es todo, teniendo en cuenta que la madera se dobla con el tiempo, hay que seleccionar las piezas con las vetas más rectas que tengas disponibles.
No solo eso, también es necesario escoger las piezas con la mayor cantidad de vetas paralelas. Estos intervalos entre las líneas visibles de la madera ayudan a la producción de sonido. Aunque este sea un instrumento de cuerdas, es necesario pensar que funciona como un tambor. Las cuerdas llevan la vibración al puente; de allí, a la tapa; esta última se mueve produciendo el sonido que es amplificado por el resto de la caja.
Después de seleccionar las piezas, se deben rebajar y dejar a escuadra. Para esto es necesario usar un cepillo bien afilado y tener mucho cuidado. Rebajar de más las piezas causará que se rompan por la tensión. Luego de pegar la tapa, es tiempo de pasar al fondo.
Aquí se pueden añadir detalles. Pueden ver que utilicé el mismo tipo de adorno que en la vez anterior: un triángulo. Este también está hecho de pino y caoba y siguiendo el mismo principio de hacer un sándwich entre las piezas.
Luego de esto, es tiempo de darle su forma característica. Todos conocemos la forma de pera de as guitarras y los instrumentos pertenecientes a esta familia de instrumentos. Este cuatro no es la excepción. Utilicé una de las plantillas disponibles en el taller de mi profesor. Después de trazar las líneas, y con pulso firme, fue tiempo de cortar las piezas para darle la apariencia que pueden ver en las fotos. Como un último detalle se colocó un refuerzo al fondo. Al hacer estos instrumentos nunca está de más reforzar las uniones. Después de todo, esté instrumento está hecho para durar muchos años.
That is all for this entry. Thanks a lot for reading. See you in the next chapter.
Eso es todo por esta ocasión. Gracias por leer. Nos vemos en el próximo post.
All the pictures used in these posts are either mine or from my teacher Andrés Rodríguez. He doesn’t mind me using these.
WOW! What a neat process. Thank you for sharing this and the link back to the previous post. I am looking forward to seeing the process continue as you put more work into the piece.
¡GUAUU! Qué buen proceso. Gracias por compartir esto y el enlace a la publicación anterior. Espero ver que el proceso continúe a medida que pongan más trabajo en la pieza.
Thanks, we are in the middle of the process. It will be finished in 5 posts more. Don't miss them! 😁
😊 Looking forward to them for sure!
¡Felicidades! Esta publicación obtuvo upvote y fue compartido por @la-colmena, un proyecto de Curación Manual para la comunidad hispana de Hive que cuenta con el respaldo de @curie.
Si te gusta el trabajo que hacemos, te invitamos a darle tu voto a este comentario y a votar como testigo por Curie.
Si quieres saber más sobre nuestro proyecto, acompáñanos en Discord: La Colmena.
Muchas gracias por su apoyo.
Quede fascinada de este trabajo tan hermoso. Te contaré algo, mi abuelo paterno (no alcance a conocerlo) pero me cuentan que hacia los mejores cuatros de Barquisimeto. Hermoso arte sin duda. Te felicito.
Imagínate. Mi profesor es de una familia de luthiers de aquí de Cumaná. Casi que todos sus tíos son fabricantes reconocidos en el oriente del país. Y bueno, él ya se ha hecho un nombre entre muchos venezolanos dentro y fuera del país.
Gracias por pasar por mi post.
Thank you for sharing this amazing post on HIVE!
Your content got selected by our fellow curator @stevenson7 & you just received a little thank you via an upvote from our non-profit curation initiative!
You will be featured in one of our recurring curation compilations and on our pinterest boards! Both are aiming to offer you a stage to widen your audience within and outside of the DIY scene of hive.
Join the official DIYHub community on HIVE and show us more of your amazing work and feel free to connect with us and other DIYers via our discord server: https://discord.io/diyhub!
If you want to support our goal to motivate other DIY/art/music/homesteading/... creators just delegate to us and earn 100% of your curation rewards!
Stay creative & hive on!
Thanks for your kind support. There are amazing DIY projects around and all of them are as good as the last.