
Version Español
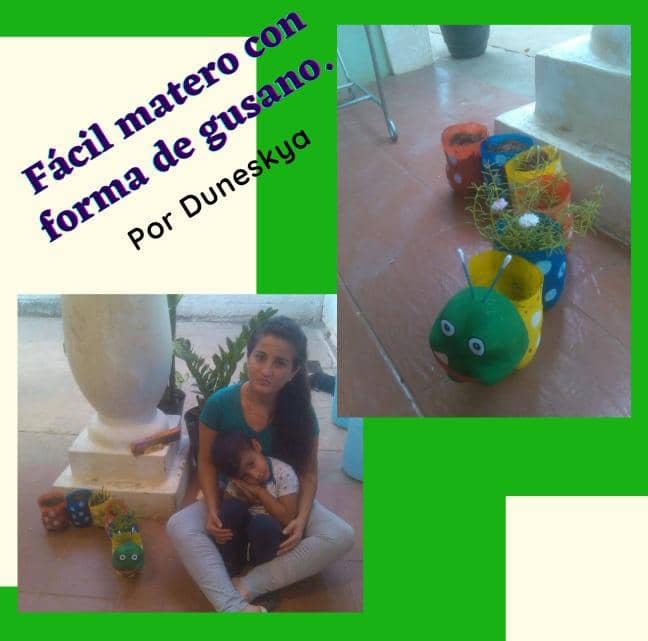
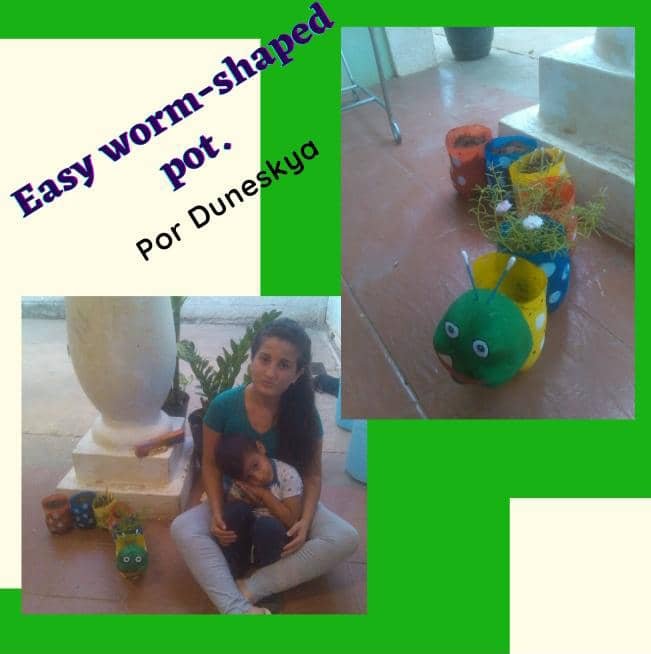
Fácil Matero Con Forma De Gusano
Hola queridos amigos de esta bella plataforma y de esta nueva comunidad para mi. Saludos a todos, hoy me estreno con ustedes en esta linda comunidad a través de este post que quise compartir con todos.
Casi siempre estoy haciendo manualidades con mi hijo, pues son actividades que asignan desde la escuela.
Les cuento que decidí comenzar con esta actividad a raíz de que a mi niño le mandaron hacer un huerto en casa, donde sembrara frijol, semillas de ají, tomate, pimentón entre otros; sé que el matero que hice es muy pequeño para ese tipo de plantas, pero como tengo que llevarle un seguimiento para luego mandar reporte sobre las actividades de la escuela, pues prefiero sembrarlas allí así después las tenga que donar; les cuento que le hice el huerto a mi niño en el fondo de la casa o patio como muchos le dicen, todo había quedado bonito y arregladito.
Al pasar los días y ya las plantas algo grande aparece pico-pico y preciosa a dañar el huerto de mi niño. Se comieron todas las plantas, se podrán imaginar el llanto de mi hijo. Pico-pico se llama el gallo de la casa y Preciosa la gallina. jajaja.
Inspirándome de muchas ideas que nos ofrece los sitios web pues aquí les explicaré Como Hacer Fácil Matero Con Forma De Gusano
Materiales a Usar:
- Botellas plásticas de refresco
- Tijeras
- Marcador
- Alambre de Cobre
- Cuchillo
- Temperas
- Pincel
- Regla
- Hisopos
- Hoja de maquina
Paso 1:
Recolectar cuantas botellas ud desee que sea el largo de su gusano. En mi caso fueron 7 botellas de refresco del mismo tamaño, marque y recorte 6 de ellas a una misma altura. la otra la dejé para la cara del gusano.
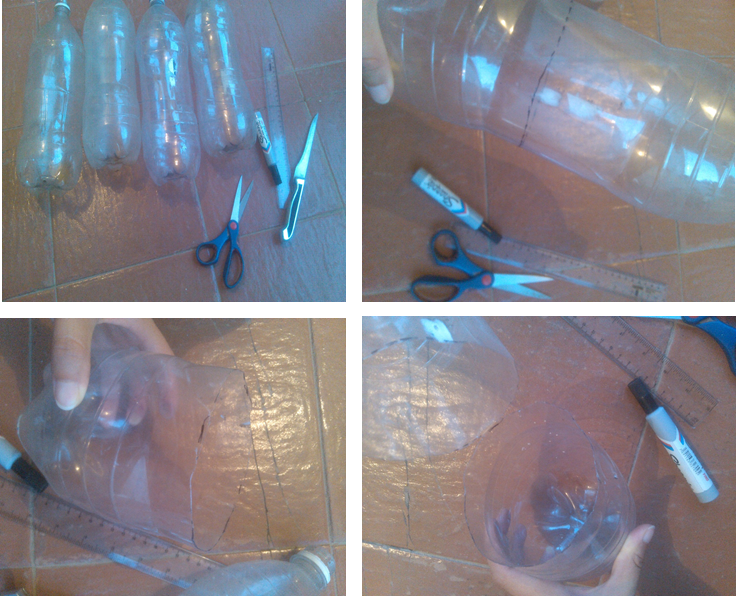
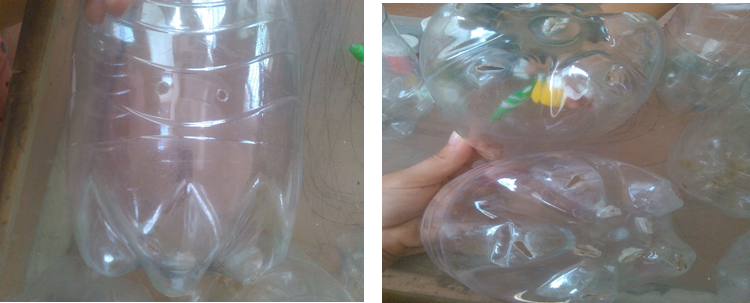
Paso 2:
Hacerle 2 agujeros a cada envase por cada lado es decir 4 agujeros en total. y por la parte de abajo abrir varios agujeros para que pueda salir el agua cada vez que vaya a regar las plantas.
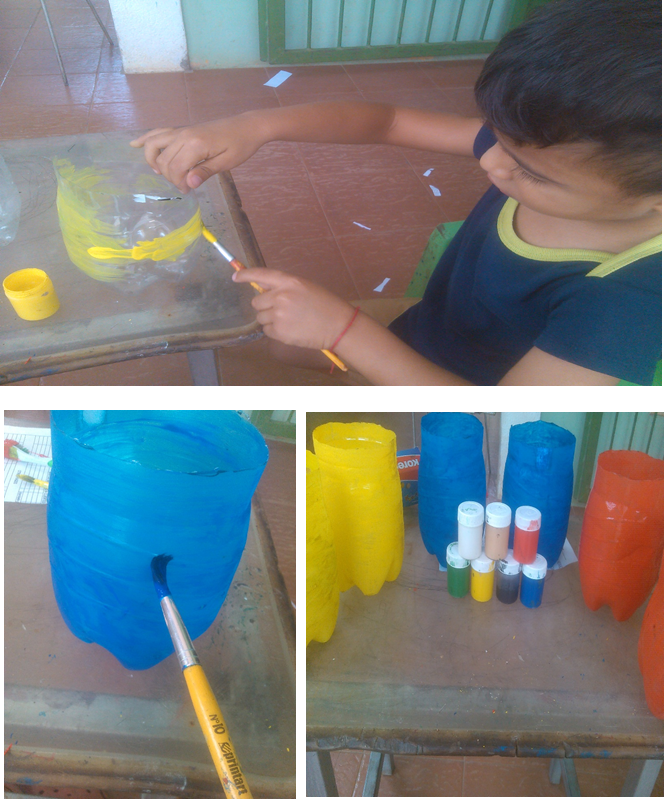
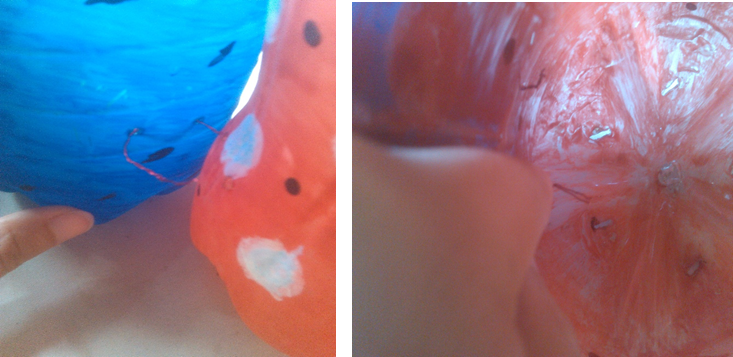
Paso 3:
Comenzamos a pintar cada botella de los colores de su preferencia. Aquí con mi ayudante y que buena forma de entretenerlo, ademas de eso para que vaya agilizando la mano a la hora de pintar. despues de pintar y secar, le diseñamos unos círculos grandes de color blanco y unos pequeños puntos de color negro. Igual lo pueden hacer con el diseño que mejor le parezca.
Paso 4:
Una vez que hayan secado todos los envases procedemos a unir uno con otro con un alambre de cobre
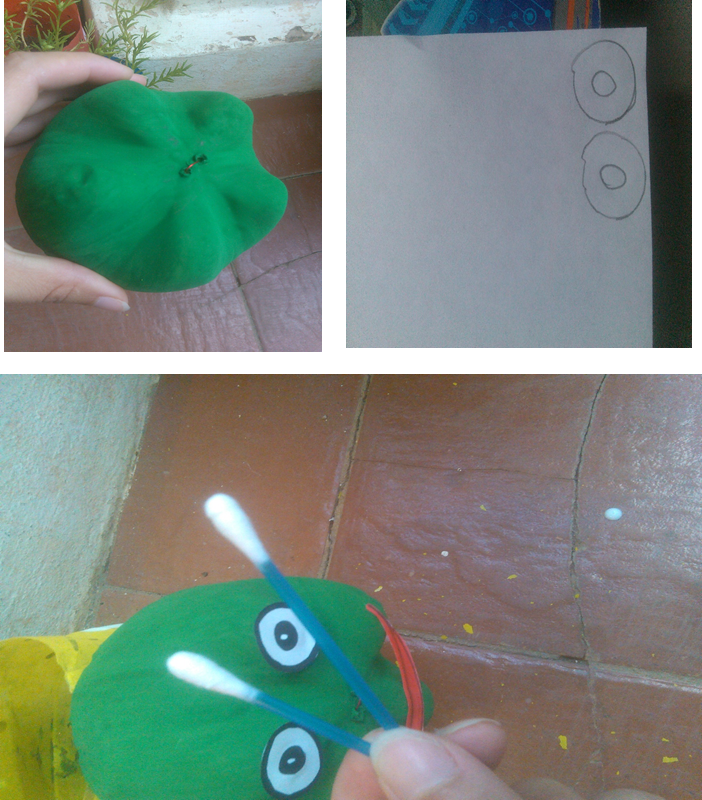
Paso 5:
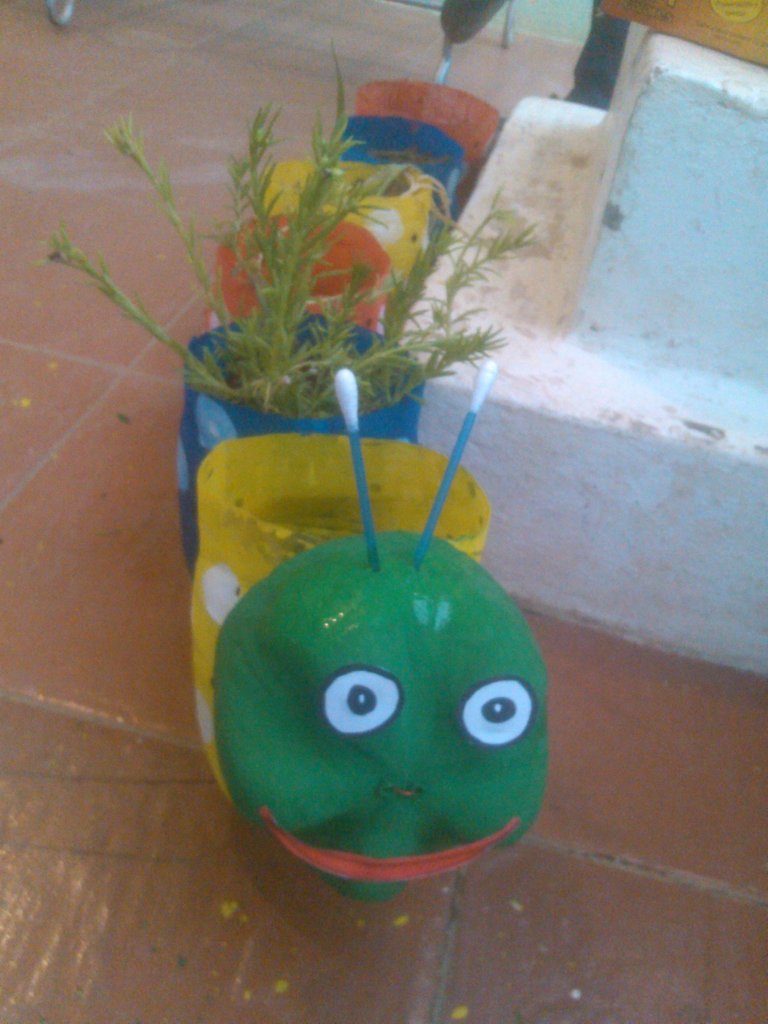
Luego procedemos a hacerle la cara al gusano, en una hoja blanca pintamos y recortamos la boca y ojos. Yo usé 2 hisopo para elaborar las antenitas.
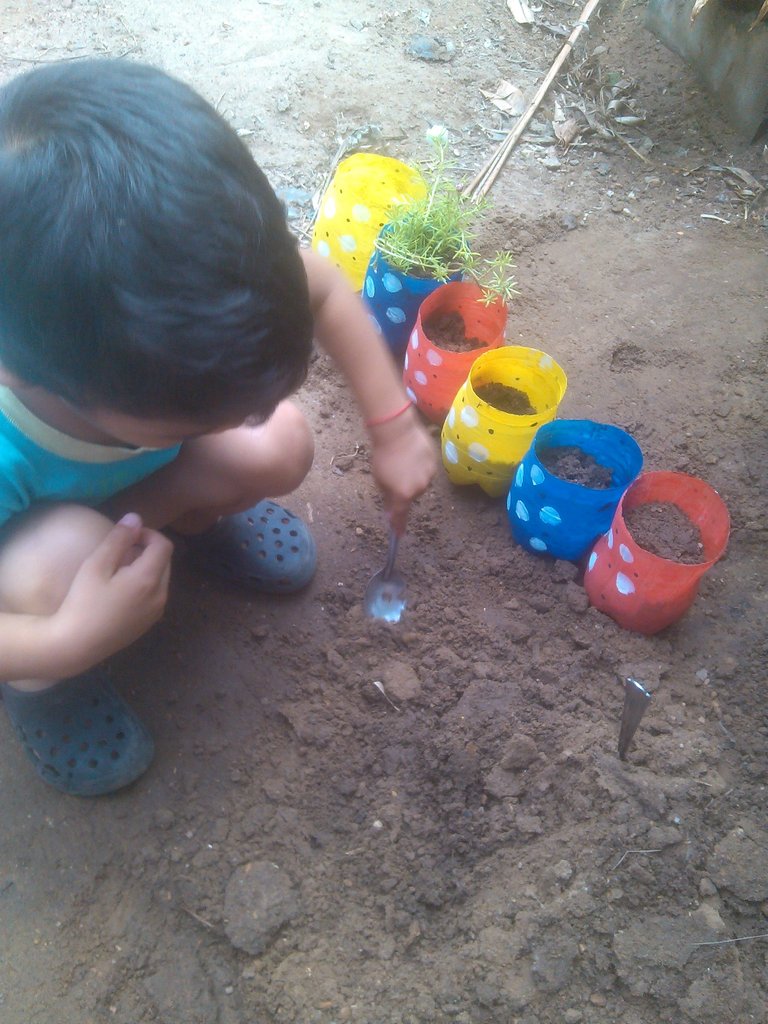
Paso 6:
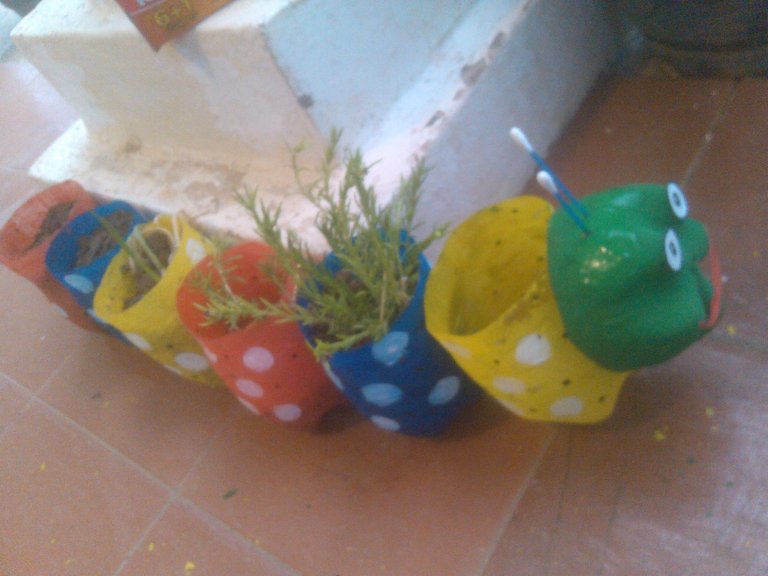
Le agregamos tierra a cada botella y trasplante una matica de Bella las Once y sembré unas semillas de tomate y de frijol. Dejando unas botellas activas para unas futuras siembras.
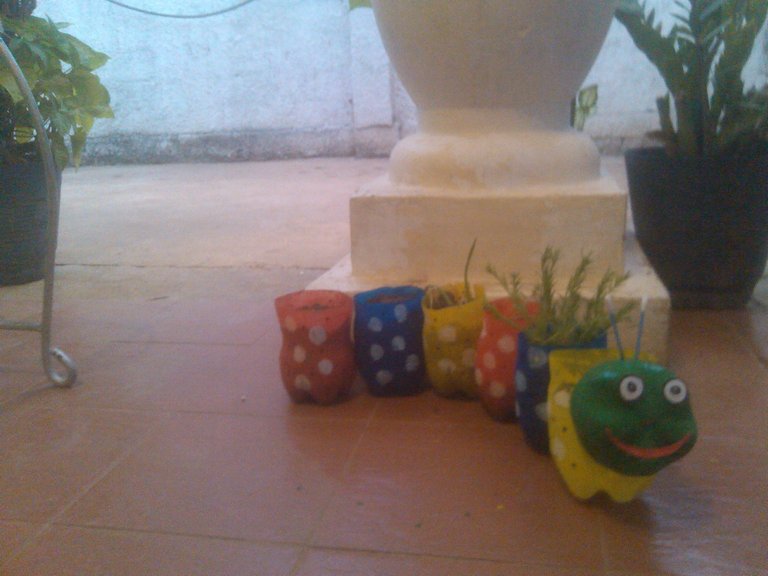
Este es el Resultado Final de nuestro Matero Con Forma de Gusano
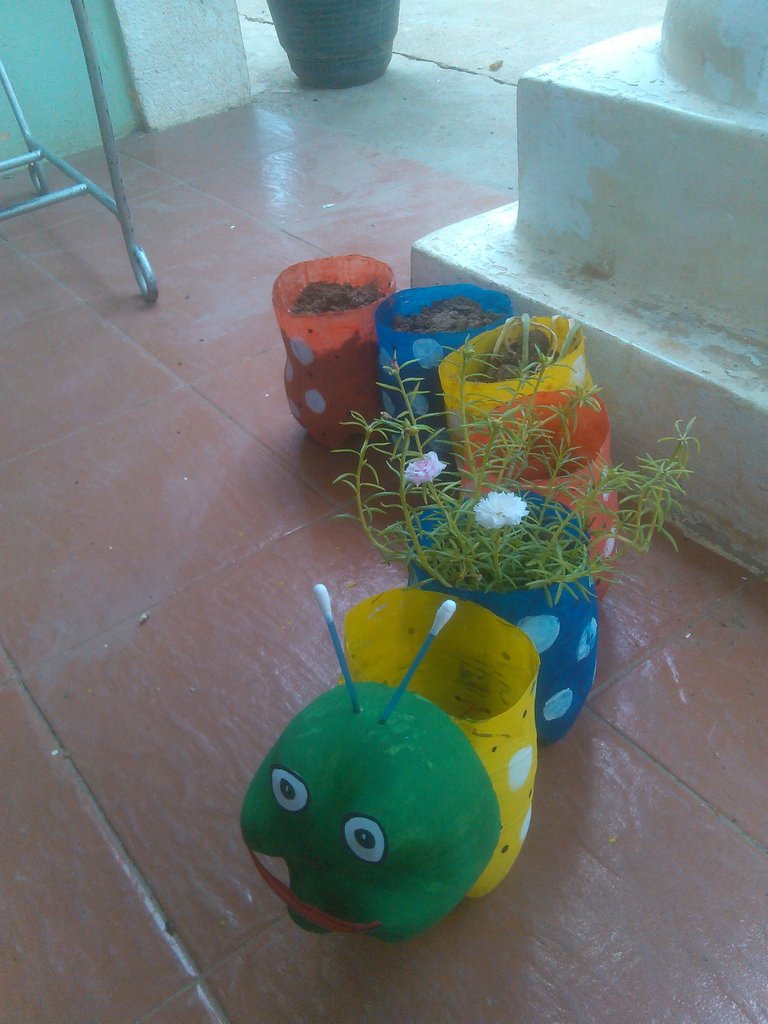
Tenemos Nuevo Huerto
Lejos de Pico-pico y Preciosa
Espero que les haya gustado esta idea amigos.
Gracias por leerme.. Hasta un nuevo post.
Fotos y Banner de mi Propiedad.
Version English
Easy Worm Shaped Matero
Hello dear friends of this beautiful platform and this new community for me. Greetings to all, today I debut with you in this beautiful community through this post that I wanted to share with everyone.
I am almost always doing crafts with my son, because they are activities that are assigned from school.
I tell you that I decided to start this activity because my son was asked to make a garden at home, where he planted beans, chili seeds, tomato, paprika and others; I know that the pot I made is very small for such plants, but as I have to keep track and then send a report on school activities, I prefer to plant them there and then have to donate them; I tell you that I made the garden to my son in the back of the house or yard as many call it, everything had been nice and arranged.
As the days went by and the plants were already somewhat large, a beak-pecker appeared and began to damage my child's garden. They ate all the plants, you can imagine how my son cried. Pico-pico is called the rooster of the house and Preciosa the hen. hahaha.
Inspired by many ideas that offers us the websites as here I will explain How To Make Easy Matero With Worm Shape.
Materials to Use:
- Plastic soda bottles
- Scissors
- Marker
- Copper Wire
- Knife
- Tempera
- Brush
- Ruler
- Swabs
- Machine blade
Step 1:
Collect as many bottles you want the length of your worm to be. In my case there were 7 soda bottles of the same size, mark and cut 6 of them to the same height. The other one I left for the worm's face.
Step 2:
Make 2 holes on each side of each container, that is to say 4 holes in total. and on the bottom open several holes so that the water can come out every time I water the plants.
Step 3:
We begin to paint each bottle in the colors of your choice. Here with my helper and what a good way to entertain him, besides that to make him more agile when painting. After painting and drying, we design some big white circles and some small black dots. You can do the same with the design you like best.
Step 4:
Once all the containers have dried we proceed to join one to the other with a copper wire.
Step 5:
Then we proceed to make the face of the worm, on a white sheet we paint and cut out the mouth and eyes. I used 2 swabs to make the antennae.
Step 6:
We added soil to each bottle and transplanted a Bella las Once seedling and planted some tomato and bean seeds. Leaving some active bottles for future plantings.
This is the final result of our matero with worm shape.
We have a New Orchard
Away from Pico-pico and Preciosa
I hope you liked this idea friends.
Thanks for reading me... Until a new post.
Photos and Banner of my Property.
Translated with www.DeepL.com/Translator (free version)
Congratulations @duneskya! You have completed the following achievement on the Hive blockchain and have been rewarded with new badge(s) :
Your next target is to reach 50 posts.
You can view your badges on your board and compare yourself to others in the Ranking
If you no longer want to receive notifications, reply to this comment with the word
STOPSupport the HiveBuzz project. Vote for our proposal!
Me encantó el gusanito!! Super cuchi y creativo, lo que si me quedé fue con las ganas de conocer a picopico y preciosa jajaja
jajajajajaja que risa amiga de verdad.! es el gallo y la gallina de la casa.. son tremendos .. todo lo picotean jajajajaja.. saludos.. !
jajajajajaja que risa amiga de verdad.! es el gallo y la gallina de la casa.. son tremendos .. todo lo picotean jajajajaja.. saludos.. !
Quedó muy lindo exelente iniciativa con doble función para que los.niños jueguen y podamos sembrar nuestras maricas