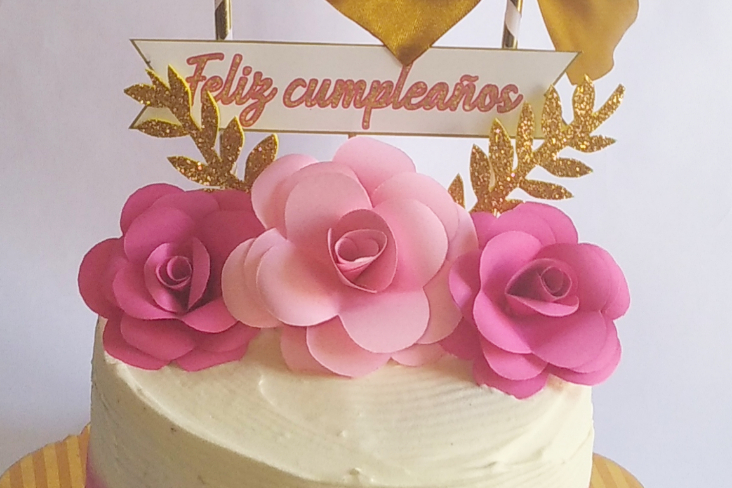
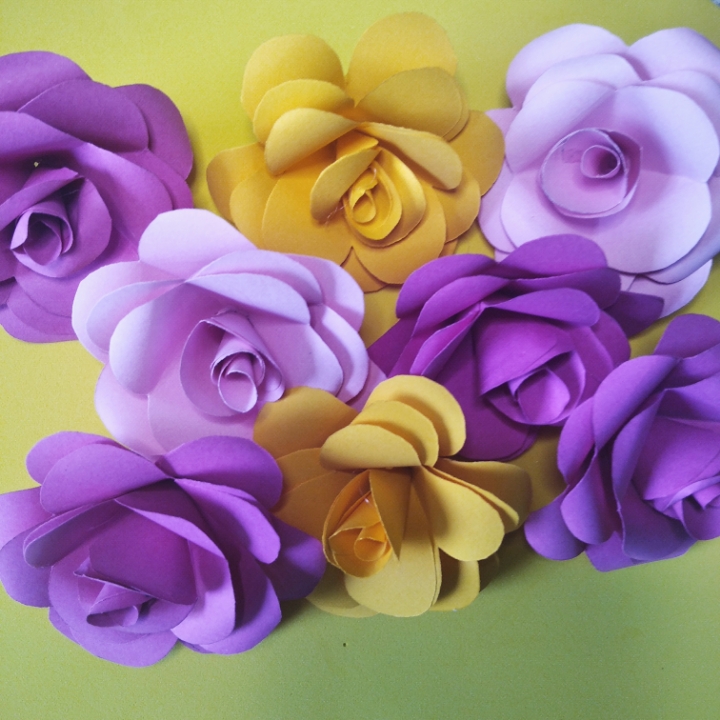
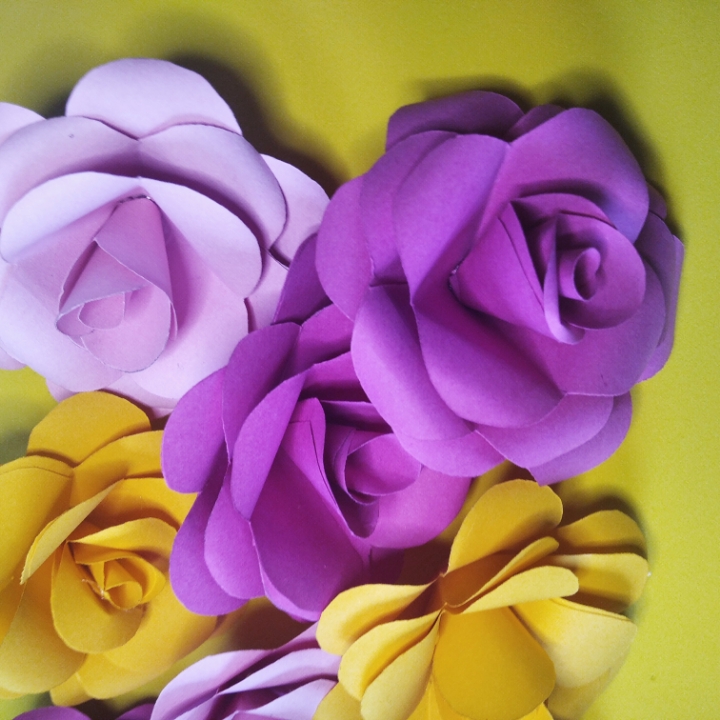
Feliz y bendecido día, estimada comunidad, en esta oportunidad les traigo estás hermosas flores realizadas de cartulina para decorar sus tortas y pasteles. Sin duda alguna les da un toque único y especial a sus decoraciones, sirven como toppers o para regalar. Son muy fáciles de realizar y además pueden hacerlas con material reciclable, solo deberán pintarlo para que se vea más bonito.
Happy and blessed day, dear community, this time I bring you these beautiful flowers made of cardboard to decorate your cakes and pastries. Without a doubt, it gives a unique and special touch to your decorations, they serve as toppers or as gifts. They are very easy to make and they can also be made with recyclable material, they just have to paint it to make it look more beautiful.
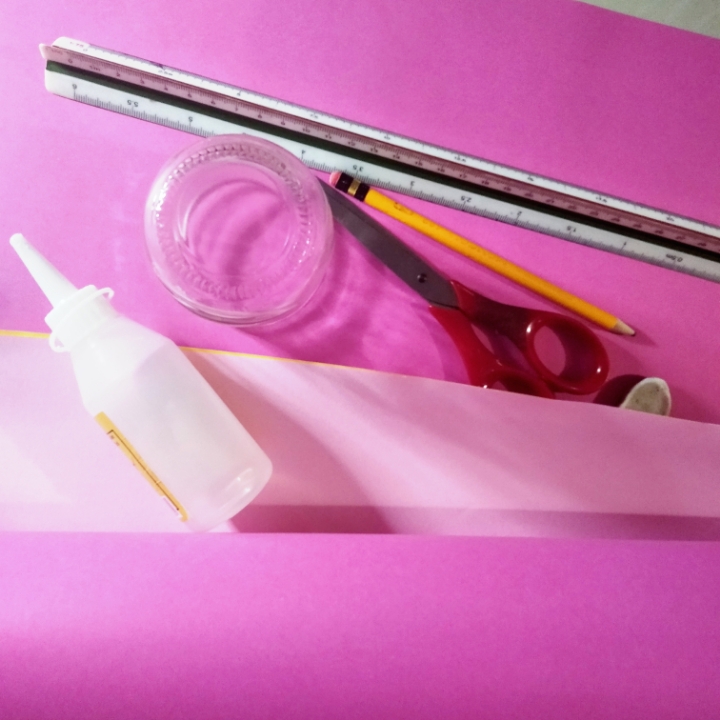
Los materiales a utilizar son:
-Cartulina escolar del color de su preferencia. Yo utilice fucsia y rosado
-Tijeras
-Silicón frío
-Un vaso pequeño.
-Lapiz
The materials to use are: -School cardboard in the color of your choice. I used fuchsia and pink -Scissors -Cold sylicon -A small glass. -Pencil
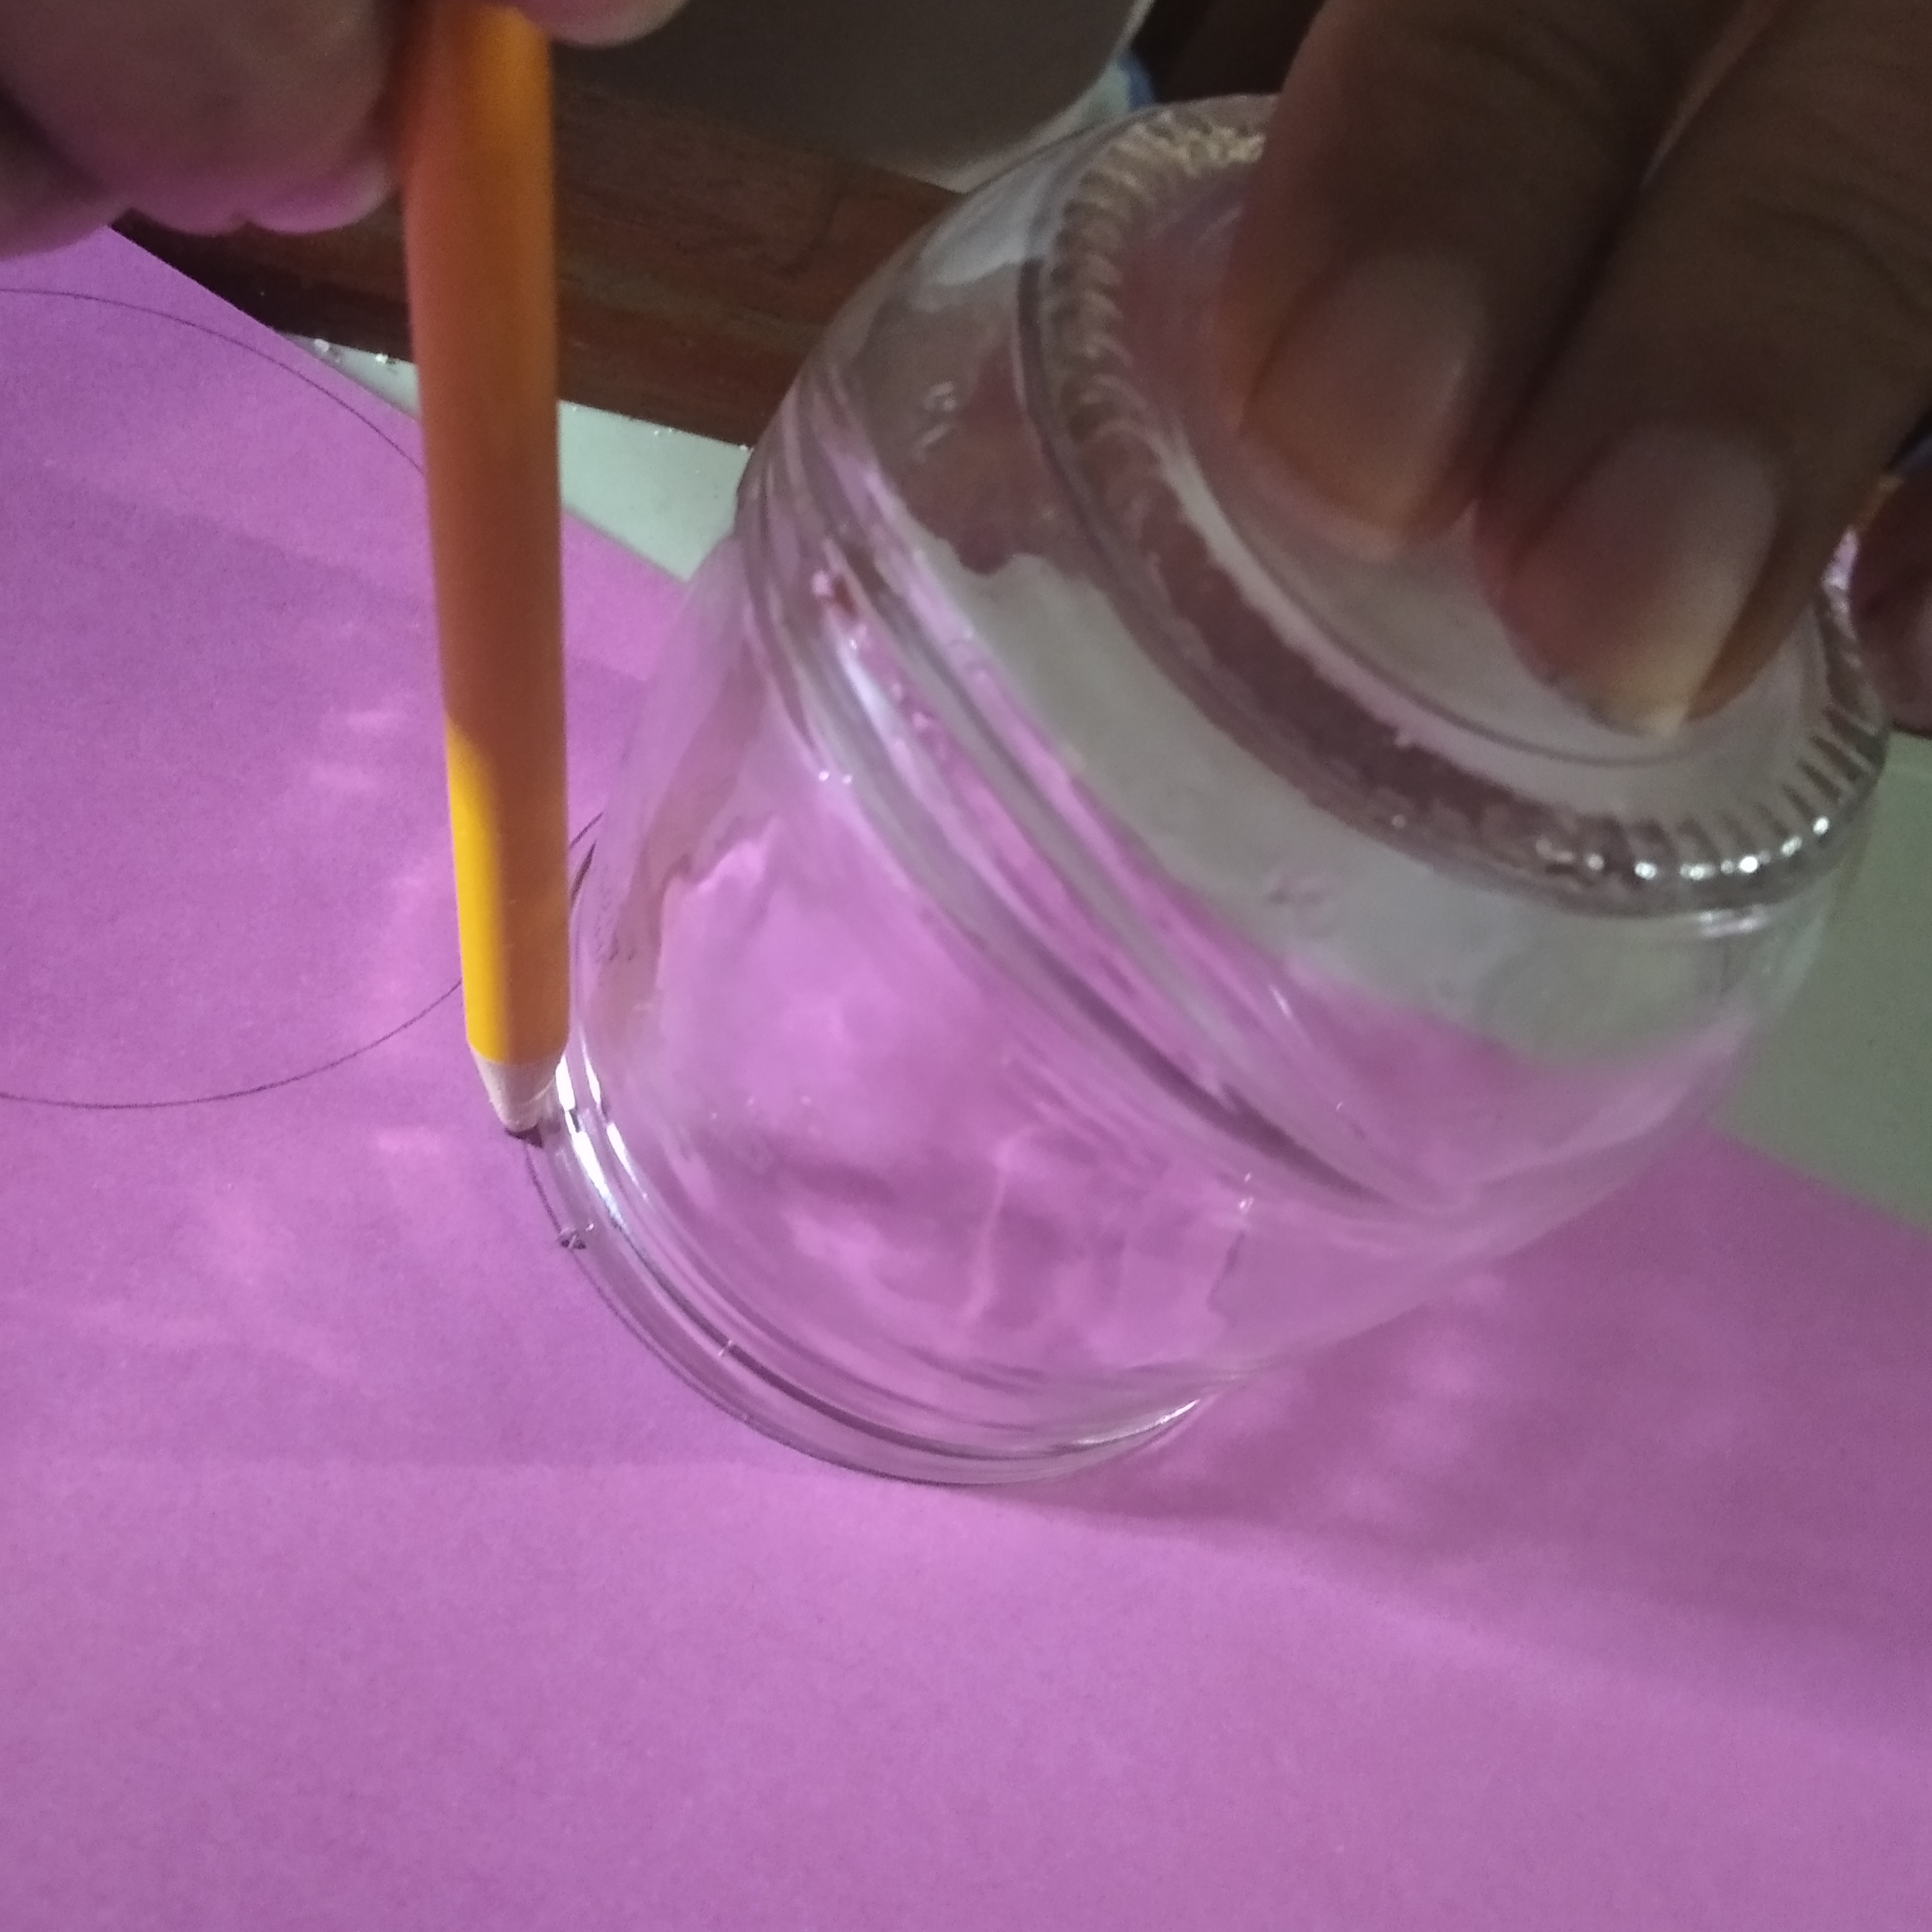
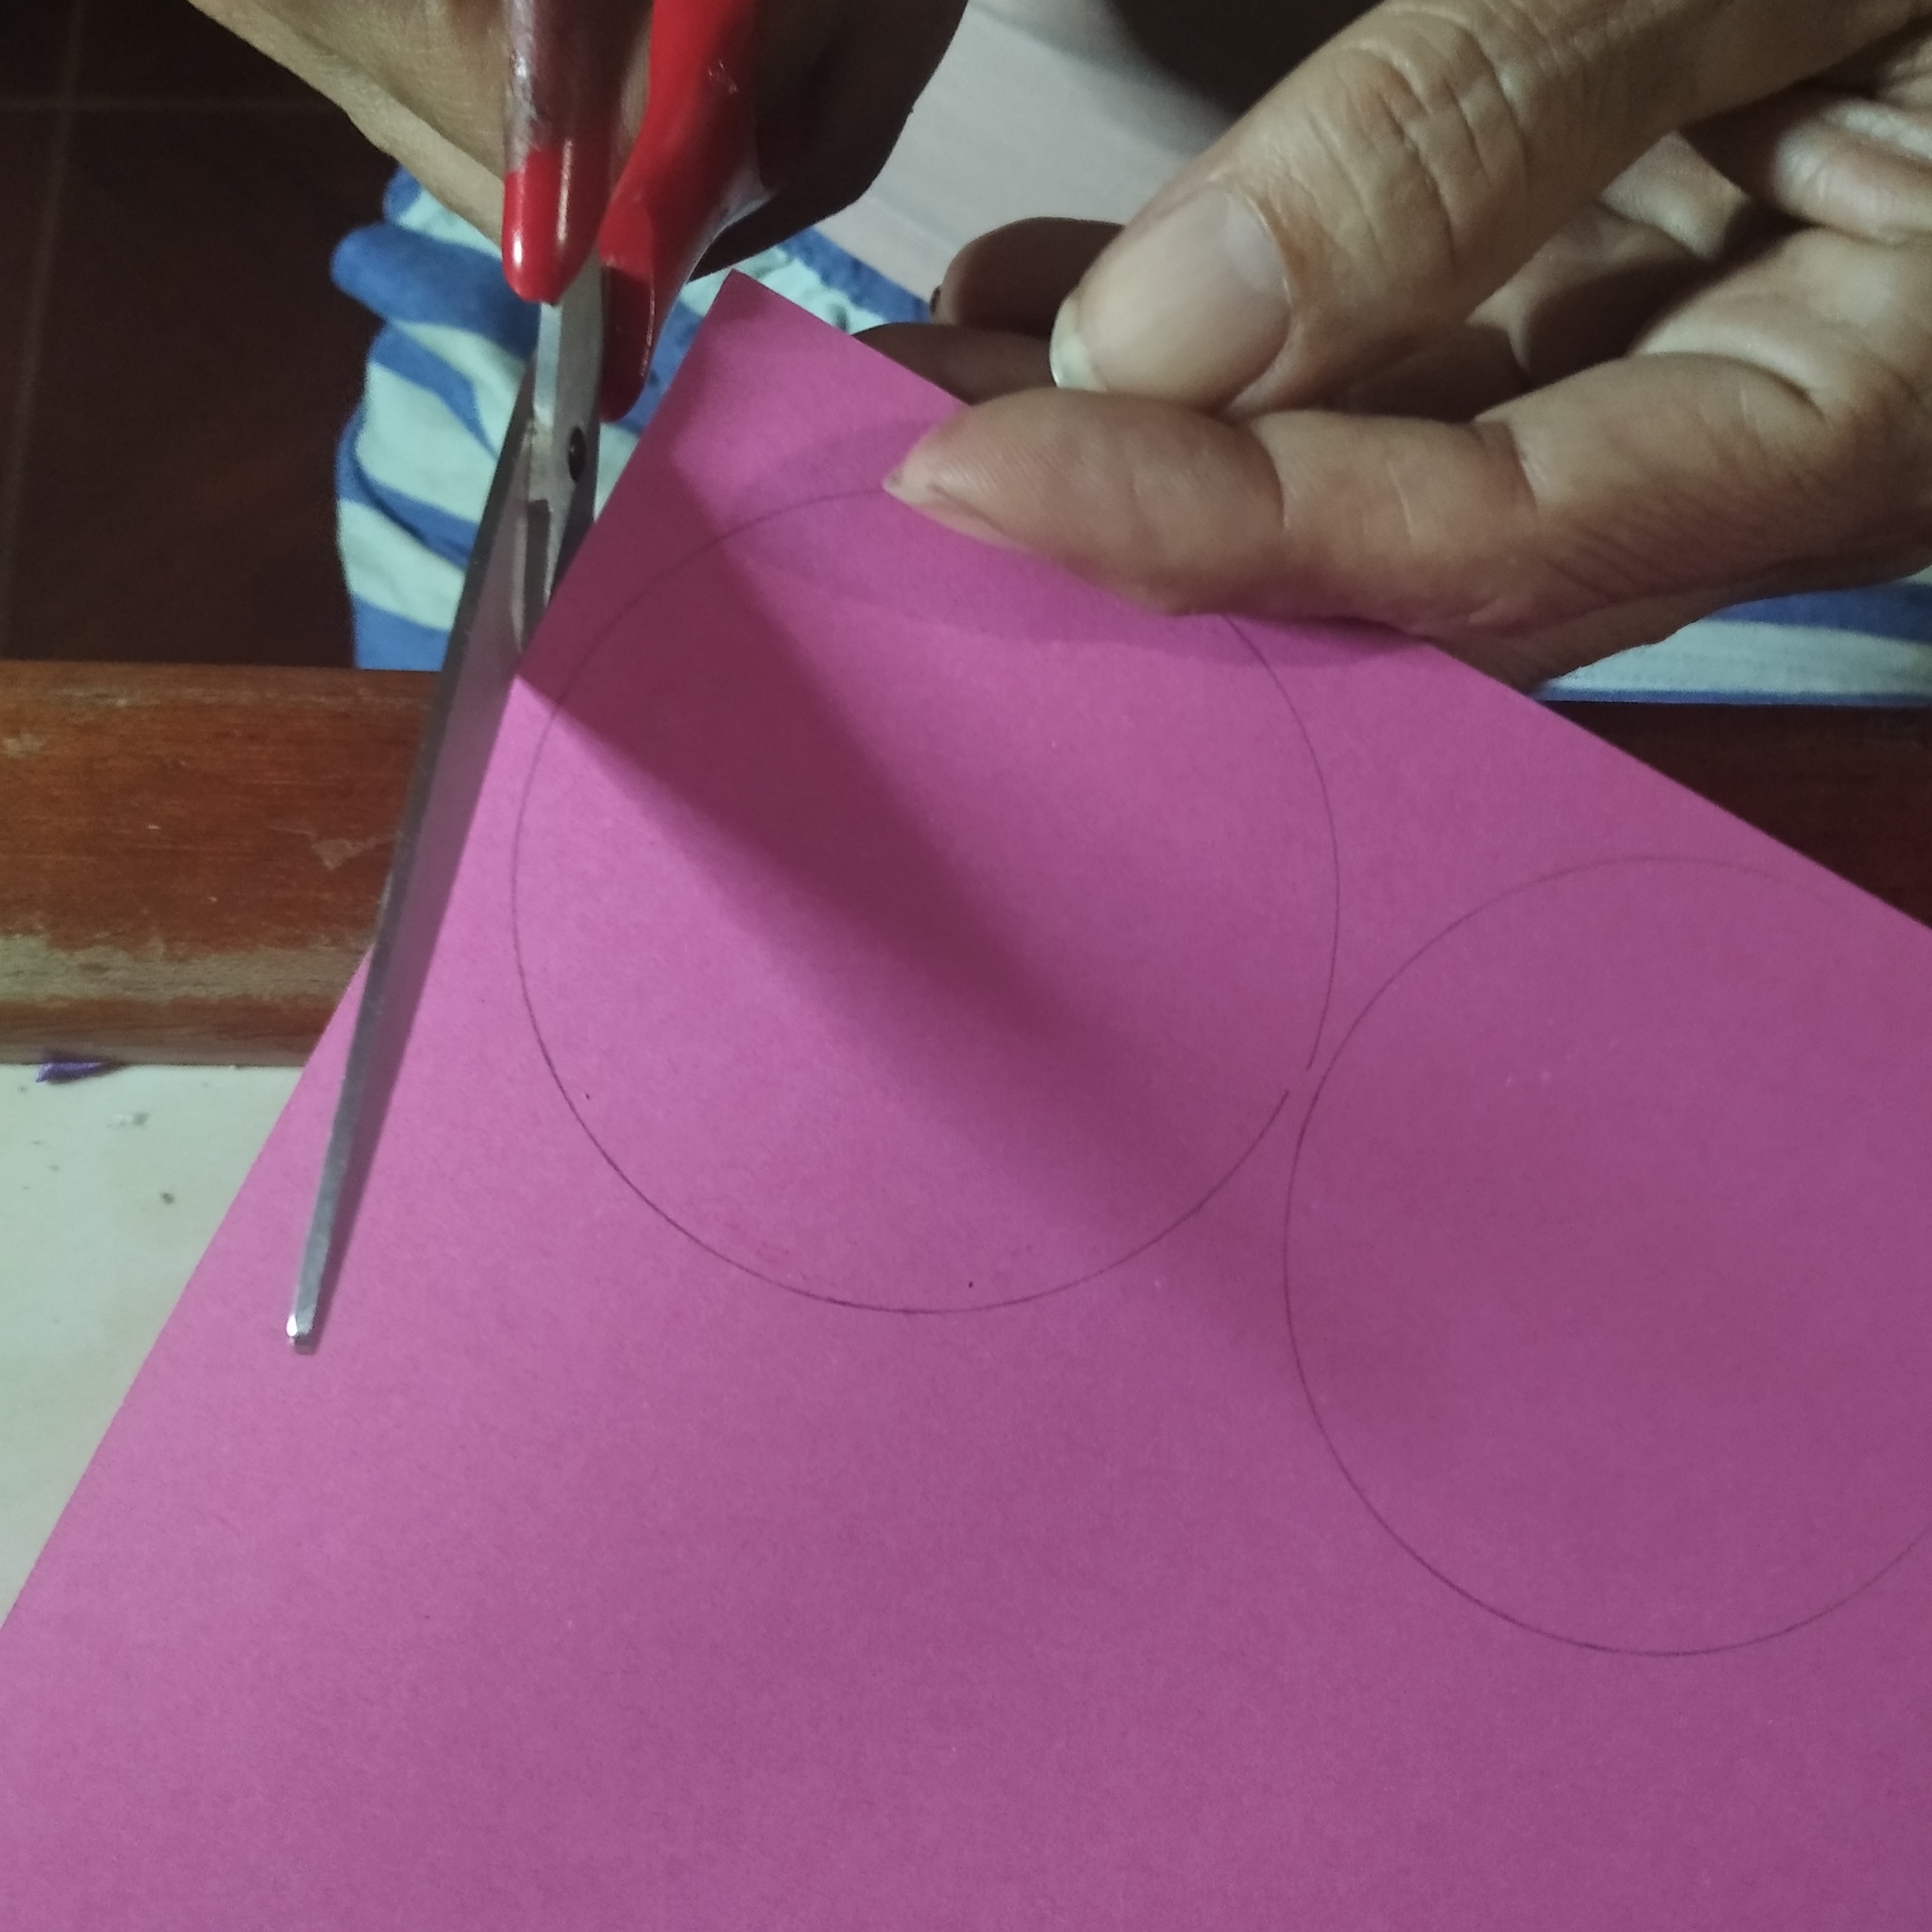
Lo primero que vamos a realizar es marcar nuestros círculos en la cartulina. El total son 3 círculos, que deberán ser del mismo tamaño. Vamos a recortar uno a uno para empezar a trabajar nuestra flor.
The first thing we are going to do is mark our circles on the cardboard. The total is 3 circles, which must be the same size. We are going to cut one by one to start working our flower.

Vamos a doblar nuestro círculo en 4 partes, hasta que nos quede de esta forma.
We are going to fold our circle into 4 parts, until it is this way.
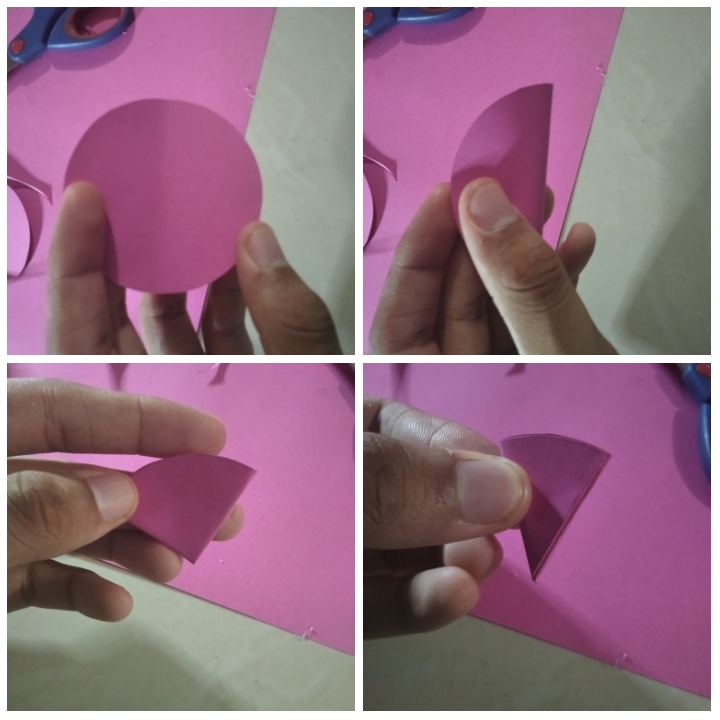
Vamos a recortarlo de manera redondeada
Let's cut it round
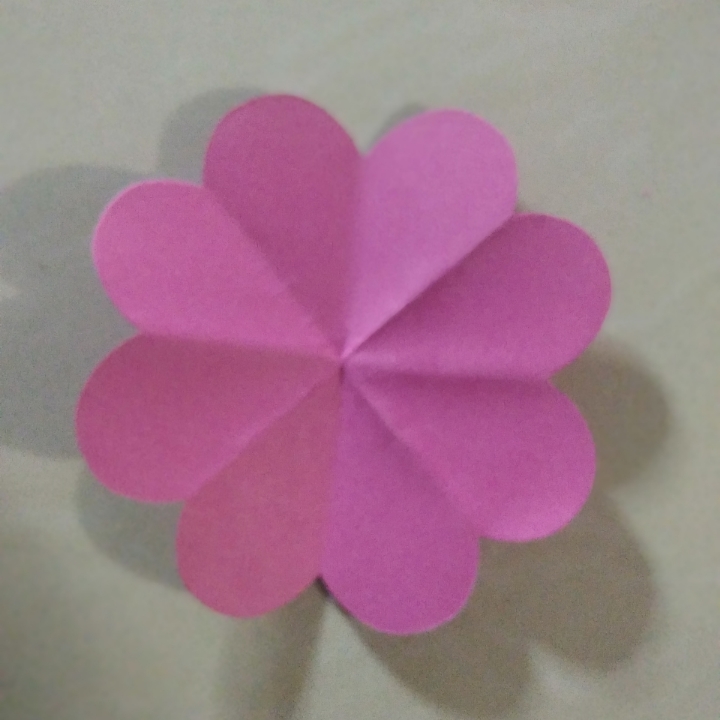
Luego de recortarlo y abrirlo quedará de esta manera:
After cutting and opening it, it remains this way:
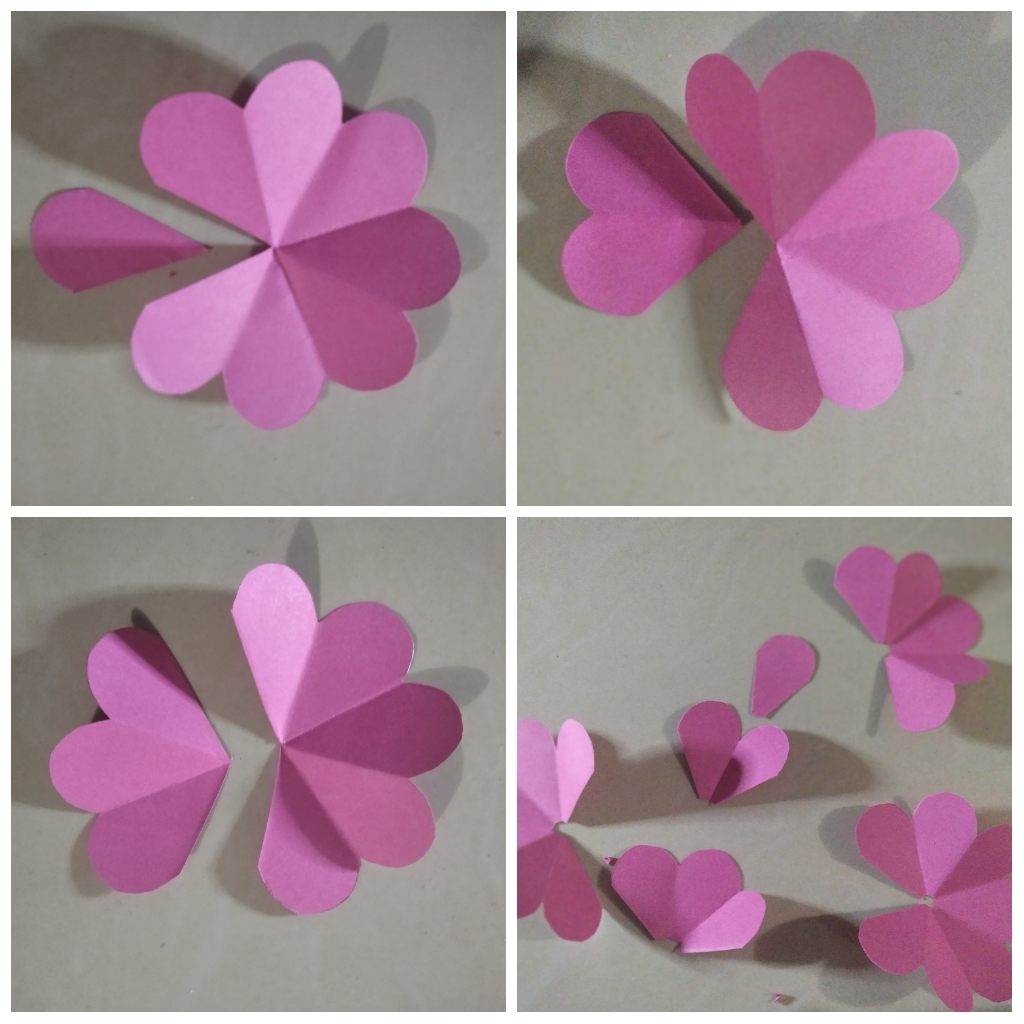
El siguiente paso será recortar cada círculo por pétalos. Es decir, primero quitaremos un pétalo con la tijera, luego al otro círculo le quitaremos dos, al siguiente 3, hasta formar cada uno de las partes de la flor.
The next step will be to cut out each circle by petals. That is, first we will remove one petal with the scissors, then we will remove two from the other circle, the next 3, until each of the parts of the flower are formed.
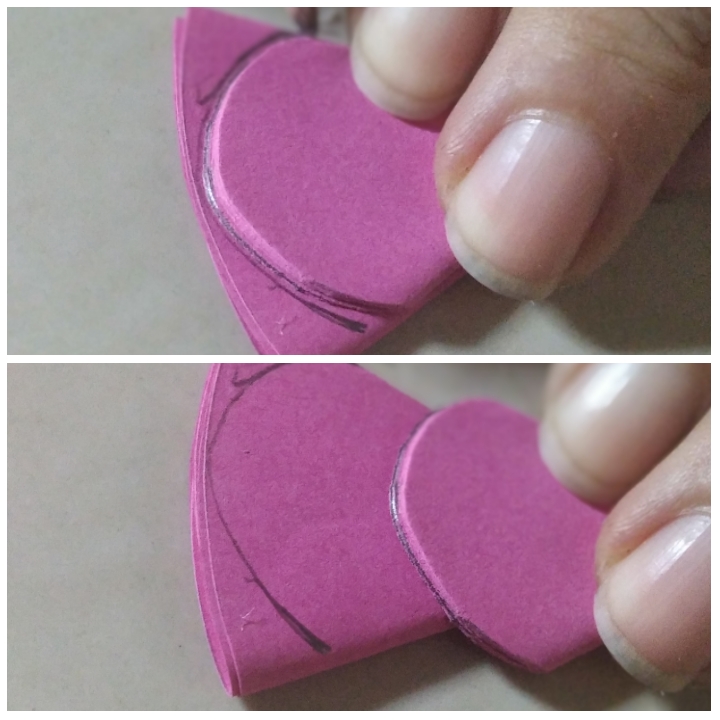
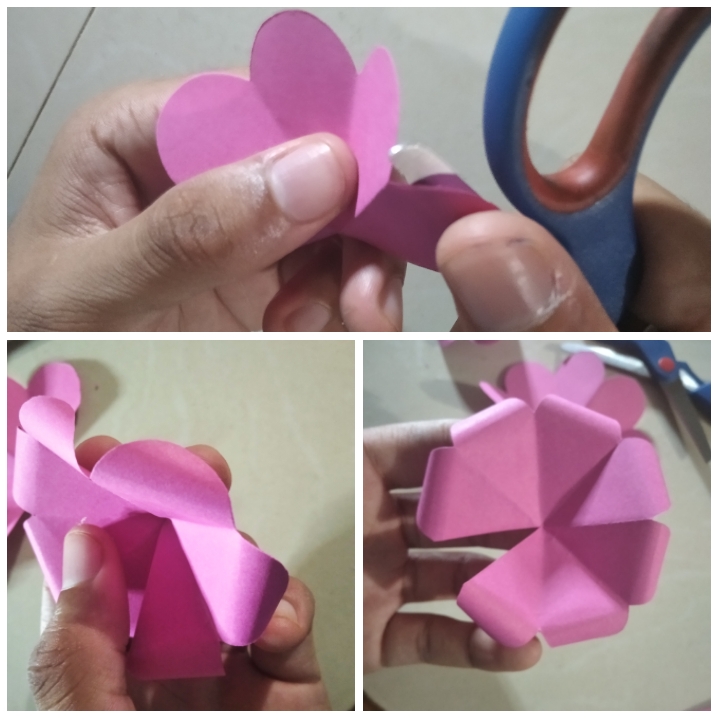
Luego de obtener todas las partes de la flor, procedemos a armarla. Vamos a tomar cada una de las partes, la vamos a girar y pegar por encima del otro petalo. El último pétalo es más difícil, por ello les muestro aquí como lo hice.
After obtaining all the parts of the flower, we proceed to assemble it. We are going to take each of the parts, we are going to turn it and stick it on top of the other petal. The last petal is more difficult, so I show you here how I did it.
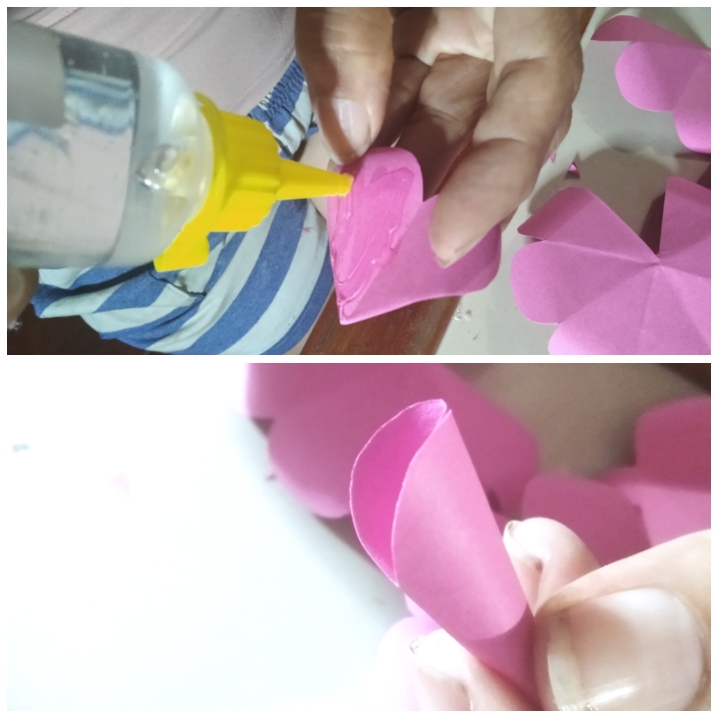
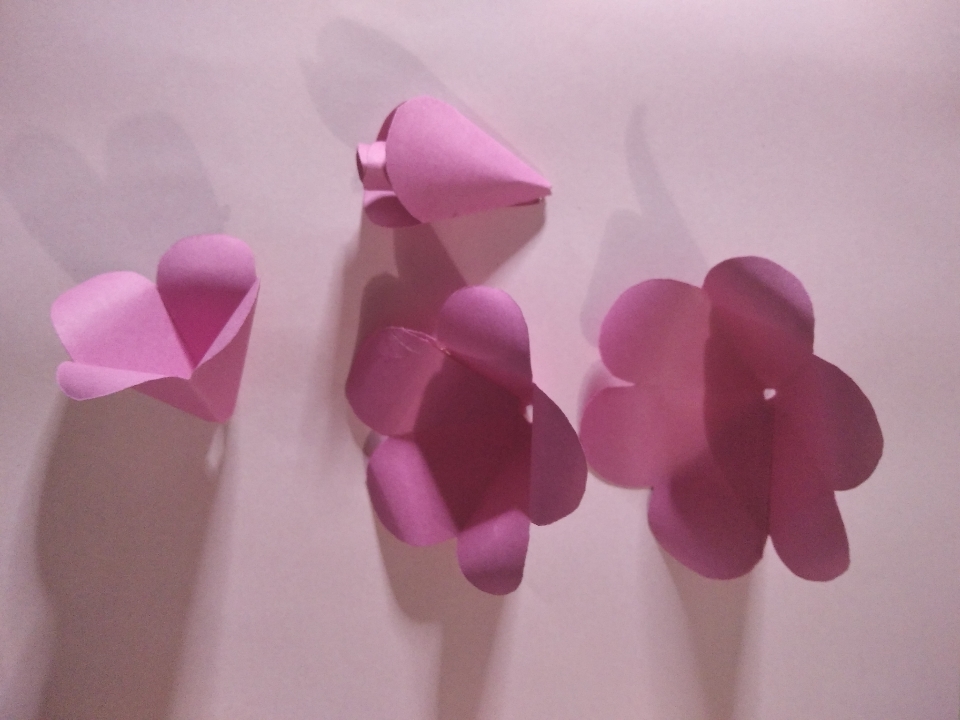
Cuando hayamos pegado cada uno de nuestros pétalos, nos van a quedar de esta manera
When we have glued each of our petals, they will be this way
Con ayuda de la tijera vamos a darle forma a nuestros pétalos, deslizando la tijera de manera ligera y cuidadosa. Como cuando queremos realizar rulos con cinta de regalo.
With the help of the scissors we are going to shape our petals, sliding the scissors lightly and carefully. Like when we want to make curlers with gift ribbon.
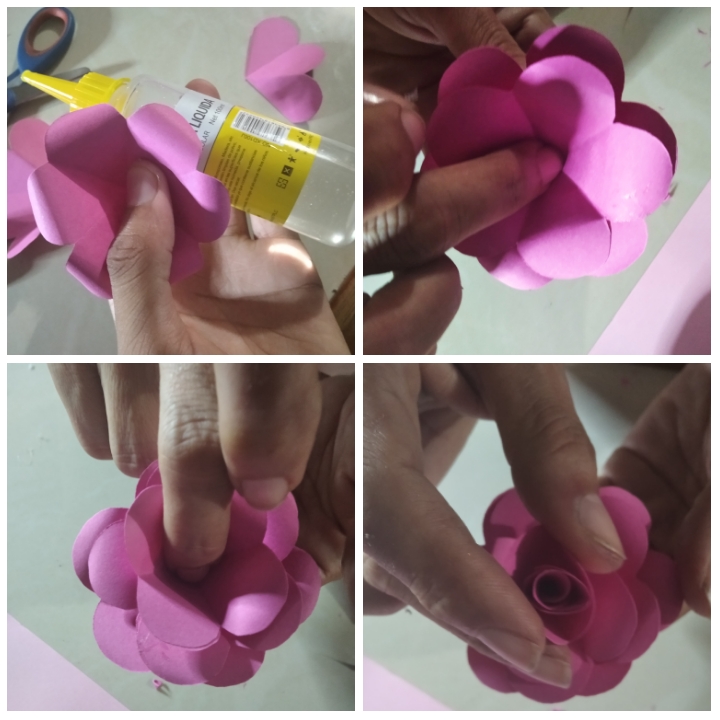
Procedemos a pegar y armar nuestra flor con cada uno de los pétalos. Si es necesario, recortamos la parte de abajo hasta que creamos conveniente para que queda plano.
We proceed to glue and assemble our flower with each of the petals. If necessary, we cut the bottom part until we see fit so that it is flat.
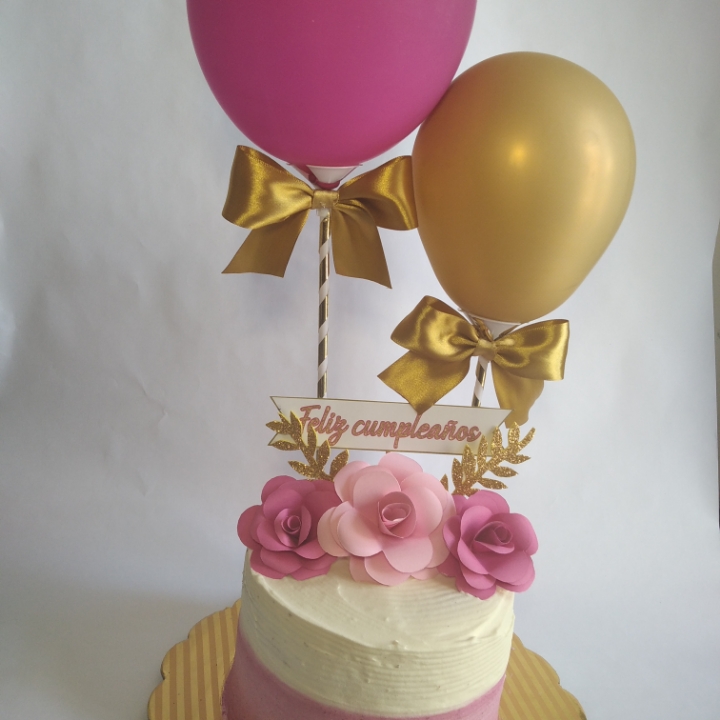
Y de esta forma hemos terminado nuestra flor de cartulina. Realicé esta flor para decorar la torta de cumpleaños de mi hermana, le agregué unas ramas de olivo con foami escarchado y algunos otros detalles que les mostraré.
And in this way we have finished our cardboard flower. I made this flower to decorate my sister's birthday cake, I added some olive branches with frosted foami and some other details that I will show you.

Sin duda alguna quedé muy feliz con el resultado, espero que les sirva esta pequeña explicación. Nos leemos pronto, saludos.
Without a doubt I was very happy with the result, I hope this little explanation will help you. We will read soon, greetings.
Fotos de mi autoría tomadas desde Xiaomi Redmi 8.
Photos of my authorship taken from Xiaomi Redmi 8.
Hi @elcarloslima! Thank you for posting through our Hive Community Page This article will be passed to other curation projects for more votes support. Keep up the good works!