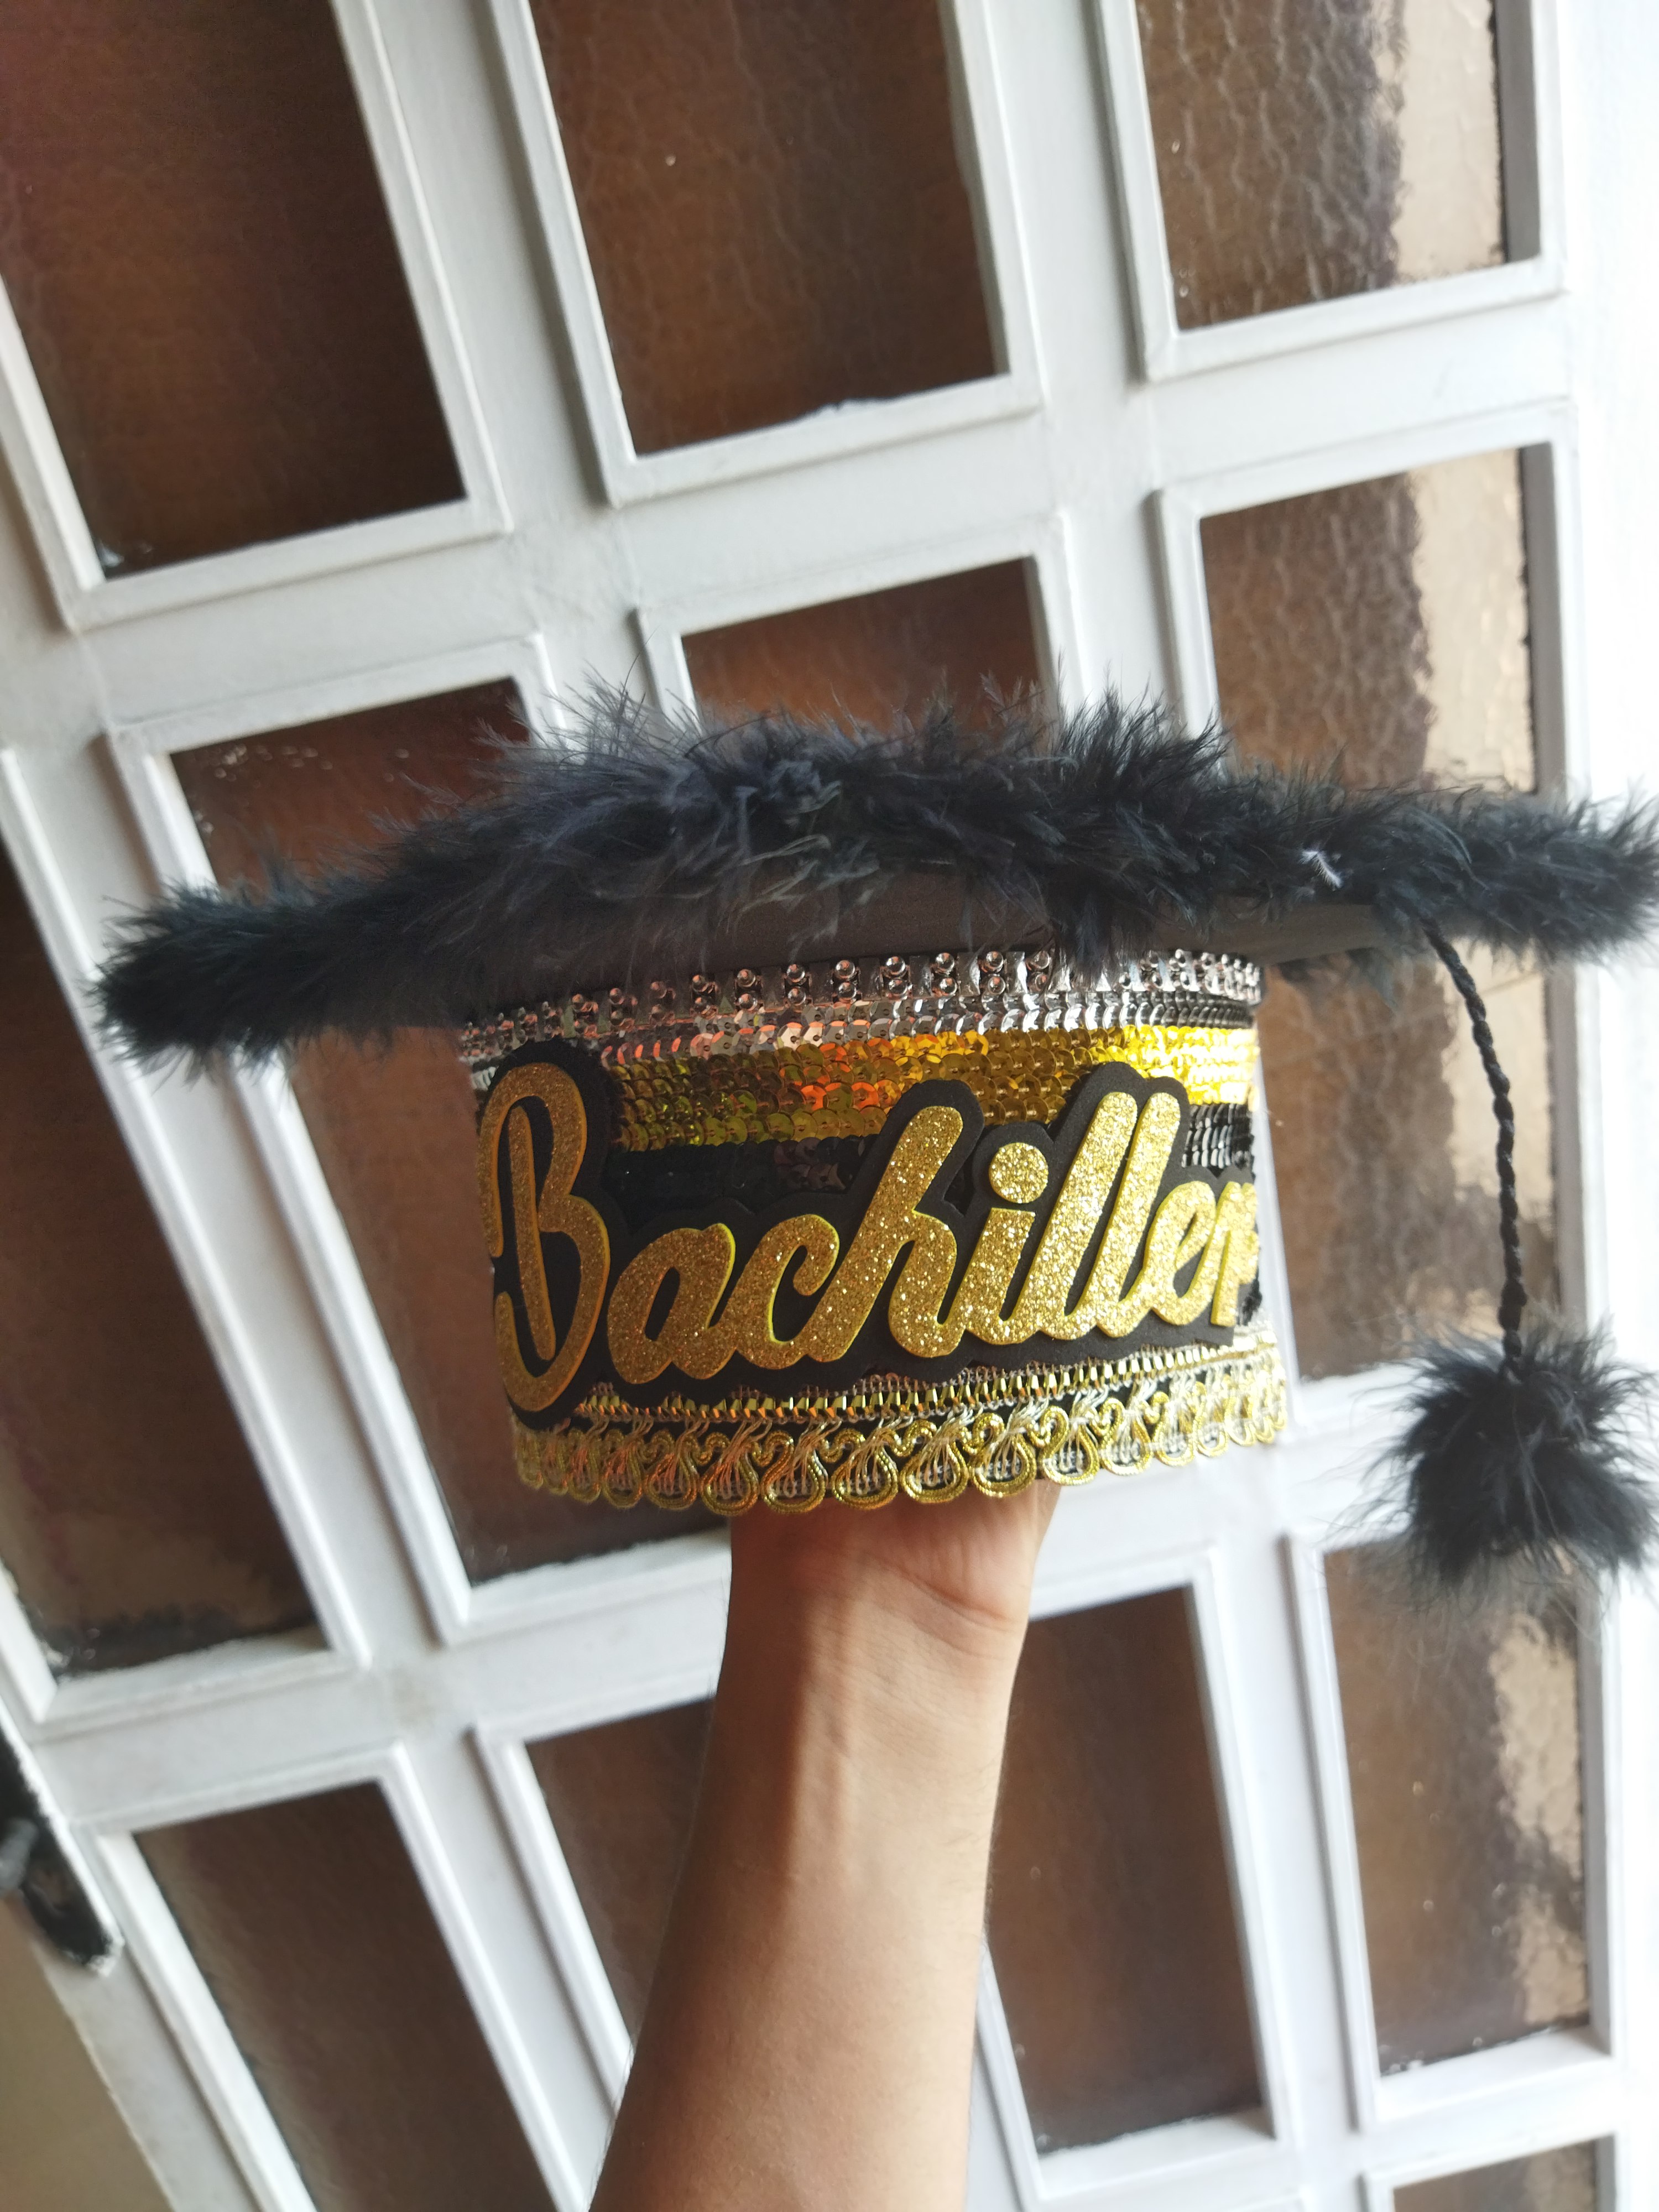
Feliz tarde, querida comunidad, en esta oportunidad les traigo este maravilloso BIRRETE PARA GRADUACIÓN aprovechando que acá en Venezuela es la temporada de graduación y en el negocio es lo que más se vende en estos días, por lo que decidí compartir con ustedes la elaboración de uno de estos.
Happy afternoon, dear community, this time I bring you this wonderful BIRRETE FOR GRADUATION, taking advantage of the fact that here in Venezuela it is the graduation season and in the business it is what is sold the most these days, so I decided to share with you the elaboration of one of these.
Los materiales son los siguientes:
1.10 metro de marabú (plumas)
60 cm de encajes de su preferencia.
Foami doble carta negro (2)
Silicón frío
Silicón en barra.
Tijeras.
Regla.
Lapiz.
The materials are as follows:
1.10 meter of marabou (feathers)
60 cm of lace of your choice.
Black double letter foam (2)
Cold sylicon
Stick silicone.
Pair of scissors.
Rule.
Pencil.

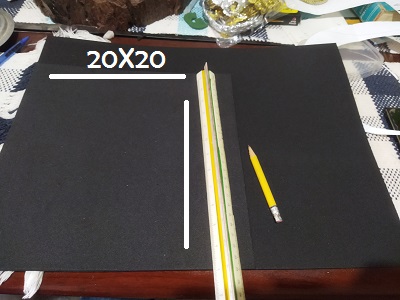
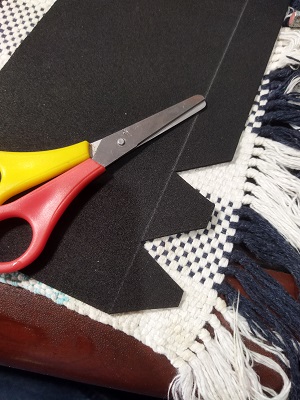
Lo primero que vamos a hacer es marcar 2 cuadrrados de 20x20 en los foami doble carta.
The first thing we are going to do is mark 2 20x20 squares on the double letter foami.
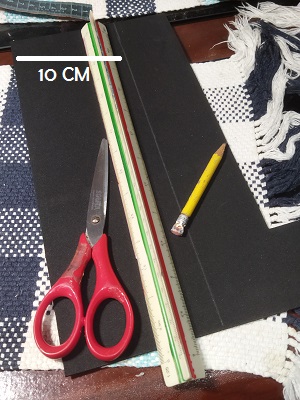
Luego con el sobrante de foami vamos a marcar un espacio de 10 cm de alto, pero dejando al mismo tiempo otra linea de 2 a 3 cm que serán las partes por donde vamos a pegar los lados del birrete a la parte de arriba.
Then with the excess foami we are going to mark a space 10 cm high, but at the same time leaving another line of 2 to 3 cm that will be the parts where we are going to glue the sides of the mortarboard to the top.
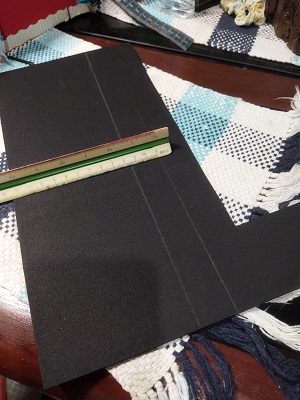
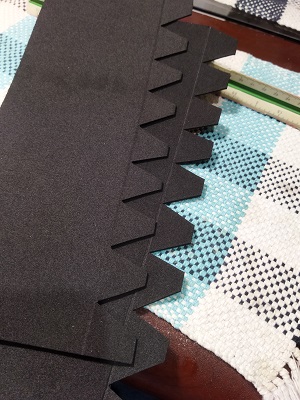
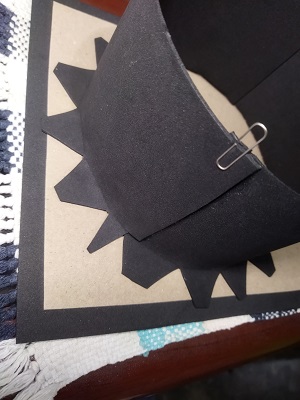
Con la parte sobrante que hemos marcado luego de recortar, vamos a realizar unos cortes de esta forma.
With the excess part that we have marked after cutting, we are going to make some cuts in this way.
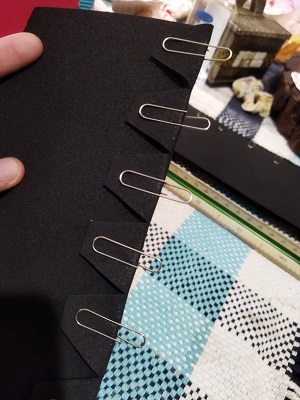
Cada una de estas partes que hemos recortado le vamos a colocar unos clips para sujetarlos al lado contrario y nos ayude al momento de pegarlos
Each of these parts that we have cut out we are going to place some clips to hold them to the opposite side and help us when gluing them
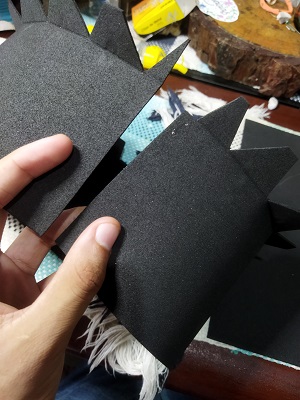
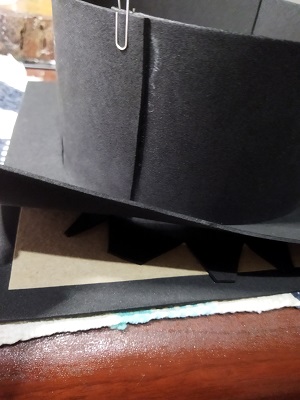
Doblamos en forma circular y pegamos cada uno de los extremos. Ojo: En este paso es donde vamos a definir las medidas cefálicas de la persona. En este caso utilizo una medida estándar de 60 cm de diámetro, el contorno del birrete.
We fold in a circular shape and glue each of the ends. Note: In this step is where we are going to define the head measurements of the person. In this case I use a standard measurement of 60 cm in diameter, the outline of the cap.
Eso que ven allí, es cartón, pues suelo colocarle para darle mayor firmeza al birrete, pero no es tan necesario. Y bueno, allí vamos a pegar el contorno del birrete, con silicón frío porque da mayor control al momento de pegar.
What you see there is cardboard, because I usually place it to give the cap more firmness, but it is not so necessary. And well, there we are going to glue the outline of the cap, with cold silicone because it gives greater control when gluing.
Con el segundo cuadrado de cartón, le vamos a abrir con la tijera el mismo círculo del contorno del birrete, para que nuestros empates no se vayan a ver, esto lo hago para mayor estética del birrete.
With the second square of cardboard, we are going to open the same circle around the cap with the scissors, so that our ties are not visible, I do this for greater aesthetics of the cap.
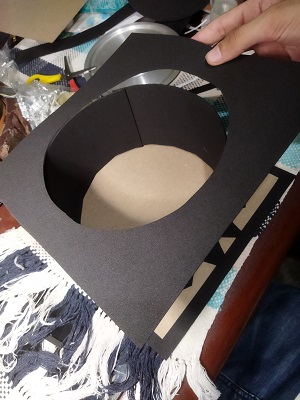
Y por supuesto lo pegamos muy bien en la base, con silicón frío, pero igual aquí pueden colocar también silicón en barra.
And of course we glue it very well on the base, with cold silicone, but here you can also place silicone on a stick.
Ahora sí, procedemos a empezar a decorar nuestro birrete, PRIMERO con las lentejuelas. En esta oportunidad utilicé al rededor de 15 metros en total.
Now, we proceed to start decorating our cap, FIRST with the sequins. This time I used around 15 meters in total.
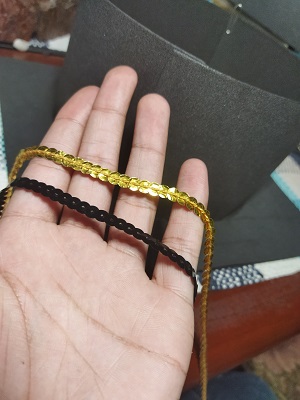
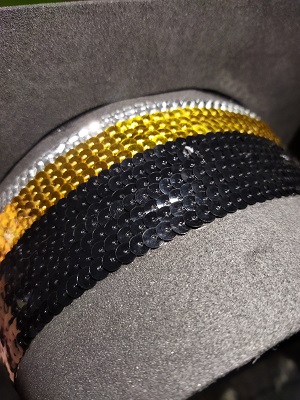
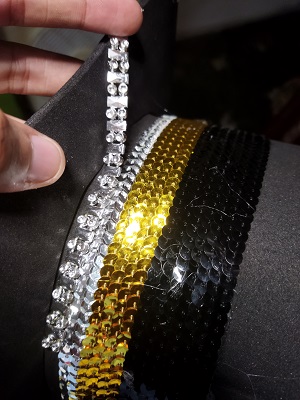
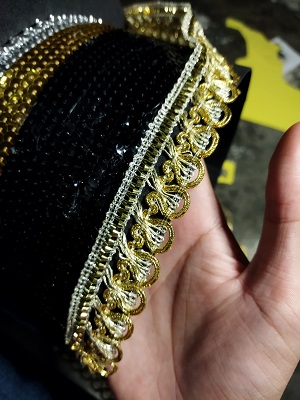
También colocamos nuestro encaje de pedrería.
We also put on our beaded lace.
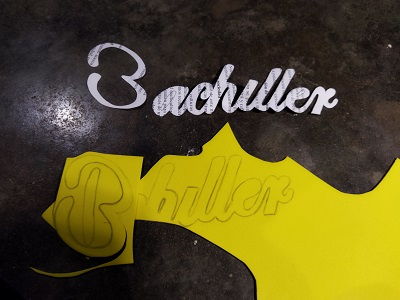
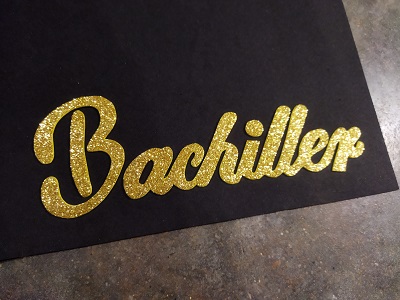
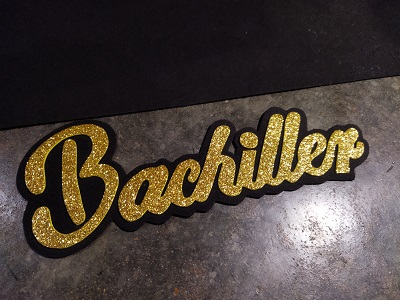
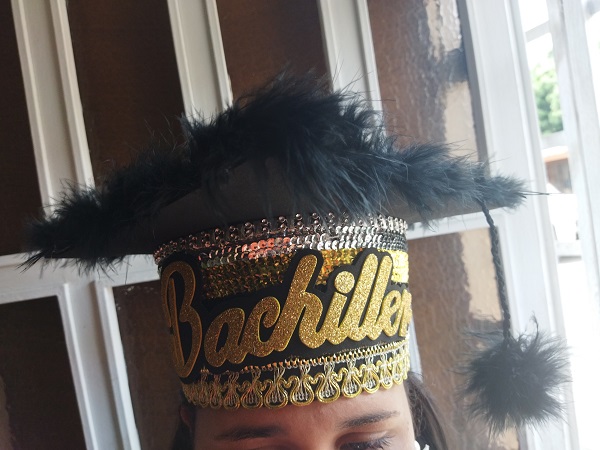
Por otro lado, vamos a sacar un patrón o plantilla de las letras "bachiller", que lo podemos encontrar en nuestra computadora, con el tipo de letra que deseemos, les recomiendo una tipografía caligráfica. Recortamos y luego colocamos en otro foami para darle un fondo y quede más bonito.
On the other hand, we are going to draw a pattern or template of the letters "bachiller", which we can find on our computer, with the type of font we want, I recommend a calligraphic typeface. Cut and then place in another foami to give it a background and make it more beautiful.
El encaje principal lo debemos pegar con mayor cuidado porque es más delicado. Yo lo pegué con silicón caliente.
The main lace must be glued with greater care because it is more delicate. I glued it with hot silicone.
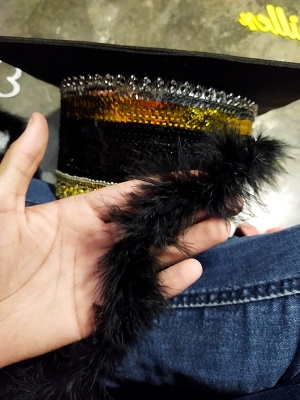
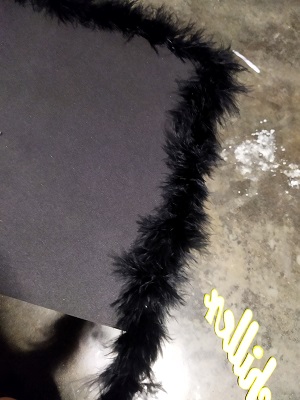
Pegamos el marabú en la parte de arriba de nuestro birrete. Luego pegamos las letras de bachiller y finiquitamos algunos otros detalles, pueden colocar un flequillo con el sobrante de marabú, que le da un toque increíble.
We glue the marabou on top of our cap. Then we paste the bachelor letters and finalize some other details, you can place a fringe with the leftover marabou, which gives it an incredible touch.
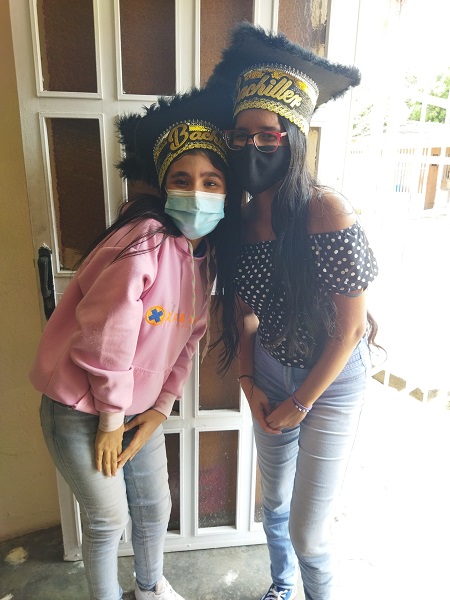
Hemos terminado nuestro birrete, que para nosotros ha sido uno de los más bonitos que hemos realizado. Acá adjunto una fotografía de nuestras clientas felices con sus birretes.
We have finished our cap, which for us has been one of the most beautiful we have made. Here I attach a photograph of our happy clients with their caps.
Fotos de mi autoría tomadas desde Redmi 9T.
Photos of my authorship taken from Redmi 9T.
Congratulations @elcarloslima! You have completed the following achievement on the Hive blockchain and have been rewarded with new badge(s) :
Your next target is to reach 100 upvotes.
You can view your badges on your board and compare yourself to others in the Ranking
If you no longer want to receive notifications, reply to this comment with the word
STOPTo support your work, I also upvoted your post!
Check out the last post from @hivebuzz: