
| Cartulinas | Foami mate y escarchado |
|---|---|
| Silicón líquido | Papel crepé o seda |
| Palitos de madera | Globo metalizado |
| Cinta de regalo | Mini círculo de icopor o poliestireno |
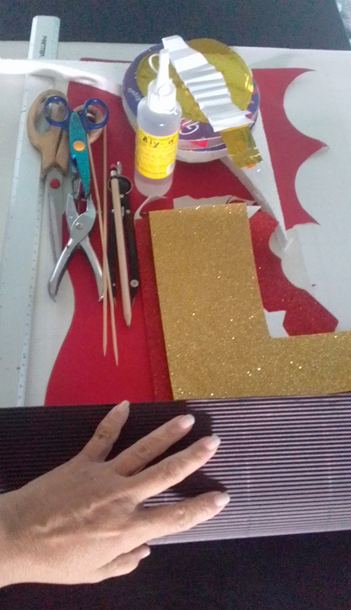
| Foami matte and frosted cardstock | Foami matte and frosted |
|---|---|
| Liquid silicone | Crepe or silk paper |
| Wooden sticks | Metallized balloon |
| Gift ribbon | Mini circles of Styrofoam or polystyrene |
Es hora de empezar:/It's time to start:
Paso 1:/Step 1:
Marcar y recortar 1 óvalo (base) en la cartulina al tamaño
deseado y aumentar una pestaña de 1,5cms a la que le haremos
unos triángulos que será la (base).Marcar y recortar 1 óvalo 5mm más ancho que la base, será la
tapa.Medir el óvalo y recortar dos en tiras de cartulina y aumentar
3 cms de largo para pegar.
1 de 8cms de alto y otra de 2 cms. para la tapa.
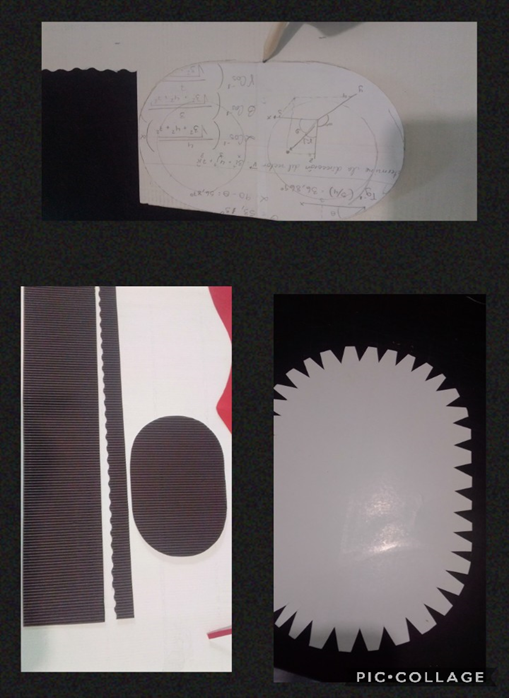
- Mark and cut out 1 oval (base) on the cardboard to the desired
size
and increase a tab of 1.5cms to which we will make triangles
that will be the
triangles that will be the (base). - Mark and cut out 1 oval 5mm wider than the base, it will be the
lid. - Measure the oval and cut out two cardboard strips and increase
the length by 3 cm to glue them together.
3 cm long to glue.
1 of 8 cm high and another of 2 cm for the lid.
Translated with www.DeepL.com/Translator (free version)
Paso 2/Step2:
- Remarcar con la punta de la tijera o con bolígrafo sin tinta
por la orilla del ovalo para doblar la pestaña hacia arriba. - Aplicar silicón por la orilla de la tira de 8cms.
- Pegar a la pestaña.
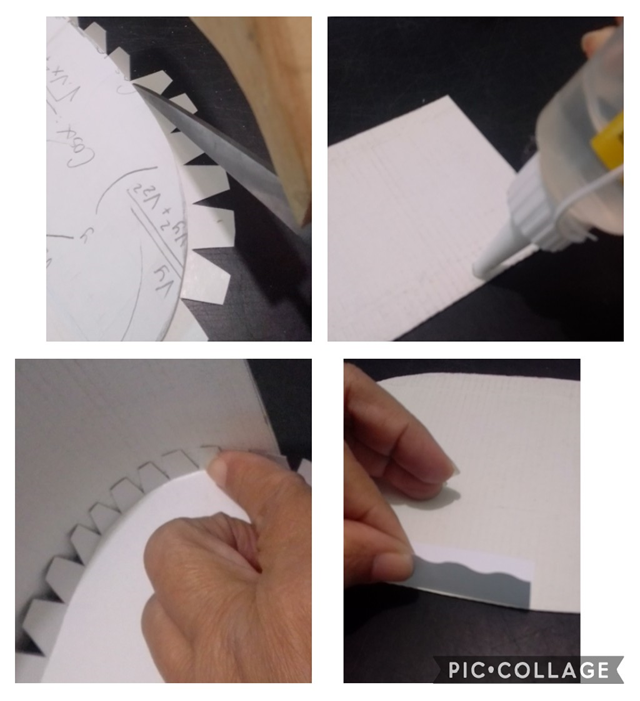
- Remarcar con la punta de la tijera o con bolígrafo sin tinta
por la orilla del ovalo para doblar la pestaña hacia arriba. - Aplicar silicón por la orilla de la tira de 8cms.
- Pegar a la pestaña.
Paso 3/Step 3:
Igualmente pegar la tira de cartulina de 2cms al óvalo(Tapa)
Ya queda armada la caja, como puedes ver, es super sencillo.
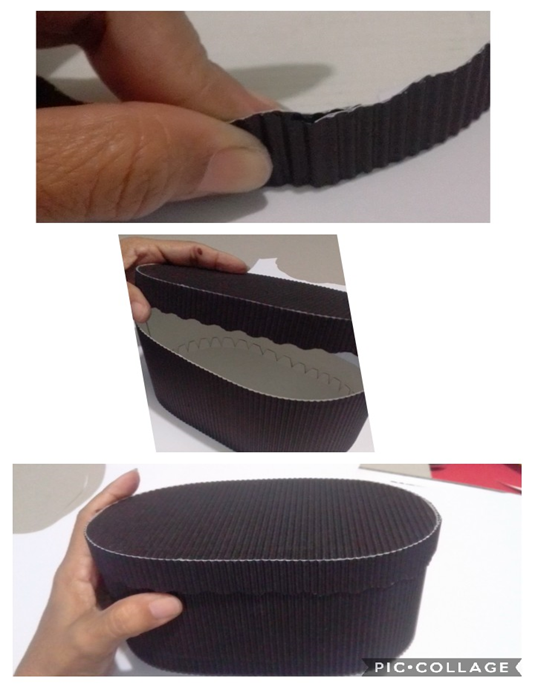
Also glue the 2 cm strip of cardboard to the oval (lid).
The box is already assembled, as you can see, it's super
simple.
Paso 4/Step 4:
- Marcar y recortar en cartulina blanca una tira de 60 cms de
largo por 5 de ancho. - Marcar por ambos lados de 1 o 2 cms y doblar tipo acordeón
hasta llegar al final. - Unir ambas puntas formando un roseton.
- Recortar 2 corazones en foami escarchado y pegar a ambos lados.
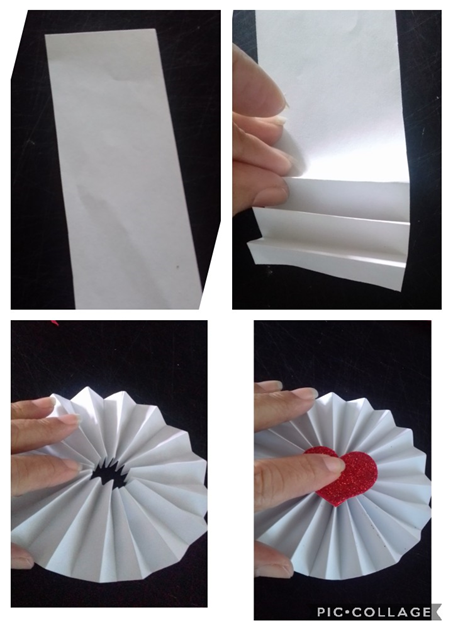
- Mark and cut out a 60 cm long by 5 cm wide strip of white
cardboard. - Mark on both sides of 1 or 2 cm and fold accordion style until
the end.
until you reach the end. - Join both ends forming a rosette.
- Cut out 2 hearts in frosted foami and glue on both sides.
Paso 5/Step 5:
- Ahora para hacer unos lindos pañuelos,
Recortar tira de papel crepé y doblar en cuadros de 10x10 cms
serán 6 y luego recortar las puntas formando unos círculos. - Agarrar el circulo en todo el centro (parte de abajo) y enrollar un poquito como se observa en la foto.
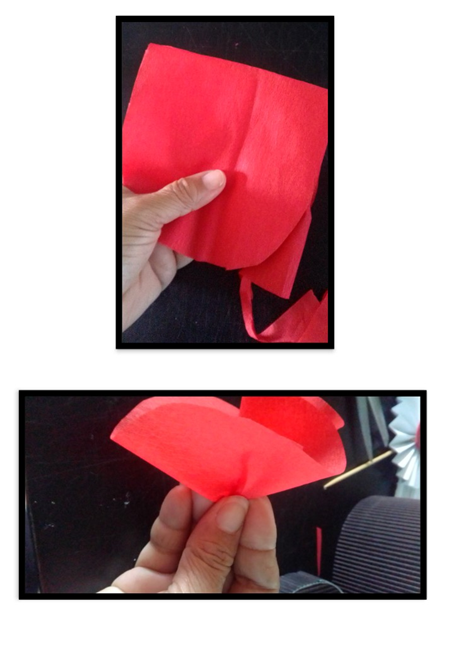
- Now to make cute scarves,
- Cut out a strip of crepe paper and fold it into 10x10 squares
that will be 6 and then cut off the ends forming circles. - Take the circle in the center (bottom) and roll it a little bit
as shown in the picture.
Paso 6/Step 6:
- Recortar un círculo de 4 cms y forrar con papel crepé rojo.
- Pegar en el centro de la tapa de la caja.
- Insertar un palito de madera por los lados y hacer 6 orificios
- Meter la punta del pañuelo en cada uno.
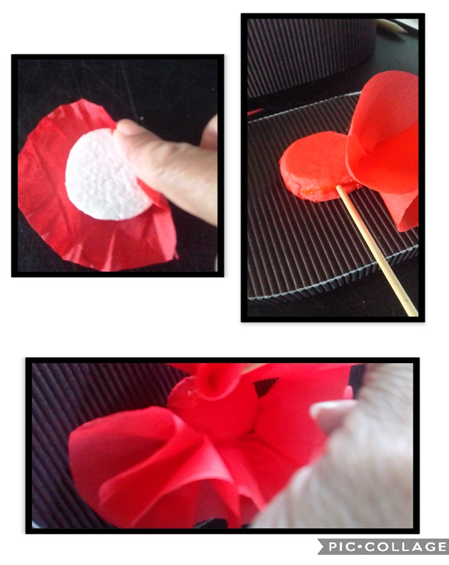
- Cut out a 4 cm circle and line it with red crepe paper.
- Glue in the center of the lid of the box.
- Insert a wooden stick through the sides and make 6 holes.
- Insert the tip of the handkerchief in each hole.
Paso 7/Step7:
- Llenar el globito y sujetar al palito de madera con type.
- Insertar en todo el centro del icopor o poliestireno.
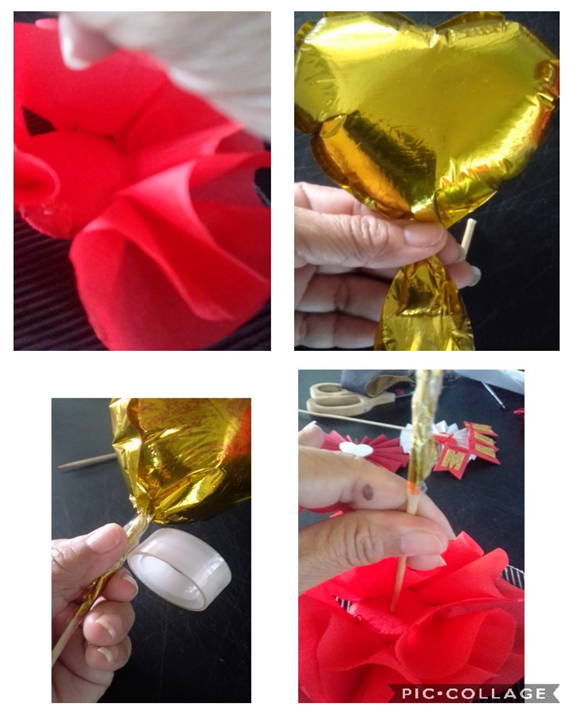
- Fill the balloon and attach to the wooden stick with type.
- Insert all over the center of the Styrofoam or polystyrene.
Paso 8/Step 8:
- Tenía unas rosas de cartulina y les abrí un orificio, introduje
un palito de madera y coloqué también para adornar, también
puedes decorar con corazones de foami.
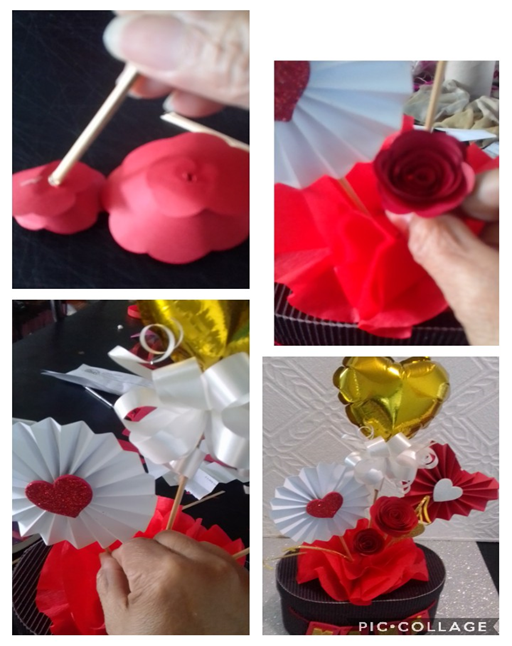
- I had some roses made of cardboard and I opened a hole in them, I inserted a wooden stick a wooden stick and I put it in to decorate, you can also decorate with foami hearts.
Paso 9/Step 9:
- En este paso recortamos 4 rectángulos en foami o cartulina
rojos y damos cualquier forma. - Abrir 2 huecos de cada lado para meter el hilo.
- Recortar 4 cuadrados en foami escarchado dorado y marcamos en
cada uno una letra, recortar y pegar en los rectángulos rojos. - Pasar el hilo por cada rectángulo y hacer la bambalina.
- Luego abrir o perforar en ambos extremos de la caja, al largo
deseado y meter el hilo y anudar por dentro.
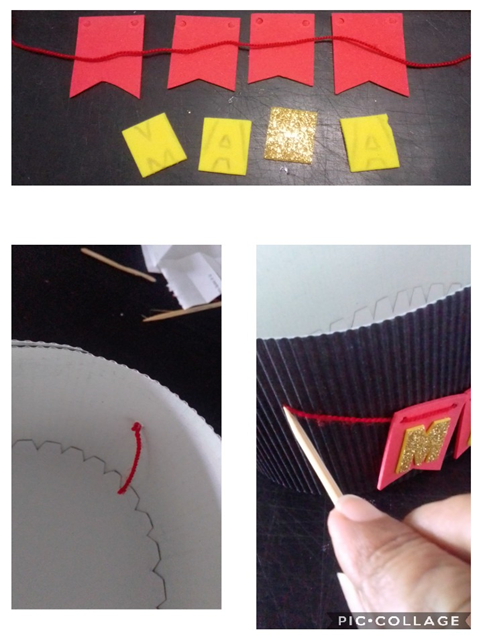
- In this step we cut out 4 rectangles in foami or red cardboard
red and give any shape. - Open 2 holes on each side to put the thread.
- Cut out 4 squares in gold frosted foami and mark a letter on each one.
Cut out 4 squares in gold frosted foami and mark a letter on each one, cut out and glue on the red rectangles. - Thread the yarn through each rectangle and make the scrim.
- Then open or perforate at both ends of the box, at the desired length, and insert the thread
and tie the thread and knot on the inside.
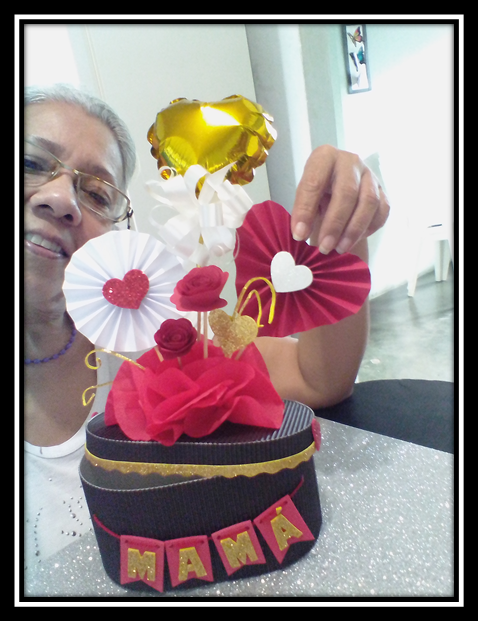
Paso 10/Step 10:
Así va./This is how it goes!

- Recortar con una tijera de formas una tira en foami dorado de 1 cm de ancho.
- Pegar a la tapa de la caja.
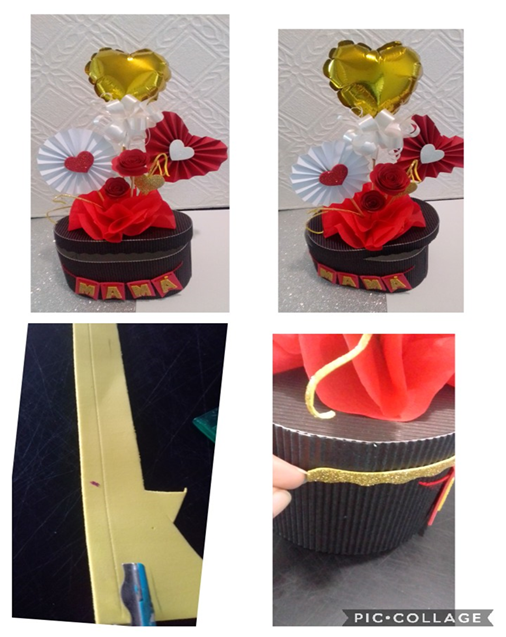
- Cut out a 1 cm wide strip of gold foami with a pair of scissors.
- Glue to the lid of the box.
Paso 11/Step11:
_ Por último recortar 2 corazones y pegarlos a los lados de la caja para decorar...
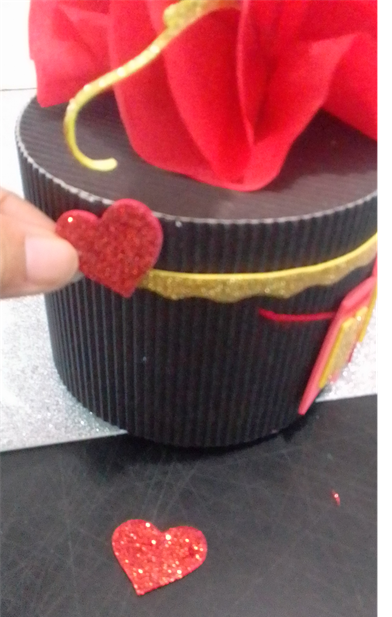
Finally cut out 2 hearts and glue them to the sides of the box to decorate...
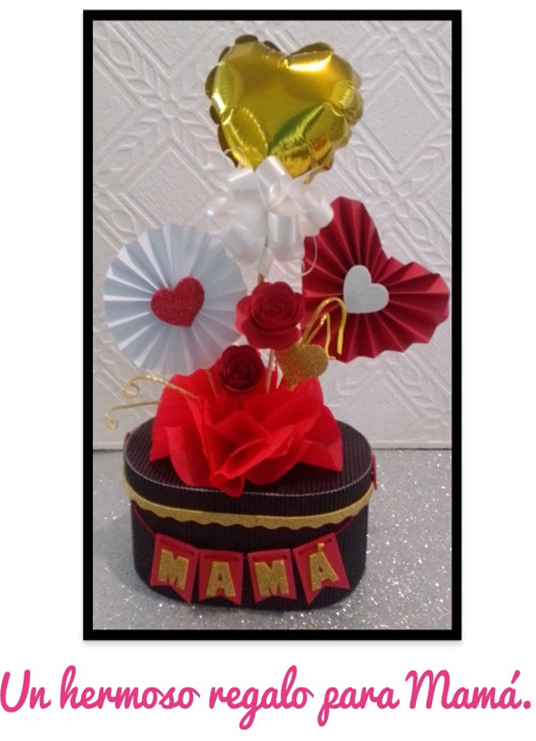
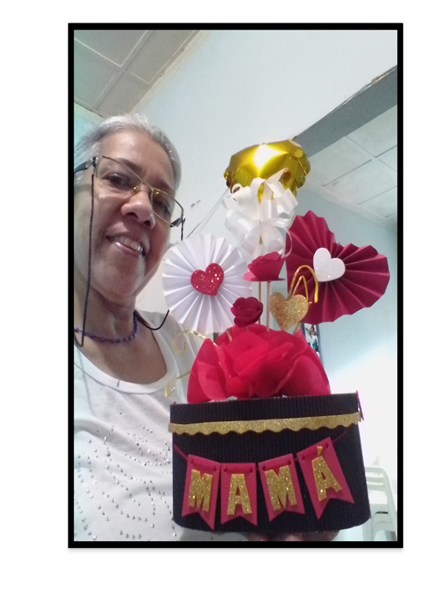
Mira que hermosa se vé solo la cajita, es cuestión de colocar un nombre, una fecha, solo debes dejar volar tu creatividad y decorar a tu gusto.
Look how beautiful the box looks, it's a matter of placing a name, a date, you just have to let your creativity fly and decorate as you like.
Y hoy terminando casi el día quiero desearles muchas bendiciones a todas esas madres luchadoras, mujeres ejemplares y dedicadas a sus hijos y familia, y un consejo al que tenga la dicha de tener su madre viva, dedícale tiempo que puedas, da todo lo que puedas en vida, lo más importante es el amor porque cuando ya no están es muy triste.
Ya no tengo la mía,pero la recuerdo todos los días y de verdad cuanta falta me hace!
Saludos amigos y espero les sea de su agrado este bonito paso a paso hecho con mucho cariño...
And today almost ending the day I want to wish many blessings to all those mothers fighters, exemplary women and dedicated to their children and family, and an advice to those who have the joy of having their mother alive, dedicate time you can, give everything you can in life, the most important thing is love because when they are no longer there is very sad.
I no longer have mine, but I remember her every day and I really miss her!
Greetings friends and I hope you like this beautiful step by step made with love...
Las fotos son tomadas por mi con un Blu G5
El traductor
www.DeepL.com/Translator
Etiquetas de HTML.
The photos are taken by me with a Blu G5.
The translator
www.DeepL.com/Translator
HTML tags.
Feliz noche y gracias por llegar hasta aquí.
**Happy evening and thank you for making it this far!
Congratulations @elmundodebetty! You have completed the following achievement on the Hive blockchain and have been rewarded with new badge(s) :
Your next target is to reach 30 posts.
You can view your badges on your board and compare yourself to others in the Ranking
If you no longer want to receive notifications, reply to this comment with the word
STOPSupport the HiveBuzz project. Vote for our proposal!