Welcome to my blog
Bienvenidos a mi blog
Good evening friends of Hive, welcome to my little corner. Today I bring you how to make a beautiful and adorable bird to decorate the room of the smallest of the house made with useful material. I hope you like it, without more to say, let's start!
Buenas noches amigos de Hive, bienvenidos a mi pequeño rincón. Hoy les traigo como realizar un bello y adorable pájaro para adornar la habitación de los mas pequeños de la casa hecho con material de provecho. Espero sea de tu agrado, sin más que decir ¡¡¡Comencemos!!!
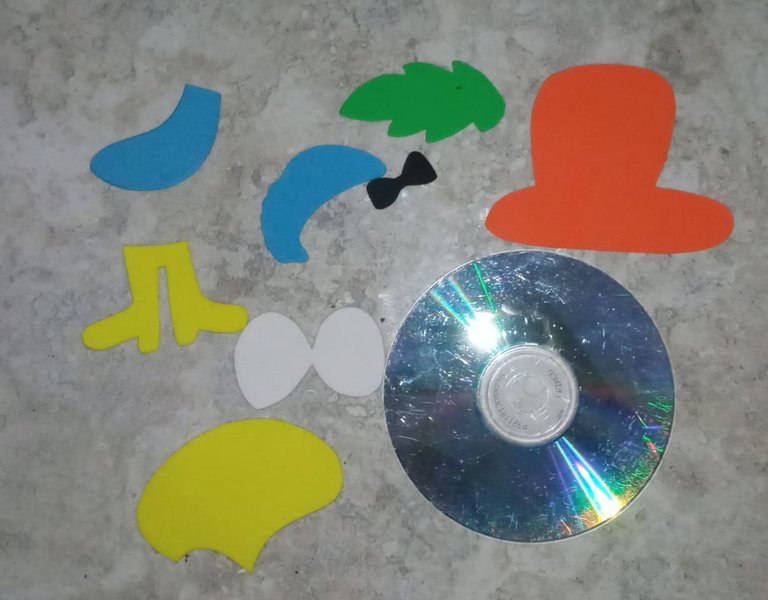
The materials we will use are as follows:
Los materiales que usaremos serán los siguientes:
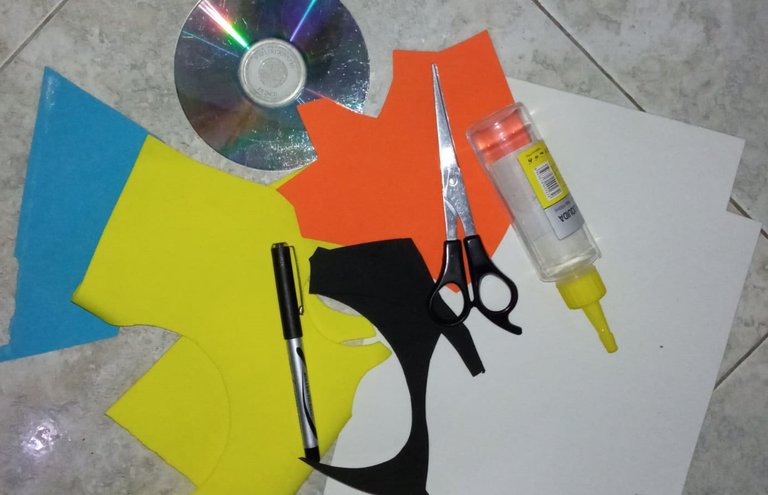
Materials:
- CD-ROM
- Scissors
- Silicone
- Pencil
- Foami
- Marker
Materiales
- CD-ROM
- Tijera
- Silicón
- Lápiz
- Foami
- Marcador
PROCEDURES // PROCEDIMIENTOS:
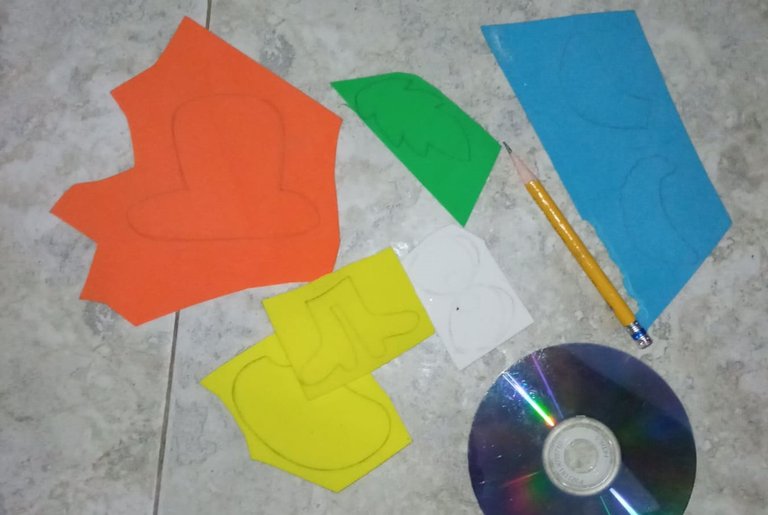
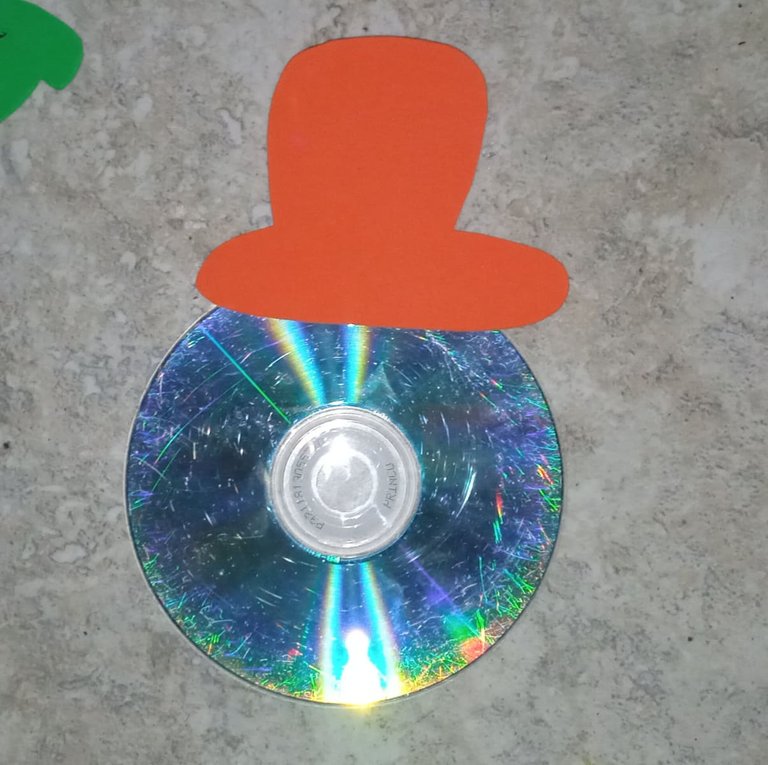
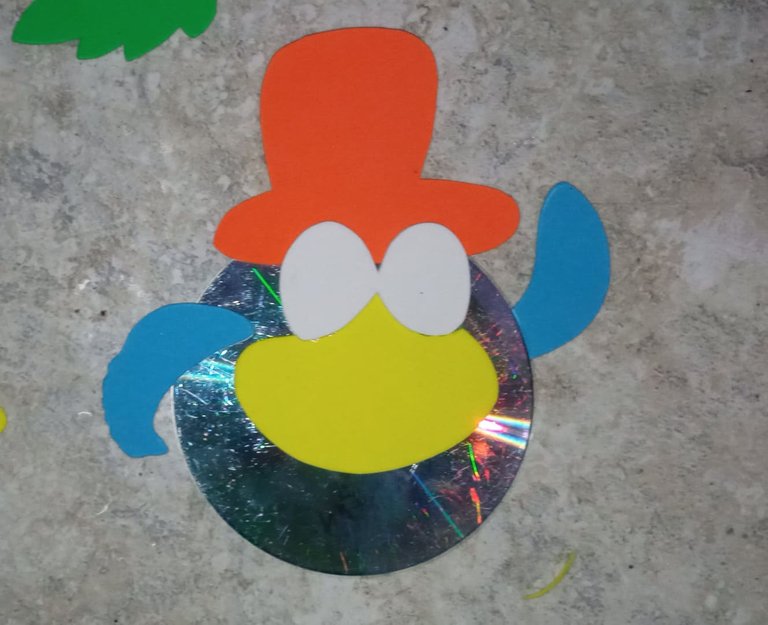
STEP #1: We mark on the foami the parts of our adorable bird.
PASO #1: Marcamos en el foami las partes de nuestro adorable pájaro.
STEP #2: After marking the parts we cut them out with the scissors very carefully.
PASO #2: Luego de haber marcado las partes las recortamos con la tijera con mucho cuidado.
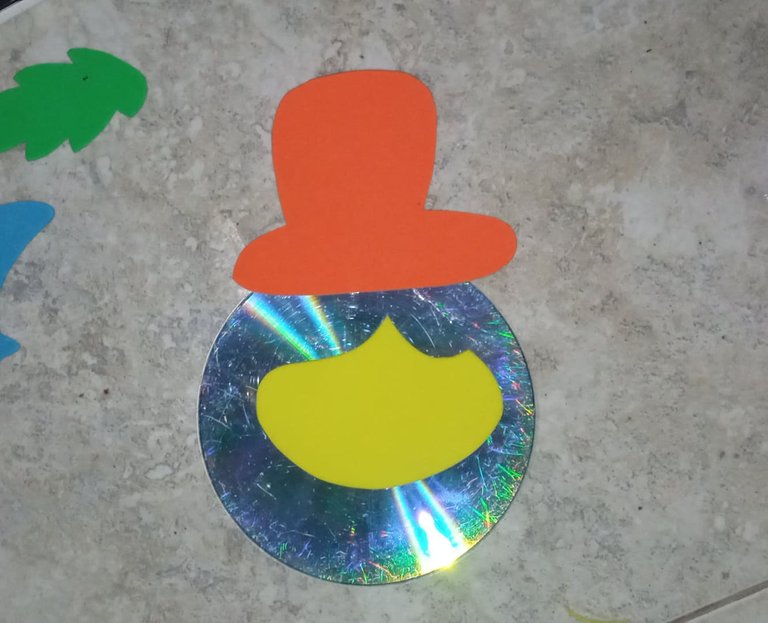
STEP #3: We will glue each of the parts we have cut out, to give shape to our bird.
PASO #3: Pegaremos cada una de las partes que hemos recortados, para darle forma a nuestra ave.
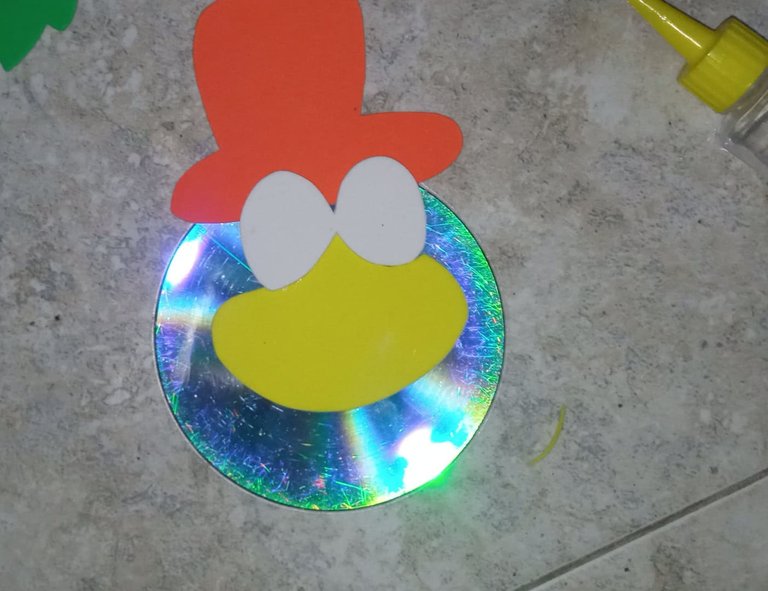
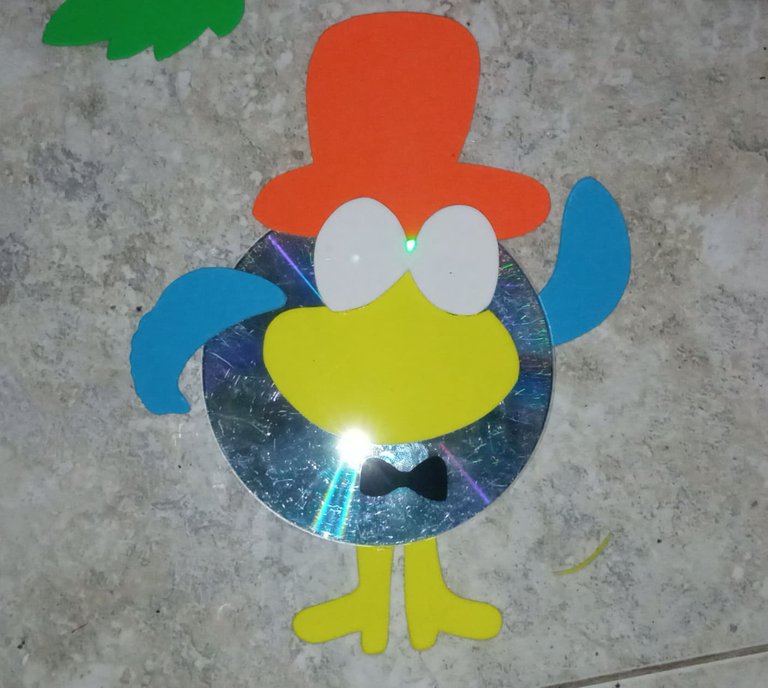
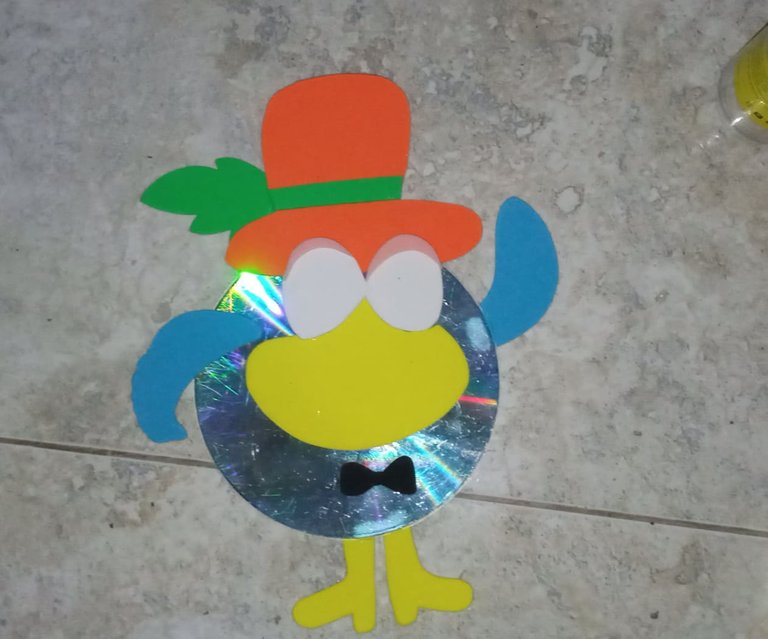
STEP #4: Now we will make the details of the eyes, mouth and wings with the marker.
PASO #4: Ahora haremos los detalles de los ojos, boca alas con el marcador.
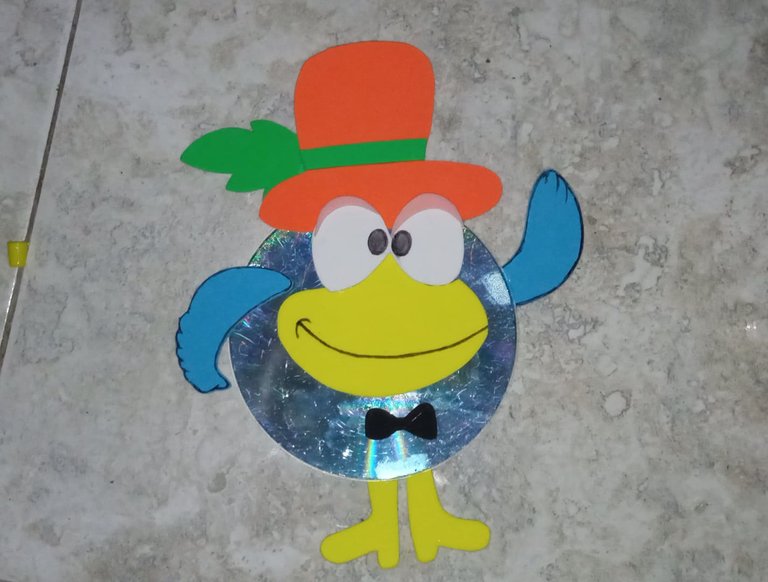
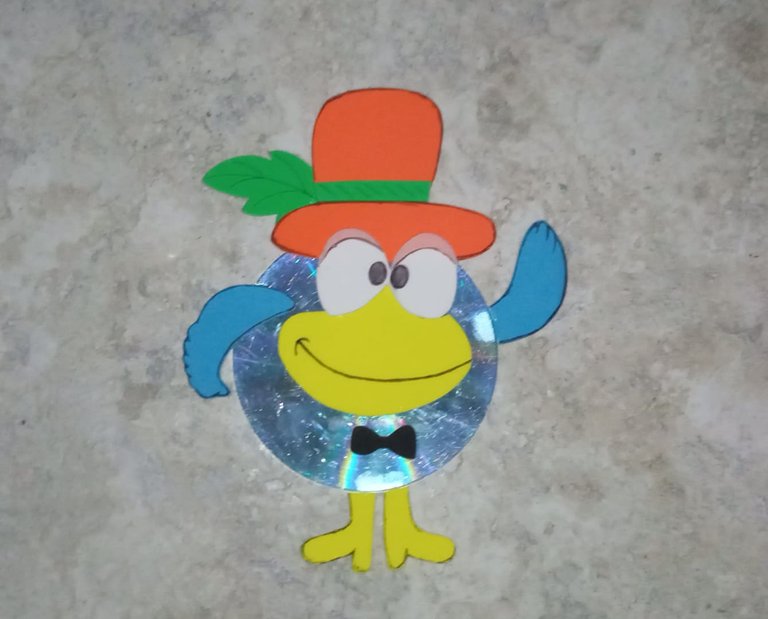
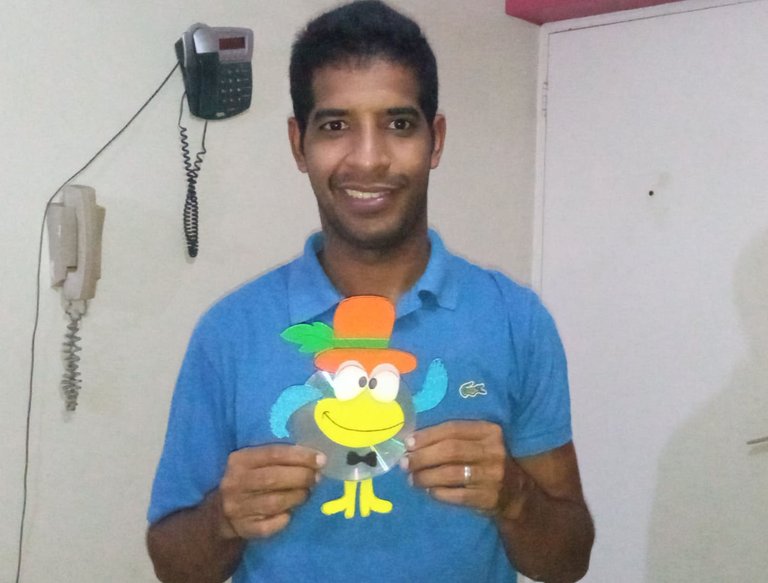
And so we finish our beautiful and adorable decorative bird with useful material.
Y así damos por terminado nuestro bello y adorable pájaro decorativo con material de provecho.
If you have any questions, suggestions or recommendations, let me know in the comments. I will be happy to read them.
Alguna duda, sugerencia o recomendación, déjamelas saber en los comentarios. Estaré encantado de leerte.
Thank you for visiting my blog and I hope you like the material. See you next time.
Gracias por visitar mi blog y espero que el material sea de su agrado. Nos vemos la próxima publicación.

RESOURCES USED
Photograph taken by Redmi note 8
Crop and edit images in Paint
Banner created in PowerPoint 2010
Screenshots taken by Lightshot
RECURSOS UTILIZADOS
Fotografía tomadas por Redmi note 8
Recorte y edición de imágenes Paint
Banner creado en PowerPoint 2010
Capturas de pantalla realizadas por Lightshot