Hola saludos mis queridos amigos de Hive hoy les traigo la elaboración de un gallo con cilindro de papel higiénico.
Hello greetings my dear friends from Hive today I bring you the elaboration of a rooster with a toilet paper cylinder.
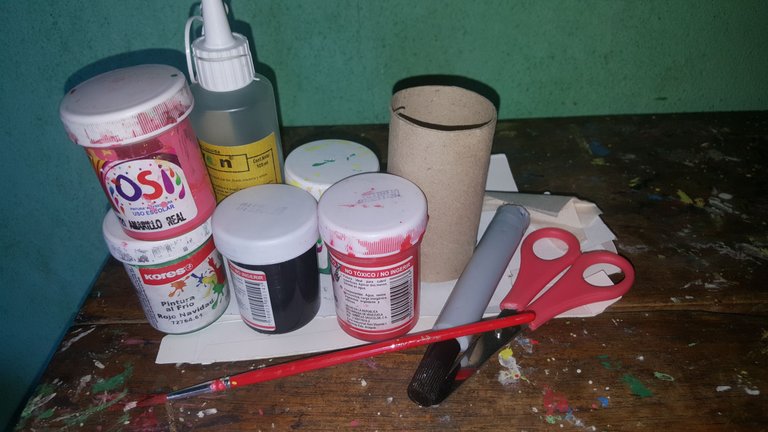
Materiales:
Cilindro de papel Higiénico
Cartón delgado
Pintura roja, rosada, negra, blanca y verde.
Pincel
Marcador
Tijera.
Materials:
Toilet paper cylinder
Thin cardboard
Red, pink, black, white and green paint.
Brush
Marker
Scissor.
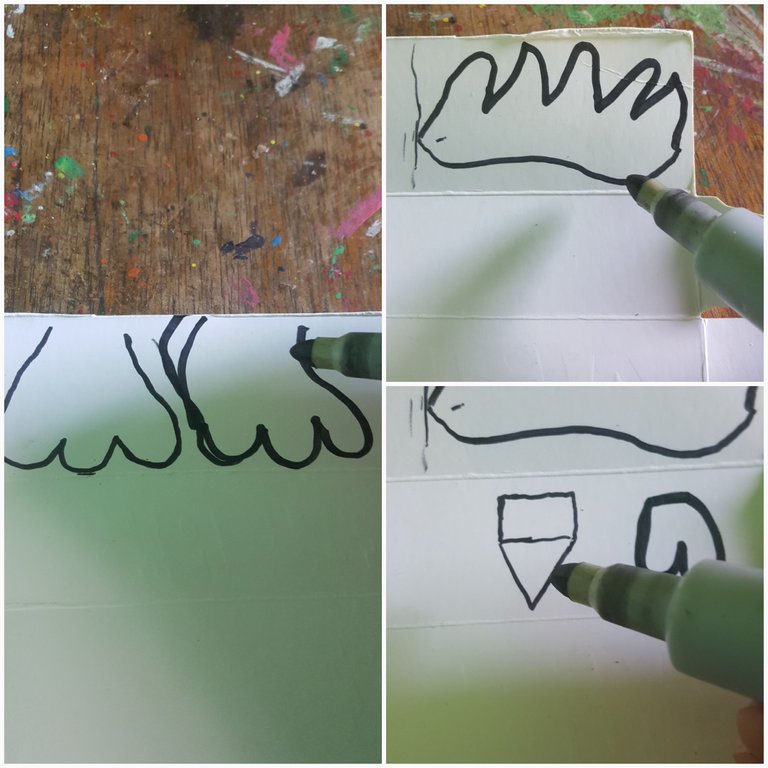
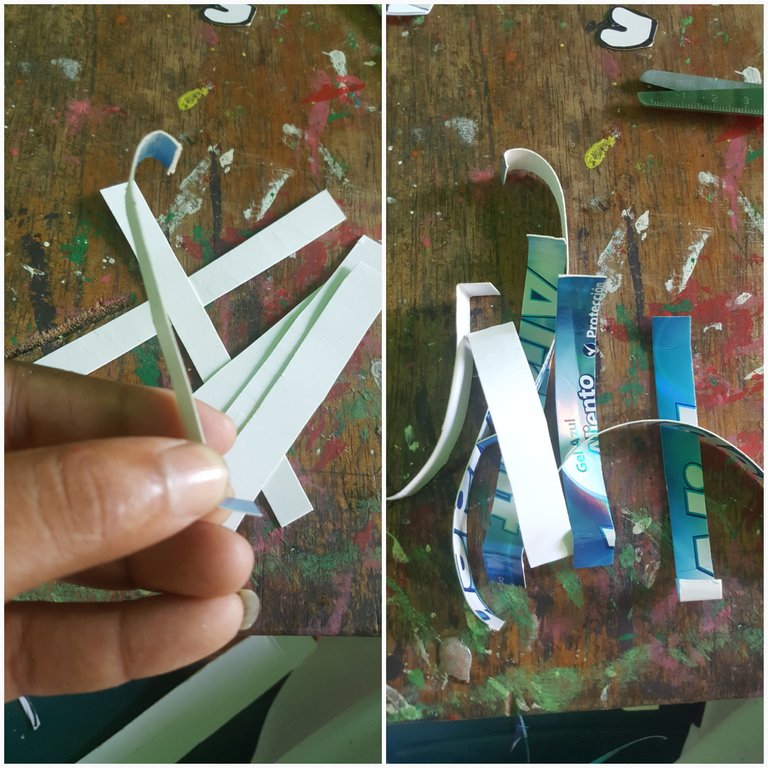
Paso 1: En este paso marcamos en el cartón las patas, pico y las dos crestas como lo muestra la imagen.
Step 1: In this step we mark on the cardboard the legs, beak and the two ridges as shown in the image.
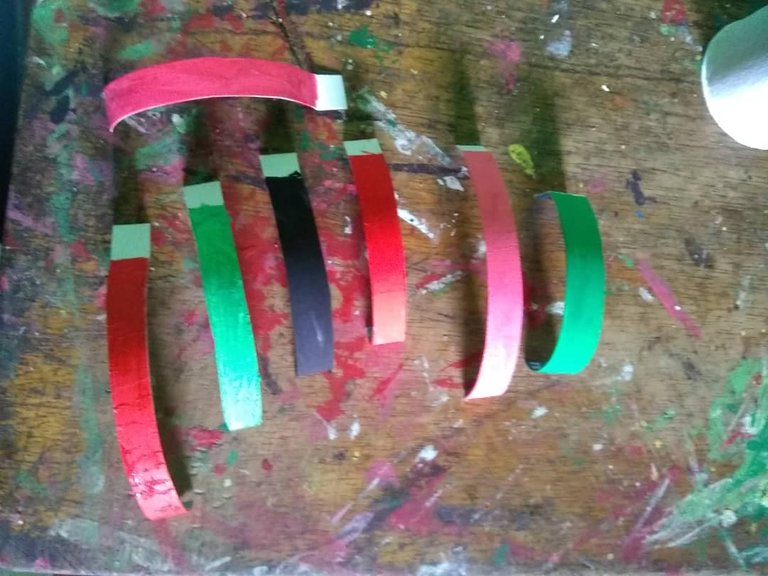
Con el cartón delgado y la tijera cortamos 8 tiras delgadas que serán las plumas del pollo las cuales doblamos para que se parezcan a una pluma.
With the thin cardboard and the scissors we cut 8 thin strips that will be the chicken feathers which we fold to resemble a feather.
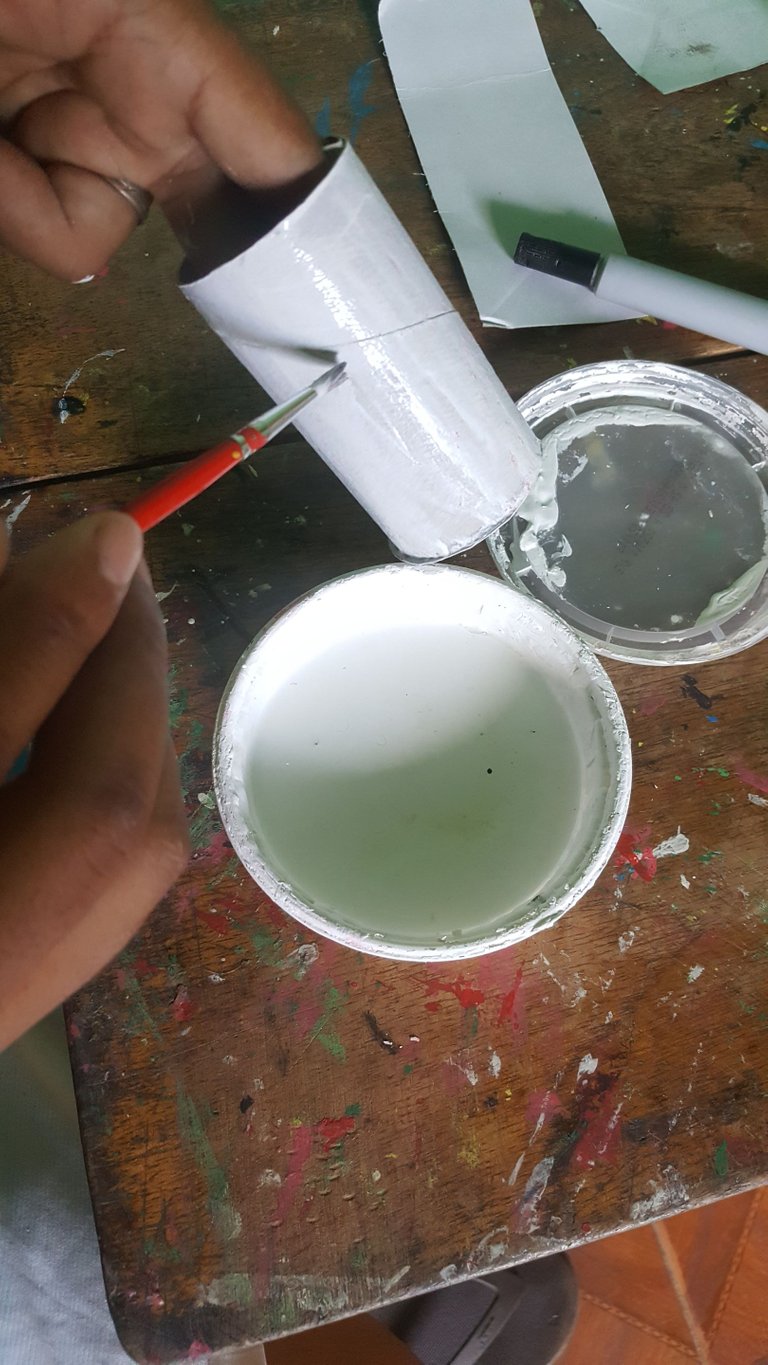
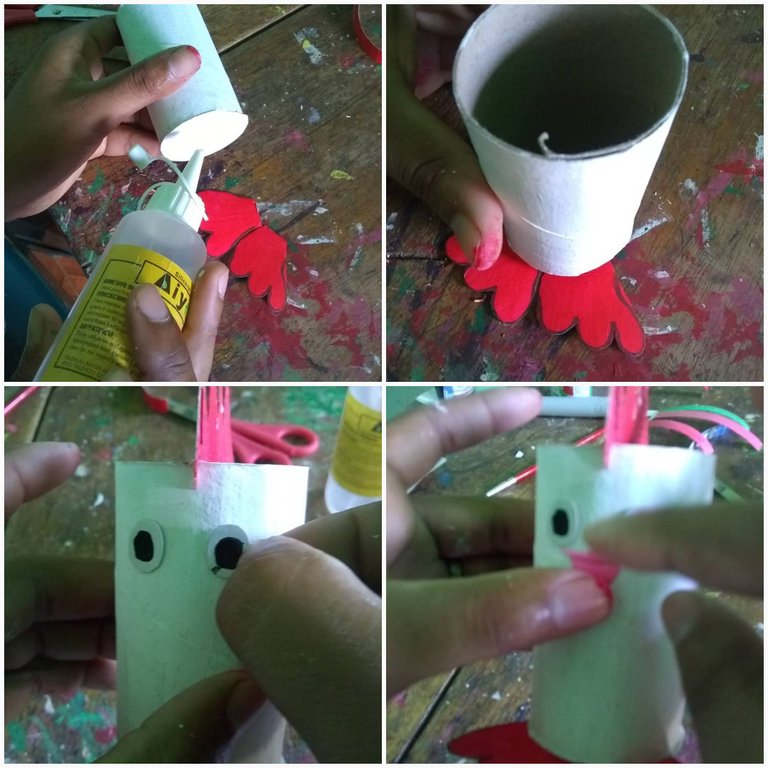
Luego con la pintura blanca y el pincel pintamos todo el cilindro.
Then with the white paint and the brush we paint the entire cylinder.
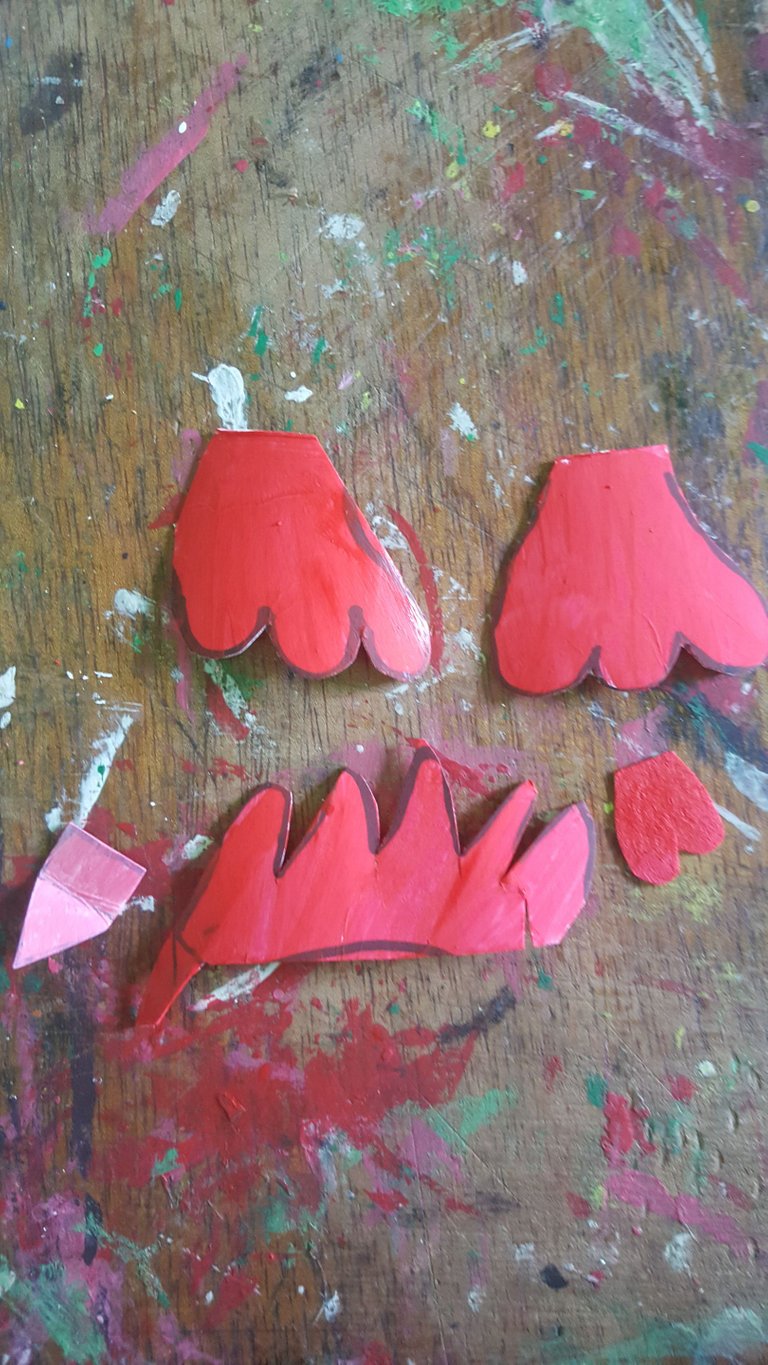
Paso 2: Vamos a pintar las partes del gallo, con la pintura roja pintamos las patas y las crestas, el pico lo pintamos con la pintura rosada.
Step 2: We are going to paint the parts of the rooster, with the red paint we paint the legs and the ridges, the beak we paint with the pink paint.
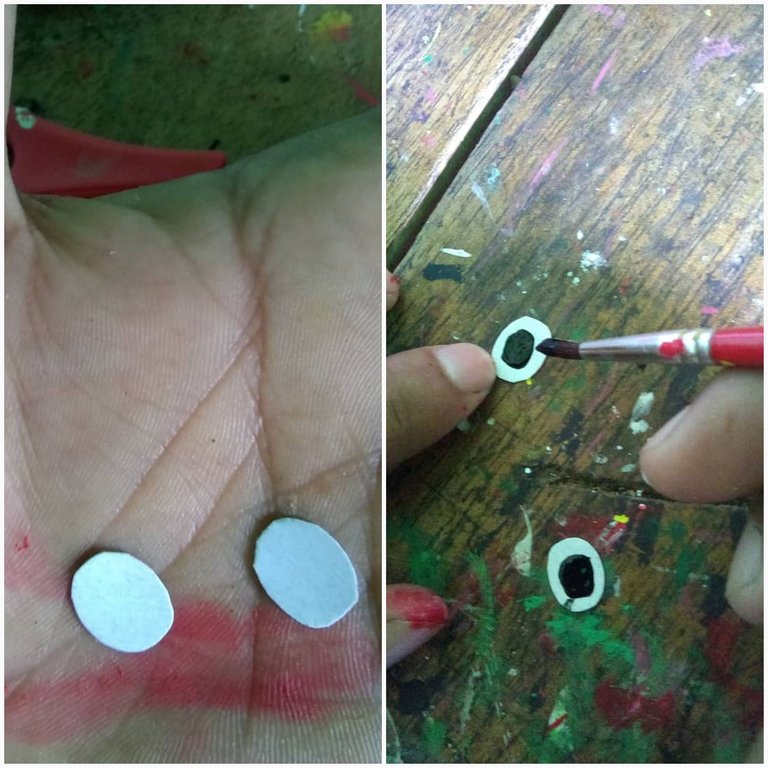
Con un pequeño pedazo de carton y con la pintura negra hacemos los dos ojos del gallo.
With a small piece of cardboard and with the black paint we make the two eyes of the rooster.
Con las diferentes pinturas que tenemos pintamos las 8 plumas de diferentes colores.
With the different paints we have, we paint the 8 feathers of different colors.
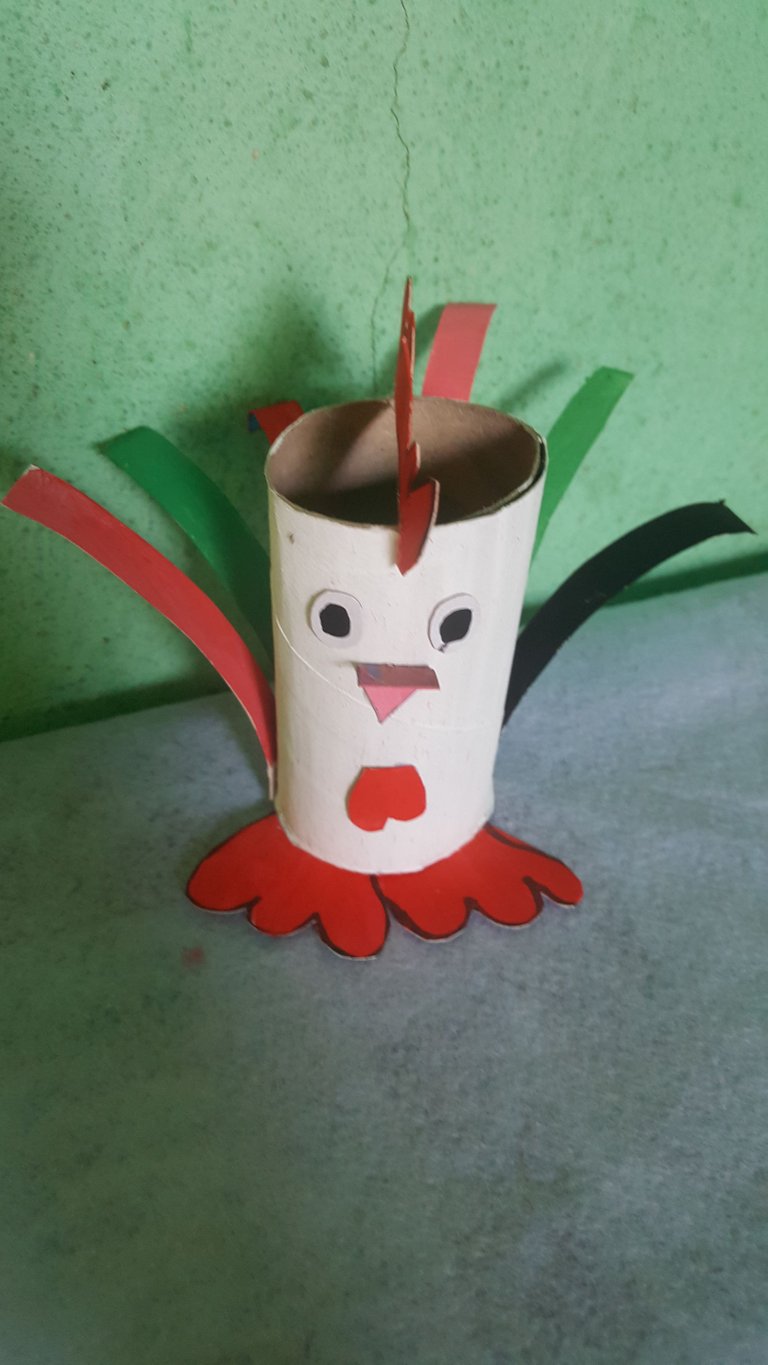
Paso 3: En este paso vamos a armar el gallo y comenzamos pegando las patas en la parte de abajo, la cresta en la parte de arriba del cilindro luego los ojos y después el pico la otra cresta bajo del pico.
Step 3: In this step we are going to assemble the rooster and begin by gluing the legs on the bottom, the crest on the top of the cylinder, then the eyes and then the beak, the other crest under the beak.
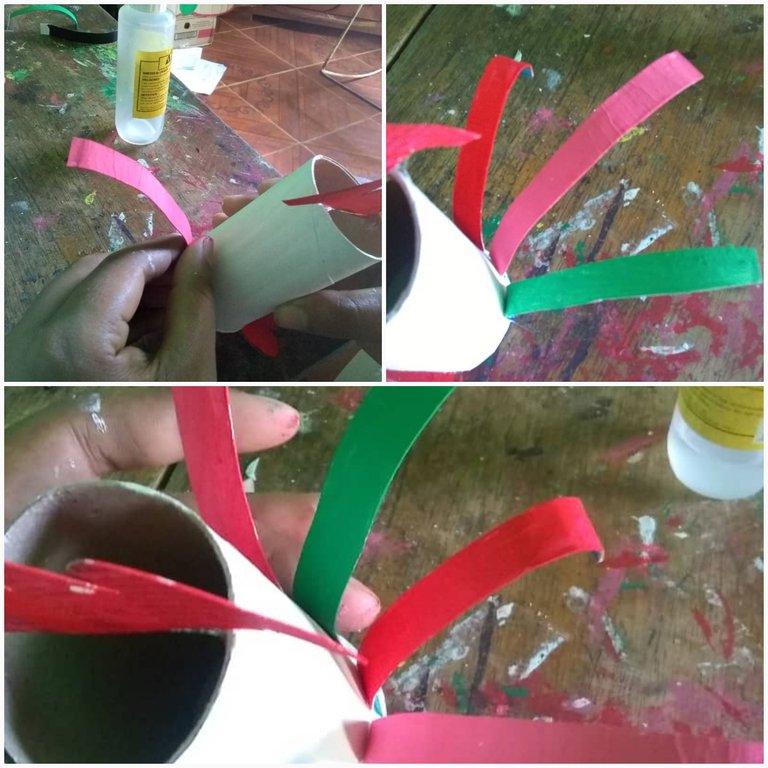
En la parte de atrás del cilindro pegamos las tiras de cartón que pintamos una al lado de otro.
On the back of the cylinder we glue the cardboard strips that we paint side by side.
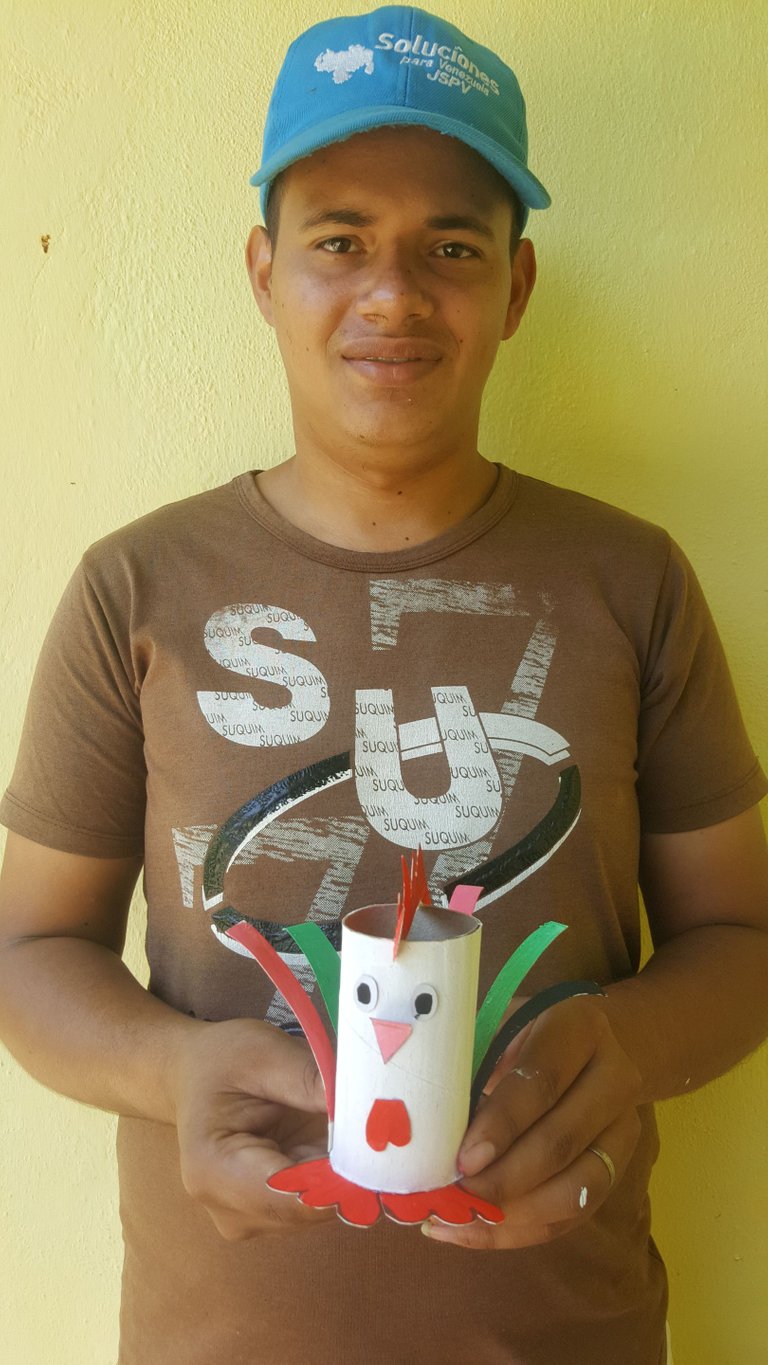
Así es como queda este bello gallo colorido espero les guste y no duden en visitar mi perfil allí encontrarás muchas cosas más.
This is how this beautiful colorful rooster looks I hope you like it and do not hesitate to visit my profile there you will find many more things.