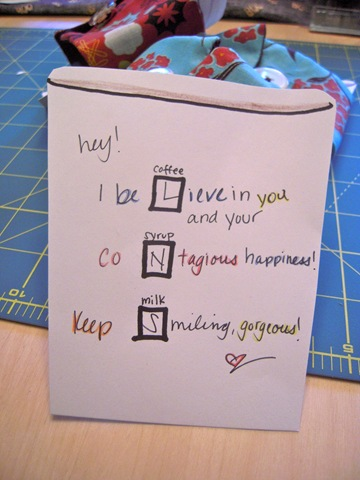
I love to make a paper coffee cup to slide the sleeves over, when I’m giving these coffee cosies as gifts. In the boxes where the barista denotes for coffee, milk and syrup, I write a letter and fill in a message around it.

This will cease any confusion as to what’s being given and is guaranteed to bring a smile to their face.
Supplies
- Several patterns of coordinating fabric. I chose a cotton bundle at Hobby Lobby that all were in the same color family. For the inside of the sleeve, I picked up a yard of a blue polka dot pattern.
- About a yard of felt for the lining. You can get more or less, depending on how many you plan to make. As you can see, I don’t measure, I just go to Hobby Lobby and get high on glue fumes.
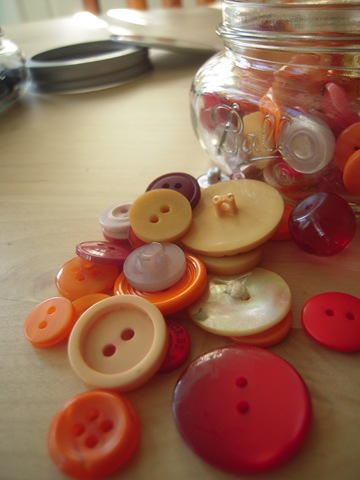
- Assortment of buttons in a color scheme that matches your fabric.
- The ability to sew. A sewing machine helps. You can totally do this by hand and not mess it up. Just trust me.
- A cardboard sleeve from your local coffee shop. I modeled mine using a Starbucks’ sleeve.
Instructions
Step One
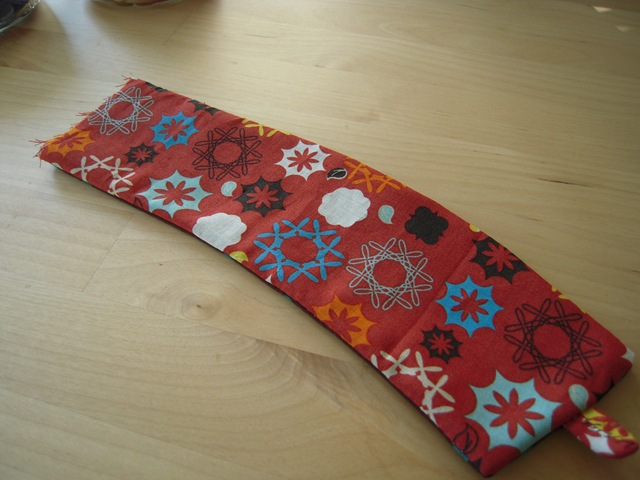
Using the cardboard sleeve, make a pattern and cut both your outside and inside pieces from the fabrics you chose. Mine measured 10 inches in length by 3 ½ inches in width.
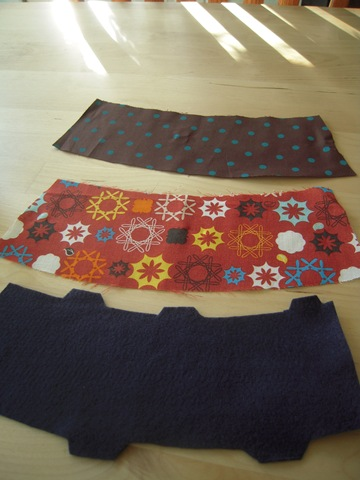
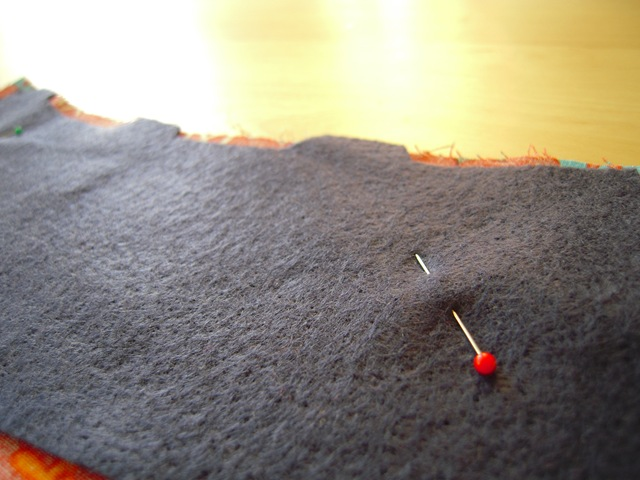
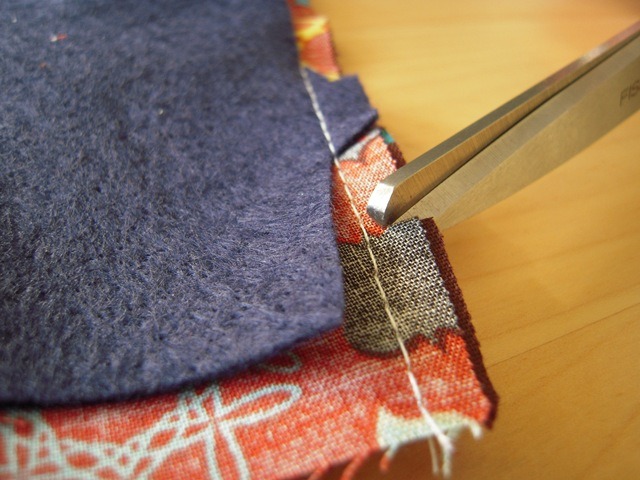
For the felt for the lining, you’ll want to cut about five tabs (as shown) so the felt doesn’t slide around when the sleeve is made. Allow for 1/4 inch seams all around. The end you leave open doesn’t need any tabs.
Step Two
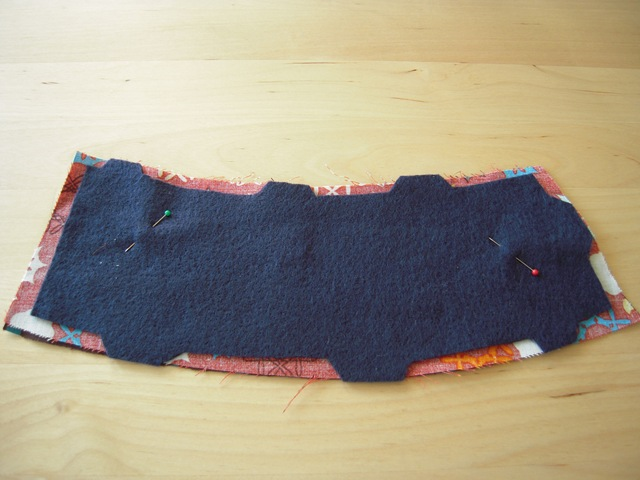
Lay the two pieces of fabric on top of one another with the patterns facing each other. The back of the fabric will be facing out toward you. Lay the felt on top of them, again facing you. Pin in place with straight pins.
Step Three
Now, it’s time for the most tedious part of the project-sewing! First, you’re going to make the loop for the button. Cut a piece about 3" by 1". Finger press it lengthwise, open it up, and then fold each side into that fold line.
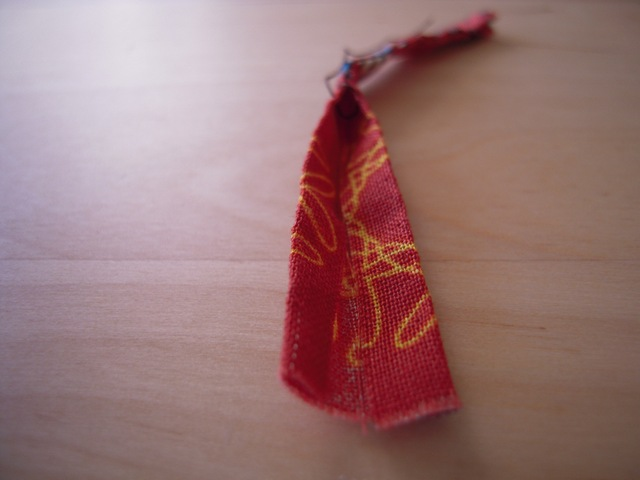
Fold those edges together into four equal lengths. Sew the long edge together, by hand or on the machine.
To pin it into place, pin the two ends side by side at the notched short end with the loop facing inside. Some of the length of the ends will stick out- make the loop only big enough for your button to fit snugly through.
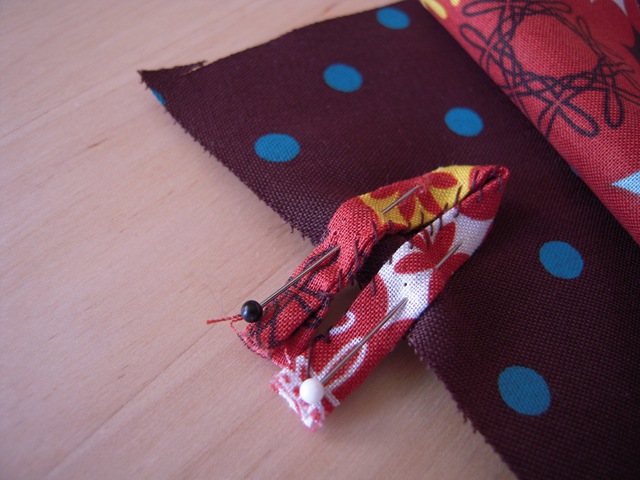
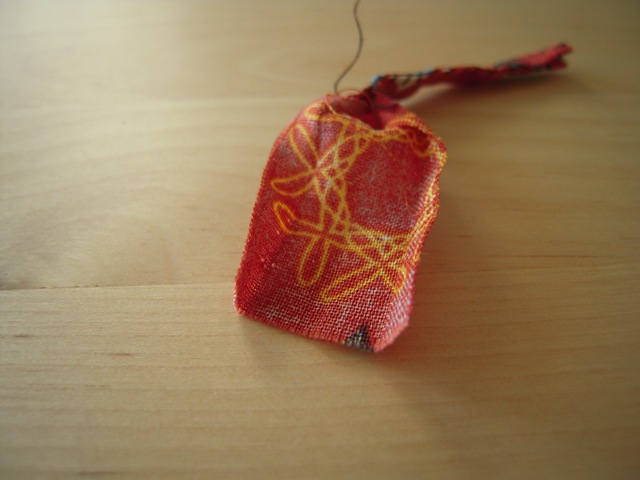
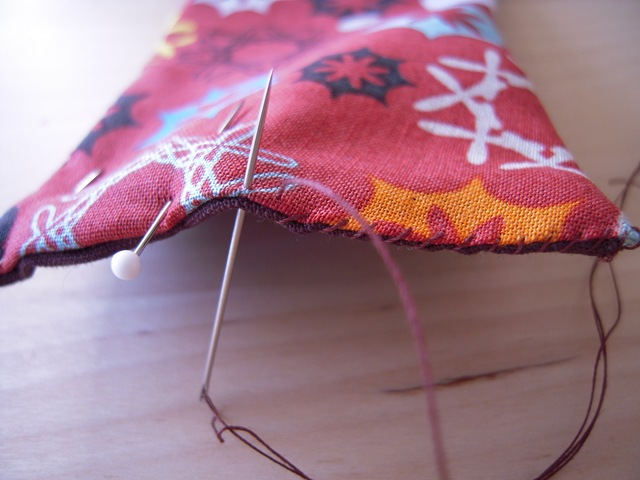
Sew a 1/4 inch seam along all three notched sides. Stopping with the needle in the cloth at the corner, lift the needle lever, swivel the cloth 90 degrees, put the needle back down and continue sewing. Do it again at the next corner. This helps have a good point when it’s turned right side out later.
Step Four
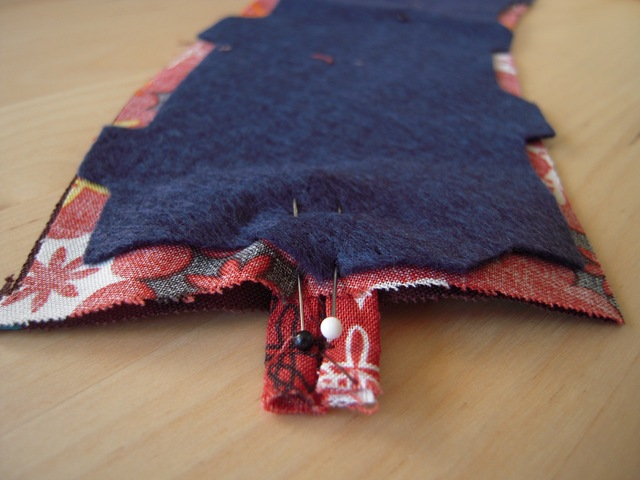
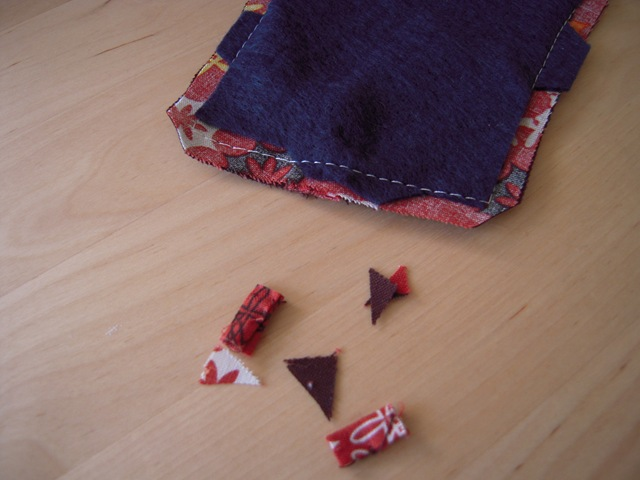
Once everything is sewn, make short vertical snips around the perimeter of the fabric. Do not cut into the seam.
Cut off the two corners on the end that’s sewn as well as what’s sticking out from the loop. Don’t worry, you’re not harming anything. This will help it look smooth when it’s turned right side out.
Step Five
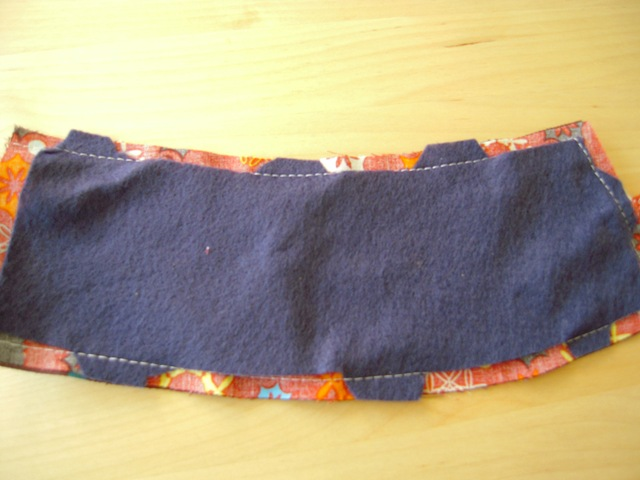
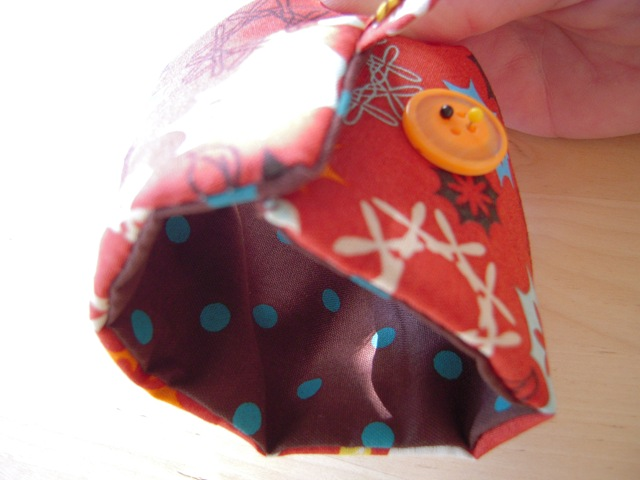
Now, you can go ahead and turn the sleeve “inside out” (which is really turning it right side out.) You may need to use something (not sharp!) to push those corners out to make that point you worked so hard to make when you sewed!
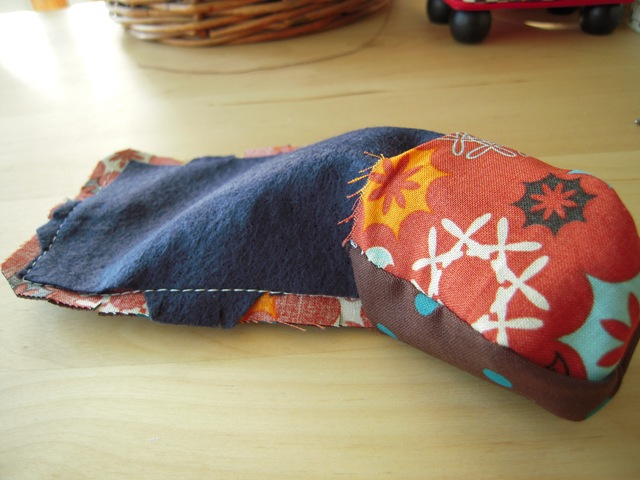
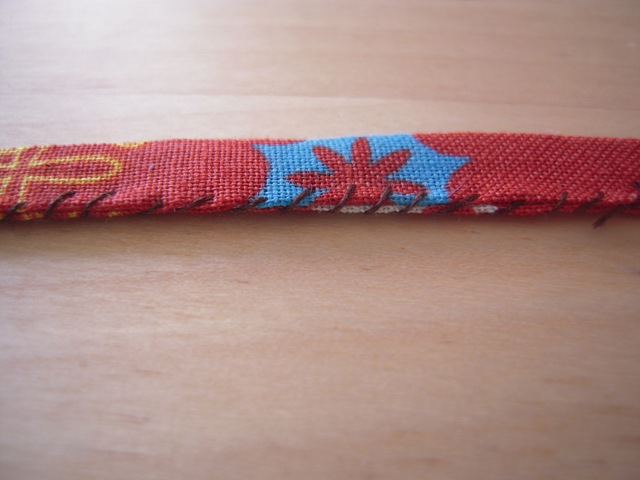
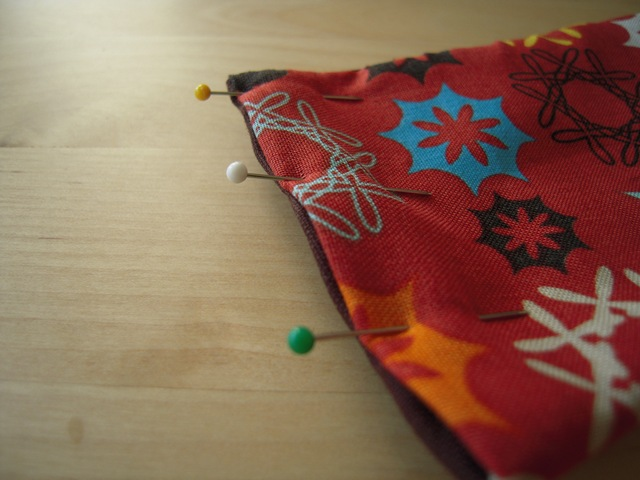
You’ll be left with just one open end – most likely frayed. That’s OK. Just fold the ends in neatly and make a clean edge. Use straight pins to hold in place. Hand sew together with an angled stitch.
Step Six
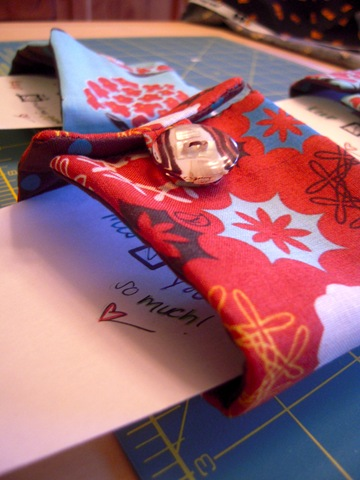
Now all that’s left is selecting and sewing on your button. You’ll want to check first to ensure the button fits through the loop easily. Position and pin in place. Once you’re done sewing, it’s done!
Optional Step Seven
I write a letter and fill in a message around it.
Hello @lett

Thank you so much ☕