
Hello friends!! I hope you are feeling very well, a few days ago I was invited to participate in a very good challenge, it is a recycling initiative, I said: why not?, so I got to work to create a beautiful organizer for your makeup products, quite easy, with materials you have at home.
¡¡Me uno al reciclaje creativo!!
I join the creative recycling!
Let's start our tour of this beautiful organizer. :D
First of all the materials, right?! hehe.
MATERIALES:
- Cartón.
- Pega blanca.
- Silicona caliente.
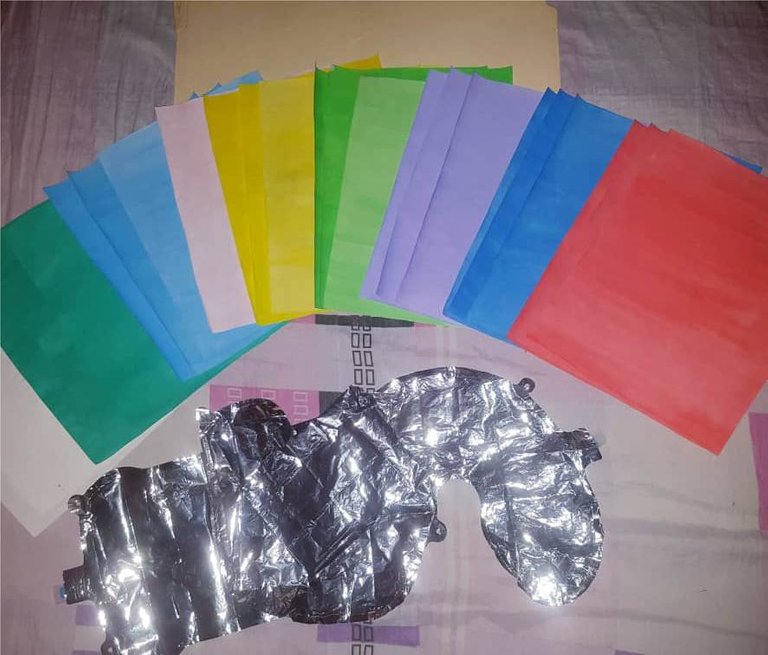
- Hojas de colores.
- Decorativos (el que guste)
- 2 rollos de papel toalet.
MATERIALS:
- Cardboard.
- White glue.
- Hot silicone.
- Colored sheets.
- Decorative (the one you like)
- 2 rolls of toalet paper.
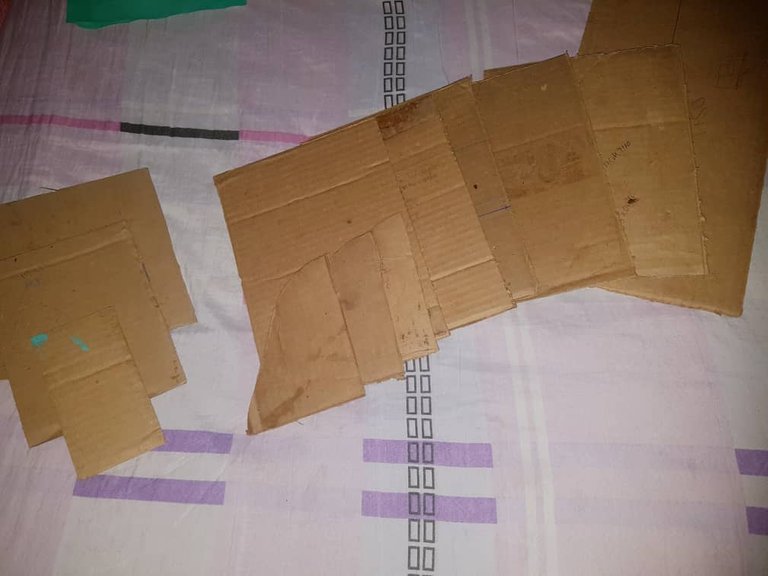
Well friends we will start by marking the measurements on the cardboard, so find your ruler and write it down with me.
MEDIDAS DEL CARTON:
MEASUREMENTS OF THE CARDBOARD:
Primera parte:
- 4 piezas de 25cm de largo y 19cm de ancho.
- 1 de 38cm de largo y 19,5cm de ancho.
- 3 piezas de 5 o 6cm de largo y 5cm de ancho.
- 1 de 14,7cm de largo y 8cm de ancho.
- 1 pieza de 19cm de largo y 15cm de ancho.
- 1 de 19X19.
- 1 de 20X20.
First part:
For the first part we need:
- 4 pieces of 25cm long and 19cm wide.
- 1 of 38cm long and 19.5cm wide.
- 3 pieces of 5 or 6cm long and 5cm wide.
- 1 of 14,7cm long and 8cm wide.
- 1 piece of 19cm long and 15cm wide.
- 1 of 19X19.
- 1 of 20X20.
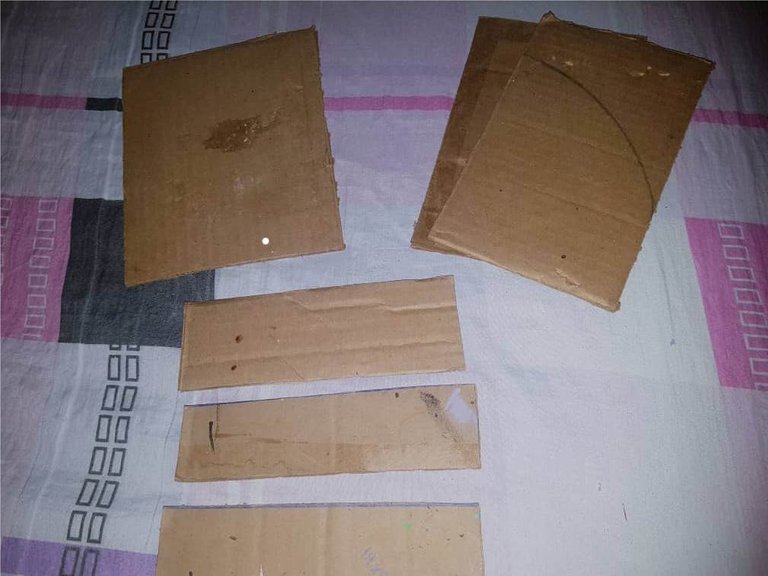
Segunda parte:
- 2 piezas de 20,5cm de largo y 12,5cm de ancho.
- 1 de 19,5cm de largo y 16,2cm de ancho.
- 1 pieza de 19,5cm de largo y 4,2cm de ancho.
- 1 de 19,5cm de largo y 5cm de largo.
- 1 pieza de 19,5cm de largo y 7cm de ancho.
Second part:
- 2 pieces of 20.5cm long and 12.5cm wide.
- 1 piece 19,5cm long and 16,2cm wide.
- 1 piece 19,5cm long and 4,2cm wide.
- 1 piece of 19,5cm long and 5cm wide.
- 1 piece of 19,5cm long and 7cm wide.
The measurements are the most boring part, but it is necessary for the structures, and of course for us to be very well done.
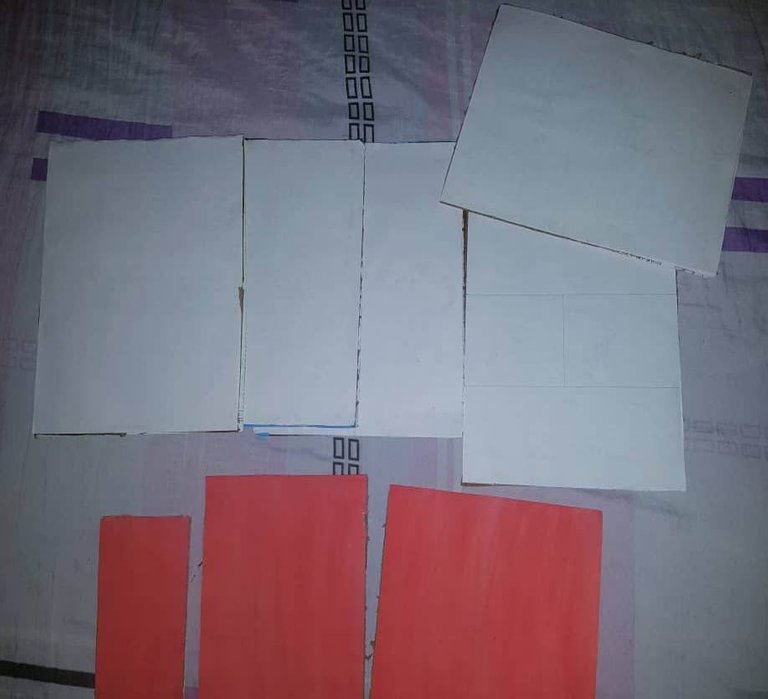
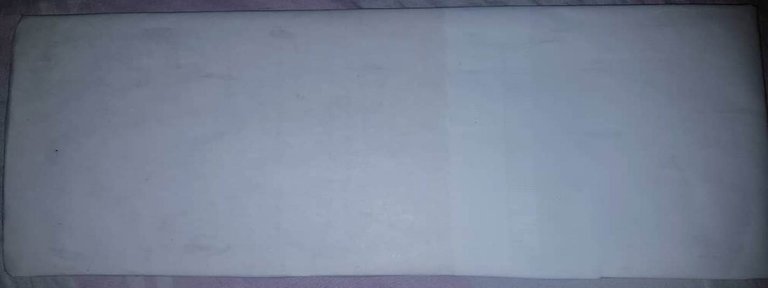
Okey amigos now comes decorate the cardboard How do we do it, very easy, we stick our color sheets to the cardboard (cut to size), covering both sides. As I did not have color sheets, I painted 21 and left 3 recyclable ones with cold paints, 3 sheets of the same color. I have to tell you that I did it all from my imagination, I do not have a material, I invent the way to create it.
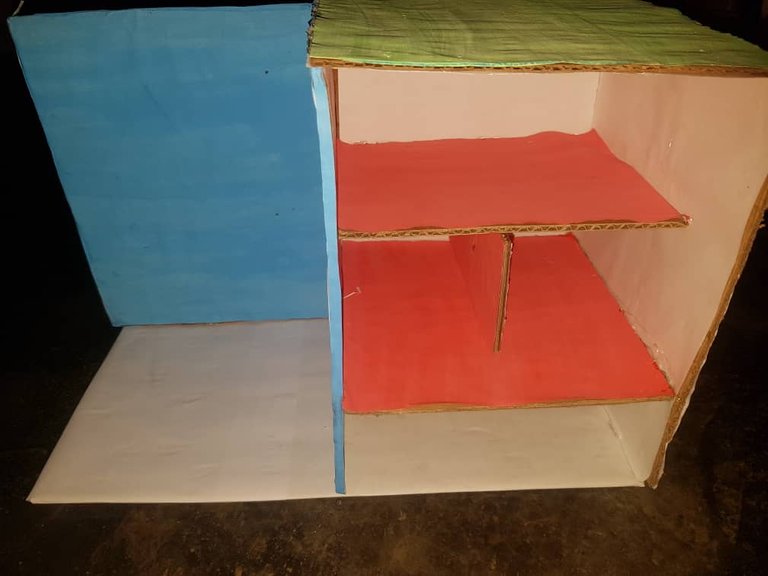
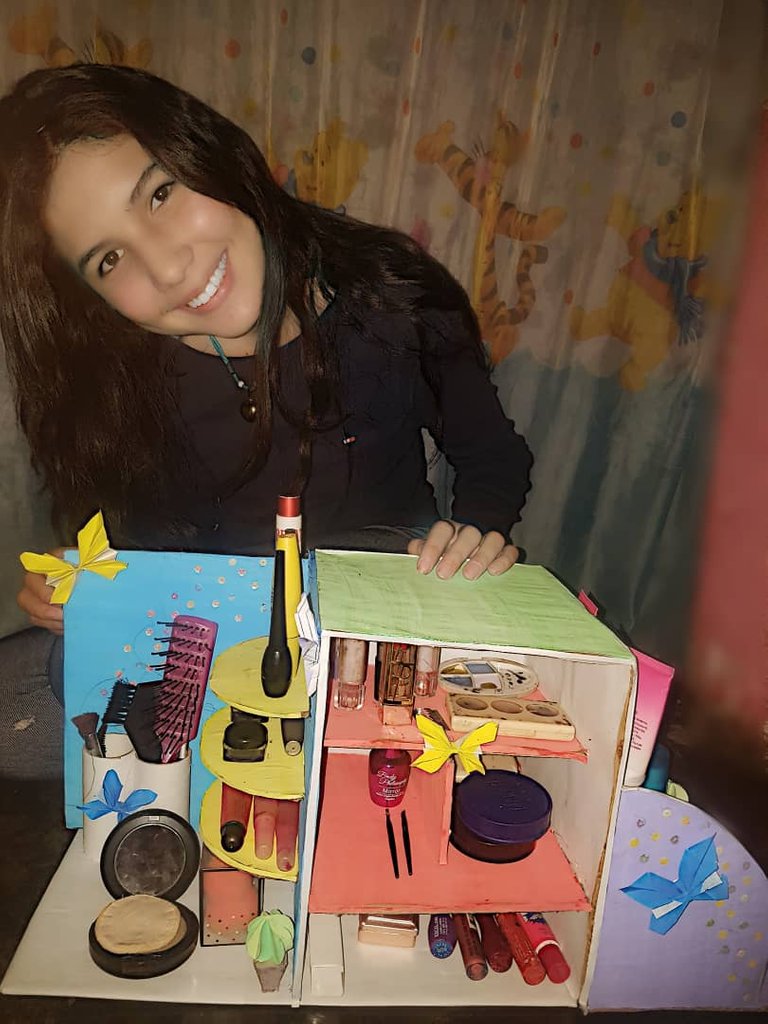
Así me quedo la primera parte del organizador:
This is the first part of the organizer:
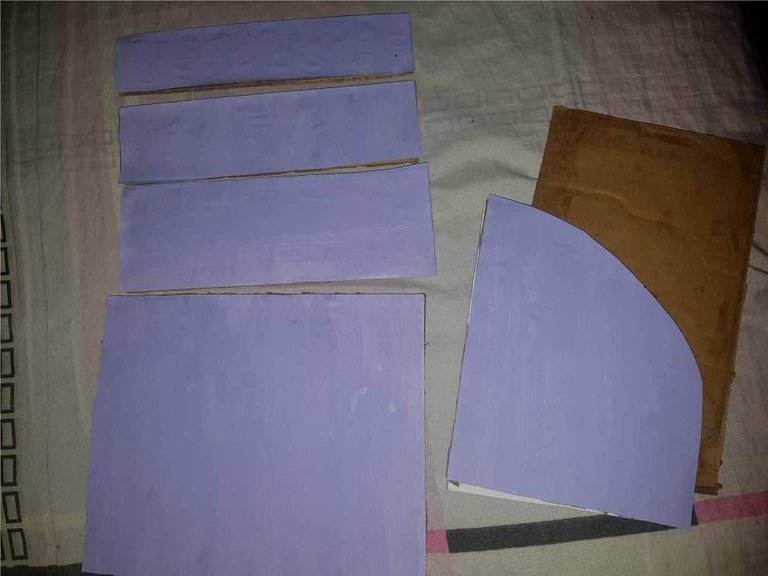
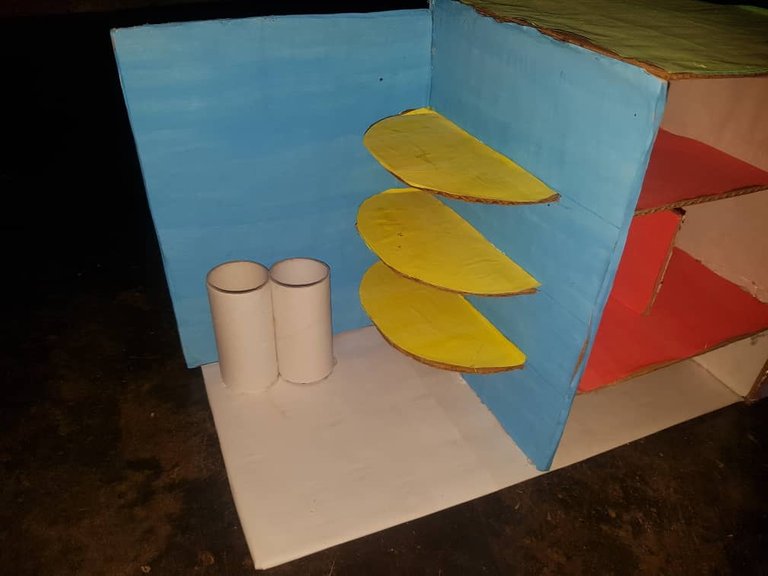
Y así la segunda:
And so the second:
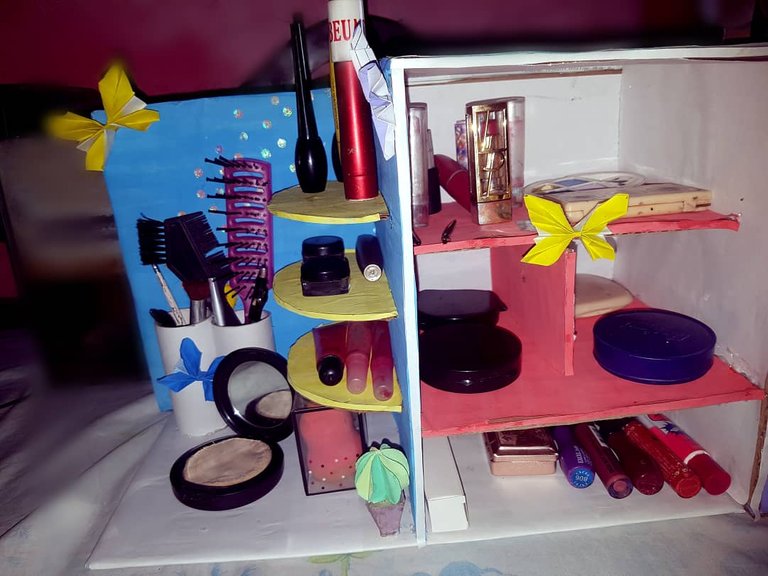
Well, after we finish the whole process of measuring and pasting, comes the most fun part, and that is to put together and mold our organizer.
Friends we started by gathering in our 19,5x38cm base, 3 pieces of 25cm long and 19 wide.
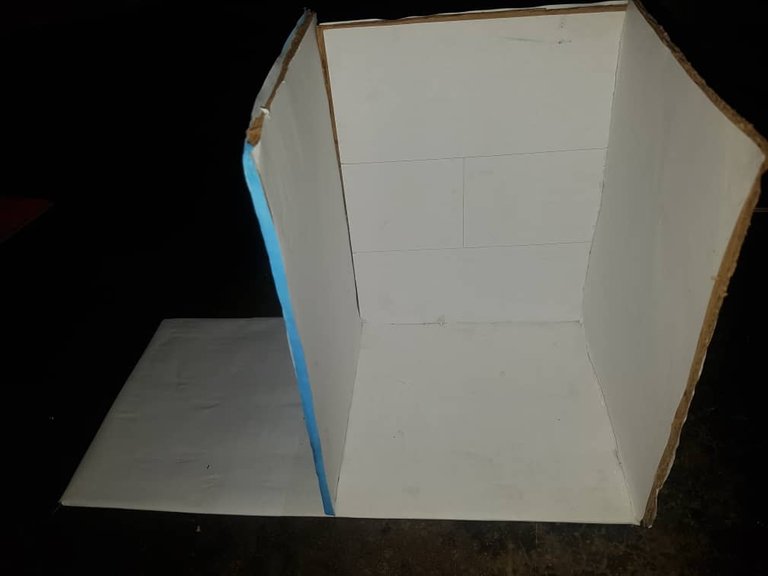
Then we take measurements to place the dividers, make measurements of 8cm, 8cm, 9.5cm, and paste our dividers, first the piece of 19x19cm, then 15x19cm, finally 14.7x8cm, we placed our piece of 20x20cm up, will be our ceiling, and the last piece of 25x19cm on the left side. It will be like this.
Let's go with the second part, as you saw in the image above, the two pieces of 12.5x20.5cm we will cut them and create as a straight circular shape, and put them together on the right side of the organizer, sticking the 16.2x19.5cm base, as we did in the first part to make measurements for the dividers.
First the measure of 5.5cm, then 4.2cm, finally 3.5cm, and paste the pieces, first from bottom to top, so, in the measure 5.5cm join the piece of 19.5x7cm, second of 4.2cm paste 19.5x5cm, and finally 3.5cm tie 19.5x4.2cm will be like this.

To finish joining completely our organizer, the pieces of 5 or 6x5cm cut in a circular shape and paste them on the other side, making measures of 7.5cm , 13.5cm ,and 19cm and paste. In this part they will be equal in shape.
Take our rolls of toalet paper and stick them on the same base as the previous pieces.
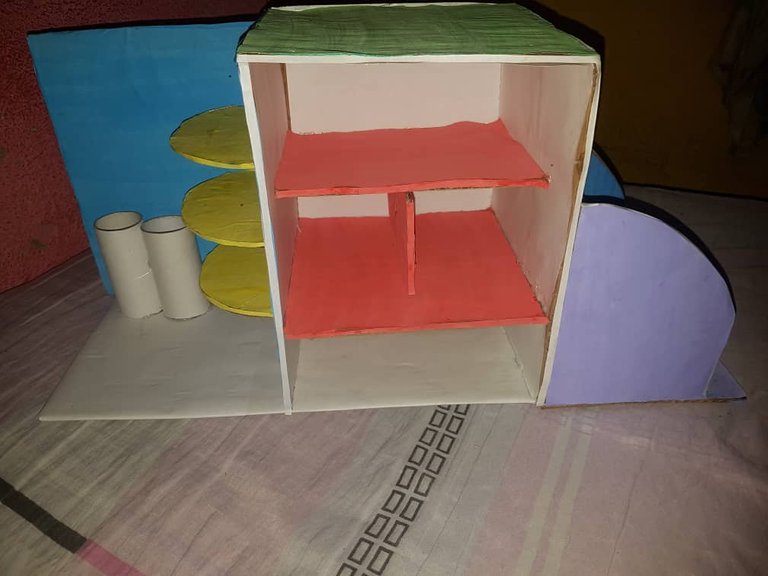
Friends with the leftover colored sheets cut thin strips to cover the edges of the cardboard. Now we have to decorate to our taste
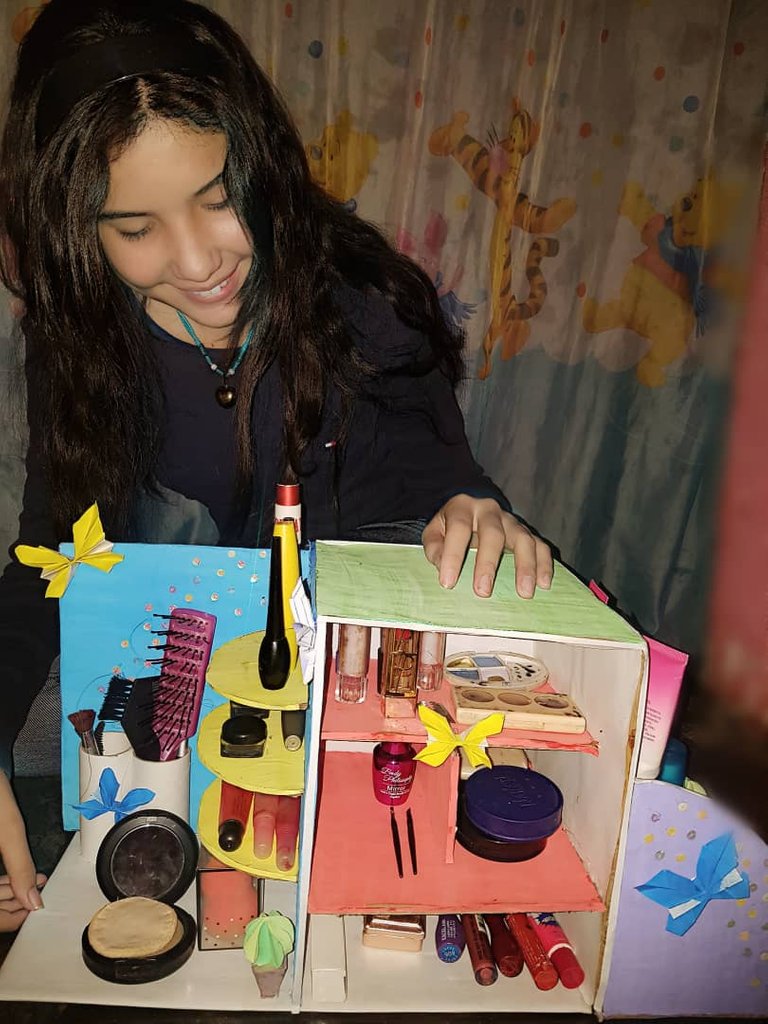
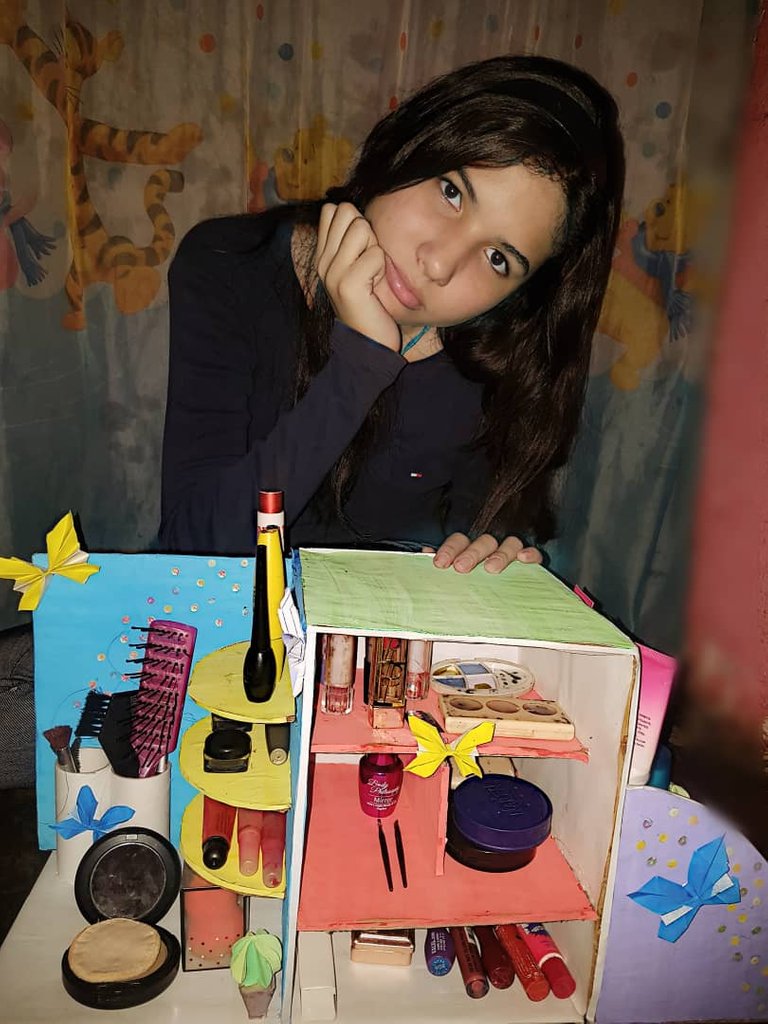
I decorated it with sequins, with the leftover colored leaves I was able to make some butterflies of different sizes, they were beautiful.
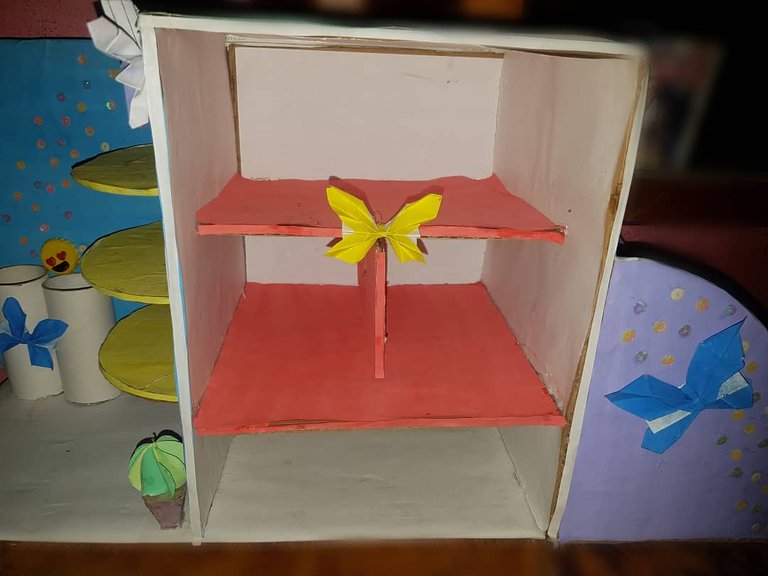
The result is impressive, we put our imagination to the test, we re-used all the leftover materials and created new ones, the truth is that I had a lot of fun doing this organizer and participating in the recycling challenge, thank you very much for inviting me to this beautiful initiative and I hope that we can all recycle in our homes, innovate original and beautiful objects, remember that you don't have to be an expert to innovate, just have imagination.
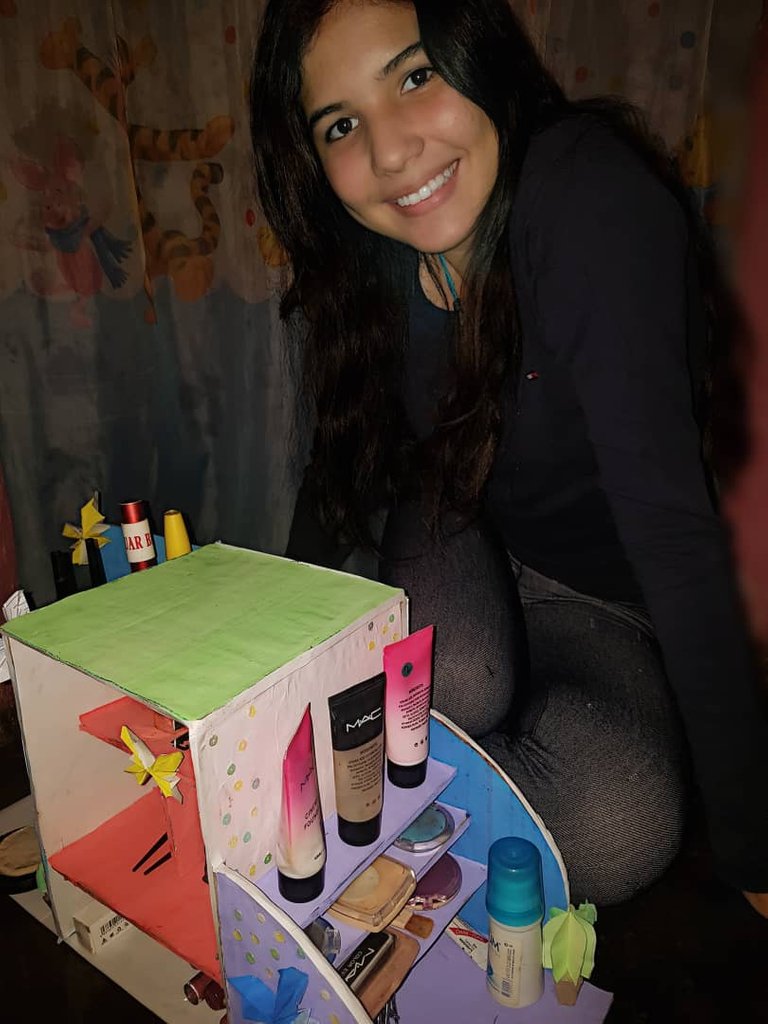
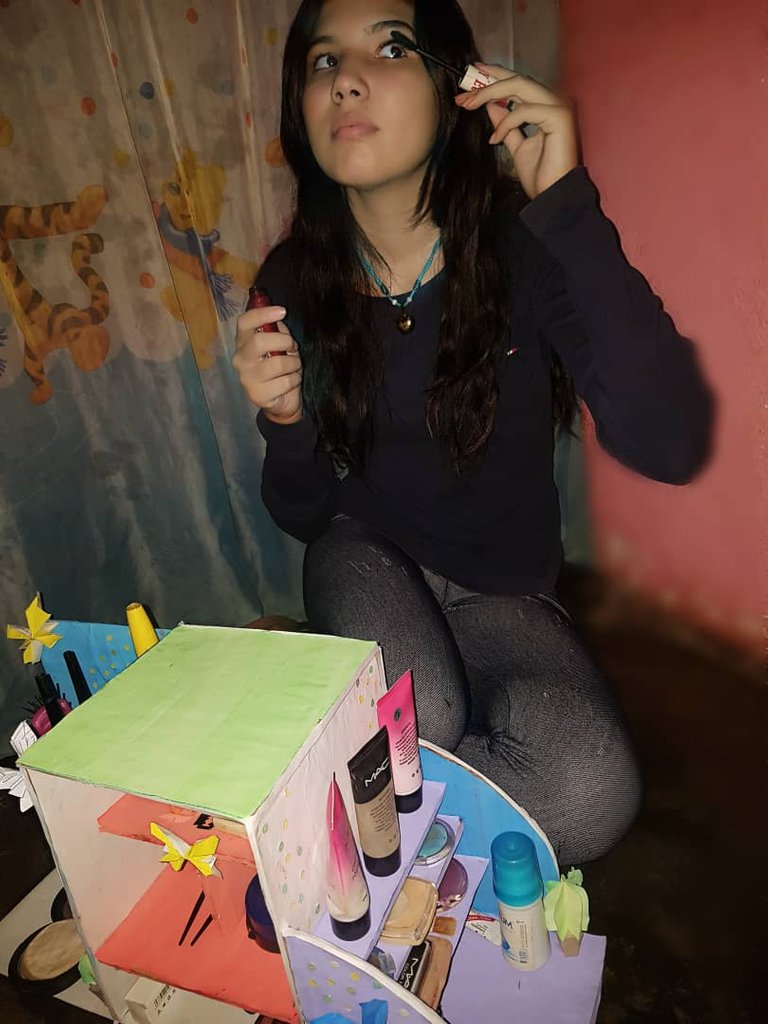
So far our tour of this beautiful makeup organizer, I hope you liked it as much as I did, that you had a lot of fun doing it and learned to create new materials with the re-use, have a good day and see you later, bye. :D
Thank you for posting via our community. This post will be passed to other curation projects for more rewards.
Thank you very much
Me encantó que hayas empleado diversos materiales reciclados, te quedó muy hermoso y sin dudas es una artesanía muy útil. Gracias por unirte al reciclaje creativo.
Muchas gracias, gracias a ti por visitar mi blog, y por invitarme a participar 😁❤️,me pone muy contenta tu comentario 😁
Que bonito te quedo, para la estructura hiciste algún refuerzo? lo digo por el peso de los productos!
Muchas gracias, para nada, solo use cartón grueso y silicona caliente para que pegue muy bien 😁
ah perfecto! :) así ya se
😁✨
Congratulations @lis0426csm! You have completed the following achievement on the Hive blockchain and have been rewarded with new badge(s) :
You can view your badges on your board and compare yourself to others in the Ranking
If you no longer want to receive notifications, reply to this comment with the word
STOPDo not miss the last post from @hivebuzz:
Congratulations, your post has been upvoted by @dsc-r2cornell, which is the curating account for @R2cornell's Discord Community.
Que lindo te quedo. A mi hermana le encanta hacer estas cosas, y es increíble todo lo que se imagina y lo bonito que queda. No pierdas la creatividad, que es un valor que no todos tienen. saludos.
Hola amiga muchas gracias, me alegra mucho que tu hermana recicle de verdad❤️, saludos igualmente ✨😊 un abrazo.