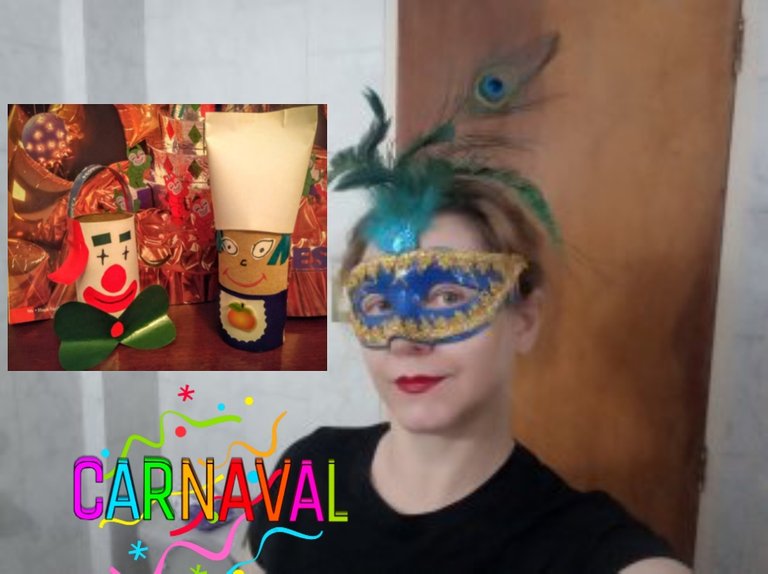
Happy Carnival to all! I bring you an ideal proposal to entertain the little ones at home.
Making crafts with recycled materials helps to reduce the levels of pollution already existing in the environment. And if there is any material that is really left over in the house constantly are the toilet paper tubes; in this post I show you the step by step to transform this material and turn it into two cute recycled characters, a clown and a chef.
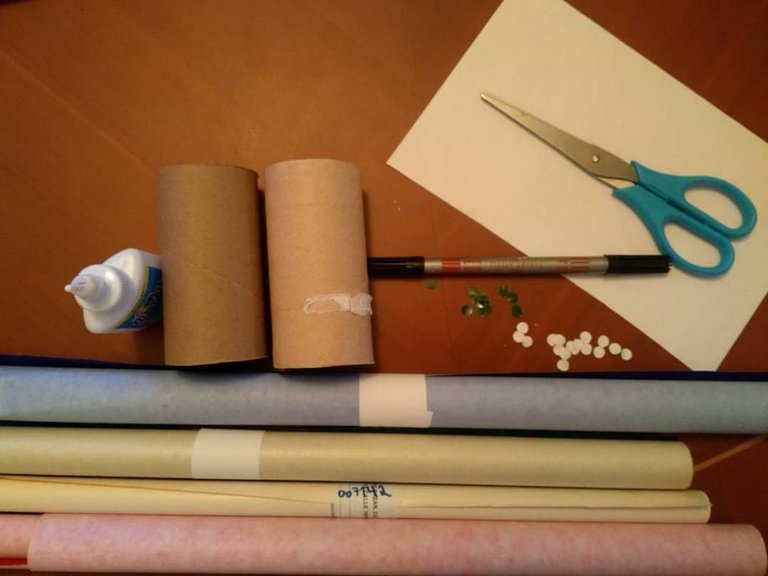
📌 Materiales:
- Tubos de papel higiénico
- Papel lustrillo de varios colores
- Pega
- Tijeras
- Marcador Negro
📌 Materials:
- Toilet paper tubes
- Shine paper of various colors
- Glue
- Scissors
- Black marker

Payaso de Carnaval Paso a Paso 🤡 Carnival Clown Step by Step

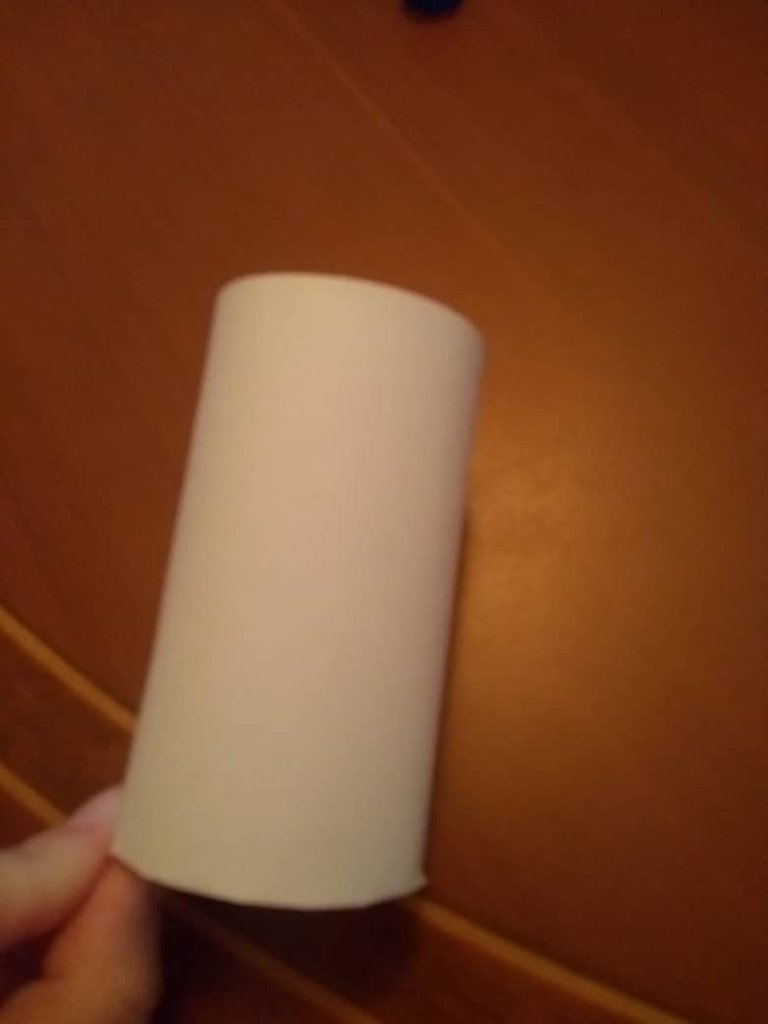
1.- Forramos el tubo de papel higiénico con papel lustrillo blanco.
1.- We line the toilet paper tube with white luster paper.
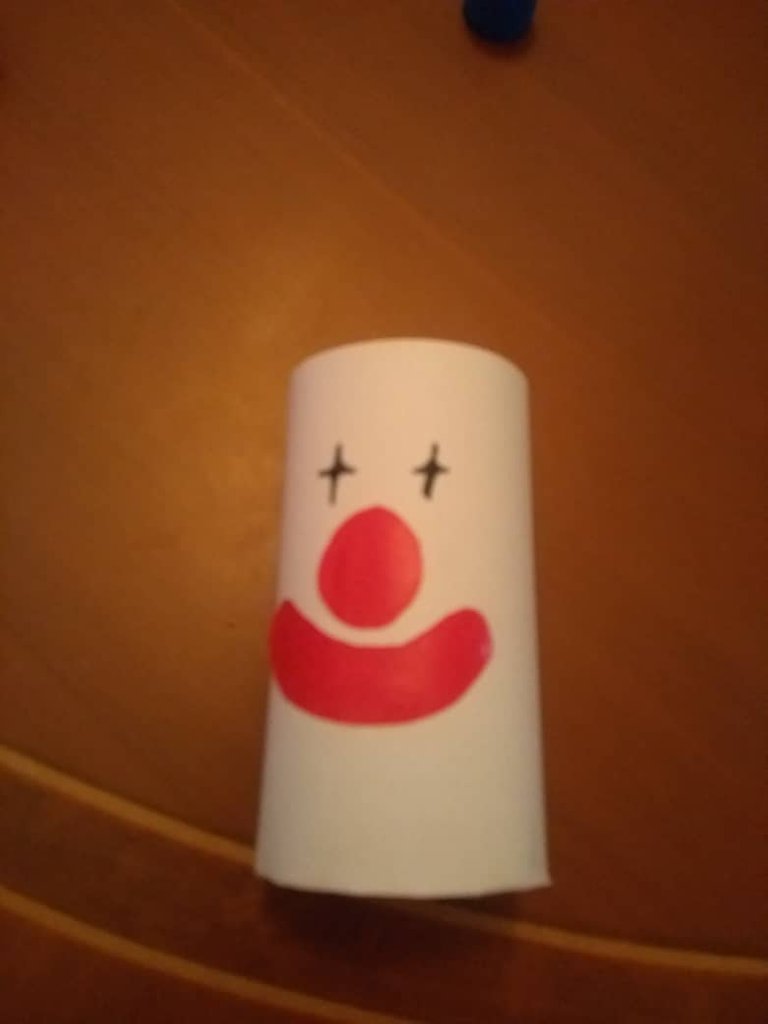
2.- Ya forrado, le colocamos la boca y la nariz hechas con papel lustrillo rojo. Le dibujamos los ojos con el marcador negro.
2.- Already lined, we place the mouth and nose made with red luster paper. We draw the eyes with the black marker.
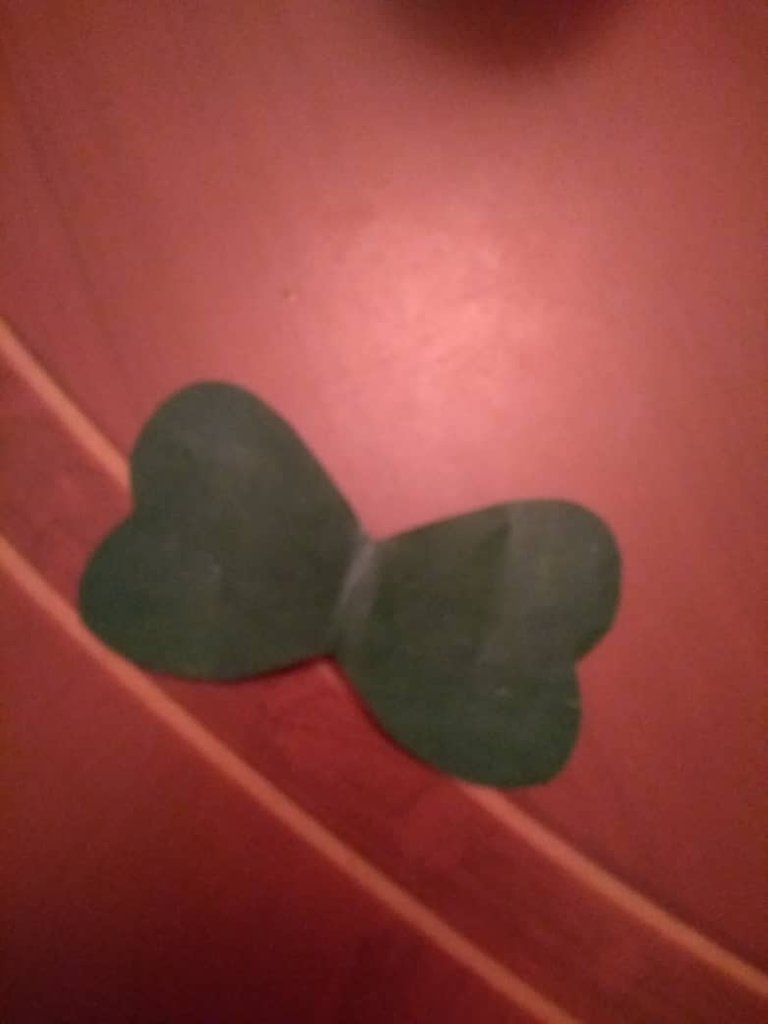
3.- Le hacemos el corbatín con papel lustrillo del color que mas te guste. Yo escogí color verde.
3.- We make the tie with lustrillo paper of the color that you like. I chose green.
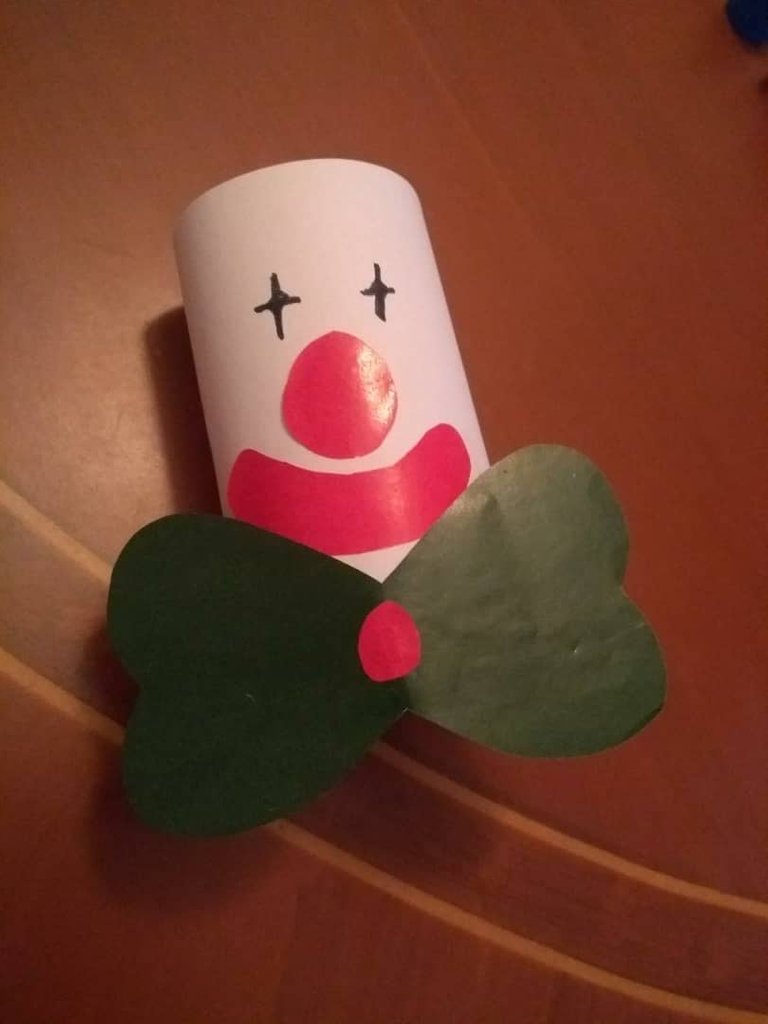
4.- Seguimos armando nuestro payaso pegándole el corbatín.
4.- We continue assembling our clown by gluing the tie.
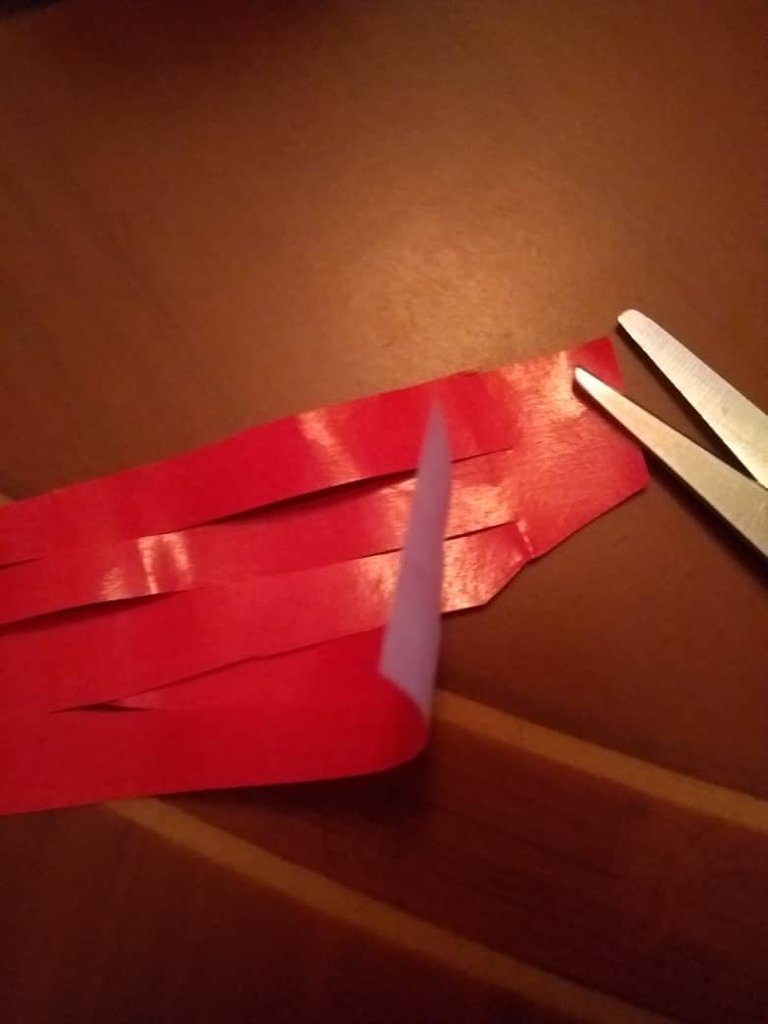
5.- Cortamos papel lustrillo color rojo para el cabello y dos cuadritos verdes para las cejas.
5.- We cut red lustrillo paper for the hair and two green squares for the eyebrows.
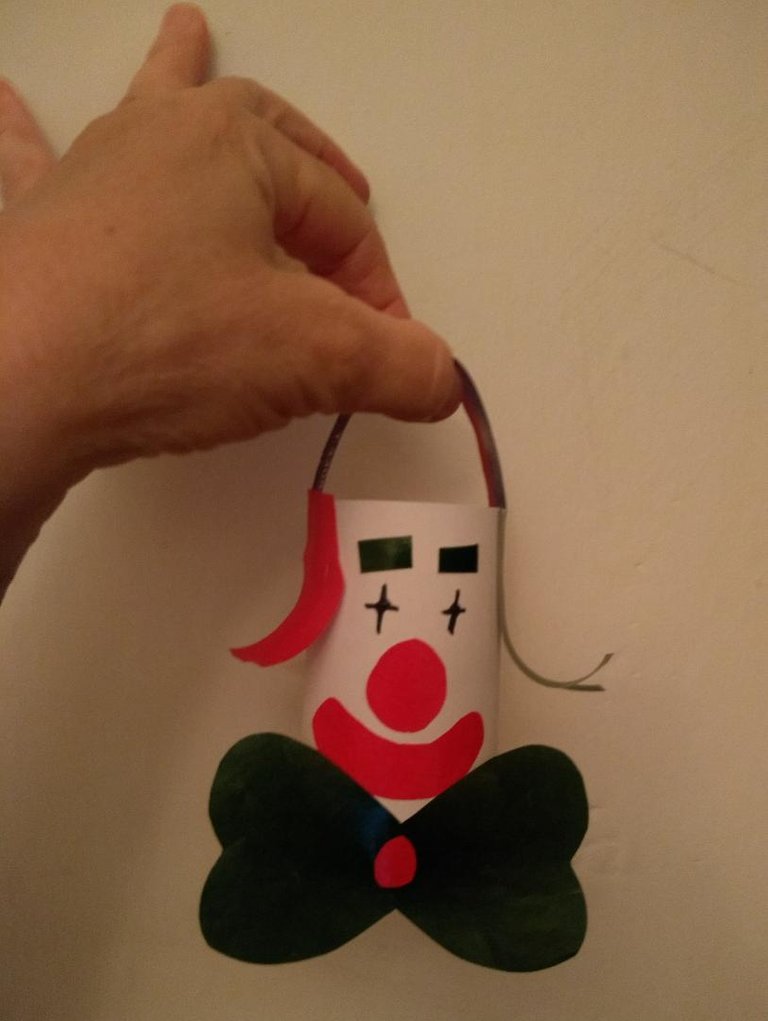
Y ya esta listo nuestro payaso de carnaval. Le coloqué un asa para que la pequeña de la casa lo peda usar de cestita.
And now our carnival clown is ready. I put a handle on it so that the little girl can use it as a basket.
La Chef del Payaso 🤡 The Clown's Cook

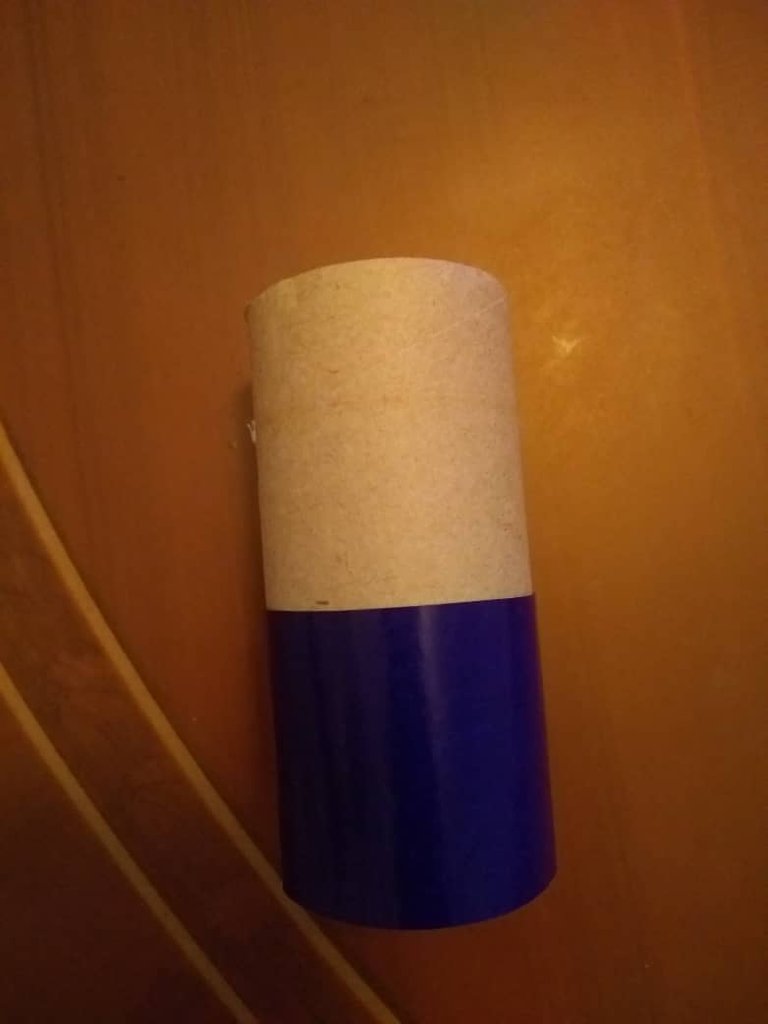
1.- Forraremos nuestro tubo de cartón por la parte de abajo con un poco de papel de color azul.
1.- We will line our cardboard tube on the bottom with some blue paper.
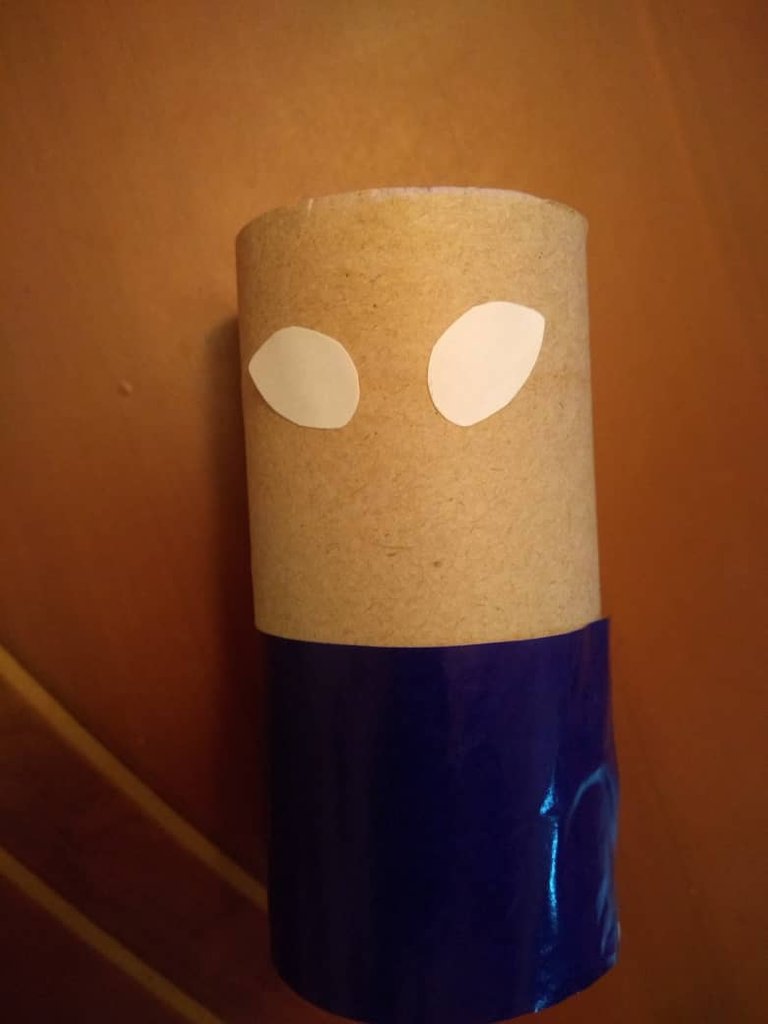
2.- Recortaremos unos ojos con papel lustrillo blanco y se los pegamos en la parte de arriba del tubo para darle forma a la cara.
2.- Cut out some eyes with white luster paper and glue them on the top of the tube to give shape to the face.
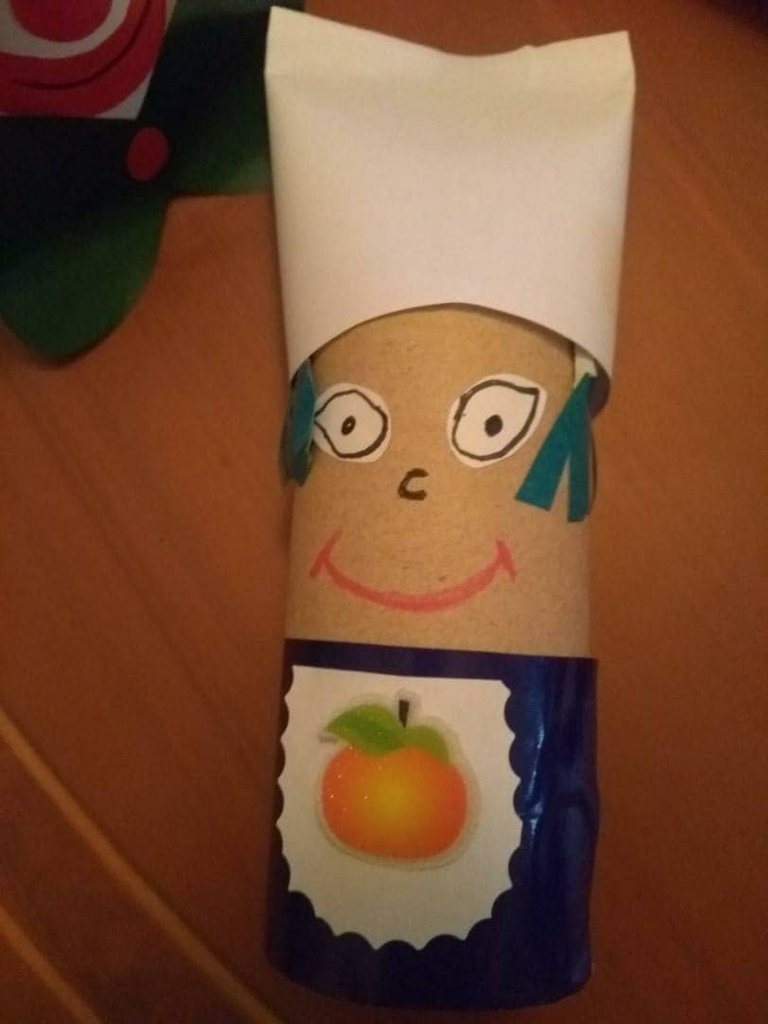
Haremos los últimos retoques: le damos forma a los ojos con el marcador negro, dibujamos la nariz, la boca, le pegamos el pelo y luego el gorro, acabaremos de decorar pegándole el delantal y una linda calcomanía.
We will make the finishing touches: we will shape the eyes with the black marker, draw the nose, the mouth, glue the hair and then the hat, we will finish decorating by gluing the apron and a nice sticker.
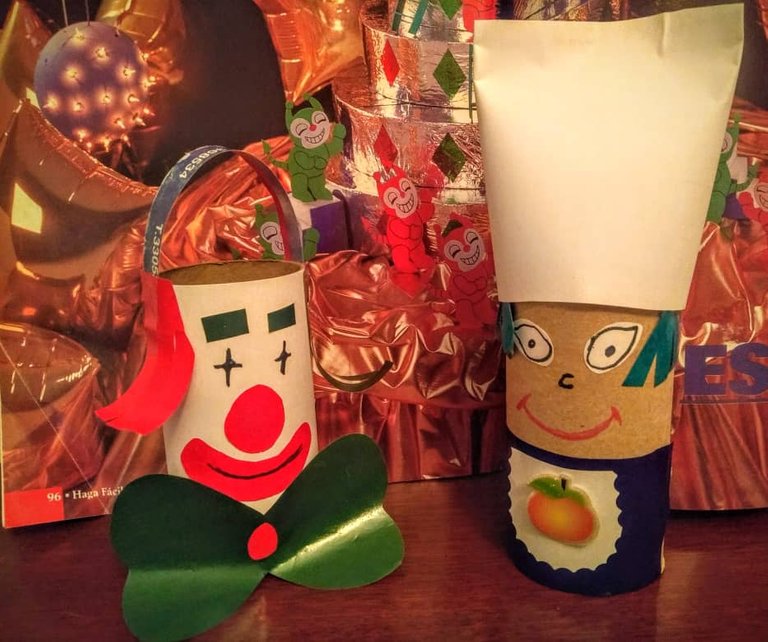
Y ya tenemos dos estupendas manualidades que llenaran tu casa de alegría este carnaval.🎉🎊
And we already have two great crafts that will fill your home with joy this carnival.🎉🎊
By @machiqui63

¡Disfruta tu día y gracias por visitarme!
Enjoy your day and thanks for visiting me!
- La galería de fotos es de mi autoría. Las tomé con mi móvil Xiaomi Redmi6
- The photo gallery is of my authorship. I took them with my mobile Xiaomi Redmi6
Texto traducido con: DeepL