Making bee tendrils with wire.
Haciendo zarcillos de abejas con alambre.
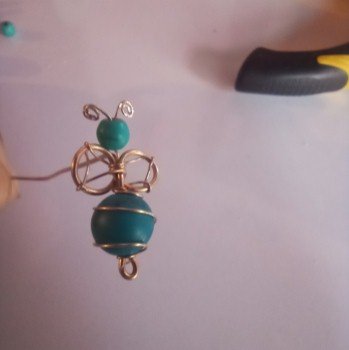
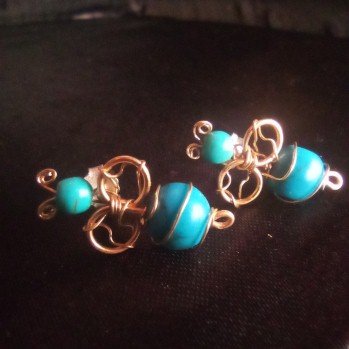
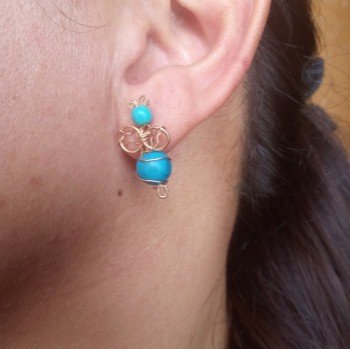
Greetings my dear reader friends, today I want to share with you some beautiful tendrils in the shape of bees made with costume jewelry wire and precious turquoise blue stones.
Saludos mis queridos amigos lectores el día de hoy quiero compartir con ustedes unos preciosos zarcillo en forma de abejas realizados con alambre de bisutería y una preciosas piedras azul turquesa.
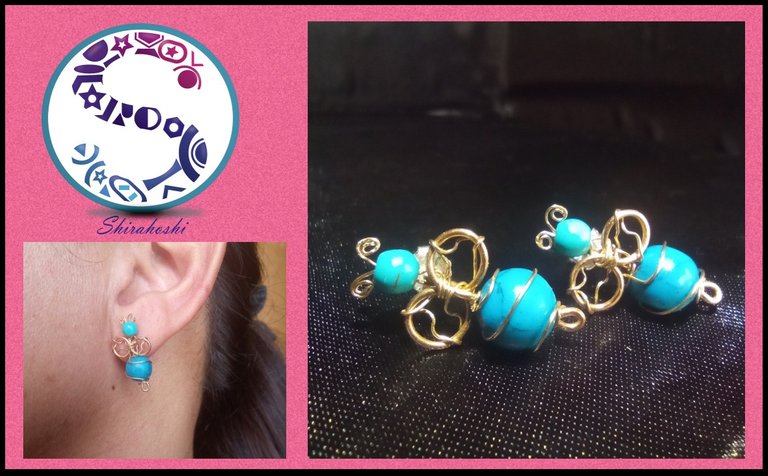
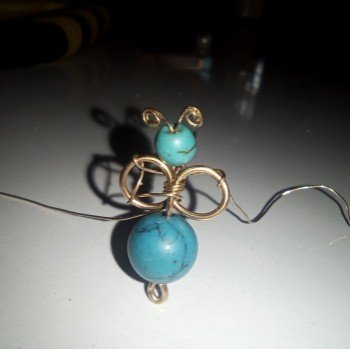
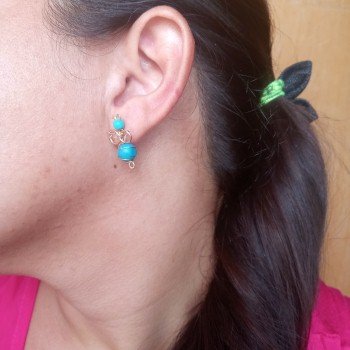
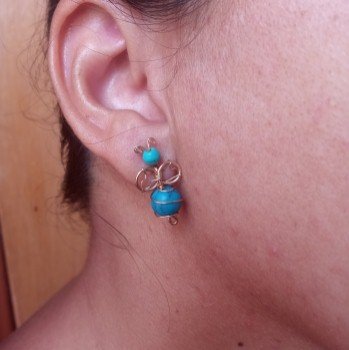
As you saw these pretty tendrils are quite beautiful as they have a very delicate appearance and also have a comfortable and practical size to wear, also the materials we will use are easy to change according to the style and shape you want to give them.
Como vieron estos lindos zarcillos son bastante hermosos ya que tienen un aspecto muy delicado y además cuentan con un tamaño cómodo y practico de llevar, también los materiales que usaremos son fáciles de cambiar según el estilo y la forma que ustedes les quieran dar.
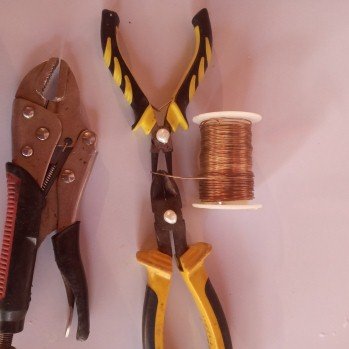
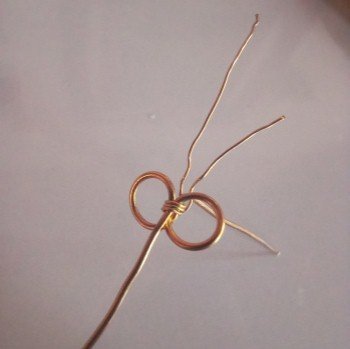
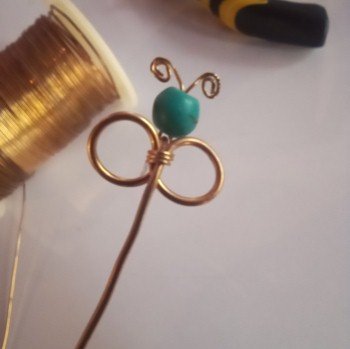
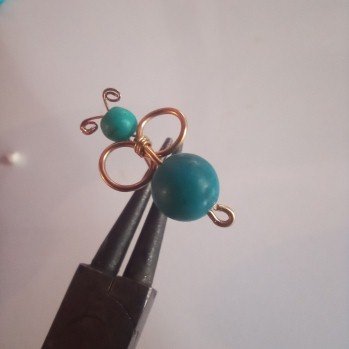
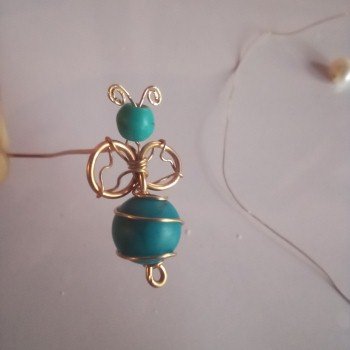
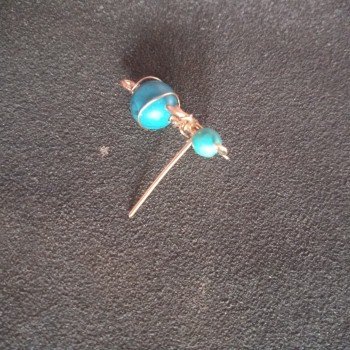
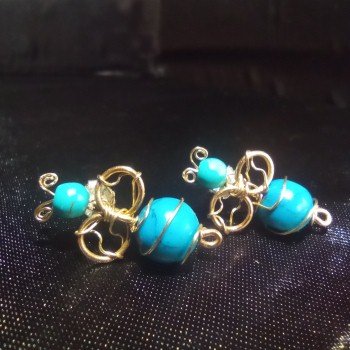
The first thing we need to make these tendrils is a not very thick wire and a little thinner one to give the details in the wings, antennae and tail, also a couple of large stones and a couple of smaller ones for the head.
Lo primero que necesitamos para hacer estos zarcillos es un alambre de bisutería no muy grueso y uno un poco más delgado para dar los detalles en las alas, antenas y rabo, igualmente un par de piedras grande y otro par más chica para la cabeza.
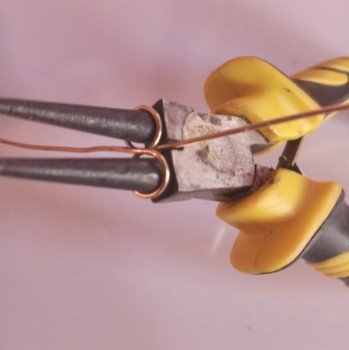
As tools we will only need a pickaxe, a round pliers and our beautiful hands ;)
Como herramientas solo necesitaremos una piqueta, una pinza redonda y nuestras lindas manos ;)


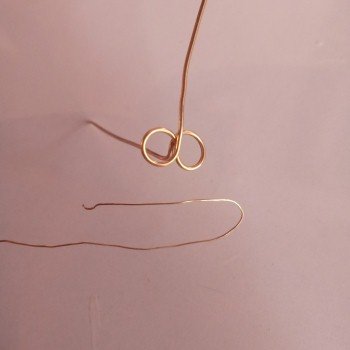

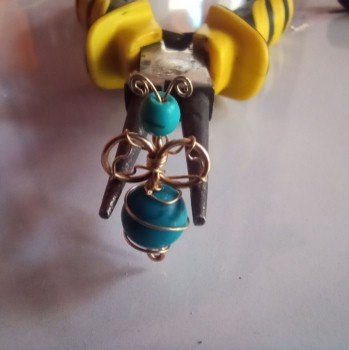
To make these tendrils we must take a little time because it is such a small piece sometimes it can be a little frustrating but with love and patience you will be able to make it ;) As always grateful to those who read until the end of the post, I love you @shirahoshi and I hope to see you in another opportunity.
Para hacer estos zarcillos debemos de tomarnos un poco de tiempo ya que por ser una pieza tan pequeña en ocasiones puede llegar a ser un poco frustrante pero con cariño y paciencia seguro lograran realizarla ;) Como siempre agradecida con los que leen hasta e final del post los quiere @shirahoshi y los espero en otra oportunidad.
The Step by Step Gif was made by me in AdobePhotoshop CC2014.
El Gif de Paso a Paso fue realizado por mi en AdobePhotoshop CC2014.
The logo was designed by me in Adobe Illustrator CC 2015 and its animated version was made in After Effects CC 2017.
El logo fue diseñado por mí en Adobe Illustrator CC 2015 y su versión animada la realice en After Effects CC 2017.
Language corrector used Deepl.

Muy hermoso 😍
Hermosos zarcillos @shirahoshi 😍