HI HI! happy day DIY friends of #HIVEDIY, I hope you are well. Today I would like to share with you my entry to the #Cardboard World contest, for a couple of days I was thinking about how to develop a manual project with this material that would have a natural approach and would be useful, I did not want to miss this opportunity since I I love to recycle cardboard, so I looked at a bamboo log next to my small space that I use as a workshop and I had an idea to make a beautiful home for garden birds with its water and food dispenser with the cardboard and I would like to describe to you as I have done.
¡HOLA!!HOLA! feliz día amigos bricolajeros de #HIVEDIY, espero se encuentren bien. El día de hoy me gustaría compartir con ustedes mi entrada al concurso #Cardboard World, desde hace par de días estuve pensando cómo elaborar un proyecto manual con este material que tuviera un enfoque natural y fuera útil, no me quería perder esta oportunidad ya que me encanta reciclar el cartón, entonces observe un tronco de bambú a un lado de mi pequeño espacio que utilizo como taller y se me vino de idea elaborar con el cartón un hermoso hogar para aves de jardín con su dispensador de agua y alimento y me gustaría describirles como lo he realizado.
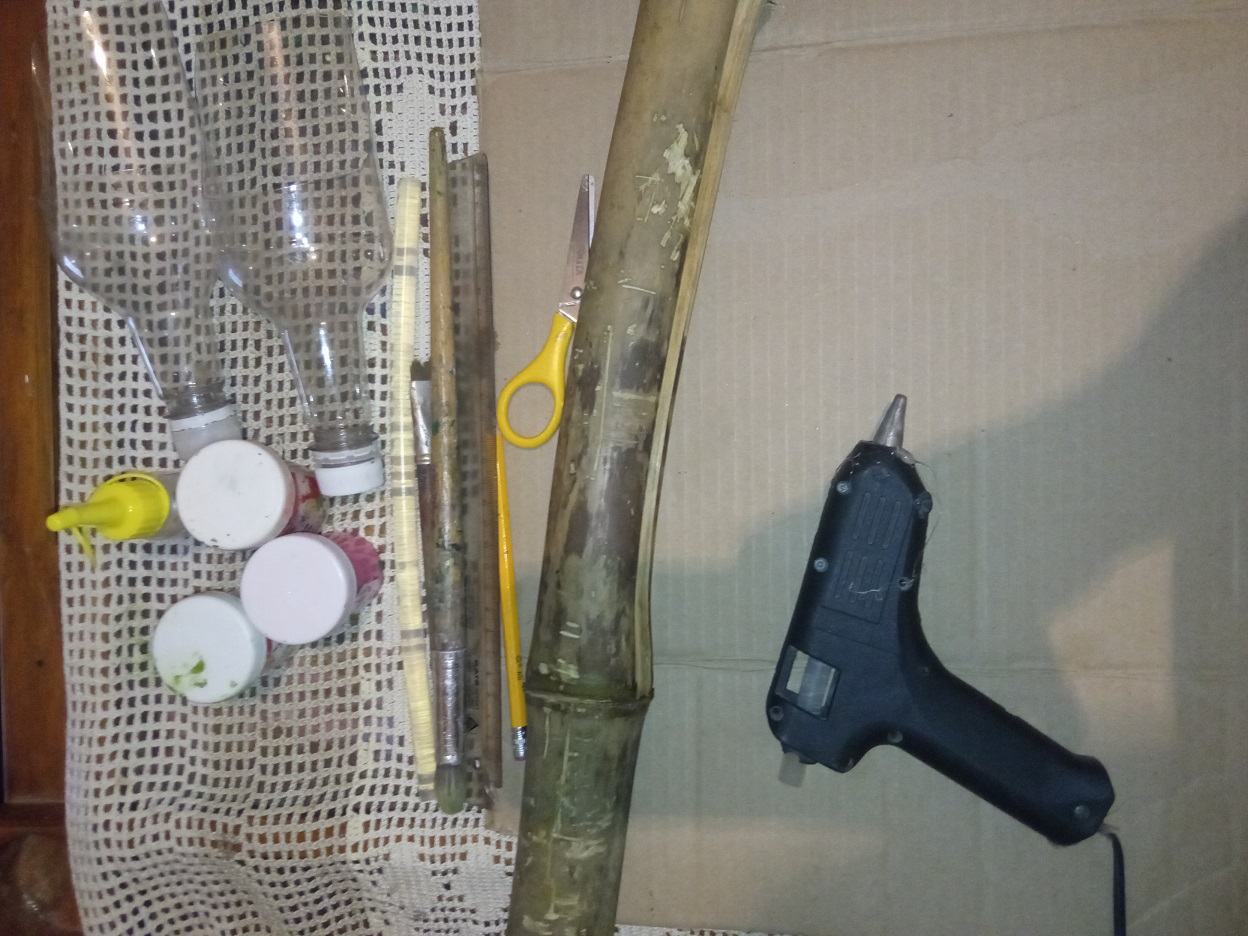
Used materials:
• Carton box.
• Paint colors: yellow, pink, green and red.
• Pair of scissors.
• Liquid glue.
• Stick silicone with your gun.
• 2 plastic beverage bottles trimmed from the top of the bottle.
• Rule.
• Pencil.
• Brush: thick.
• Trunk of bamboo.
Materiales utilizados:
• Caja de cartón.
• Pintura colores: amarillllo, rosado, verde y rojo.
• Tijeras.
• Pegamento líquido.
• Silicón en barra con su pistola.
• 2 botellas plásticas de bebidas recortadas desde el pico de la botella.
• Regla.
• Lapiz.
• Pincel: grueso.
• Tronco de bambú.
Start of my craft:
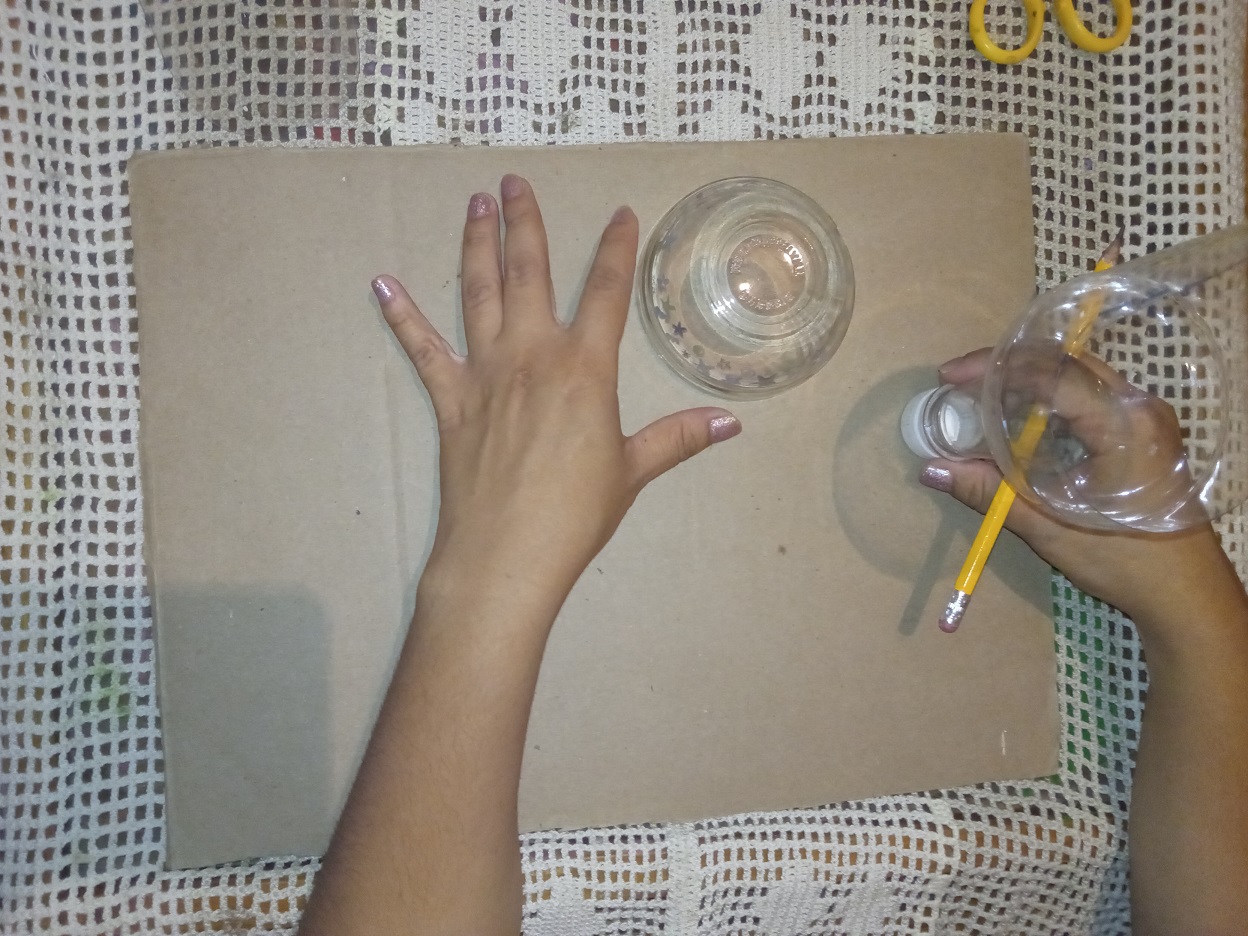
Step I:
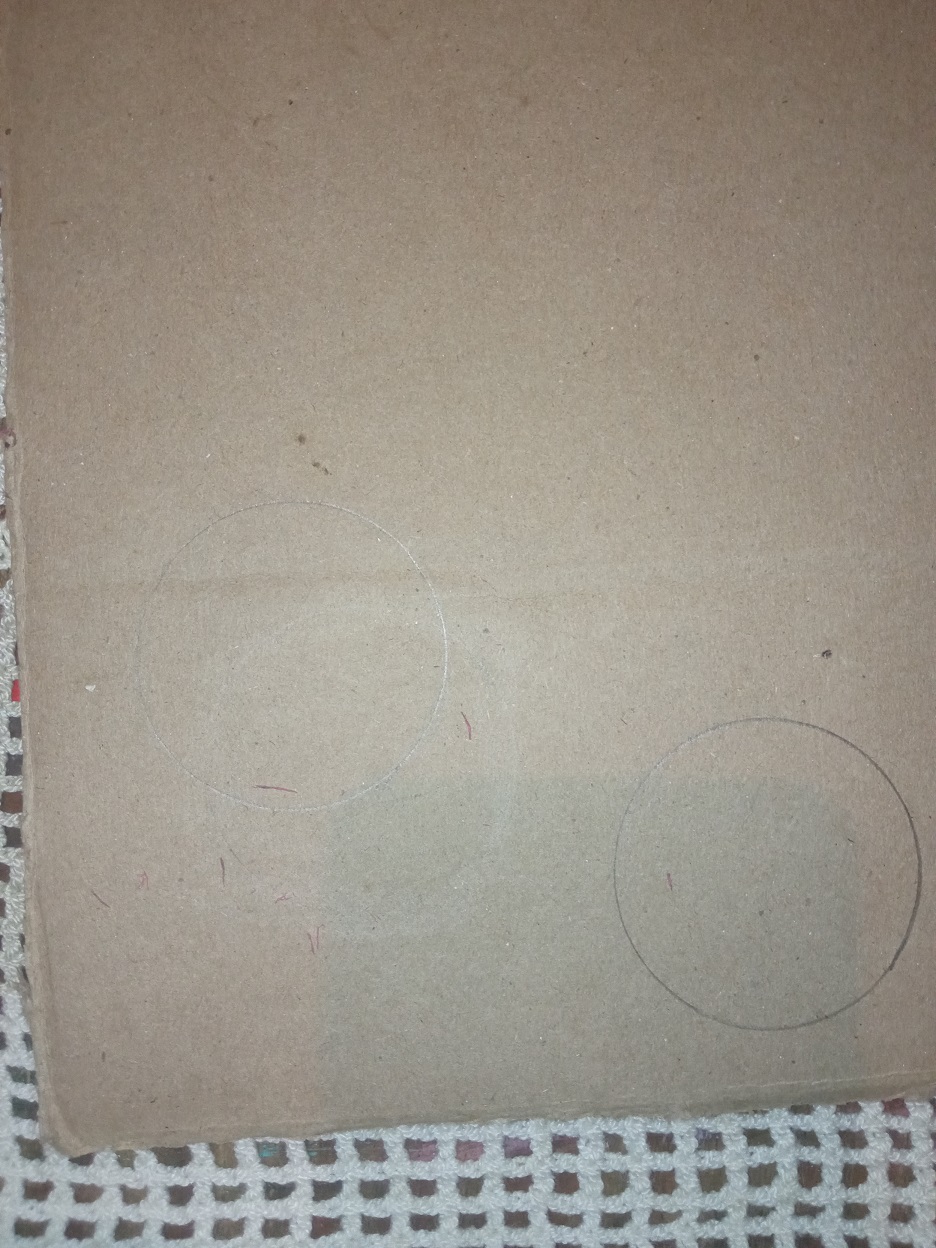
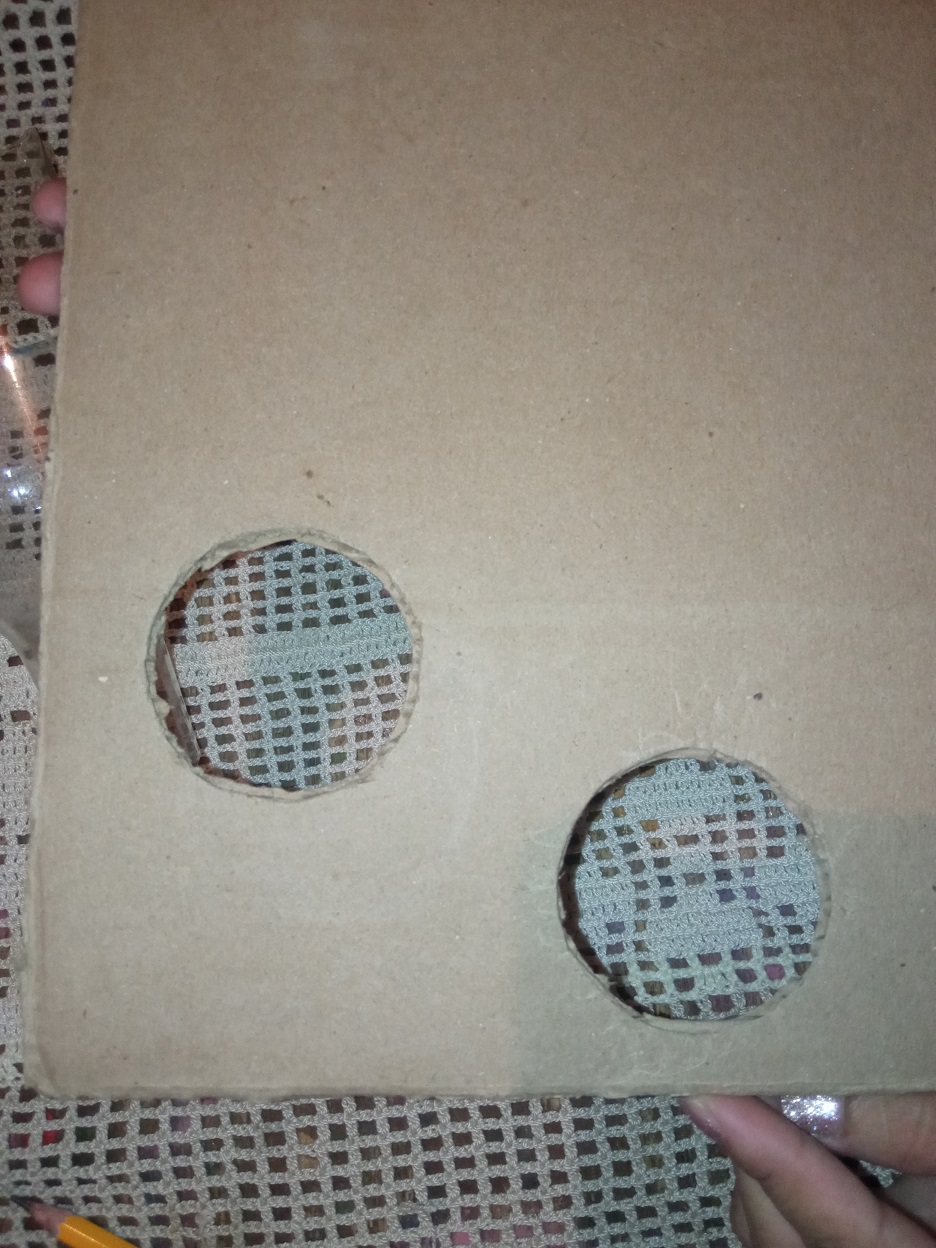
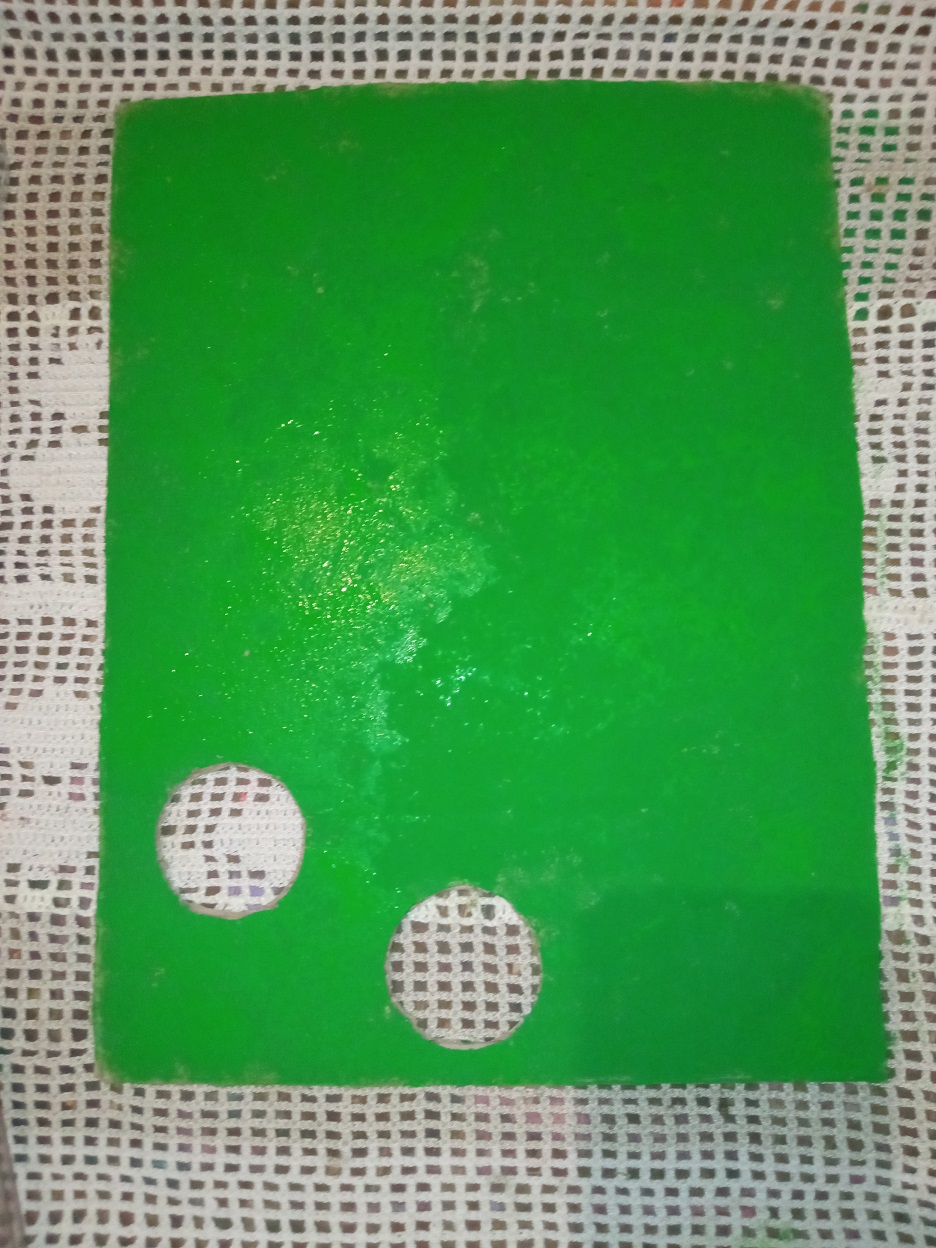
I cut with my scissors a cardboard rectangle of about 36 cm long by 28 cm wide, then I take a circular container of the same size as my plastic bottle containers and mark two circumferences with the pencil, then I cut out the circumferences ( my containers must pass through the holes left) and I paint the whole cardboard green with the thick brush.
Inicio de mi manualidad:
Paso I:
Corto con mis tijeras un rectángulo de cartón de unos 36 cm de largo por 28cm de ancho, luego tomo un envase circular de igual tamaño que mis contenedores de botellas plásticas y marco en con el lápiz dos circunferencias, luego recorto las circunferencias (por los agujeros dejados deben pasar mis contenedoros) y pinto de verde con el pincel grueso todo el cartón.
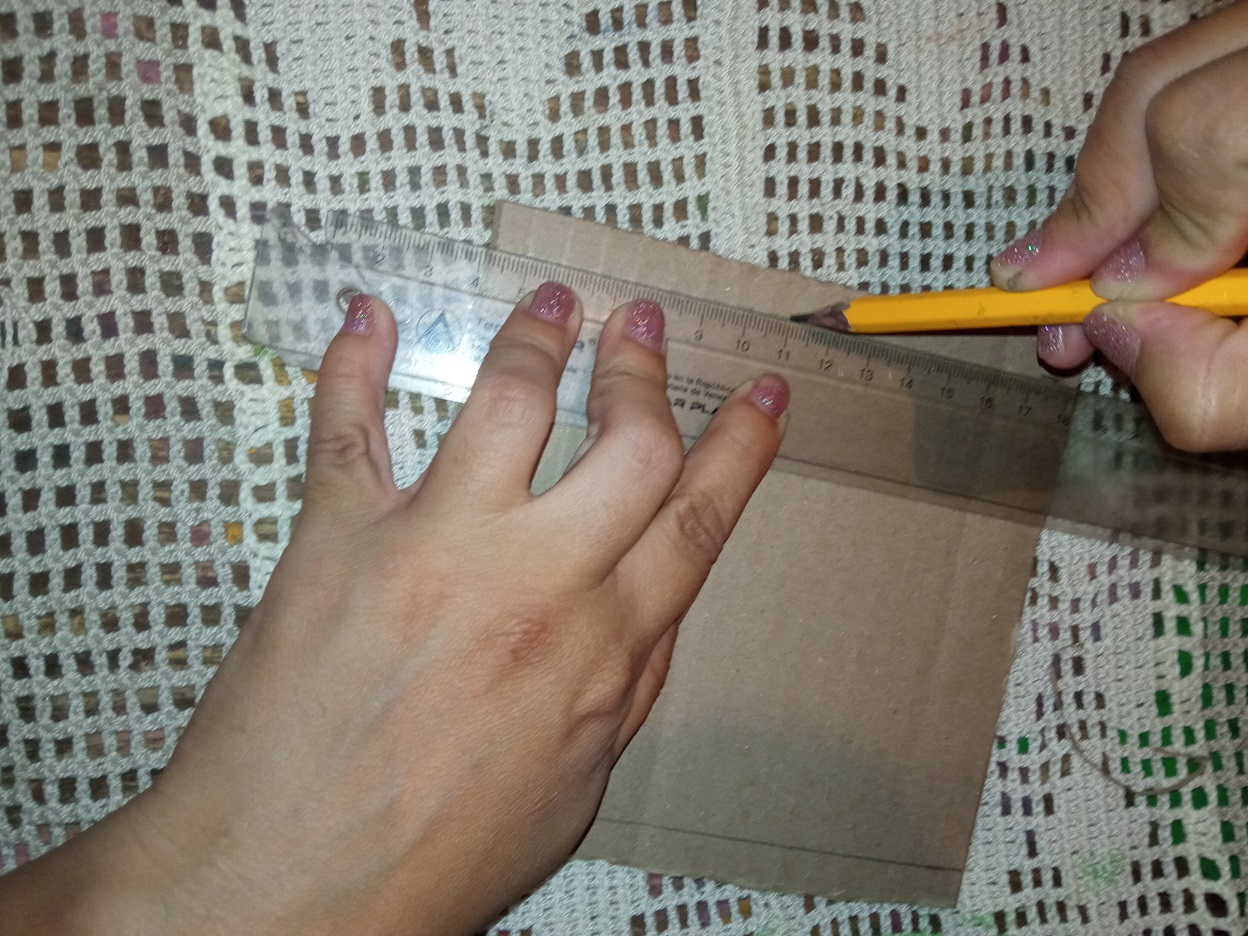
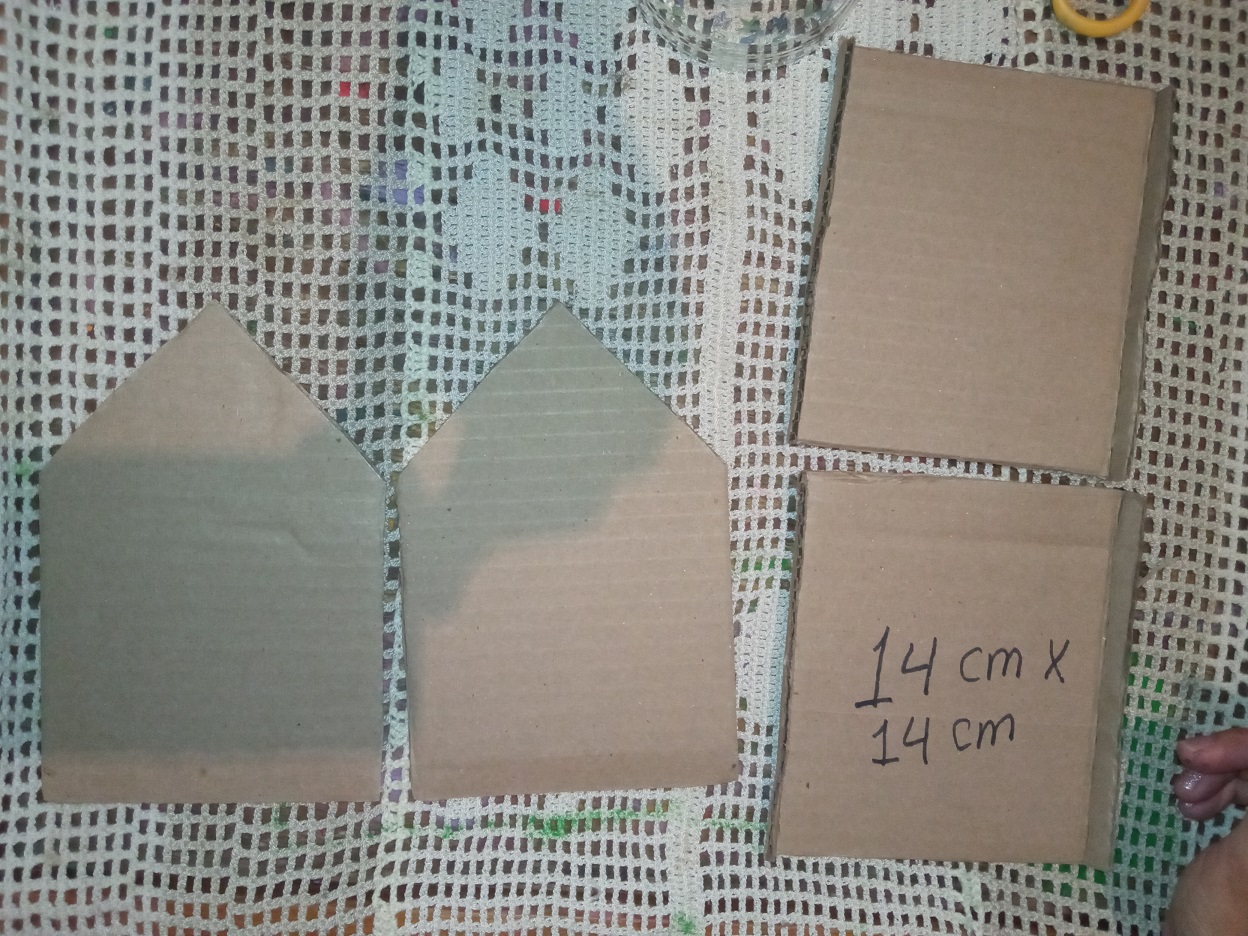
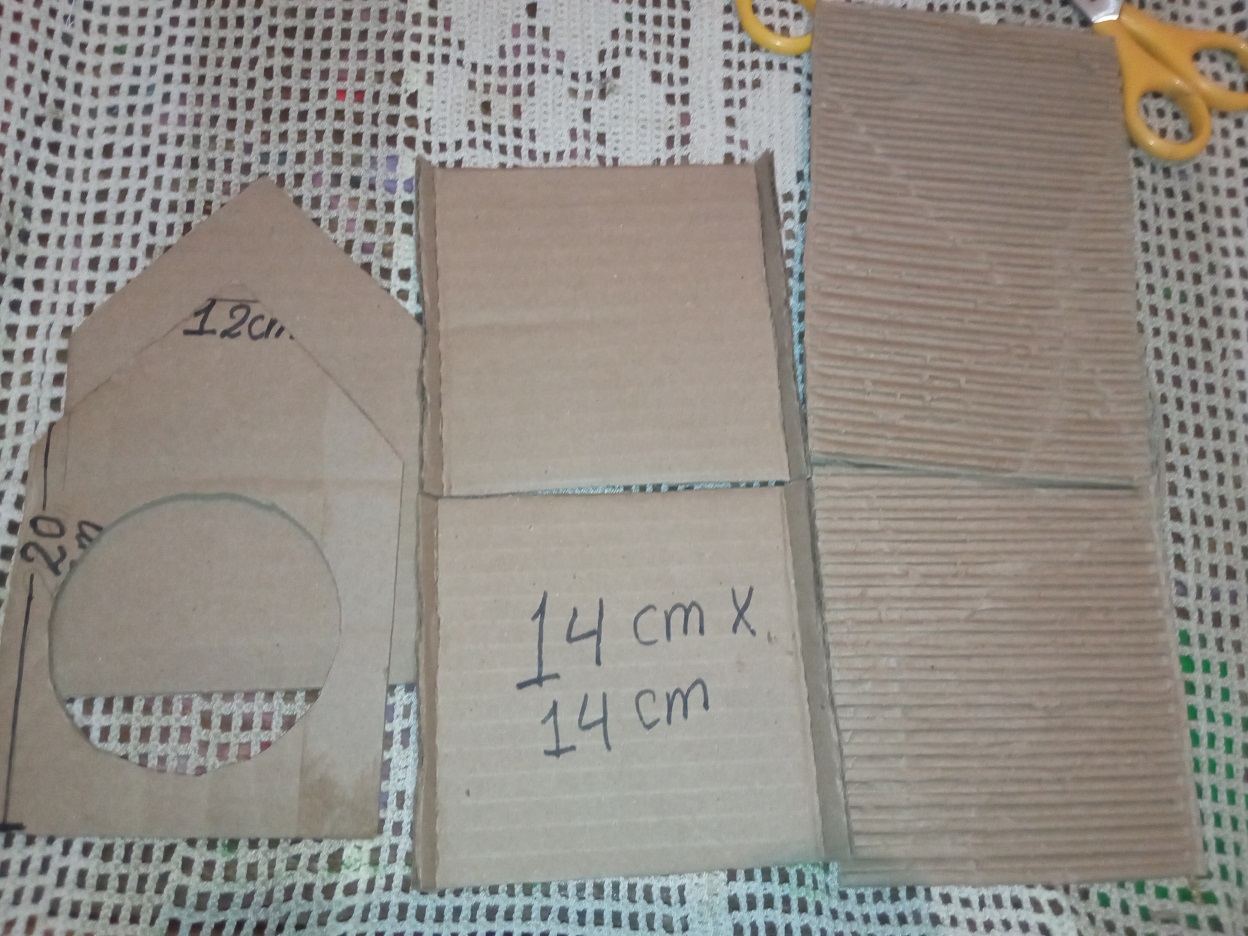
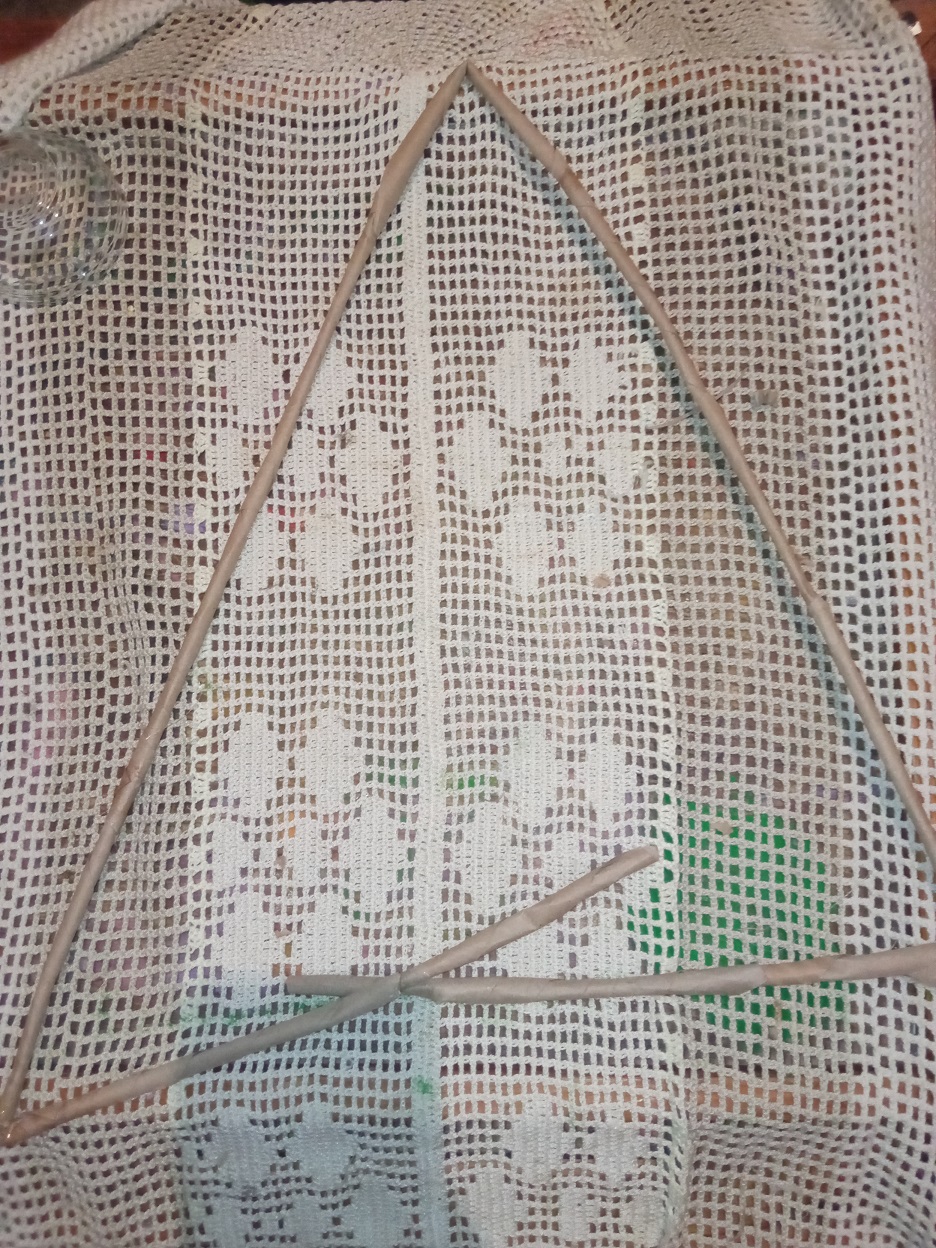
Step II:
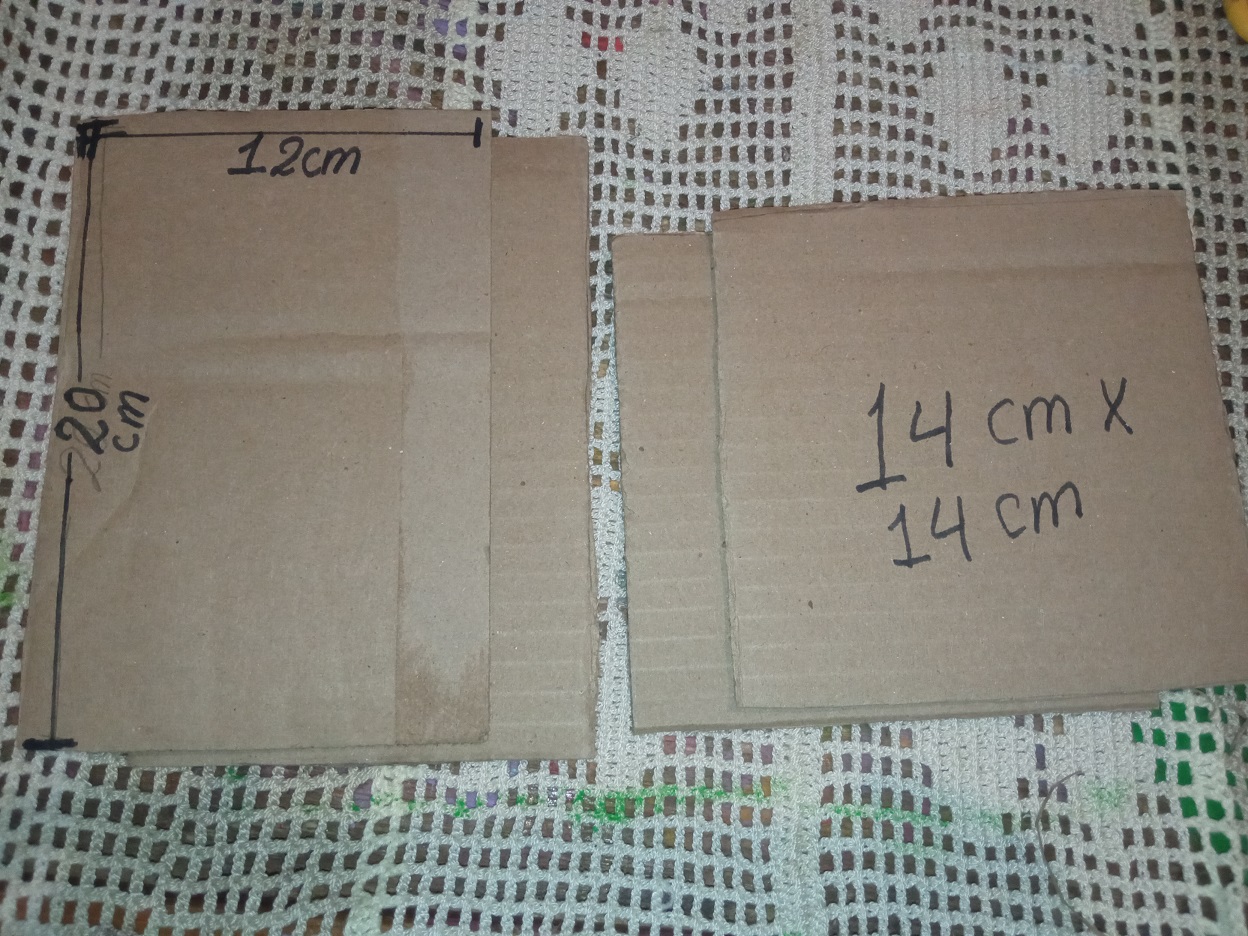
Using the ruler, I mark on the cardboard two rectangles with the measurements of 18cmx12cm and two squares with the measurements of 14cmx14cm and cut out with the scissors. In the squares I mark a 1cm flap on each side and with the help of the scissors I mark and bend inwards and in the rectangles I mark with the ruler a triangle at each end that closes at a height of 14cm to form the facade of the house of the bird.
Paso II:
Utilizando la regla marco en el cartón dos rectángulos con las medidas de 18cmx12cm y dos cuadrados con las medidas de 14cmx14cm y recorto con las tijeras. En los cuadrados marco una aleta de 1cm a cada lado y con la ayuda de las tijeras remarco y doblo hacia dentro y en los rectángulos marco con la regla un triángulo en cada punta que cierre a la altura de 14cm para formar la fachada de la casita del ave.


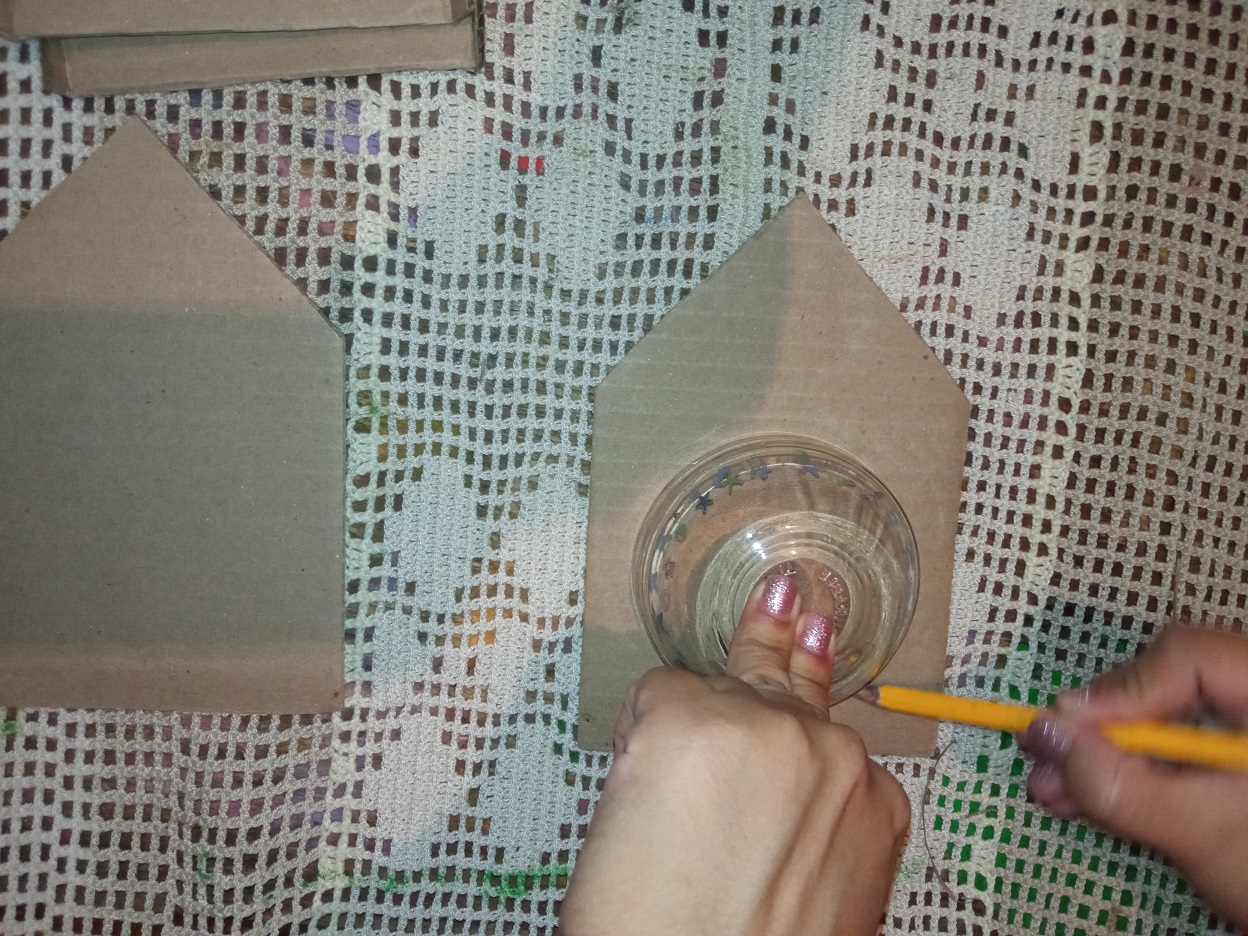
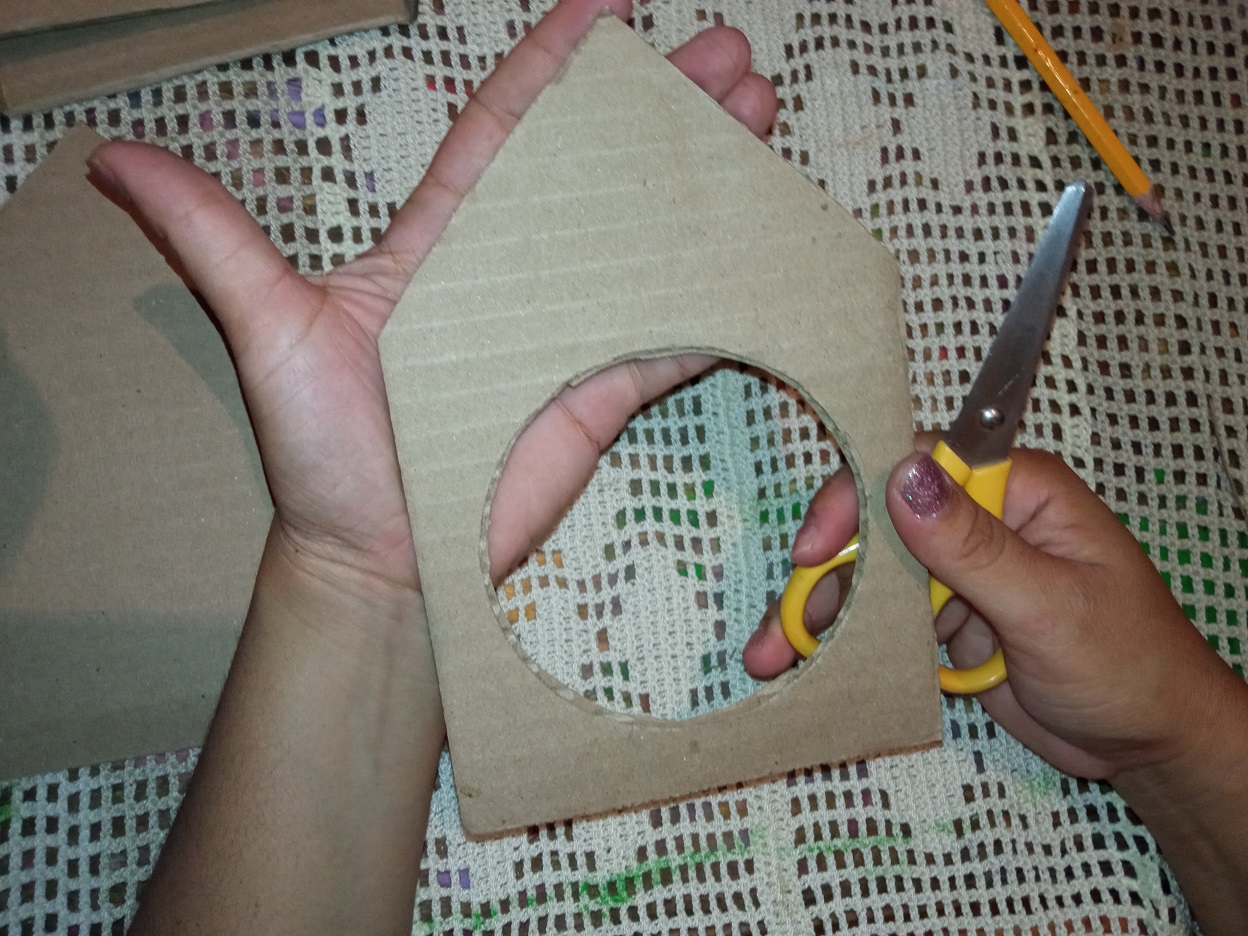
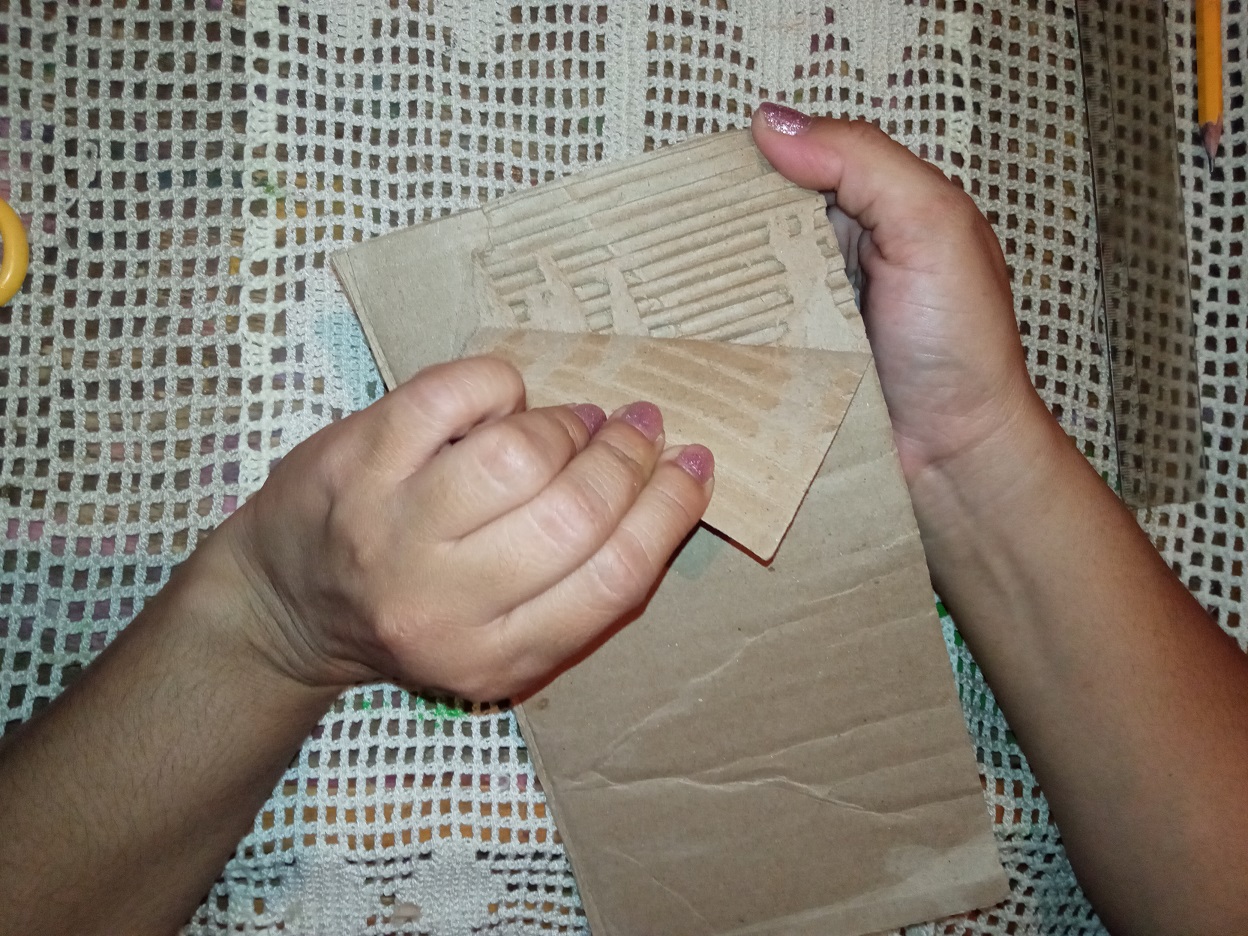
Step III:
I mark the center of one of my pointed figures with a circular object and cut it out with the scissors. I also cut out two 20cmx12cm pieces of cardboard and corrugated by removing one of the paper sides of the cardboard. And so we will have the roof of the bird house.
Paso III:
Con un objeto circular marco el centro de una de mis figuras puntiagudas y recorto con las tijeras. También recorto dos pedazos de cartón de 20cmx12cm y corrugo quitando uno de los lados de papel del cartón. Y así tendremos el techo de la casita del ave.
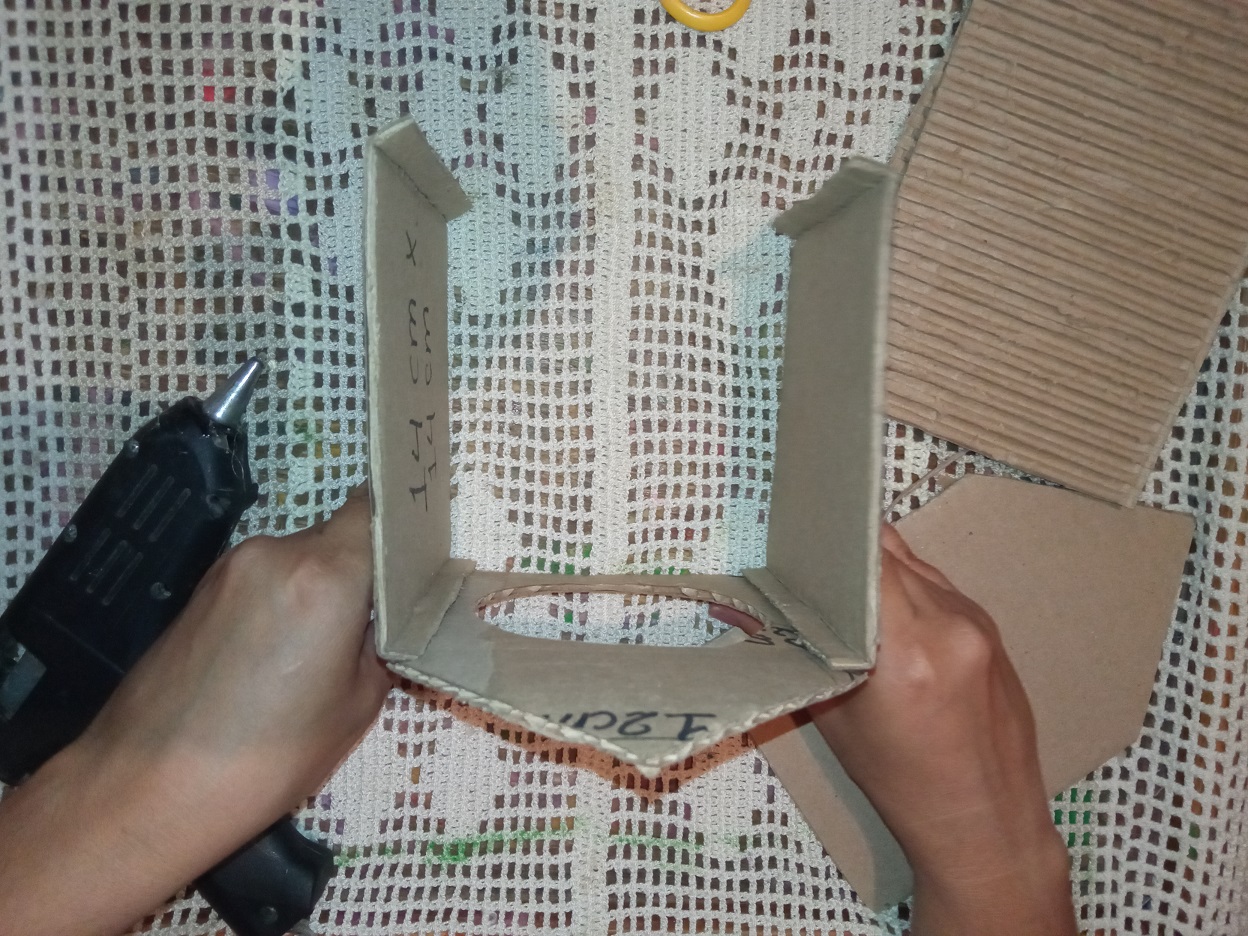
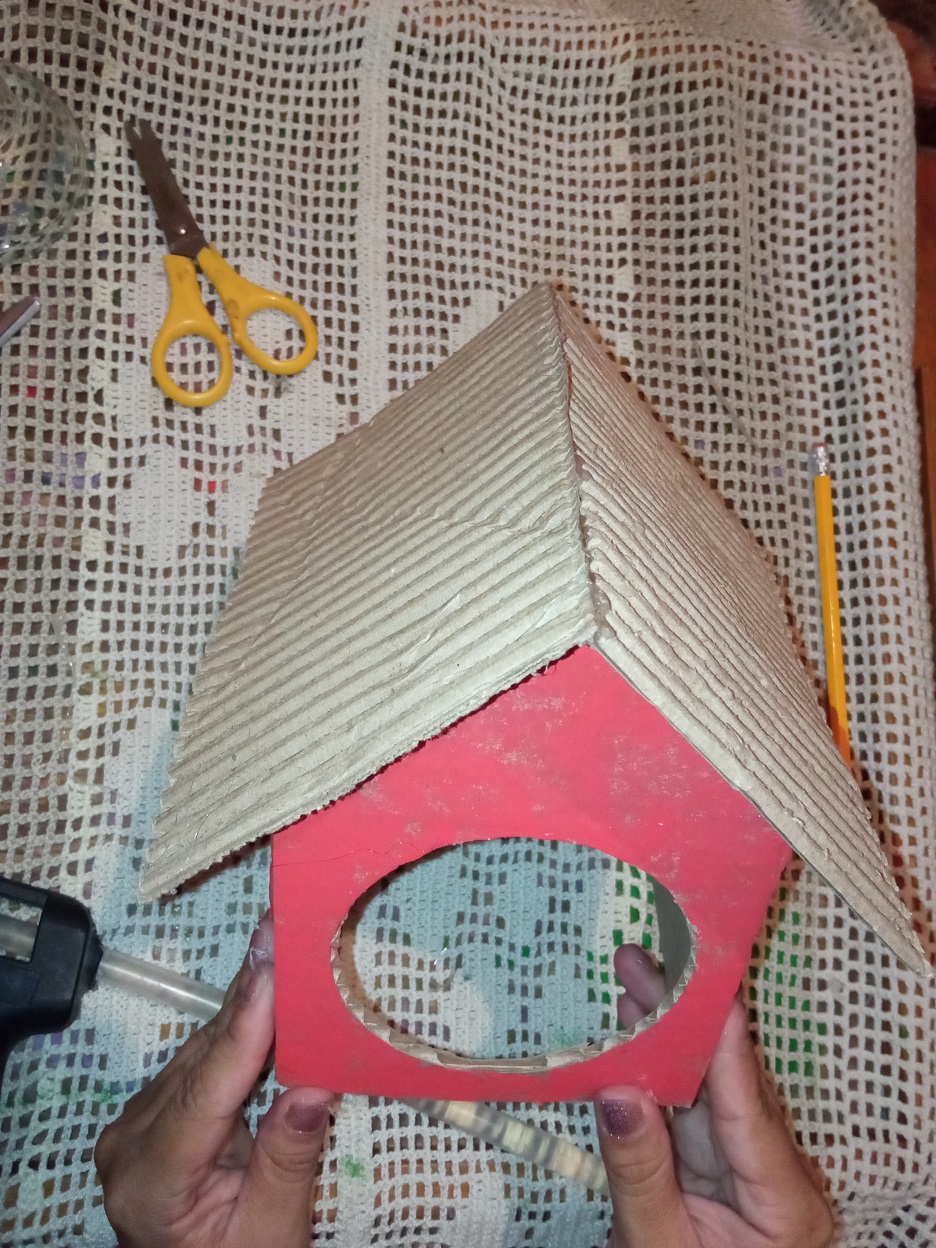
Step IV:
I stick with the stick silicone and my gun all the elements of the house and I apply red color on the walls without covering all the color of the cardboard. Then, I glue the little house of our bird with the green base.
Paso IV:
Pego con el silicón de barra y mi pistola todos los elementos de la casa y aplico color rojo en las paredes sin tapar todo el color del cartón. Luego, pego la casita de nuestra ave de la base verde.

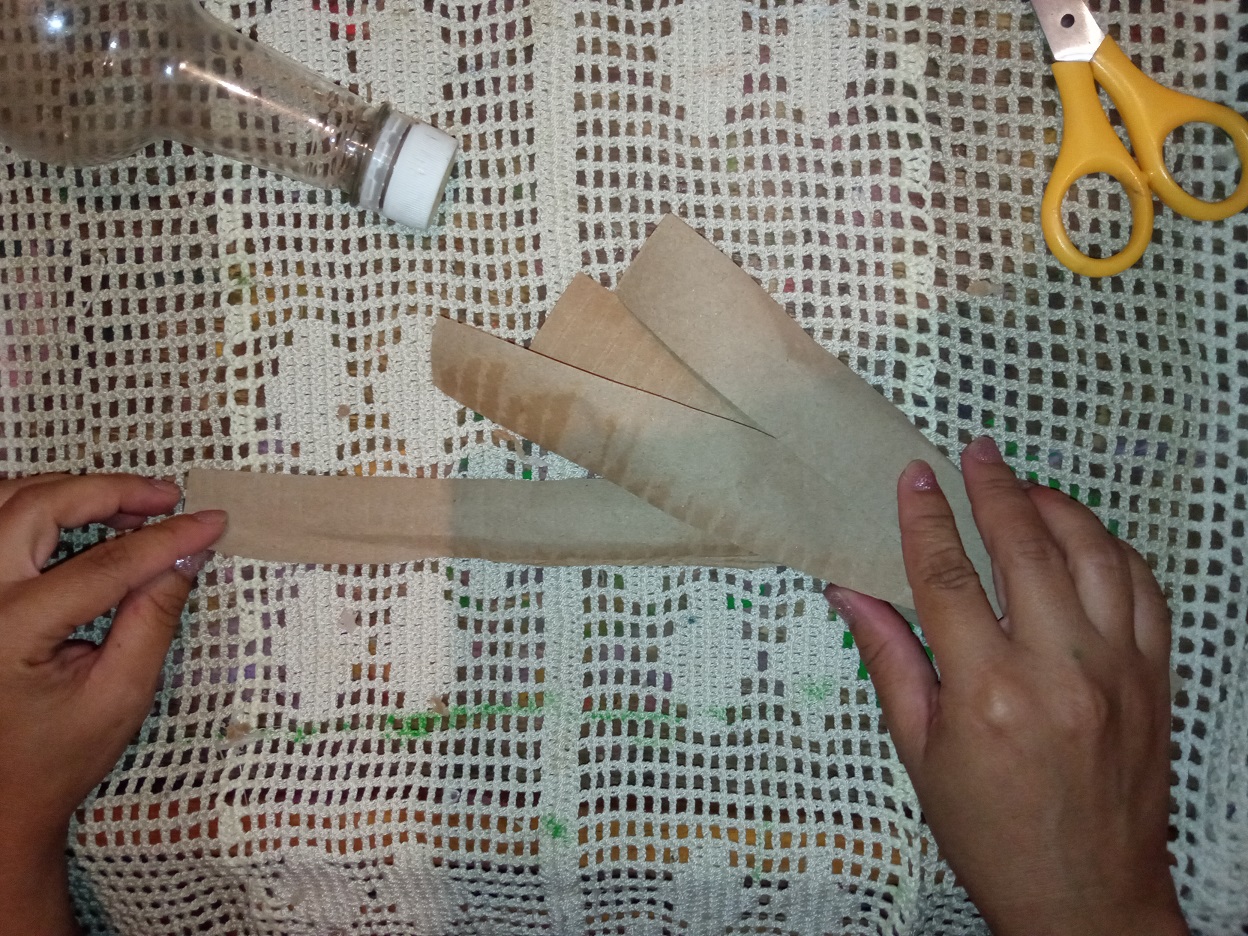
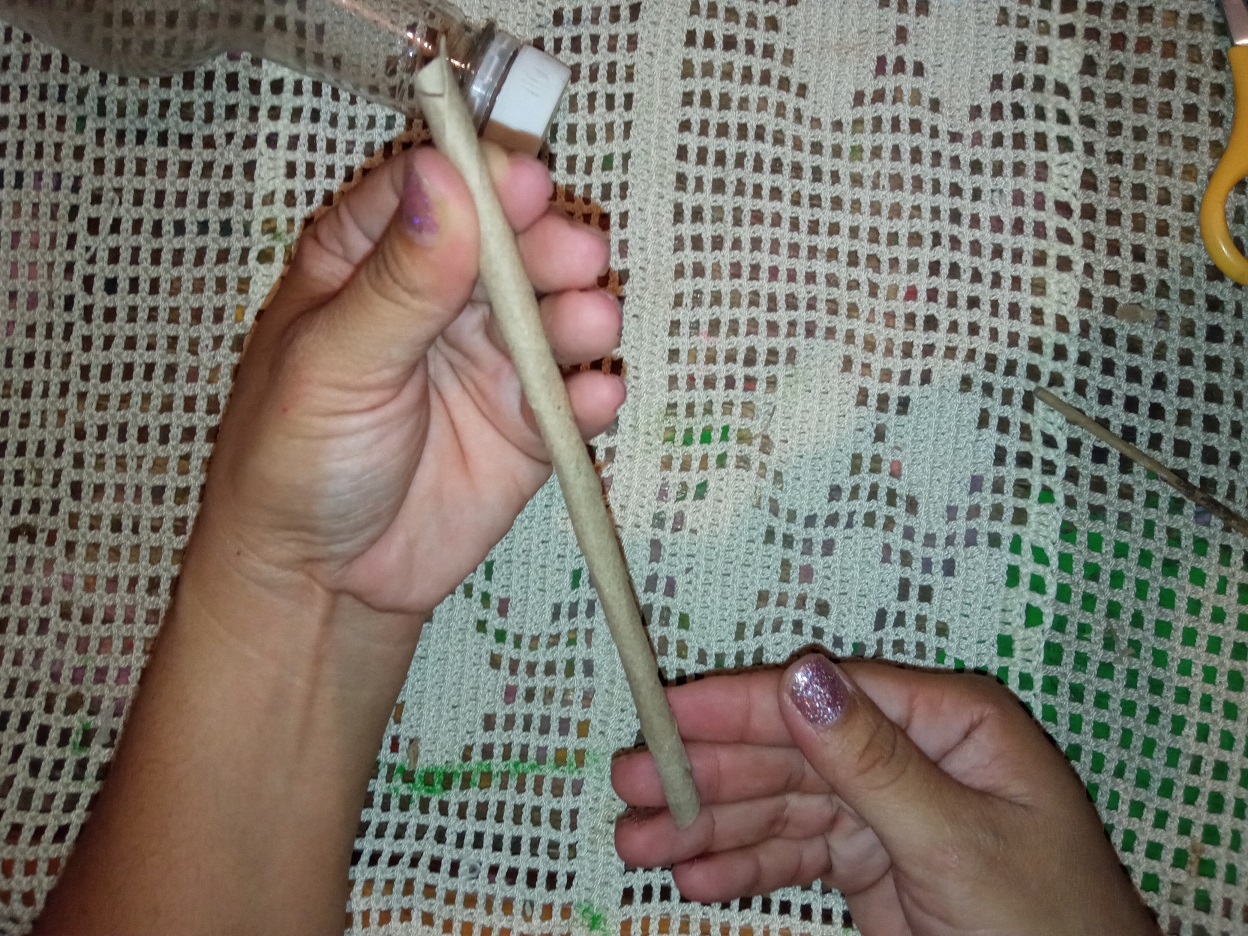
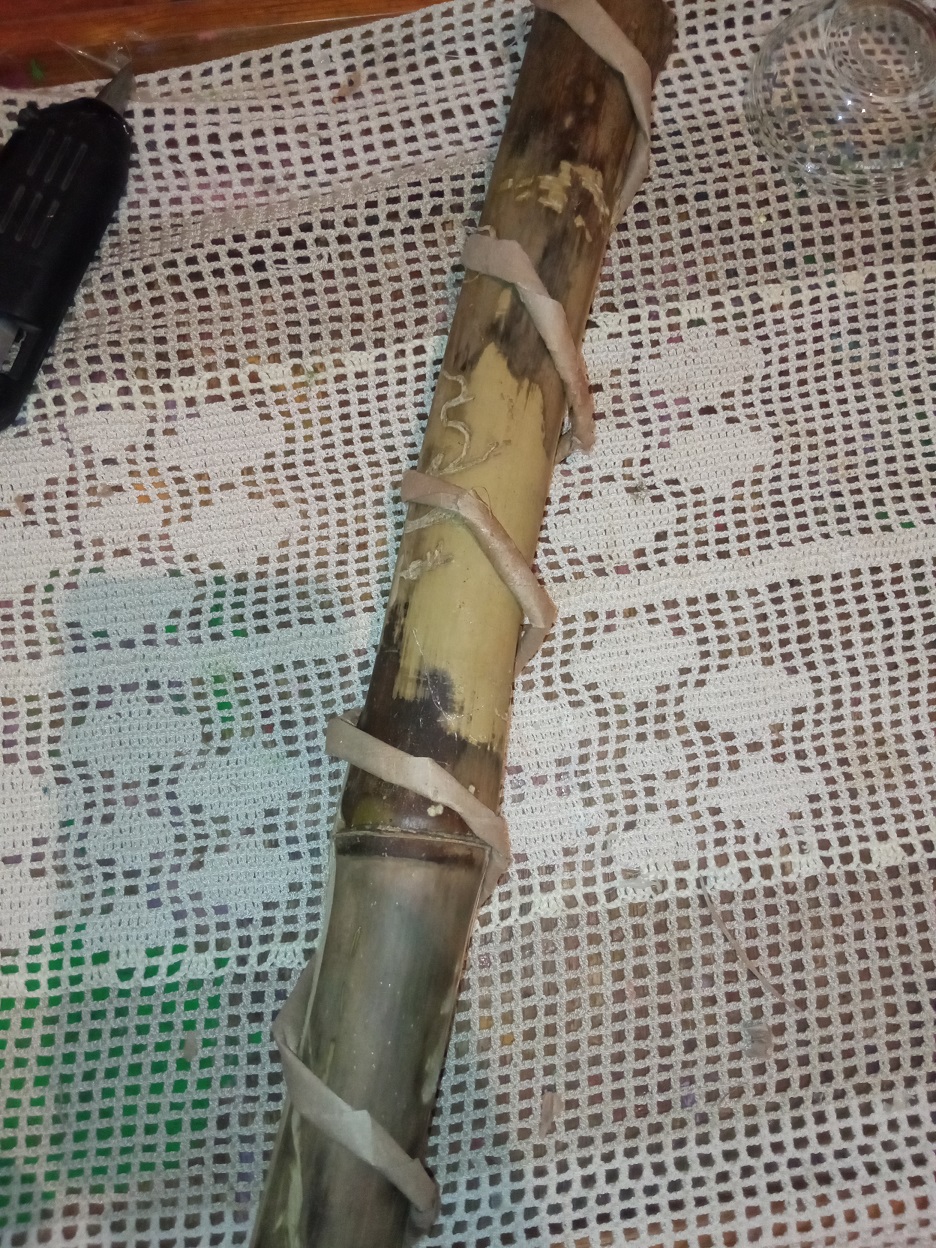
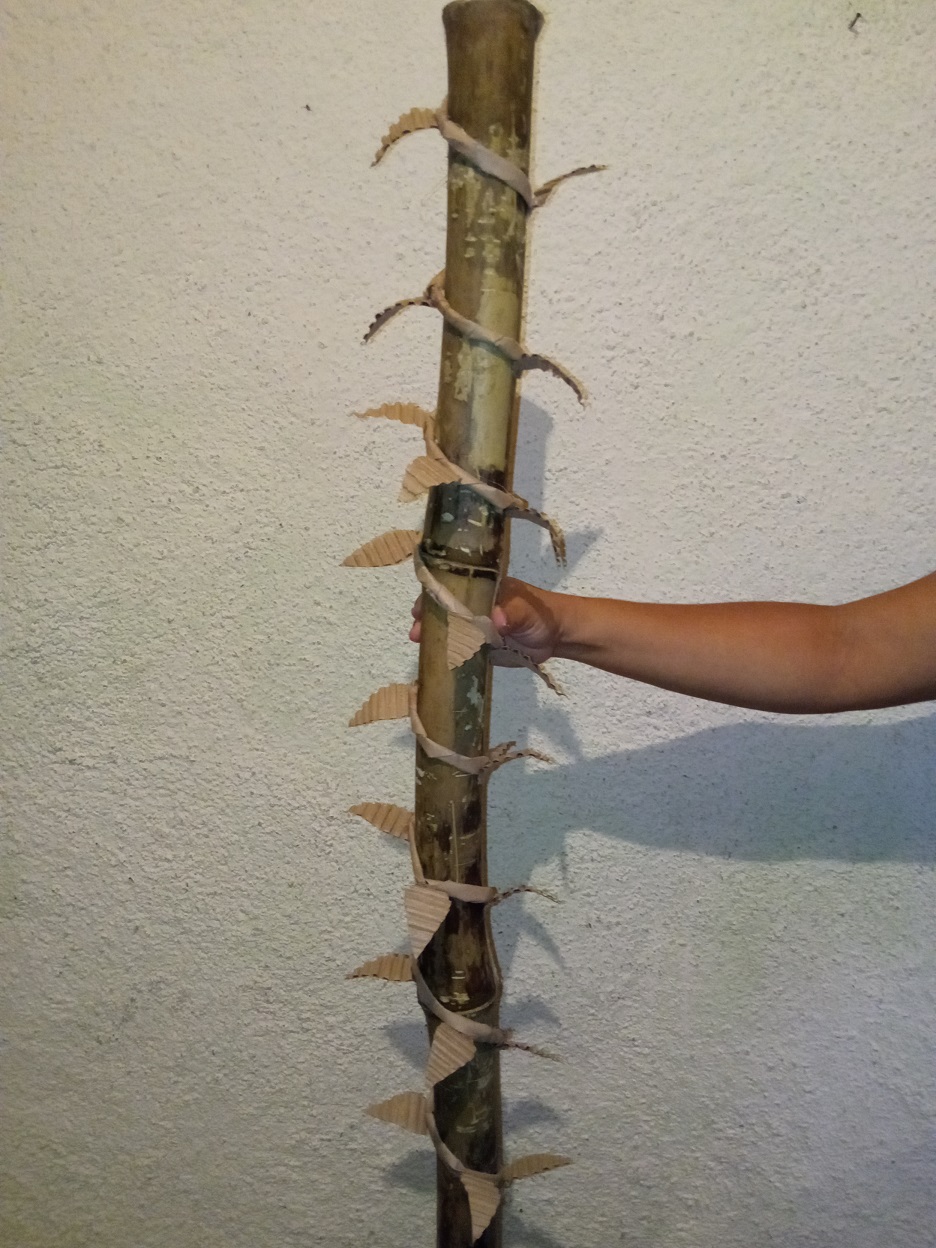
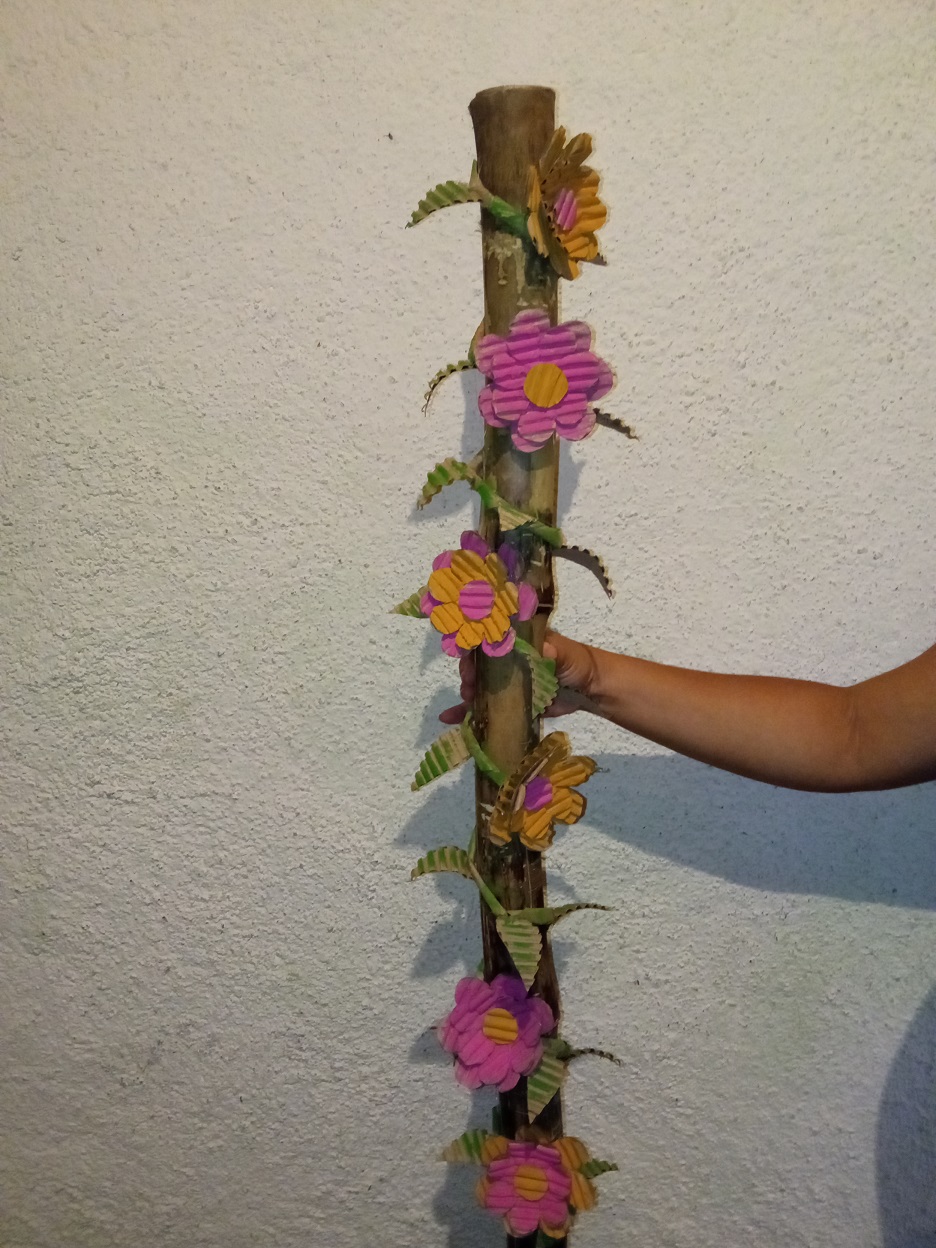
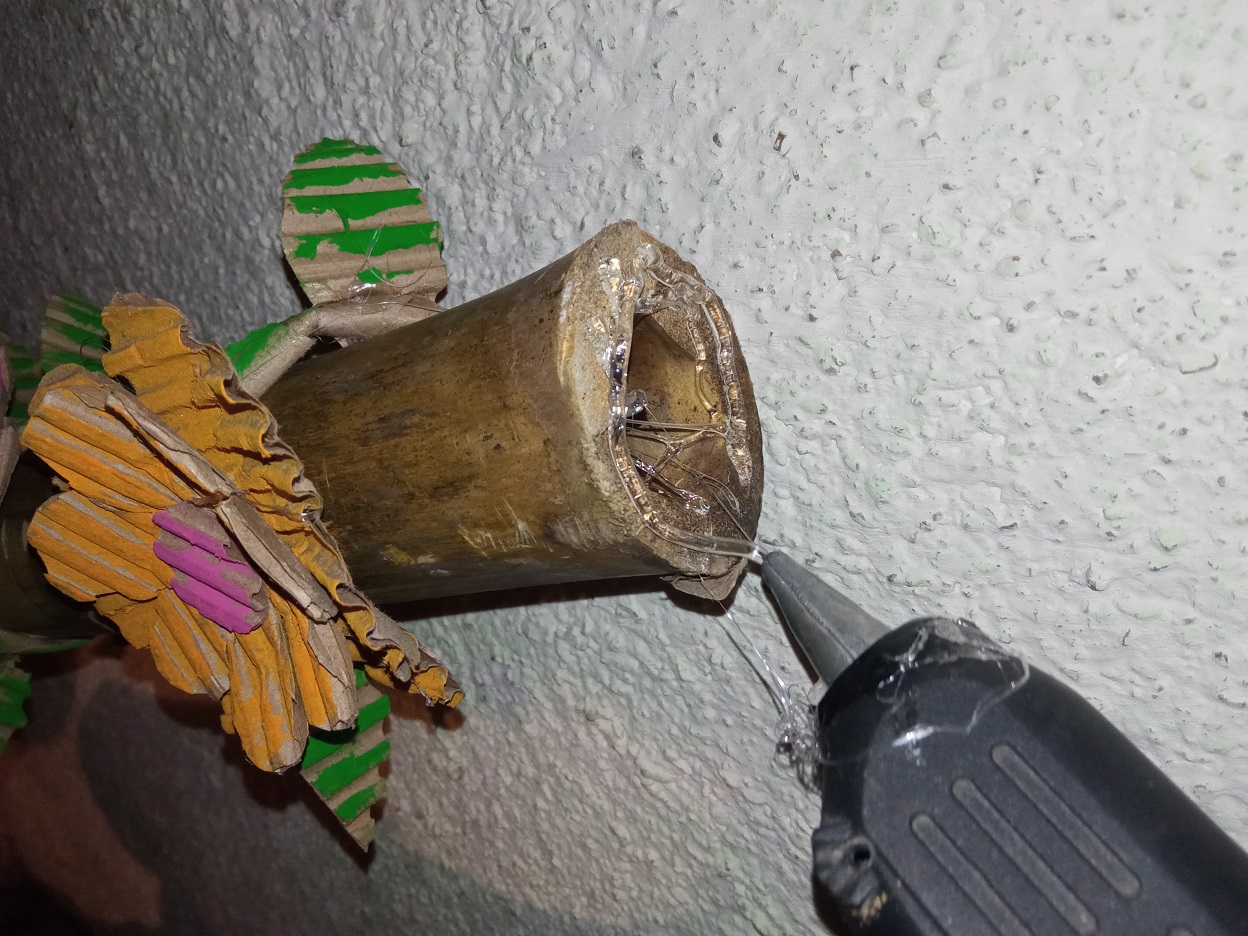
Step V:
Now we are going to make the bamboo vine; With the height toothpick and the pieces of paper left at the time of corrugating the cardboard, cut it into small strips and, using the height toothpick, begin to roll up to form the canes, when you have enough stick together to form a rope and then glue this rope with the glue gun spiraling through the bamboo.
Paso V:
Ahora vamos a realizar la enredadera del bambú; con el palillo de altura y los retazos de papel dejados al momento de corrugar el cartón recorta en pequeñas tiras y apoyándote del palillo de altura comienza a enrollar para formar los bastones, cuando tengas suficientes pega entre sí para formar una cuerda y luego pega esta cuerda con la pistola de silicón en forma de espiral por el bambú.
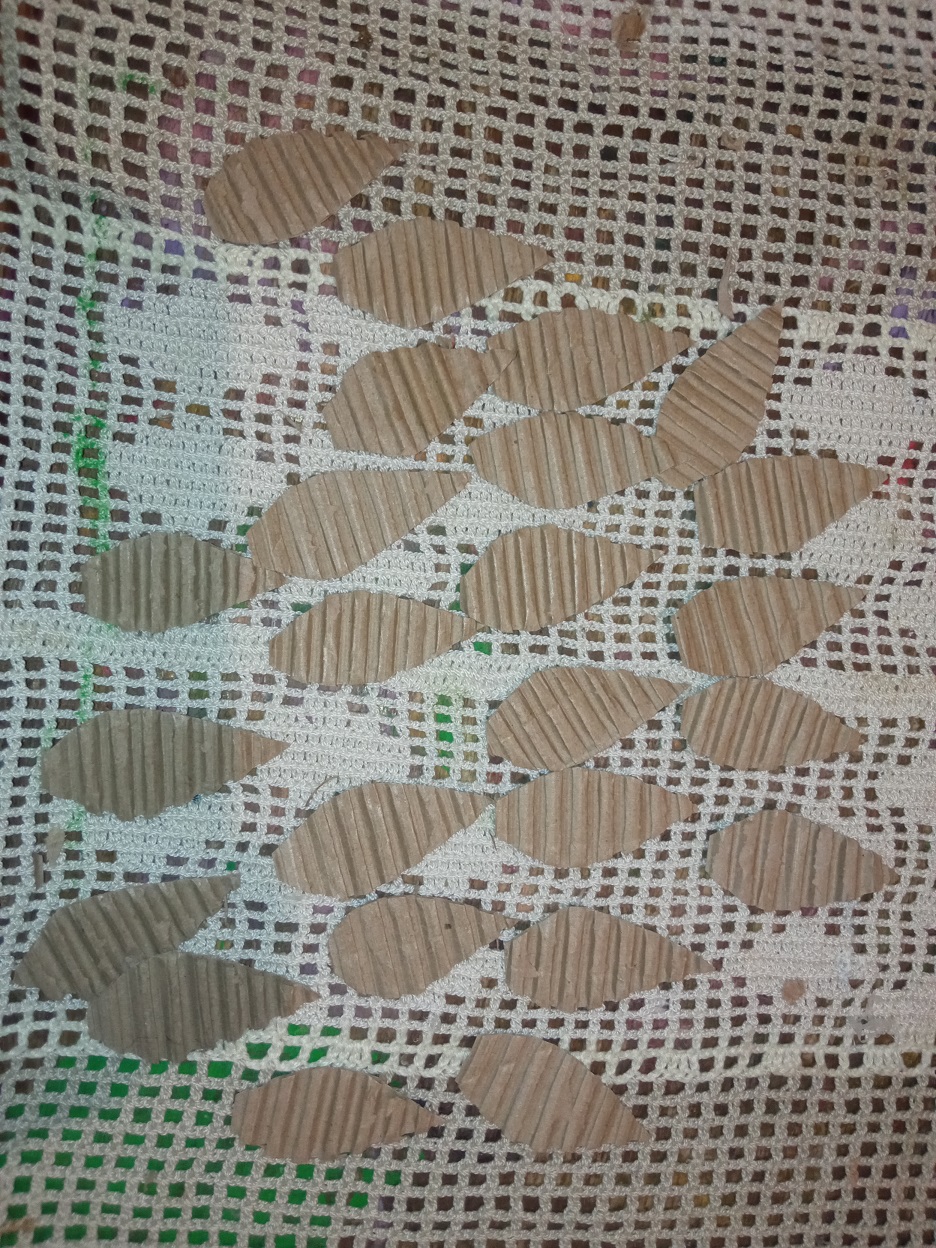
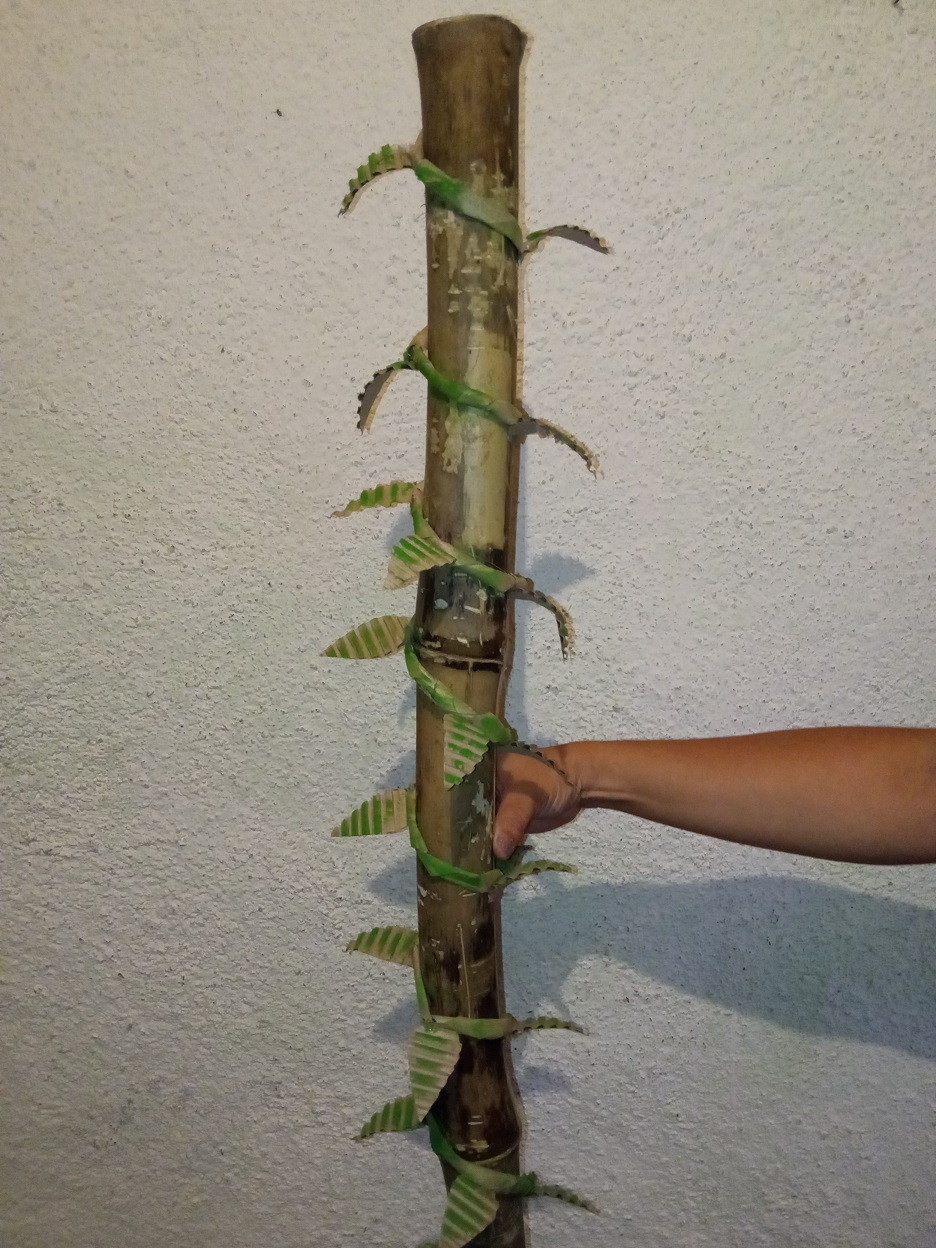
Step VI:
Cut out on a piece of cardboard that you have corrugated leaves and stick with the cane, then dye a little green.
Paso VI:
Recorta en un pedazo de cartón que hayas corrugado hojas y pega del bastón, luego tiñe un poco de verde.
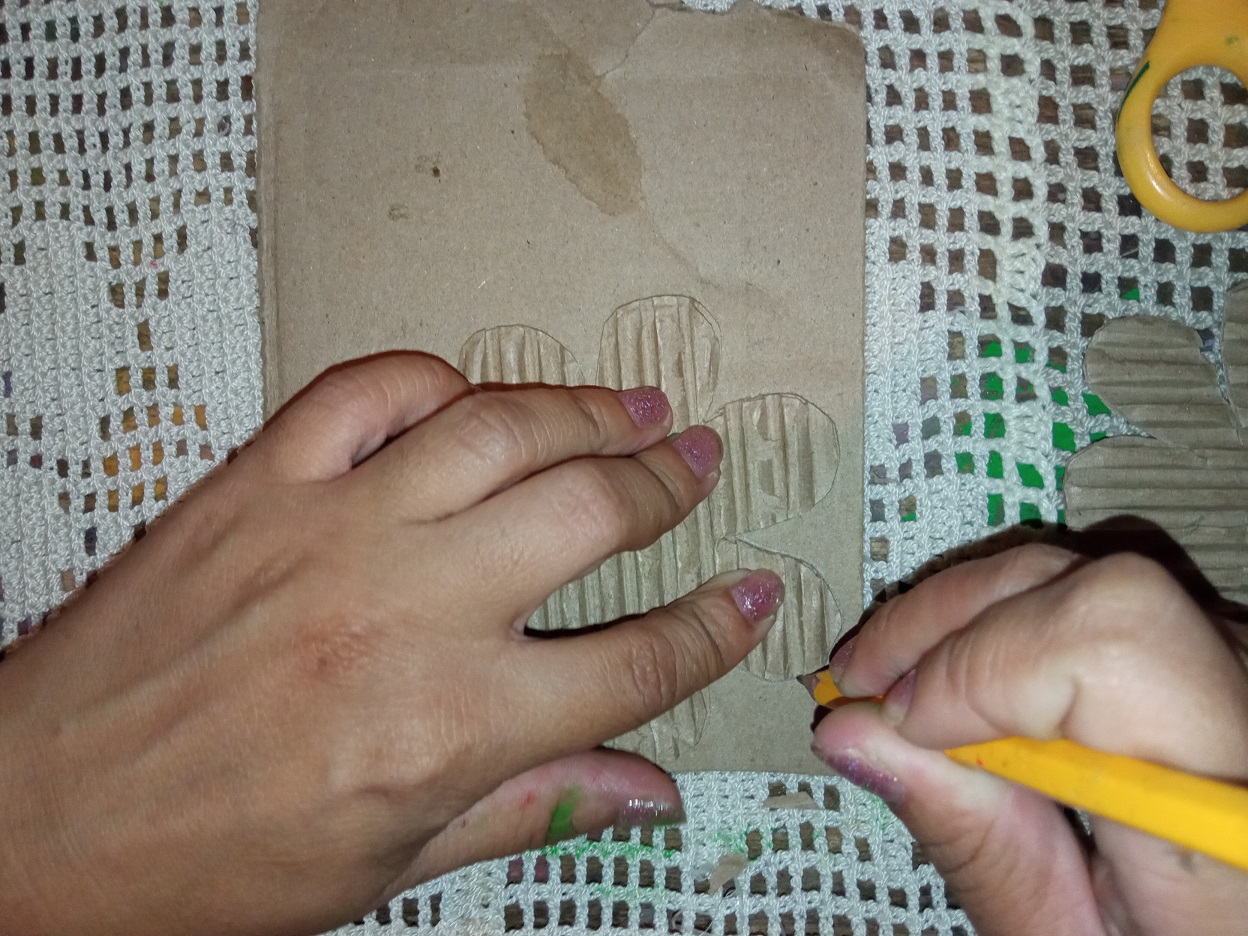
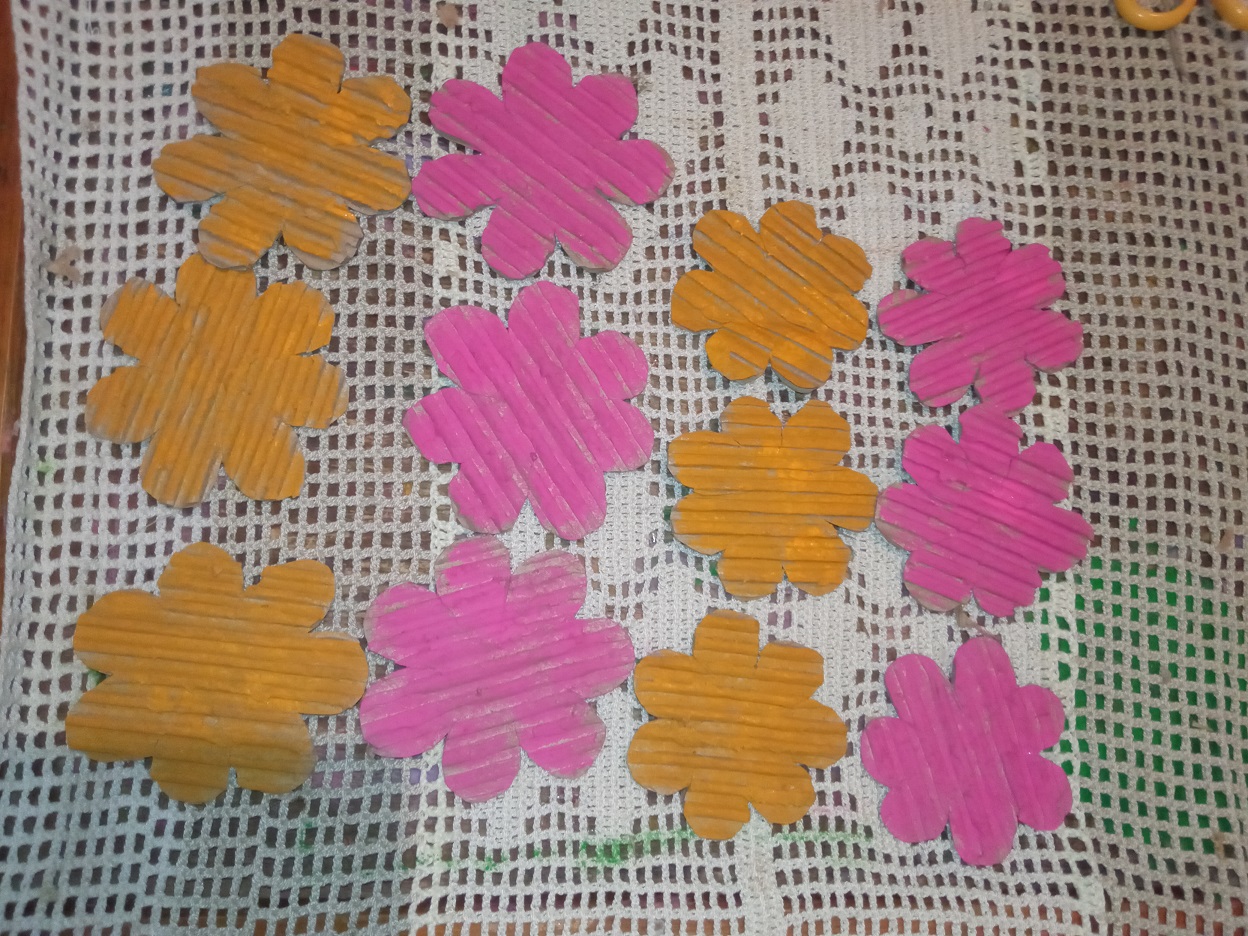
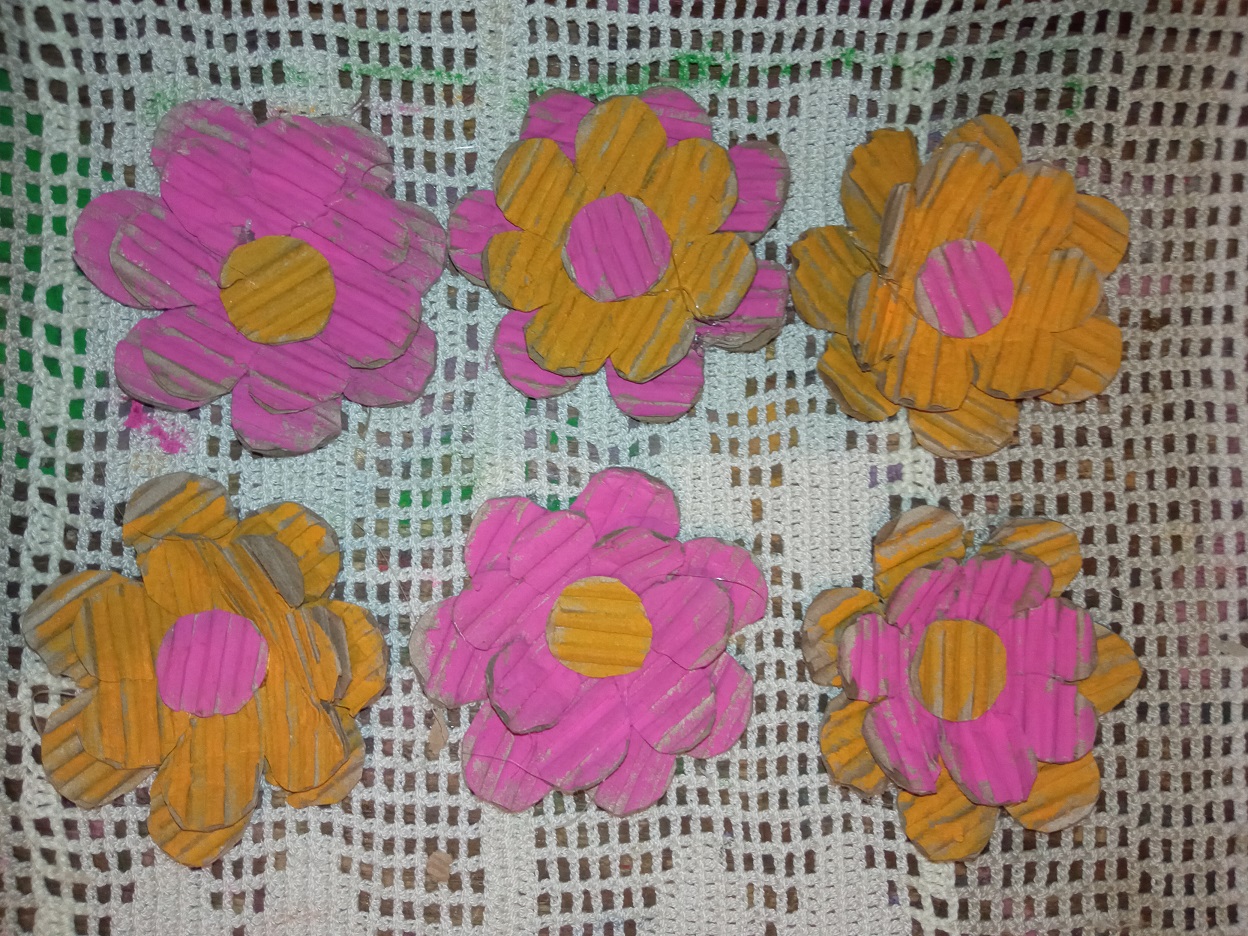
Step VII:
Form the flowers, draw and cut out 6 large flowers and 6 smaller flowers on a piece of cardboard that you have corrugated. Paint them alternately yellow and pink, cut out and paint some circles and glue a small flower on top of a large one with the glue gun, now glue the bamboo flowers.
Paso VII:
Forma las flores, dibuja y recorta 6 flores grandes y 6 flores más pequeñas en un pedazo de cartón que hayas corrugado. Píntalas alternado los colores amarillo y rosado, recorta y pinta unos círculos y pega una flor pequeña arriba de una grande con la pistola de silicón, ahora pega las flores del bambú.
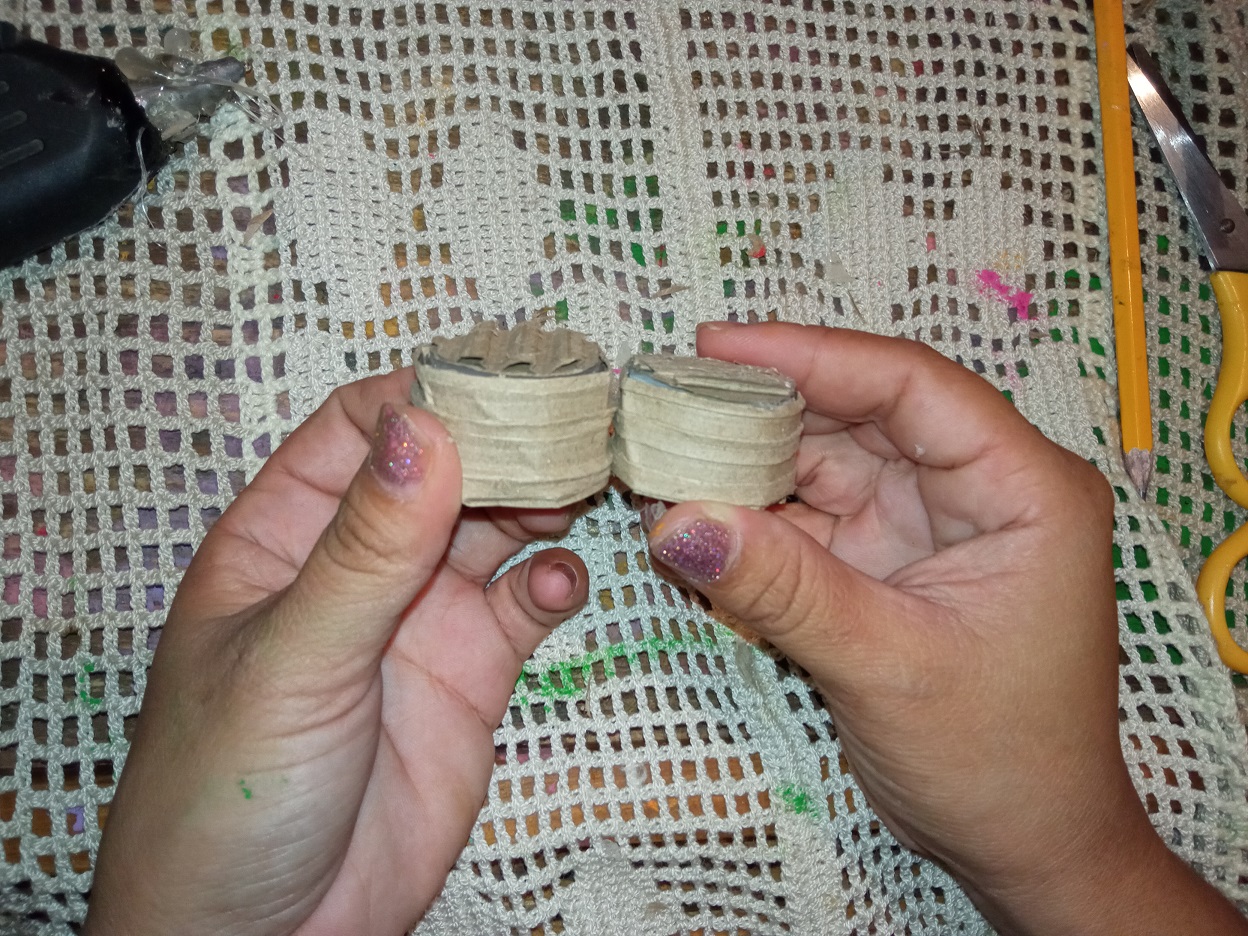
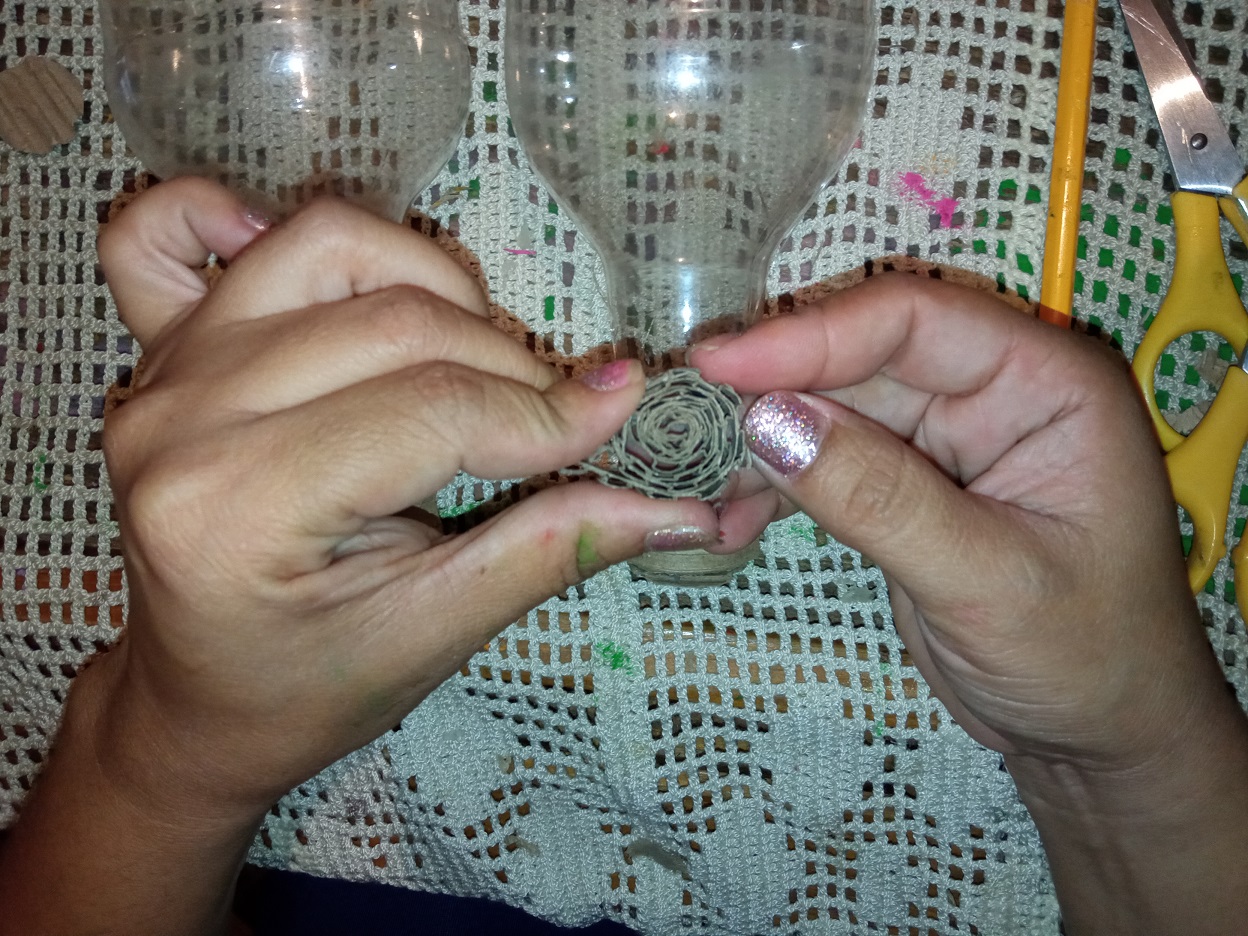
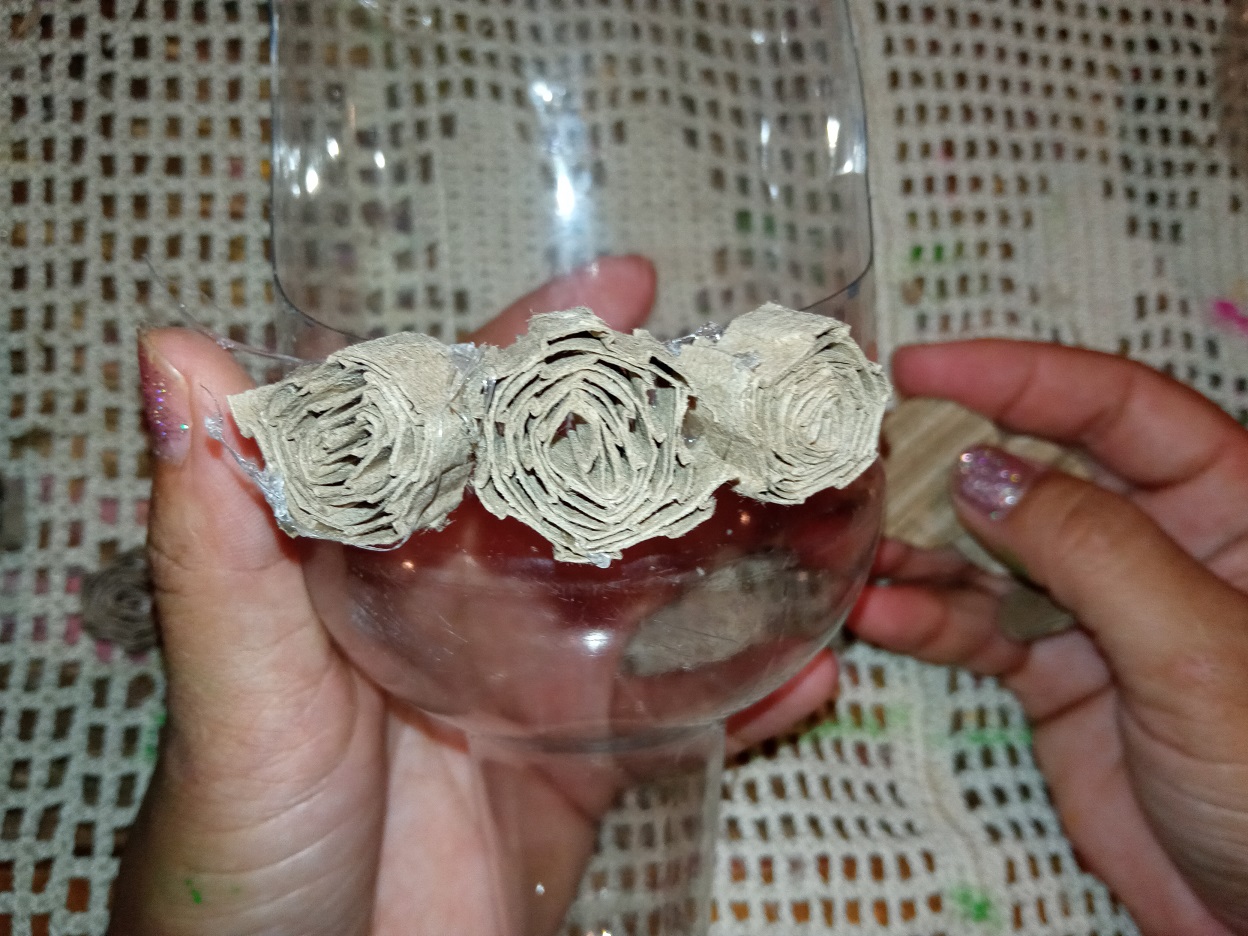
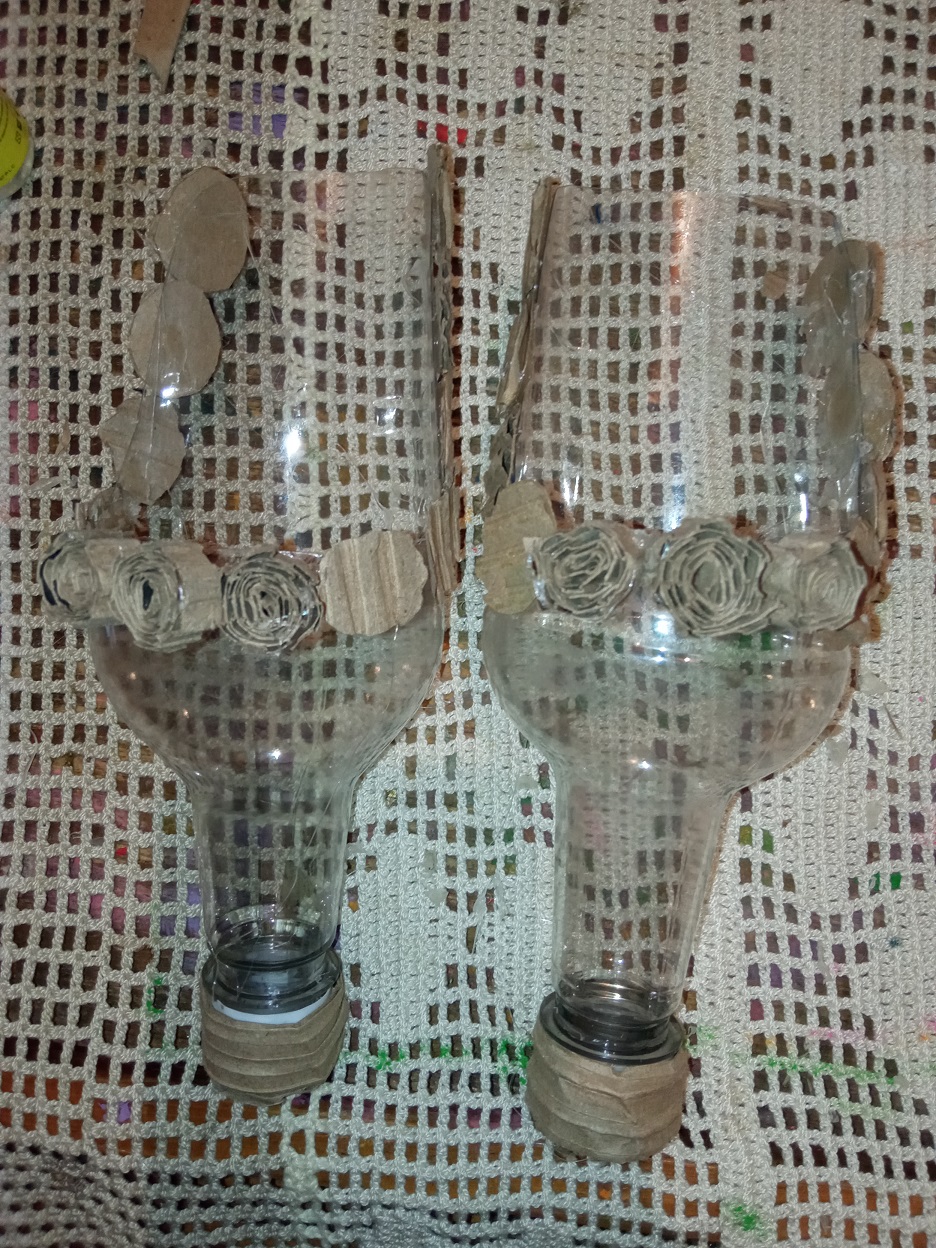
Step VIII:
Line the lids of the corrugated containers, cut out some circles and also cut some strips of corrugated cardboard and roll them together to form small flowers and decorate your water and bird food dispenser containers by gluing each piece with the gun silicone.
Paso VIII:
Forra las tapas de los envases corrugados, recorta unos círculos y también recorta unas tiras de cartón corrugado y enróllalas entre sí para formar unas pequeñas flores y decora tus envases dispensadores de agua y de alimento de las aves pegando cada pieza con la pistola de silicón.
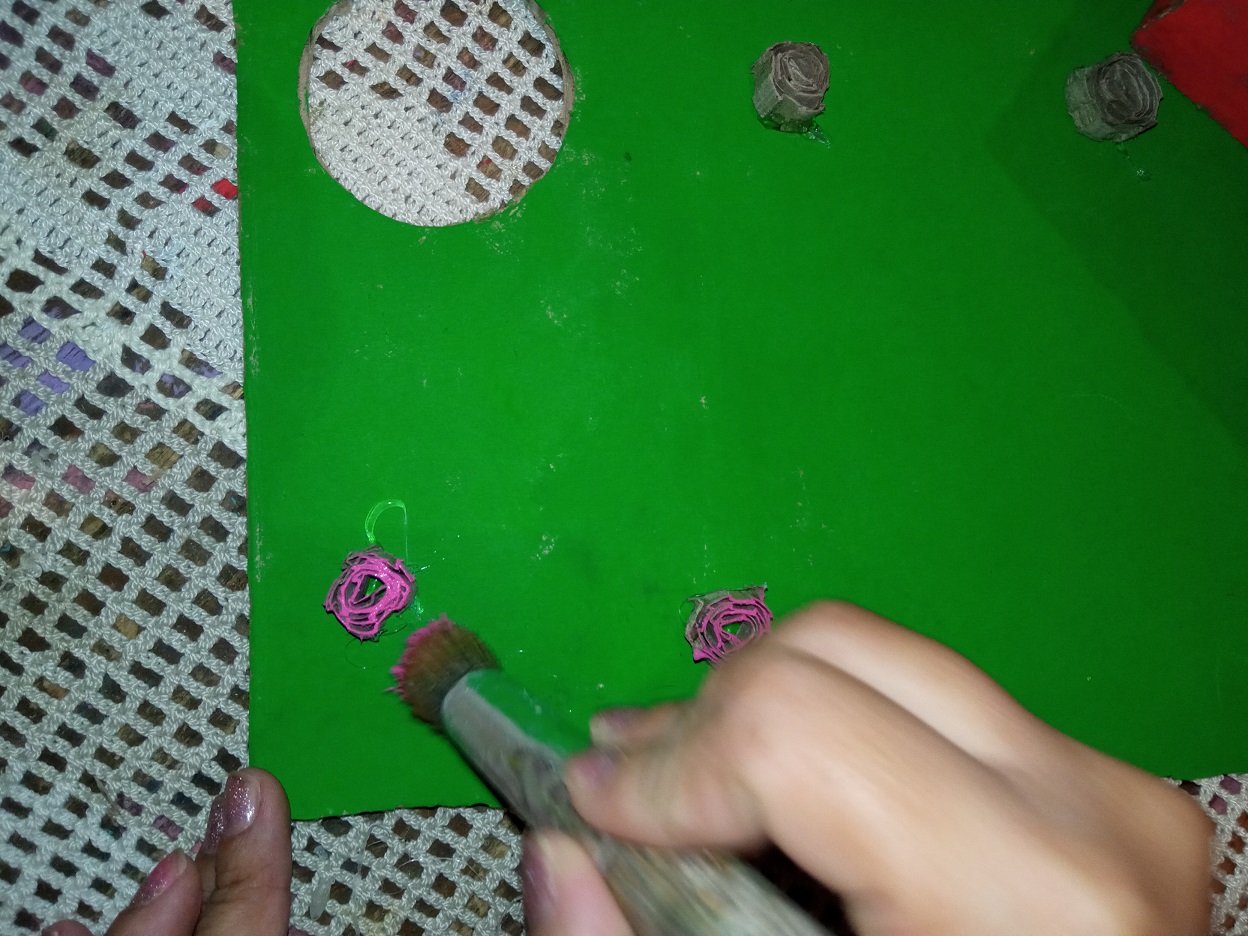
Step IX:
Add a few rolls of corrugated paper strips to the base of the poultry basket and paint pink.
Paso IX:
Agrega unos rollitos de tiras de papel corrugado a la base de la csaita para aves y pinta de rosado.
Step X:
Finish by gluing the base of the birdhouse on the bamboo trunk, and place the water and food dispensing containers.
Paso X:
Finaliza pegando la base de la casita de aves en el tronco de bambú, y coloca los envases dispensadores de agua y alimento.
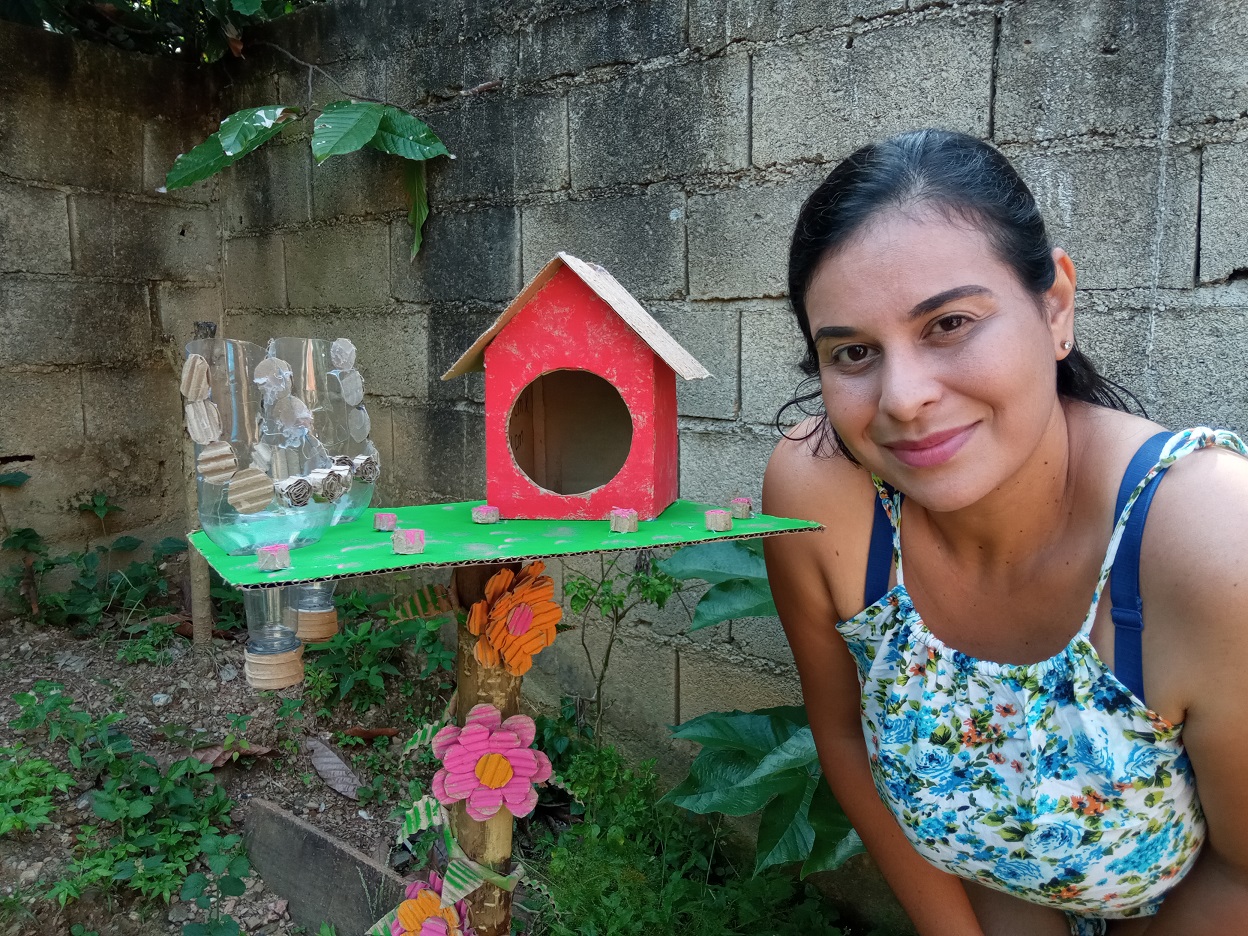
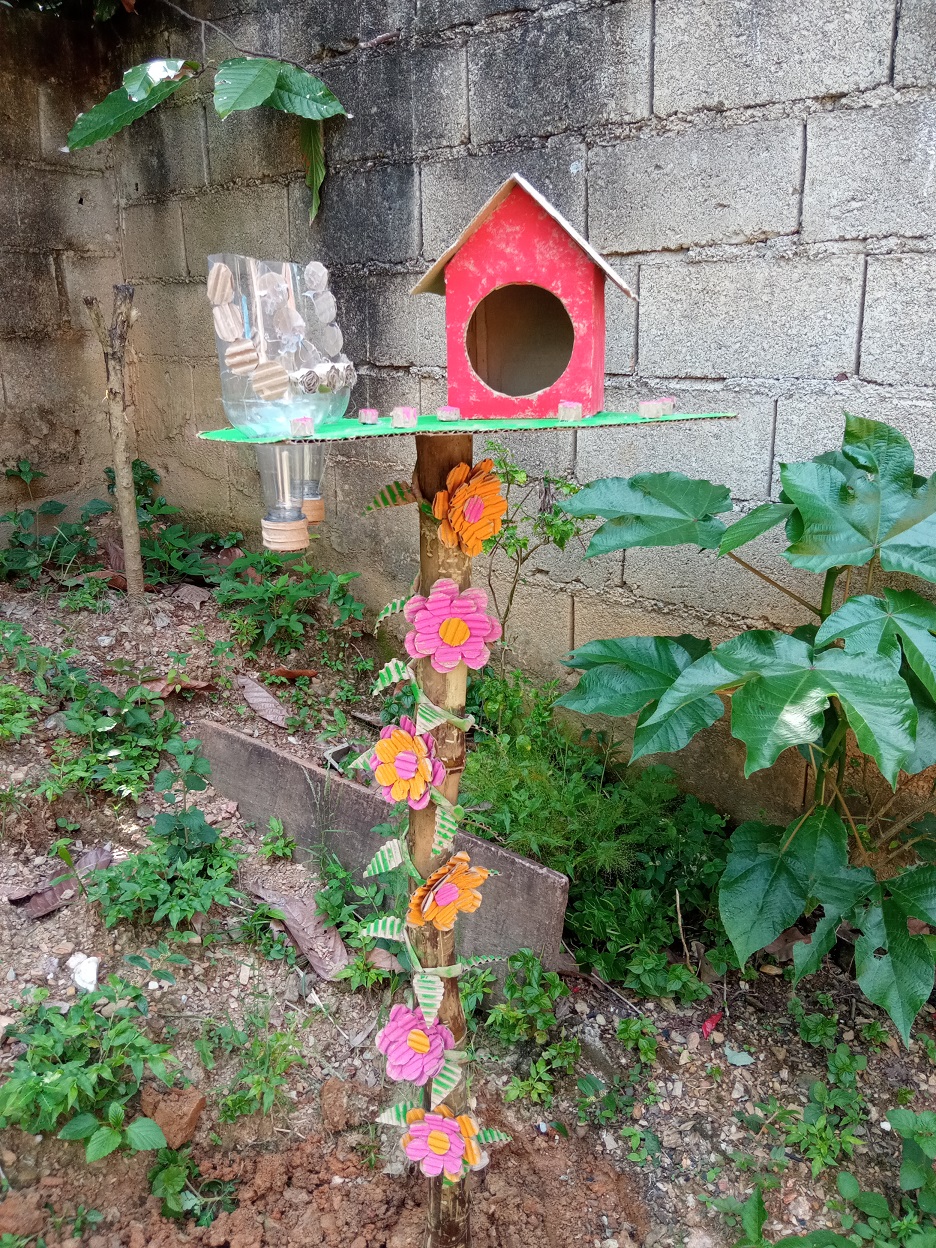
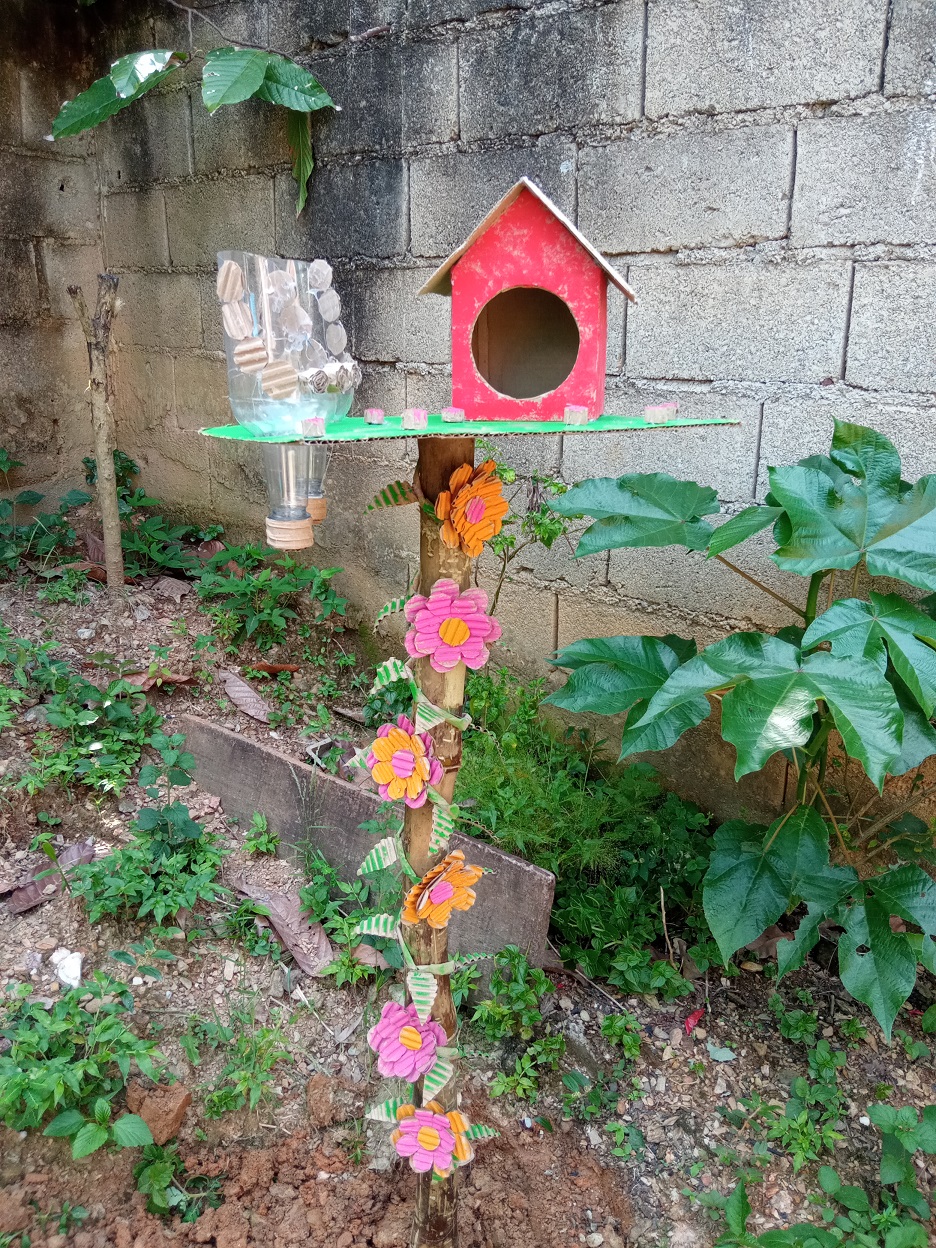
Final result of my cardboard birdhouse:
Resultado final de mi casita para aves de cartón:
This has been my participation in the cardboard world, thank you very much for having read me and I invite my friends @katiuskamata and @Yeniriverabello to participate in this contest.
Esta ha sido mi participación en el mundo de cartón, muchas gracias por haberme leído e invito a participar en este concurso a mis amigas @katiuskamata y @Yeniriverabello.
Thanks for dressing me up and reading me, until next time @aksurevm89.
Gracias por vístame y leerme, hasta una próxima ocasión @aksurevm89.
THANKS FOR READING ME // GRACIAS POR LEERME
Translated by: google translator // Traducido por: google traductor
All photos are my property // Todas las fotos son de mi propiedad.
Excelente idea para las aves, te felicito
Muchas gracias @irenenavarroart