Hello my friends we will be you to #hive platform, I hope you are well Today I want to share with you beautiful cribs letters using cardboard as a material of profit to perform them, with the theme of The Flintstones for a beautiful princess, very easy to perform, Just follow the steps that I'll show you below and you will see how beautiful you will be lucky.
Hola mis amigos te estaremos a plataforma de #hive, Espero que se encuentren bien Hoy quiero compartir con ustedes cunas hermosas letras usando cartón como material de provecho para realizarlas, con la temática de Los Picapiedras para una hermosa princesa, muy fácil de realizar, Solo tienes que seguir los pasos que te voy a mostrar a continuación y verás lo hermosas que te quedarán suerte.
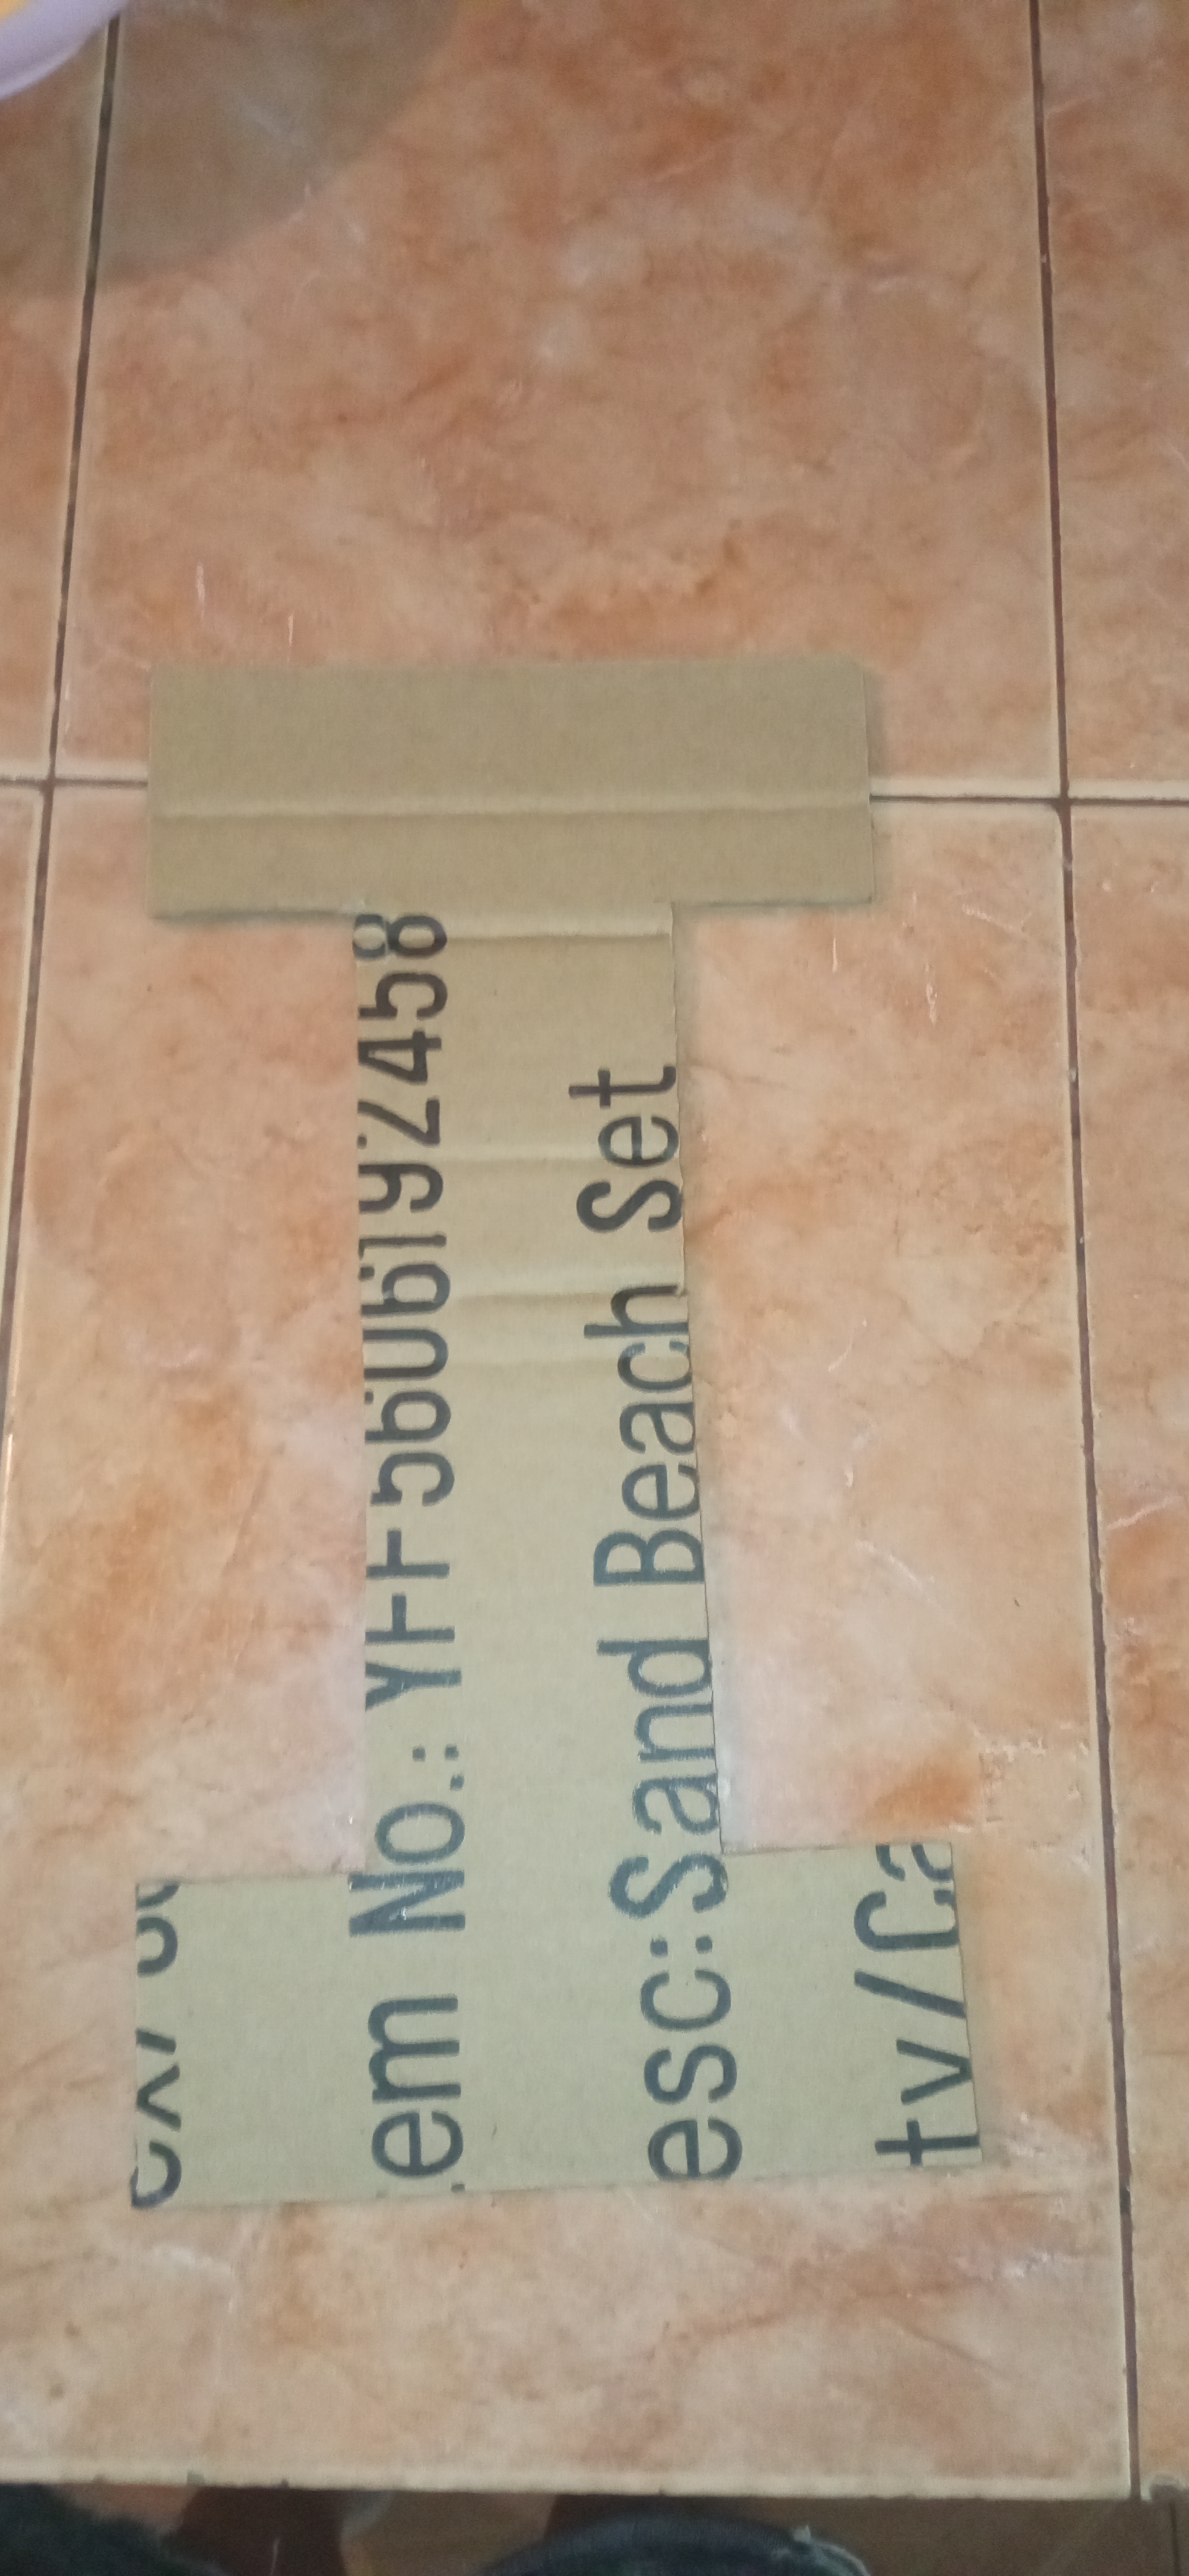
What will I use?
-carton.
-machine sheet .
-crepe paper .
-silicon .
-foami .
-scissors .
-pencil .
-Prints .
Que utilizaré?
-carton.
-hoja de máquina.
-papel crepe .
-silicon.
-foami.
-tijera.
-lápiz.
-impresiones.
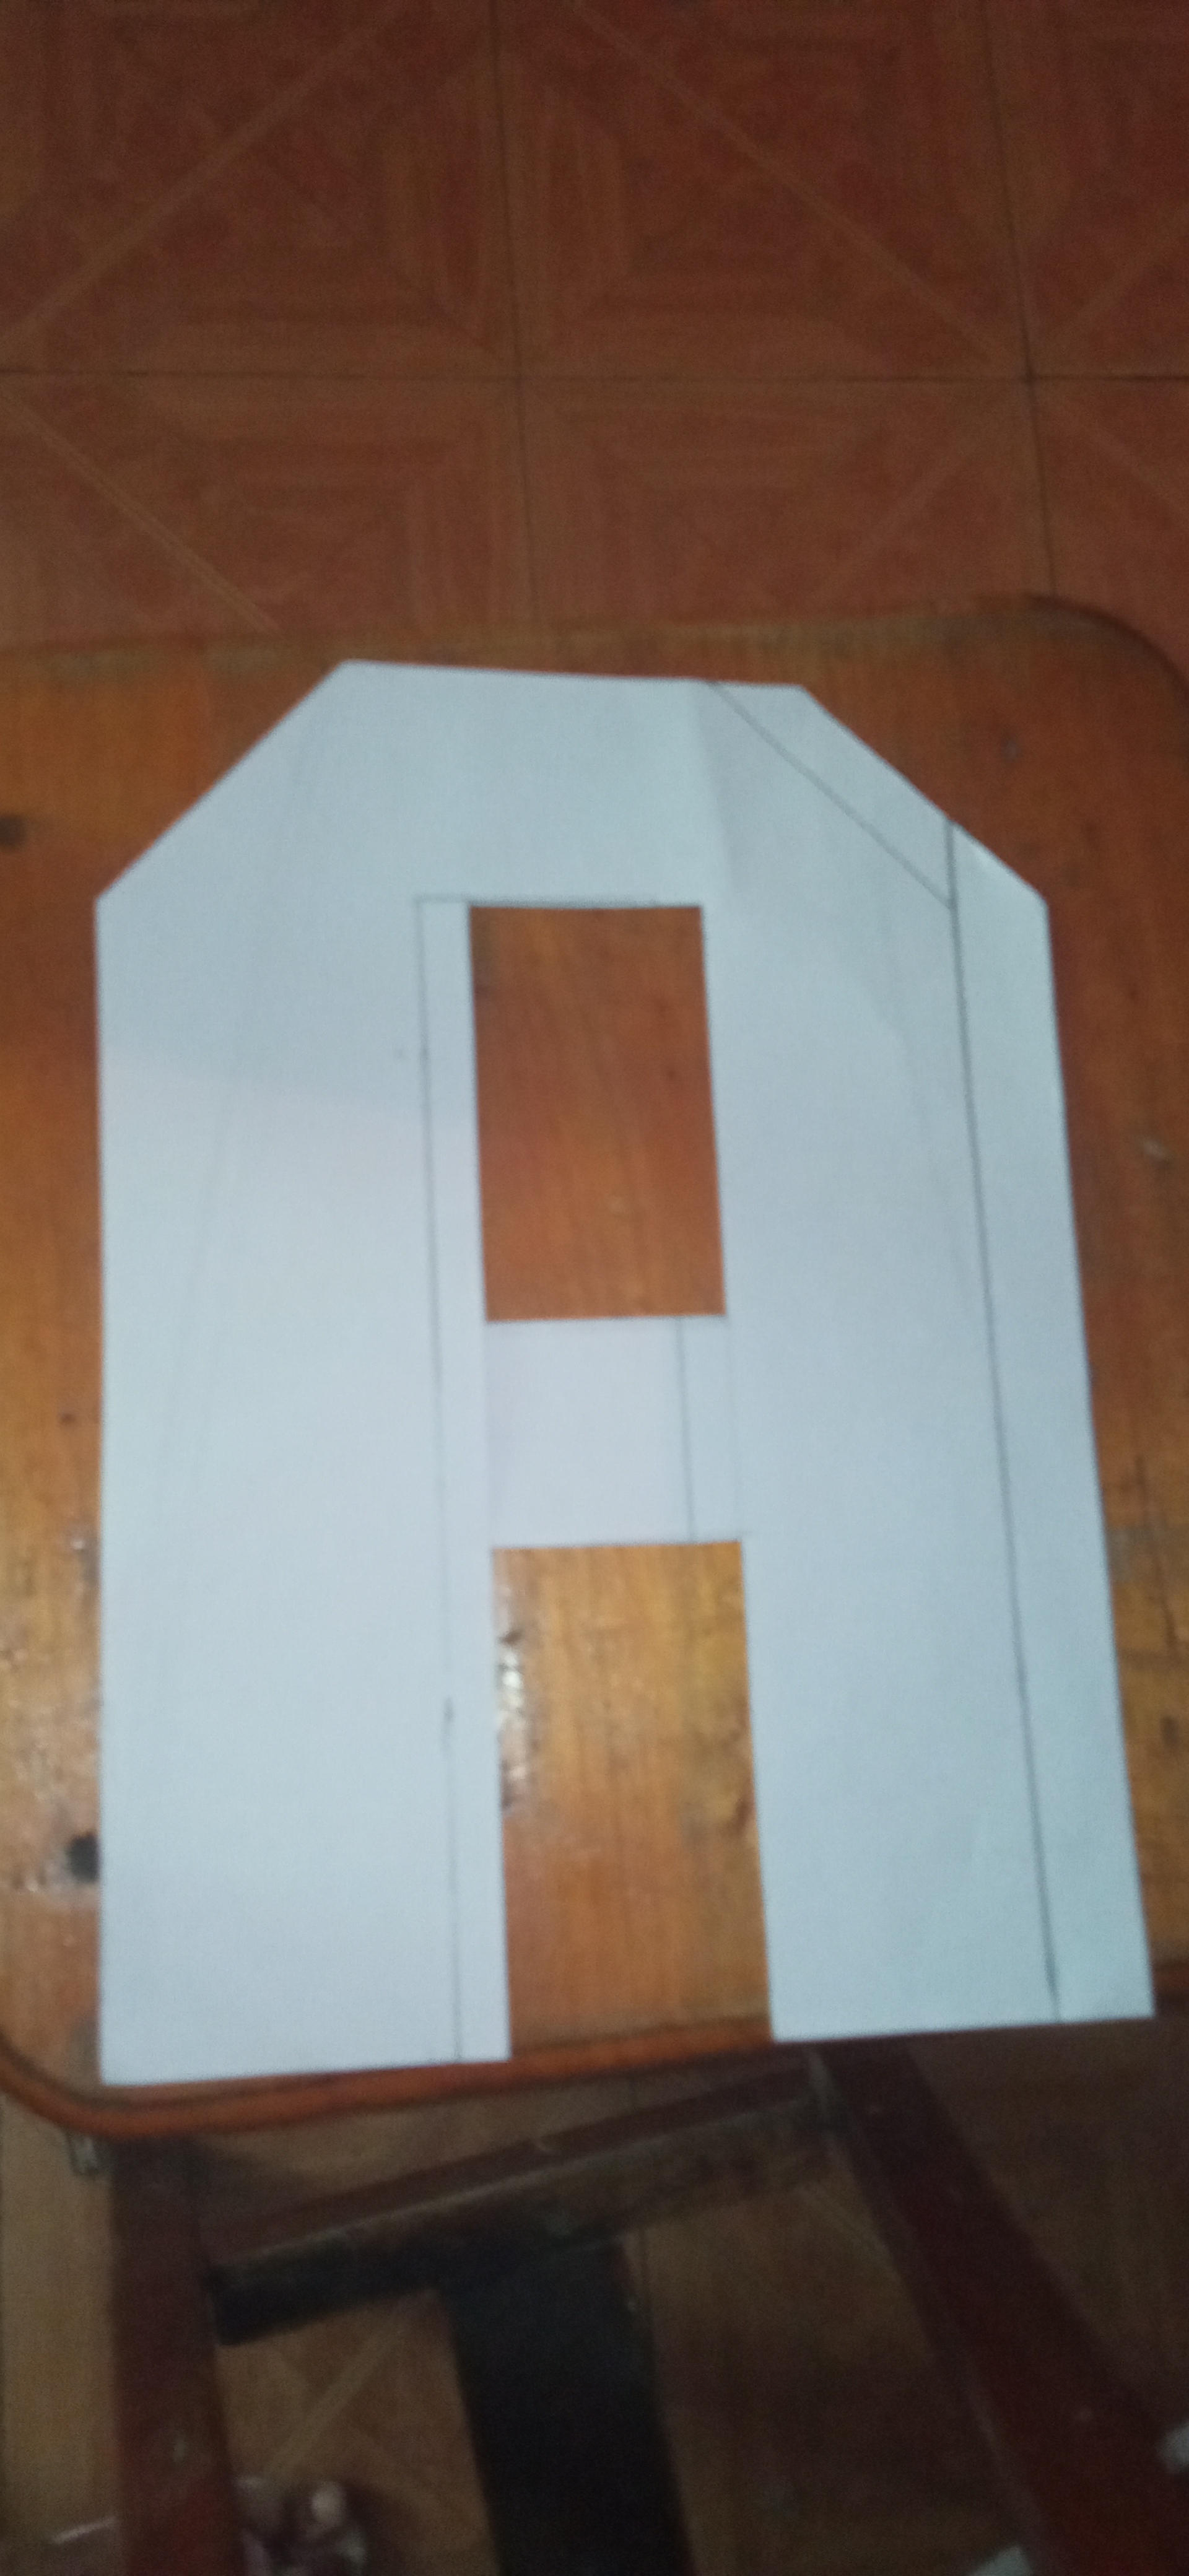
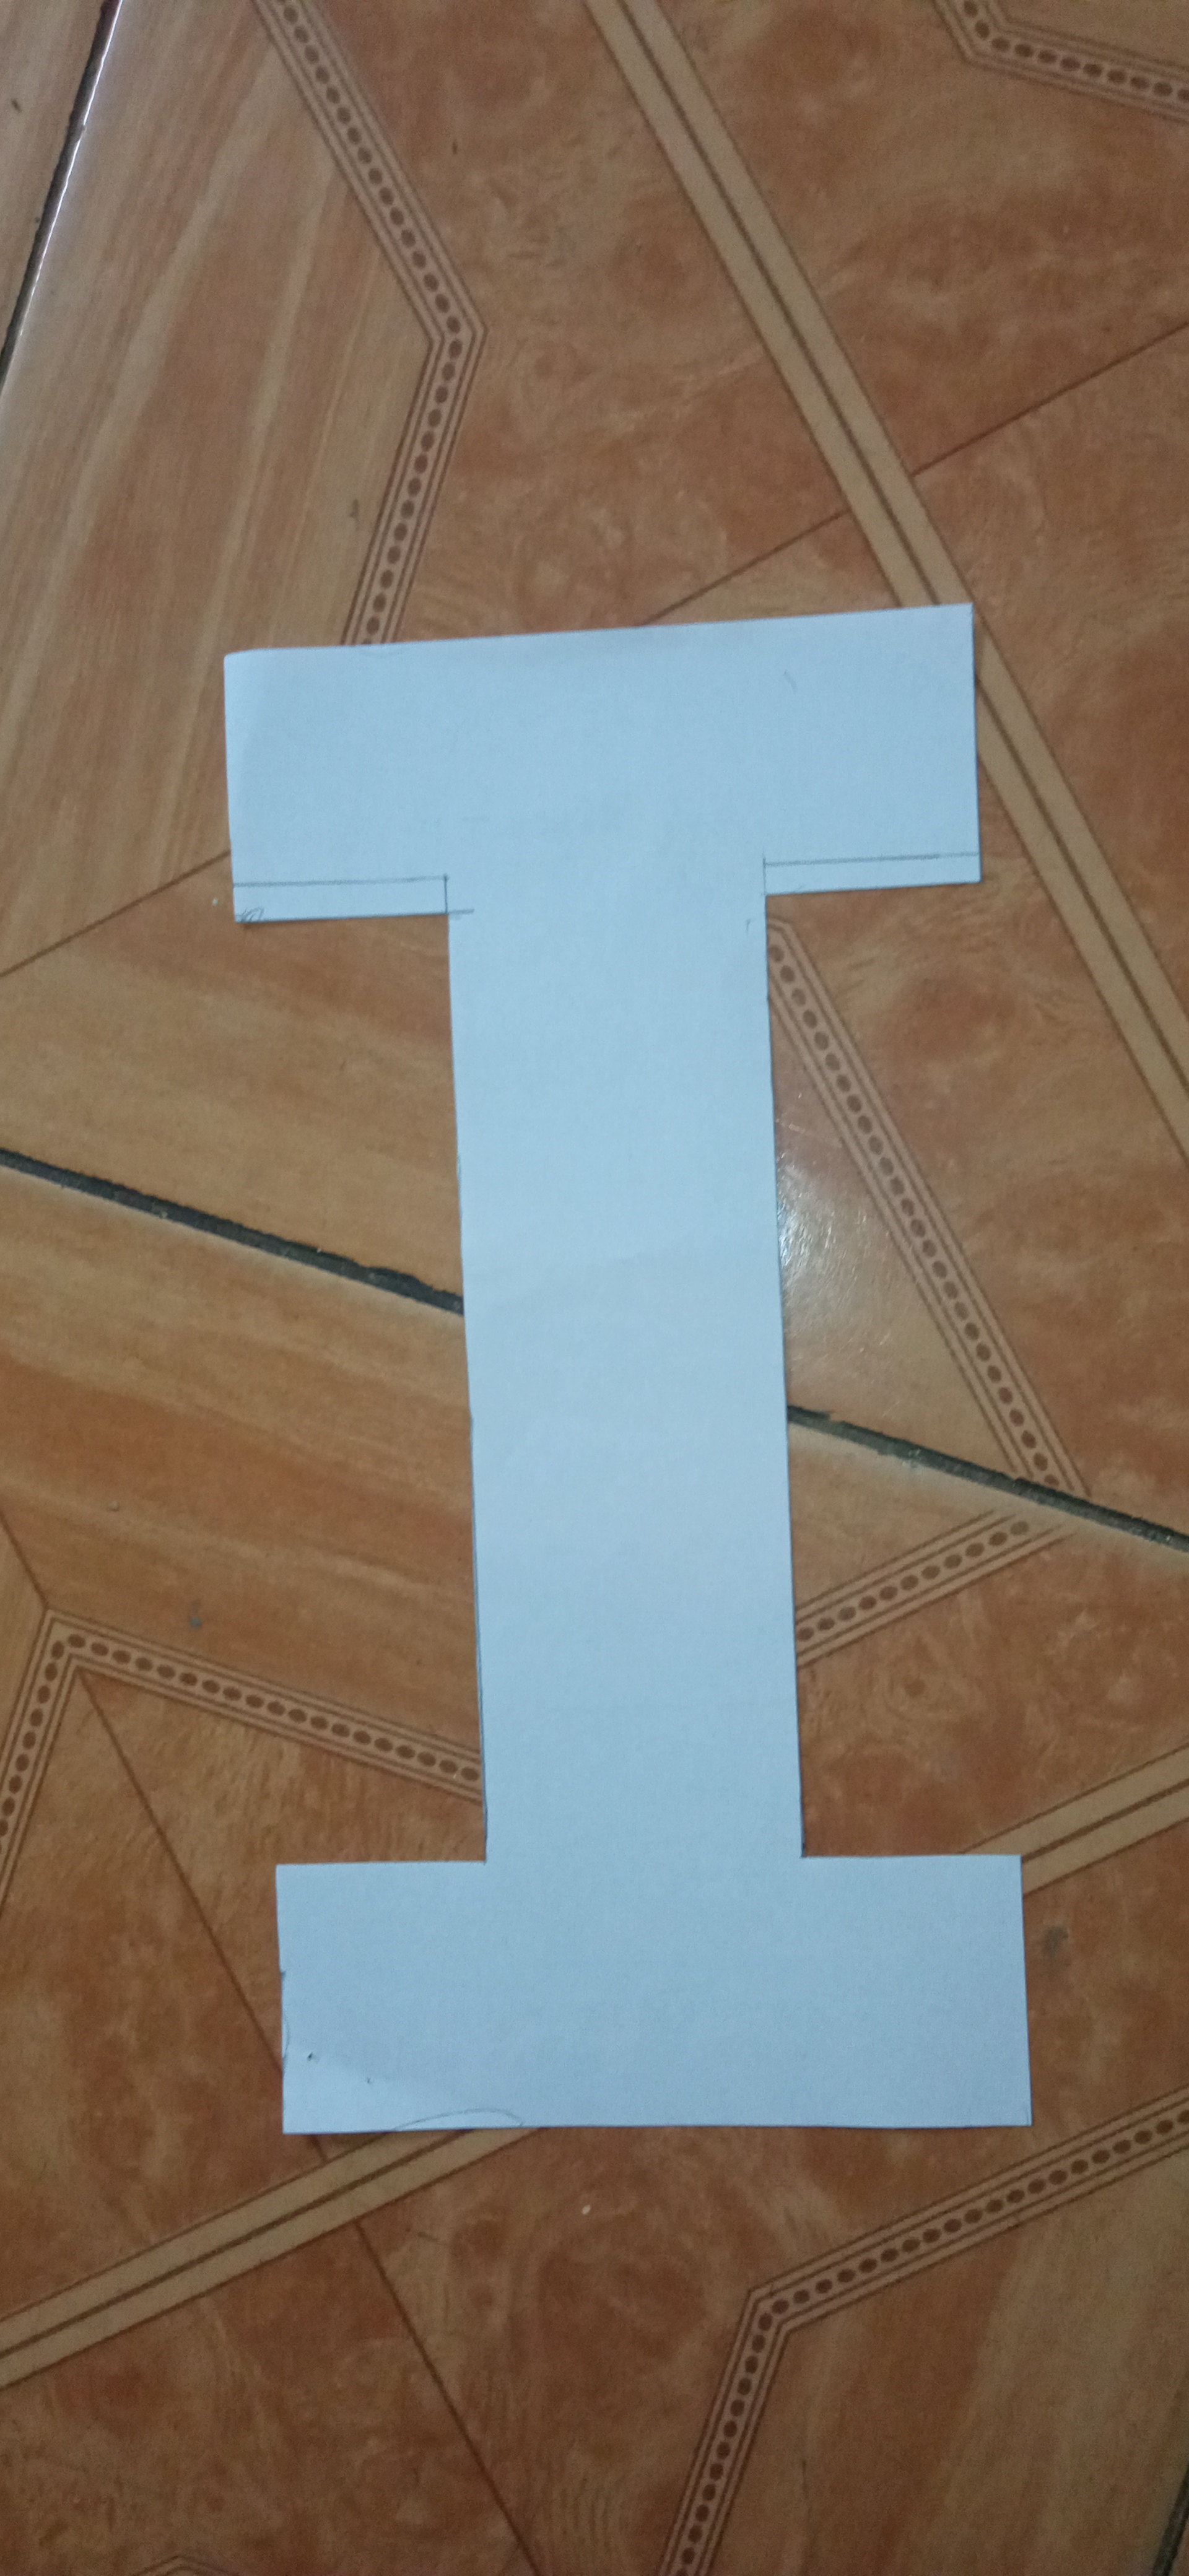
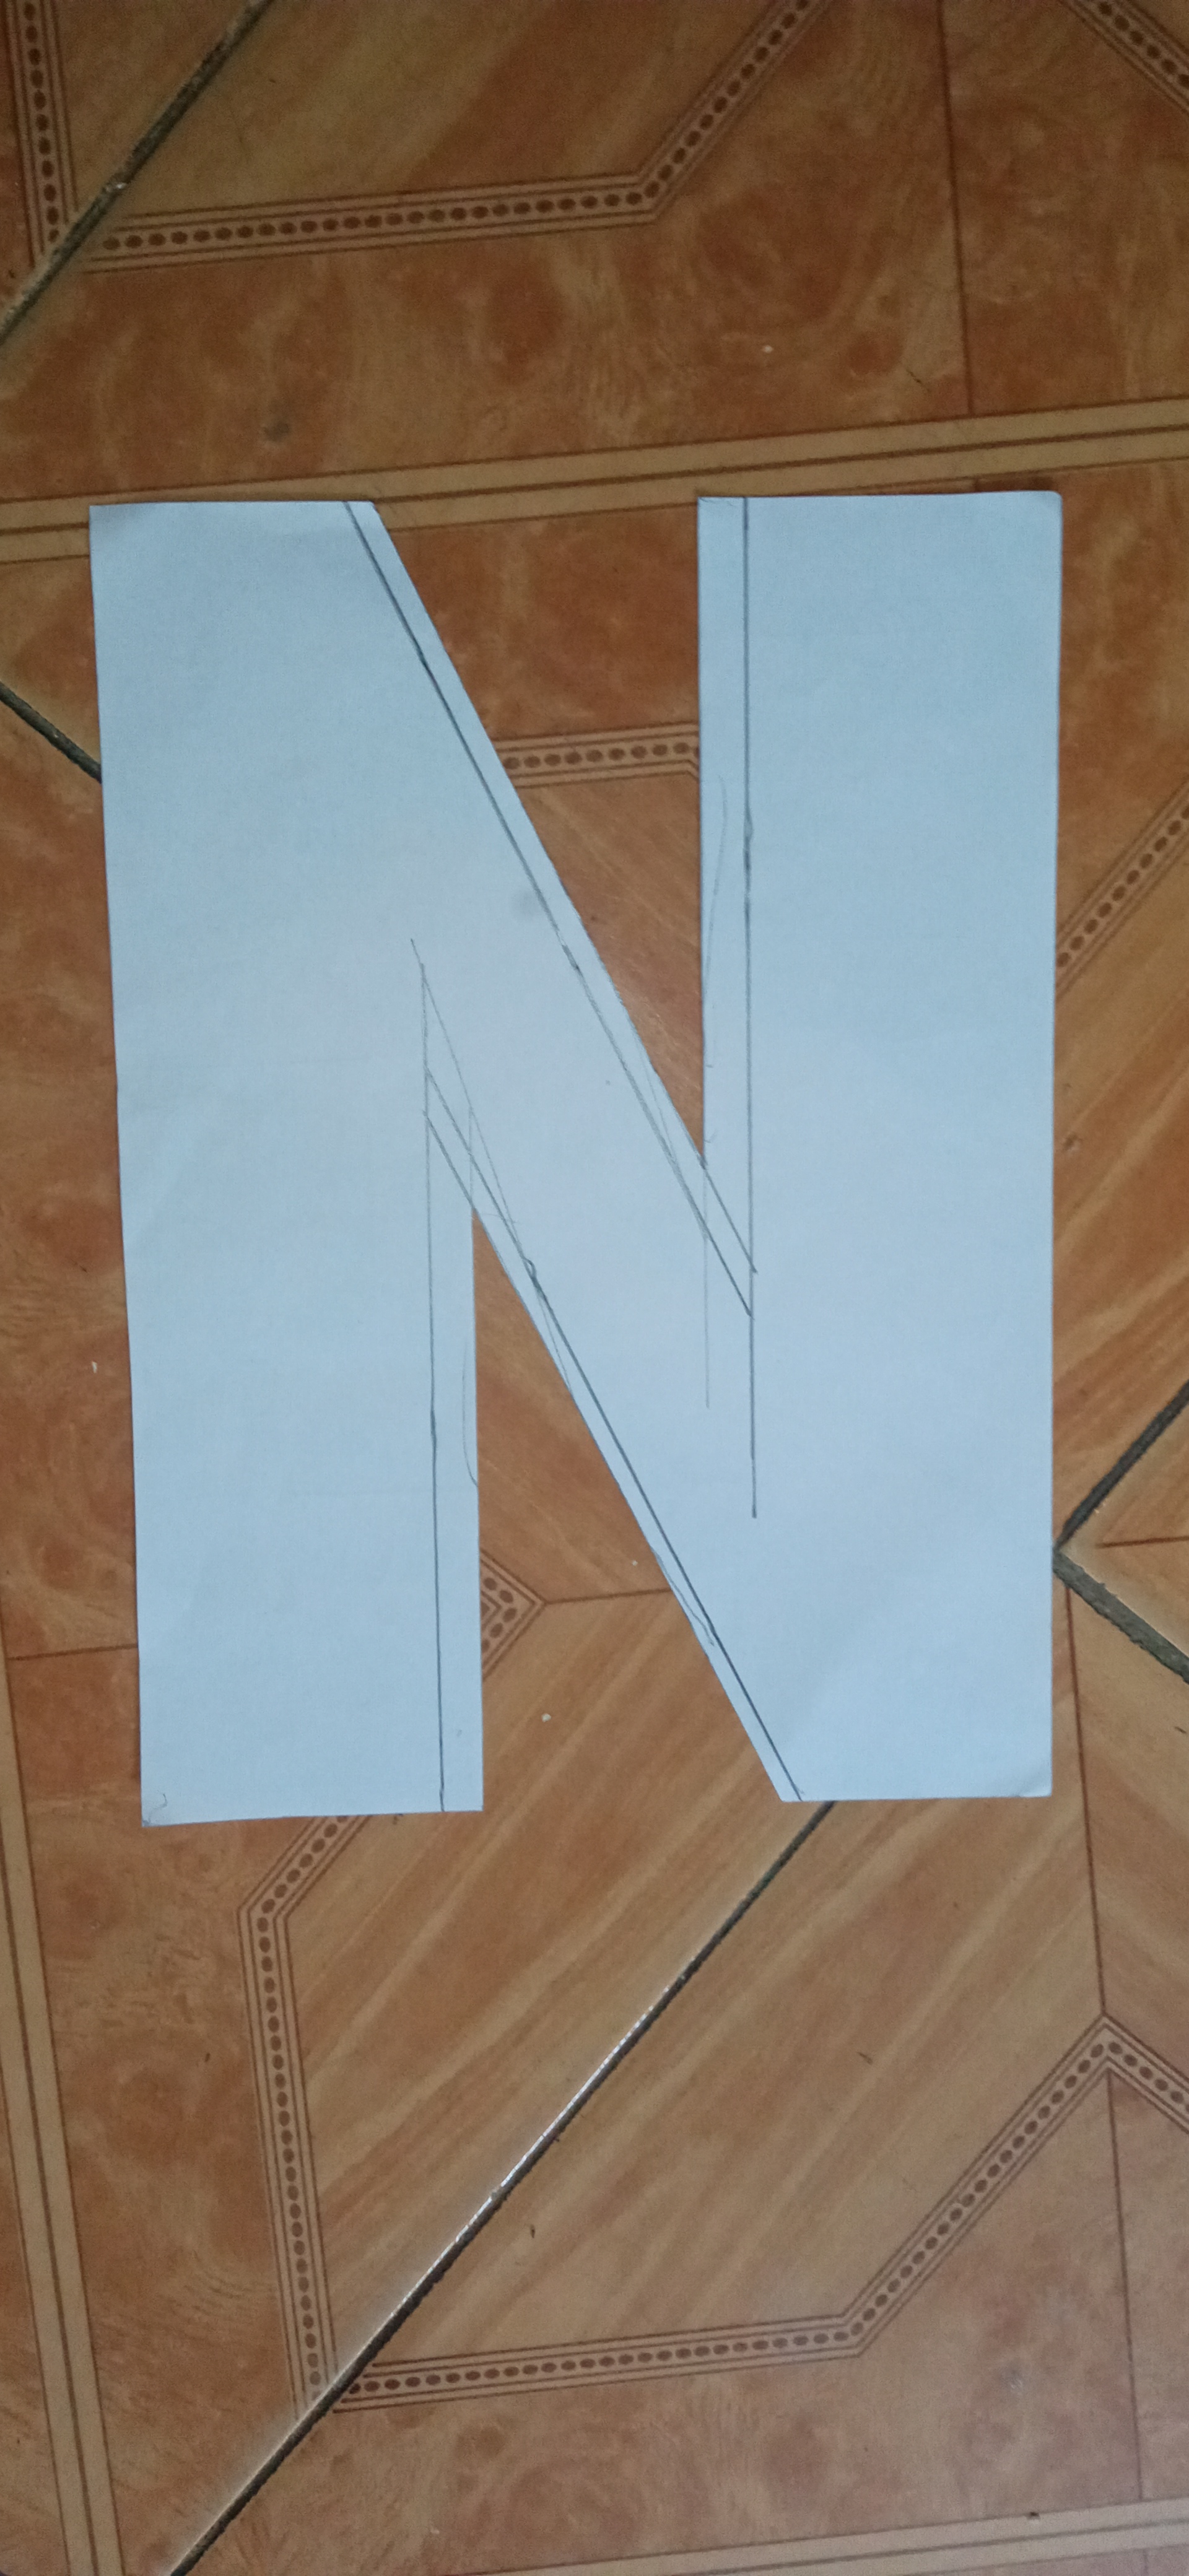
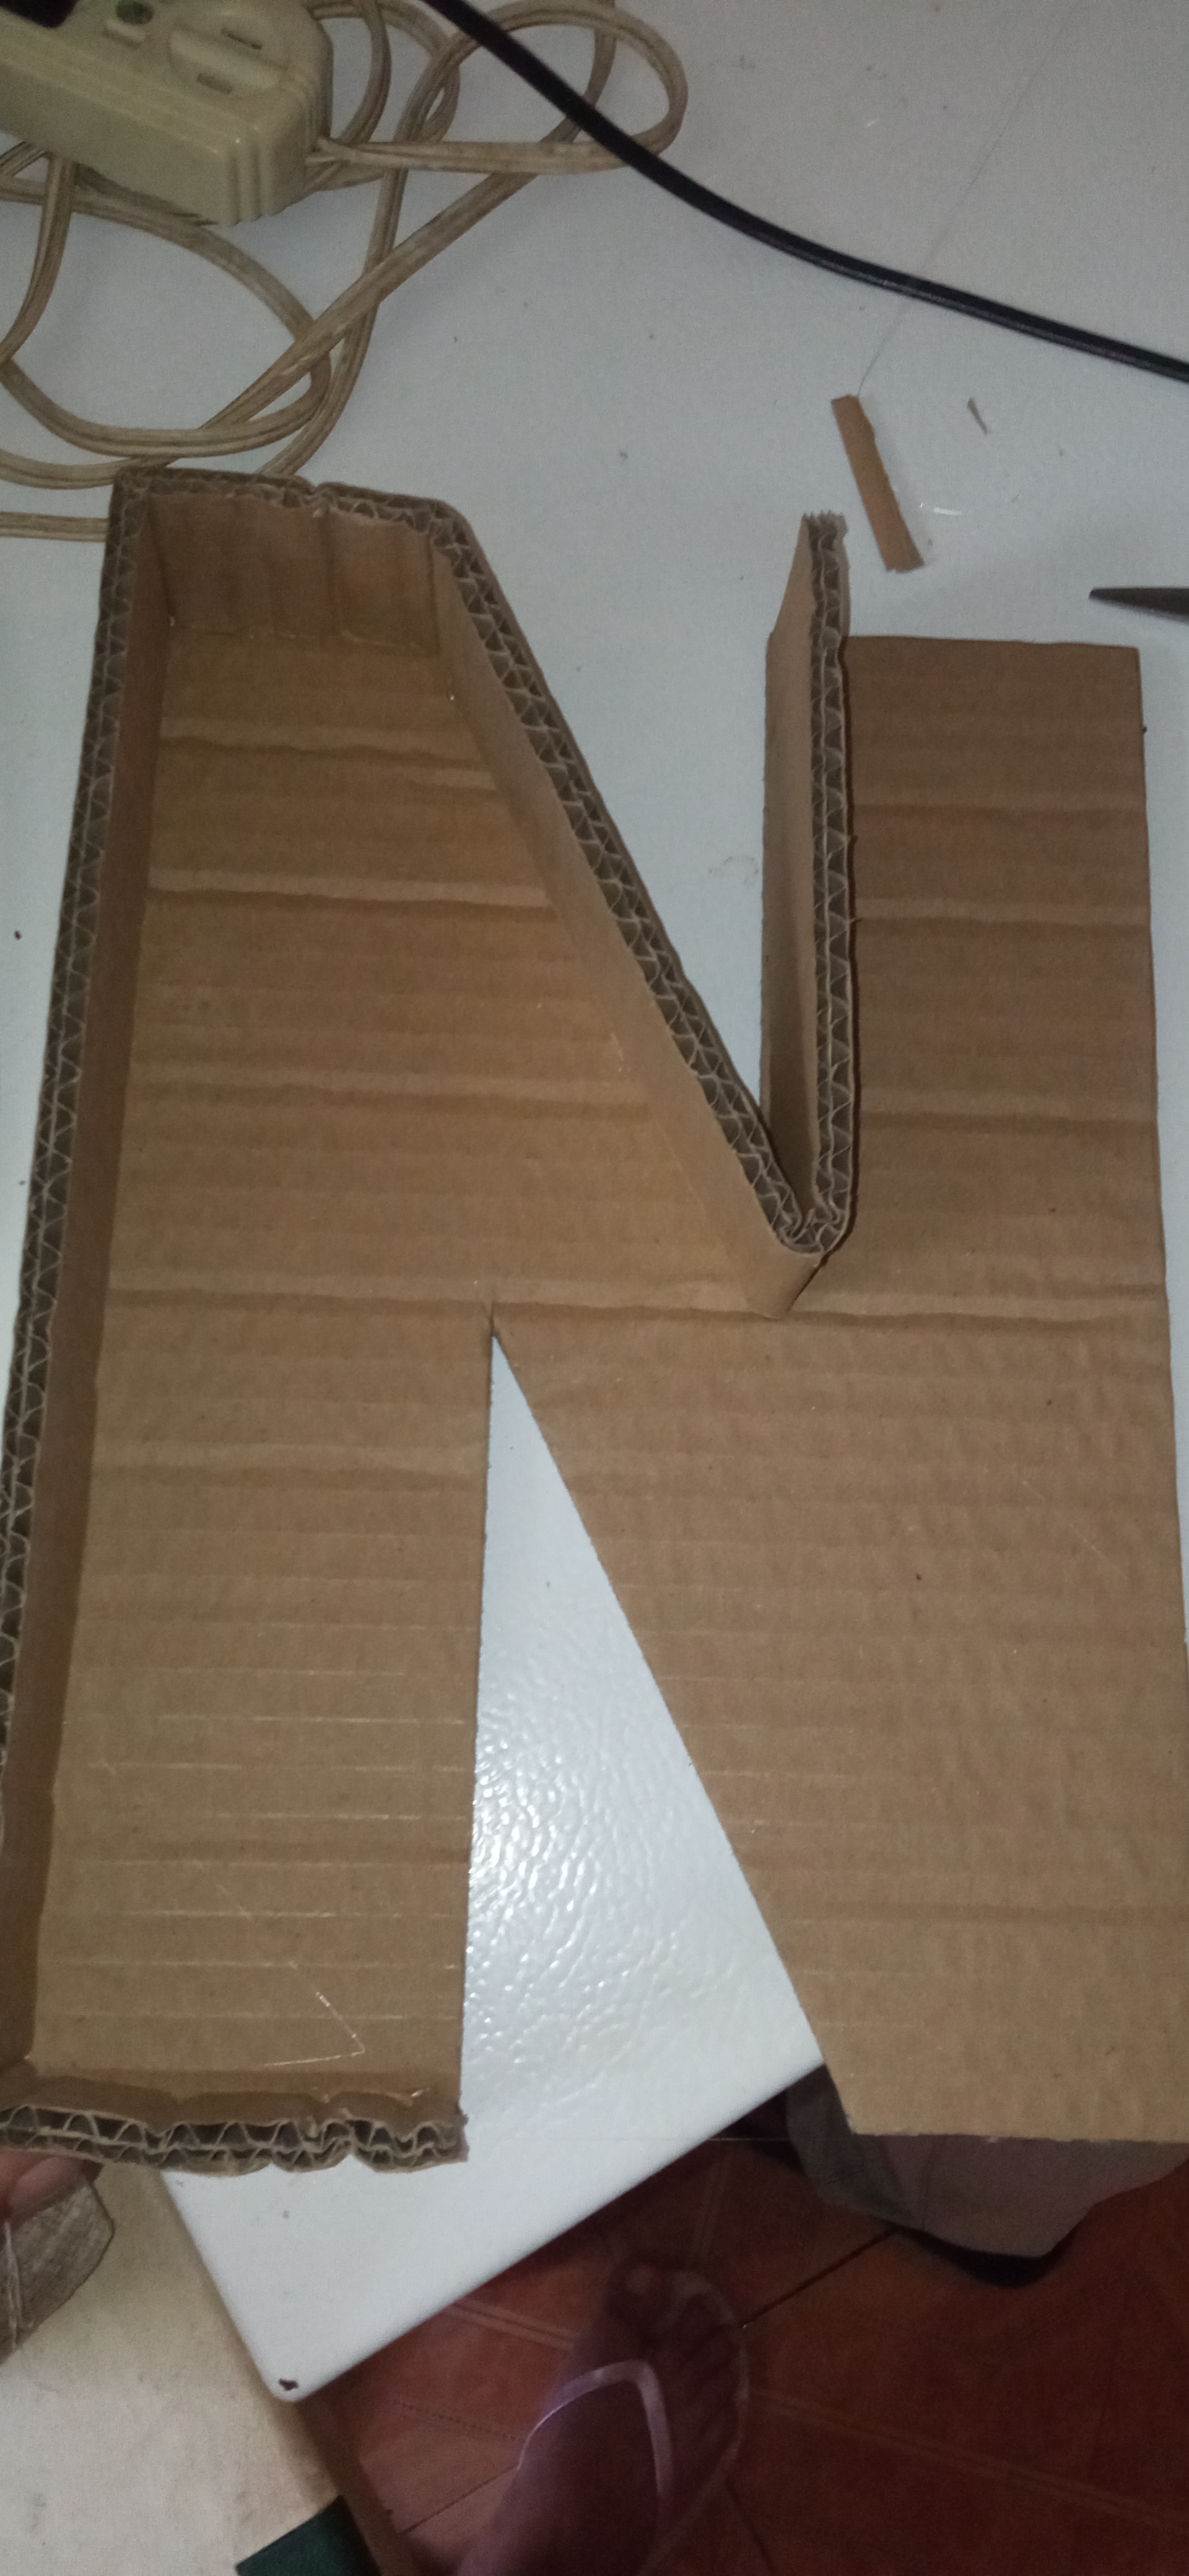
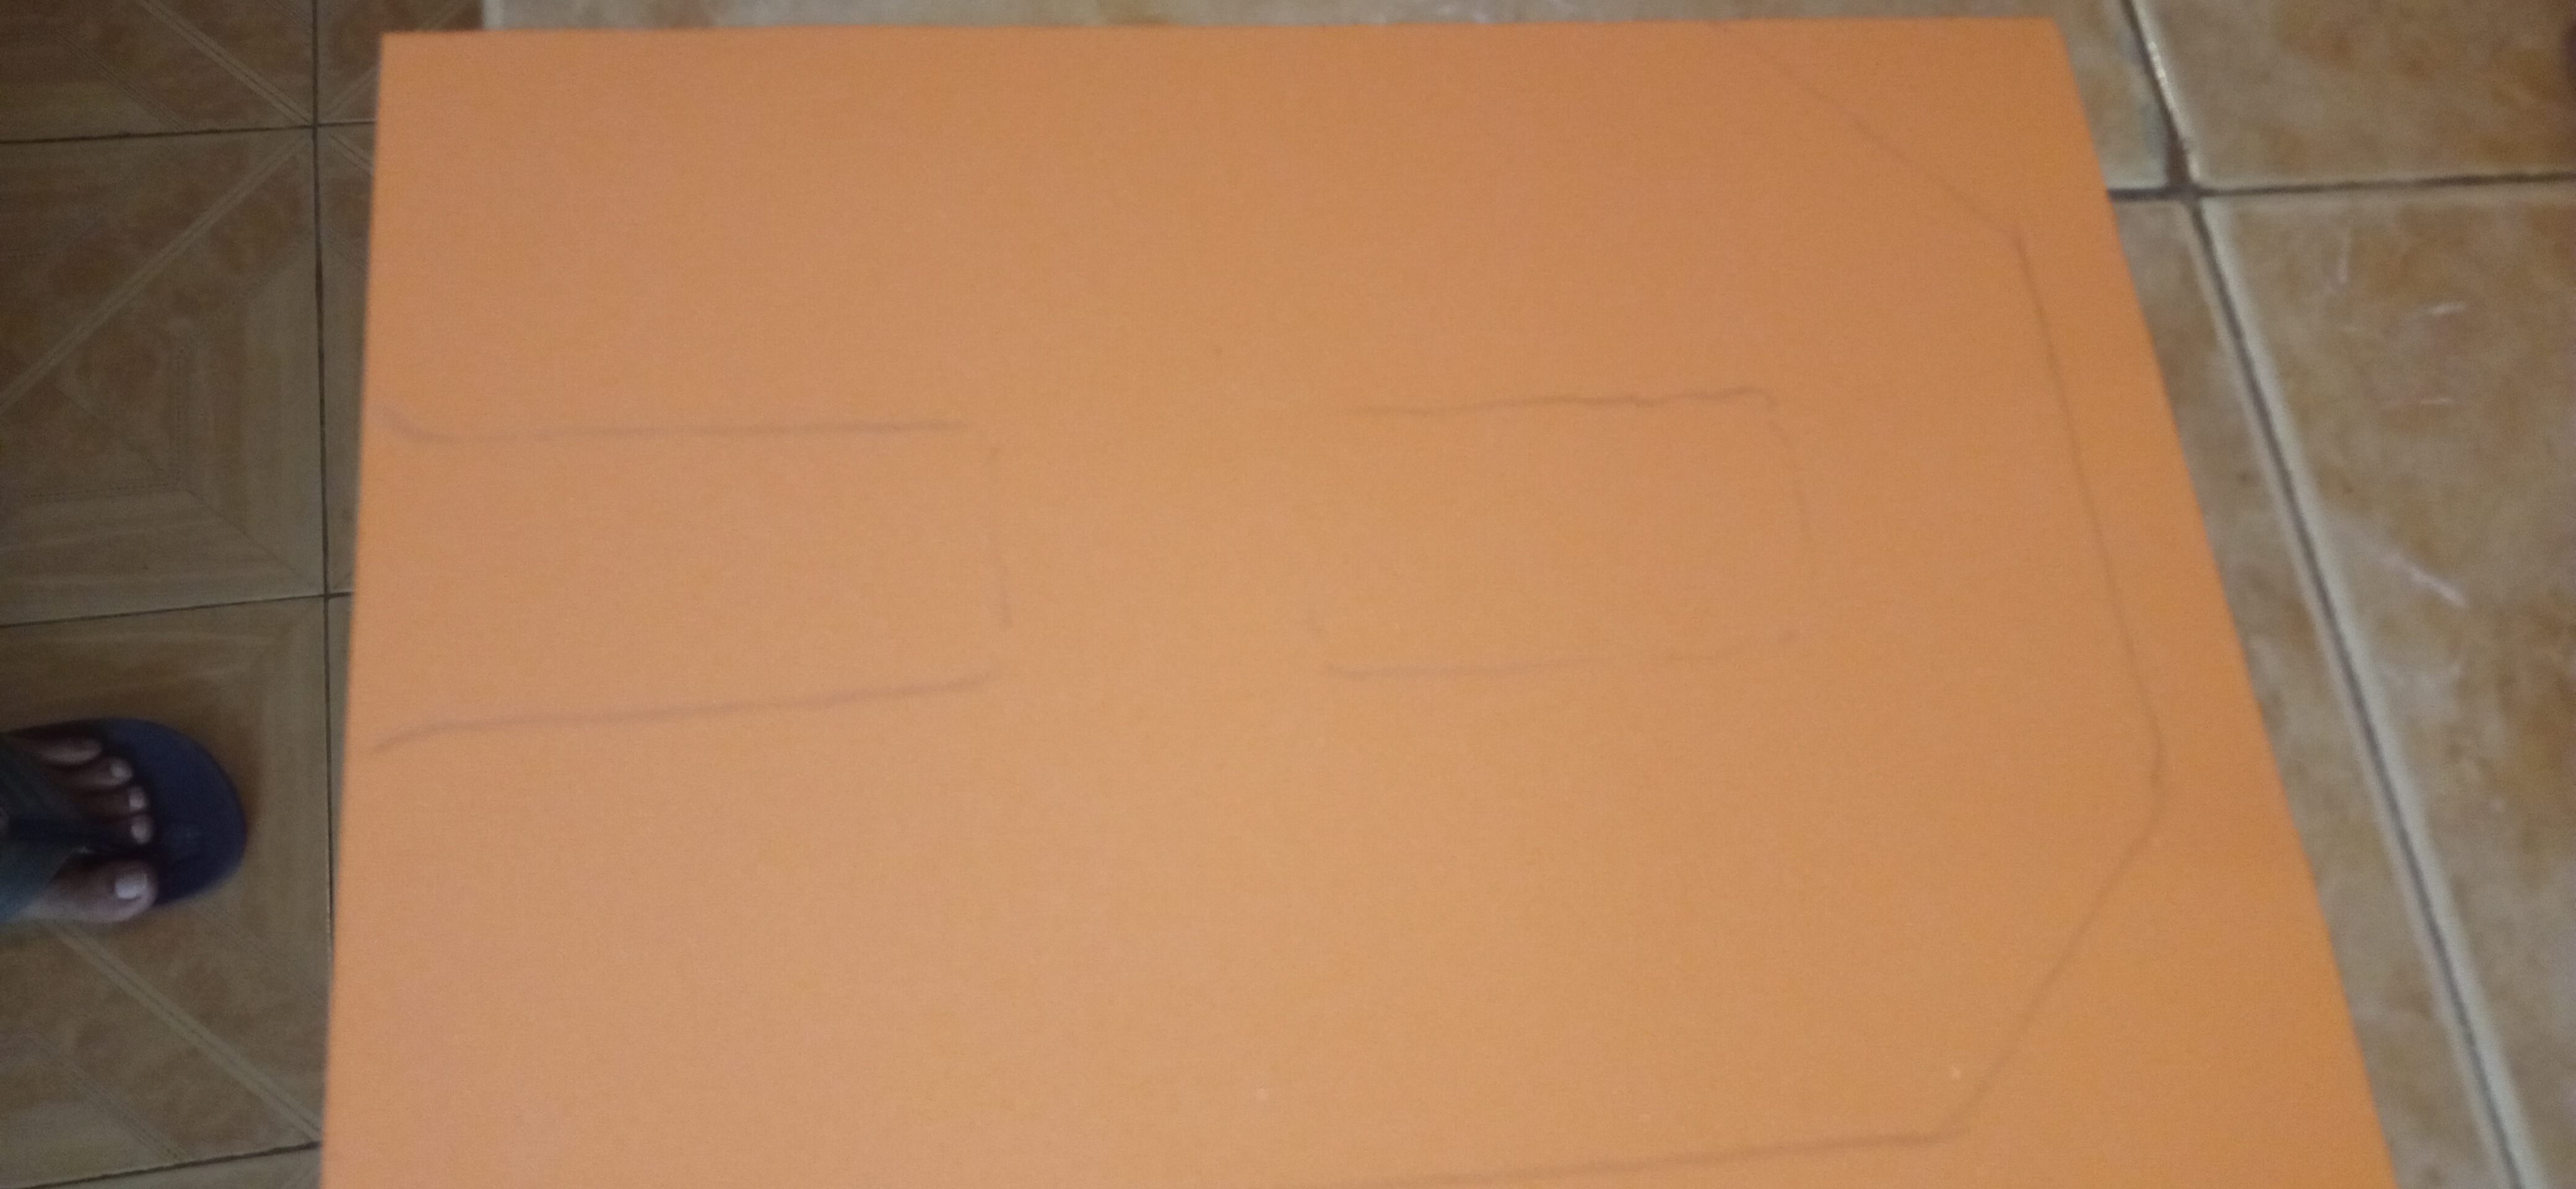
Step 1
First we paint the letters on the sheet, that would be the mold of our letters to work, then we mark them on the cardboard.
Paso 1
Primero pintamos las letras en la hoja, ese sería el molde de nuestras letras a trabajar, después se marcan en el cartón.

Step 2
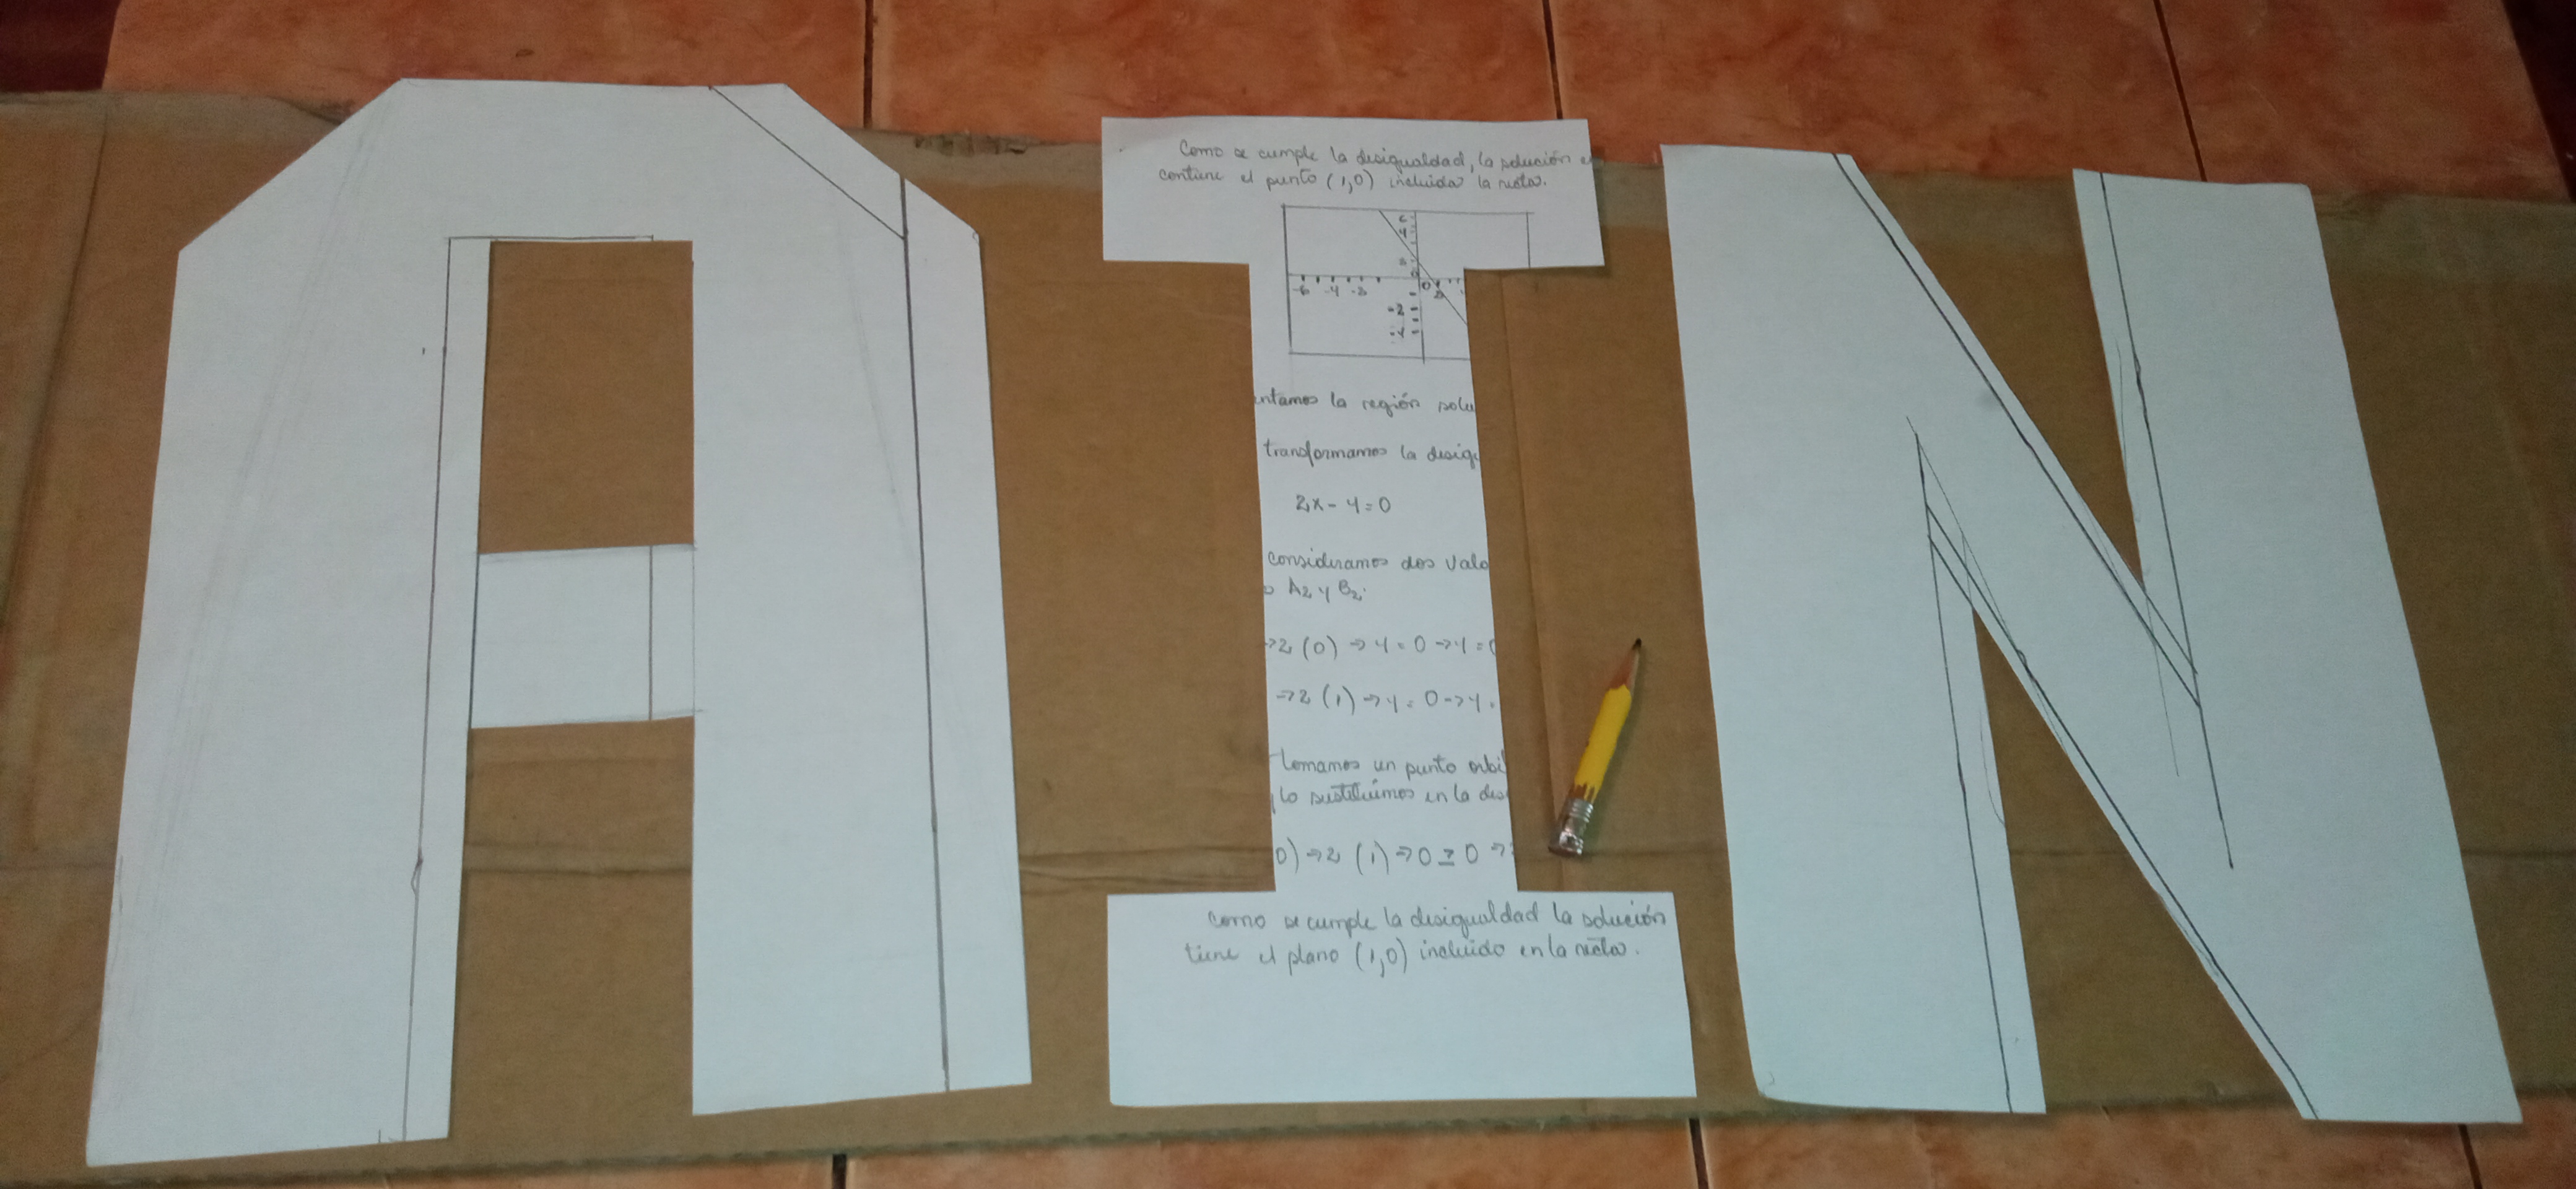
Here we cut out the cardboard letters of our name.
Paso 2
Aquí cortamos las letras de cartón de nuestro nombre.

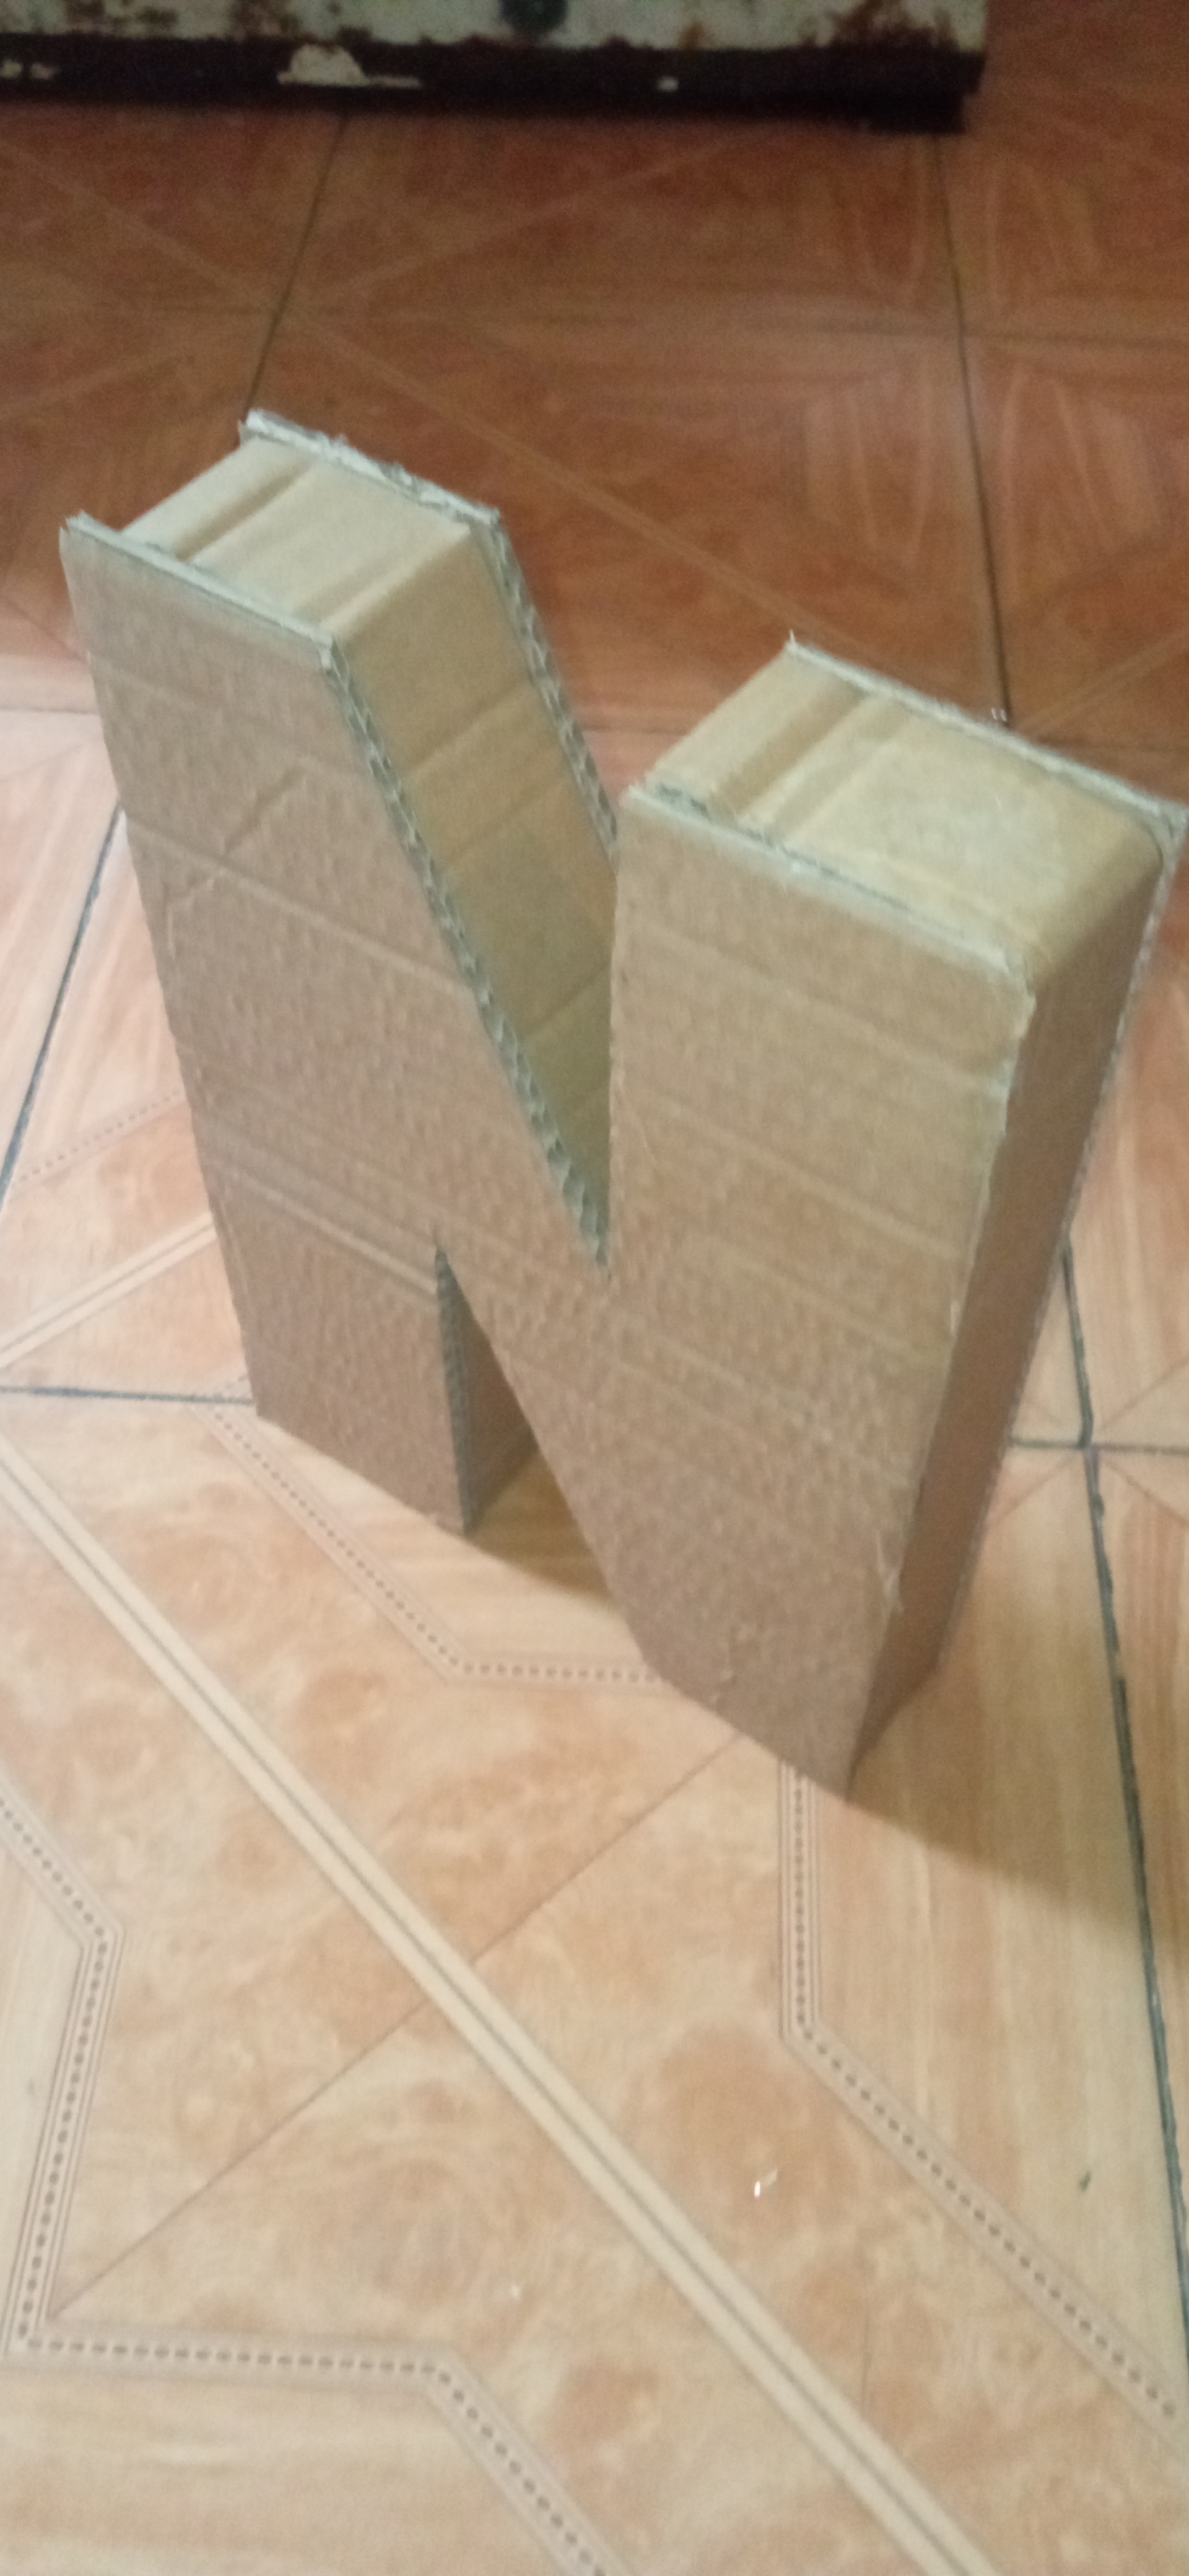
Step 3
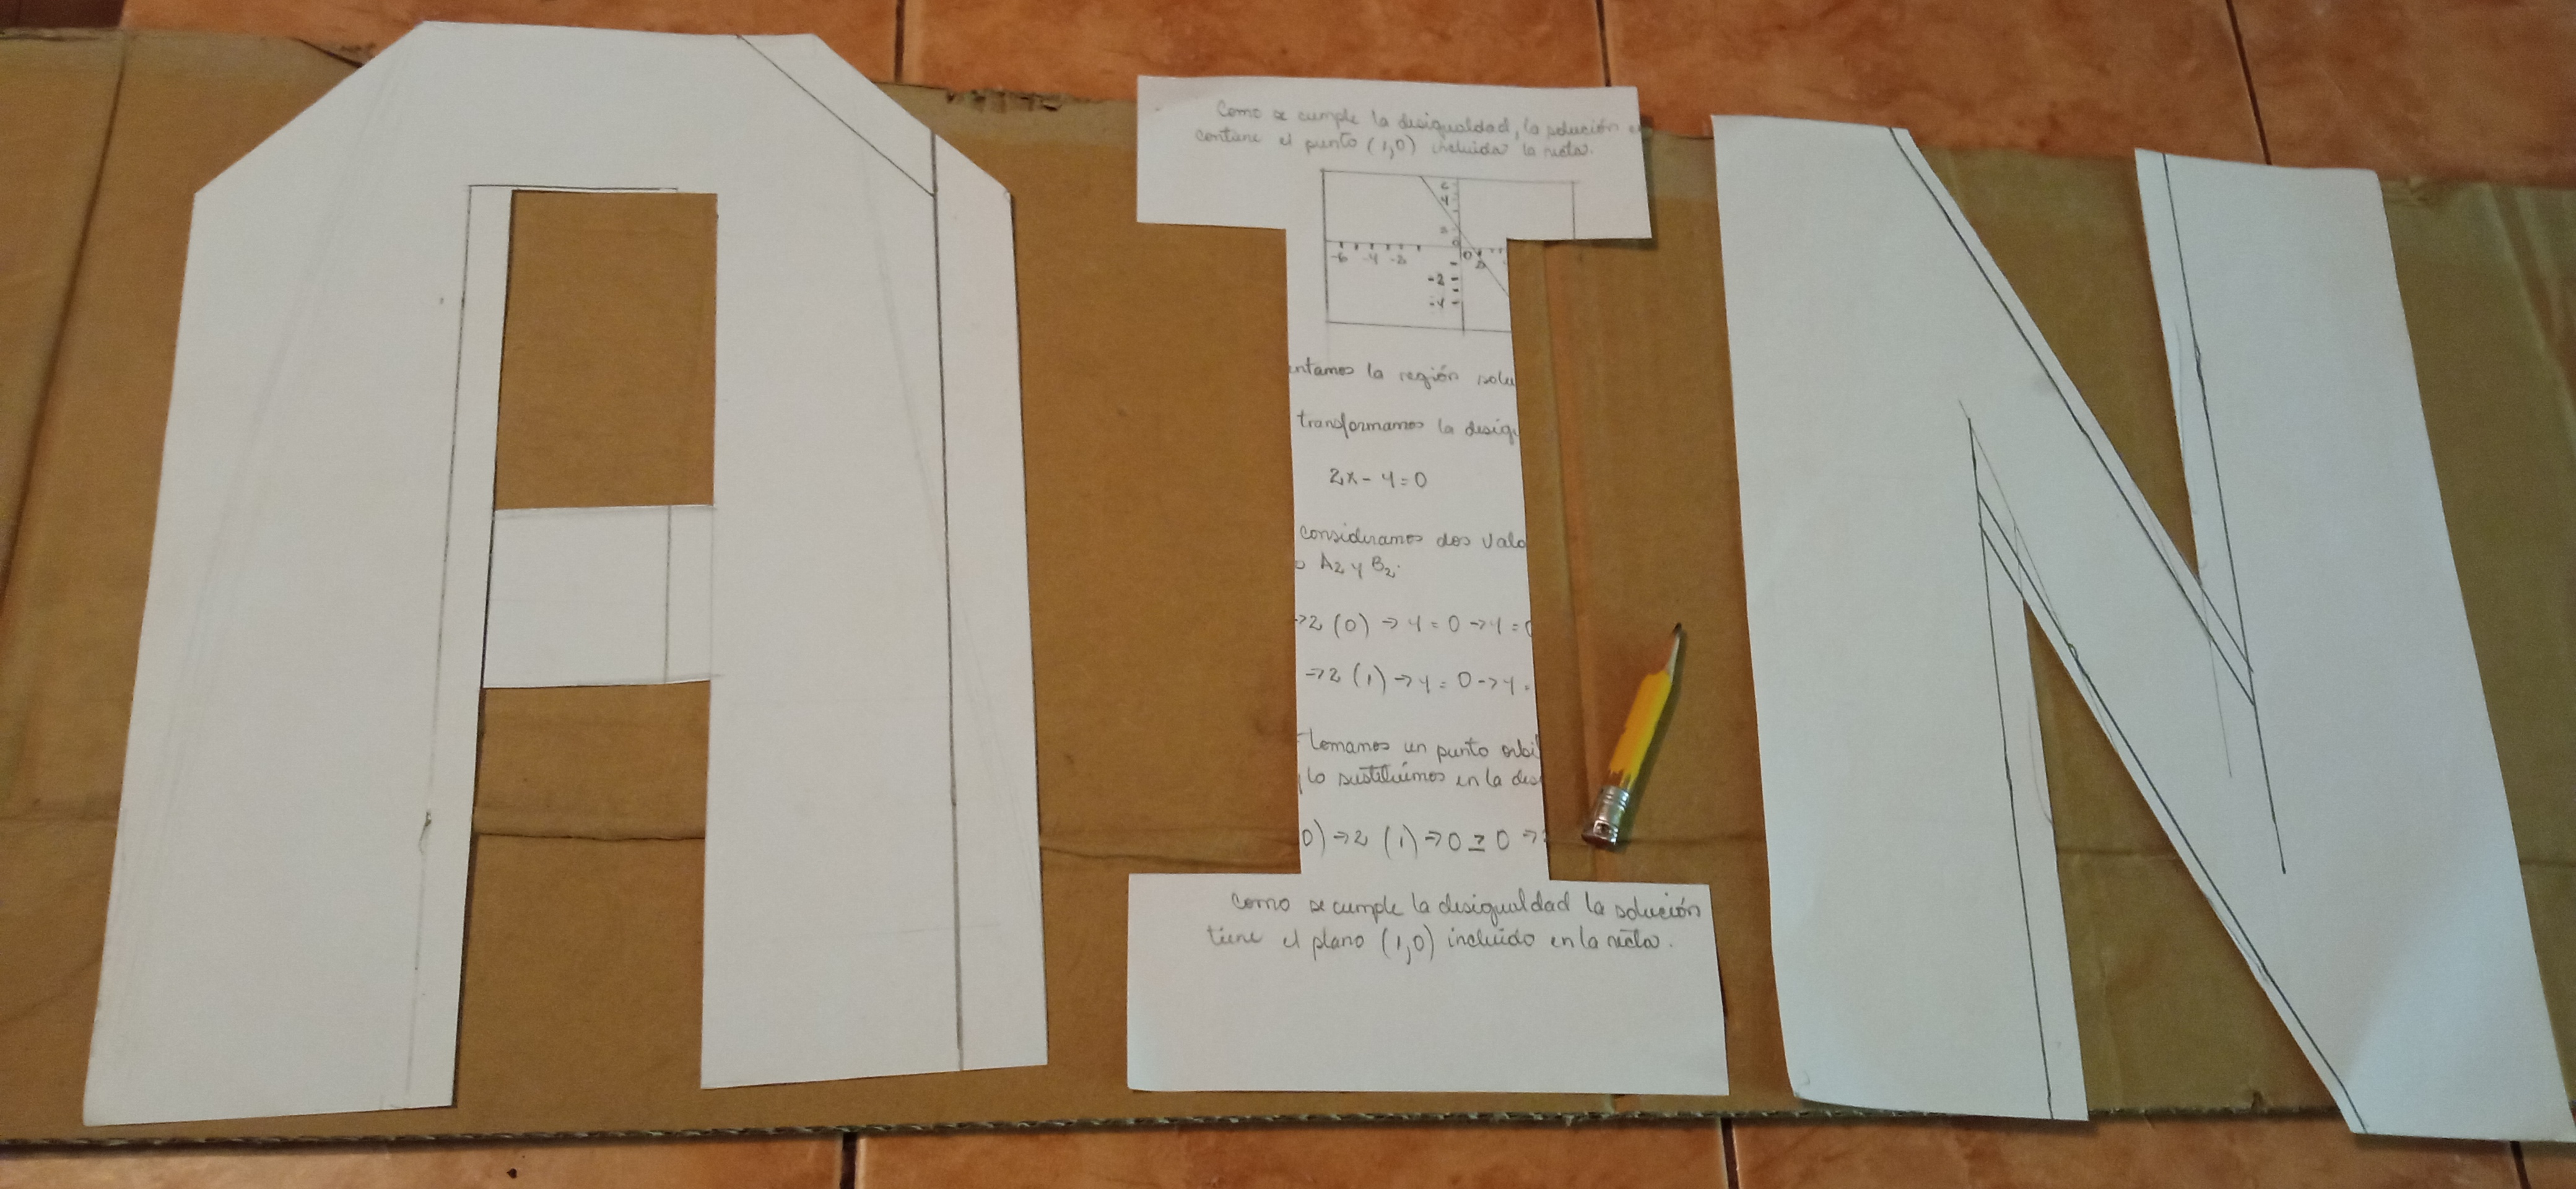
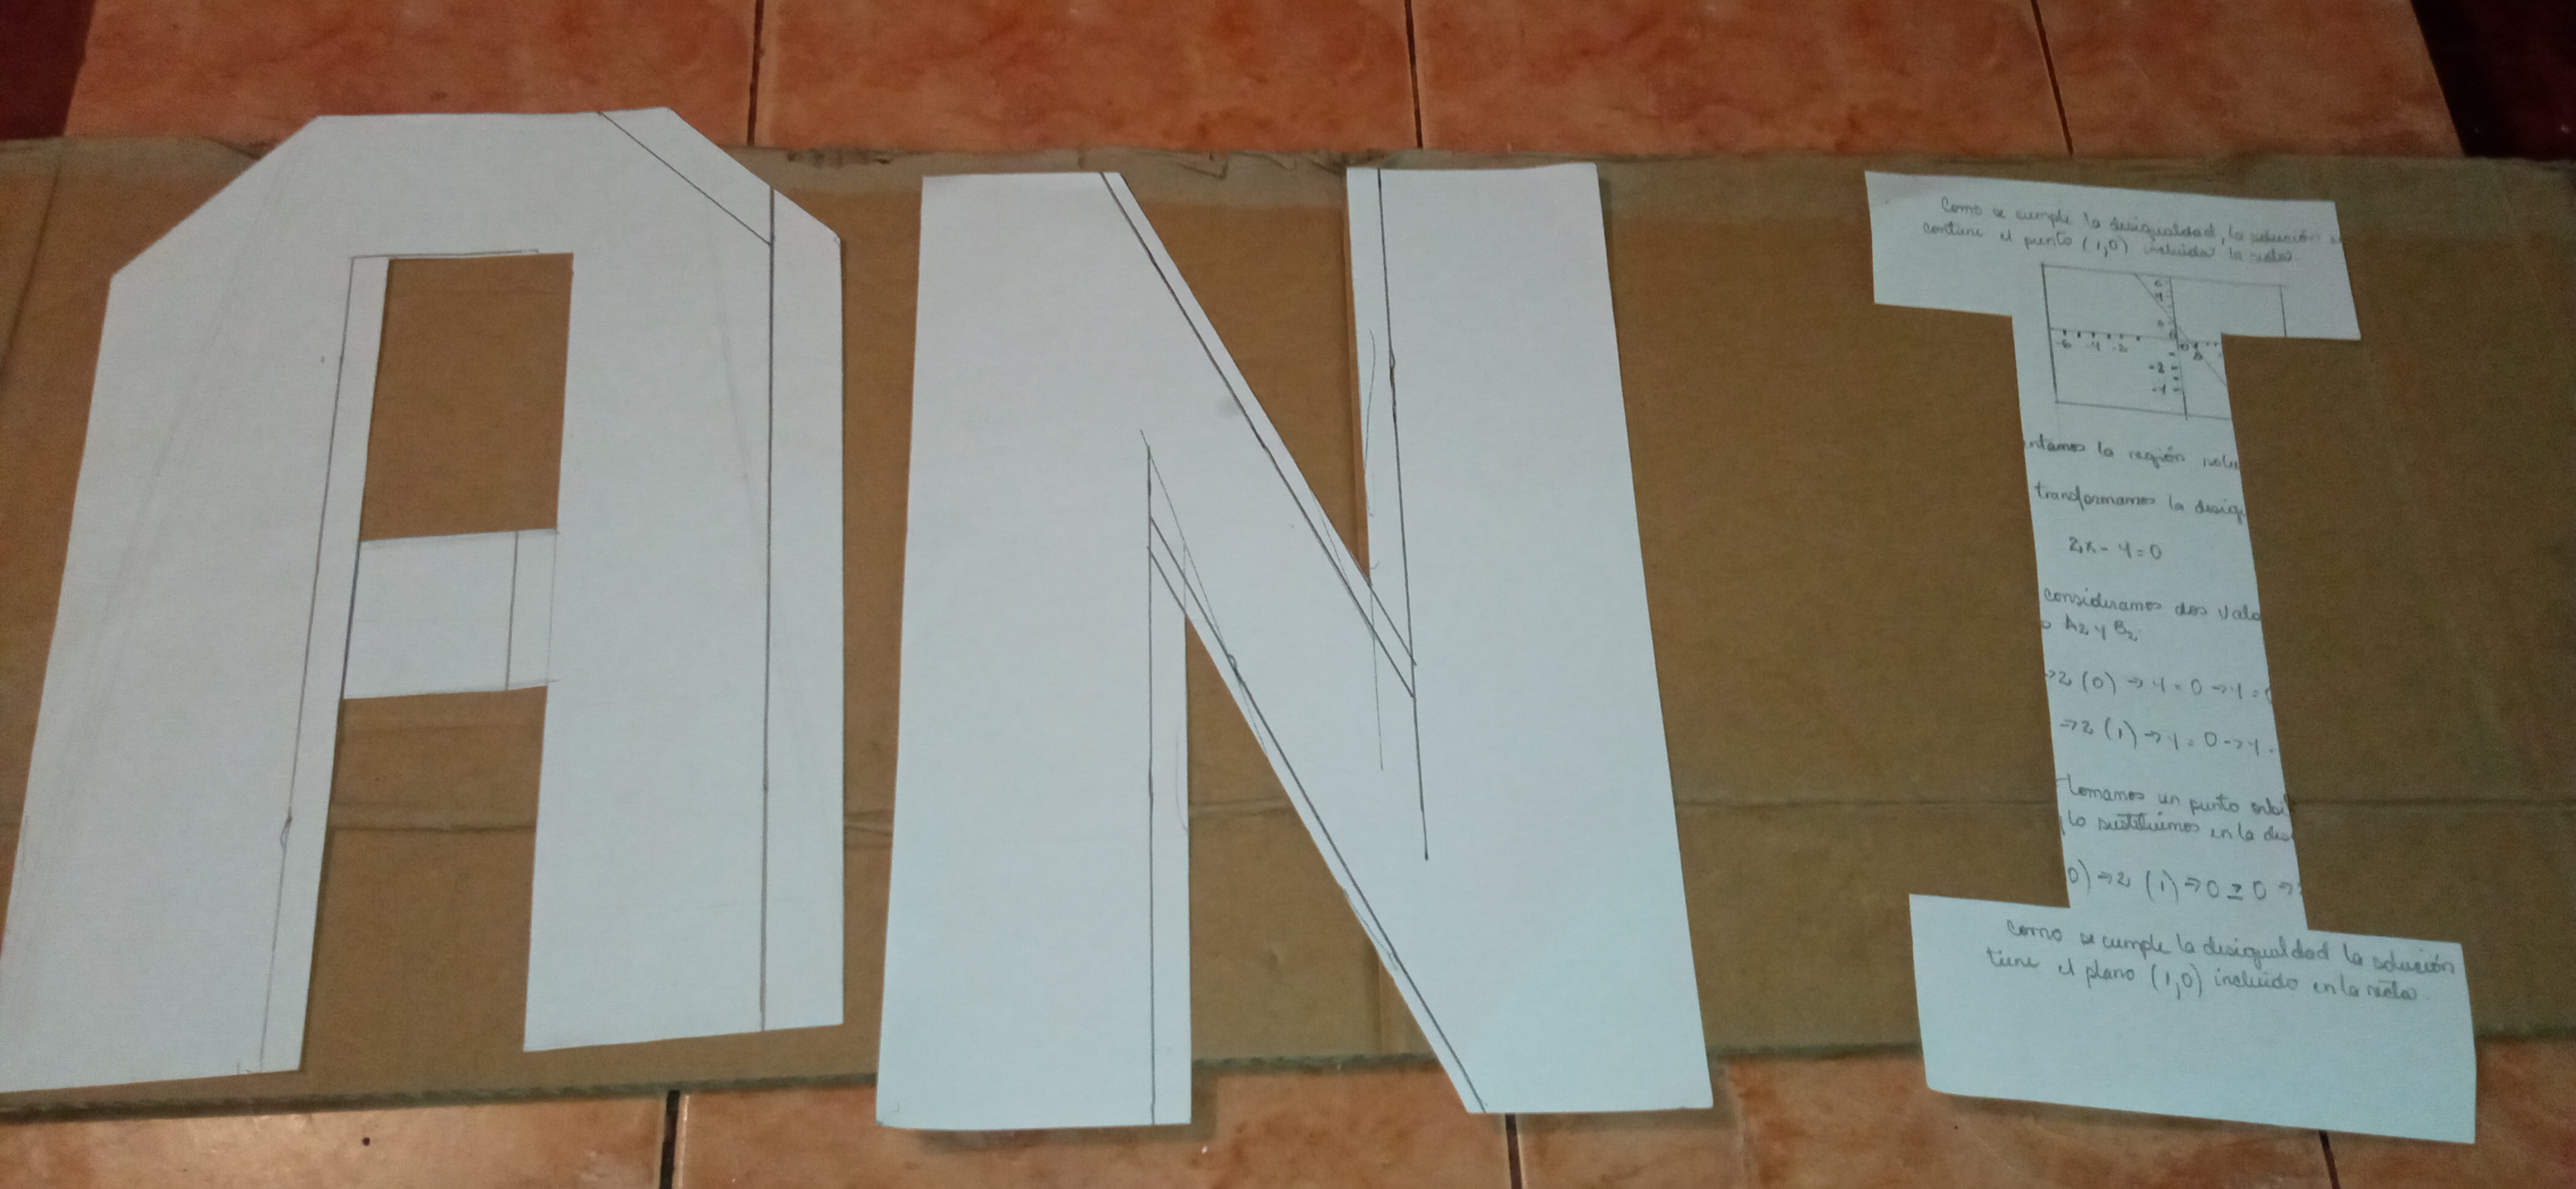
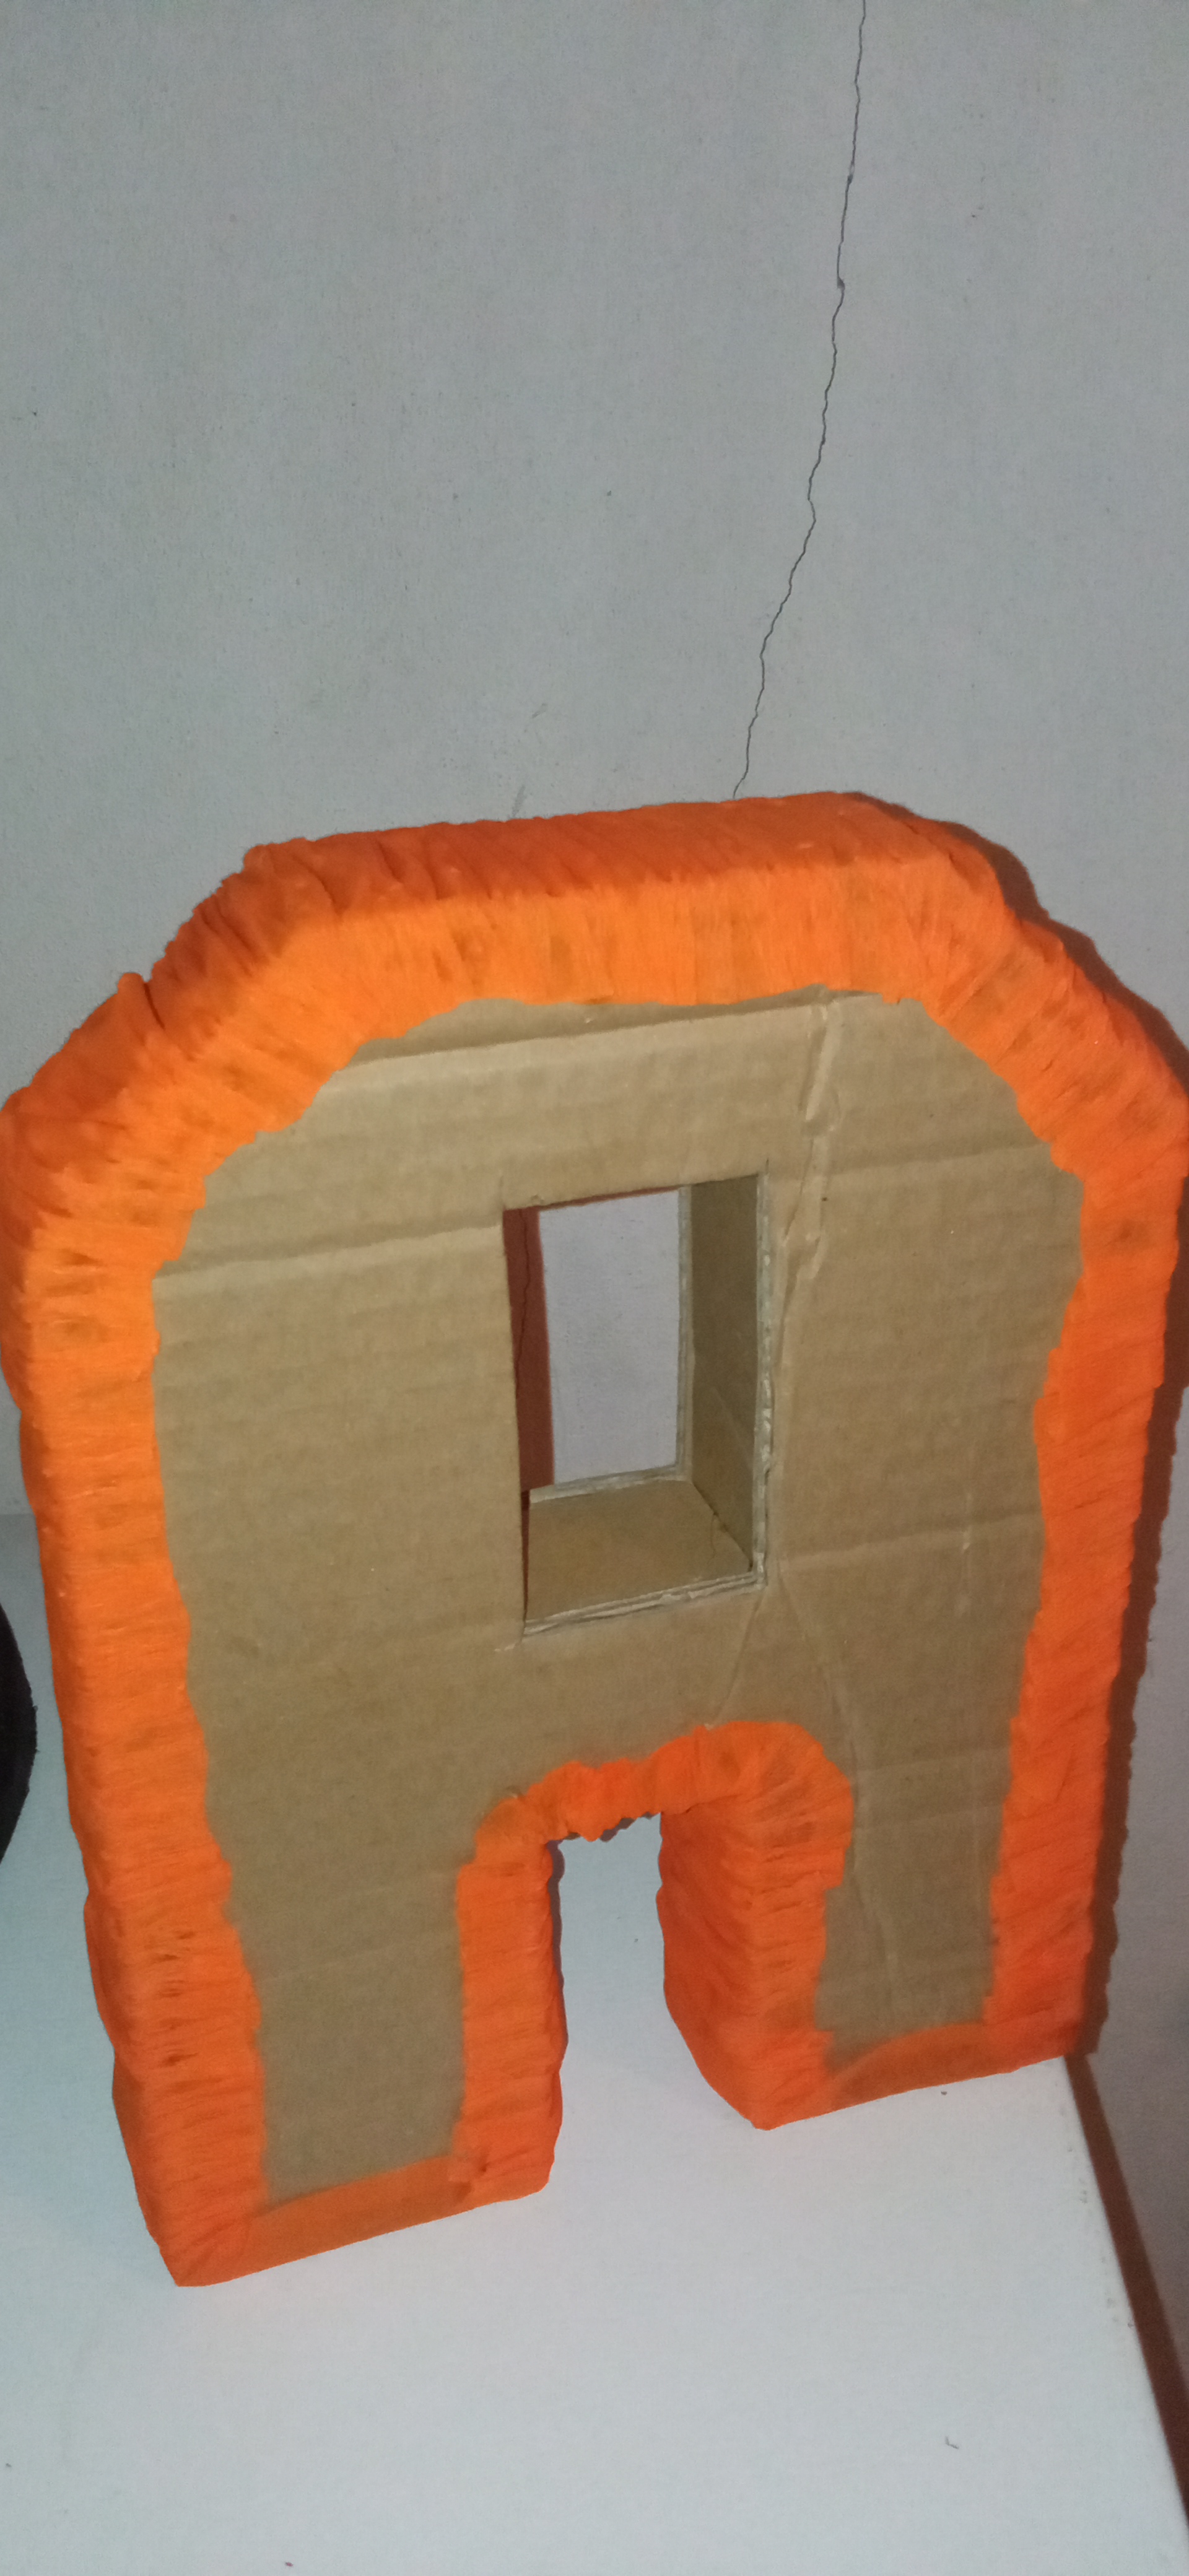
We continue assembling our cardboard letters, as you can see here in the pictures.
Paso 3
Seguimos armando nuestras letras de cartón, como ven aquí en las fotos.


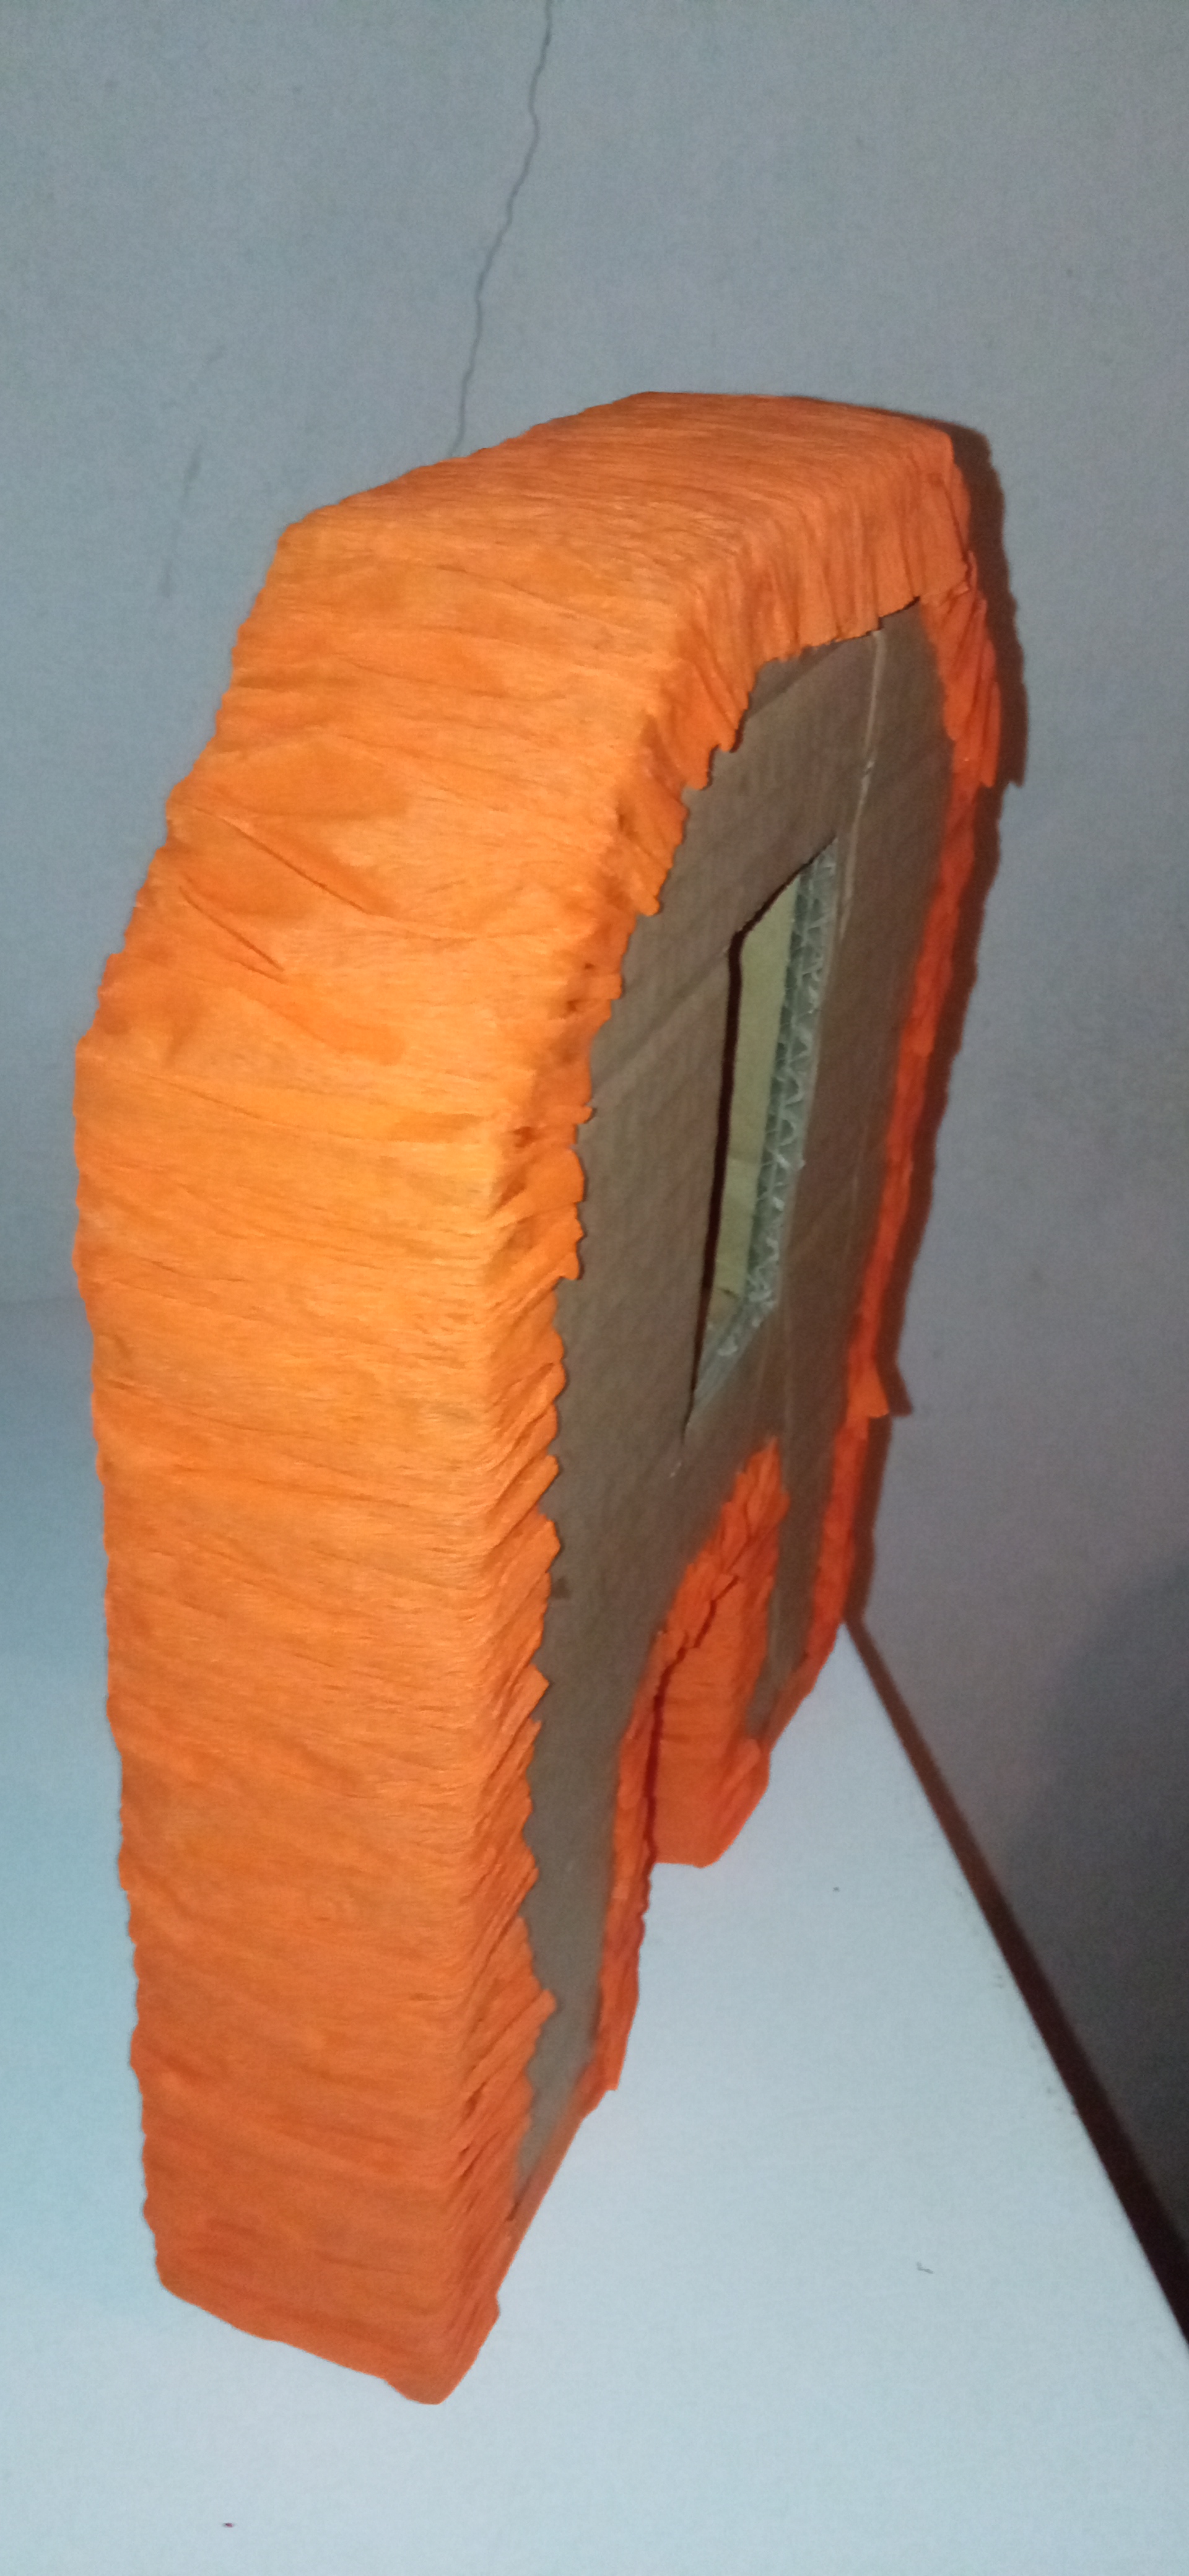
Step 4
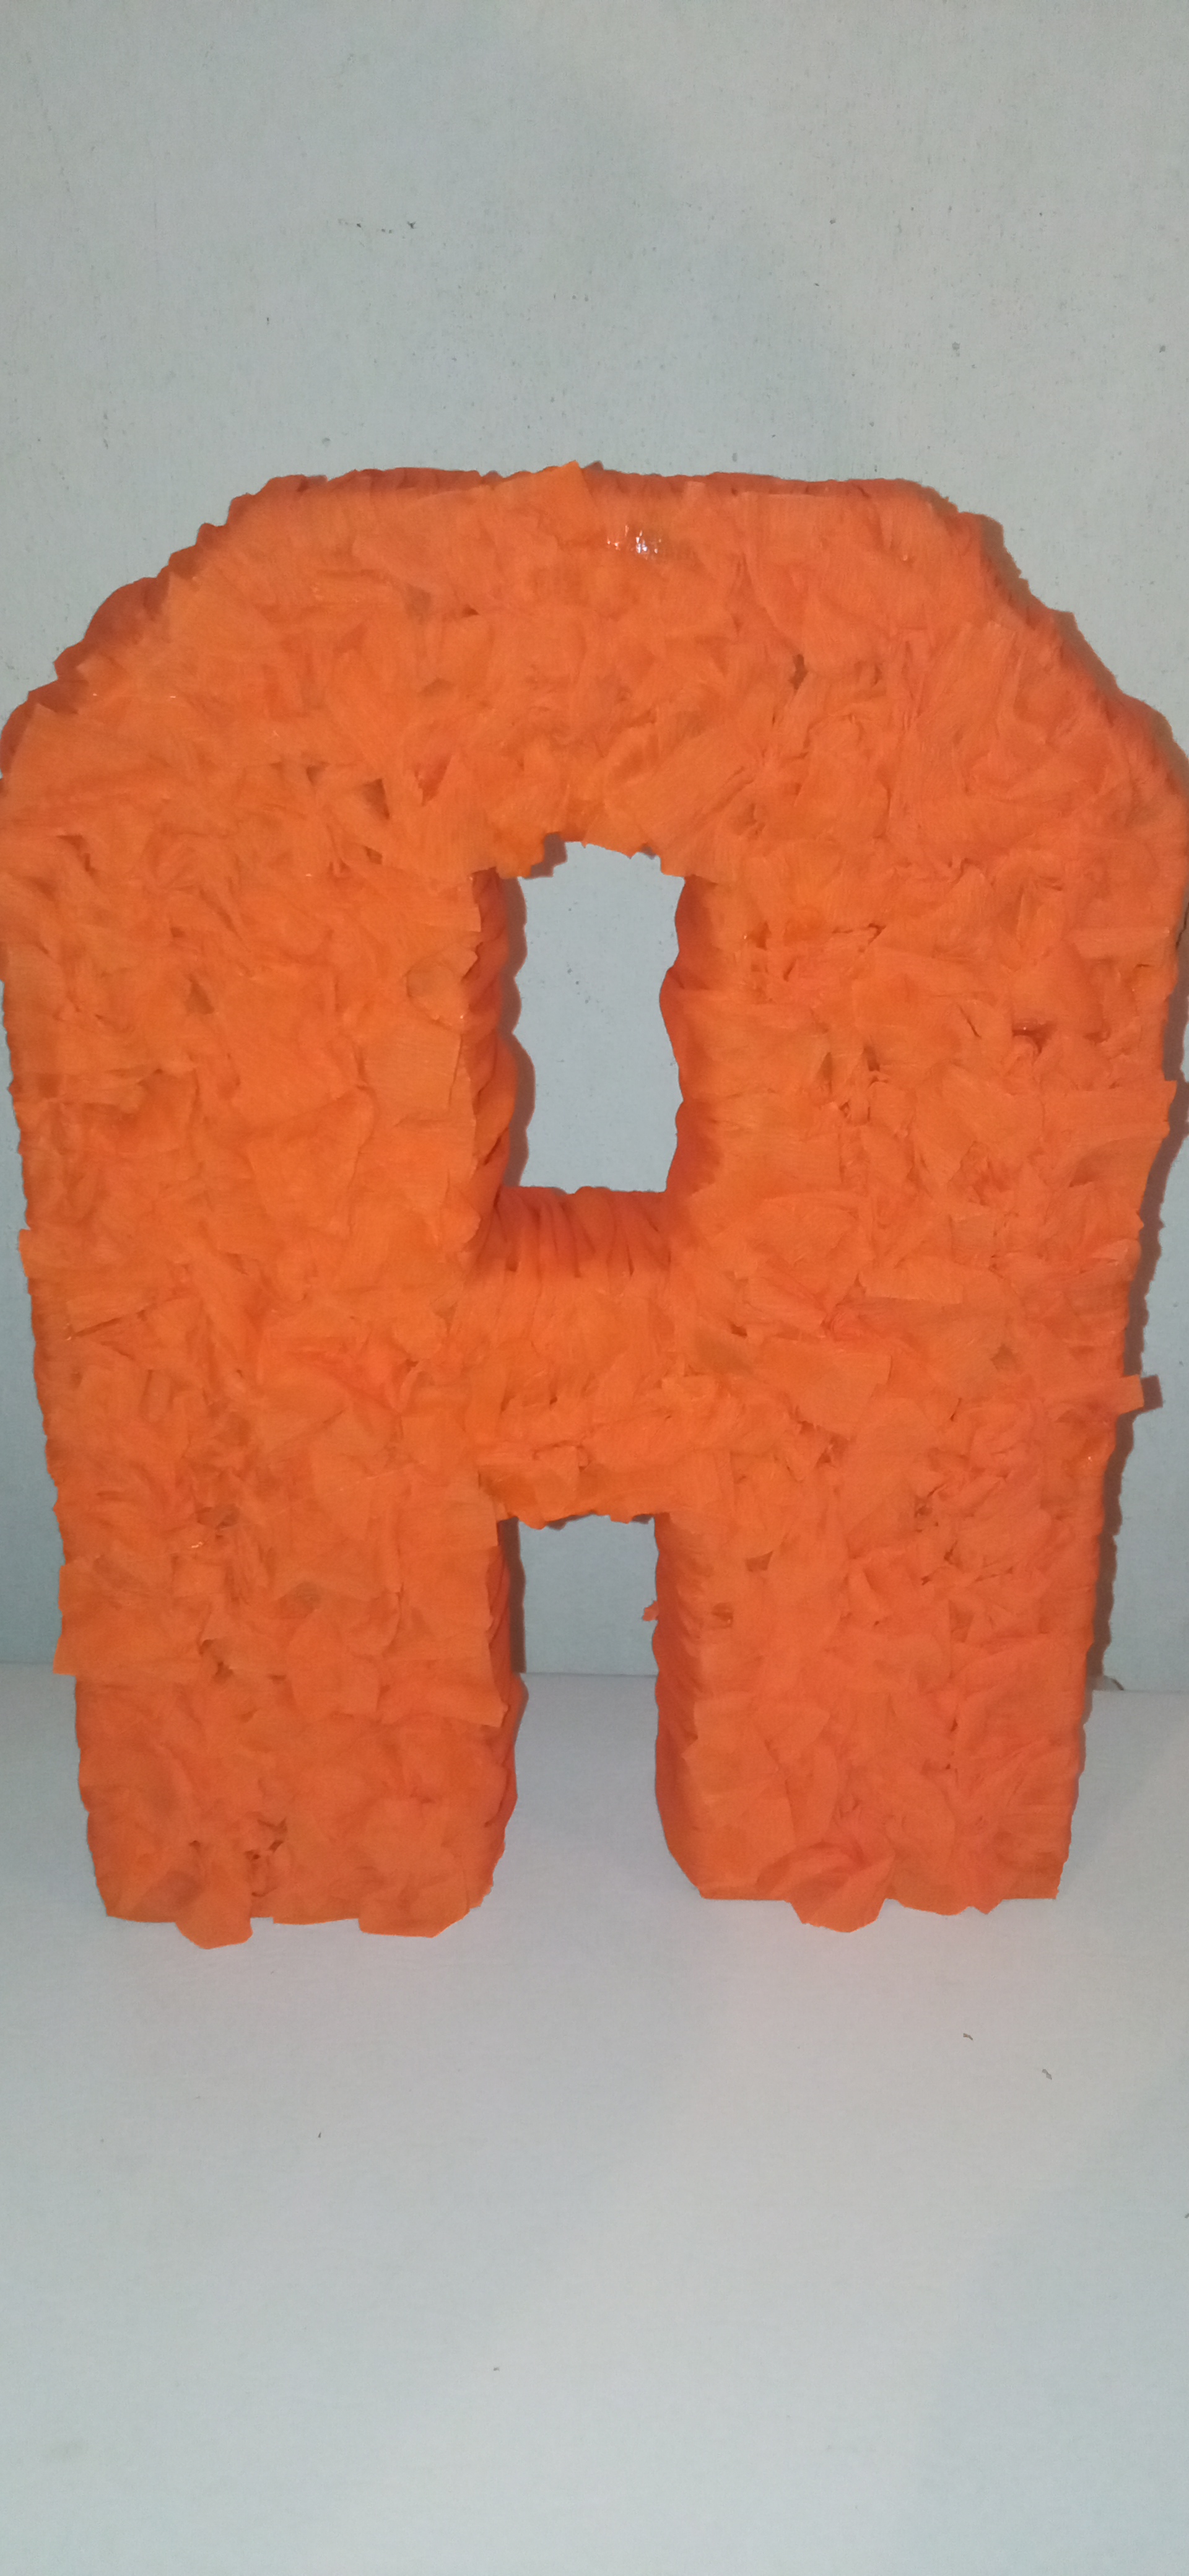
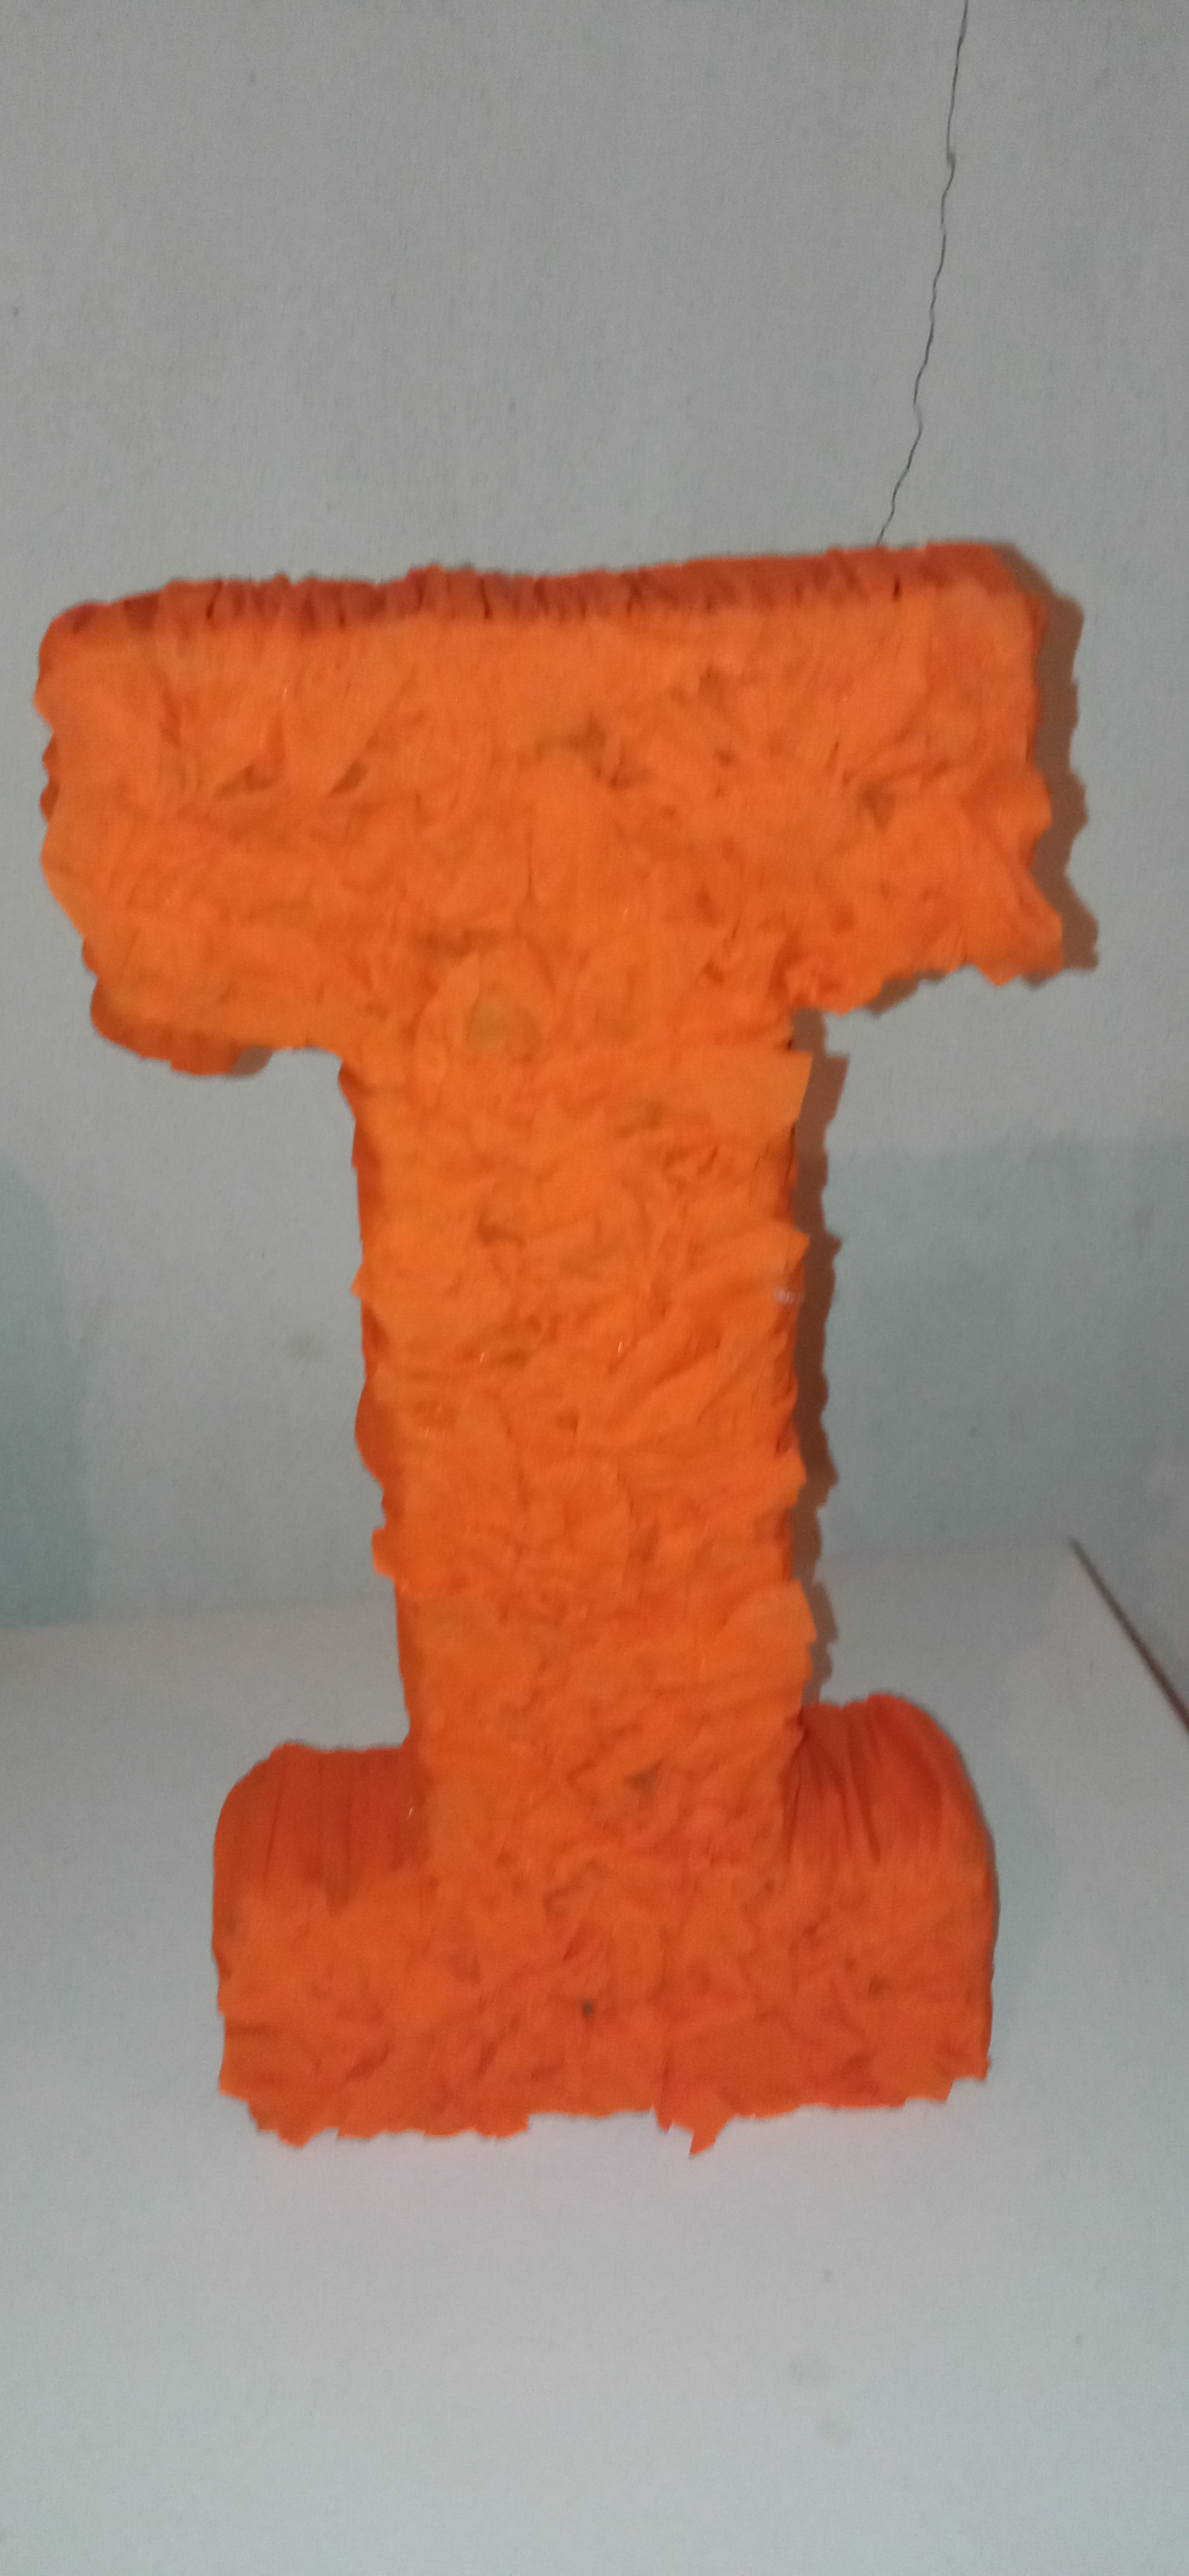
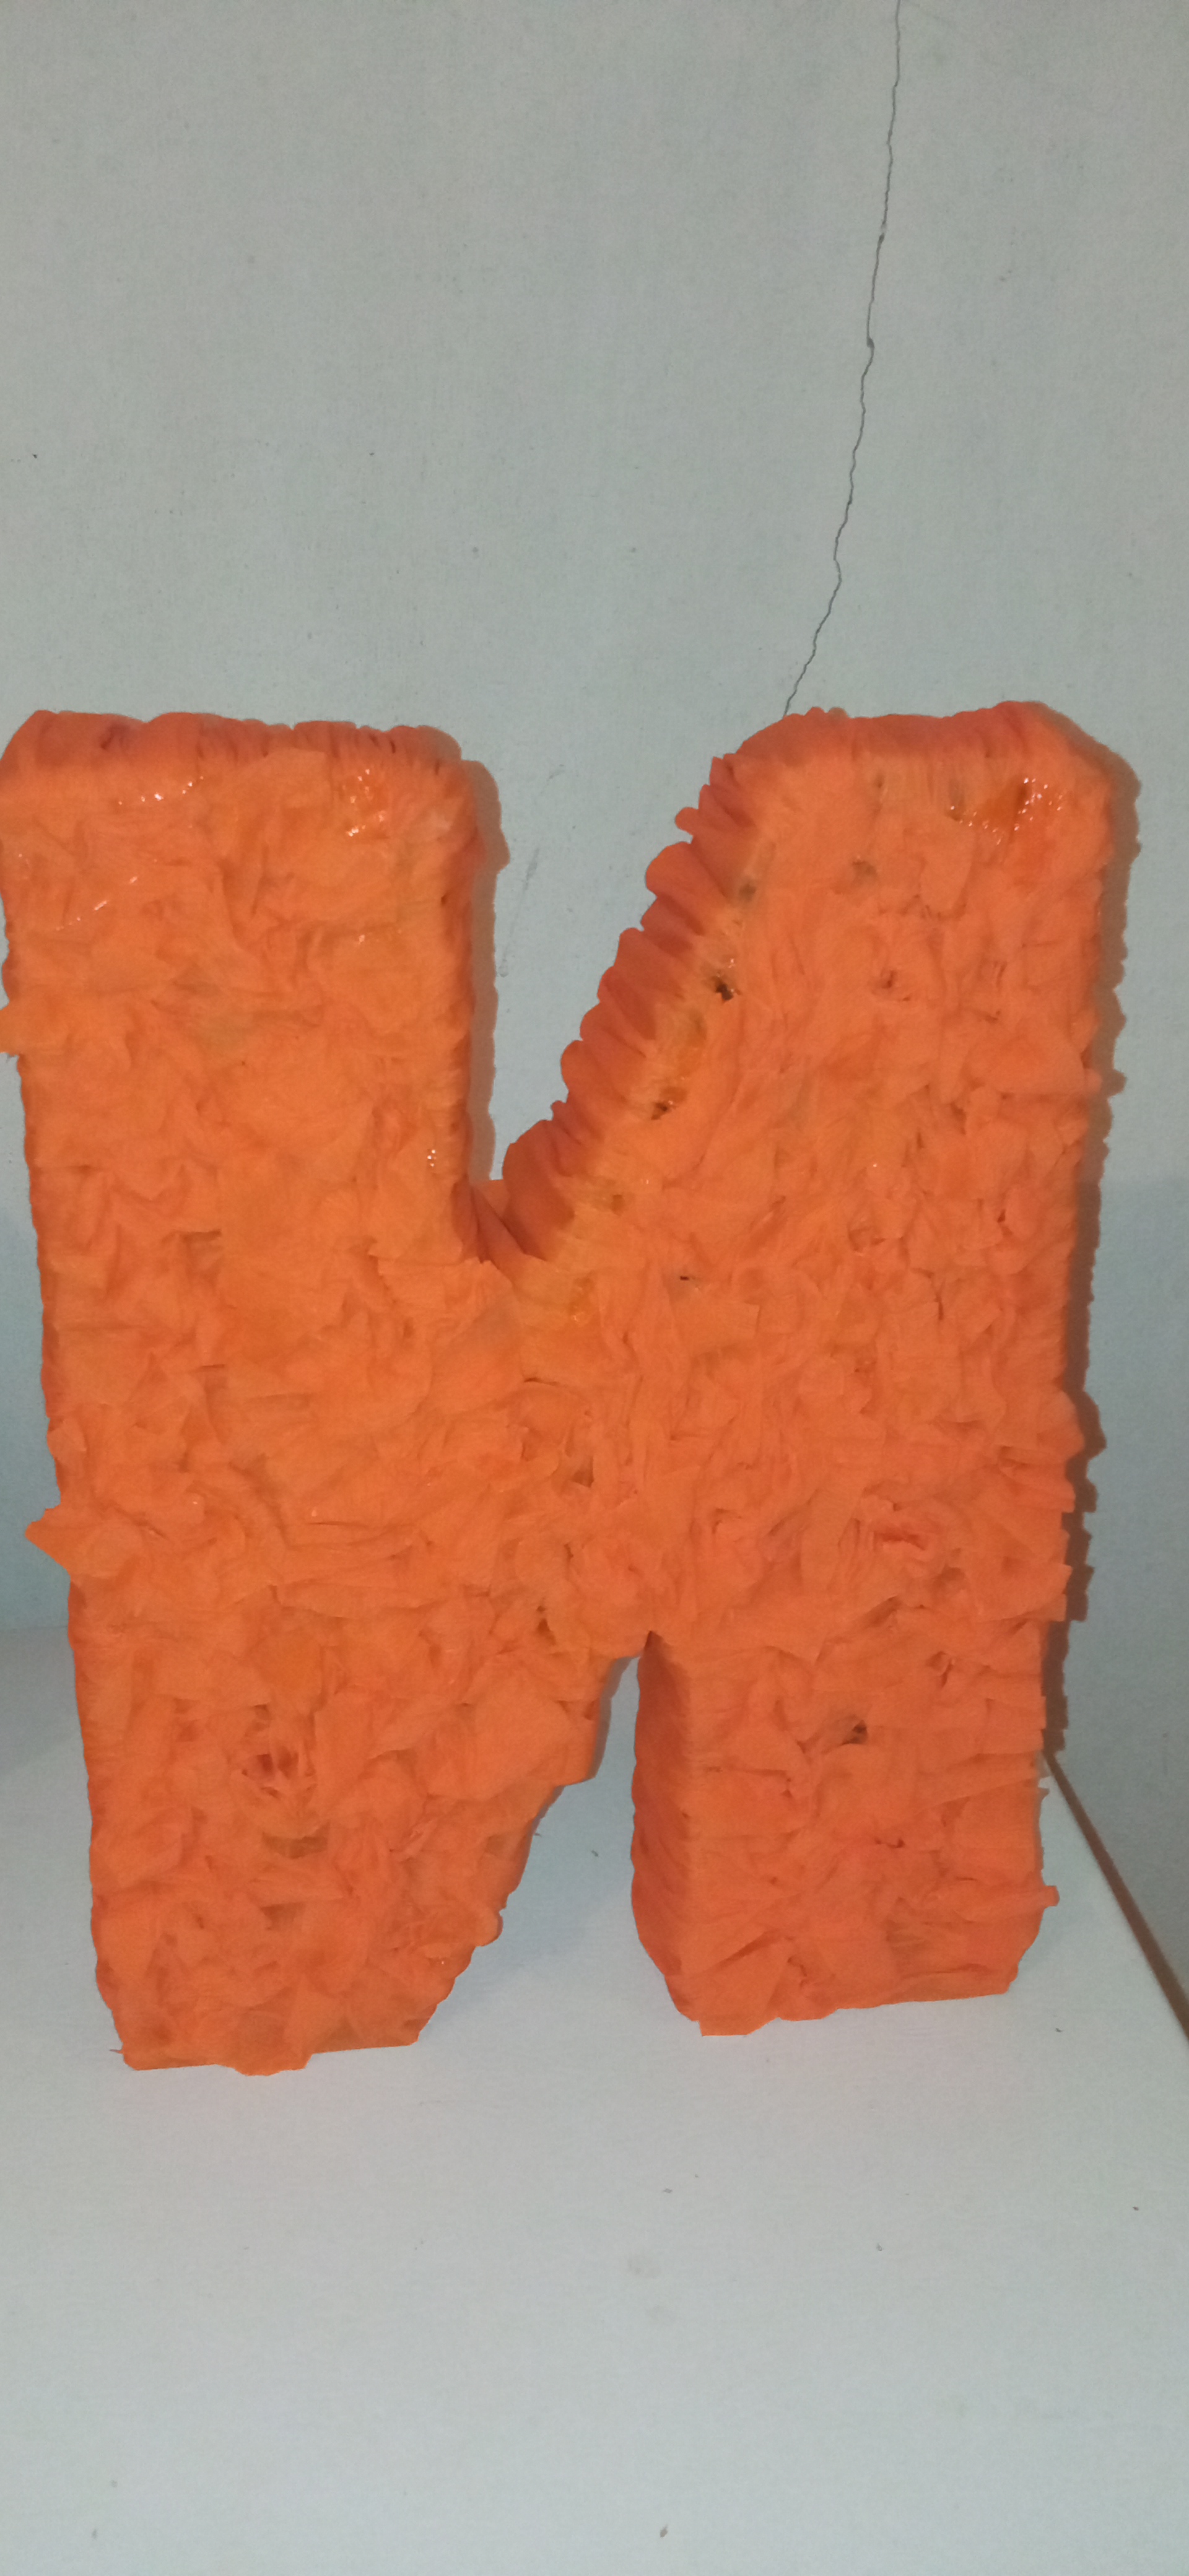
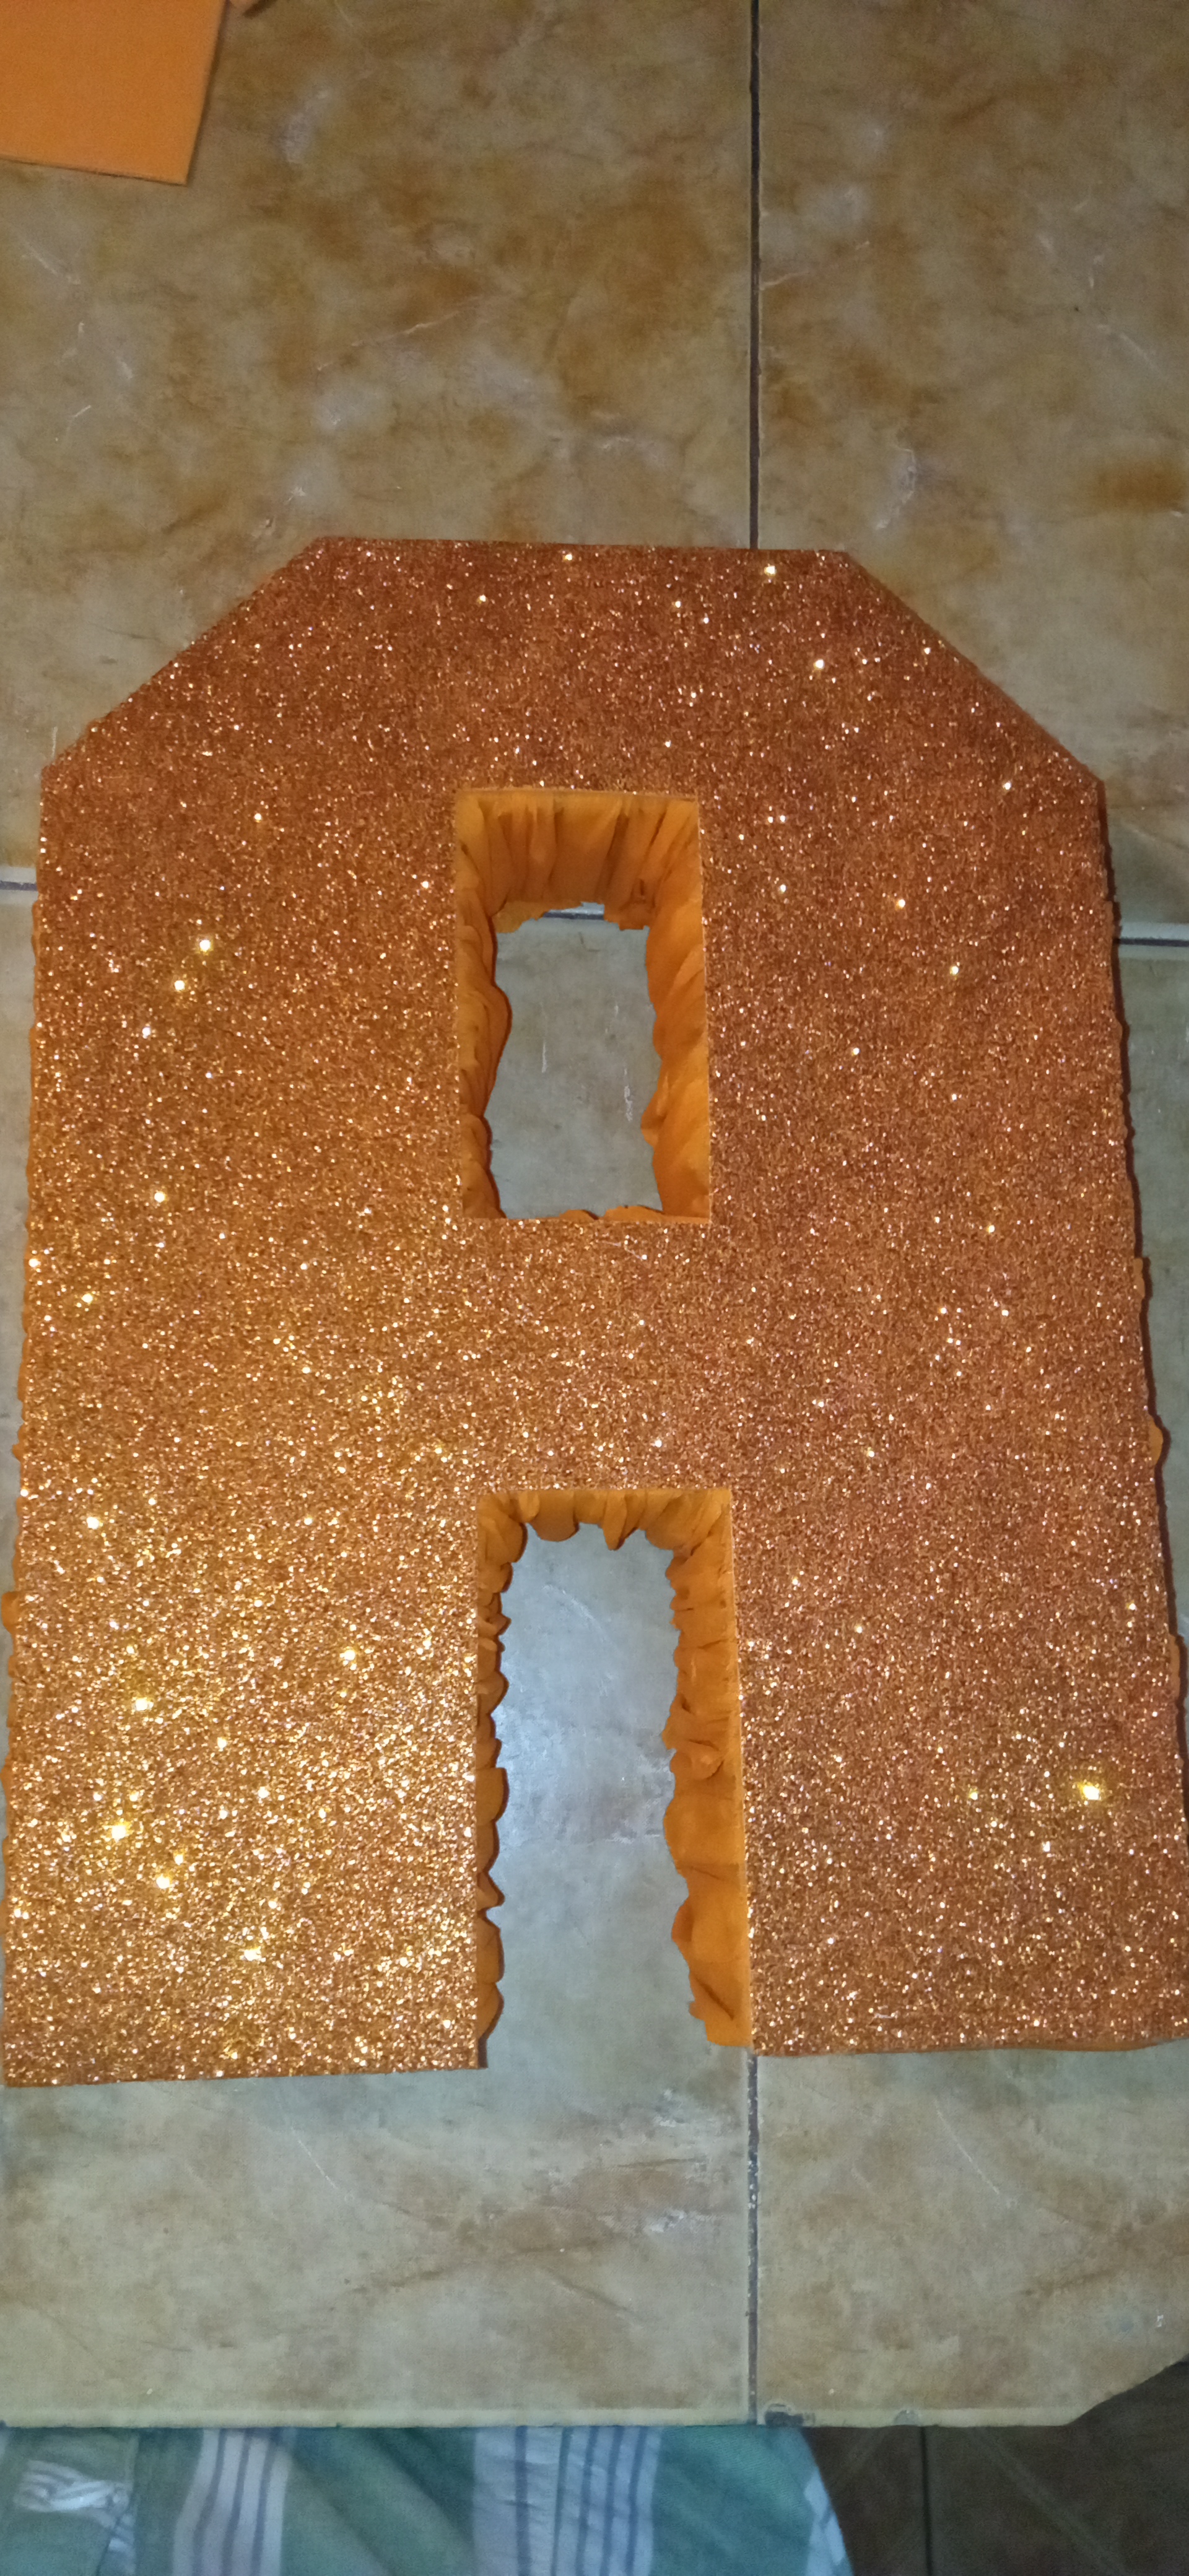
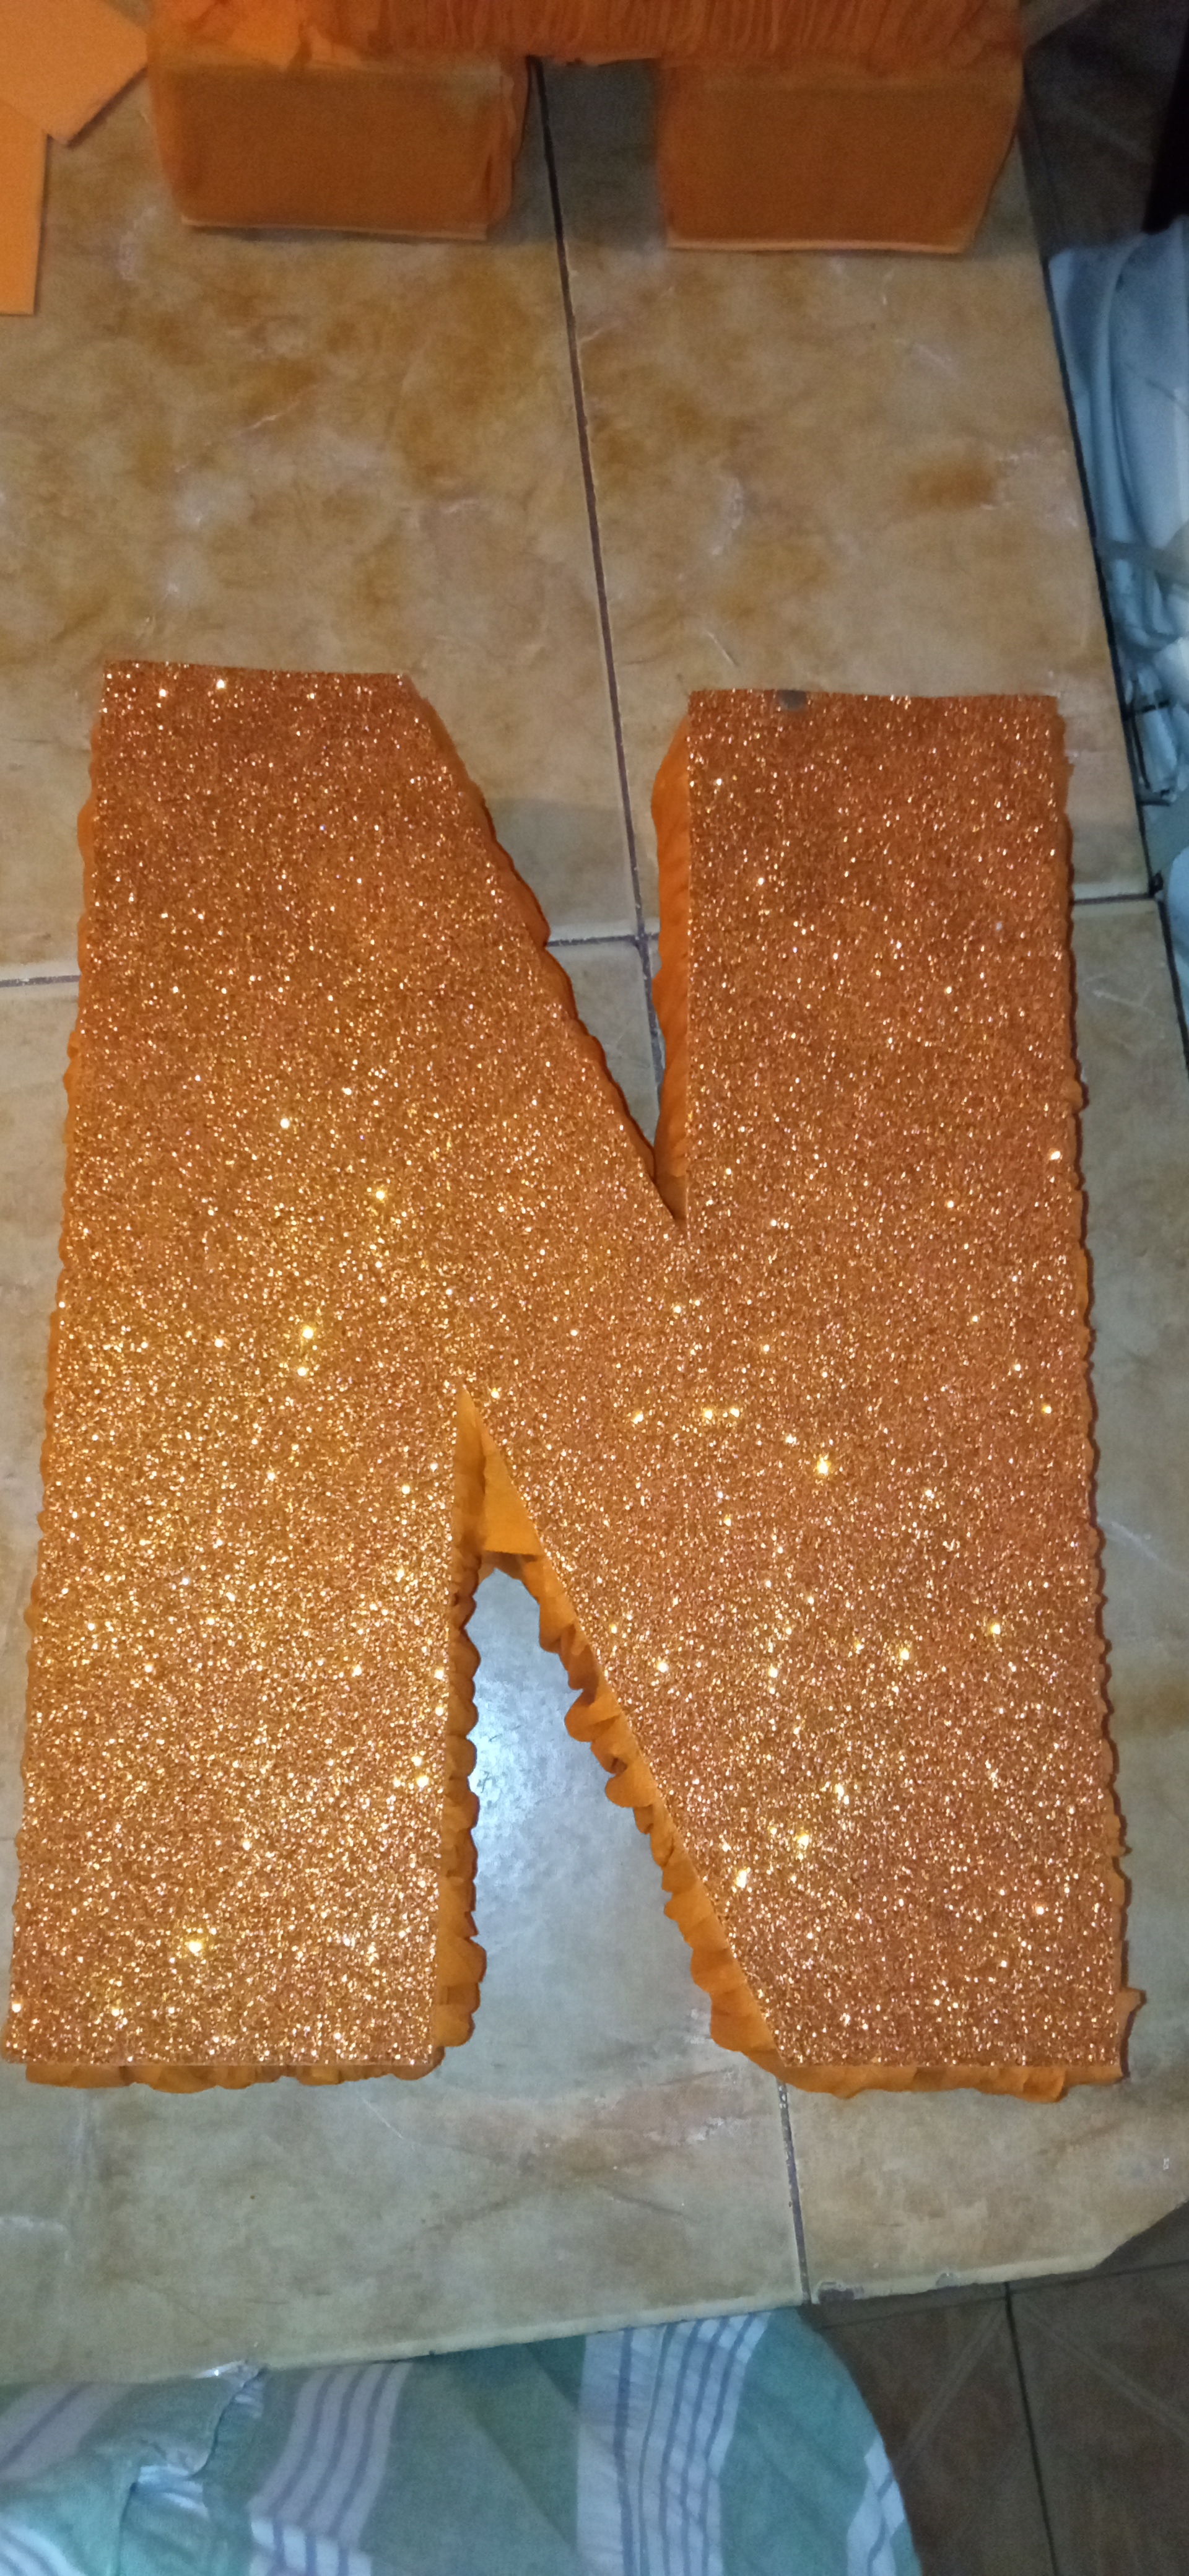
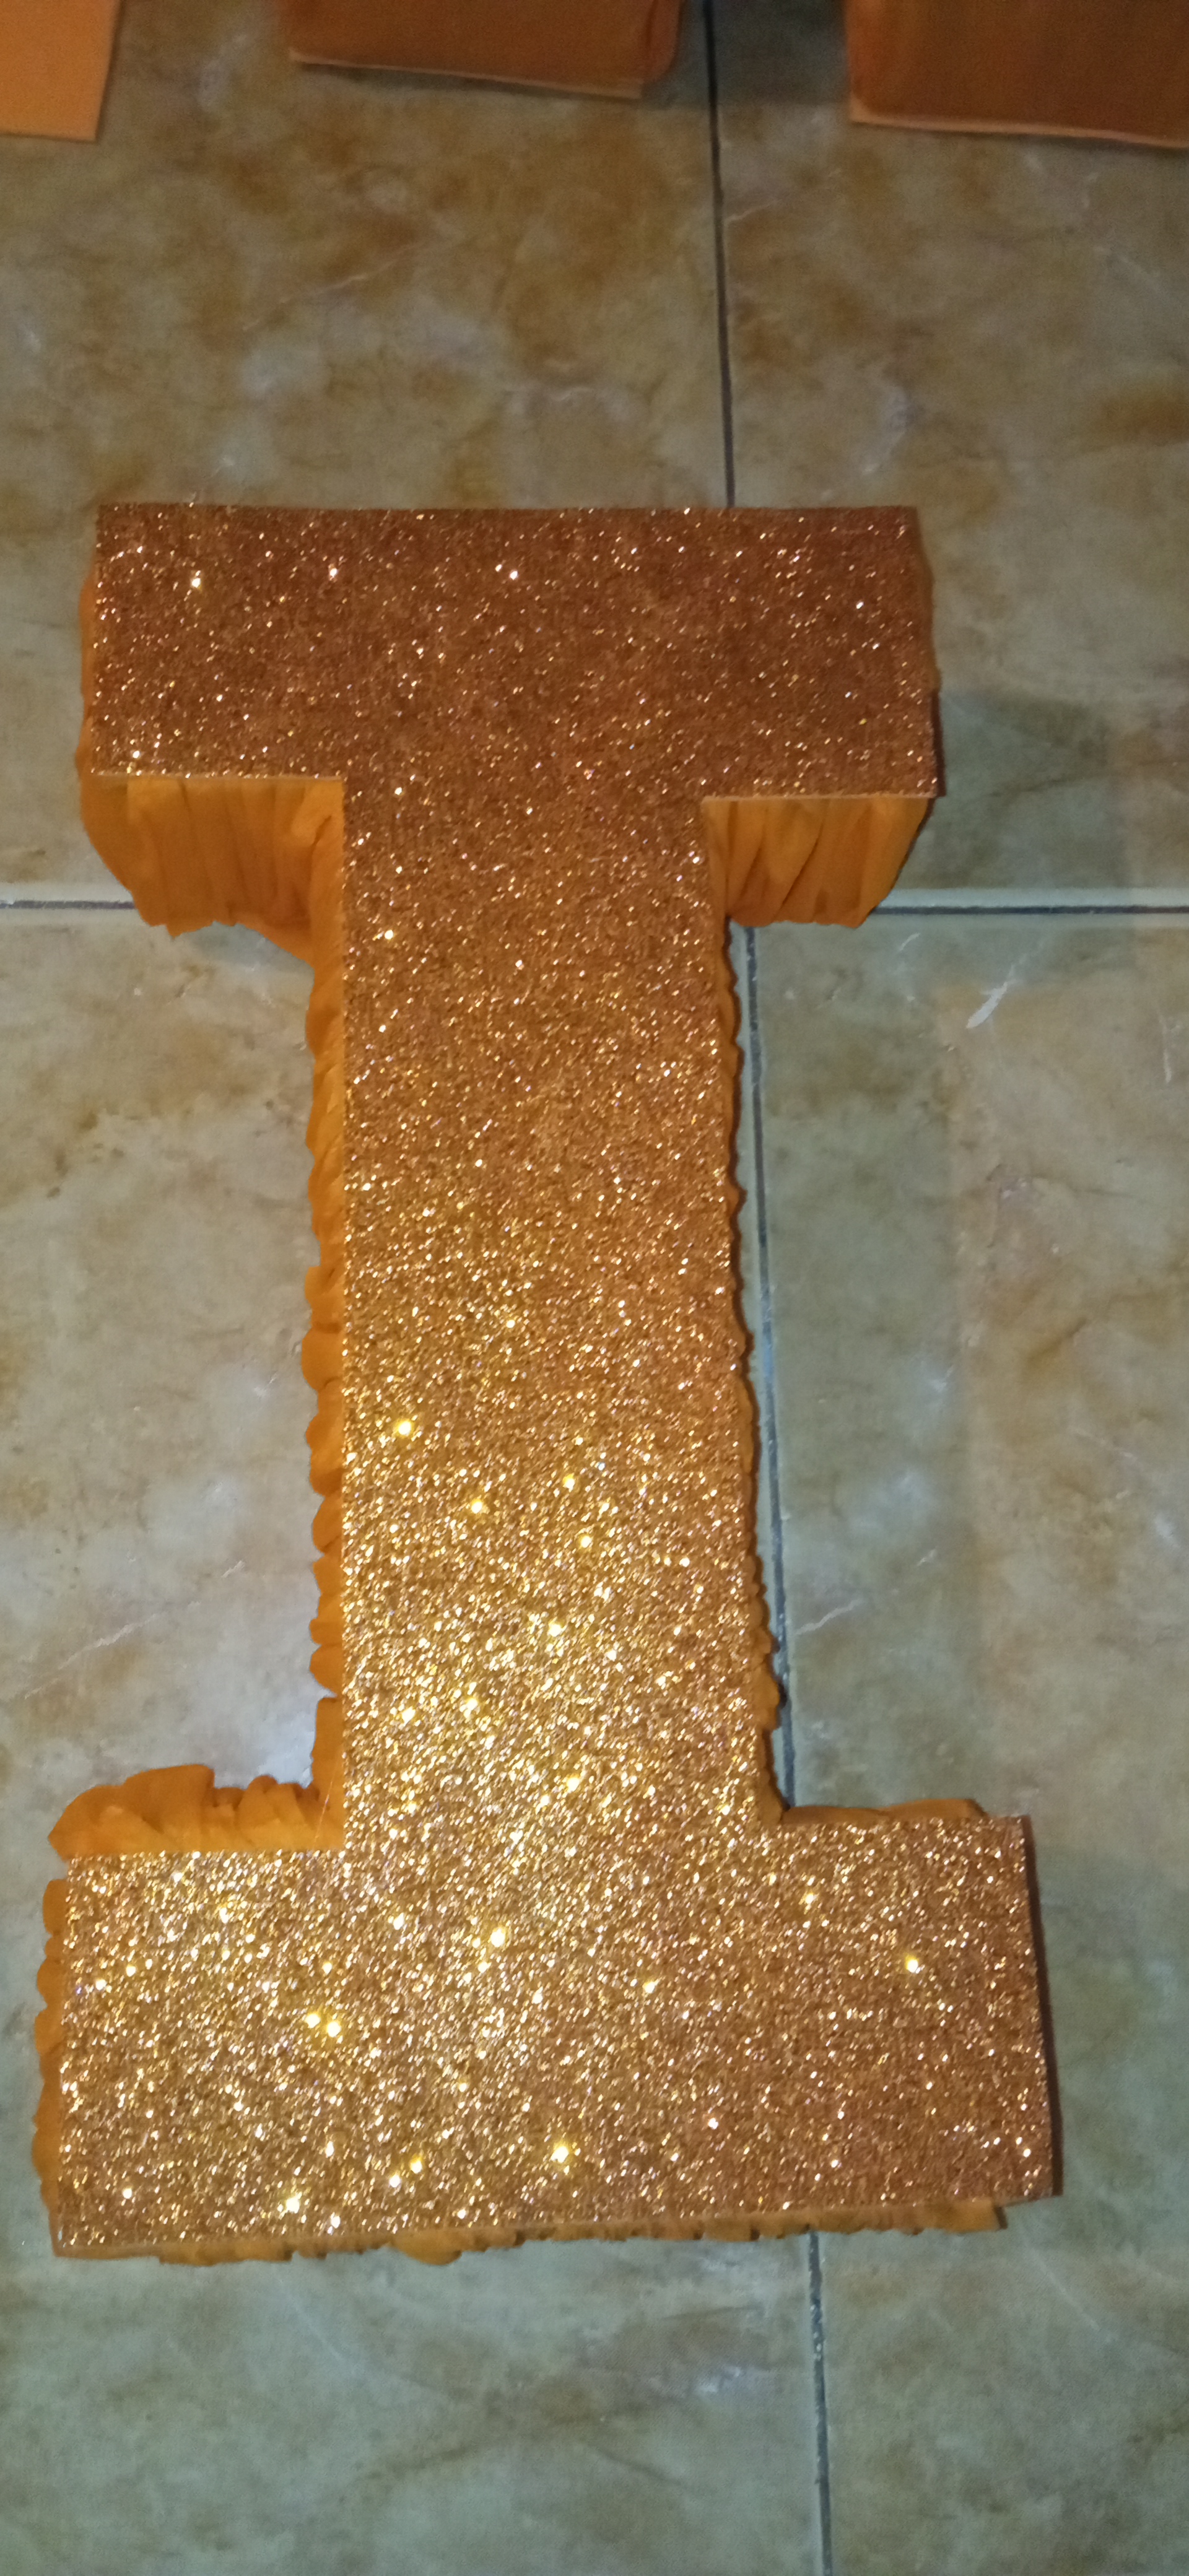
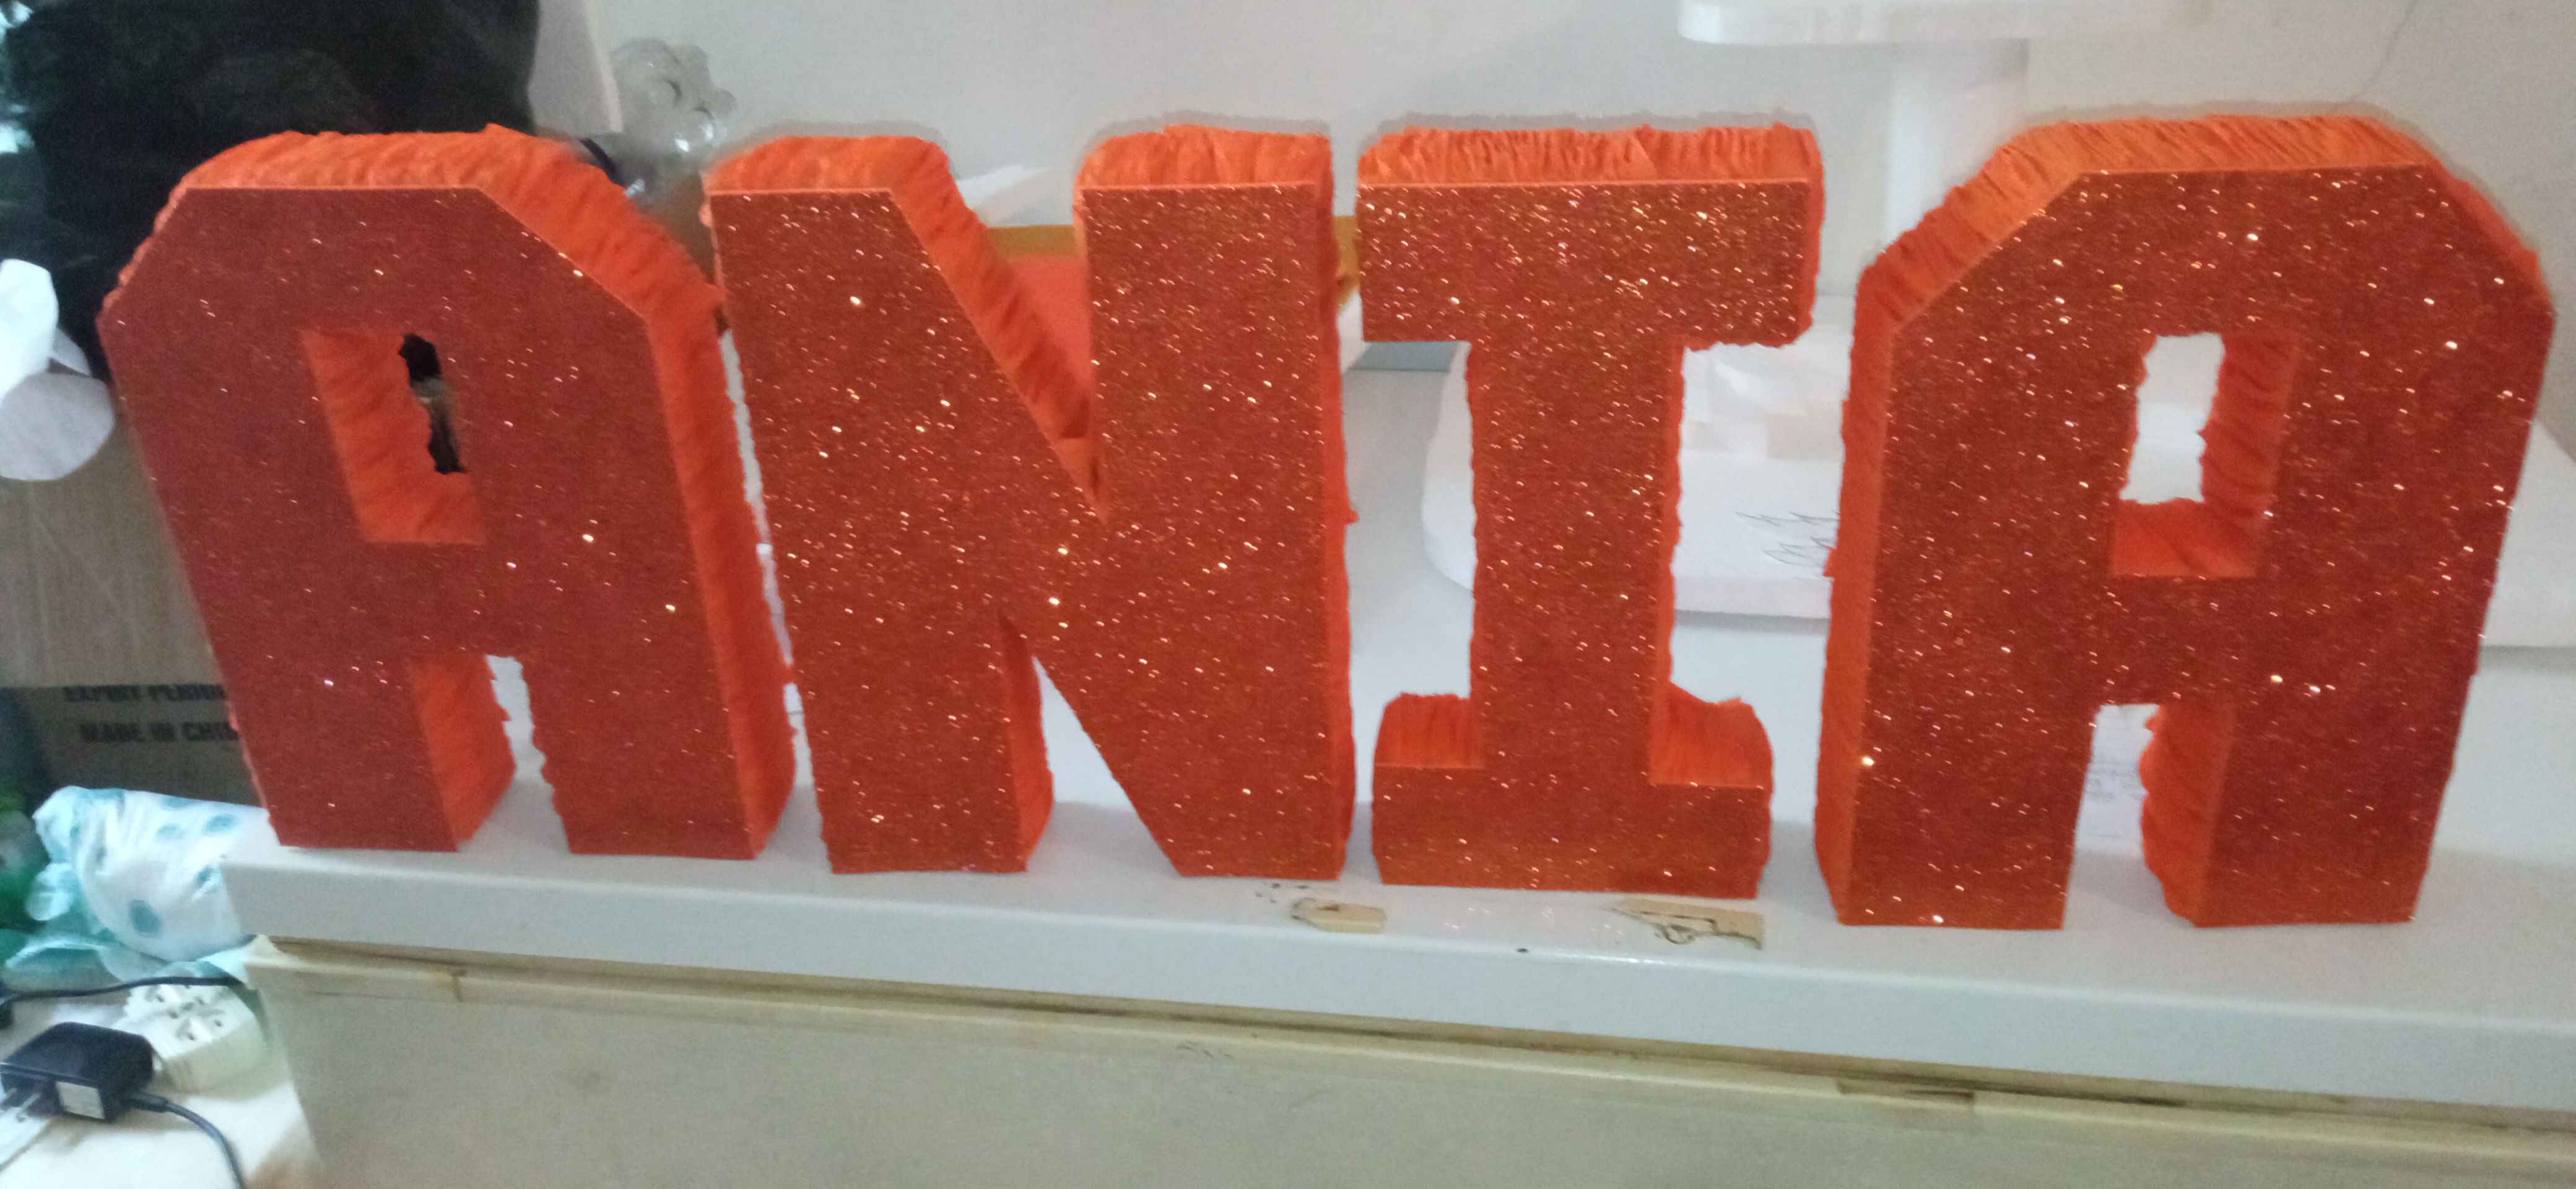
We continue in this case by gluing the orange crepe paper on each of the letters in a curled shape on the edges and the back of each letter.
Paso 4
Continuamos en este caso pegando el papel crepe anaranjado en cada una de las letras en forma acorrugada en los bordes y la parte de atrás de cada letra.

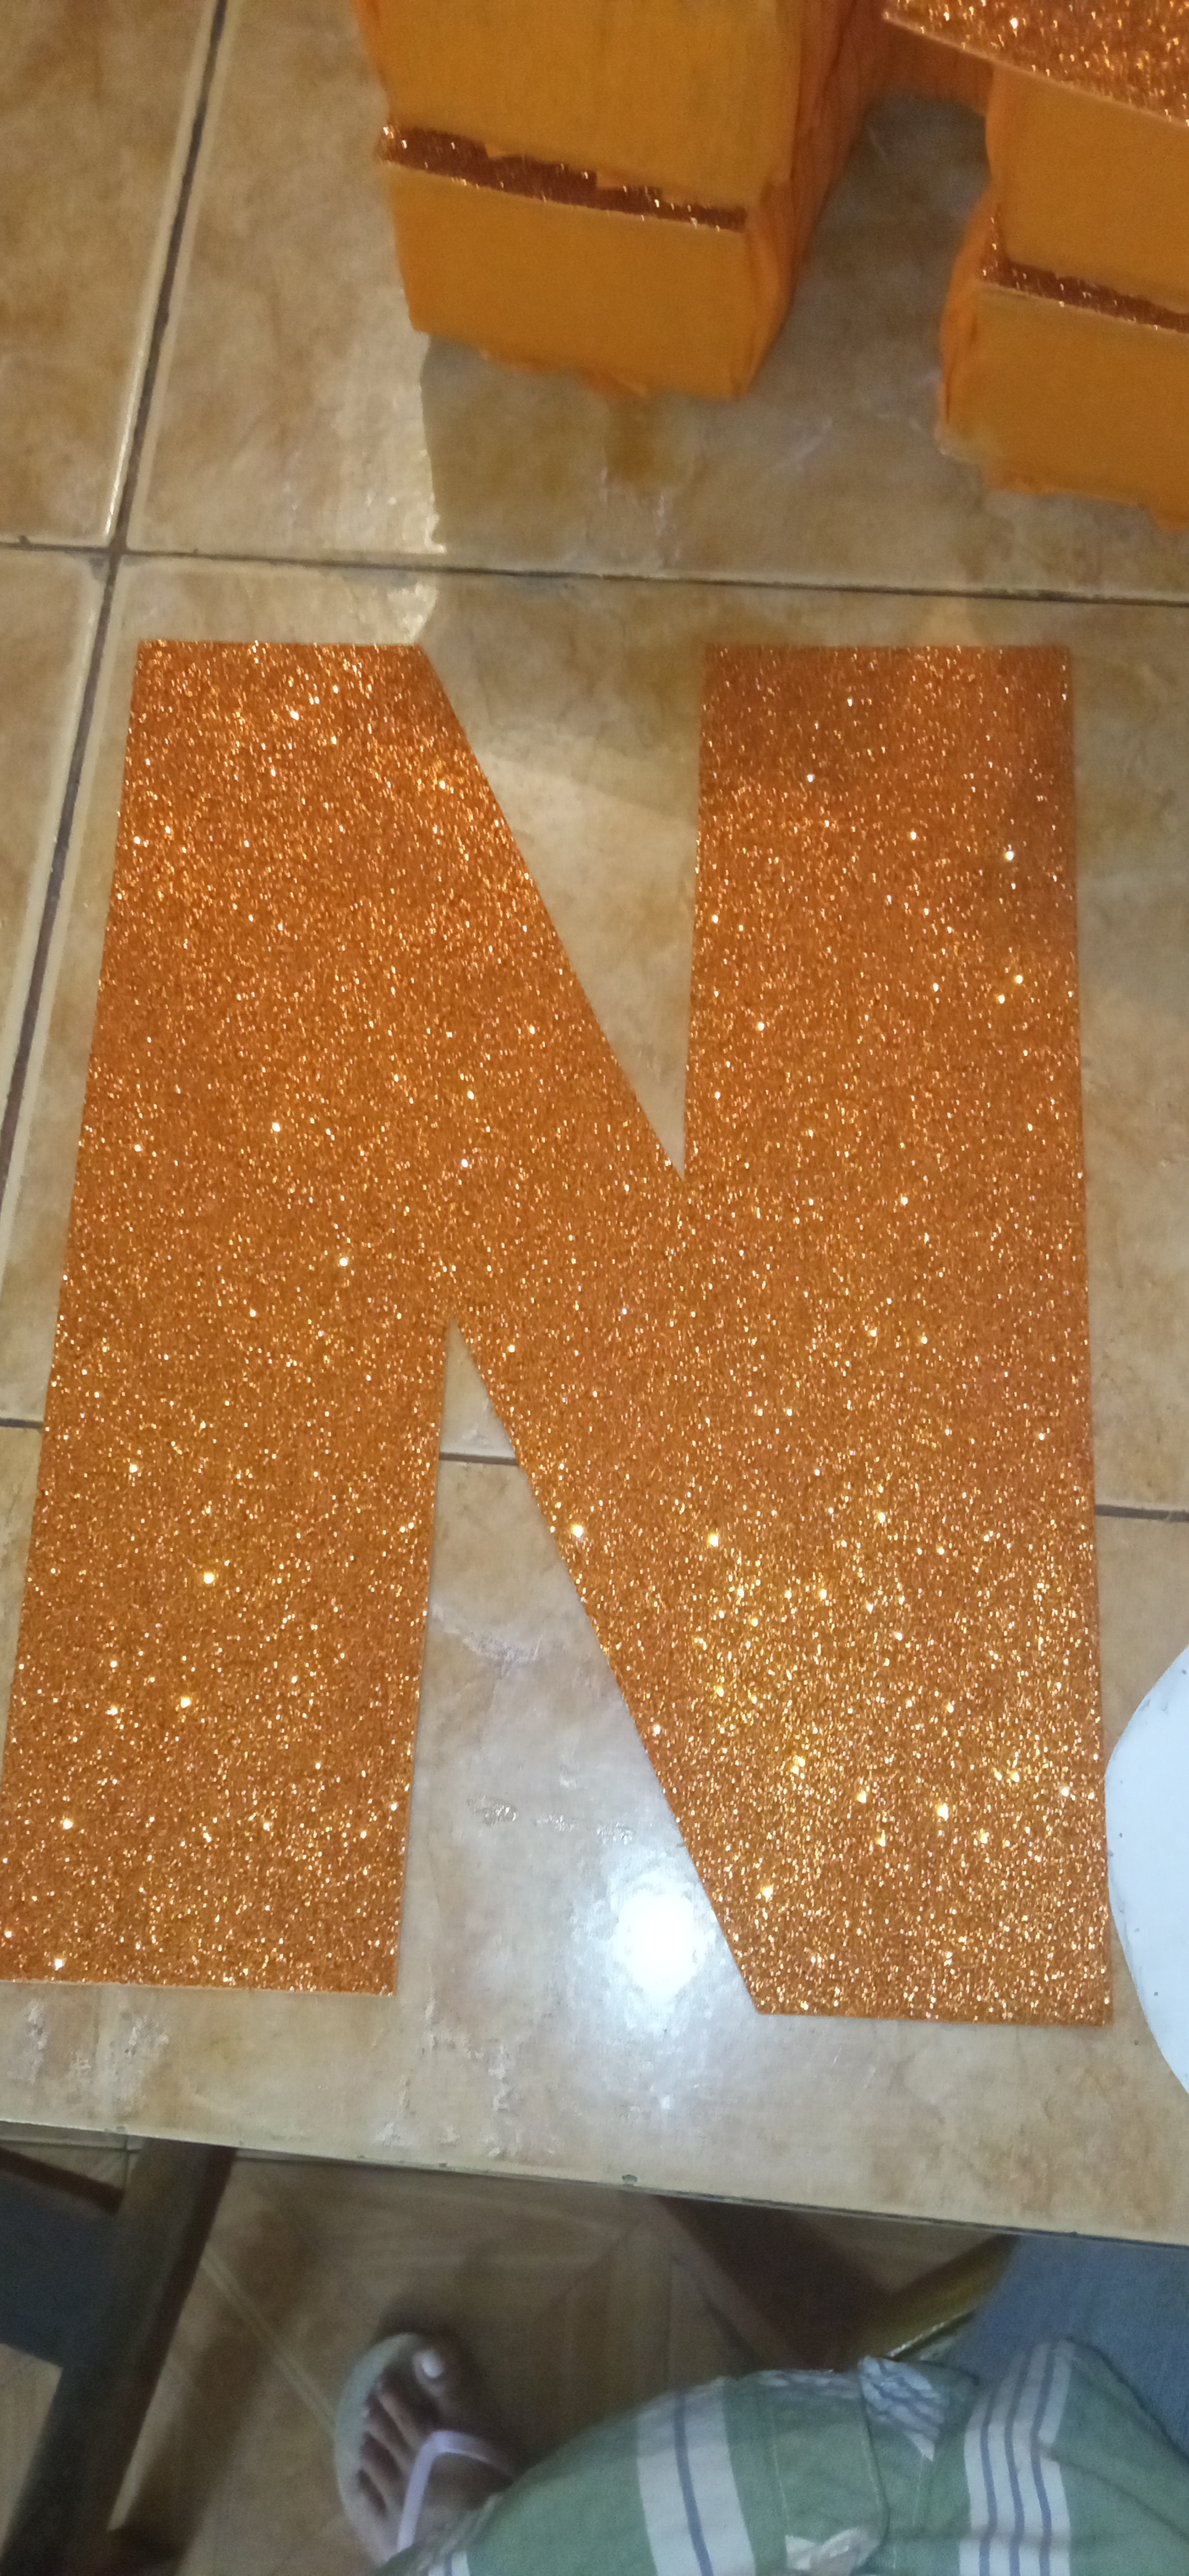
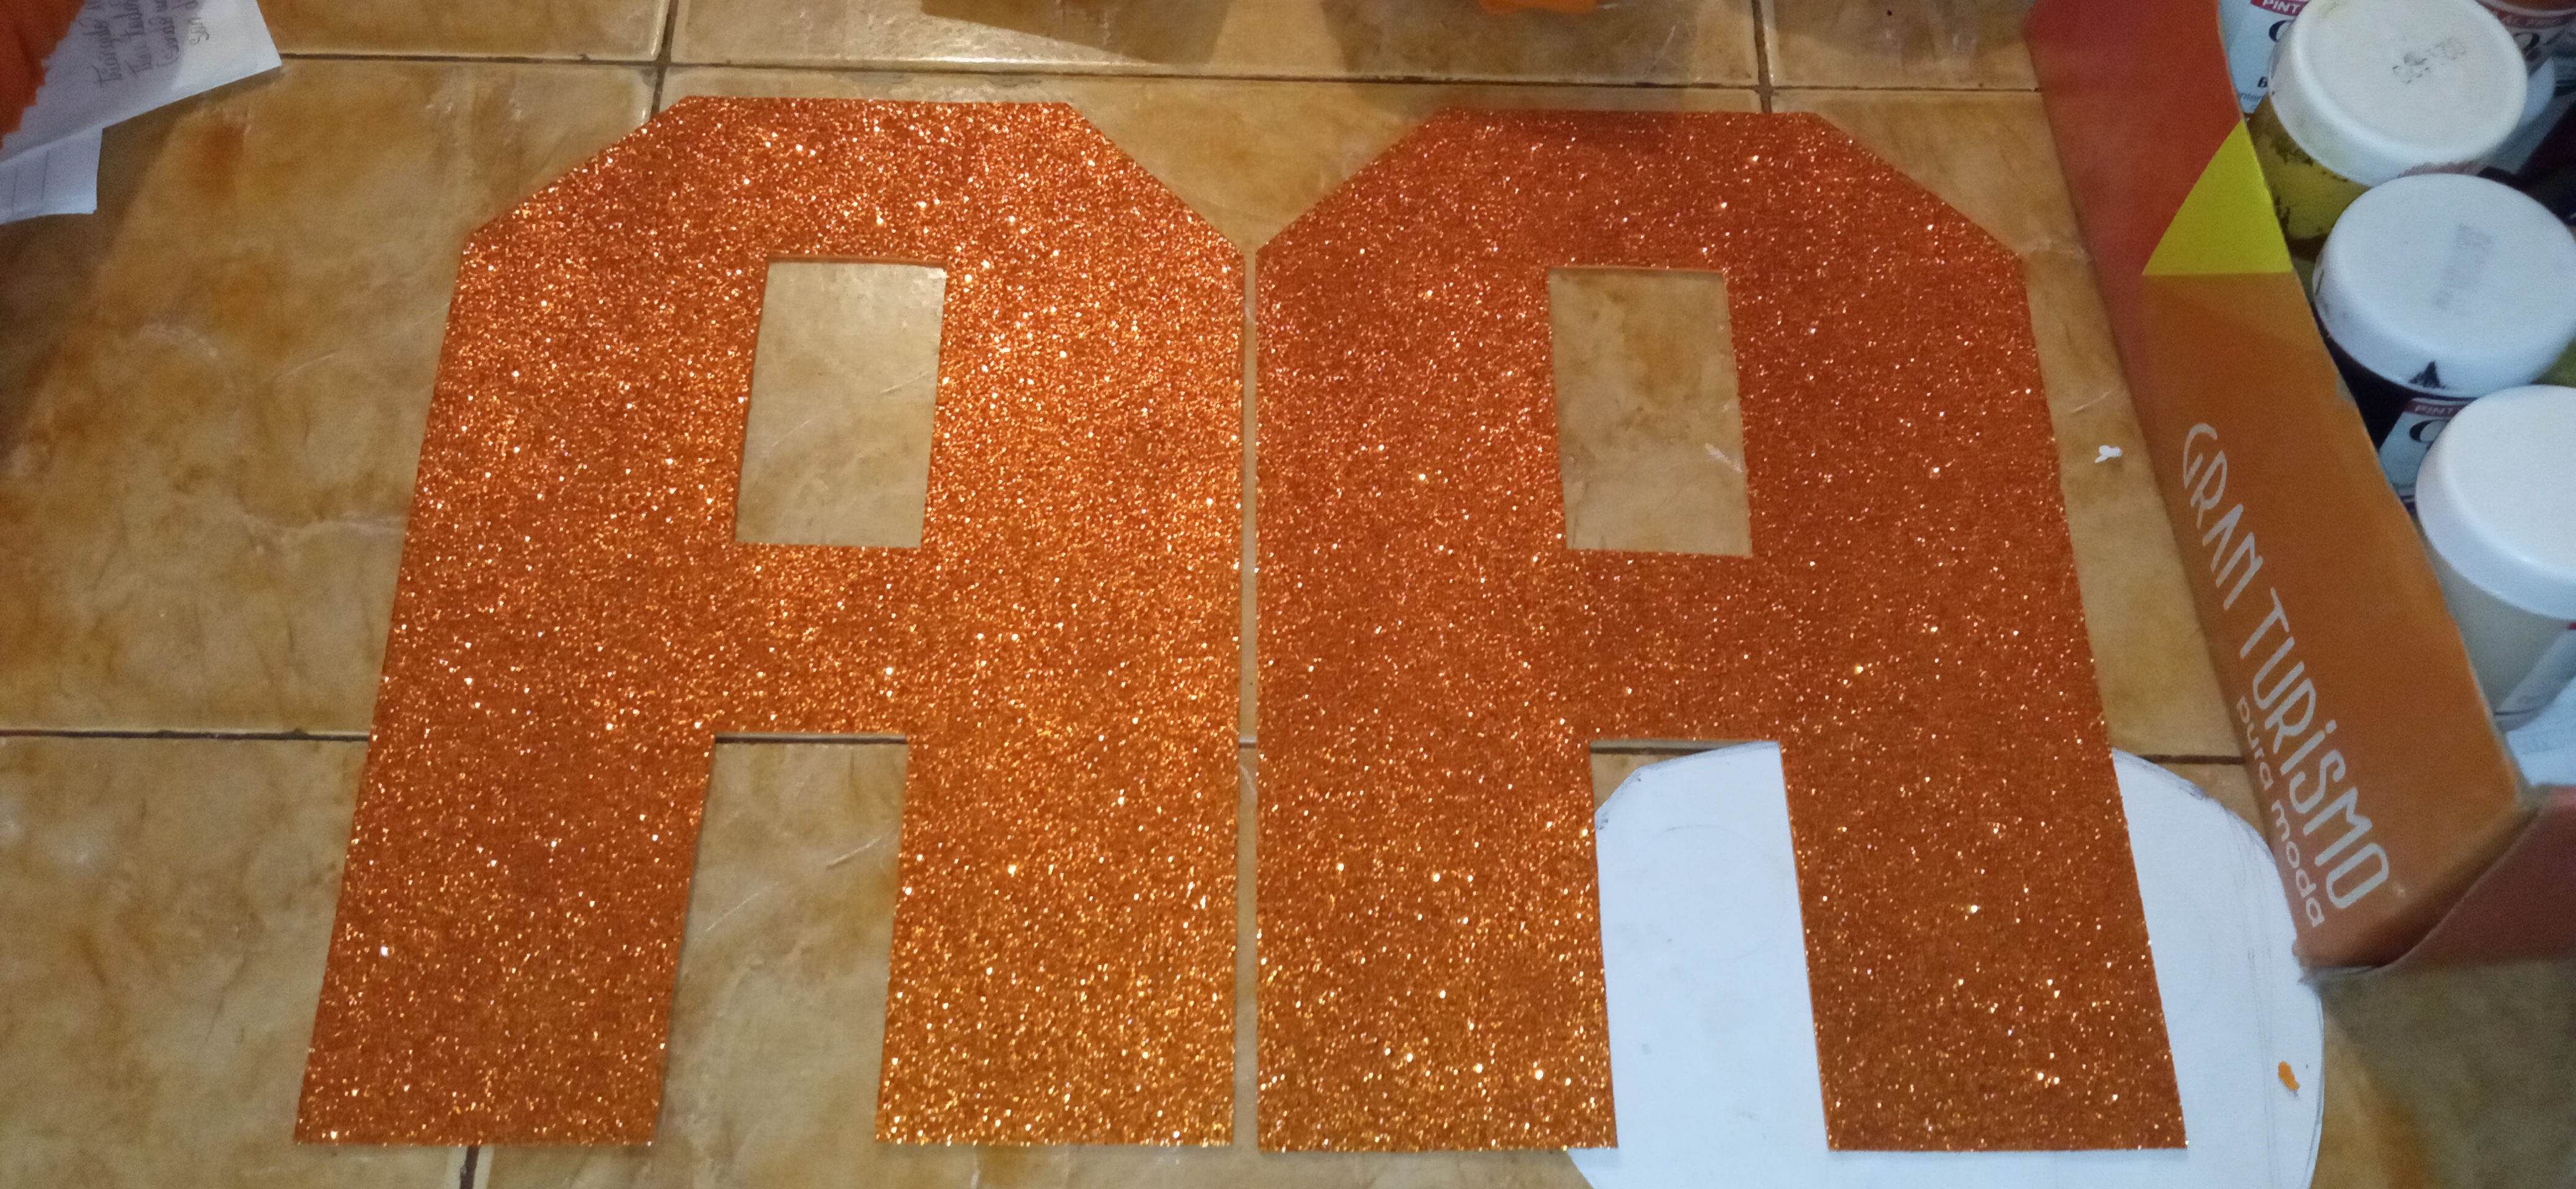
Step 5
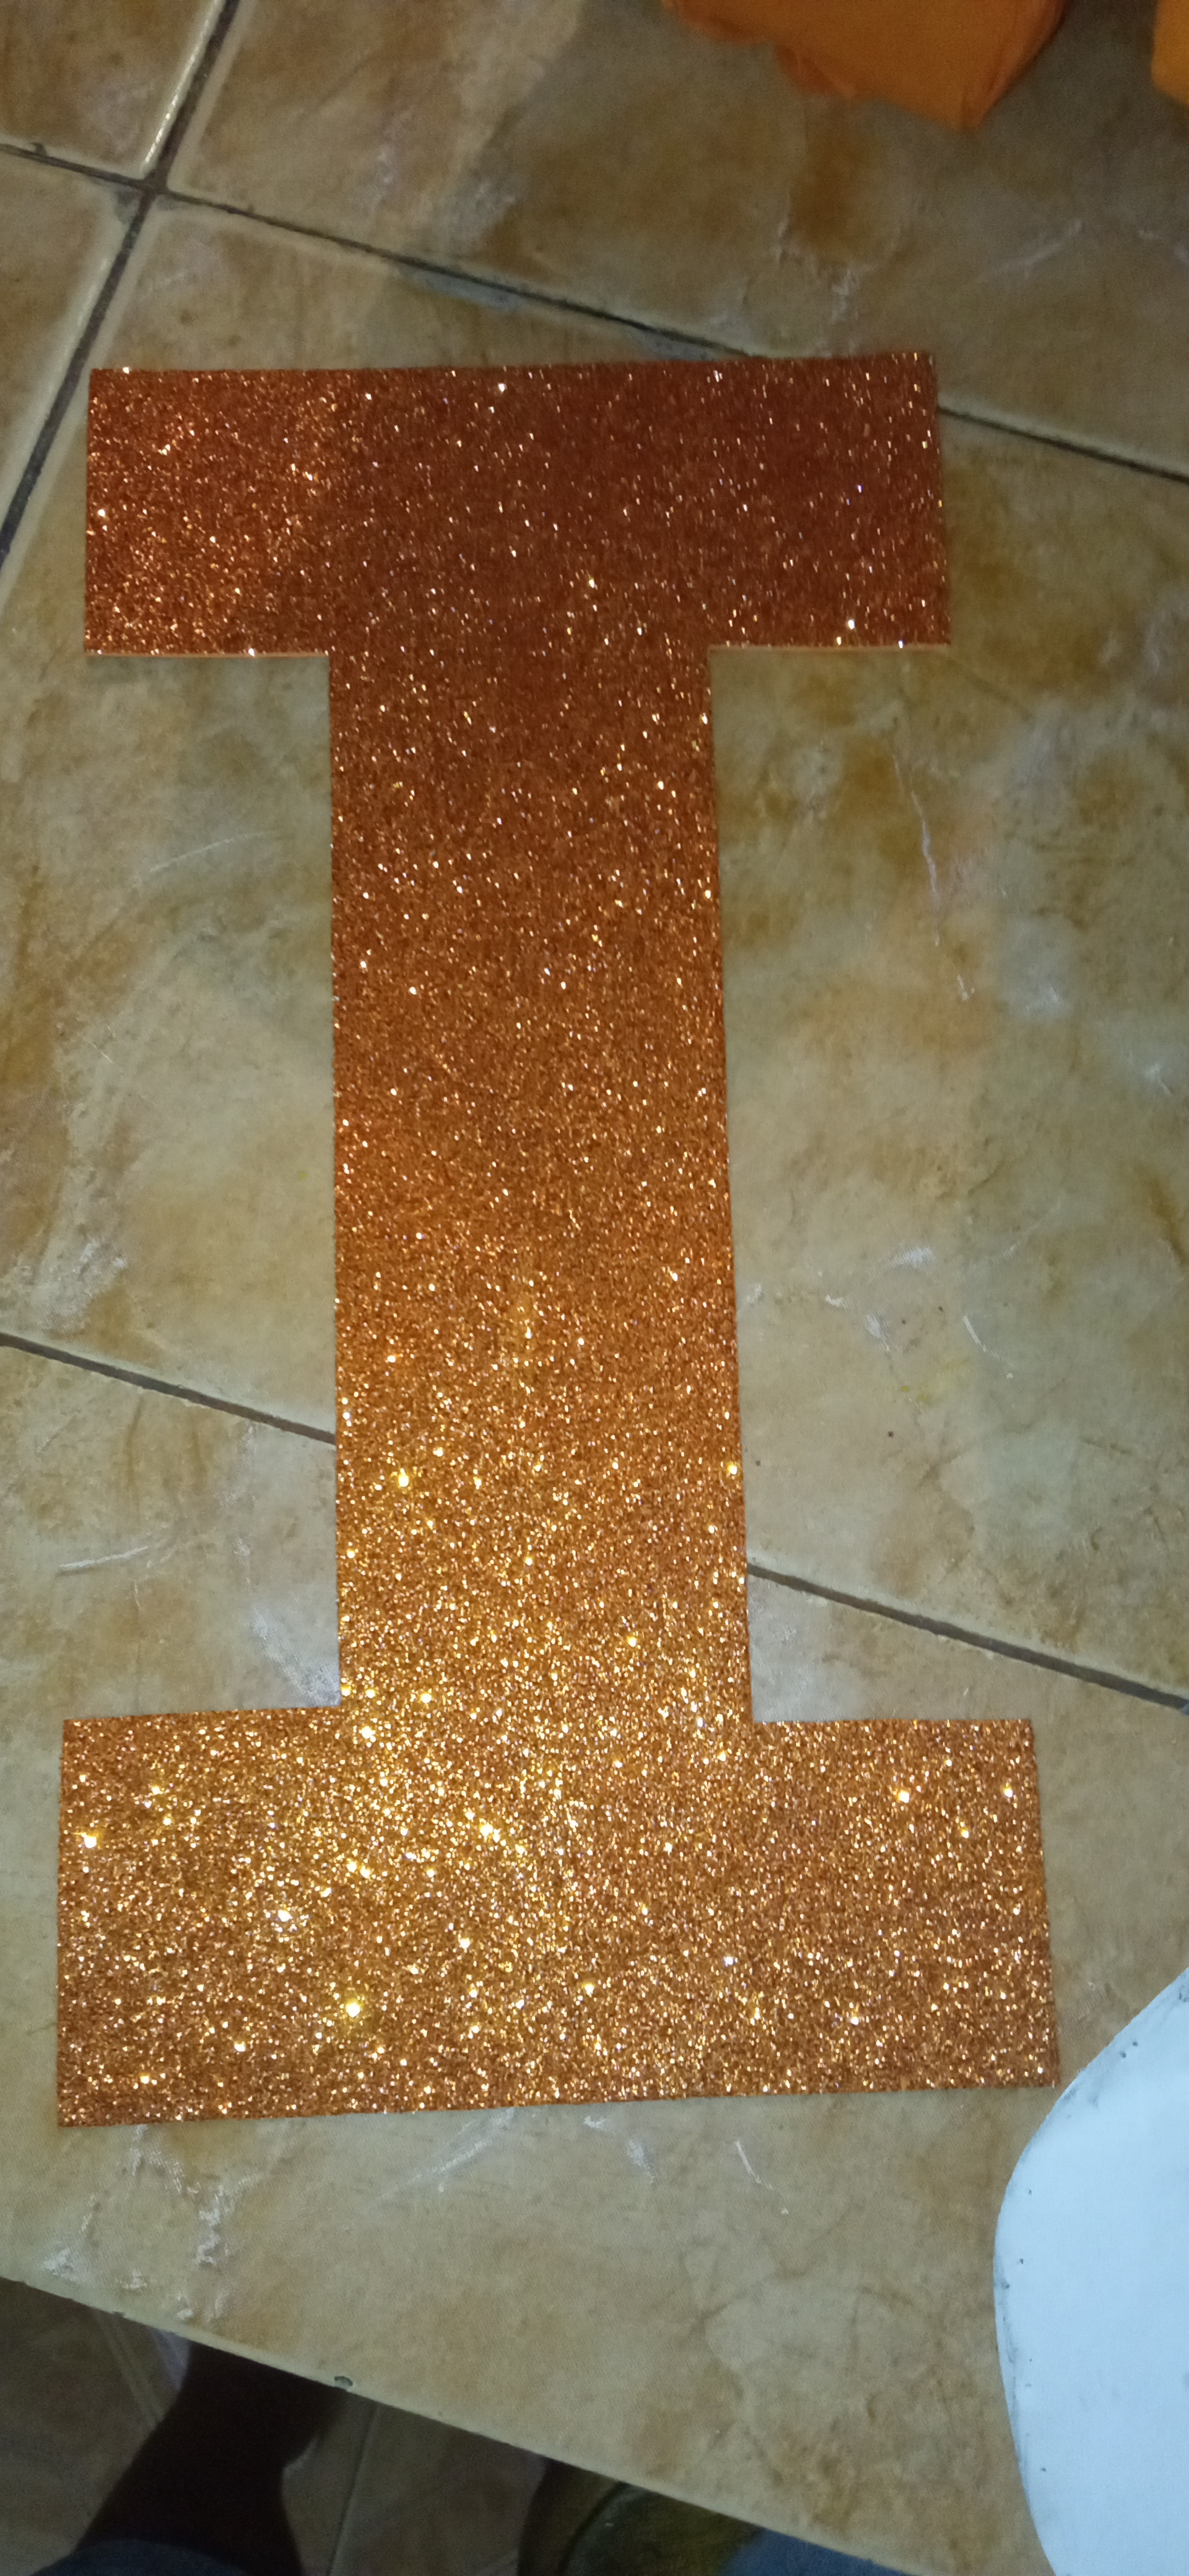
Now with the same molds we cut the front of foami of each letter as we can see here and glue it.
Paso 5
Ahora con los mismo moldes cortamos el frente de foami de cada letra cómo podemos observar aquí y la pegamos ..
Step 6
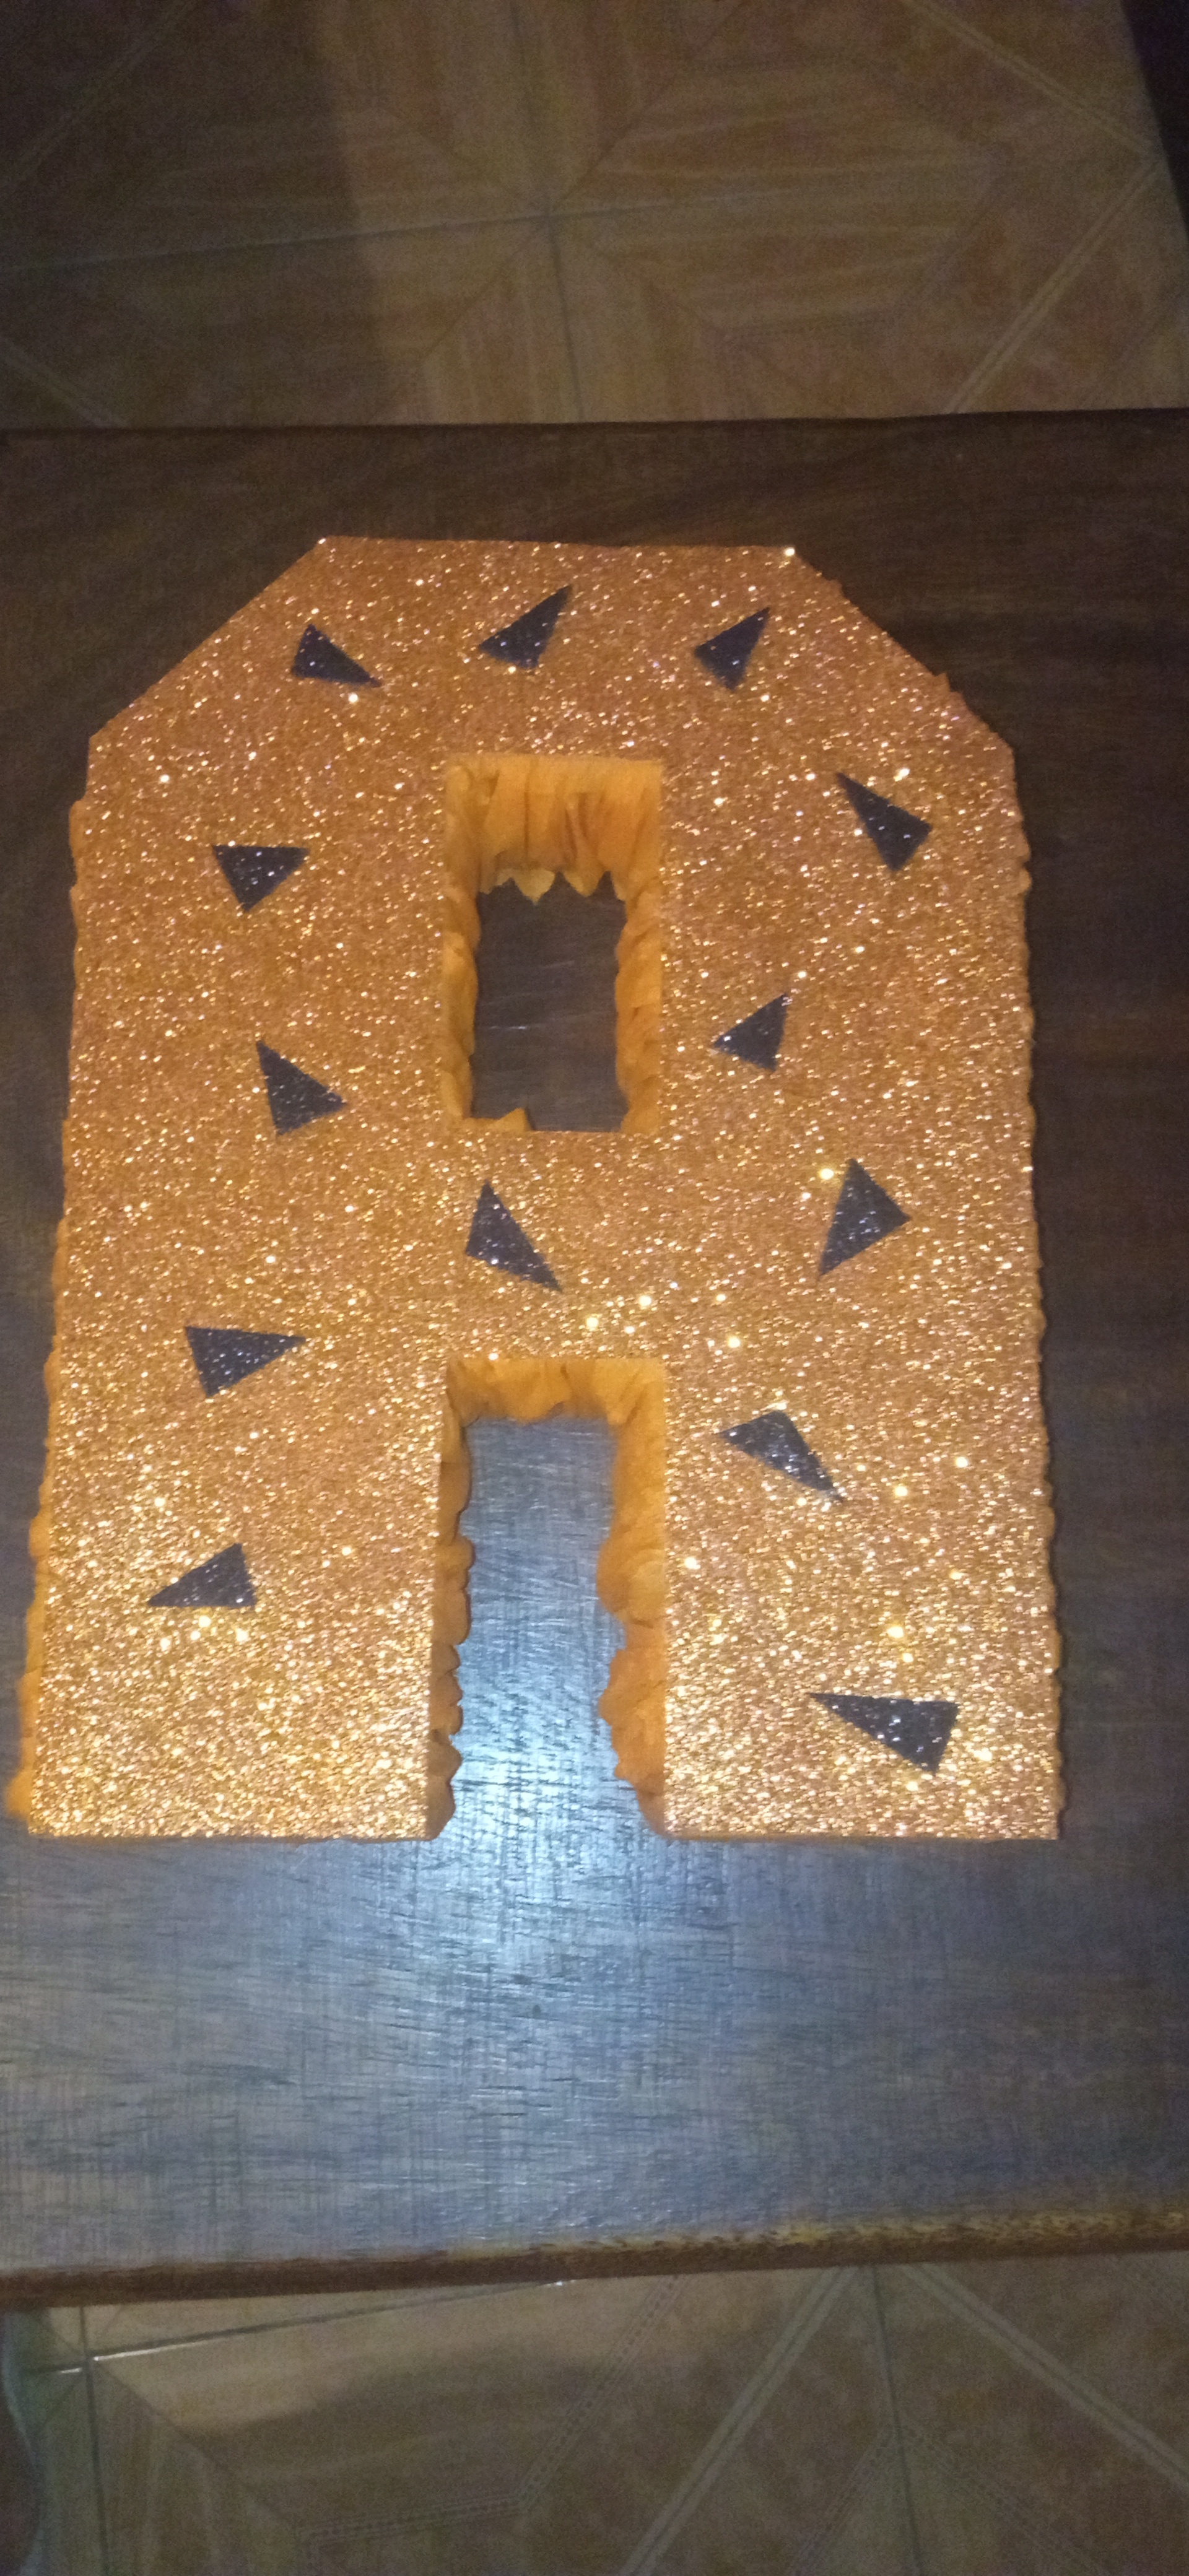
Here we cut small triangles of black foami to glue on the letters.
Paso 6
Aquí cortamos unos triangulitos pequeños de foami negro para pegarlos en las letras .
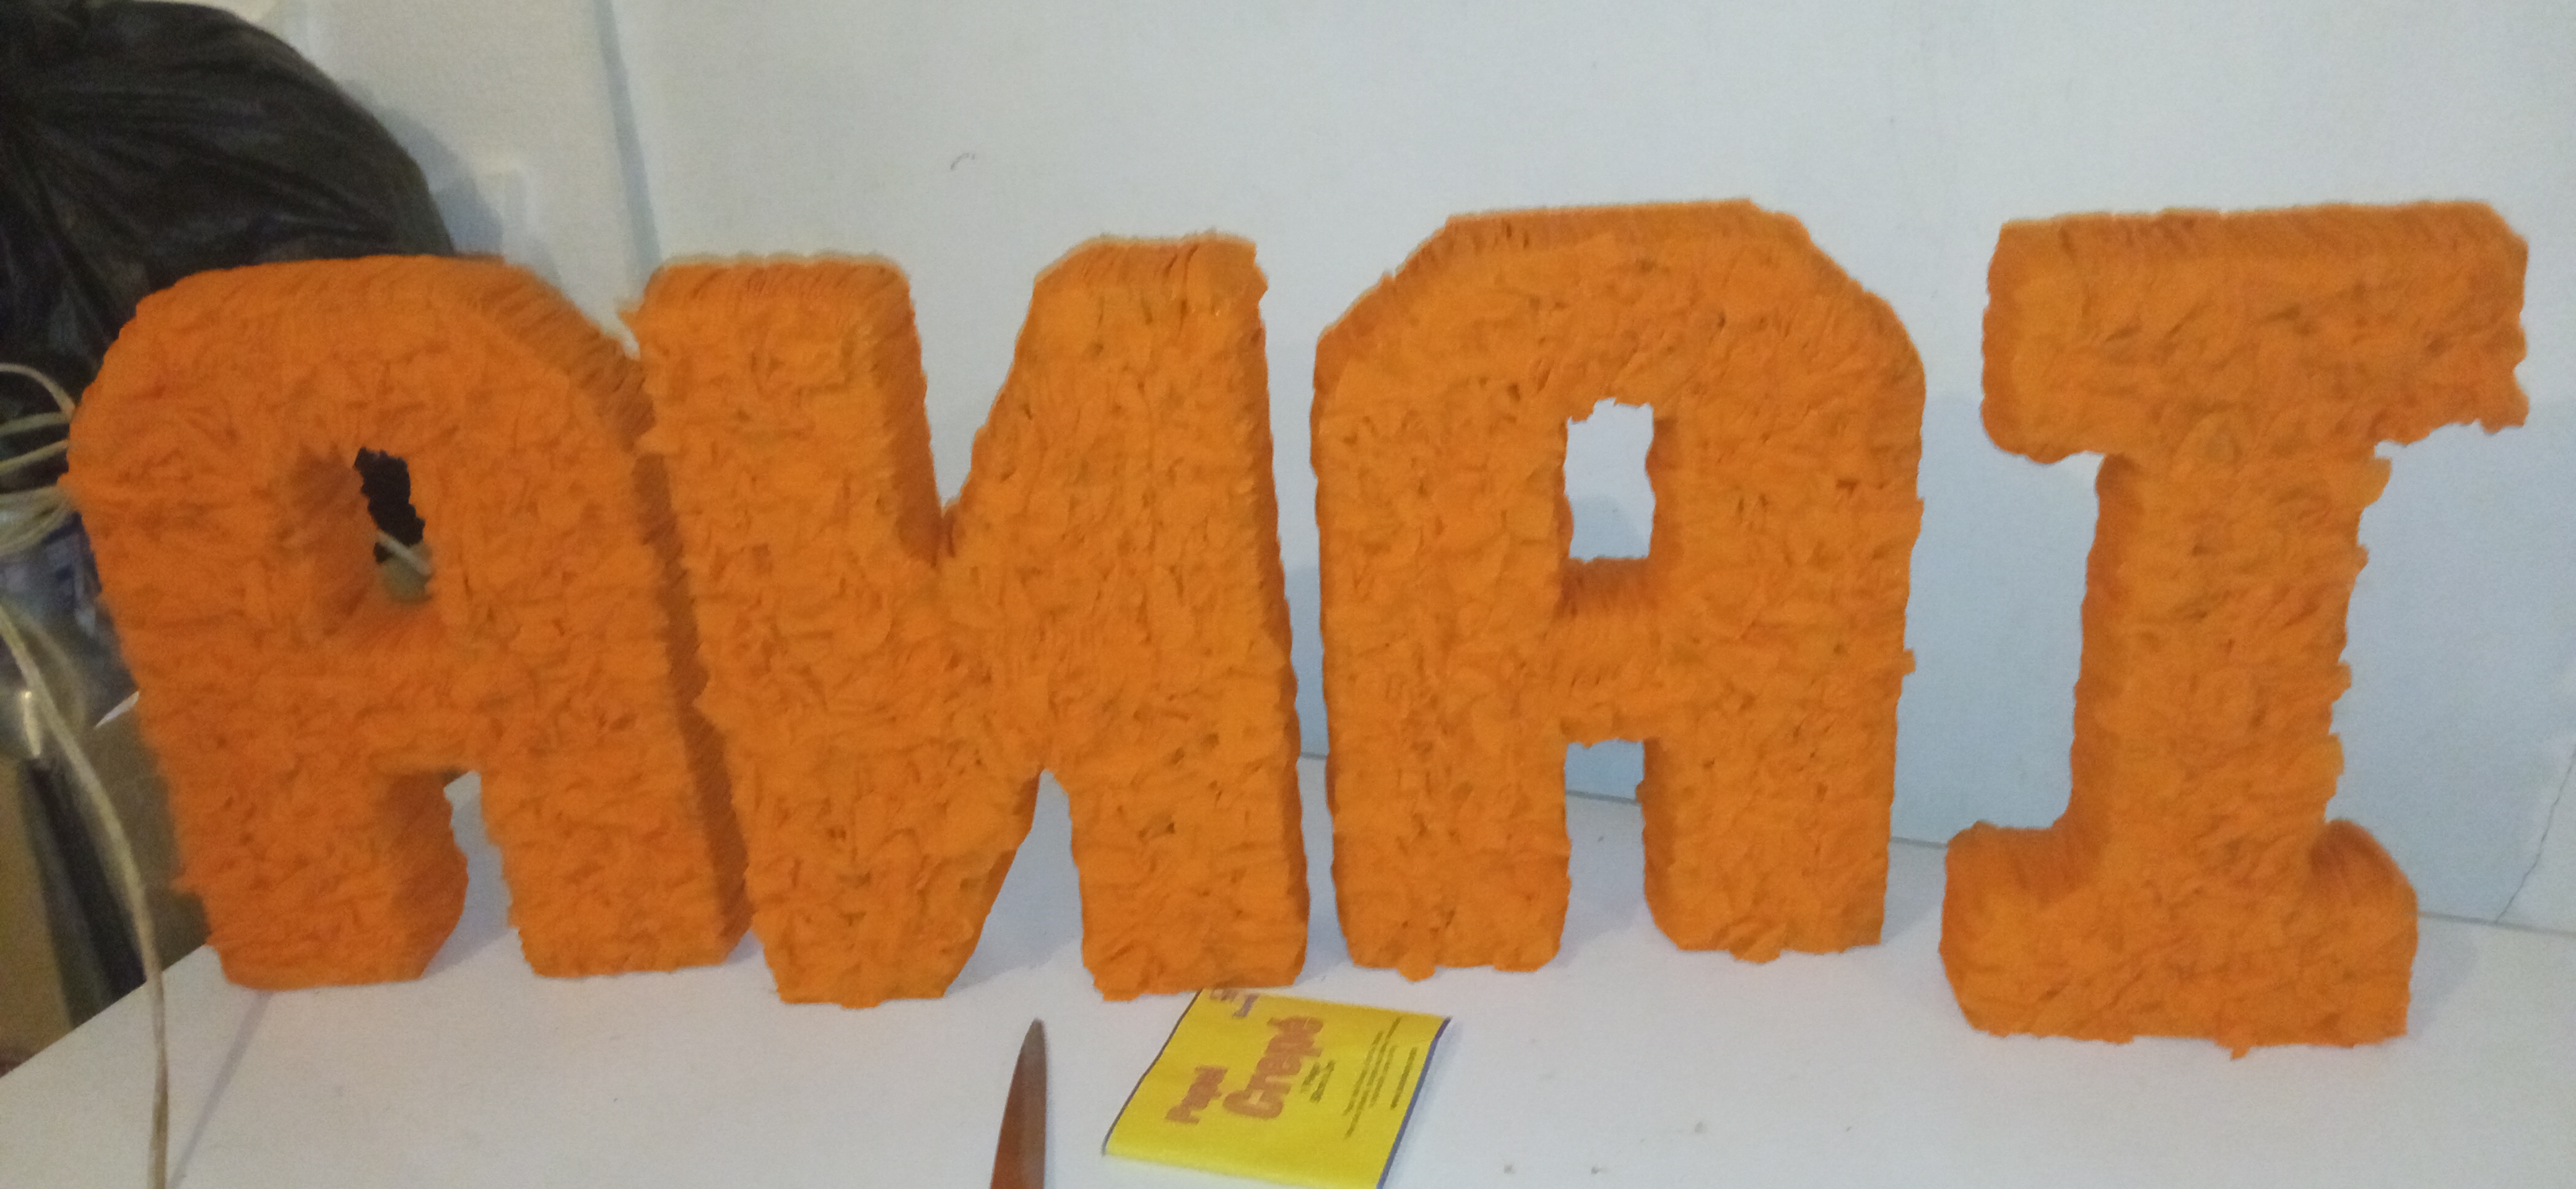
Step 7
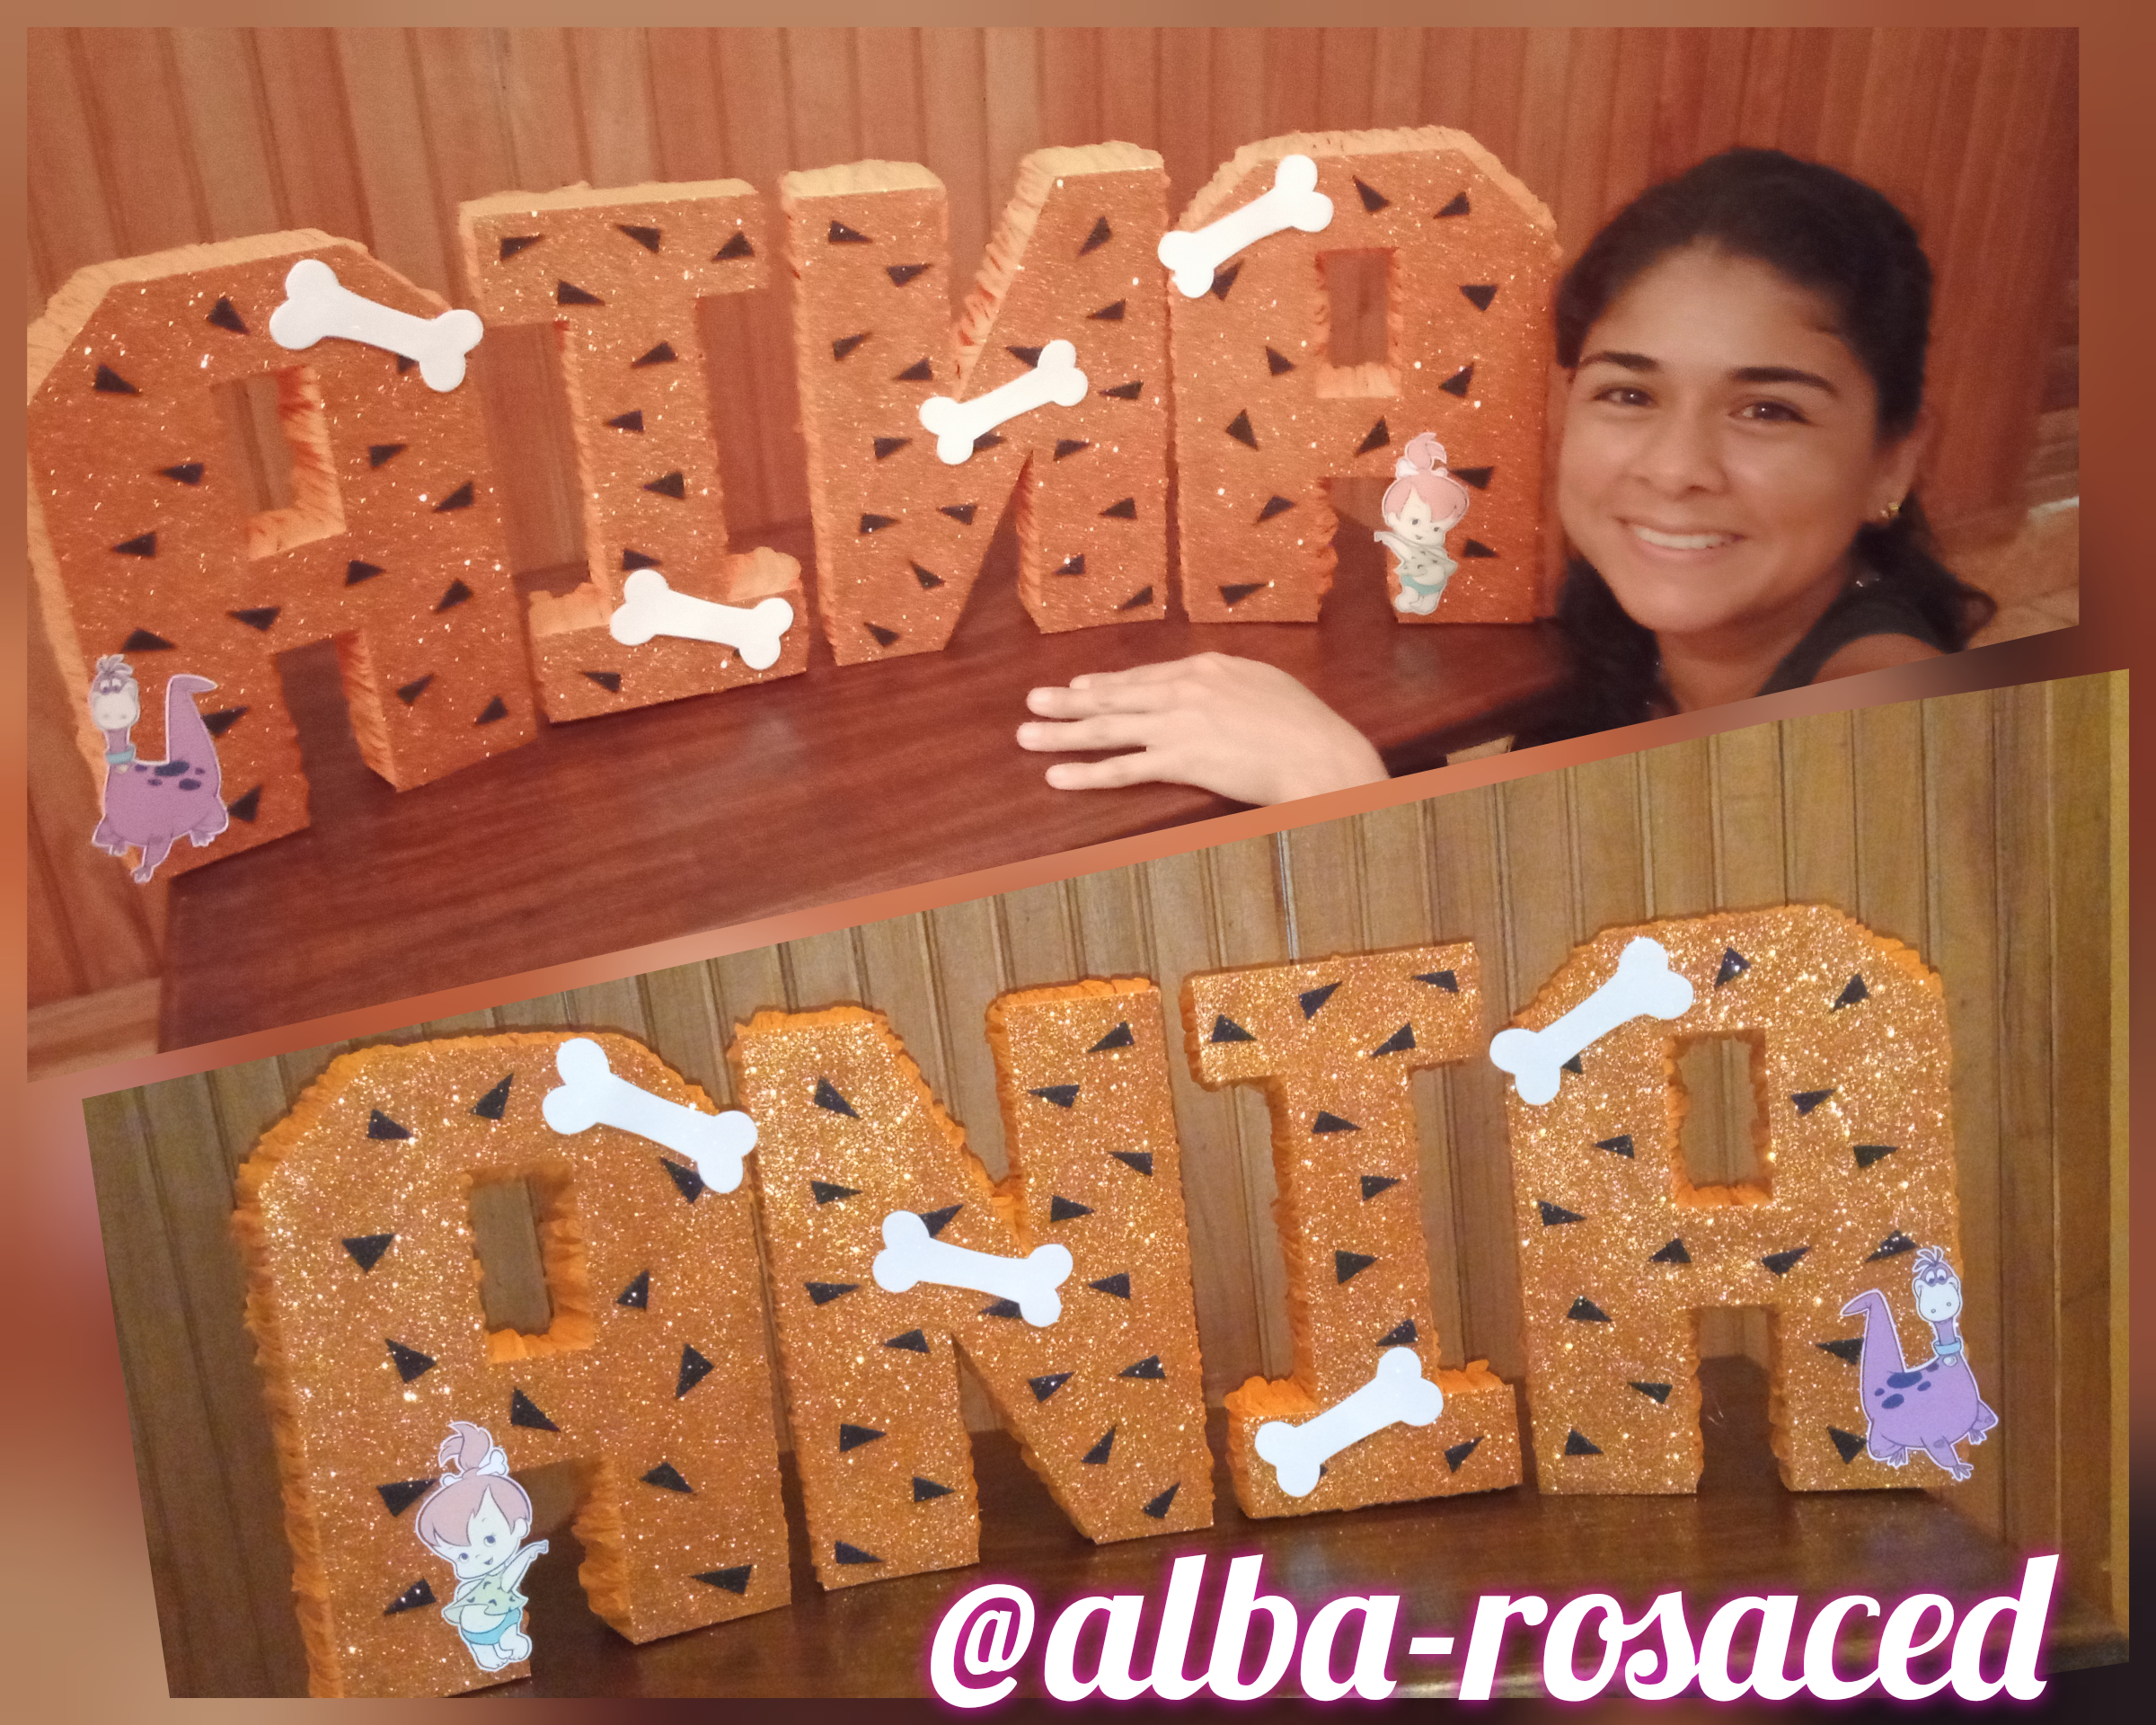
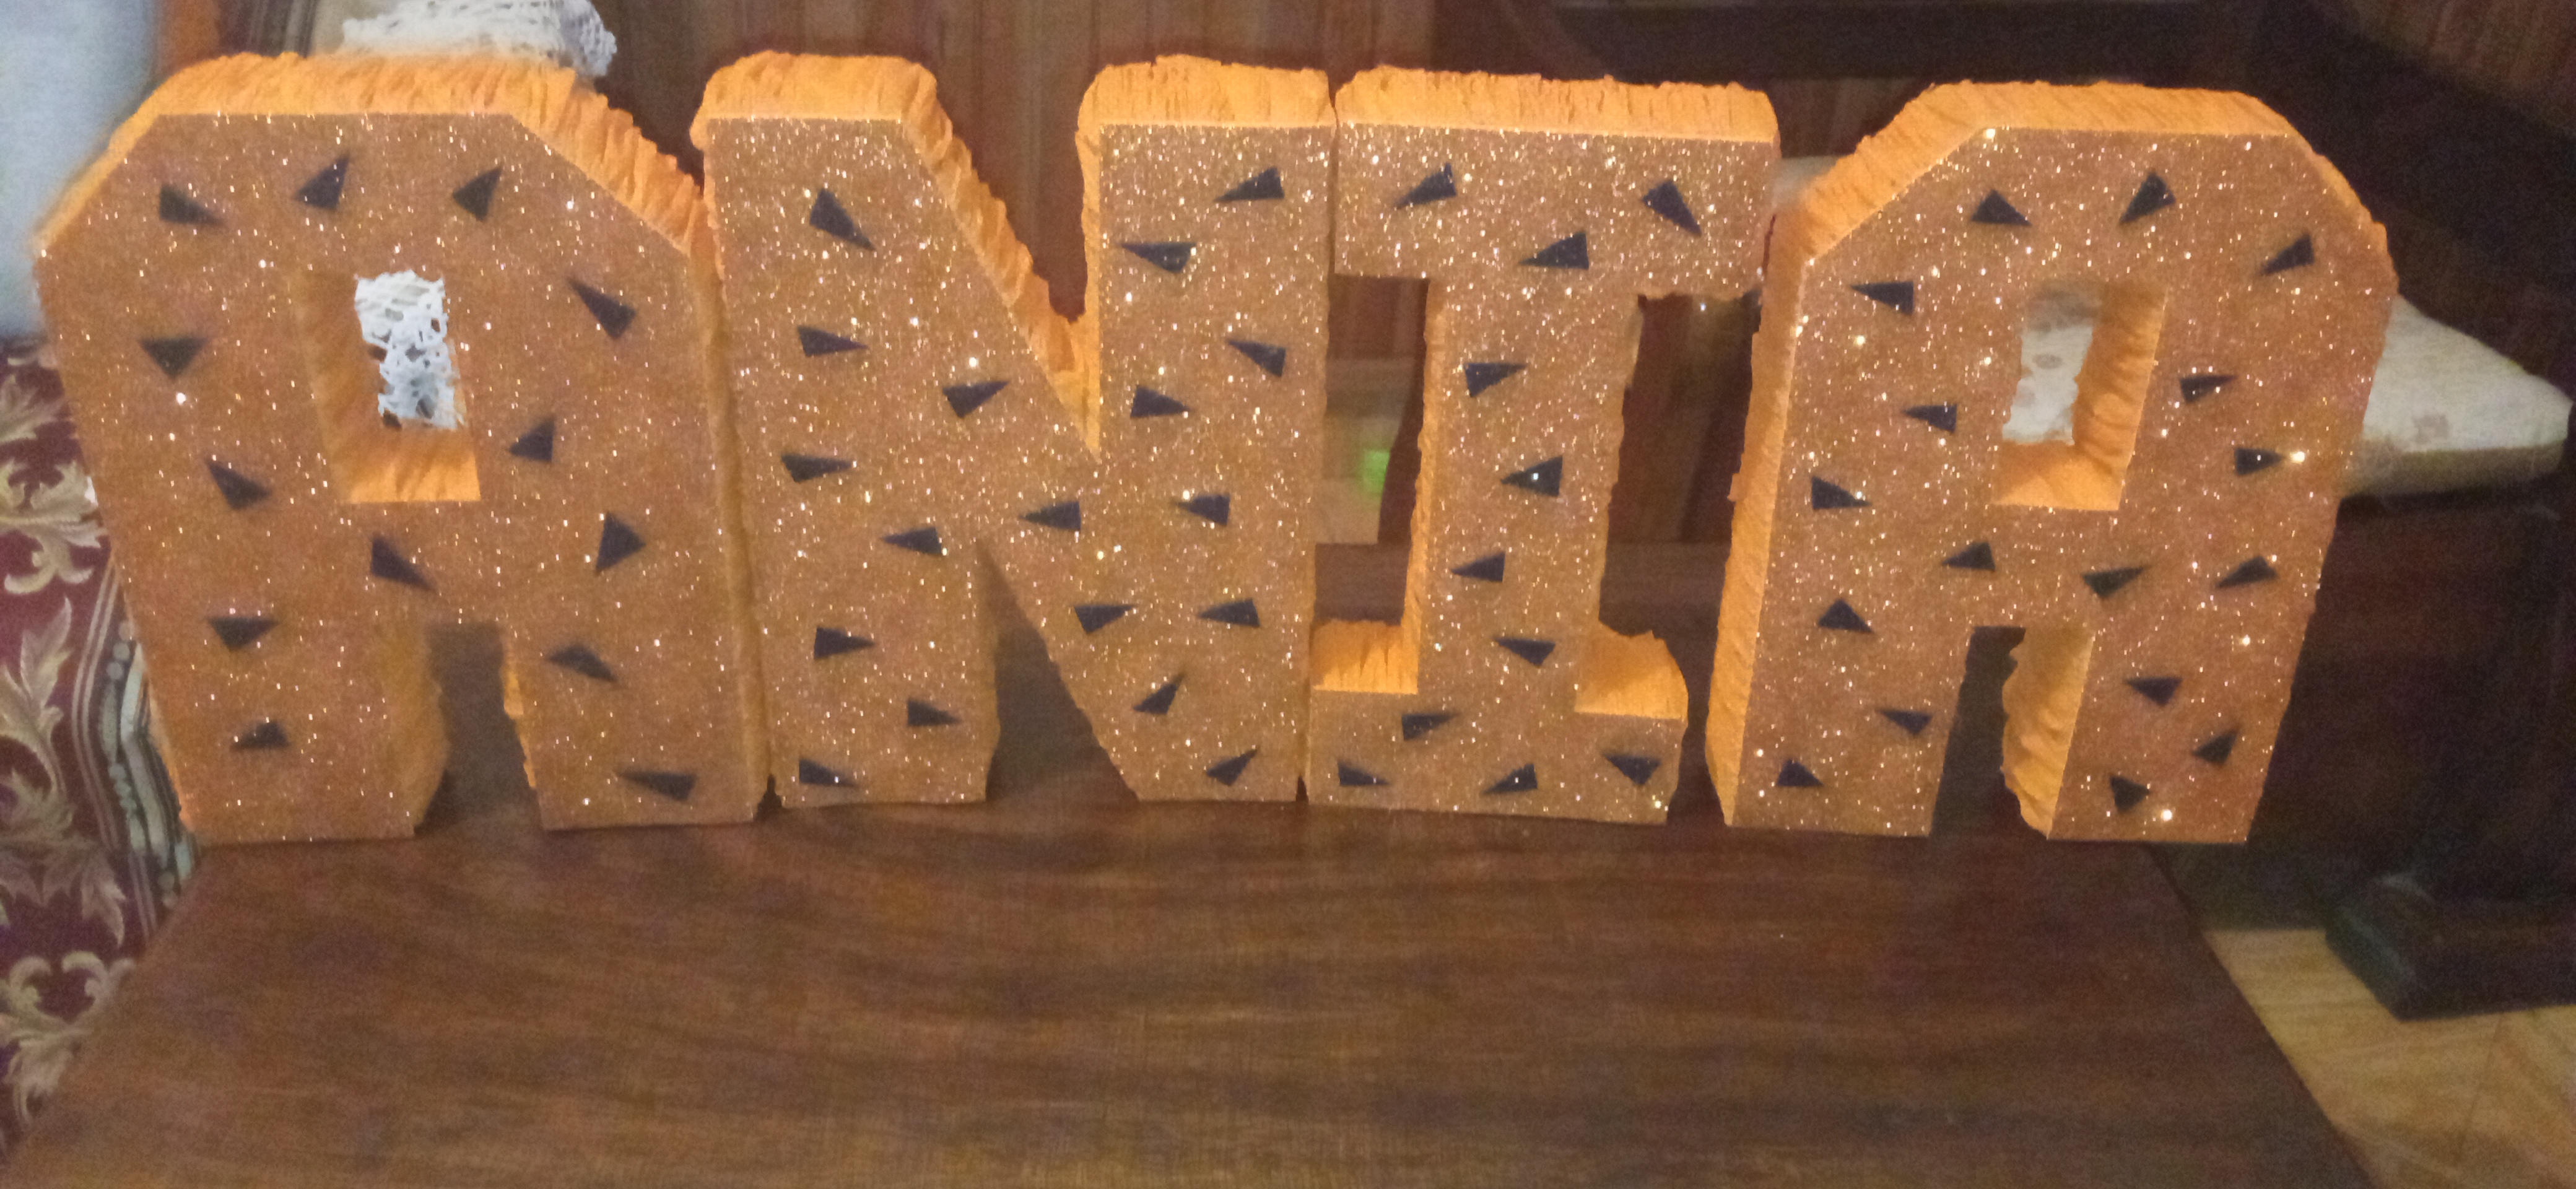
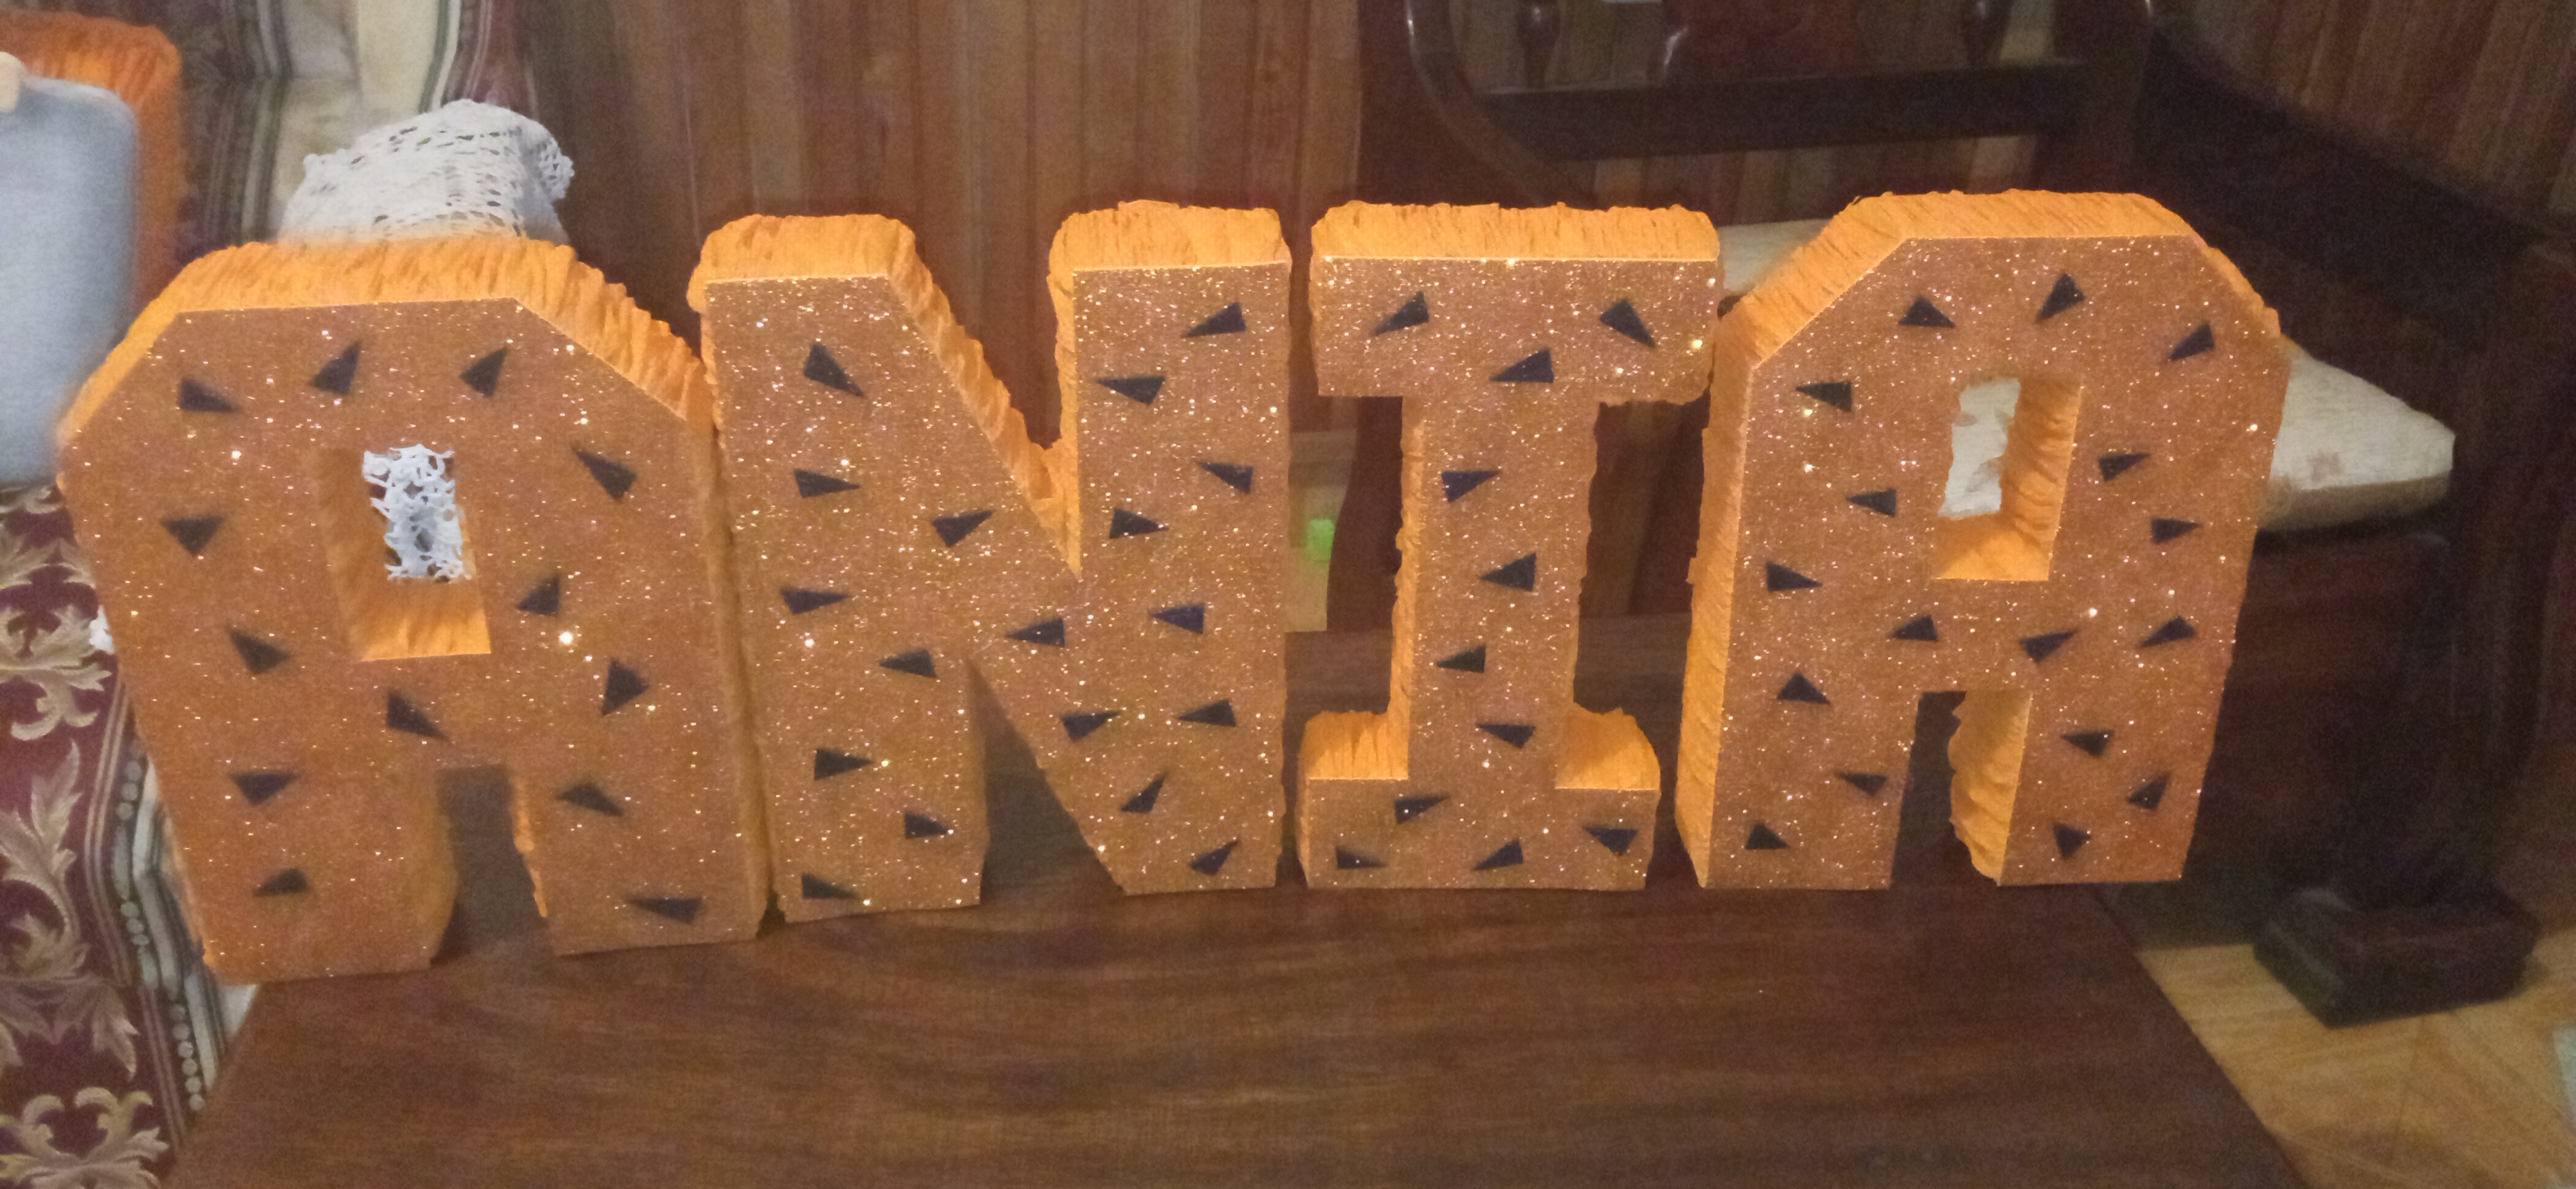
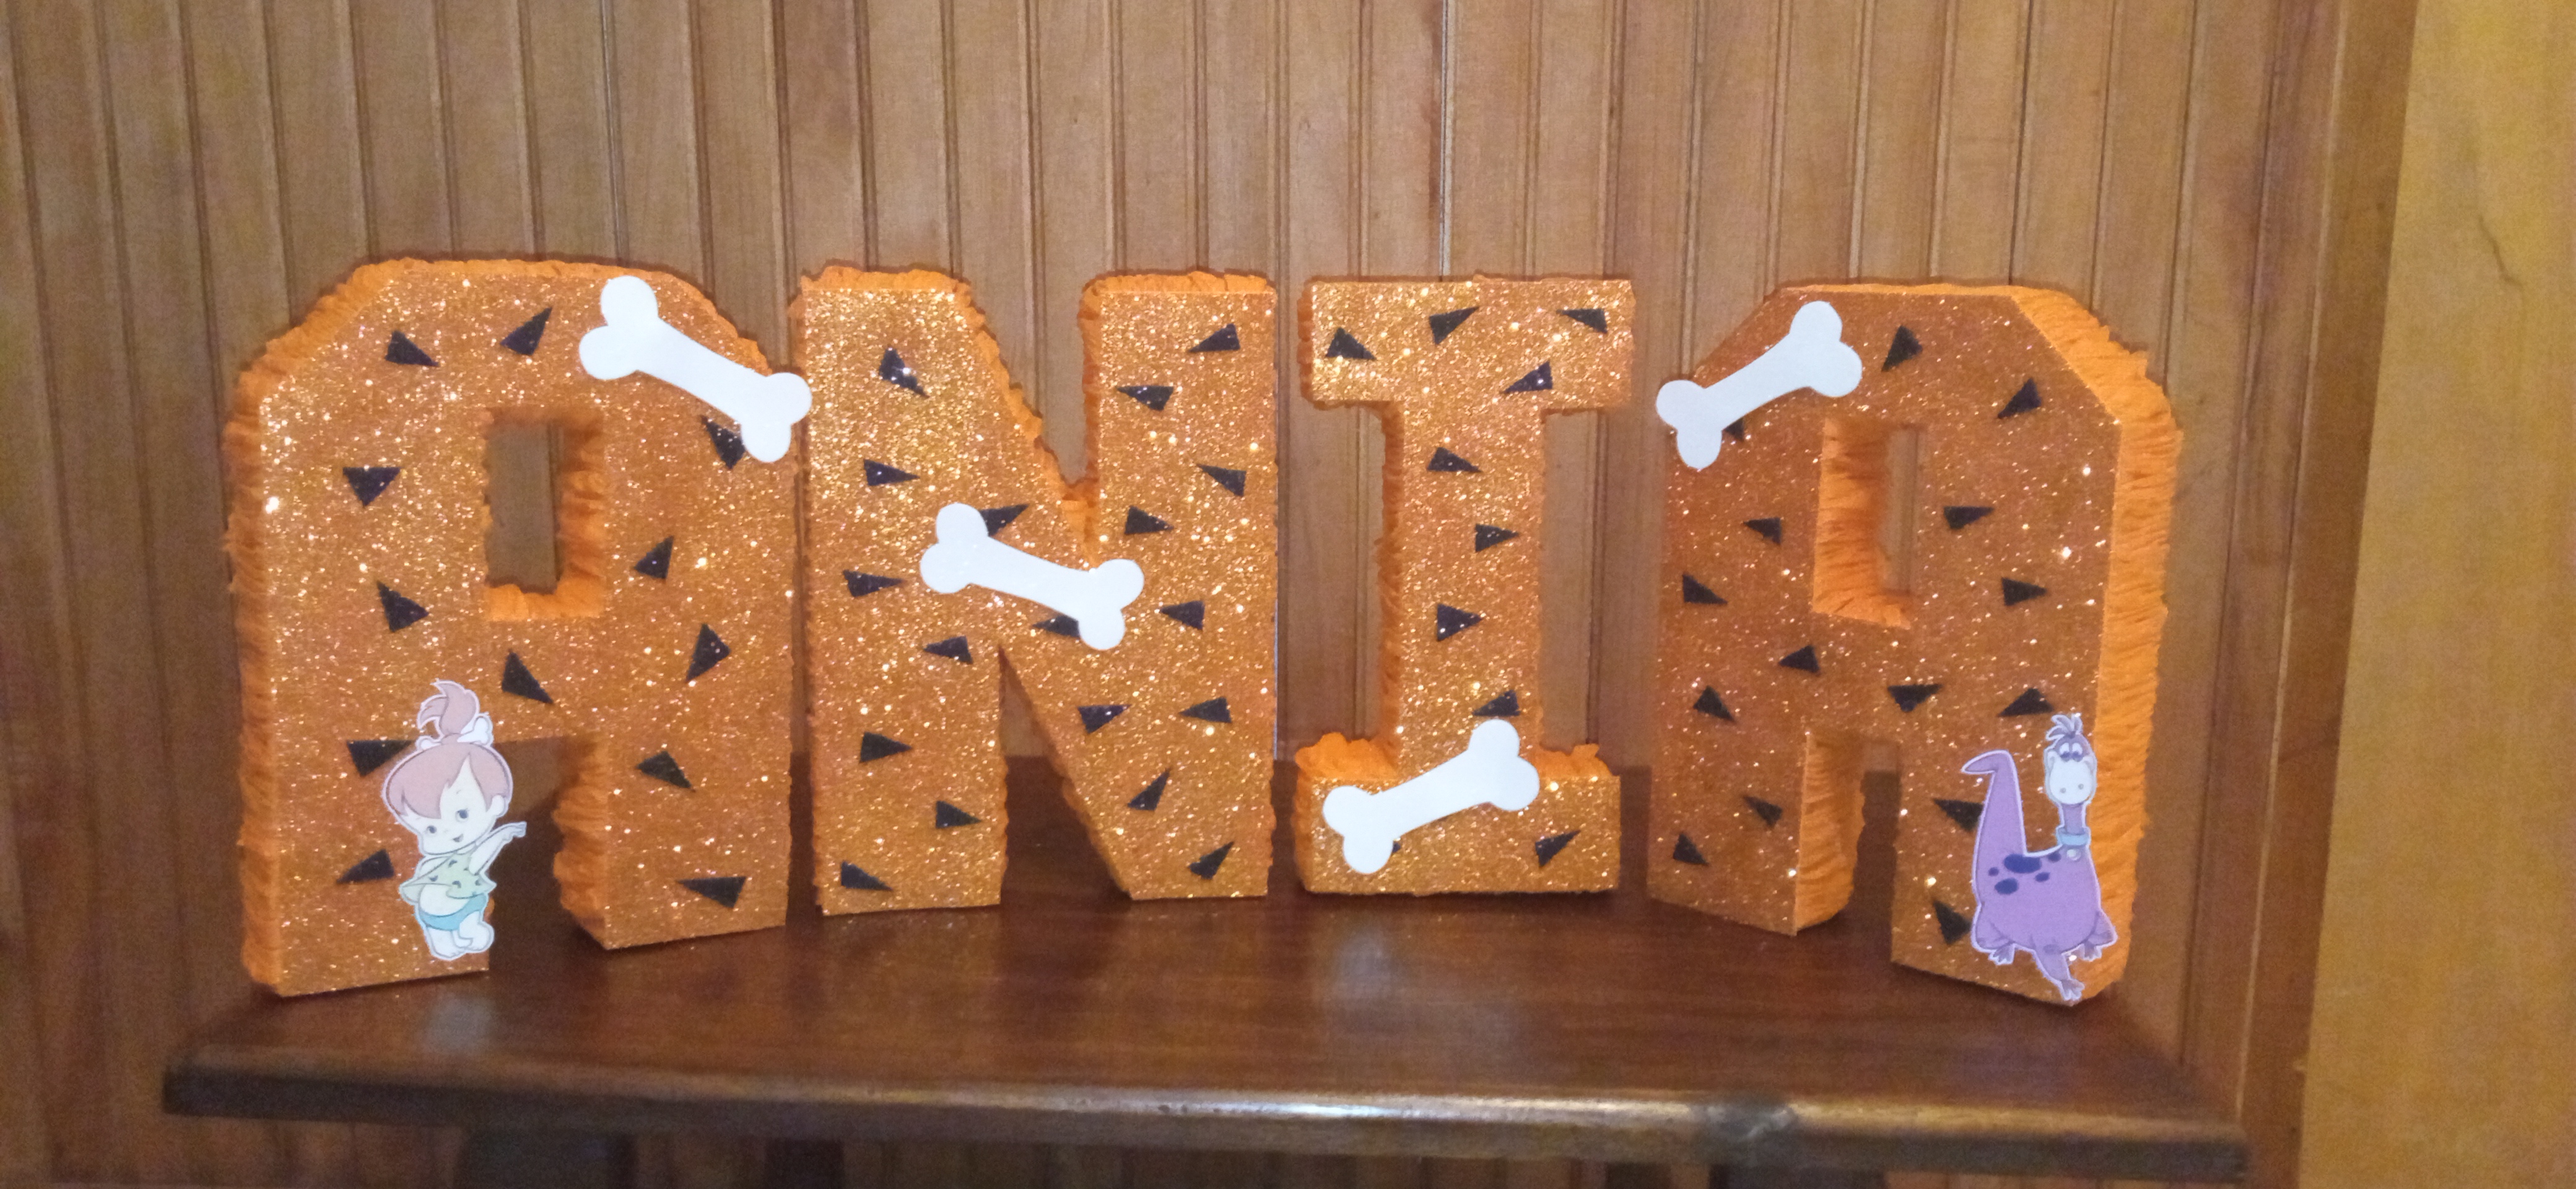
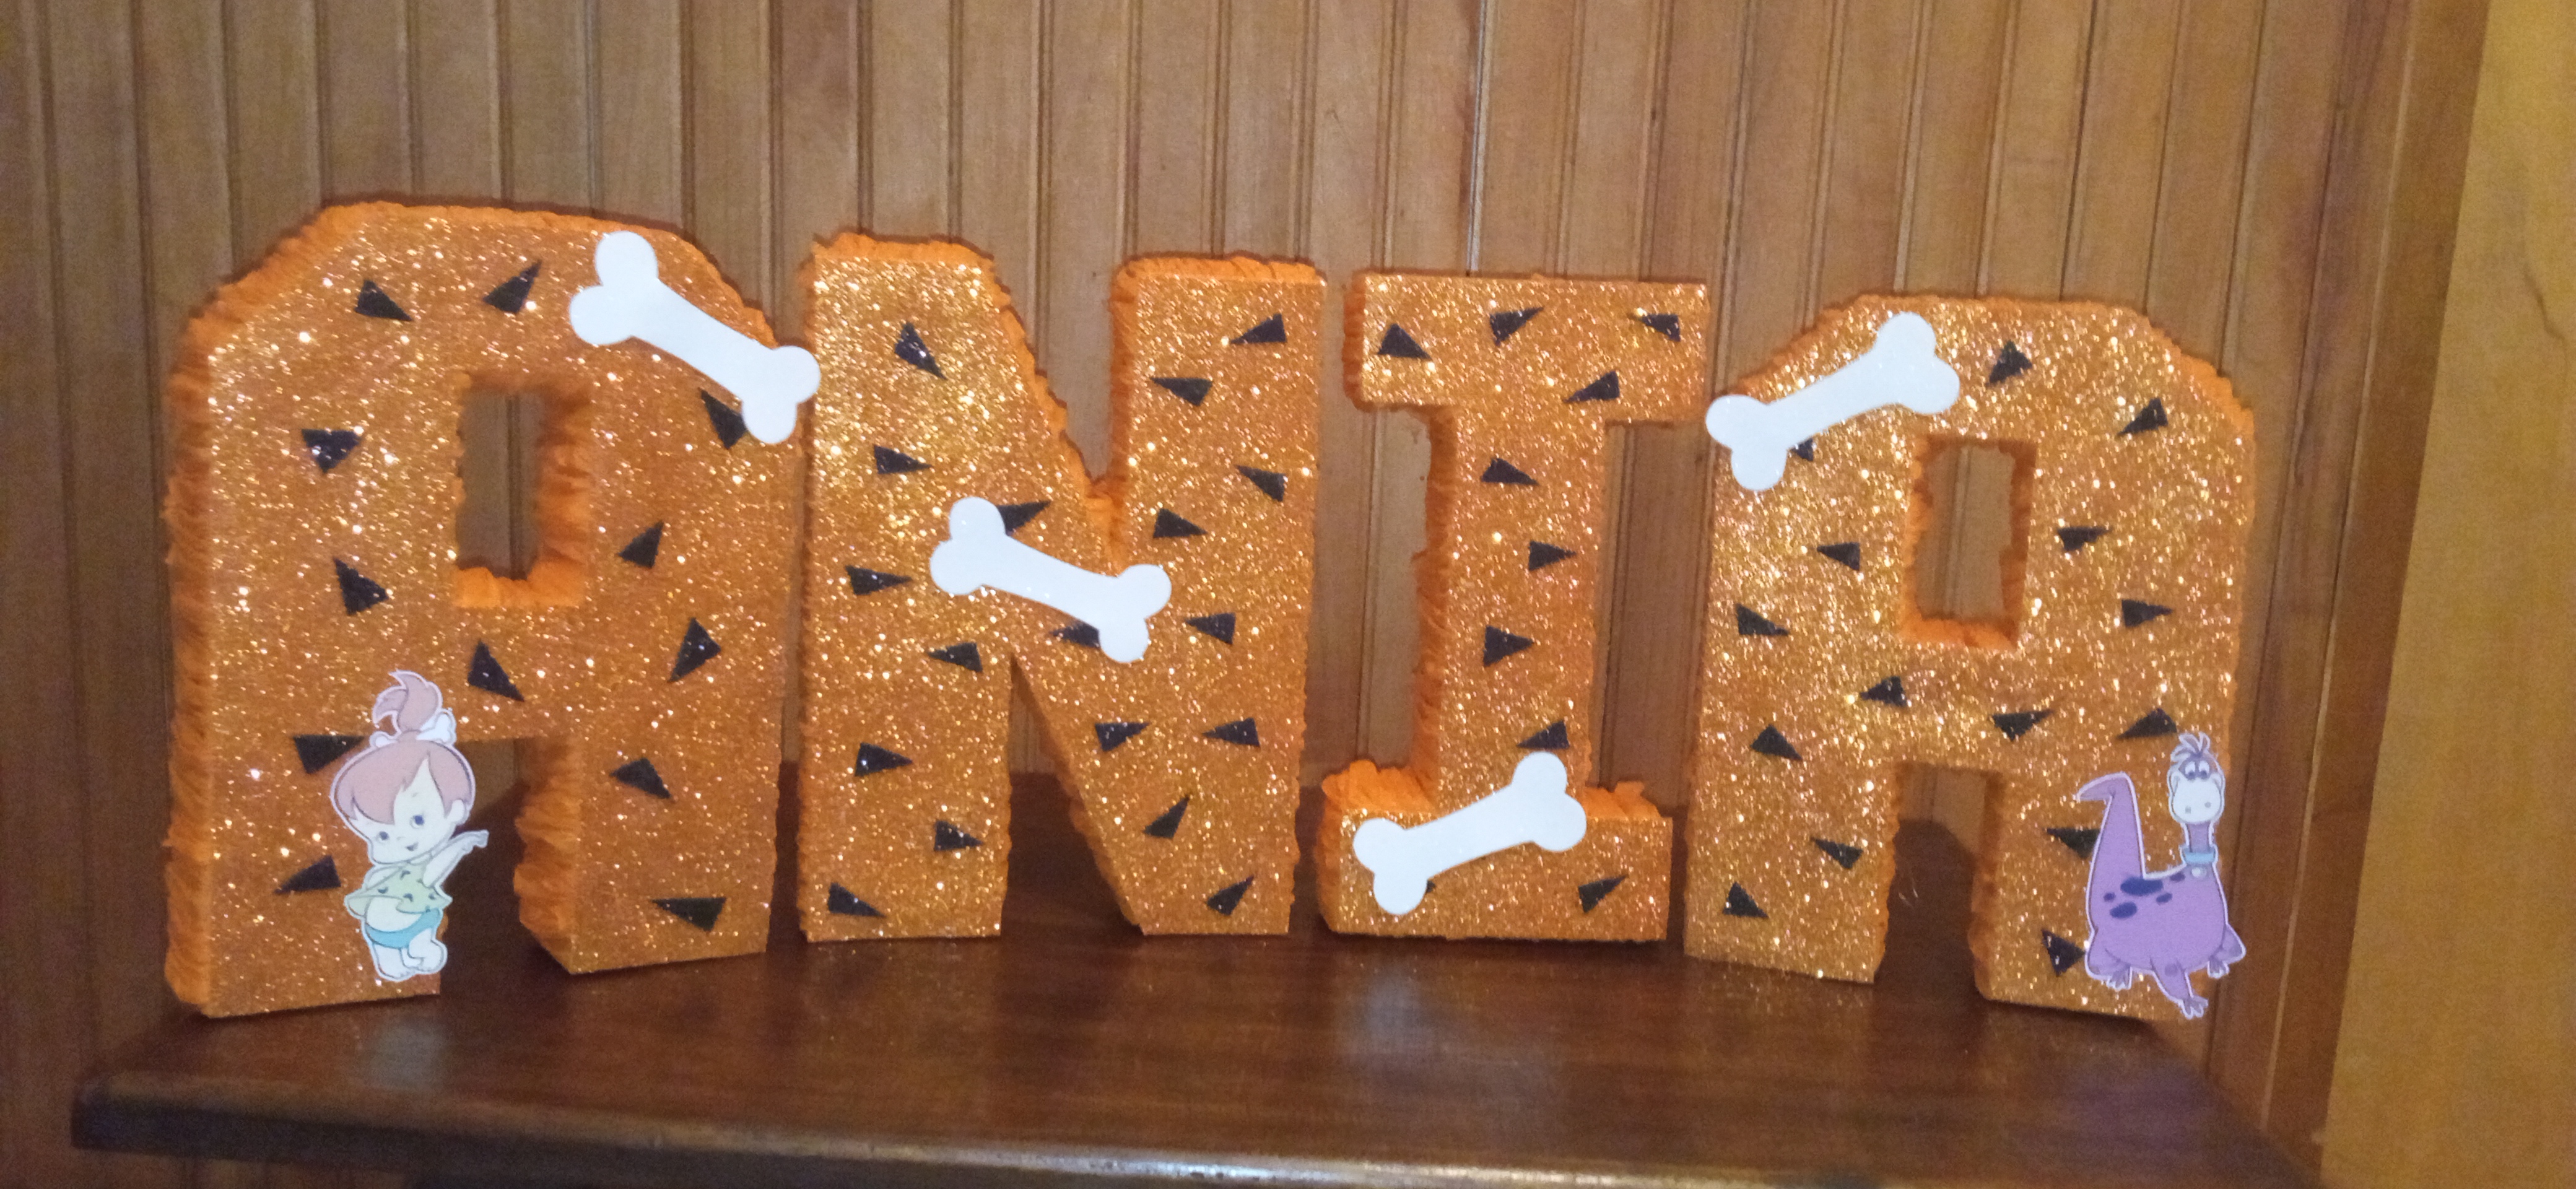
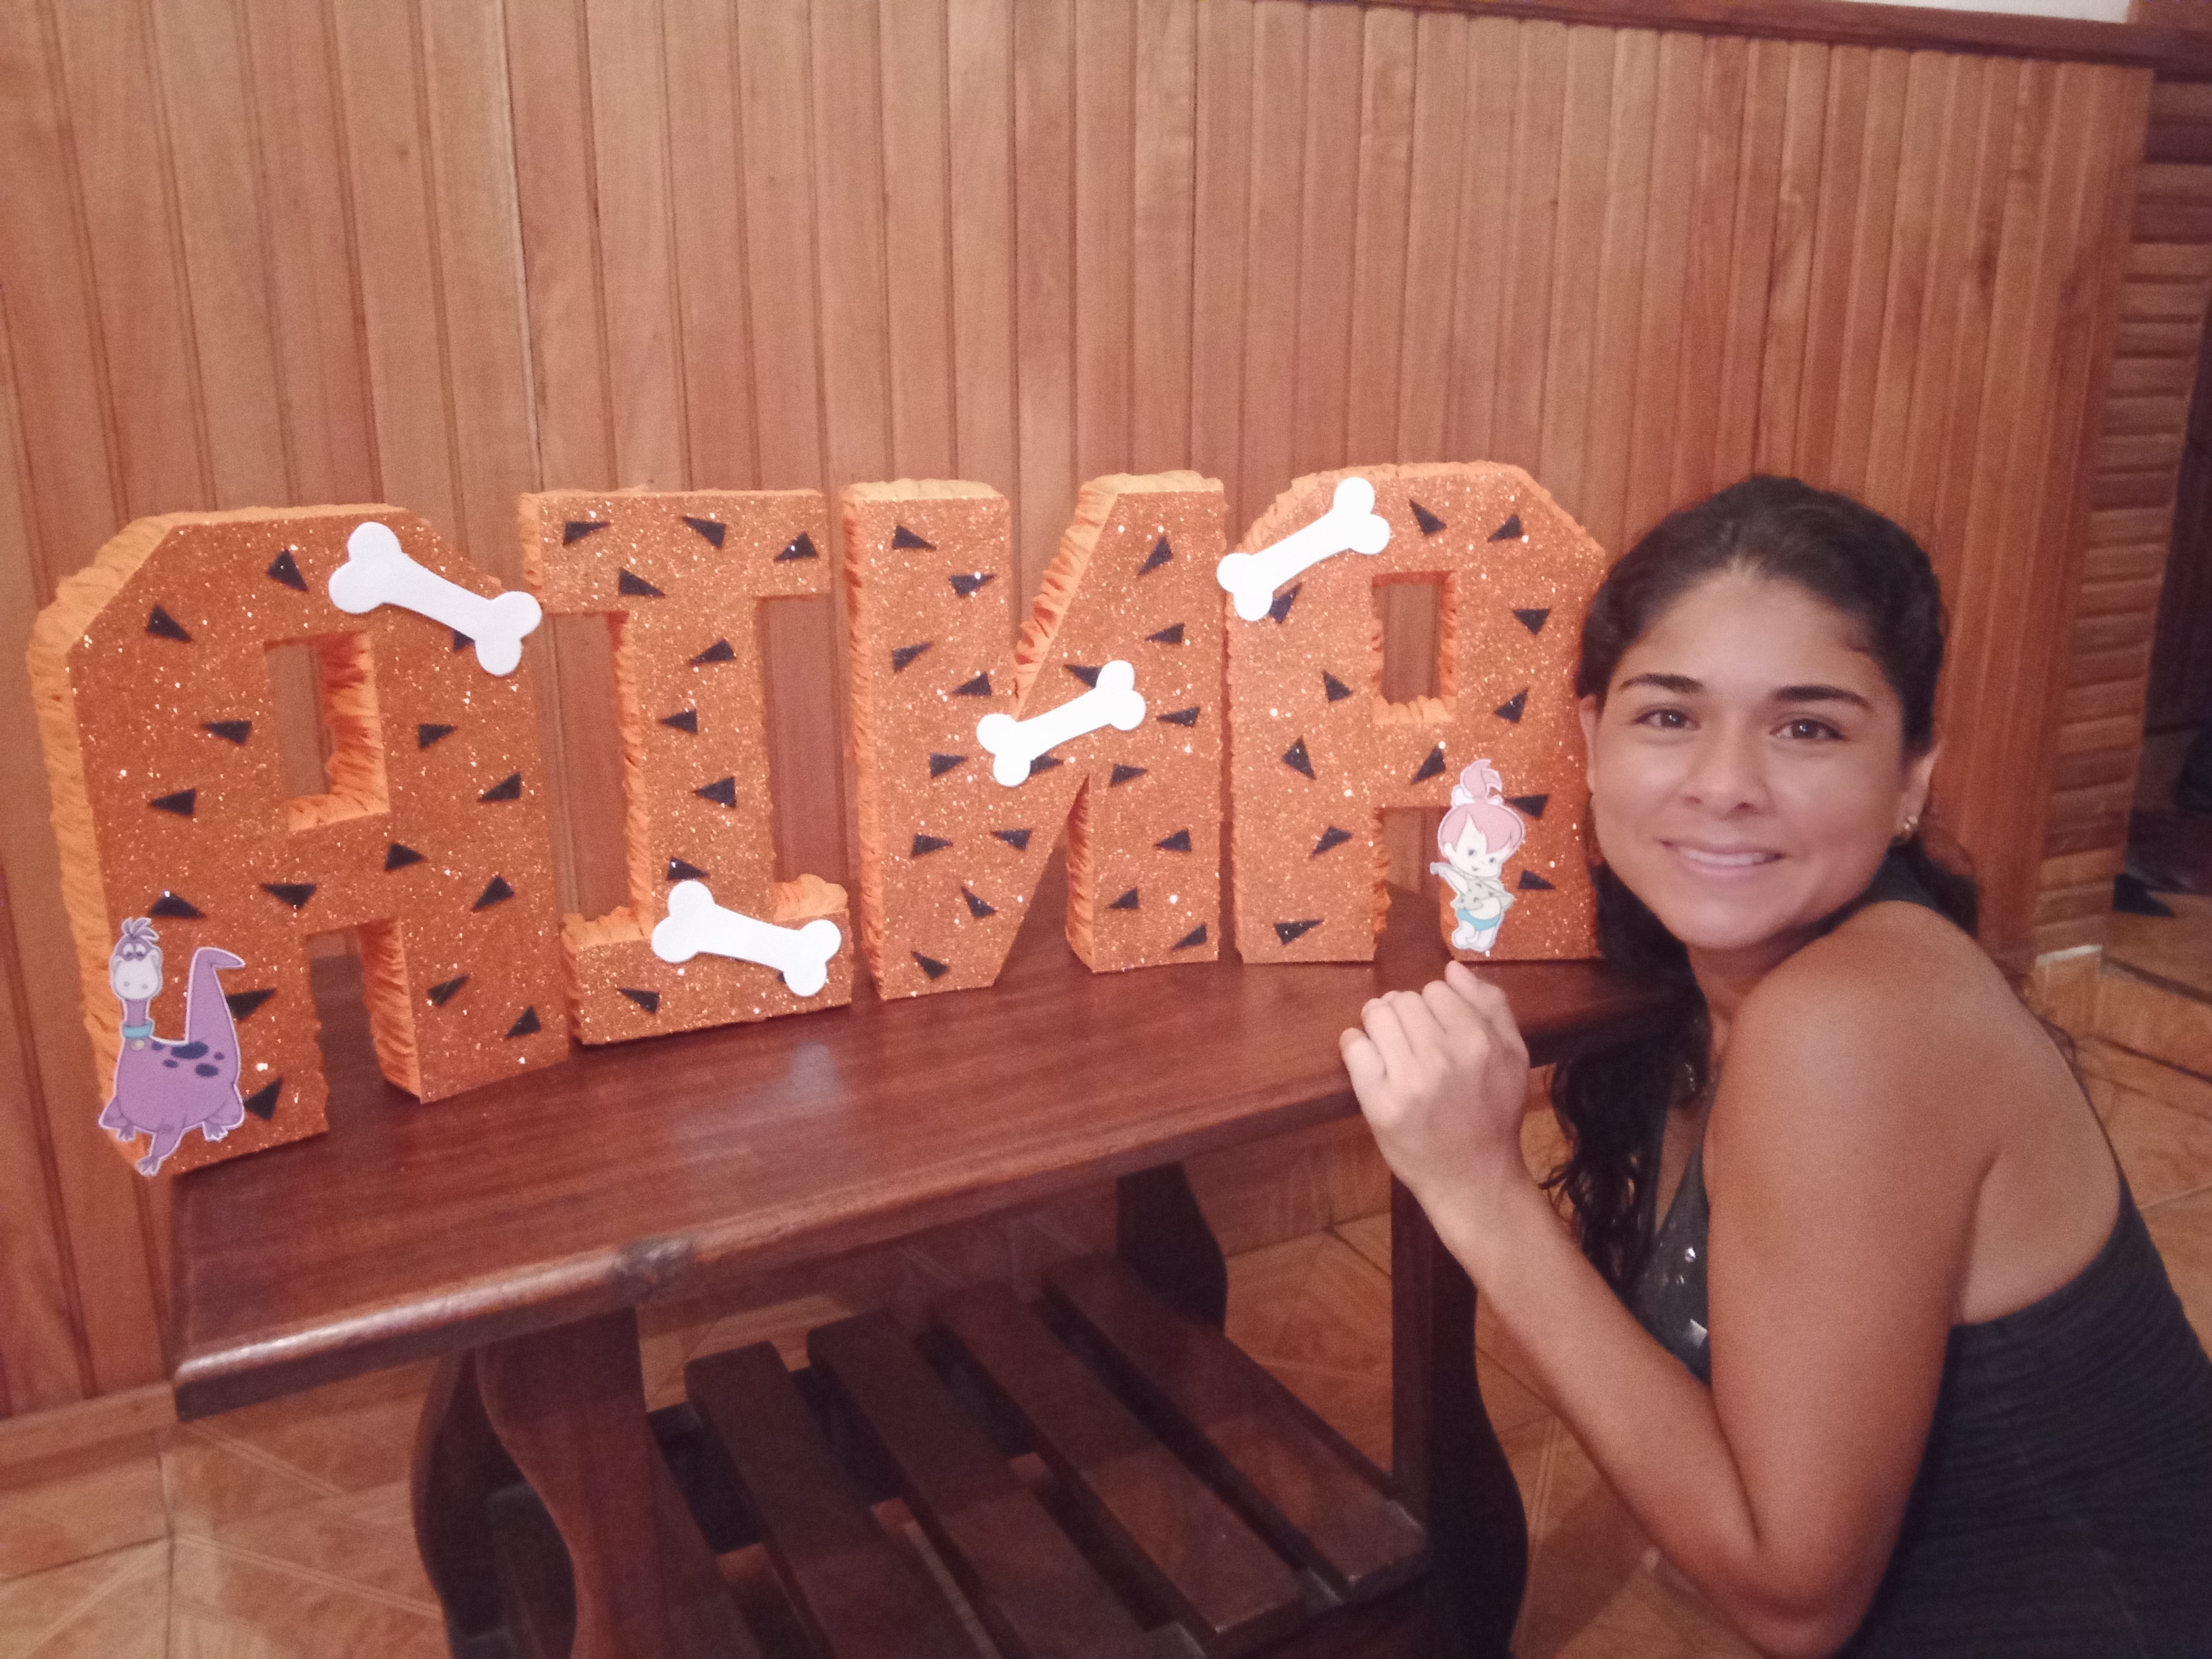
Finally we glued the prints and the little bones that we cut out of foami as well... this is how beautiful our name for princess Ania turned out.
Paso 7
Finalmente pegamos las impresiones y los huesitos que recortamos de foami también.. así de bello quedó nuestro nombre para la princesa Ania.

RESOURCES USED / RECURSOS UTILIZADOS
• Incollage/ para unir y reducir las fotos.
• Photos taken by redmi 9. / Fotos tomadas por redmi 9.
• The translator is used www.Deepl.com / Se utiliza el traductor www.Deepl.com
very creative and beautiful! 😃 thank you for sharing this!
https://d.buzz
Gracias.. espero seguir compartiendo muchas cosas ..
Está increíble, muy bueno, el paso a paso, las fotos, esto definitivamente lo utilizare en alguna fiesta o reunión. gracias, saludos.
Gracias amiga..