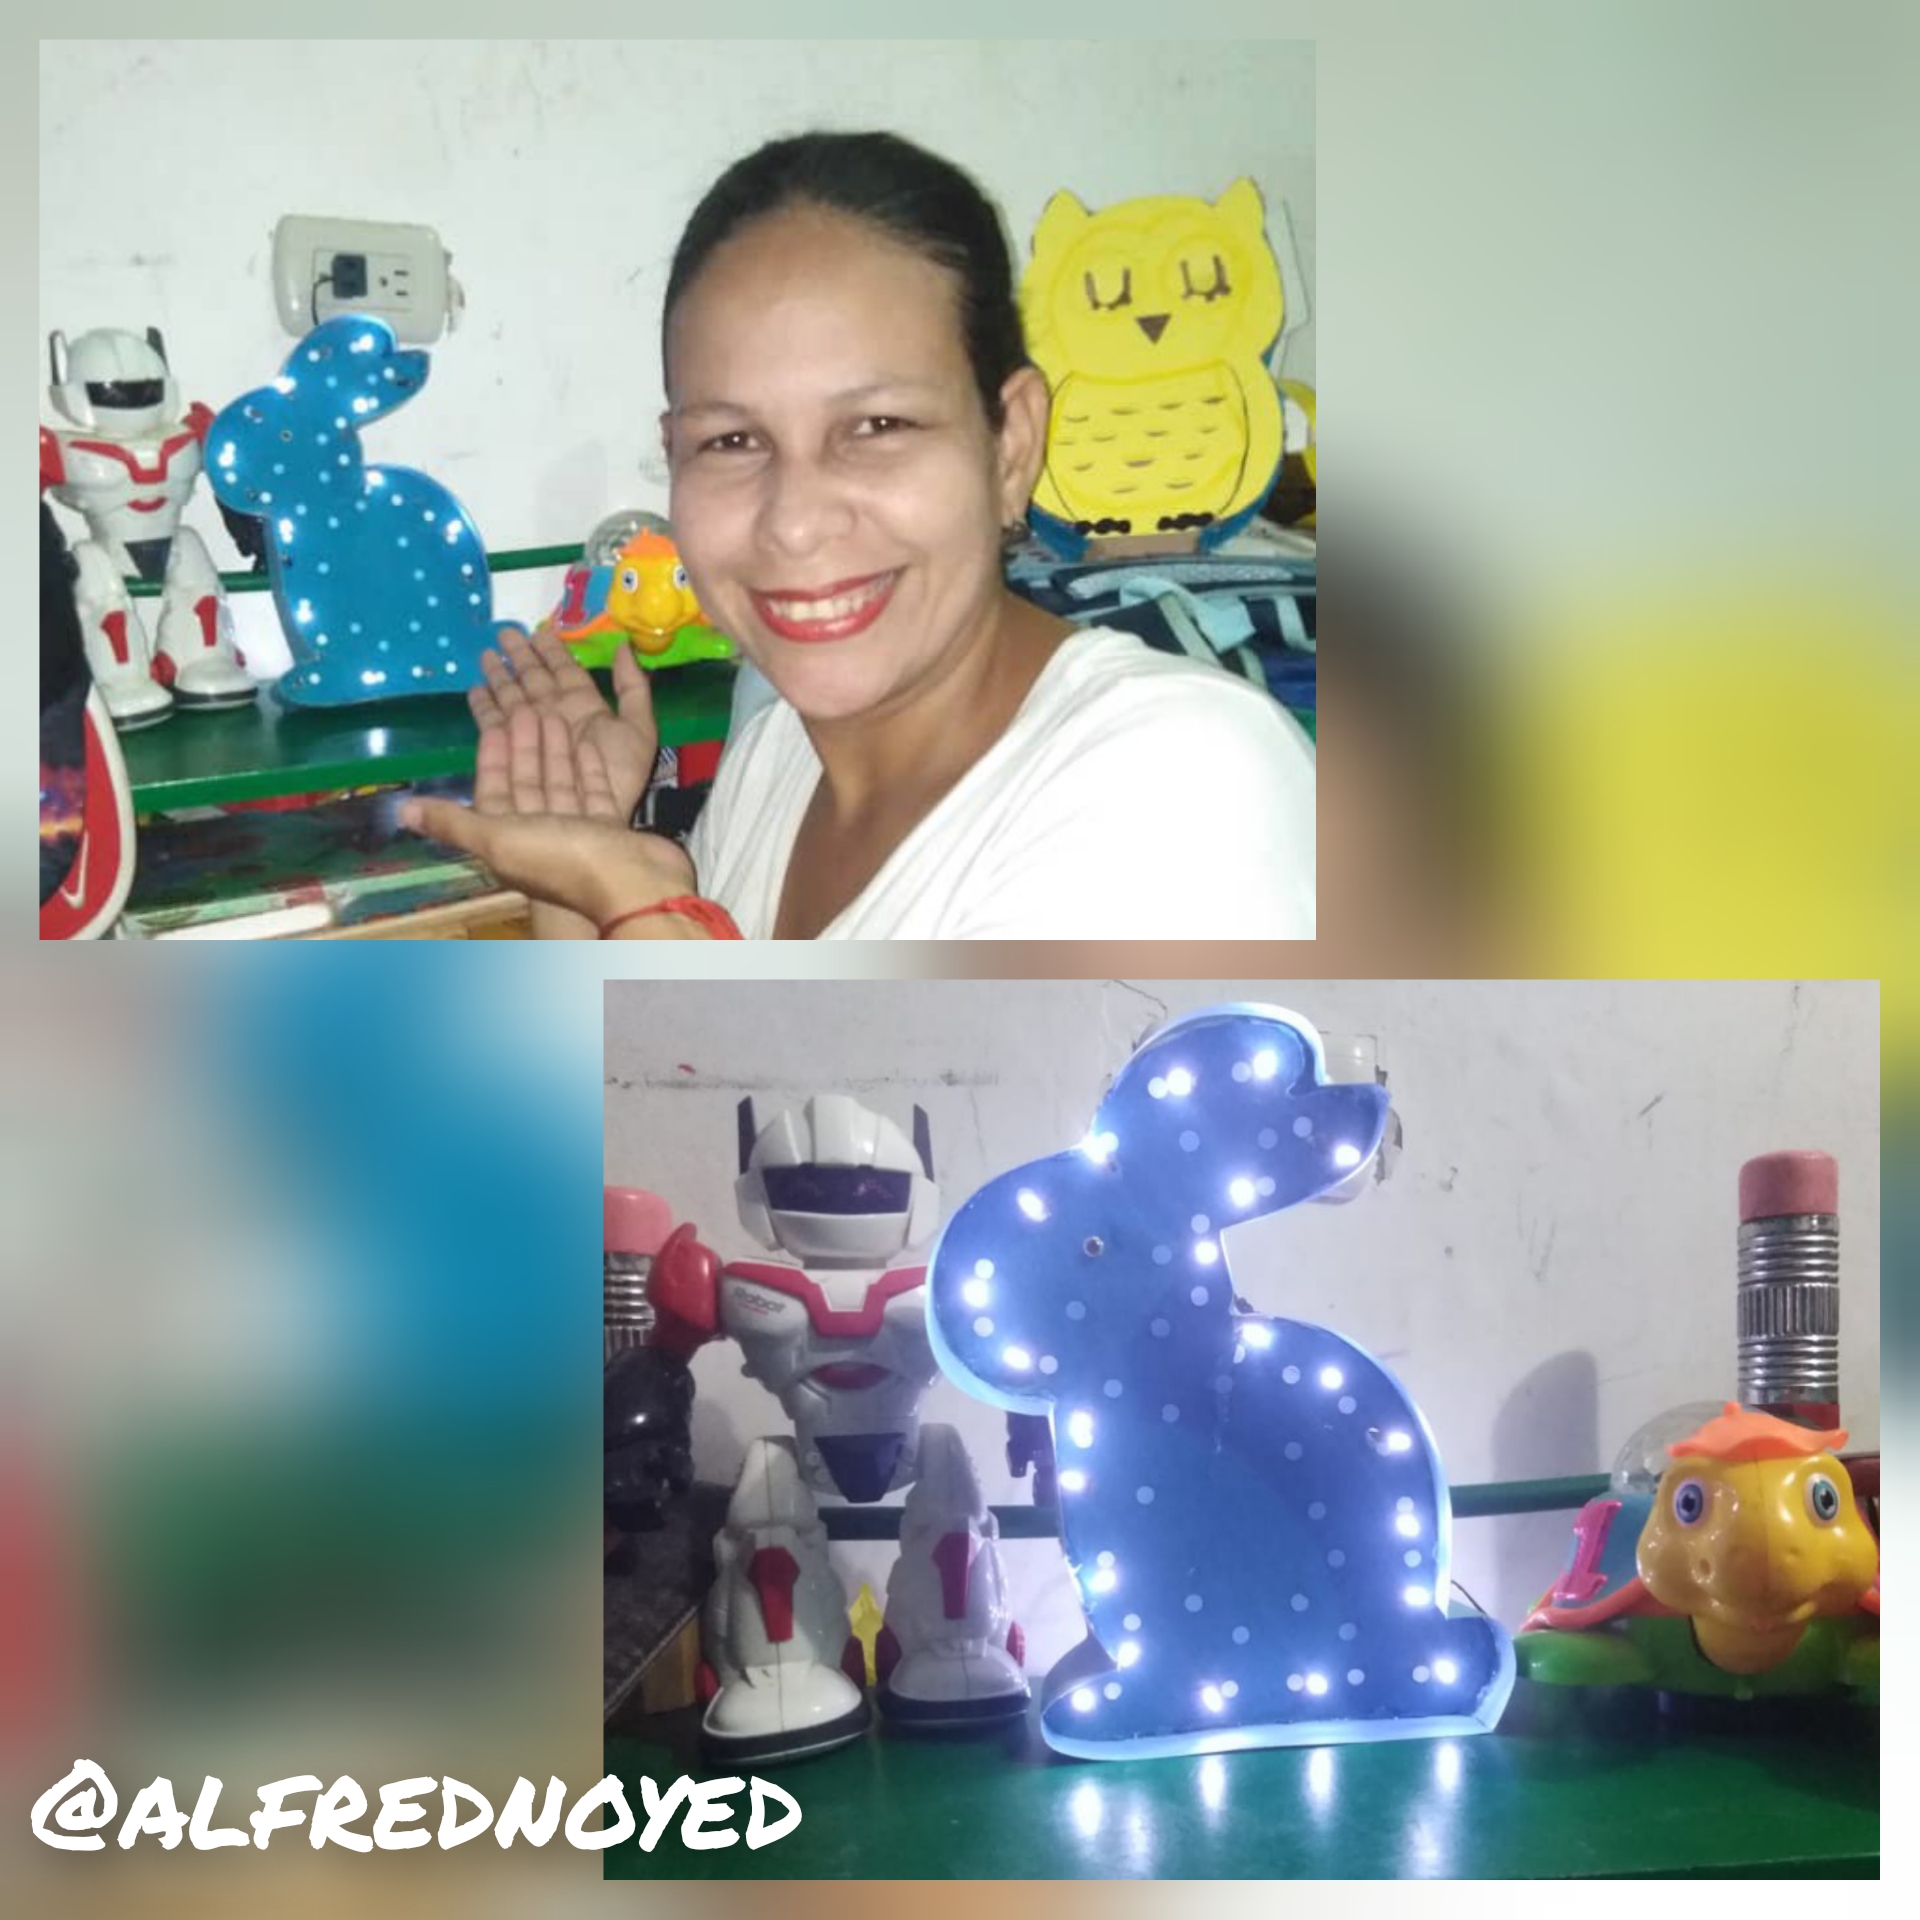
Hola apreciados hivers espero que hayan tenido un exelente Domingo, hoy me unire al Concurso CARDBOARD WORLD CONTEST, que estará bajo la moderación de @lionsaturbix. En esta oportunidad estaré participando, Con una hermosa lámpara hecha de cartón en forma de conejito con luces incorporadas, para decorar la habitación de los más pequeños de la casa.
Hello dear hivers I hope you had an excellent Sunday, today I will join the CARDBOARD WORLD CONTEST Contest, which will be moderated by @lionsaturbix. In this opportunity I will be participating, With a beautiful lamp made of cardboard in the shape of a bunny with built-in lights, to decorate the room of the smallest of the house.
La cual disfrute mucho hacer y he quedado fascinada con el resultado final.
Which I really enjoyed doing and I have been fascinated with the end result.

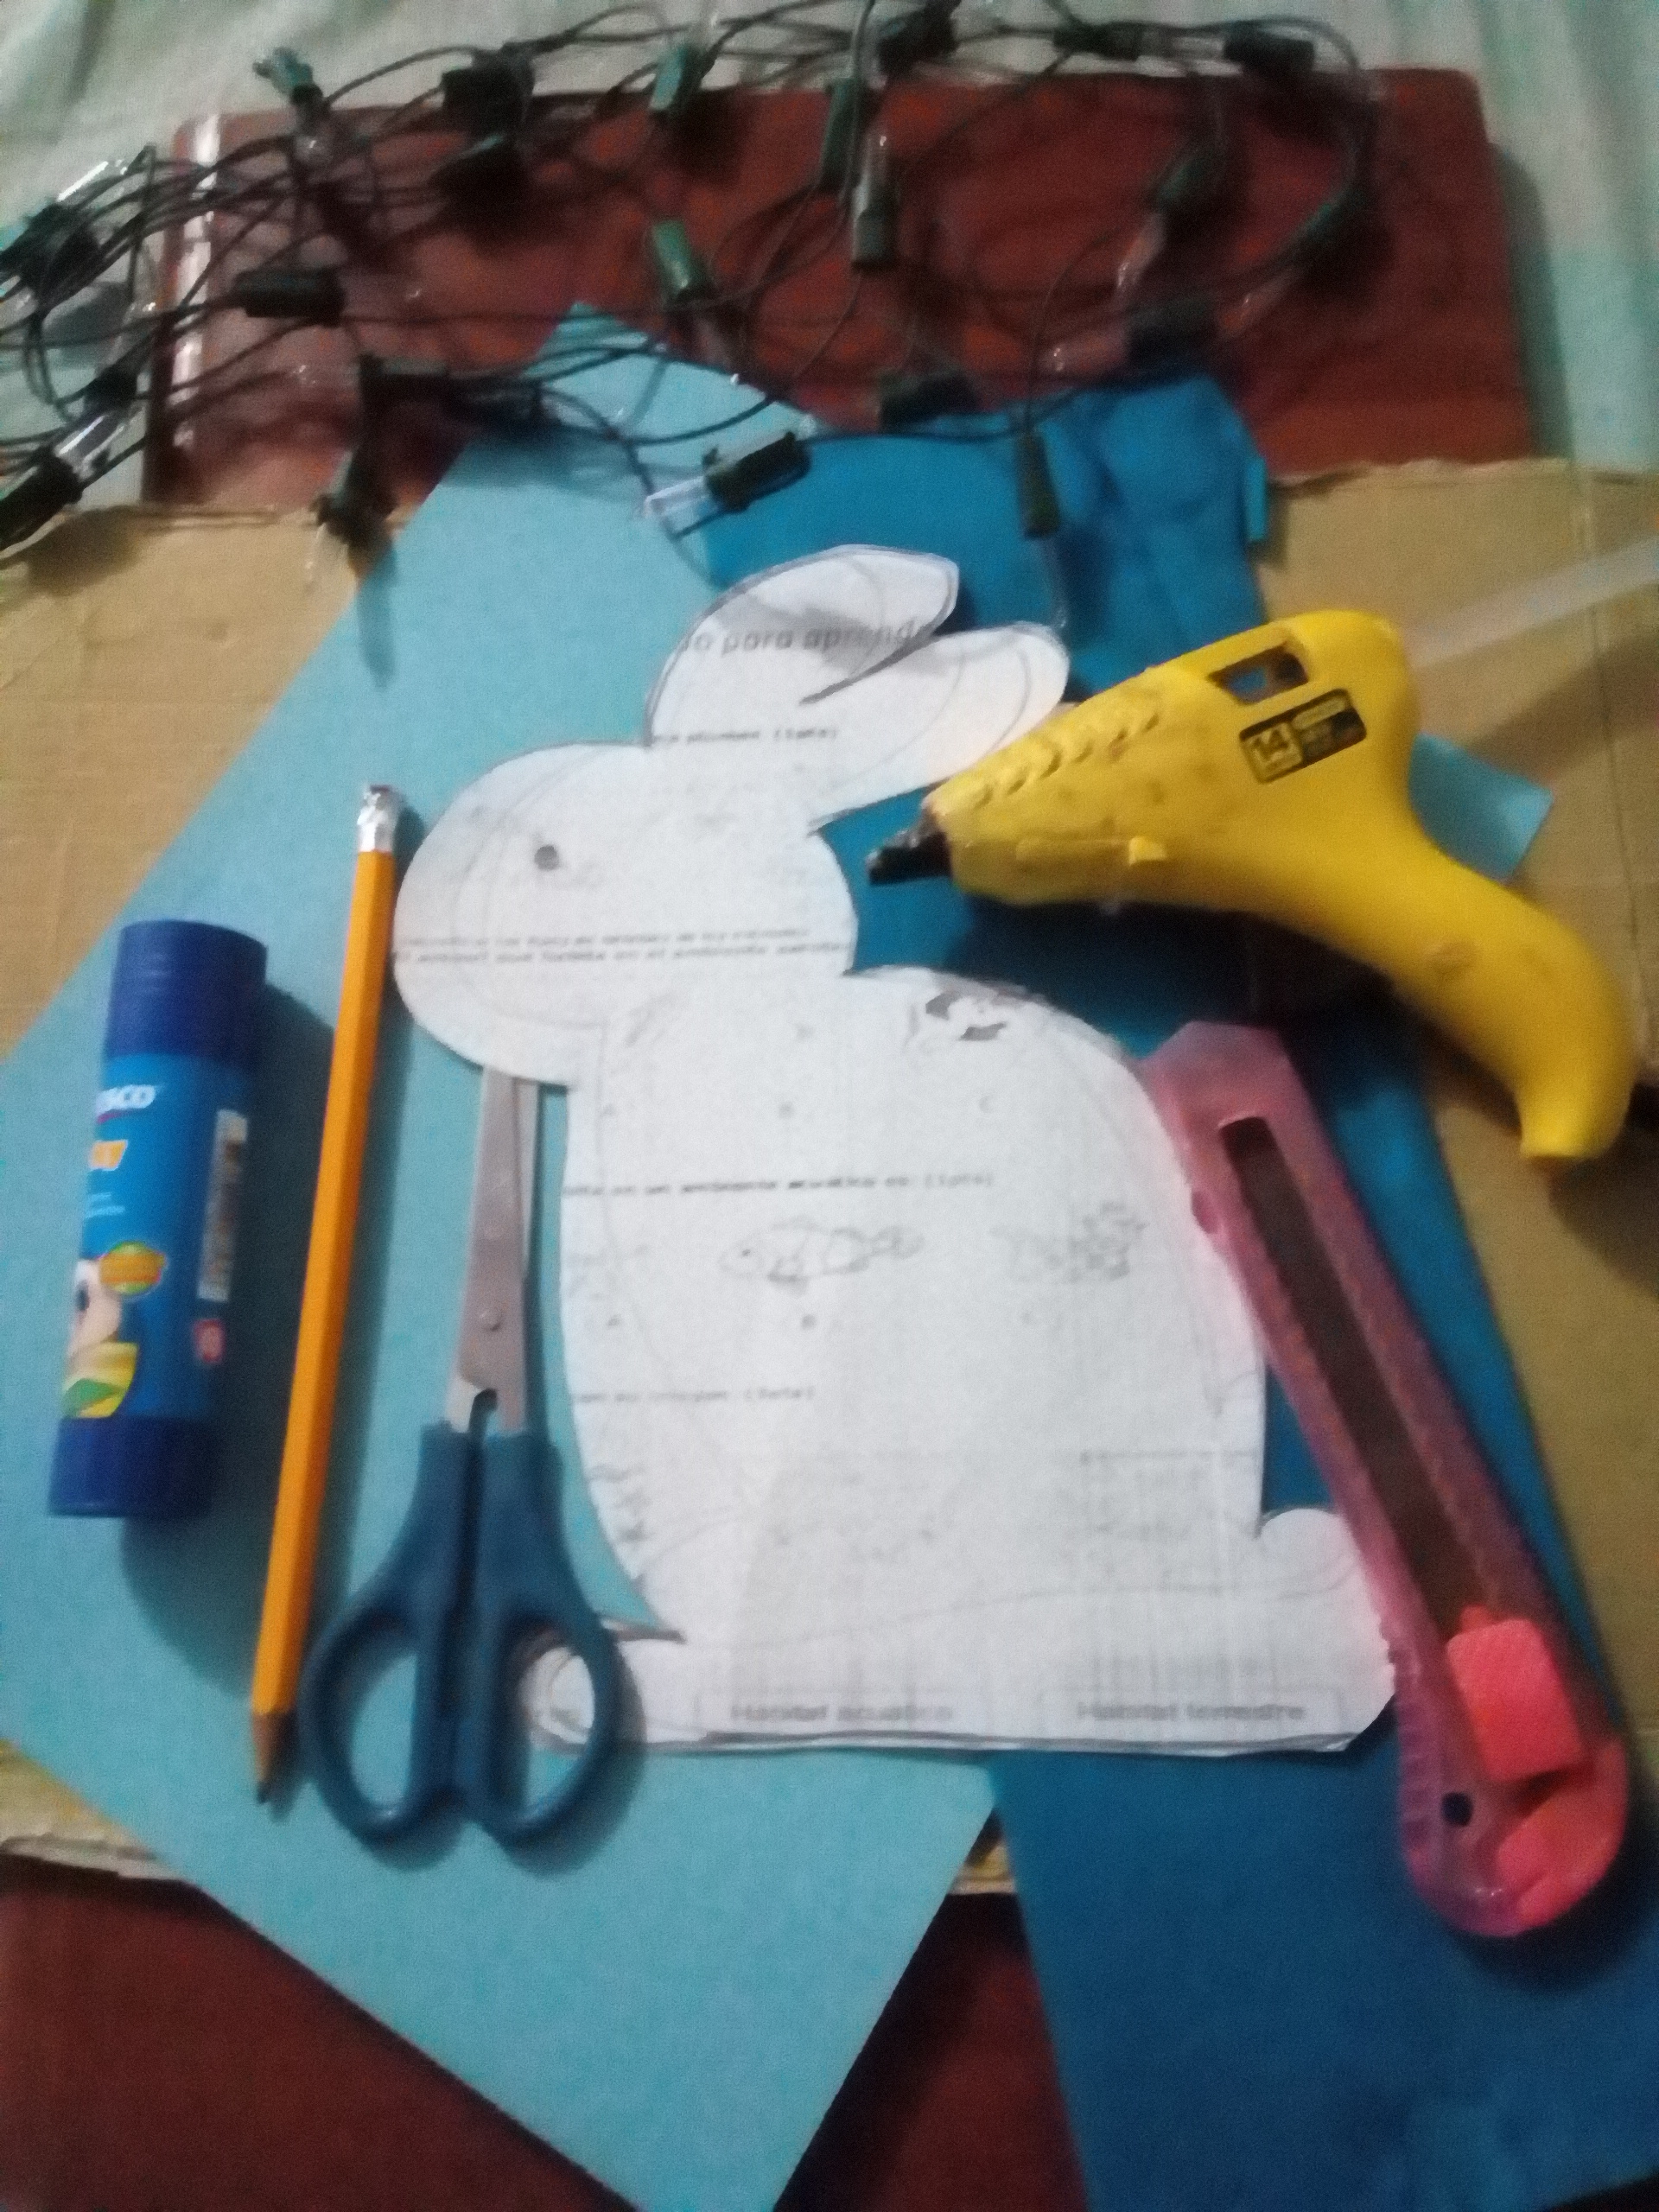
Los materiales que utilicé fueron:
The materials I used were:
Cartón
Cartulina celeste
El molde de la figura del conejo
Papel crepé azúl
Pegamento
Tijeras
Exacto
Silicón caliente
Lápiz
Extensión de luces.
Paperboard
cardboard blue light
The mold of the rabbit figure in white paper
Blue crepe paper
Glue
Pair of scissors
Exact
Hot silicone
Pencil
Extension of lights.
Paso a paso/ Step by Step
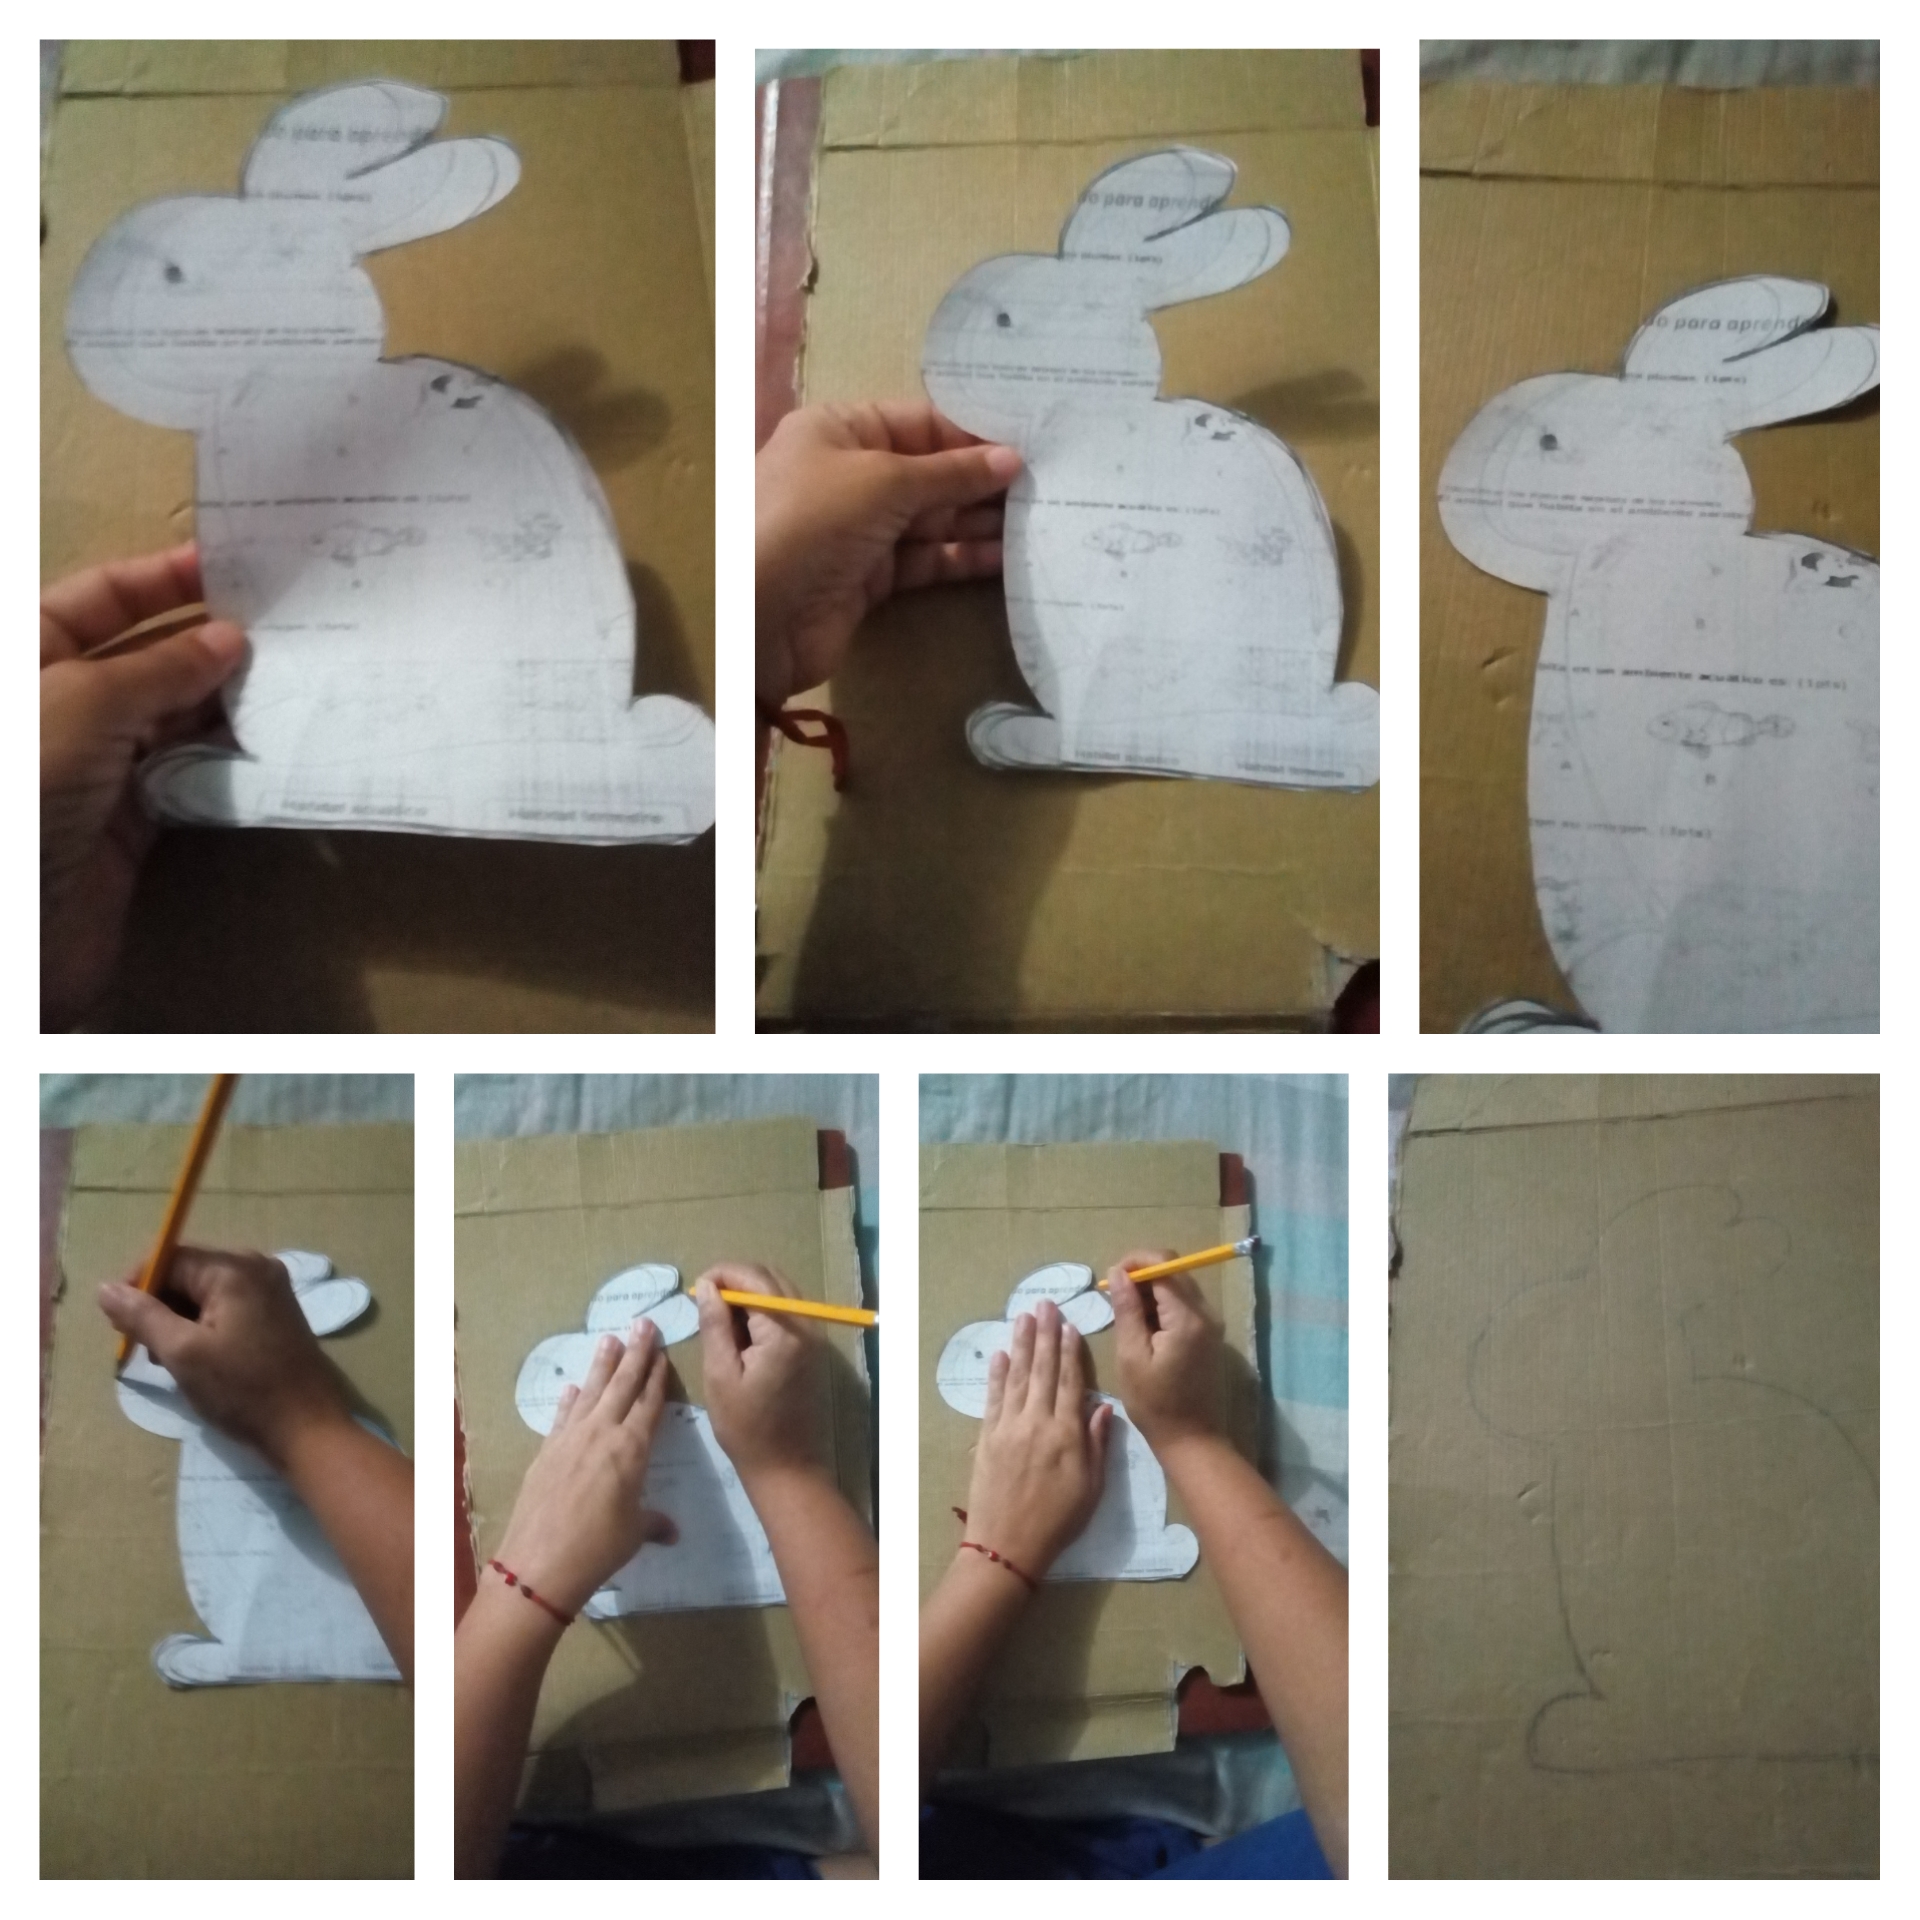
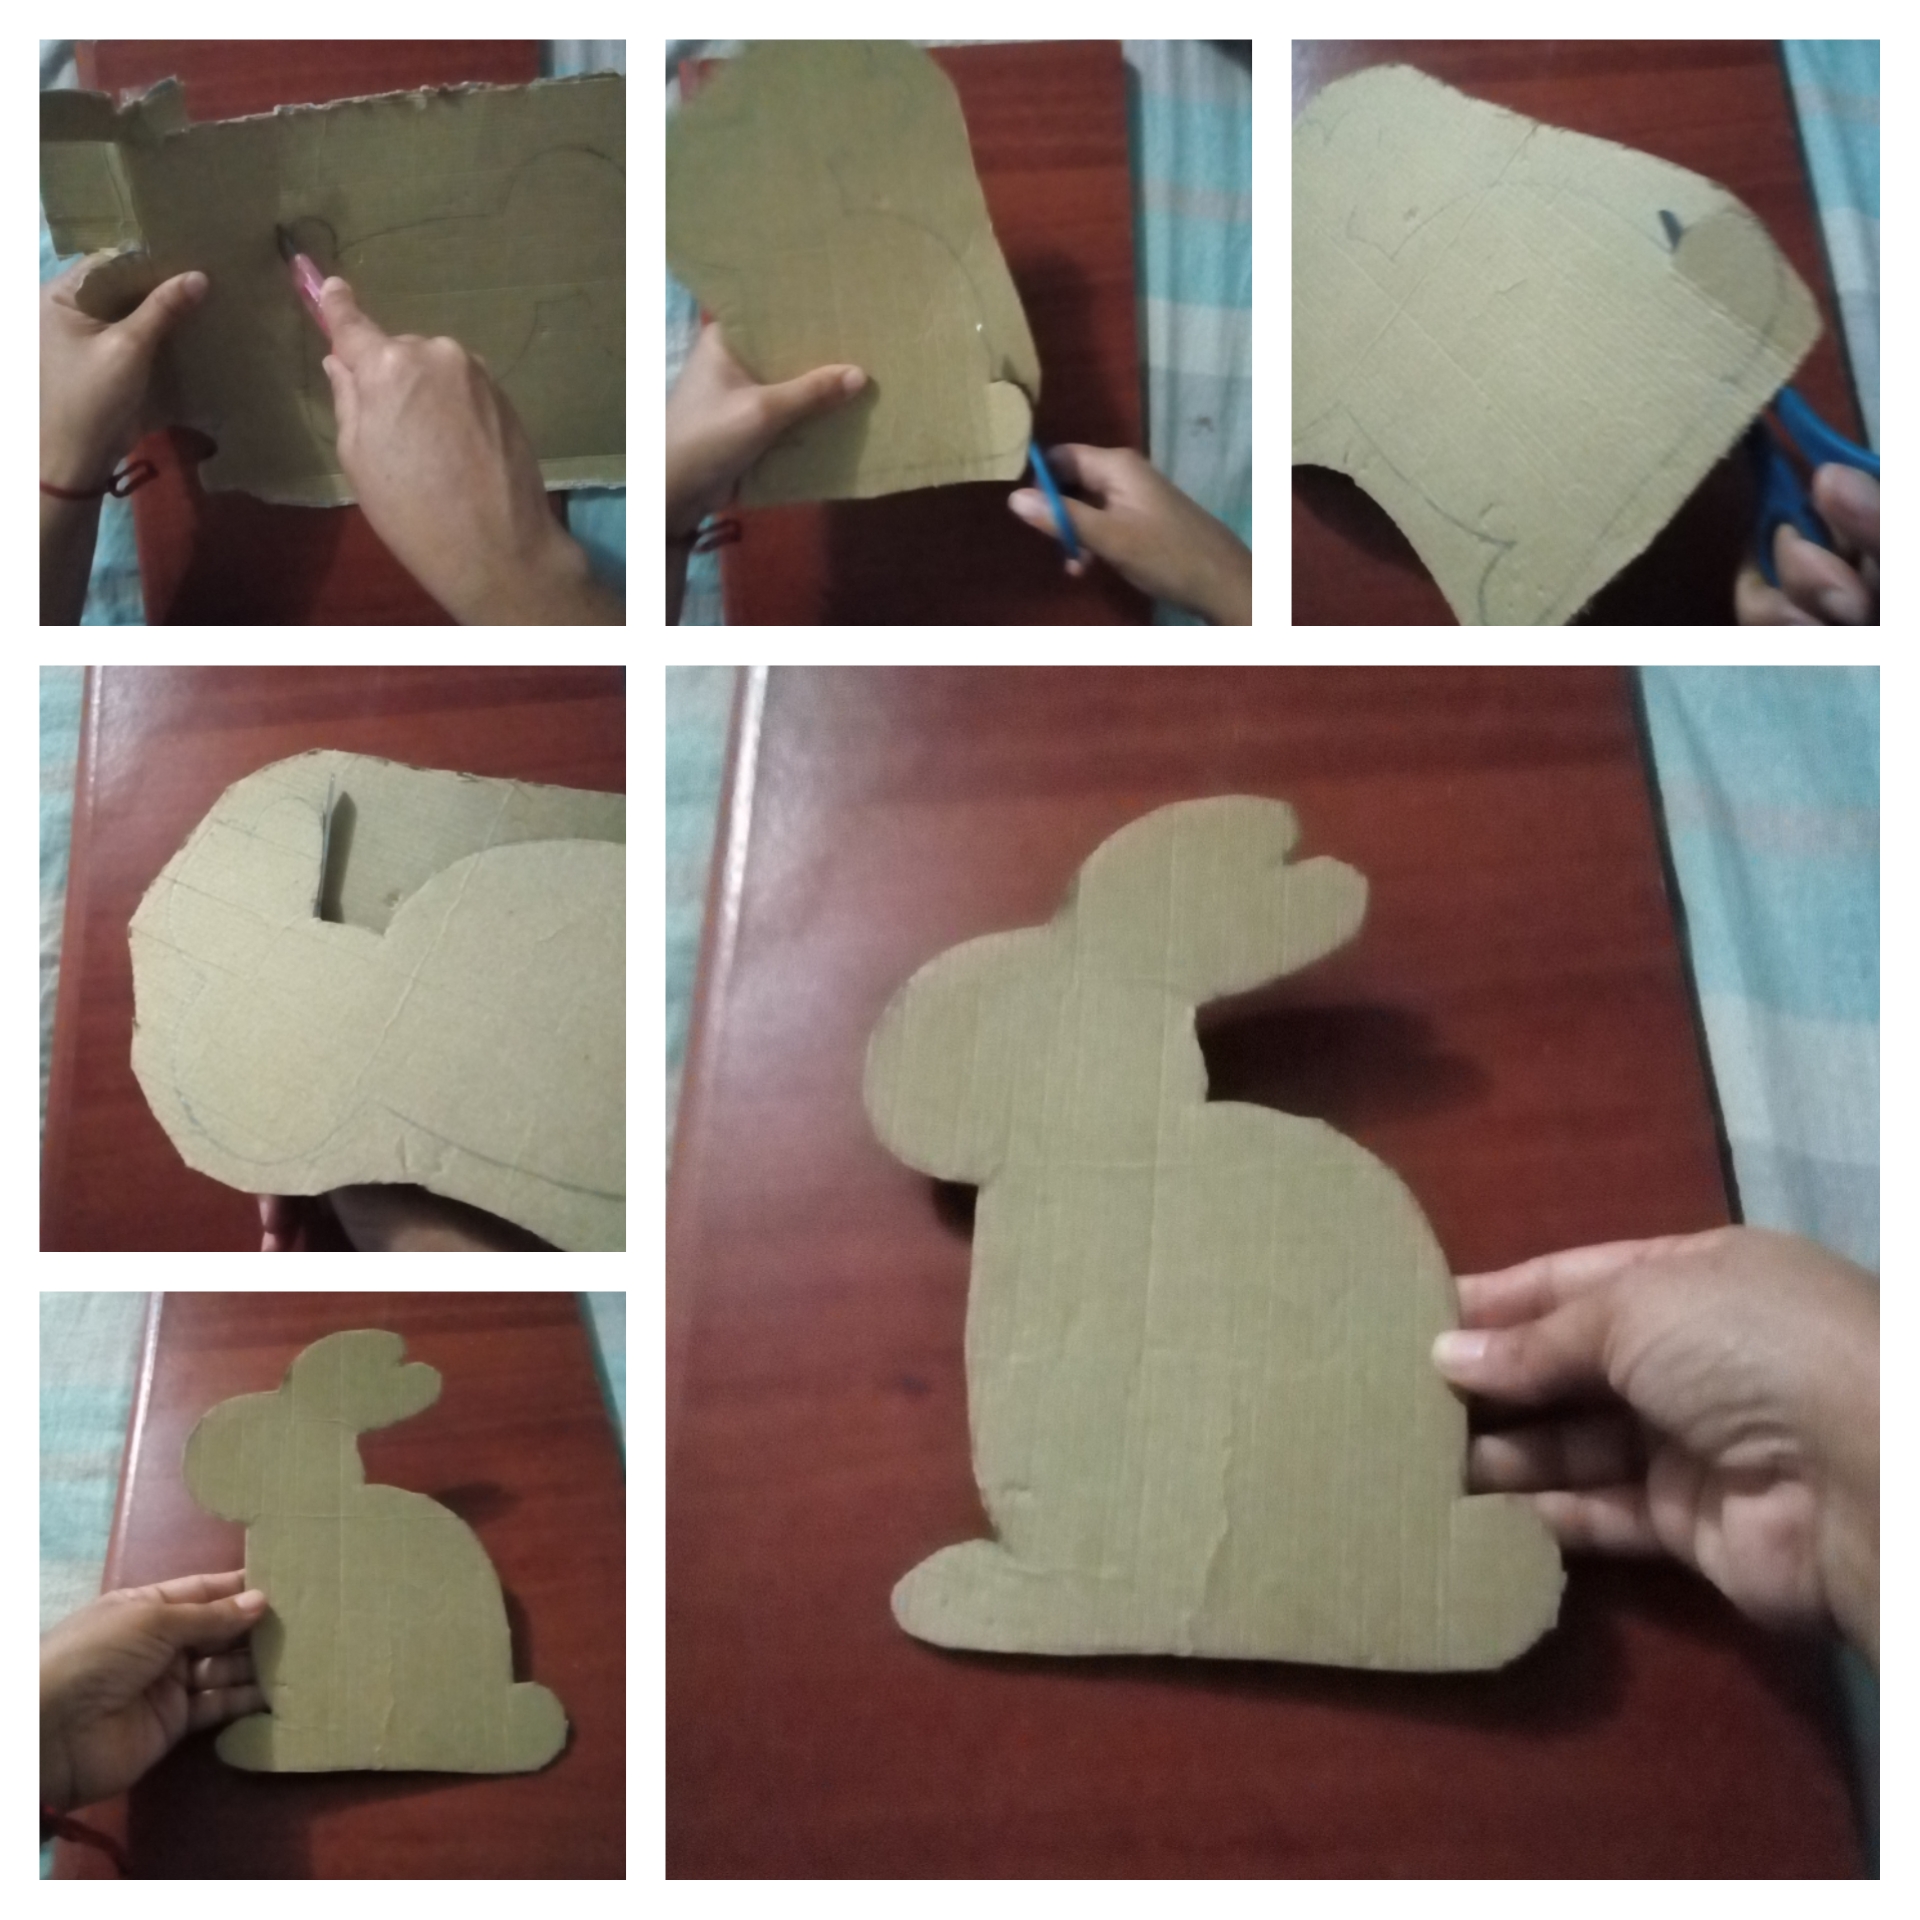
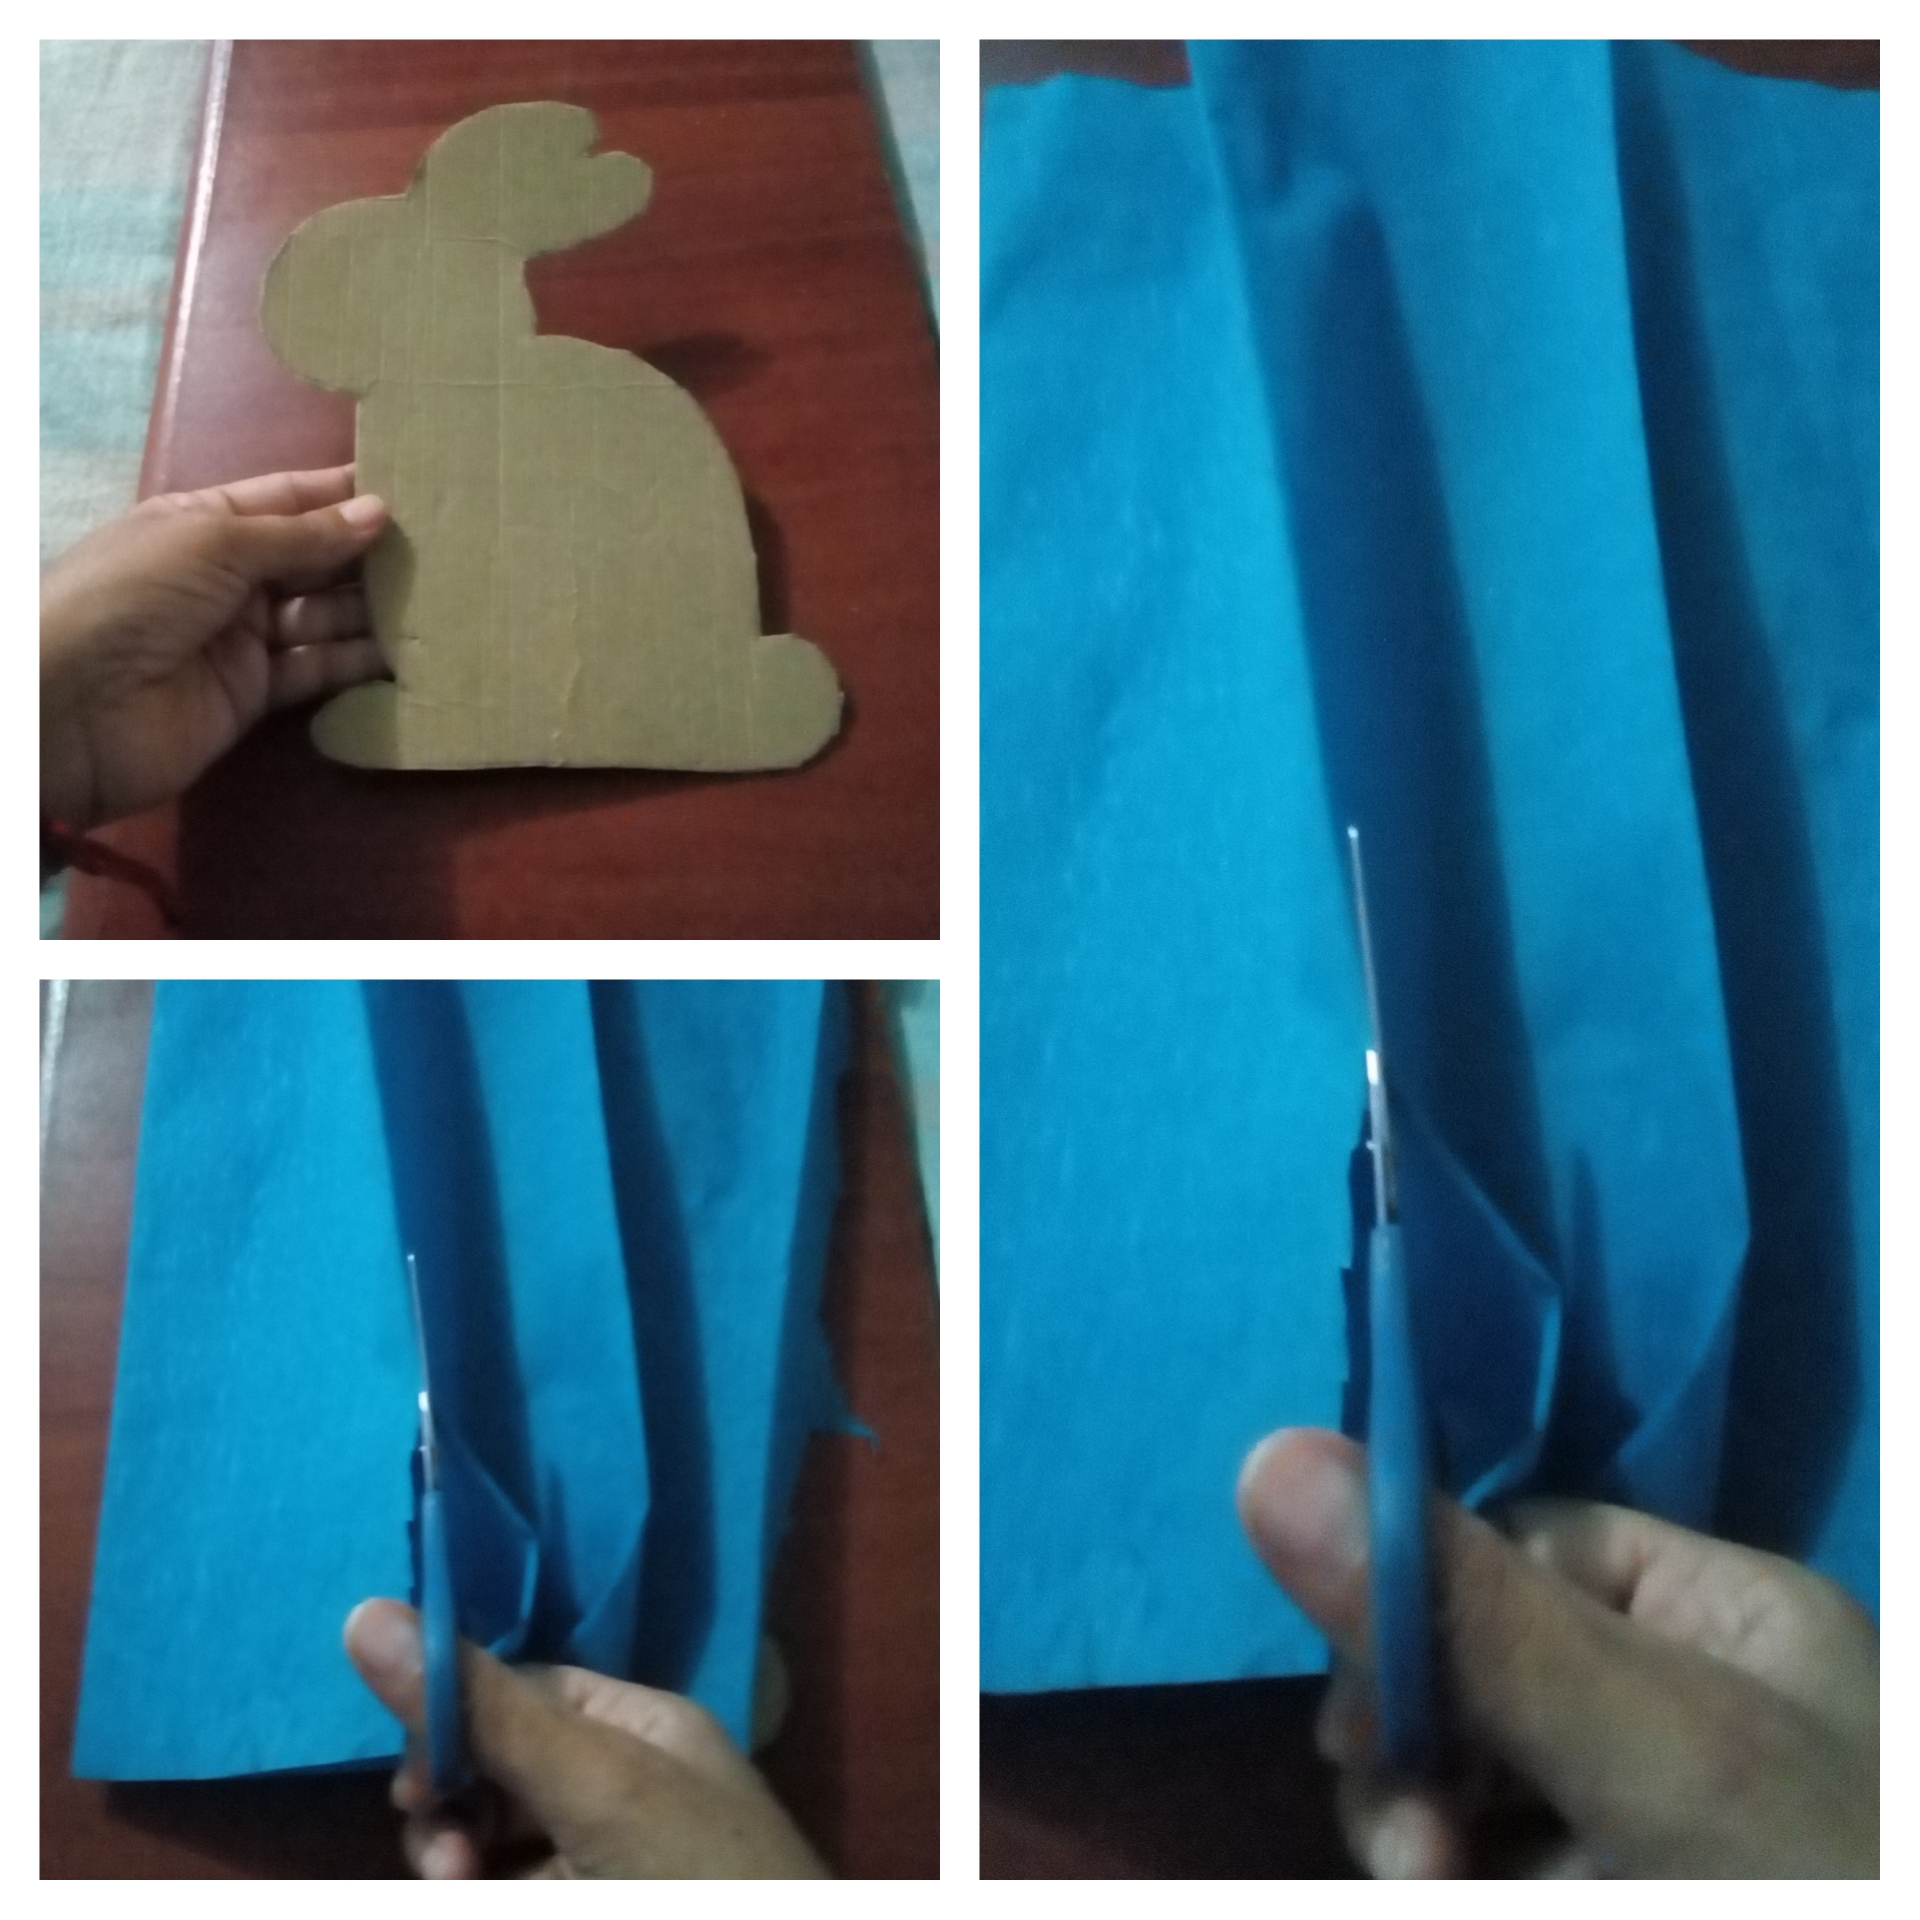
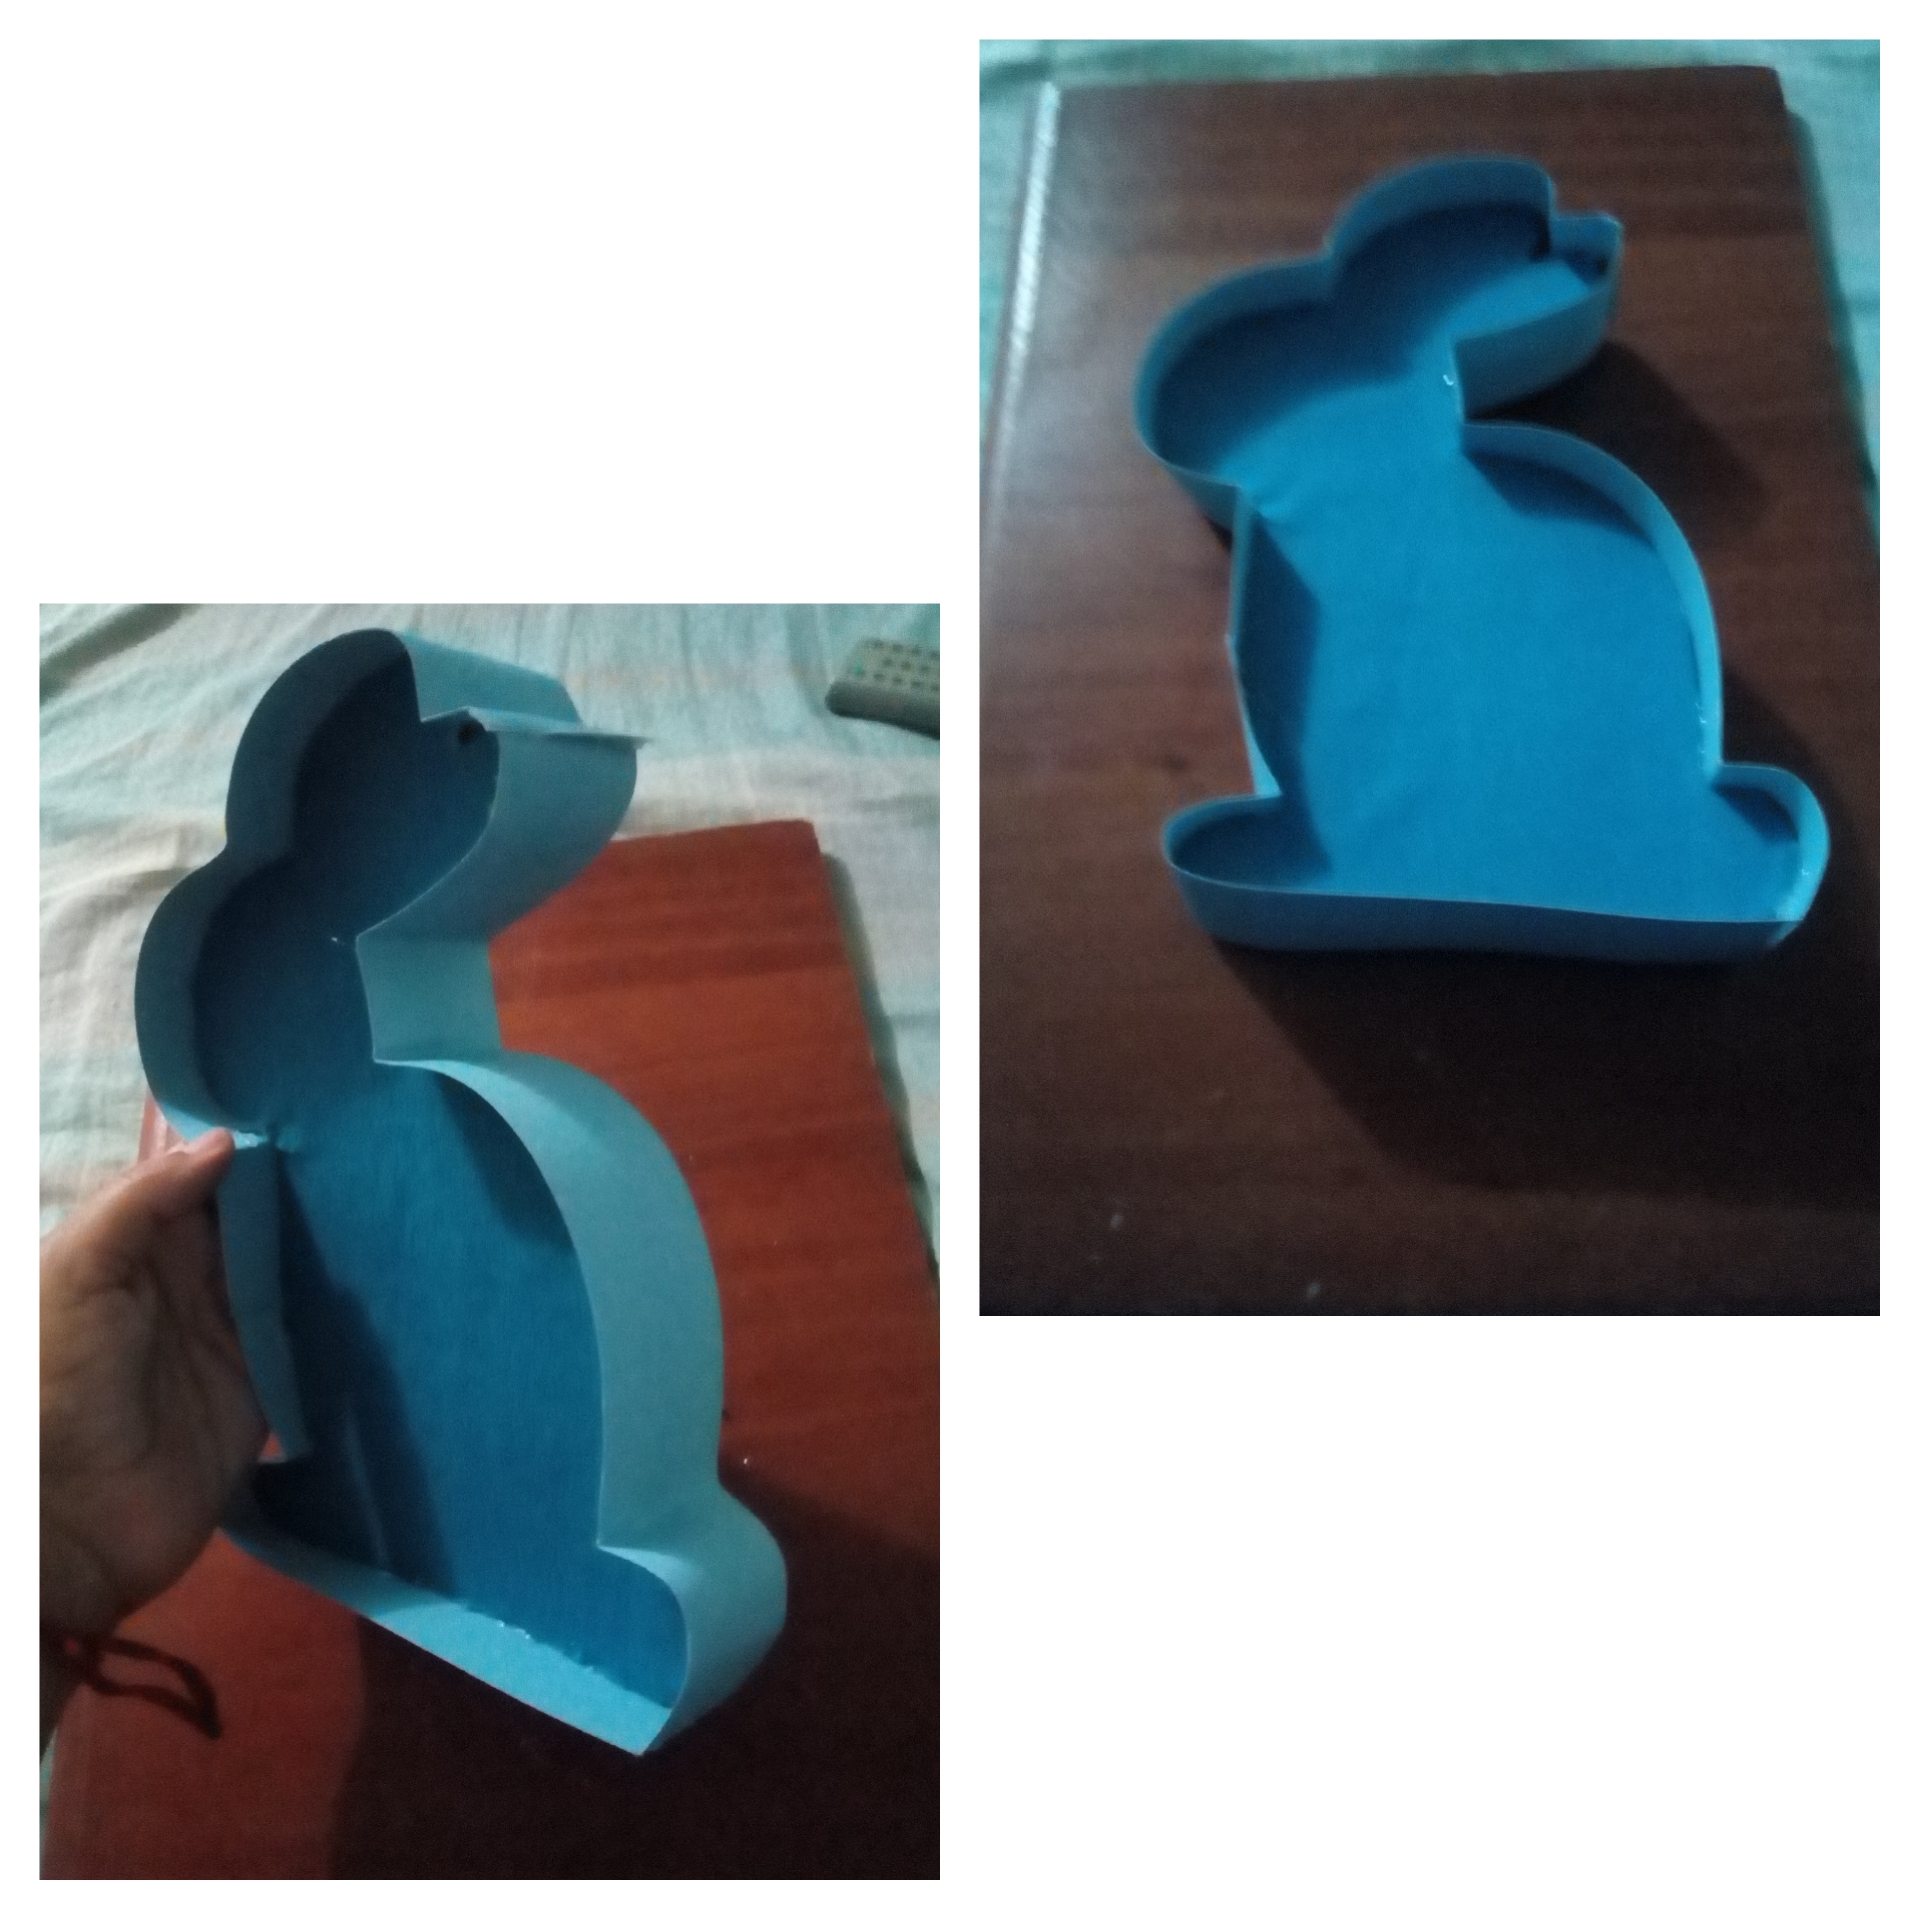
Paso 1. Tomamos nuestro molde. lo colocamos encima del cartón y trazamos con el lápiz su contorno, ya trazada la figura cortamos con el exacto, recortamos con la tijeras y tenemos nuestra base.
Step 1. We take our mold. We place it on top of the cardboard and trace its contour with the pencil, once we have traced the figure we cut with the exact one, we cut it out with the scissors and we have our base.
Paso 2. Con la tijera recortamos un cuadrado del papel crepé que cubra toda la base del conejo.
Step 2. With the scissors we cut out a square of the crepe paper that covers the entire base of the rabbit.
Paso 3. Luego le cólocamos pegamento a la base, pegamos encima el papel crepé y recortamos los sobrantes guiandonos por la figura, quedando así el conejo forrado.
Step 3. Then we put glue on the base, we glued the crepe paper on top and we cut the leftovers guiding us by the figure, that giving the base of the rabbit lined.
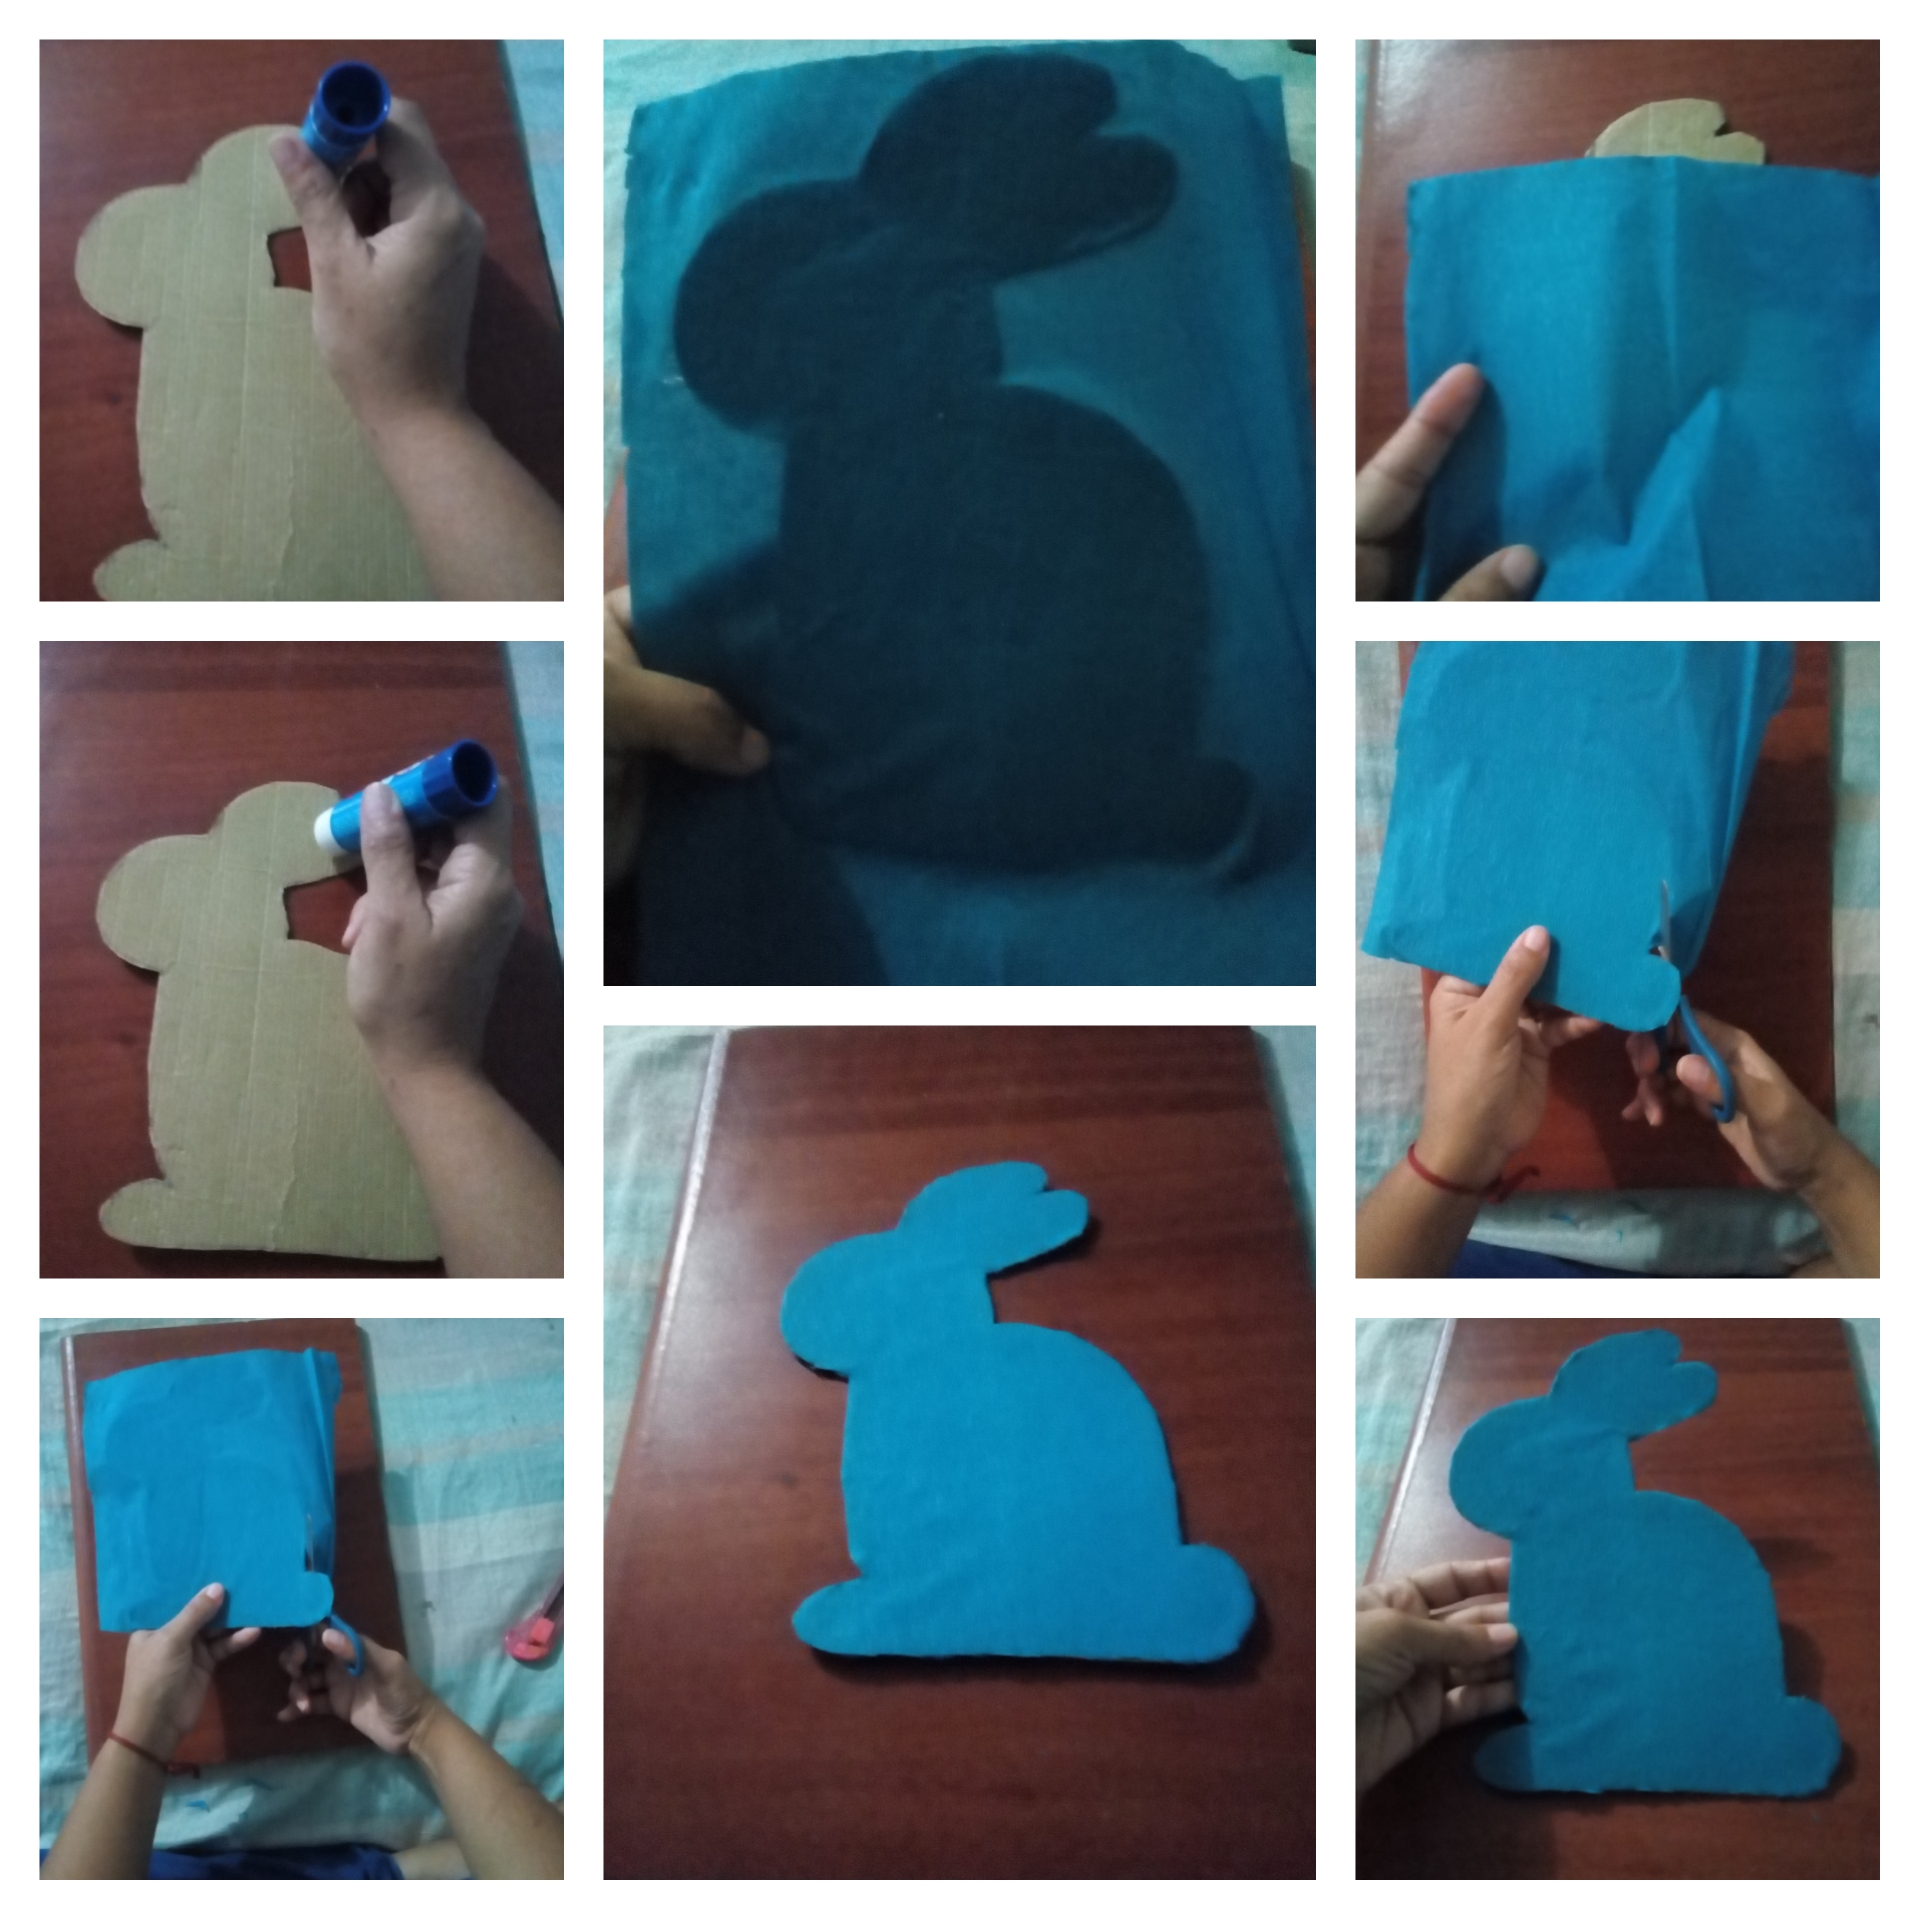
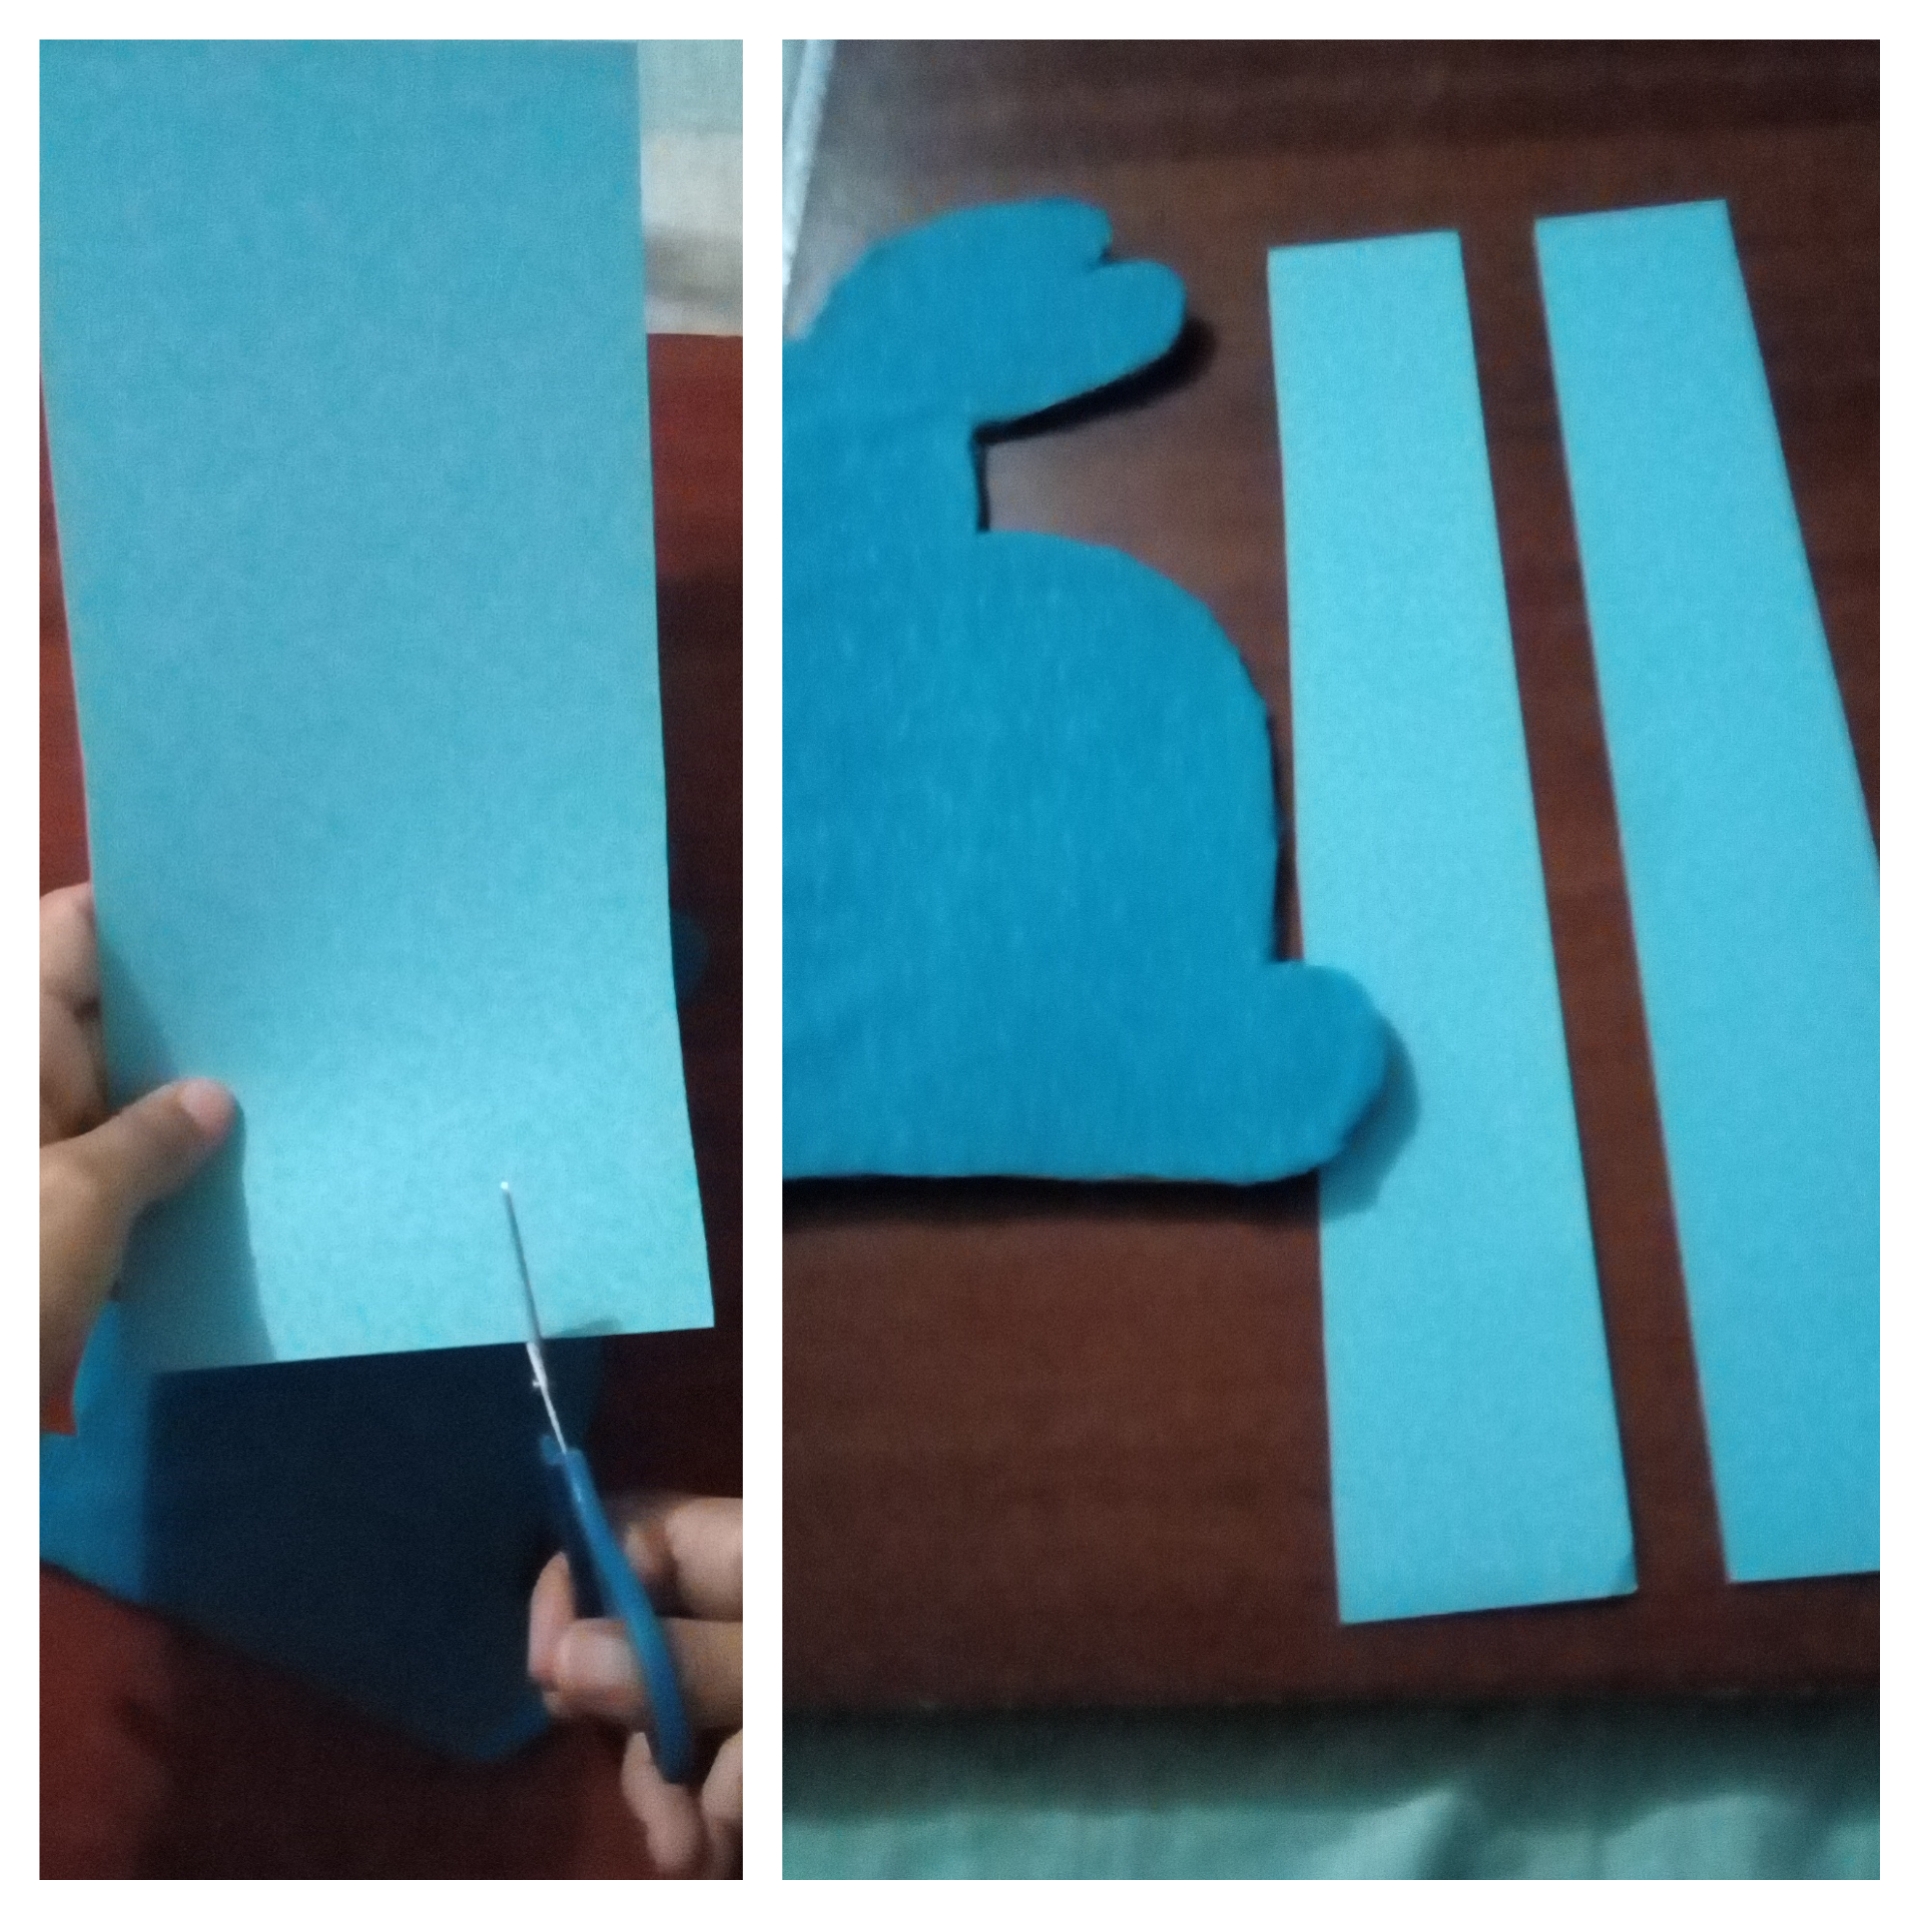
Paso 4: tomamos la cartulina celeste y recortamos varias tiras largas de 2 dedos de ancho.
Step 4: we take the blue light cardboard and cut out several long strips of 2 fingers wide.
Paso 5. Con silicón caliente comenzamos a pegar las tiras siguiendo la forma de la base, dejando sobresaliendo un dedo de ancho de cada lado.
Step 5. With hot silicone we begin to glue the strips following the shape of the base, leaving one finger wide on each side.
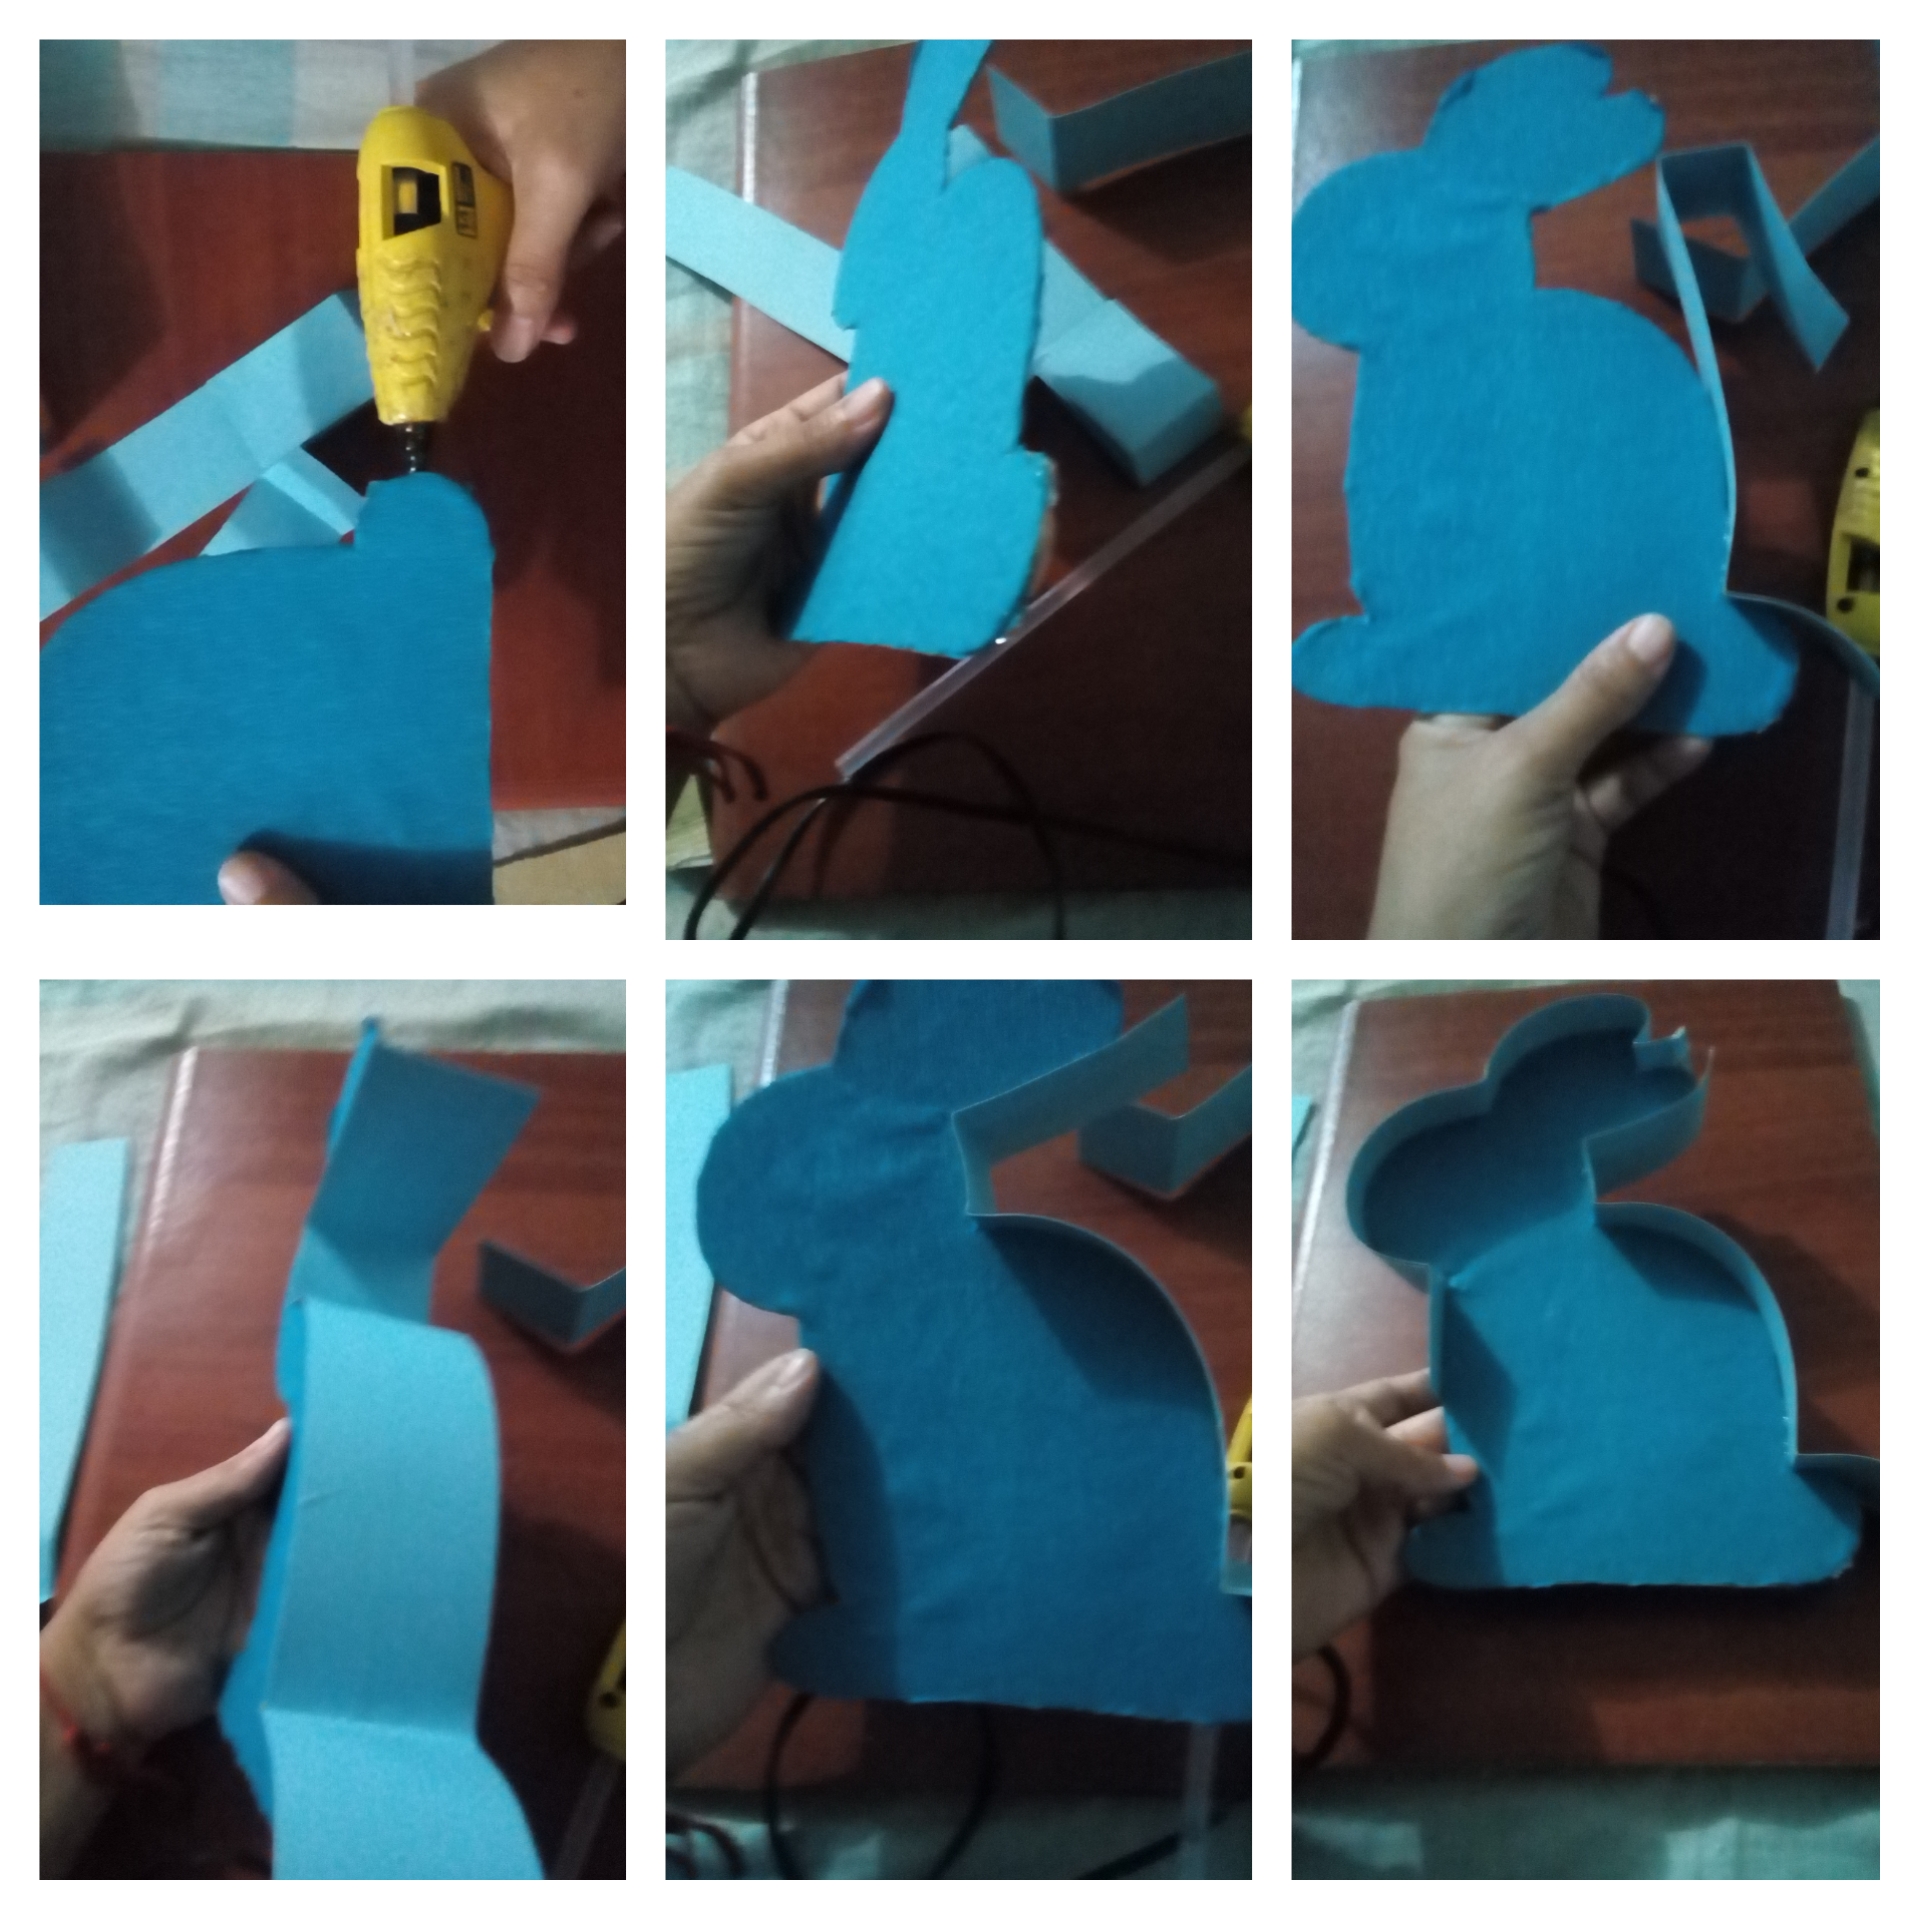
Quedando así / staying way this.
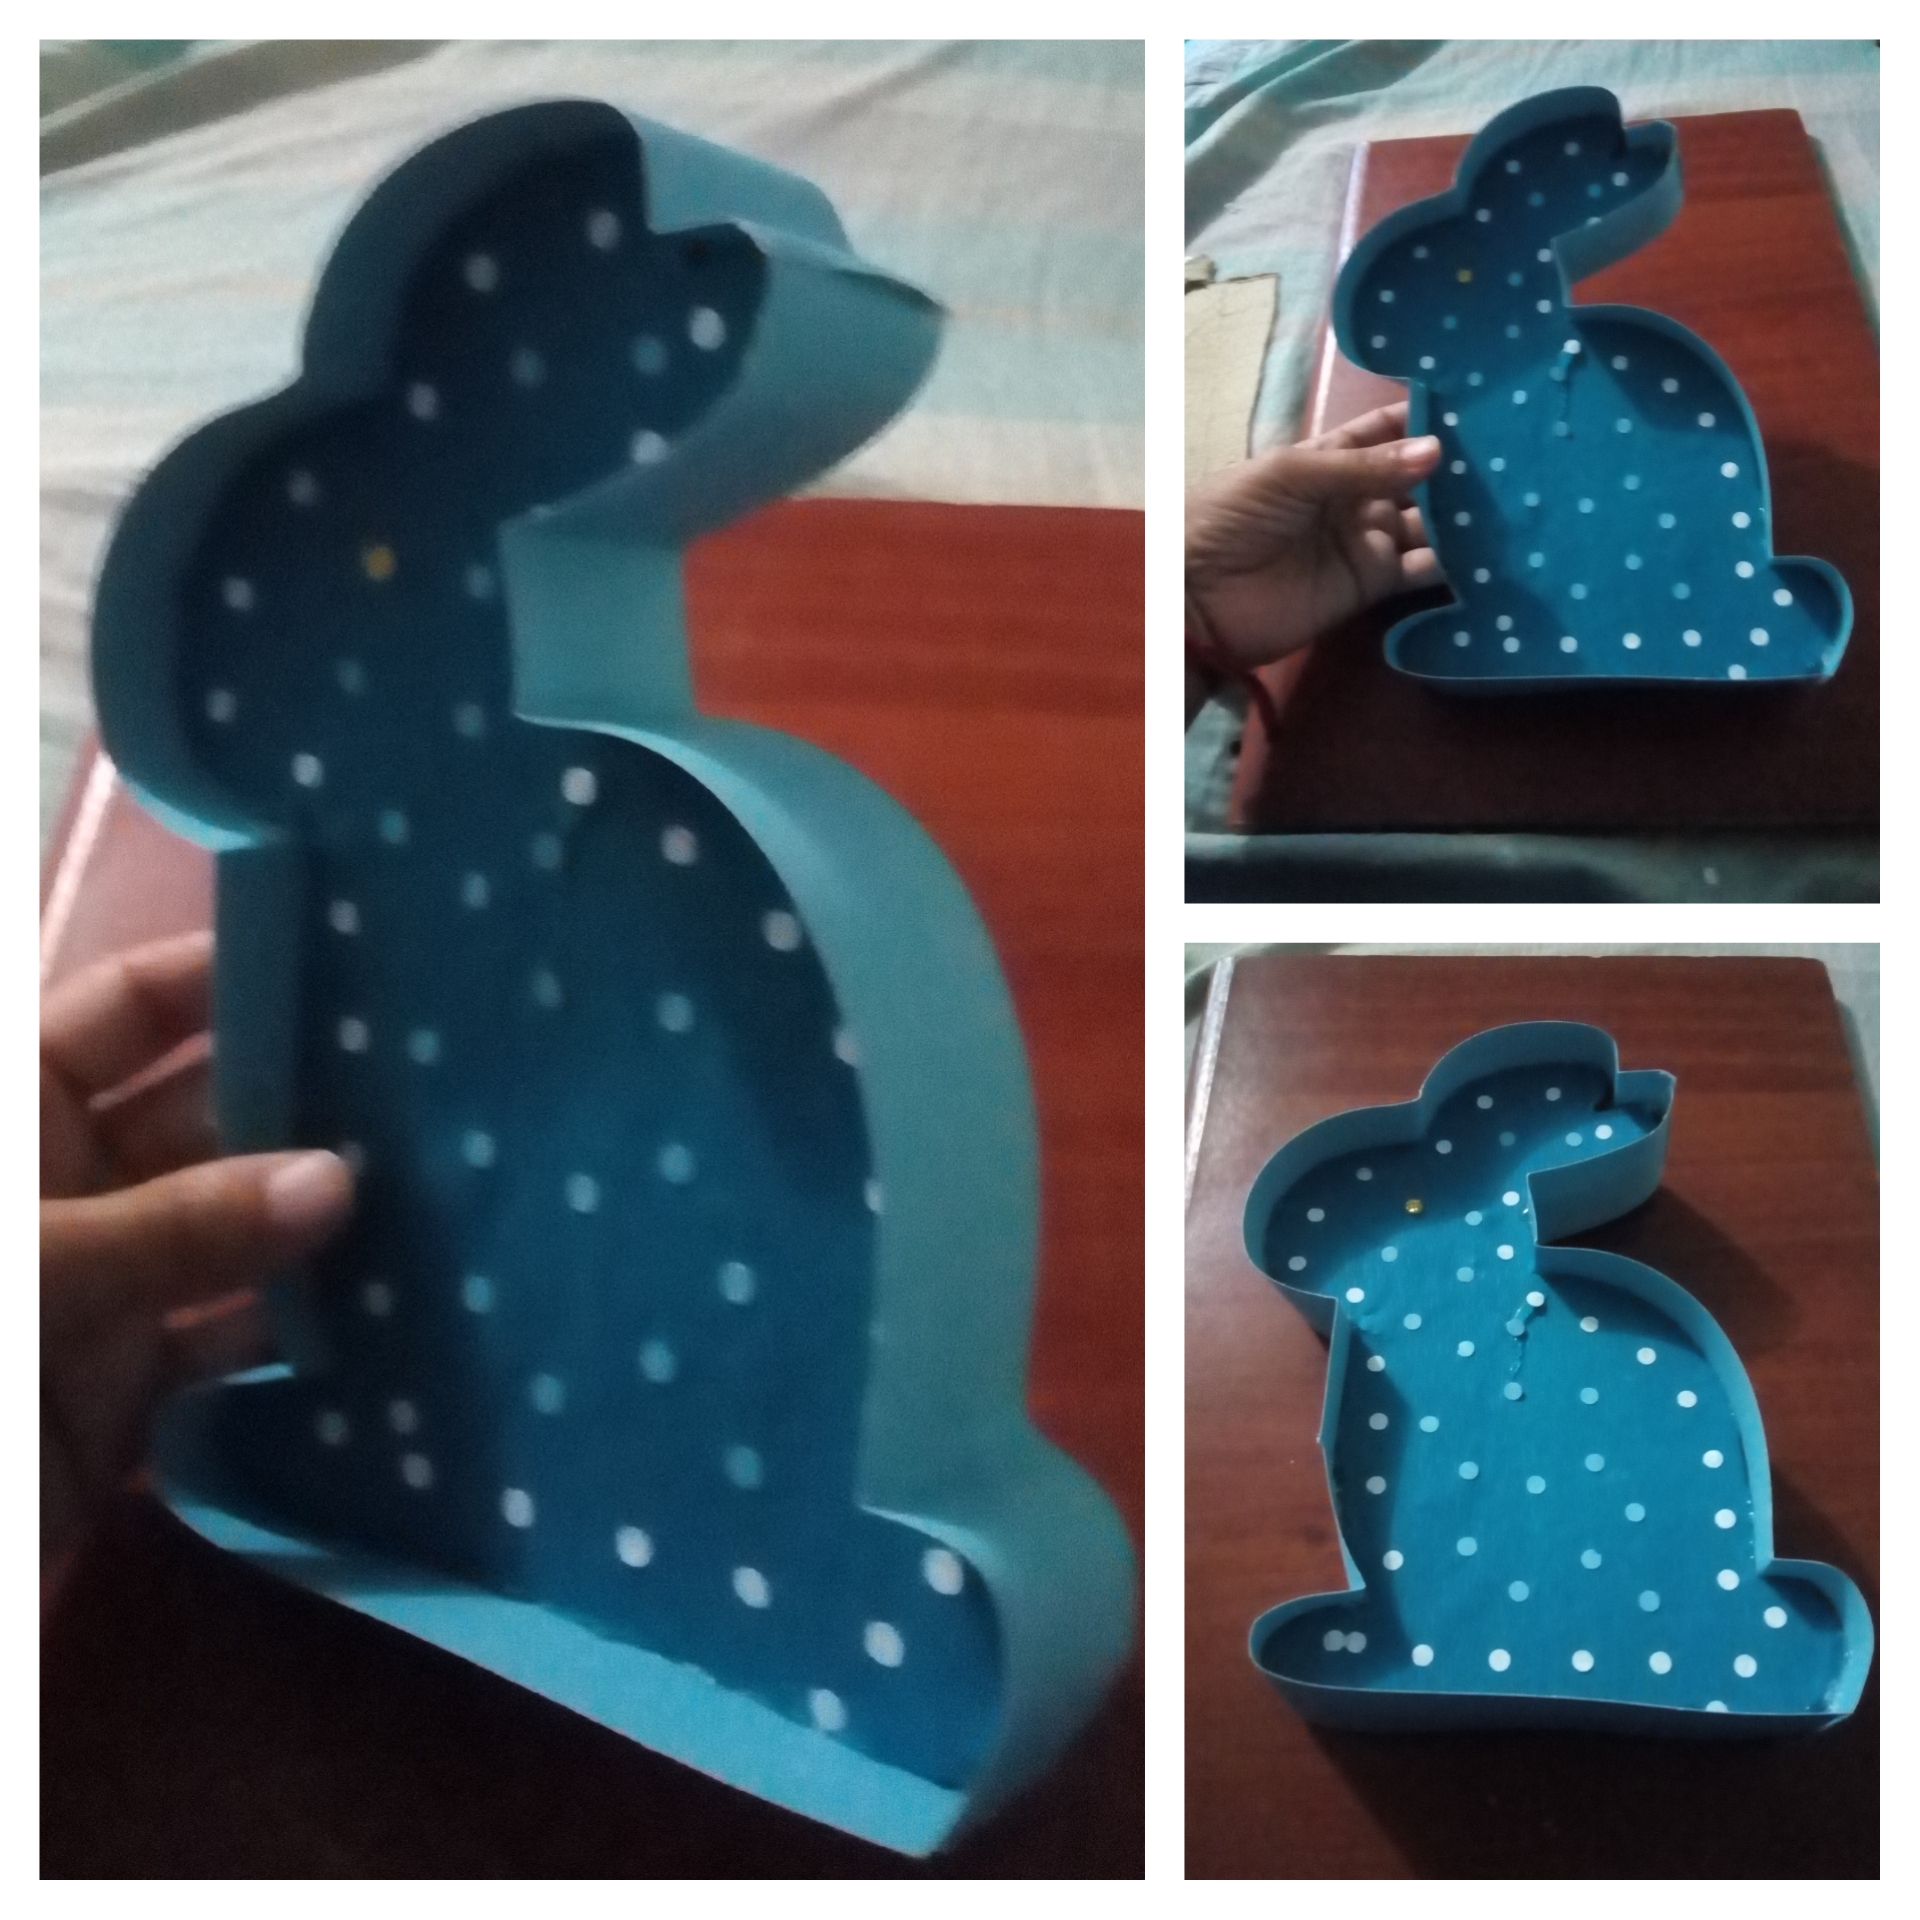
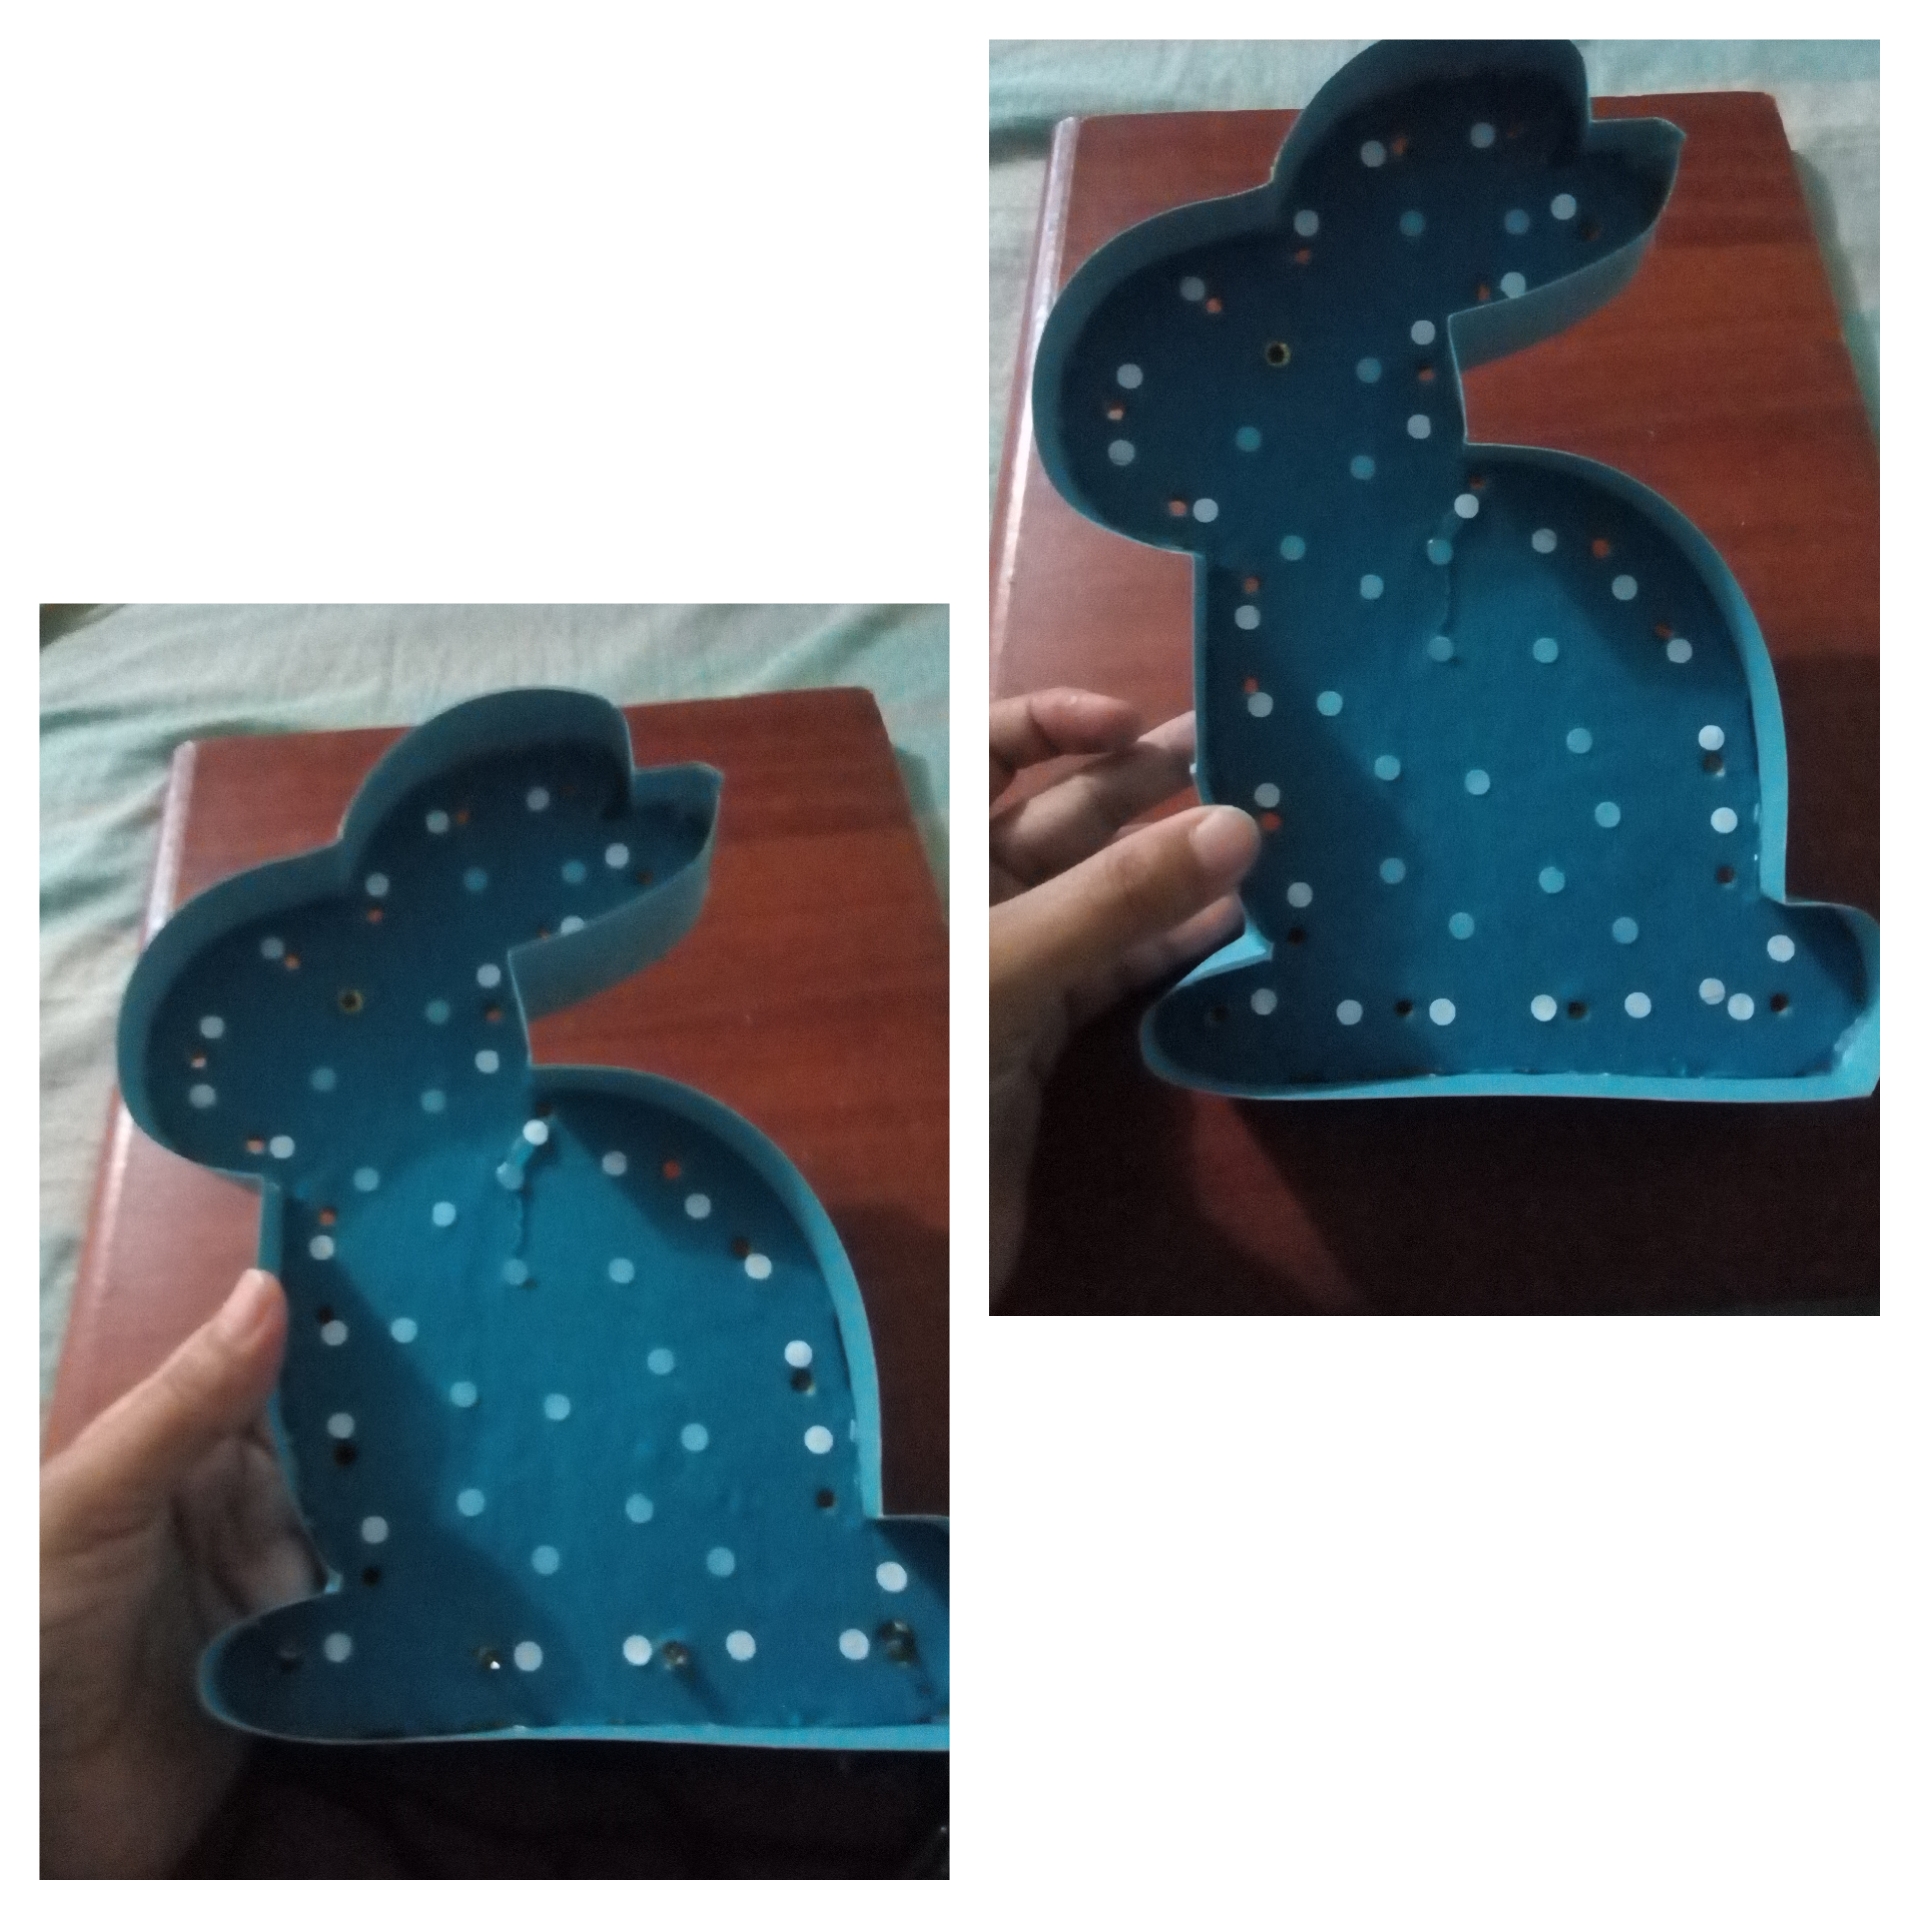
Paso 6. Le pegamos por el borde circulos blancos pequeños, en el centro le pegamos de color celeste, y uno de color dorado con negro para el ojo.
Step 6. We glue small white circles along the edge, in the center we glue a light blue color, and a golden one with black for the eye.
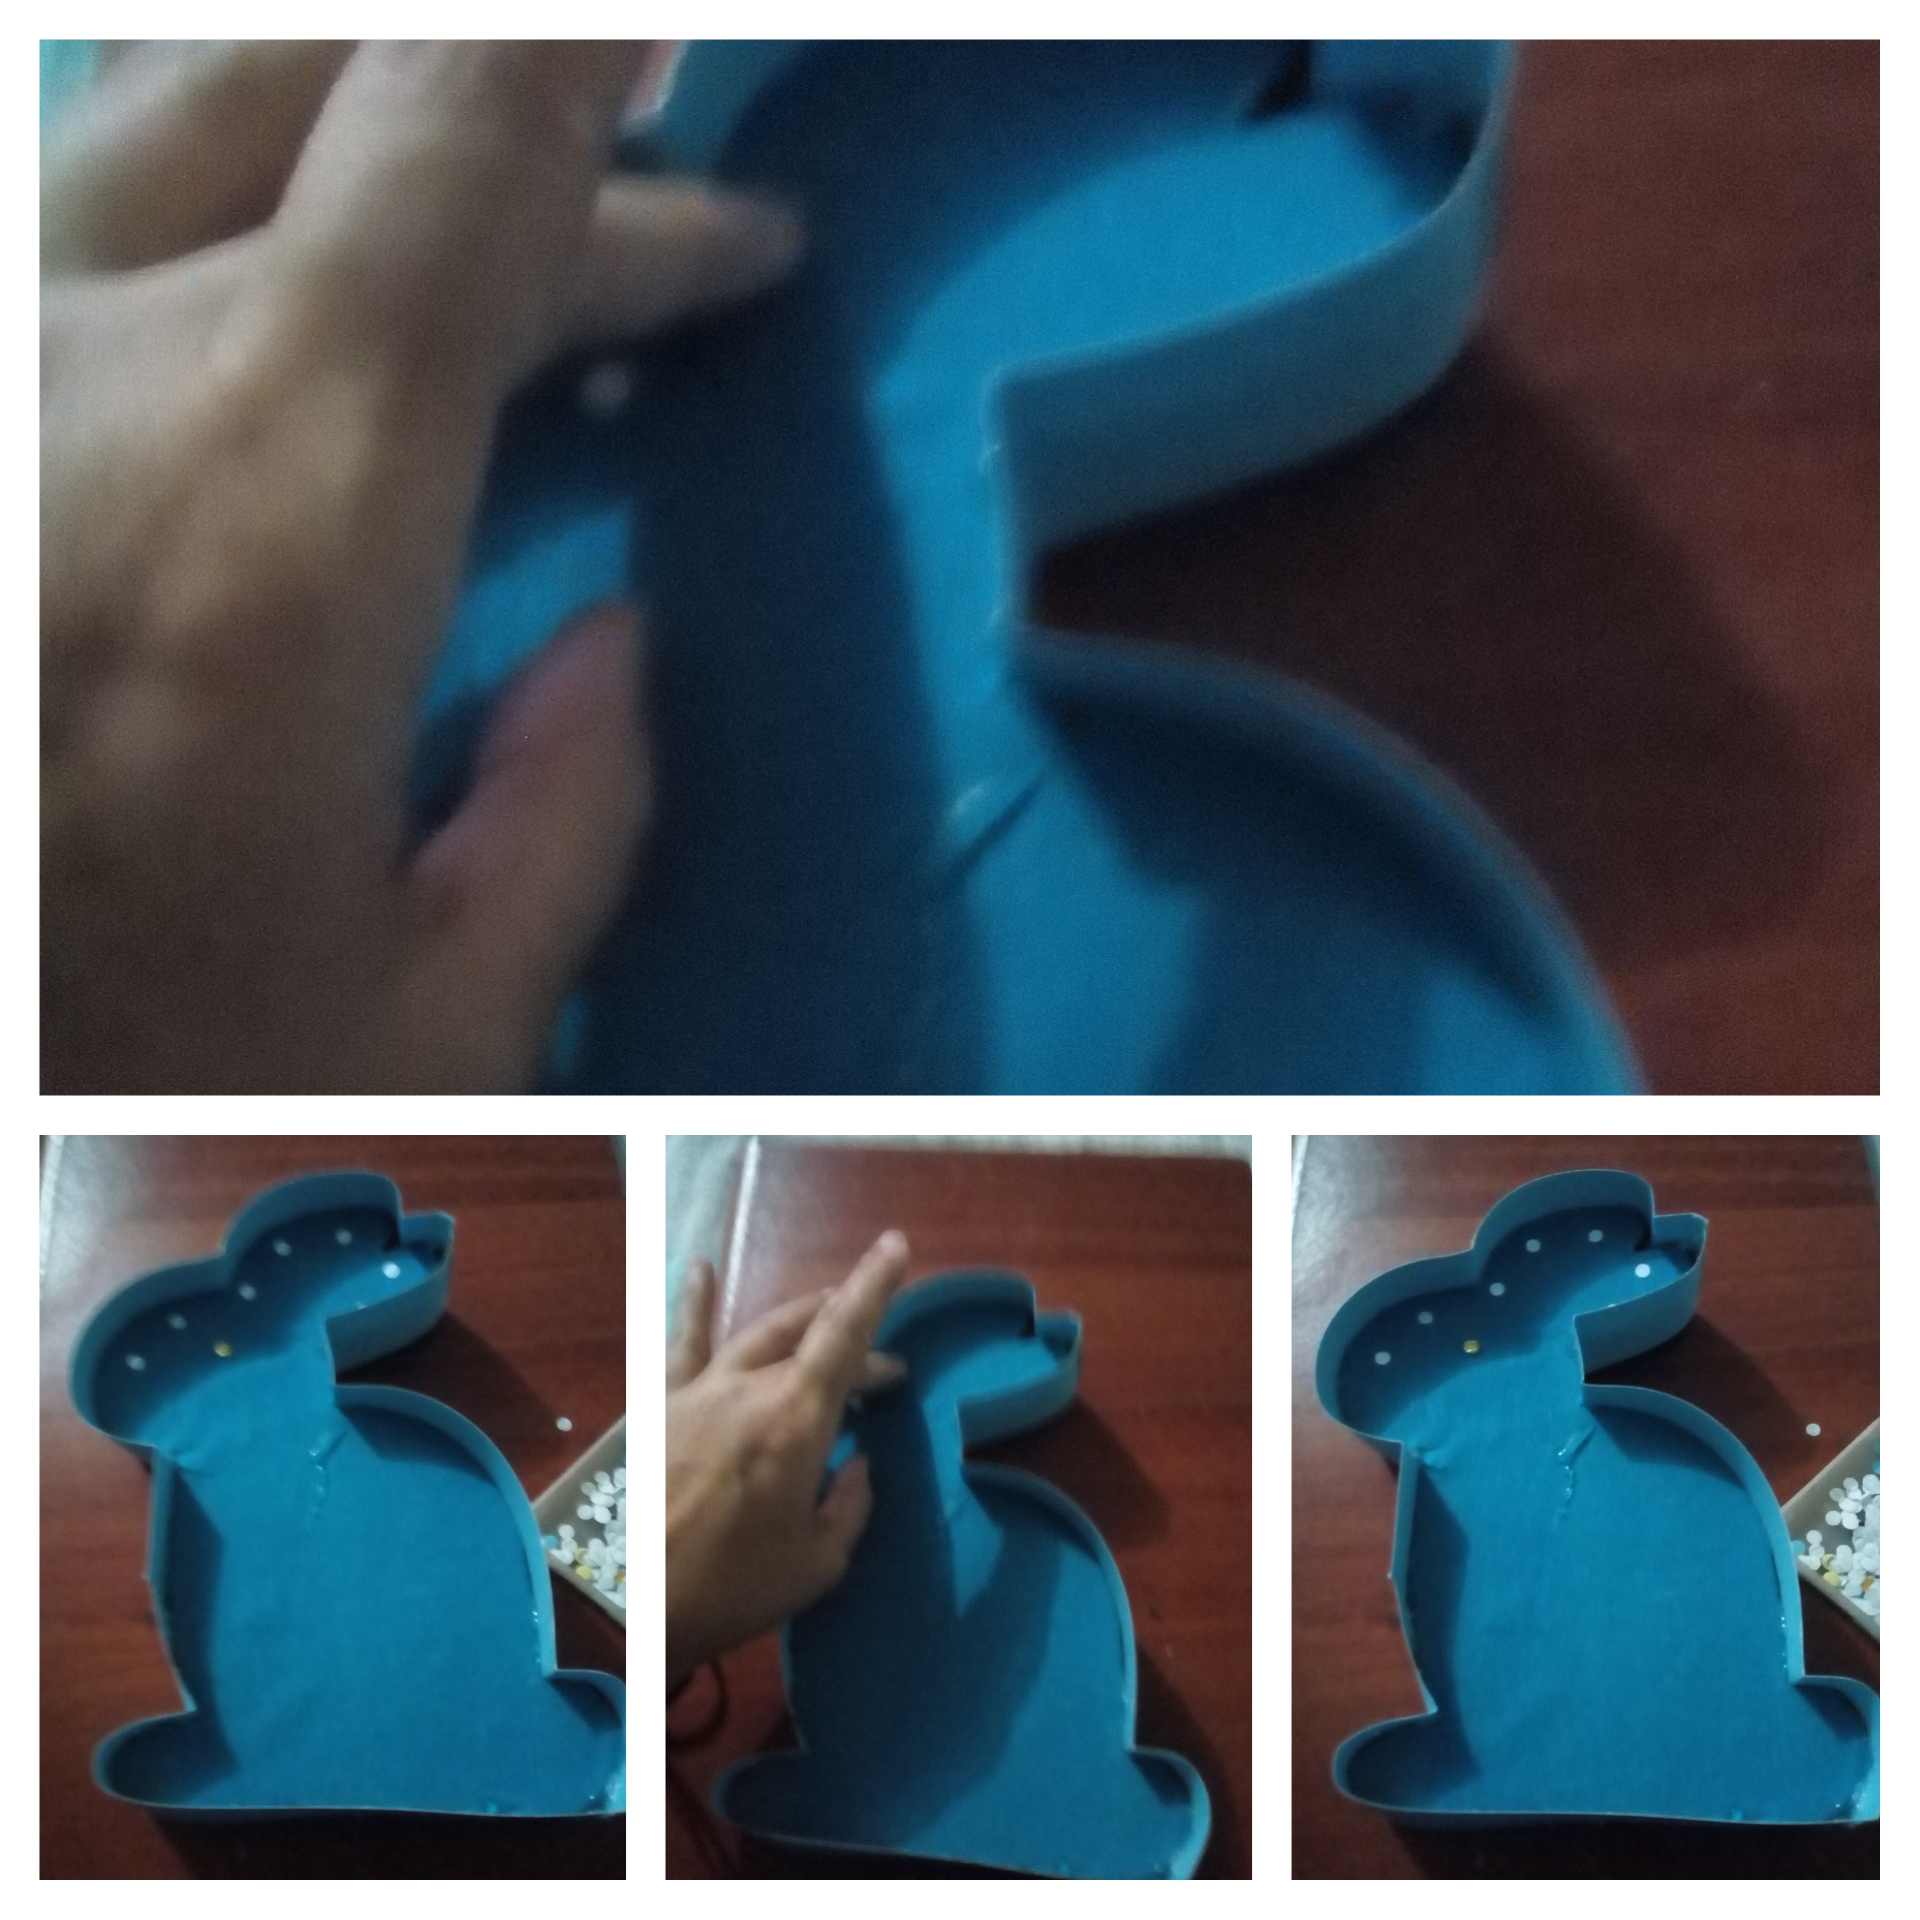
Mi truco fue utilizar los residuos que quedan debajo de la perforadora.
My trick was to use the residue left under the hole punch.
Quedando así / staying way this.
Paso 7. Con ayuda del lápiz le abrimos agujeros por todo el borde de la figura.
Step 7. With the help of the pencil we open holes around the edge of the figure.
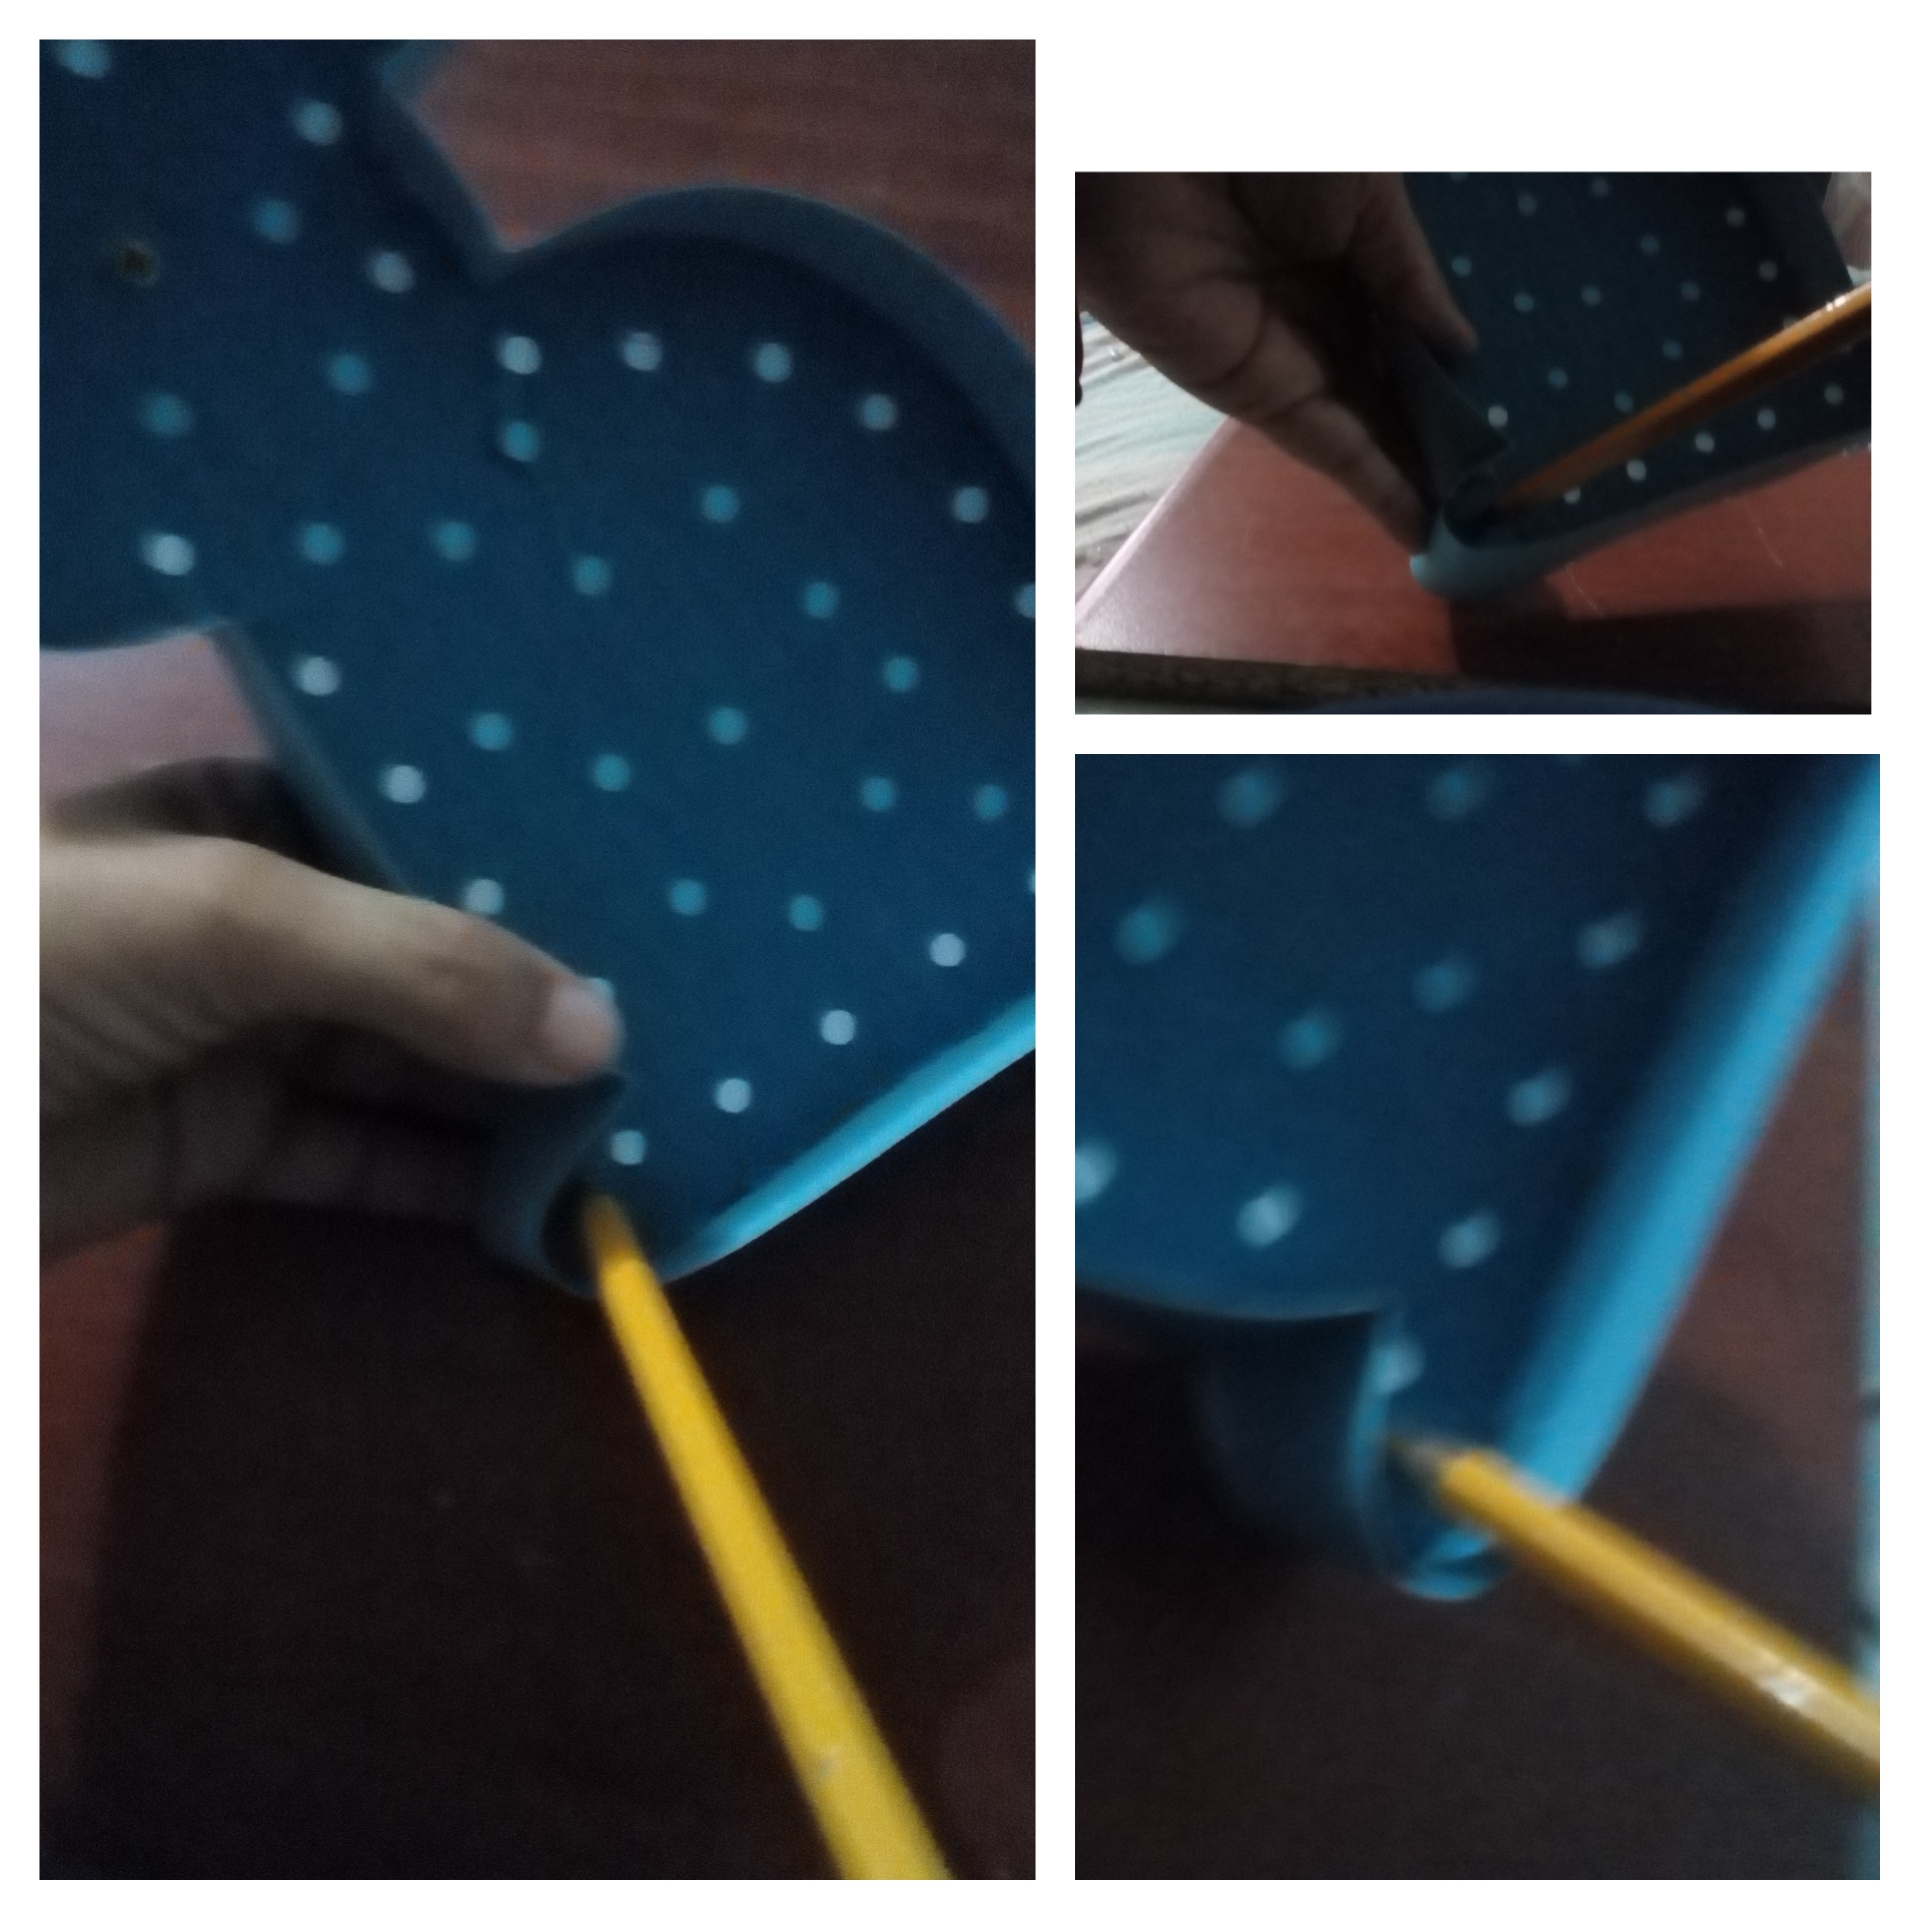
Quedando así / staying way this.
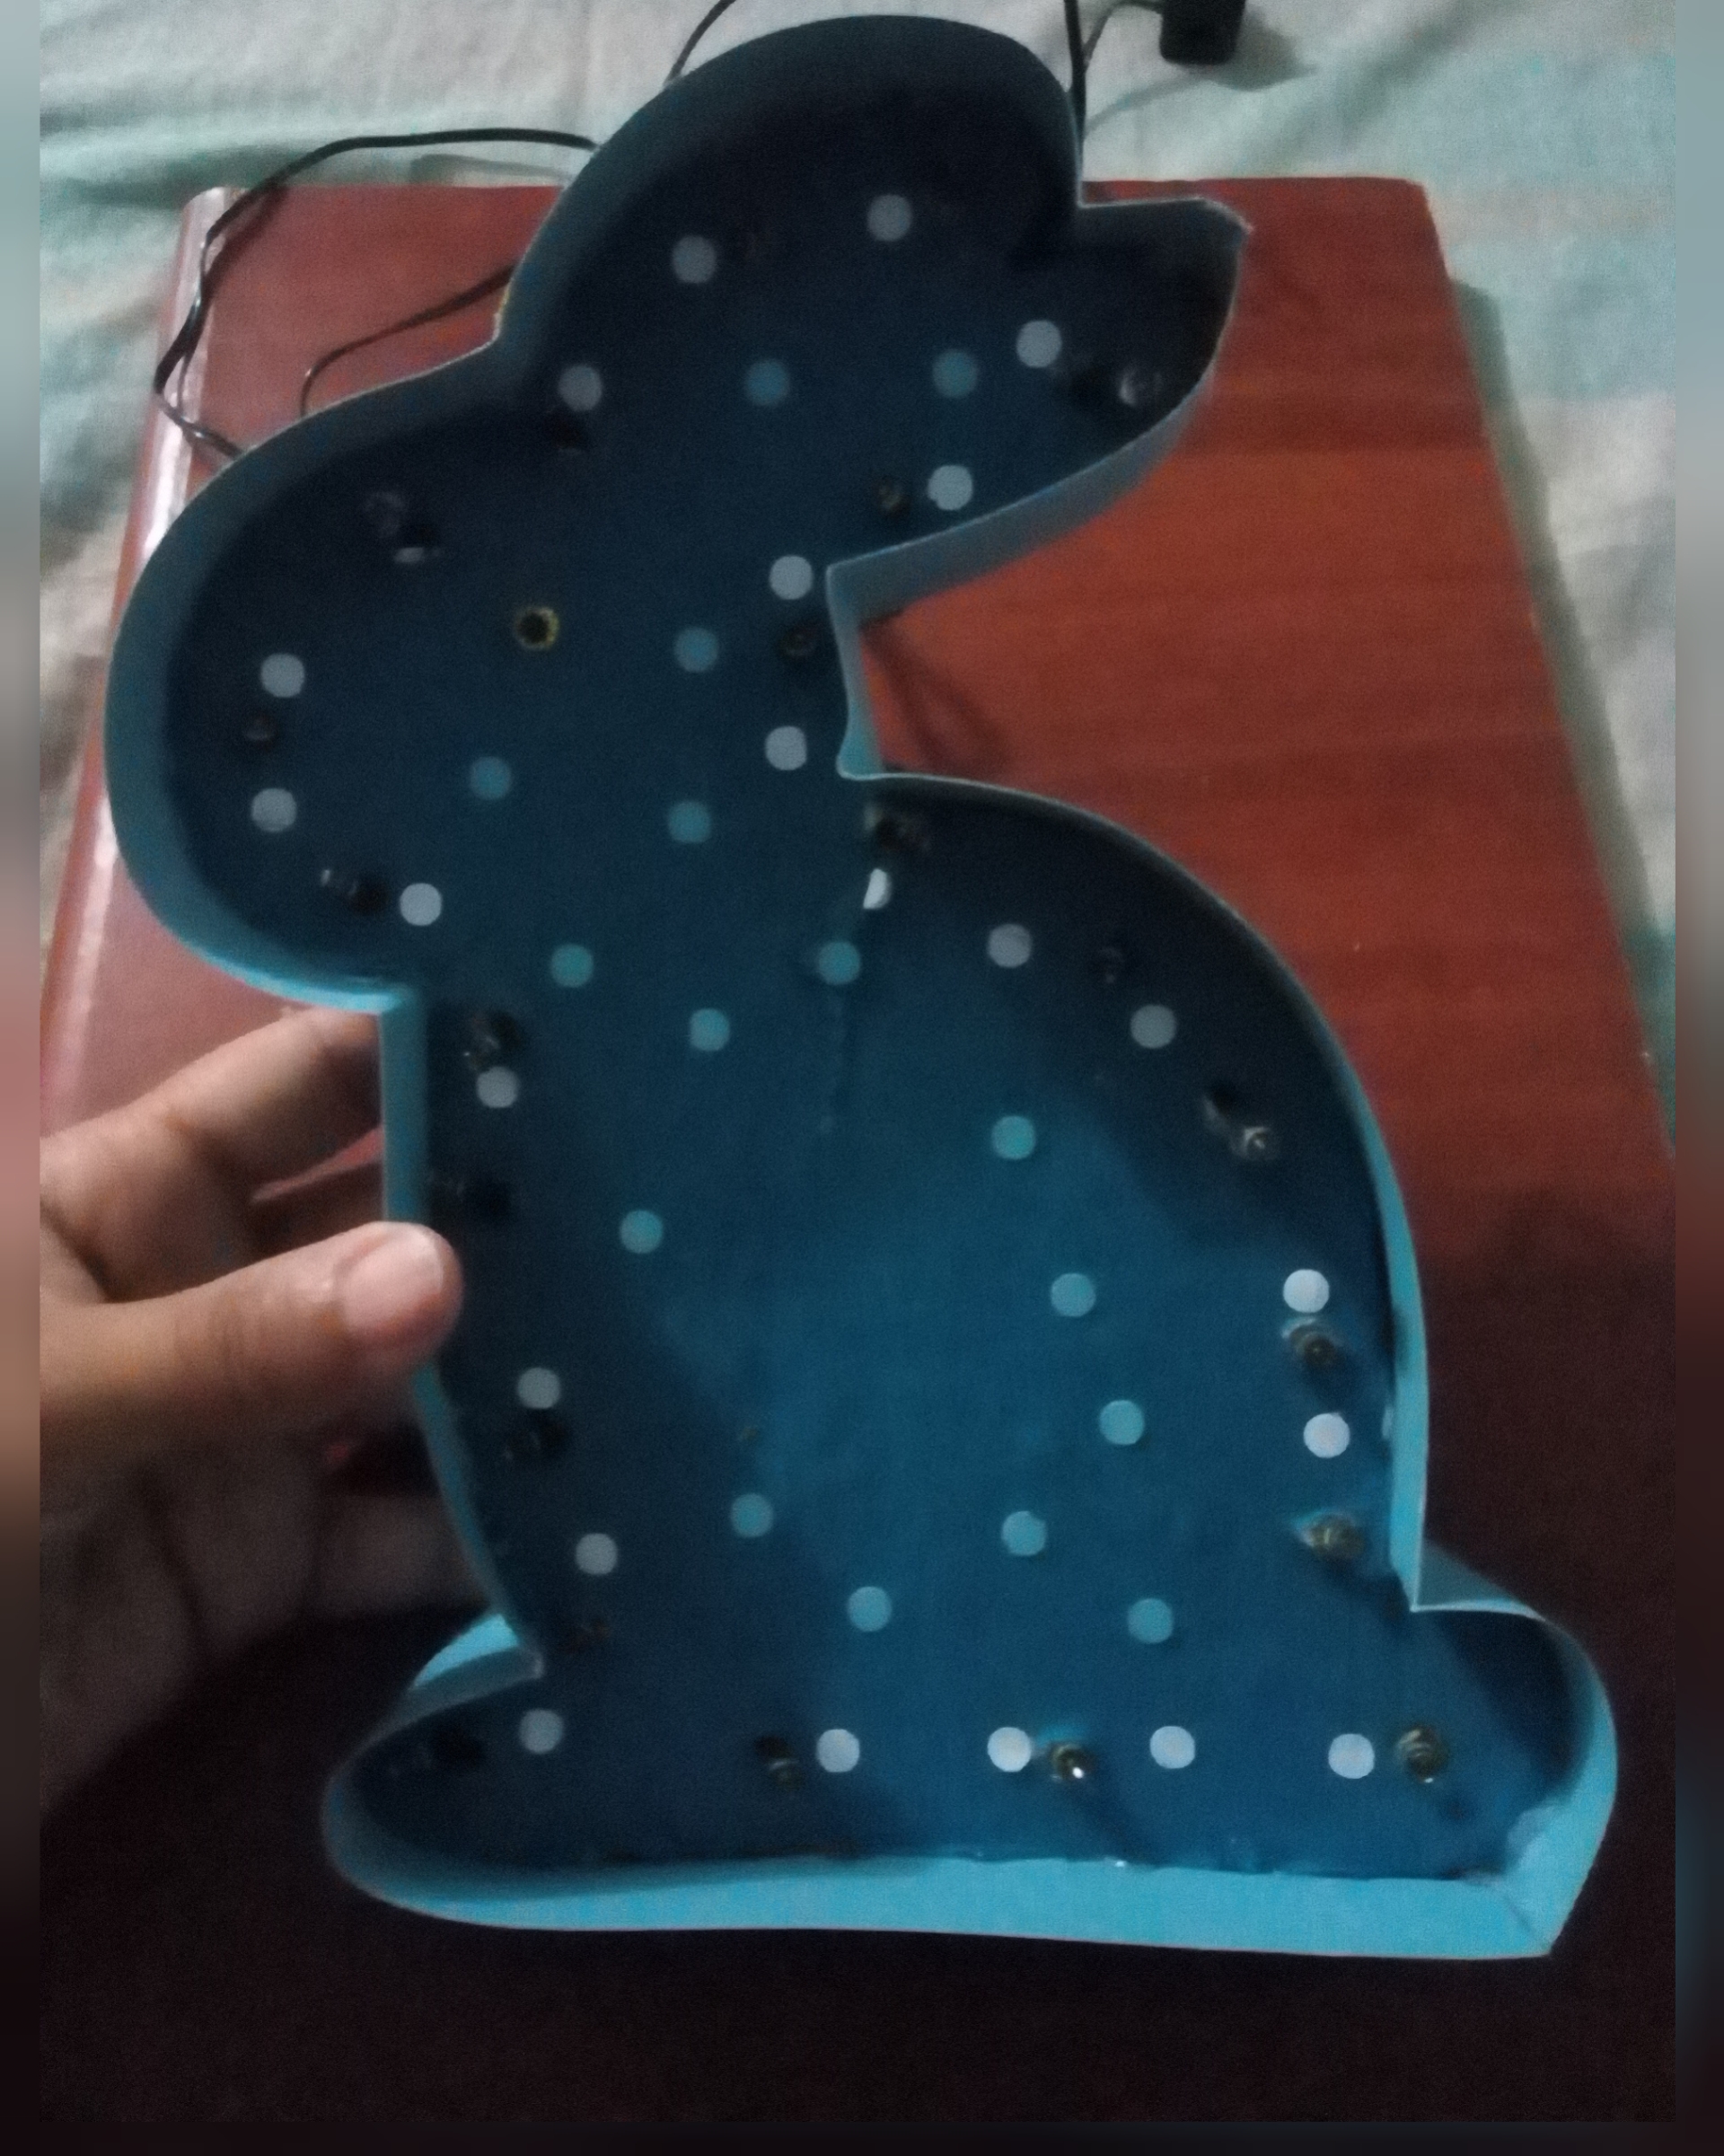
Paso 8. Comenzamos a colocar los bombillos de la extensión por los agujeros, hasta ocuparlos todos.
Step 8. We begin to place the extension bulbs through the holes, until they are all filled.
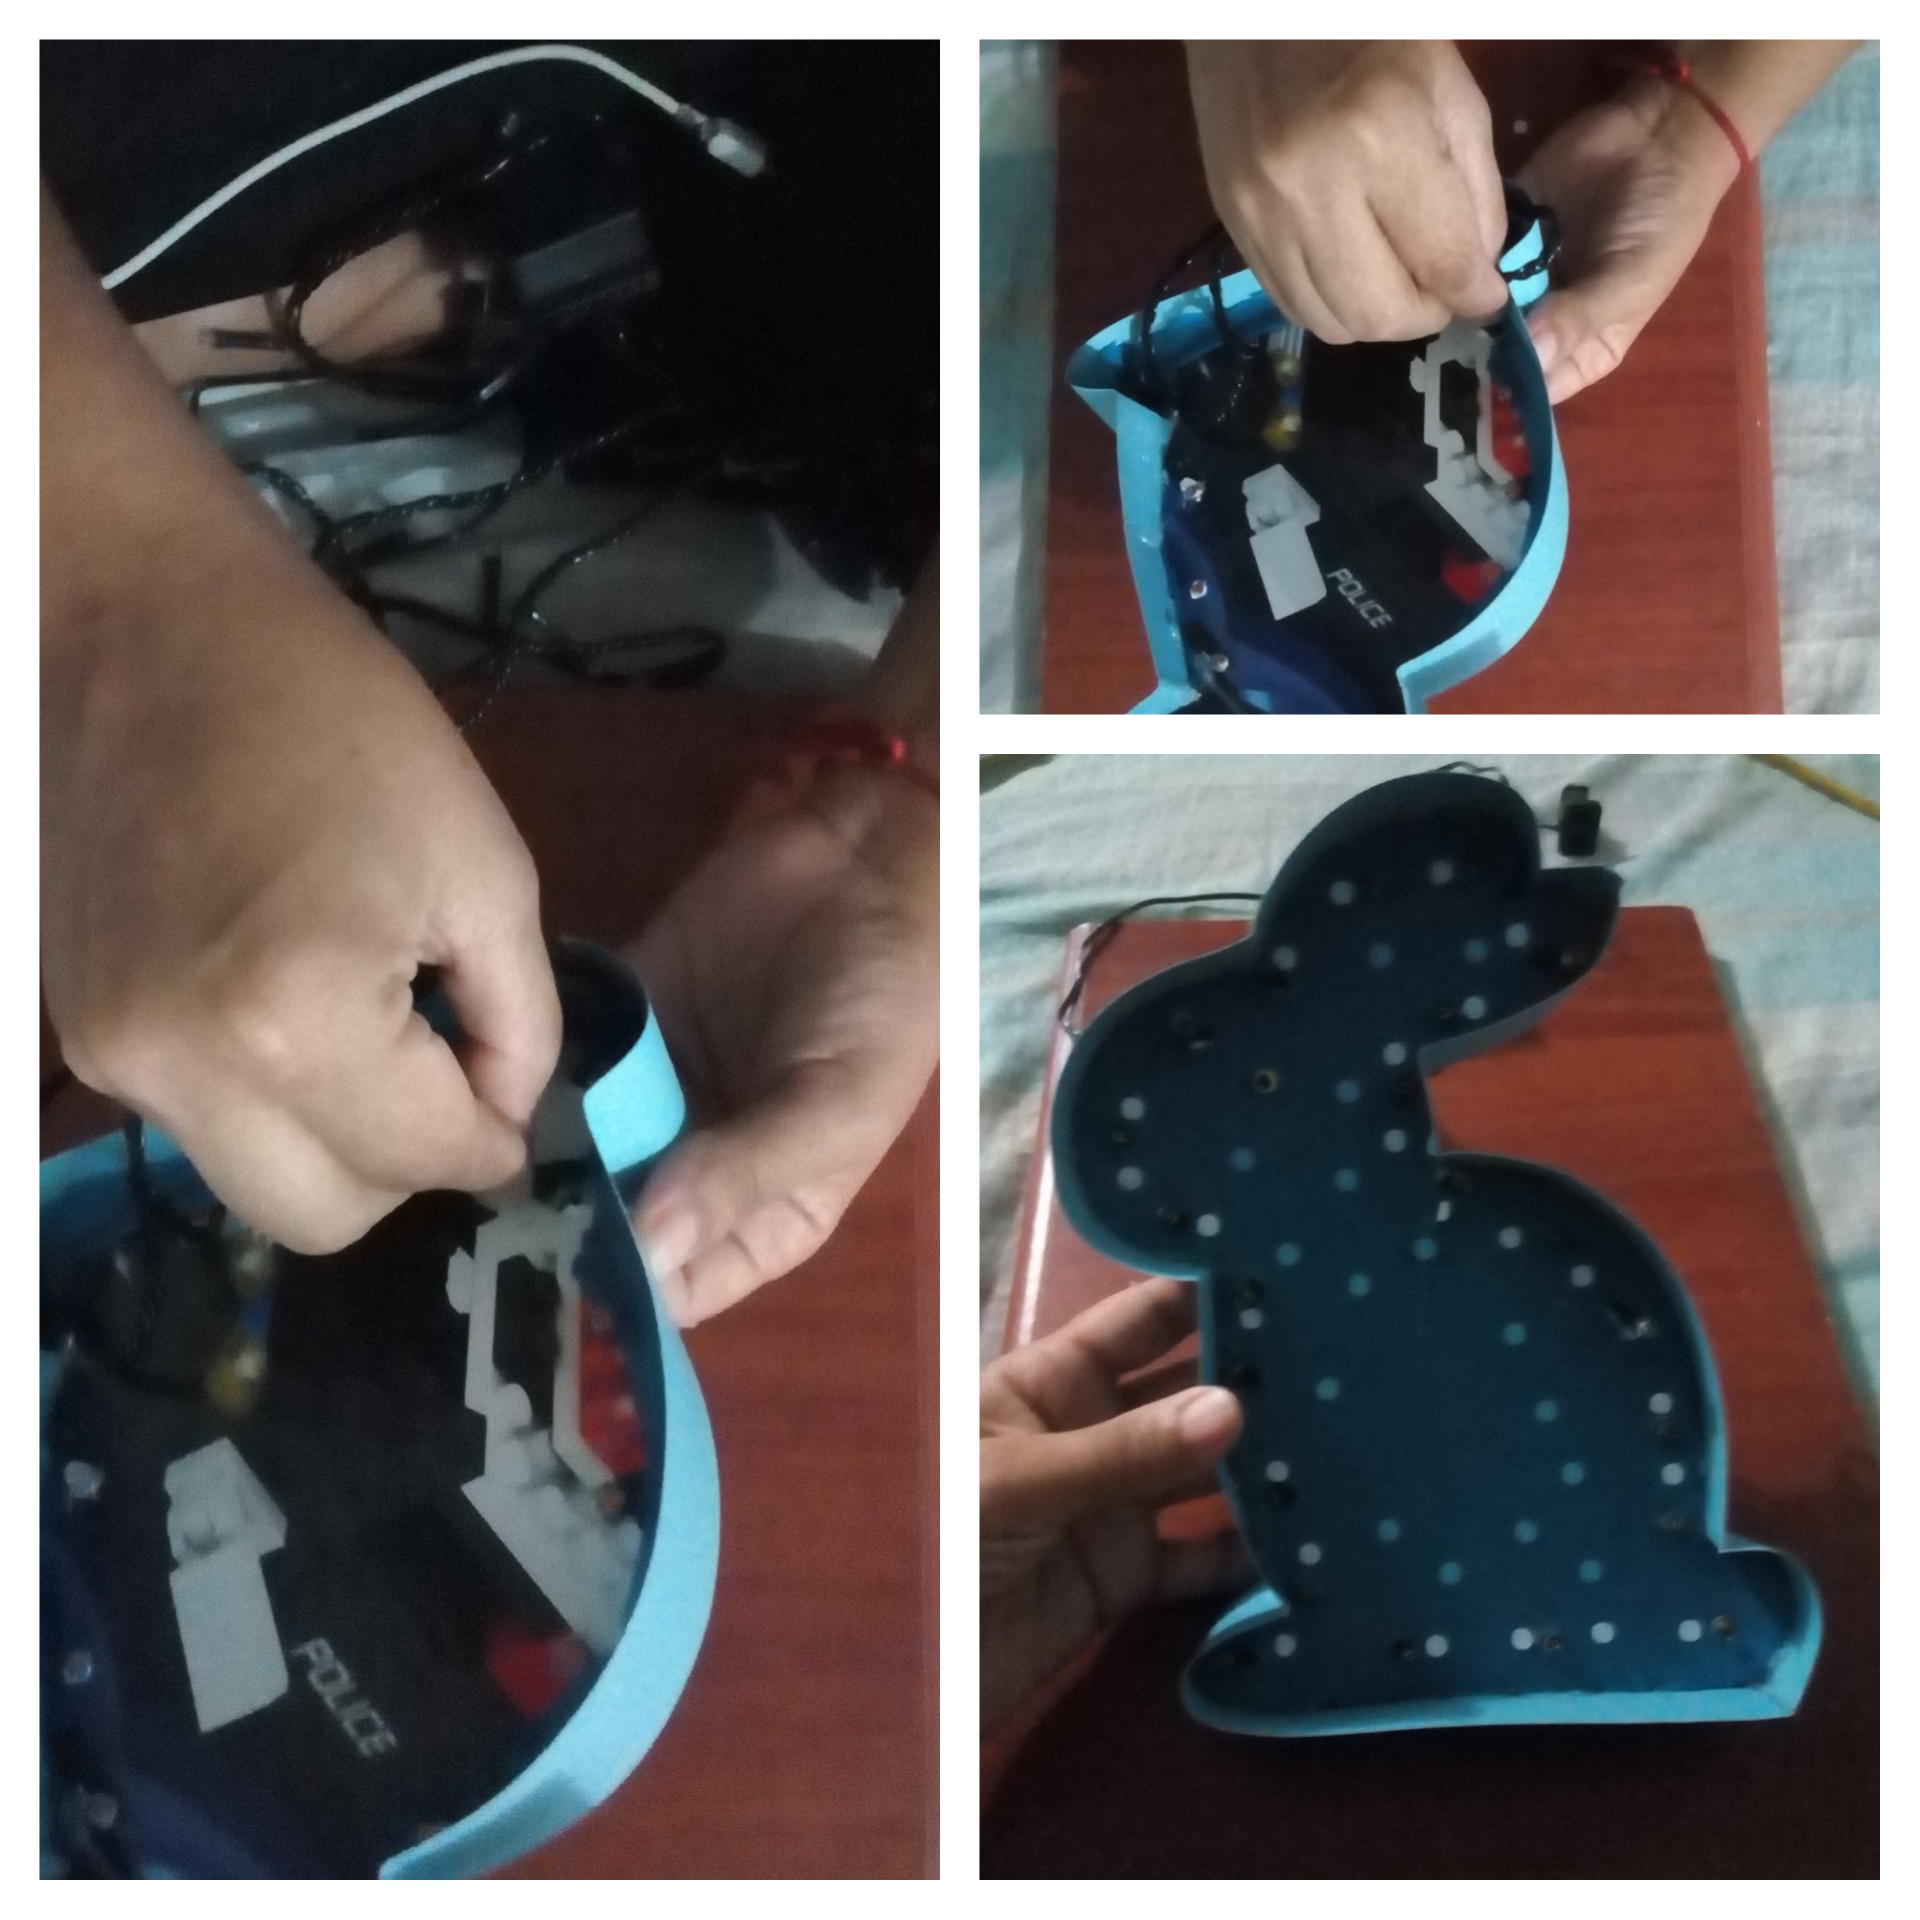
Quedando así / staying way this.
Paso 9. La conectamos a la electricidad y encendemos para probarla.
Step 9. We connect it to electricity and turn it on to test it.
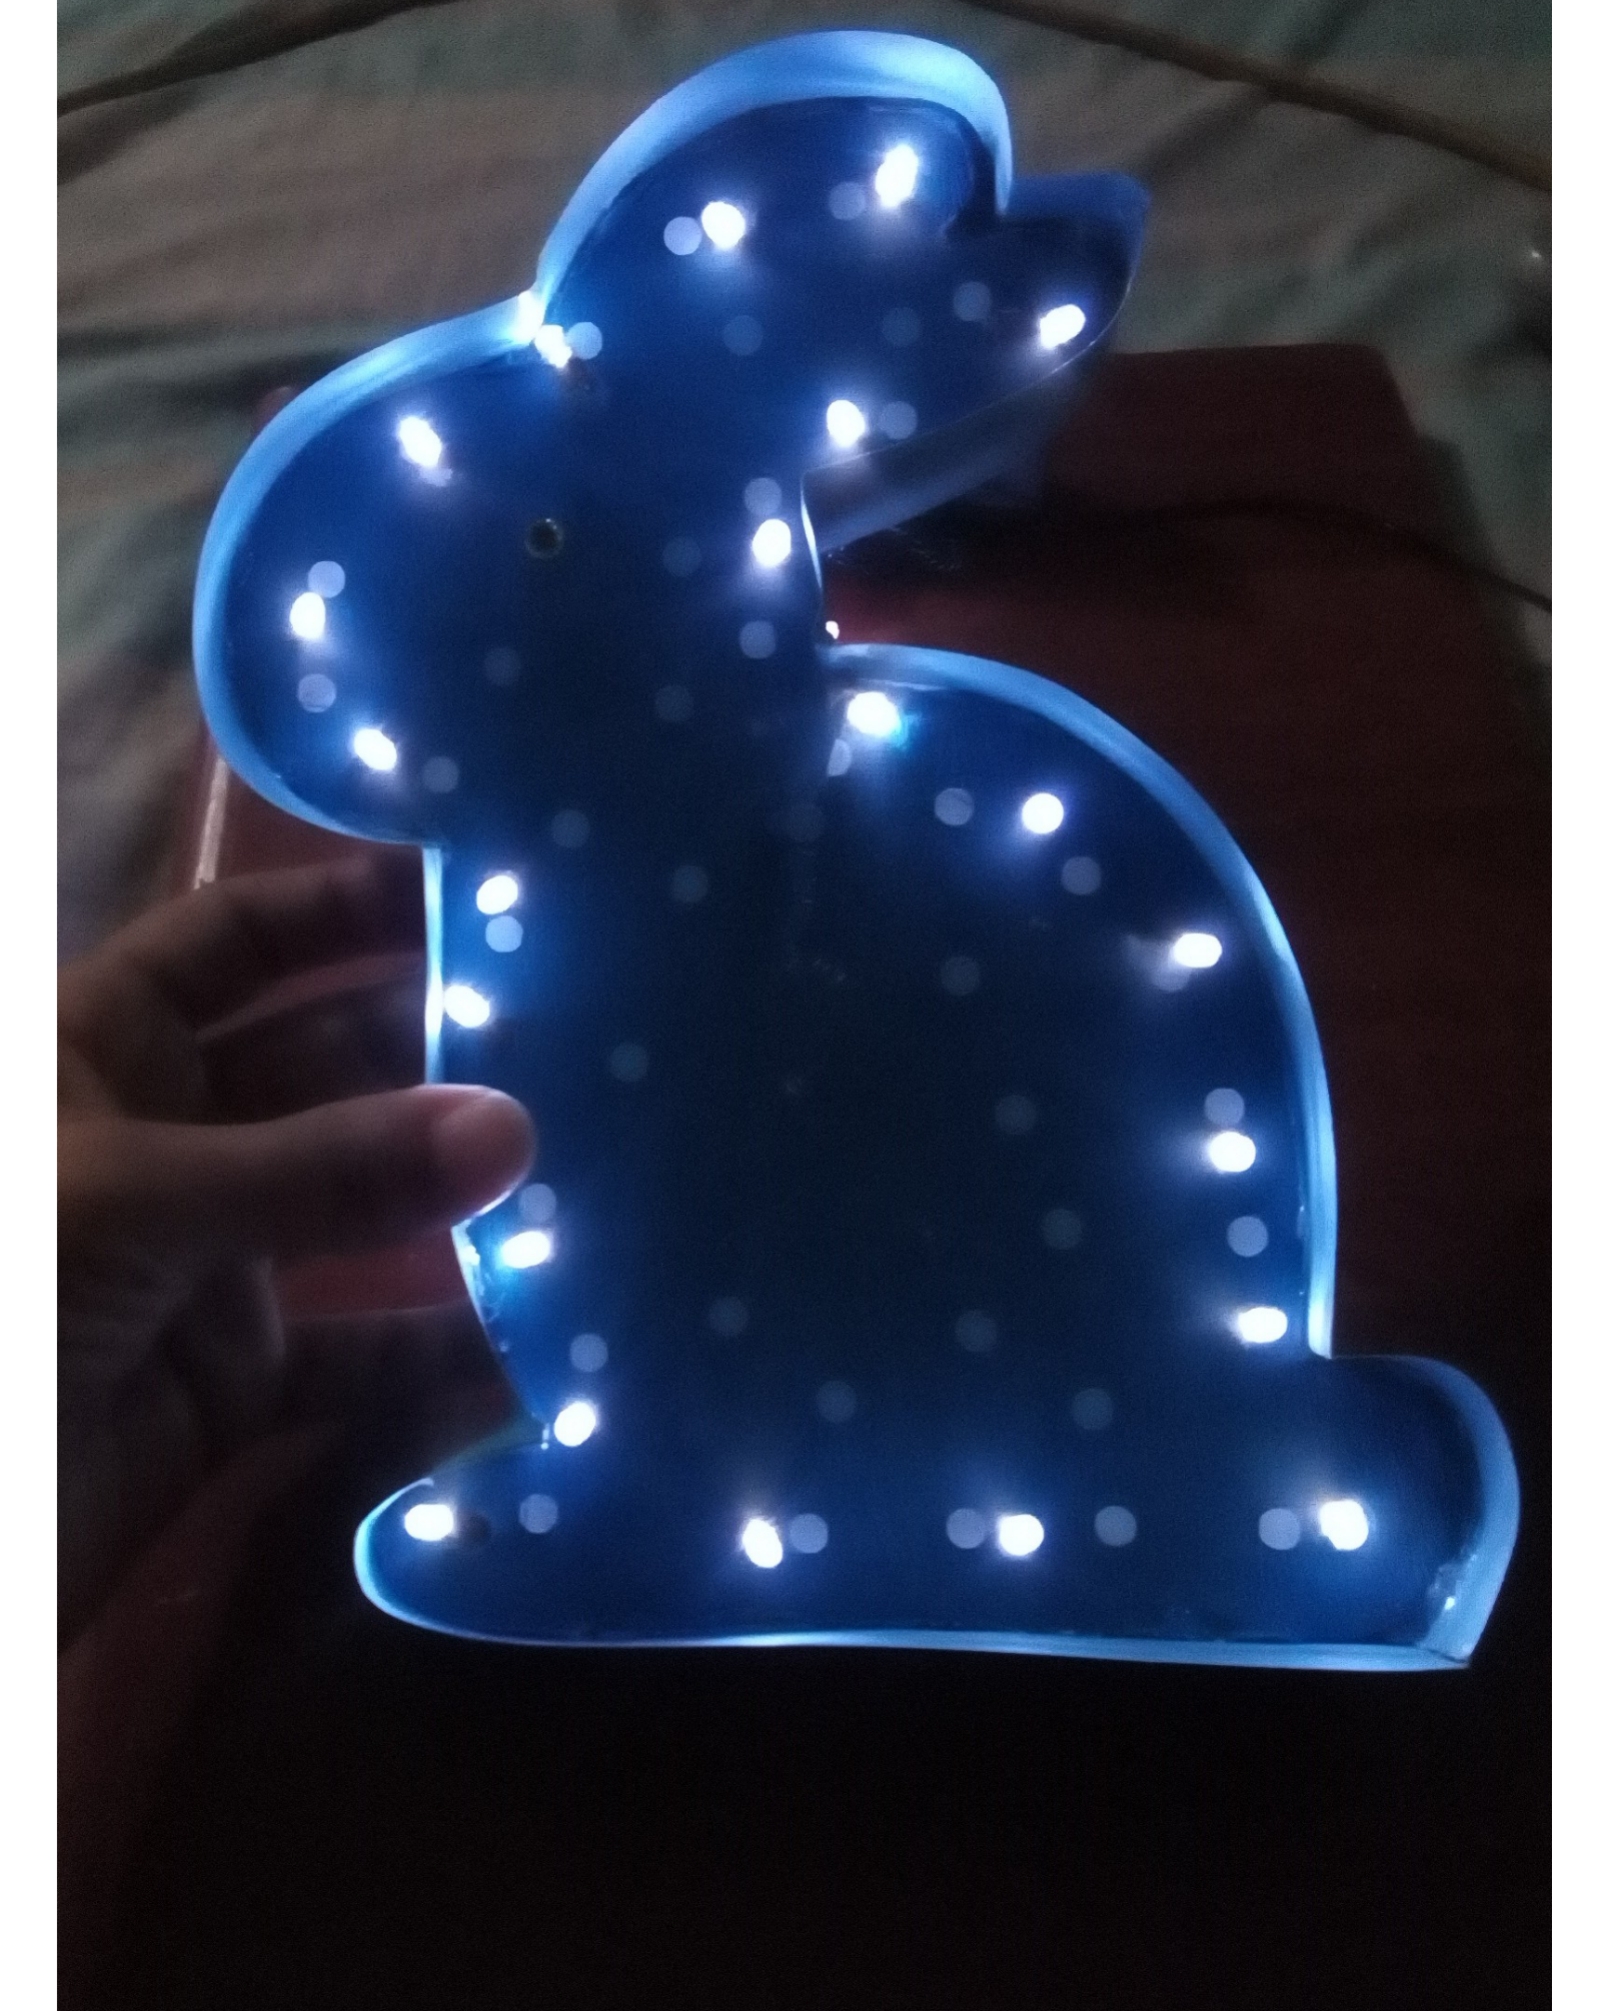
Luego le buscamos un buen lugar para que pueda decorar la habitación de los niños.
Then we find a good place for him to decorate the children's room.
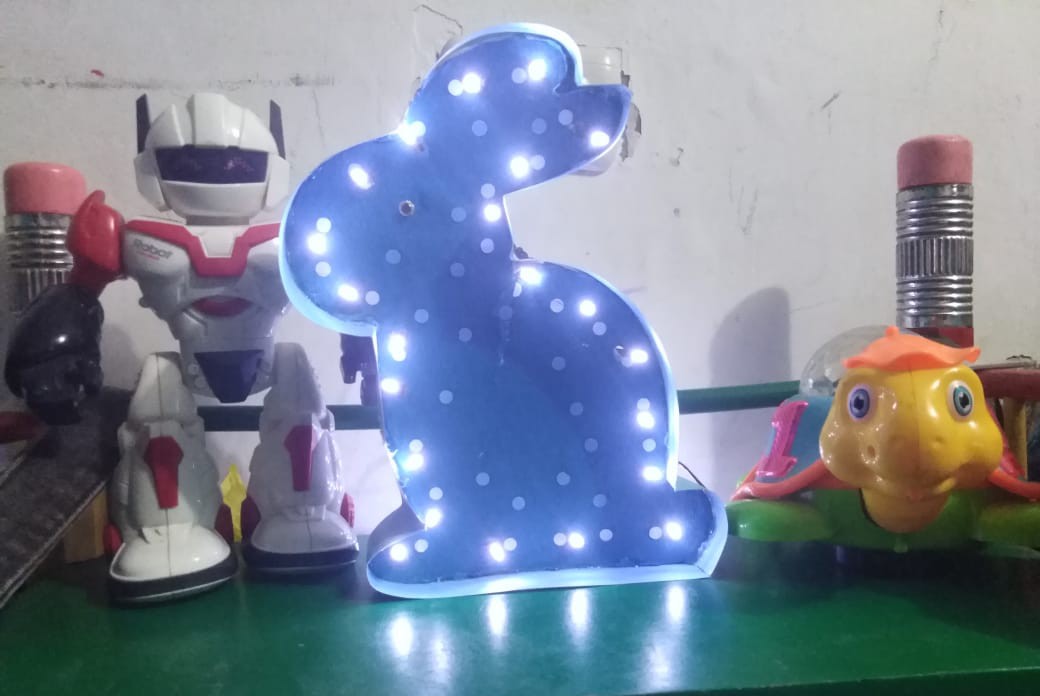
Si, así tenemos está hermosa lámpara para los más pequeños de la casa.
Yes, that's how we have this beautiful lamp for the little ones in the house.
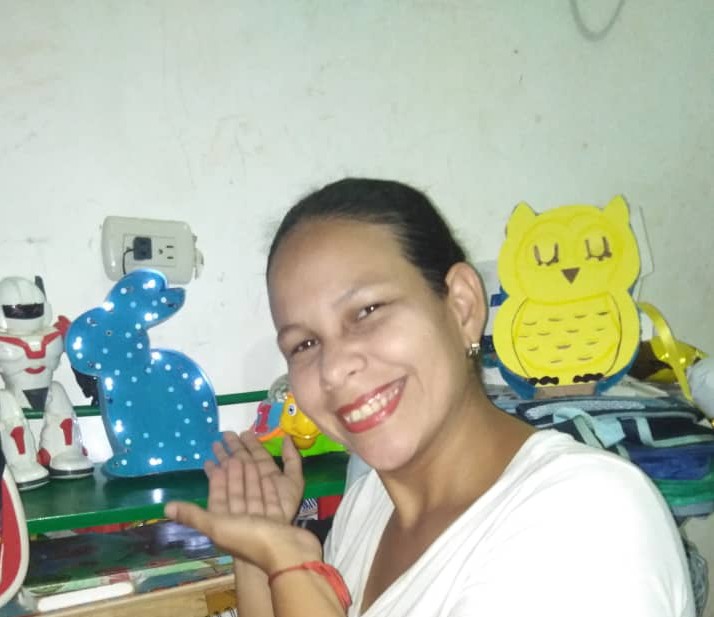
A mis niños les encantó su lámpara de conejito.
My kids loved their bunny lamp.
Los invito a participar @dayanaromer, acá el enlace del concurso:
I invite you to participate @dayanaromer, here is the link of the contest:
Gracias por visitar mi blog, nos vemos en mi siguiente post. @alfrednoyed
Thanks for visiting my blog, see you in my next post. @alfrednoyed
Hola amiga me encantó saludos
Gracias, yo quedé igual de encantada 😍 con el resultado final🥰, gracias nuevamente por leerme. Saludos.
Q bueno amiga suerte sigue asi
Gracias, 🤗
Congratulations @alfrednoyed! You have completed the following achievement on the Hive blockchain and have been rewarded with new badge(s) :
Your next target is to reach 15000 upvotes.
You can view your badges on your board and compare yourself to others in the Ranking
If you no longer want to receive notifications, reply to this comment with the word
STOPQue genial idea! muchas gracias por participar, mucha suerte en el concurso.
Gracias, saludos.
hermosa idea...
Gracias, si fue muy hermosa, me encanta, saludos.