A warm greeting friends of Hive Diy, today I want to share with you the realization of a simple but nice decorative painting with a lovely motif, it is a colorful birds decorative painting with a charming motif, it is about colorful birds.
Materiales/ Materials
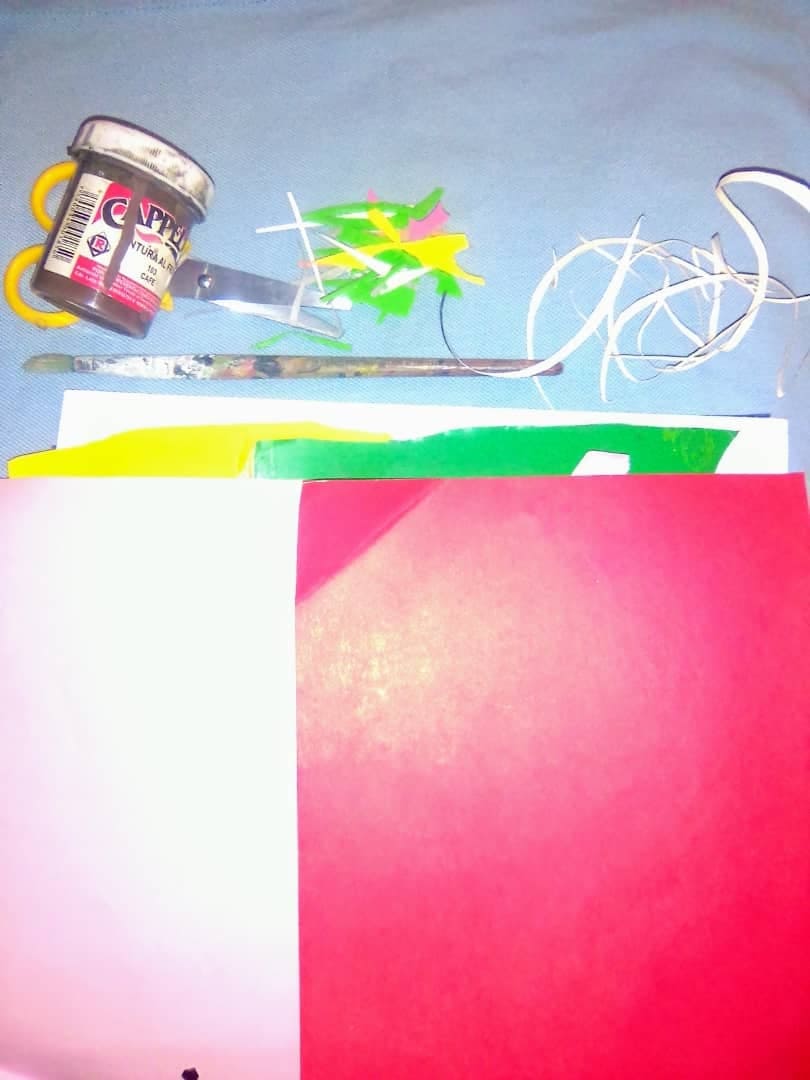
Cartulinas: Rojo, blanco, rosado, azul, verde.
Foami amarillo
Virutas de cartulina y foami
Pintura marrón
Pincel
Tijera
Pega en barra
Cardboard: red, white, pink, blue, green.
Yellow foami
Cardboard shavings and foami
Brown paint
Brush
Scissors
Glue stick
Pasos /Steps
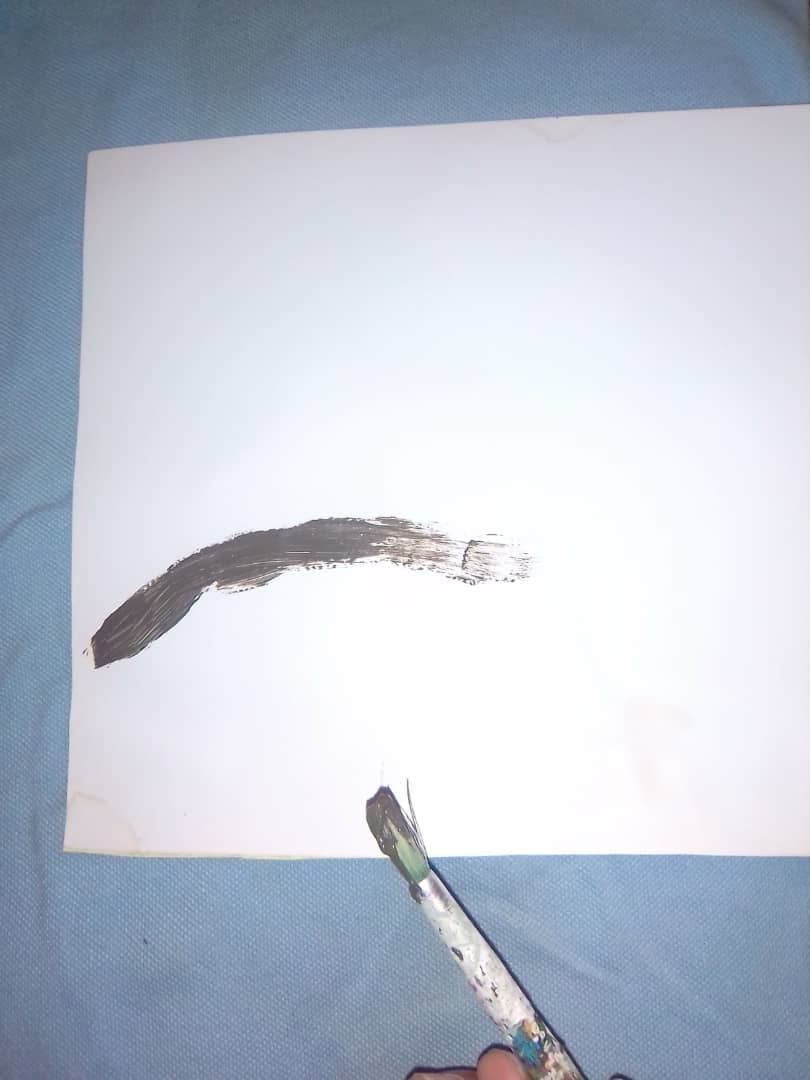
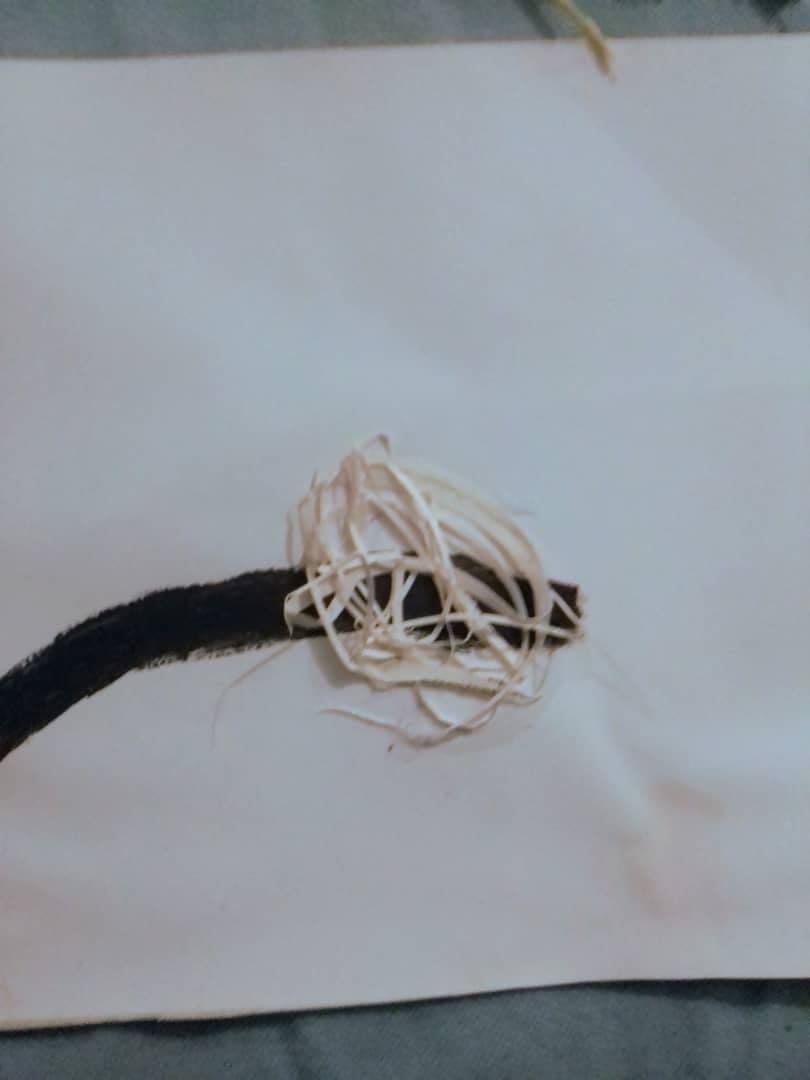
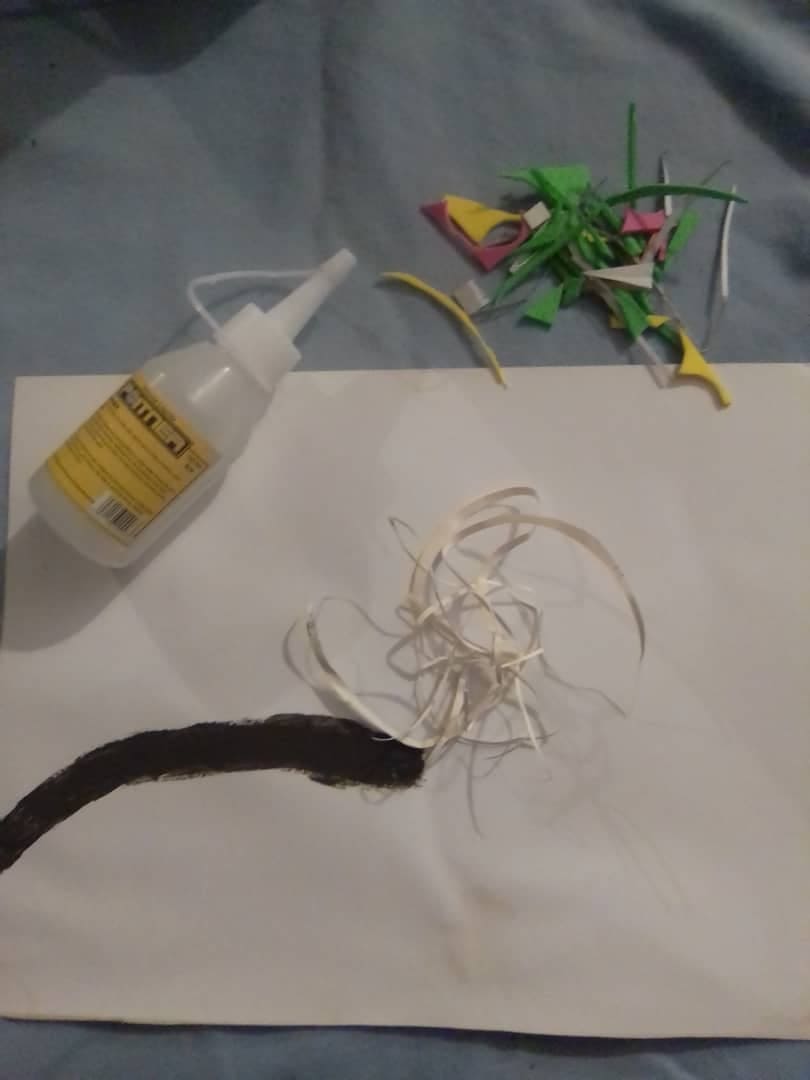
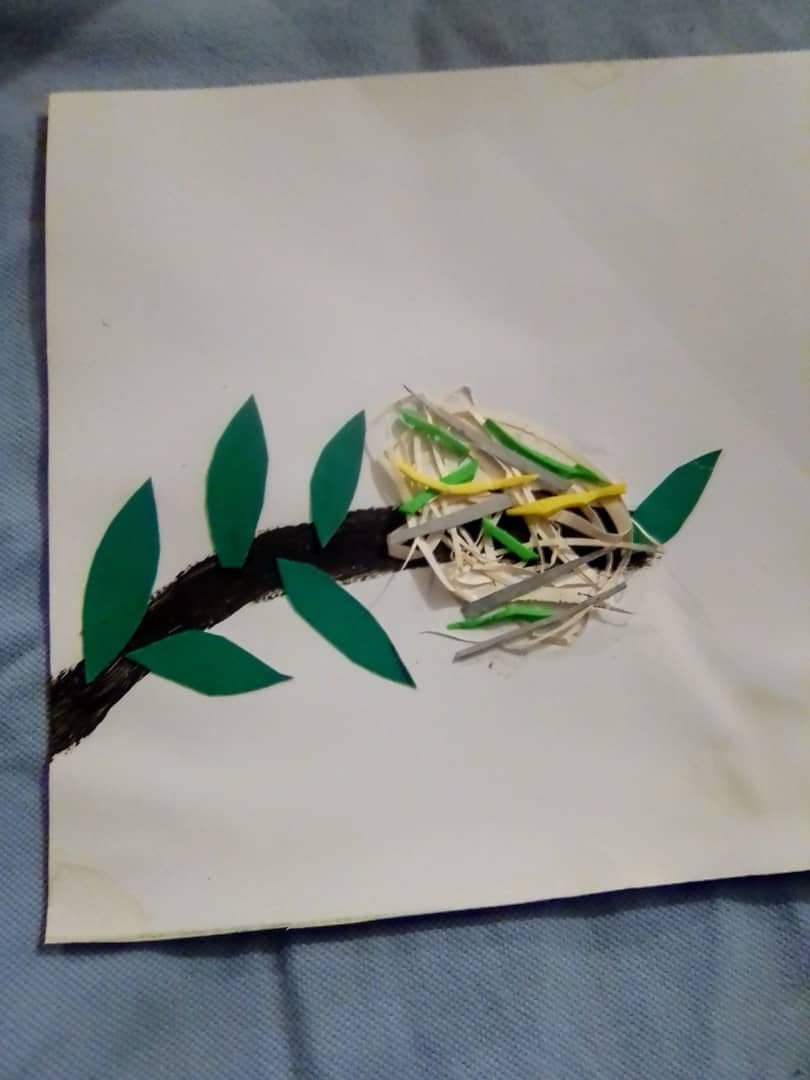
Paso uno
Step one
I painted a branch on the white cardboard, using brown paint, in the meantime I selected the cardboard shavings for the nest, glued them and placed other shavings in contrasting colors, such as green, yellow and yellow.
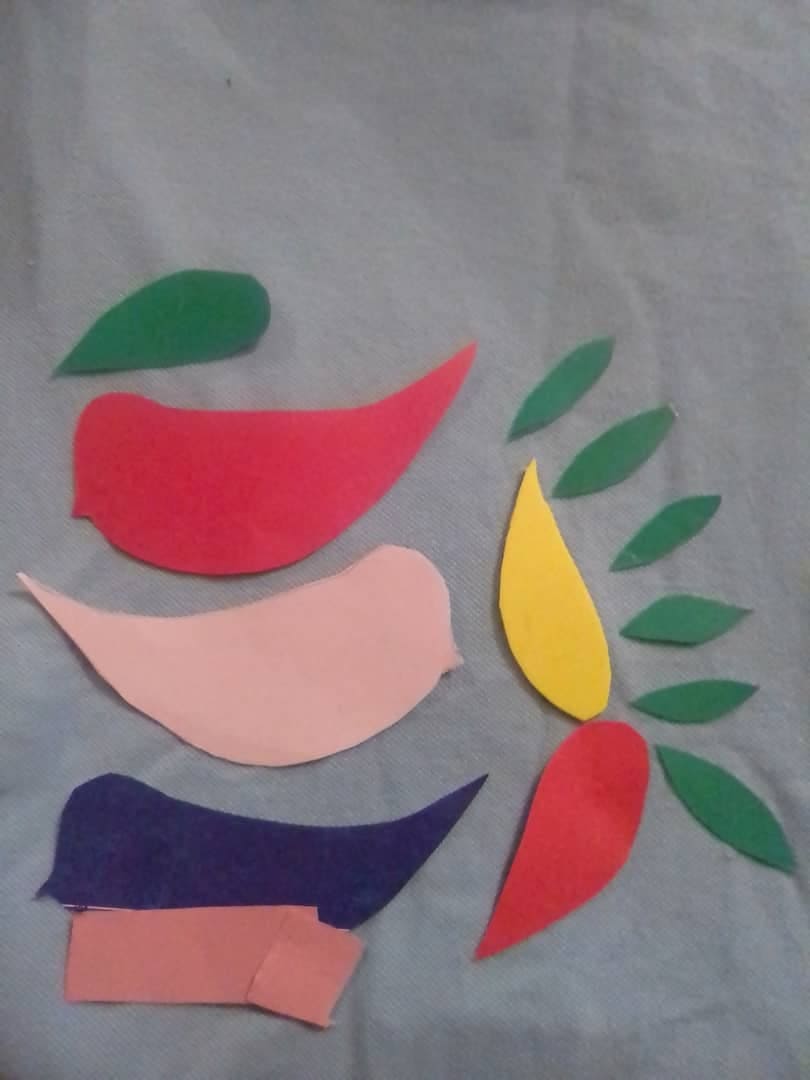
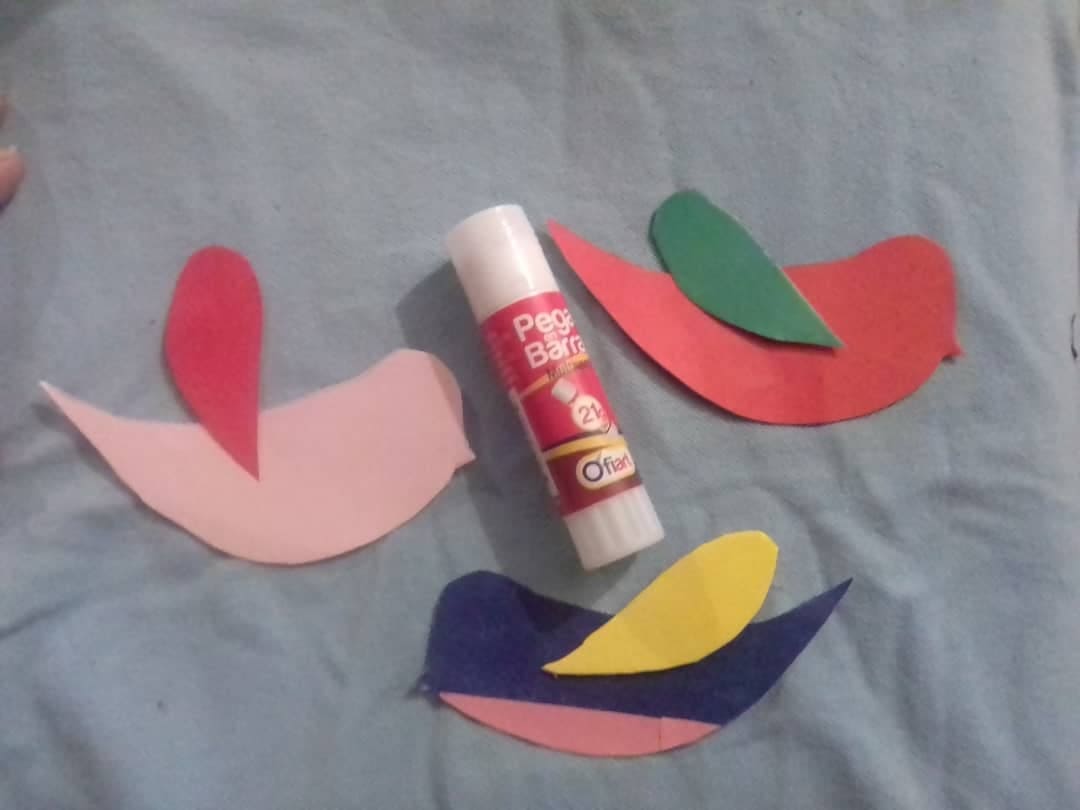
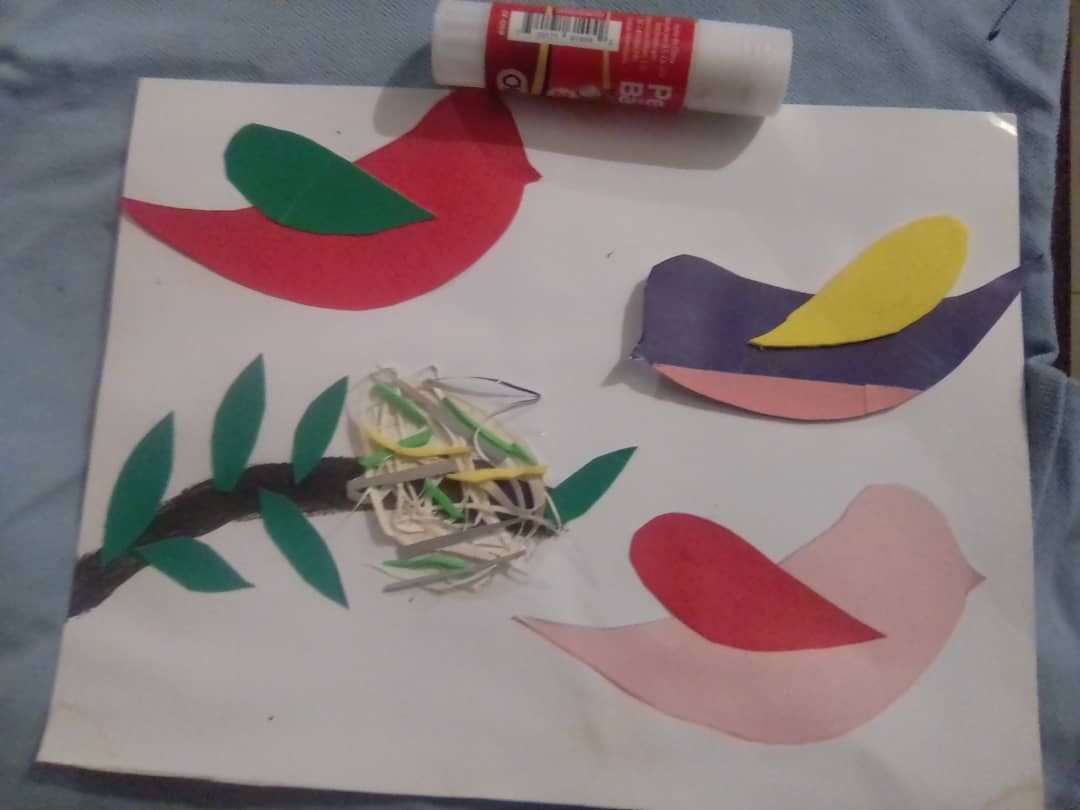
Paso dos Step two
Cut out three birds and three wings all in different colors, and cut out six leaves. Glue the green leaves on the tree branch, and continue completing the birds by gluing their wings to each one.
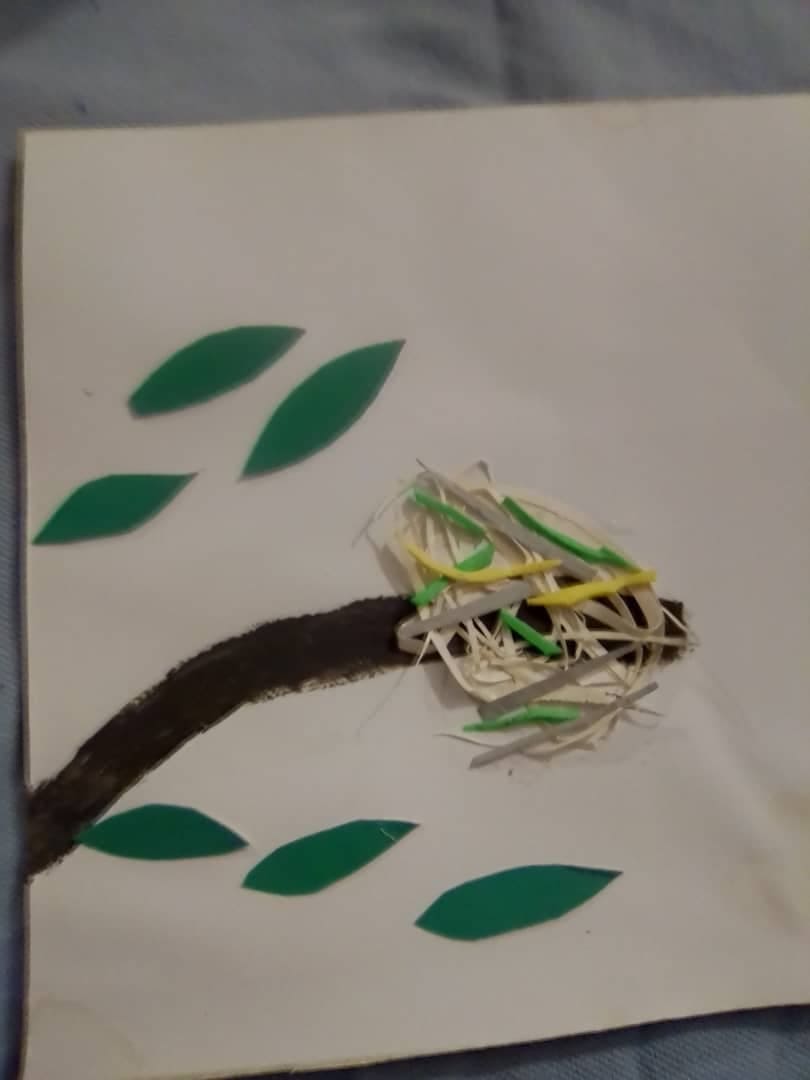
Paso tres
Step three
Take the finished birds and glue them on the white cardboard, always observing the harmony of the elements of the picture.
Paso cuatro
Step four
Finally, make the eyes of the birds and glue them on, and also cut eight short, thin strips of red cardboard to decorate the corners of the picture.To the bluebird located closest to the nest, place a chip in its beak.
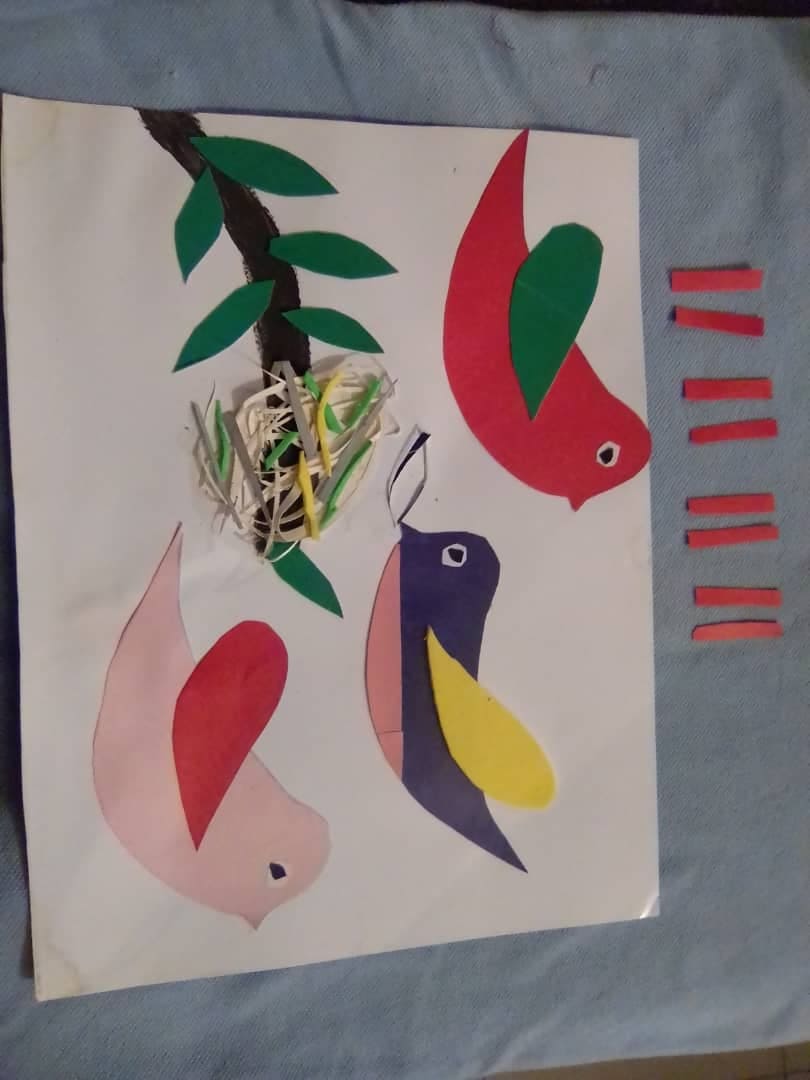
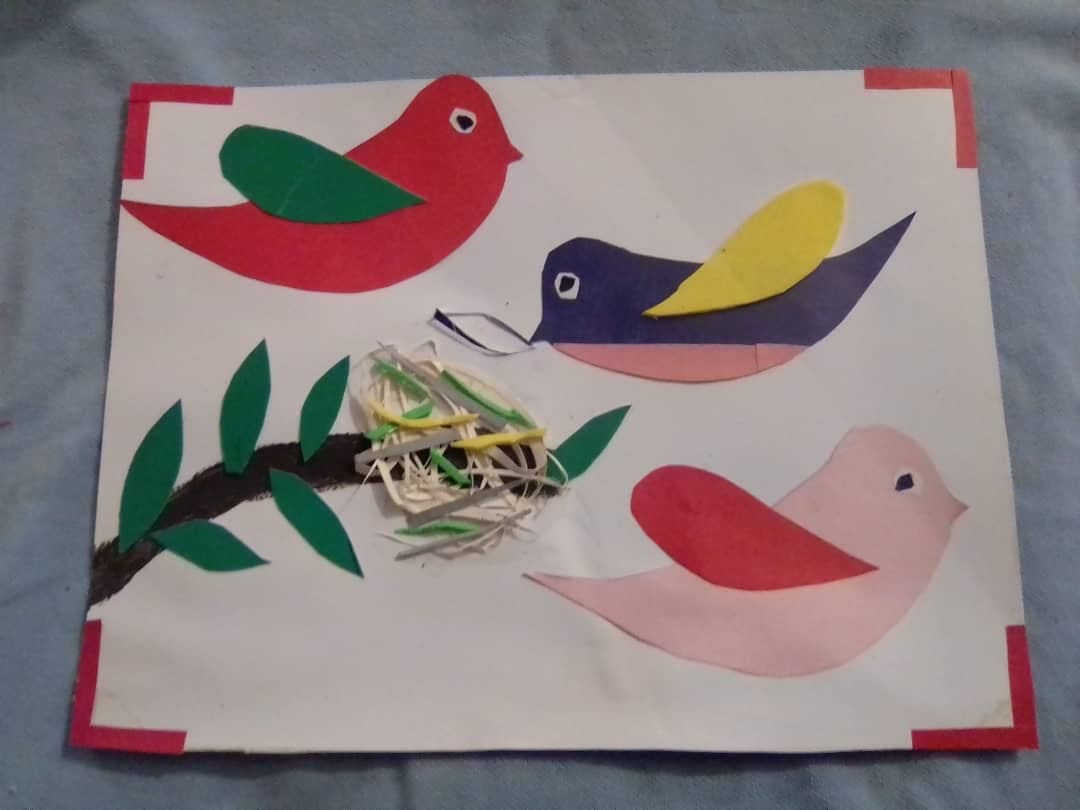
Resultado final de mi proyecto/Final result of my project
Gracias por leer mi blog
Thanks for reading my blog