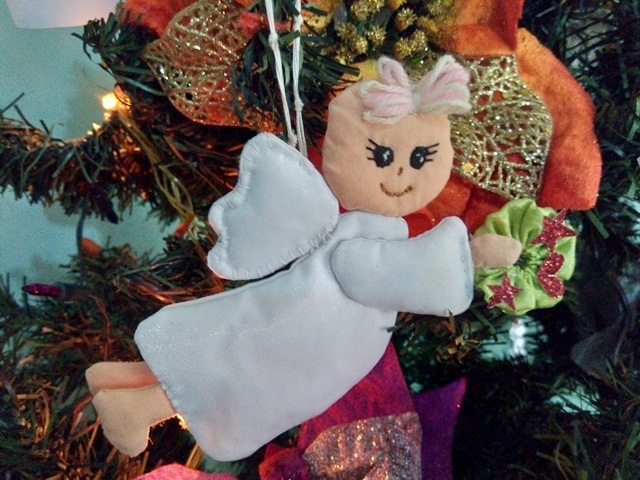
Hola a todos los amigos de Hive.Blog!!!. Nuevamente hoy me conecto con ustedes para compartirles esta preciosa manualidad, muy oportuna para esta época del año, especialmente para darle ese “toque” angelical y tierno a nuestro arbolito navideño. También puede convertirse en un bello detalle para obsequiar a nuestros seres queridos en estas navidades. Lo mejor de todo es que para su elaboración no requiere mayor inversión, porque con retazos de otras labores, podrán realizarlo sin ningún inconveniente. Espero que les guste esta propuesta que hoy les comparto, la cual realicé con mucho esmero, dedicación y cariño para todos ustedes!!
Hello to all the friends of Hive.Blog !!!. Again today I connect with you to share this beautiful craft, very timely for this time of year, especially to give it that "angelic and tender touch to our Christmas tree. It can also become a beautiful detail to give our loved ones at this Christmas. Best of all is that for its elaboration it does not require greater investment, because with scraps of other tasks, they can do it without any inconvenience. I hope you like this proposal that today I share it, which I realized with a lot of care, dedication and affection for all of you!
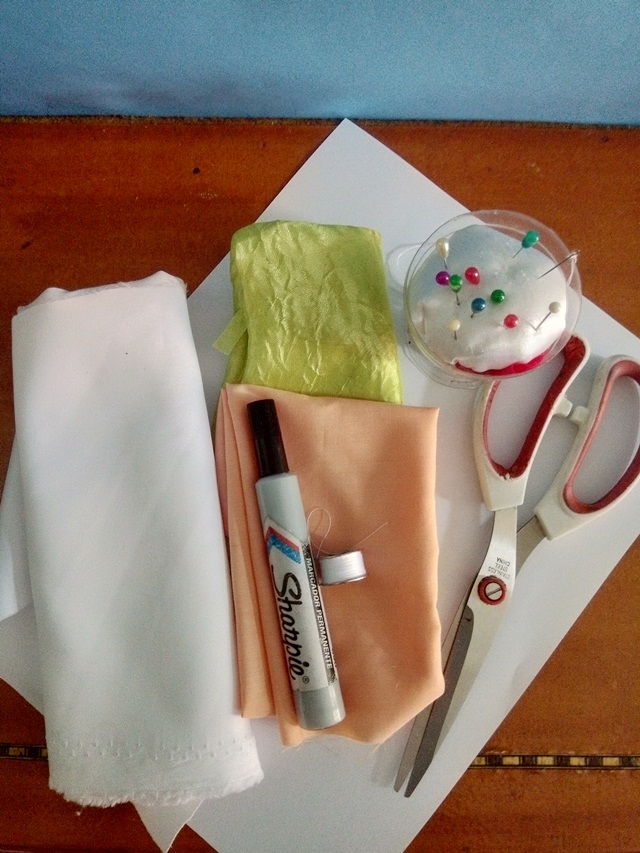
Materials
Papel, para los patrones
Telas en tono blanco, piel y verde
Entretela o pelón con pega (opcional)
Lápiz, marcador o bolígrafo
Tijera
Alfileres
Aguja
Hilo
Paper, for patterns
Fabrics in white, skin and green tone
Entretela or pellet with paste (optional)
Pencil, marker or ballpoint pen
Scissor
Alfileres
Needle
Thread
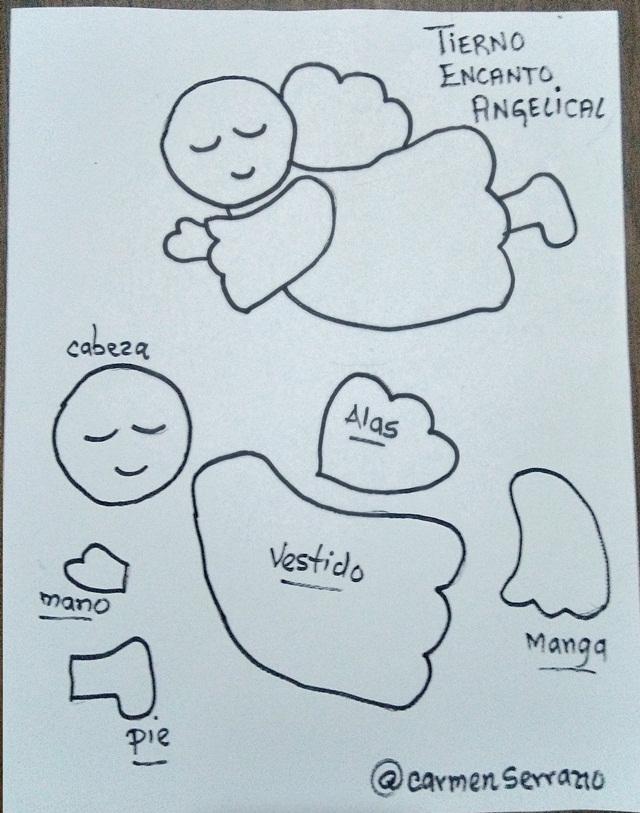
Paso 1. Realicé los patrones del angelito en el papel bond. Luego transferí a la tela cada una de las piezas de los patrones. Todas las piezas del angelito se marcaran en tela doble. El uso de la entretela es opcional, a mí me gusta trabajar con ella porque me permite poder marcar las piezas de los patrones sin tener el riesgo de “manchar” el tejido, aparte de que le otorga más firmeza al tejido.
Step 1. I made the angel patterns on the bond paper. Then I transferred each piece of the patterns to the fabric. All the pieces of the little angel will be marked in double cloth. The use of interlining is optional, I like to work with it because it allows me to mark the pieces of the patterns without having the risk of "staining" the fabric, apart from giving the fabric more firmness
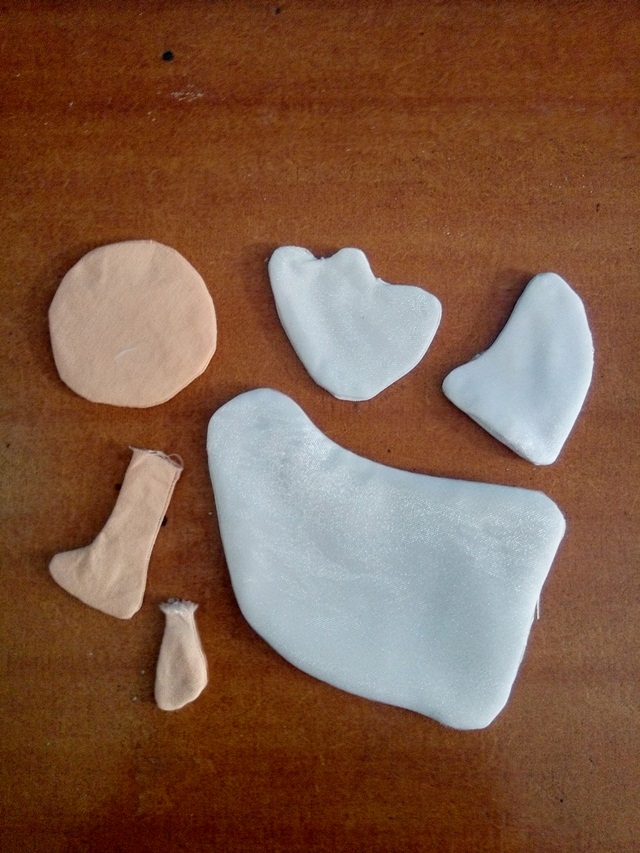
Paso 2. Seguidamente cosí cada pieza, dejando una abertura para poder voltearla. Luego de coser, corté el excedente de tela y voltee la pieza hacia su derecho. Luego ubiqué cada pieza en su lugar para tener una idea de cómo quedaría el angelito.
Step 2. Next, I sewed each piece, leaving an opening to be able to turn it over. After sewing, cut off the excess fabric and flip the piece to its right. Then I put each piece in its place to get an idea of what the little angel would look like.

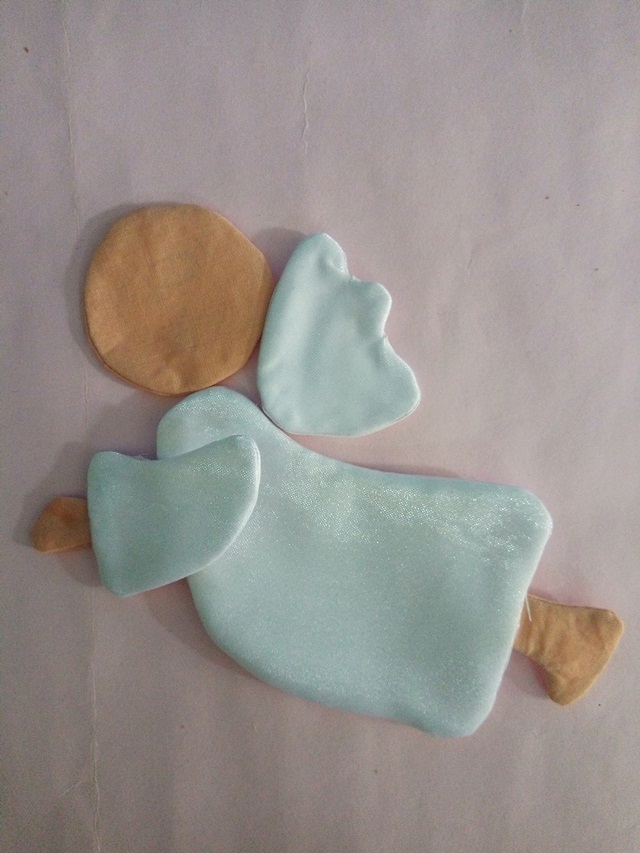
Paso 3. Una vez volteadas todas las piezas, procedí a rellenar la cabeza, la manga, la mano, el ala y los pies, el cuerpo no lleva relleno. Luego cosí la abertura de cada pieza y procedí a ensamblar el angelito uniendo cada pieza con punto escondido o con silicon.
Step 3. Once all the pieces had been turned over, I proceeded to fill the head, sleeve, hand, brim and feet, the body has no filling. Then I sewed the opening of each piece and proceeded to assemble the angel, joining each piece with hidden stitch or silicone.
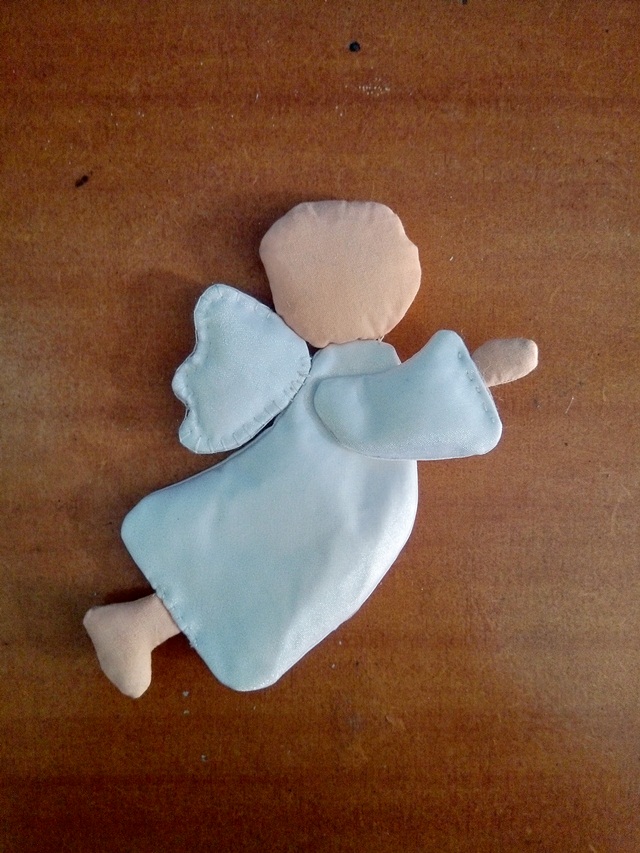
Paso 4. Para el cabello realicé un moño en estambre a manera de pollina, los ojos y boca los bordé a mano. En las manos le coloqué una flor fuxico a modo de corona navideña. Como toque final, le coloque una tira para colgar.
Step 4. For the hair I made a bow in yarn like a chick, the eyes and mouth were embroidered by hand. In his hands I placed a fuxic flower as a Christmas wreath. As a final touch, attach a hanging strap.
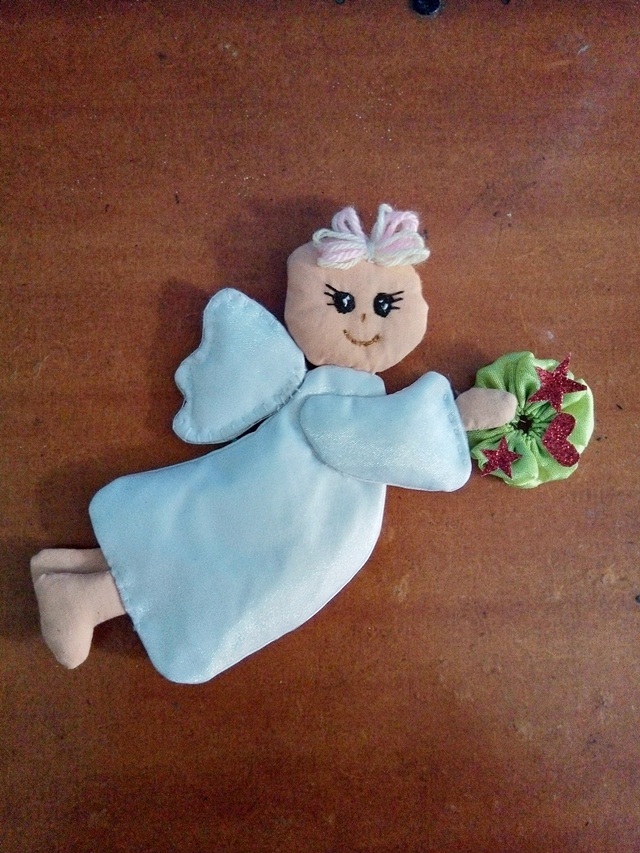
Christmas decoration: tender angelic charm

Y así me quedó mi tierno angelito!! Gracias a todos por apoyar mi publicación, Dios me los bendiga!!. Todas las fotos publicadas en esta presentación son de mí pertenencia. Para la traducción utilice el Traductor de Google
And so I was left with my tender little angel !! Thank you all for supporting my publication, God bless you !! All the photos published in this presentation belong to me. For translation use Google Translate
Muy original el angel gracias por su creación
Congratulations @carmenserrano! You have completed the following achievement on the Hive blockchain and have been rewarded with new badge(s):
Your next target is to reach 800 upvotes.
You can view your badges on your board and compare yourself to others in the Ranking
If you no longer want to receive notifications, reply to this comment with the word
STOPCheck out the last post from @hivebuzz:
Support the HiveBuzz project. Vote for our proposal!