Hola amigos. Buen día para todos. El día de hoy quiero regalarles el paso a paso para elaborar un lindo modelo de posatazas. Si eres de los que les encanta tener siempre la mesa servida o te gusta tener tu mesa organizada y limpia siempre estos posatazas te encantarán.
Los posatazas son utensilios indispensables en todos los hogares, además de ser muy lindos y lucir muy bien ellos ayudan a proteger nuestros muebles del calor y la humedad.
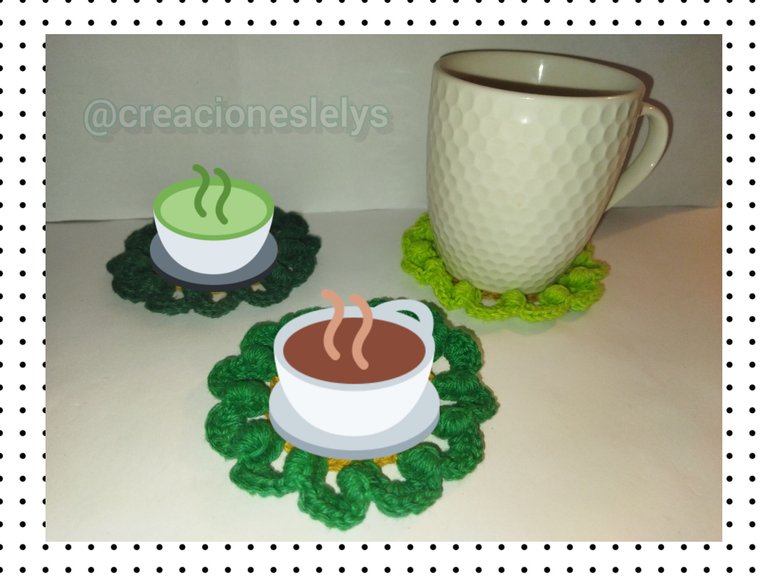
Existen infinidad de modelos de posatazas. Este modelo me gusta mucho porque se ve bastante lindo aún después de poner sobre él la taza. A continuación te muestro los pasos para realizarlos.
Hello friends. Good morning to all of you. Today I want to give you the step by step to make a nice model of coasters. If you are one of those who love to always have the table served or you like to have your table always organized and clean, you will love these coasters.
The coasters are indispensable utensils in every home, besides being very nice and look great they help protect our furniture from heat and moisture.
There are countless models of coasters. I really like this model because it looks quite nice even after putting the cup on it. Here are the steps to make them.
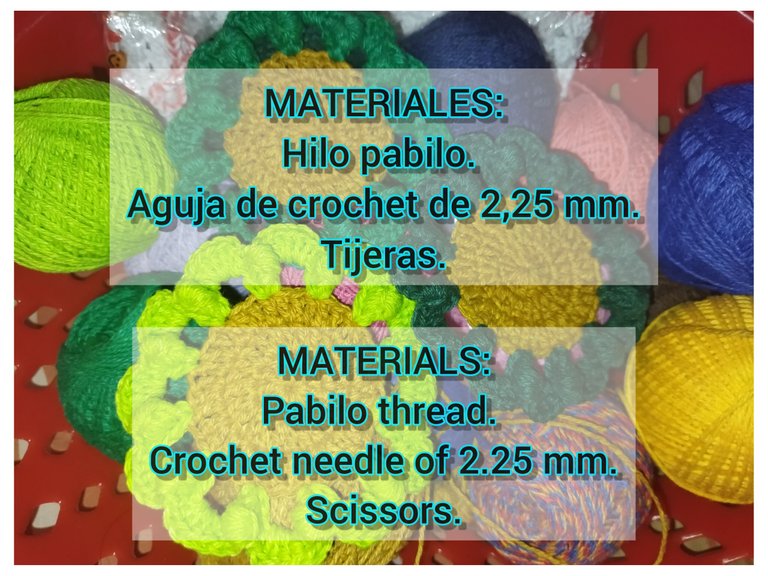
Este modelo de posatazas necesitará de muy pocos materiales para su elaboración. Es un proyecto que se realiza rápido y sencillo empleando tan solo tres puntos básicos del crochet: punto bajo, punto alto y punto deslizado.
Los materiales que vamos a utilizar son:
This crochet coaster pattern will require very few materials to make. It is a quick and easy project using only three basic crochet stitches: single crochet, double crochet and slip stitch.
The materials we are going to use are:
Desde que aprendí a tejer he realizado muchos modelos de posatazas y posavasos. Es recomendable tejerlos con hilos gruesos preferiblemente de algodón, estos absorberán la humedad y protegerán los muebles del calor. El hilo pabilo es ideal para tejer los posatazas. Puedes combinar los hilos como más te gusten. En mi modelo utilicé como color base uno color mostaza muy lindo. Para las últimas vueltas usé tonos en colores variados de verde.
Since I learned to knit I have made many models of coasters and coasters. It is advisable to weave them with thick yarns, preferably cotton, which will absorb the humidity and protect the furniture from the heat. The wick yarn is ideal for weaving the coasters. You can combine the yarns as you like. In my model I used a very nice mustard color as a base color. For the last turns I used various shades of green.

El procedimiento para realizar estos bellísimos posatazas es el siguiente:
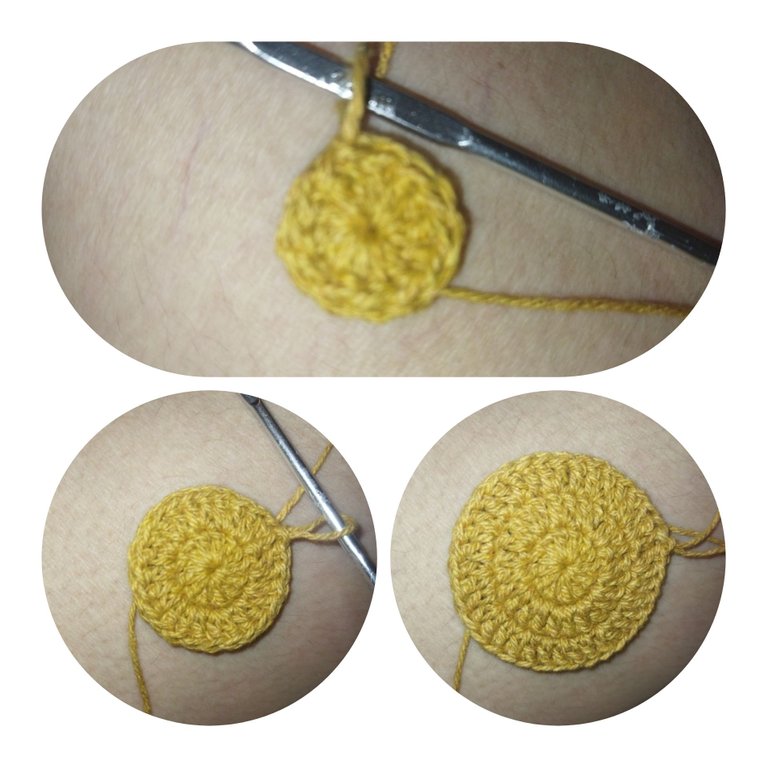
Paso 1.
Teje un anillo mágico de 12 puntos altos. En la segunda vuelta levanta 12 aumentos de puntos altos para obtener 24 puntos altos al final de la vuelta. En la tercera vuelta teje 1 punto alto y 1 aumento de punto alto para o tener 30 puntos altos.
The procedure to make these beautiful coasters is as follows:
Step 1.
Knit a magic ring of 12 double crochet stitches. In the second round pick up 12 double crochet increases to get 24 double crochets at the end of the round. In the third row knit 1 double crochet and 1 double crochet increase for 30 double crochet stitches.
Paso 2.
Incorpora el color de hilo que más te guste o combine con el resto de la lencería. También puedes combinarlos con tus tazas o color de tus muebles y cortinas. Yo elegí una tonalidad de verdes.
Teje 3 puntos altos en un mismo punto de la vuelta anterior, sigue con 3 cadenas, deja 2 puntos sin trabajar en la vuelta anterior y en el 3 punto teje 3 puntos altos en ese mismo punto. Este paso lo vas a repetir hasta tejer toda la vuelta.
Step 2.
Incorporate the thread color that you like or matches the rest of the linen. You can also match them with your cups or color of your furniture and curtains. I chose a shade of green.
Knit 3 double crochet in the same stitch of the previous row, continue with 3 chains, leave 2 stitches unworked in the previous row and in the 3rd stitch knit 3 double crochet in the same stitch. Repeat this step until you have knitted the whole row.
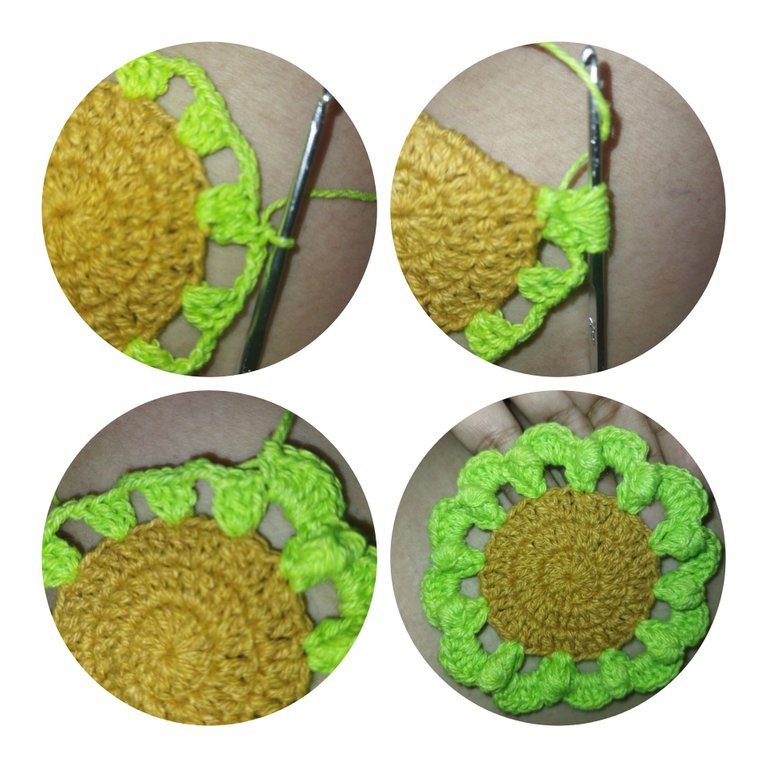
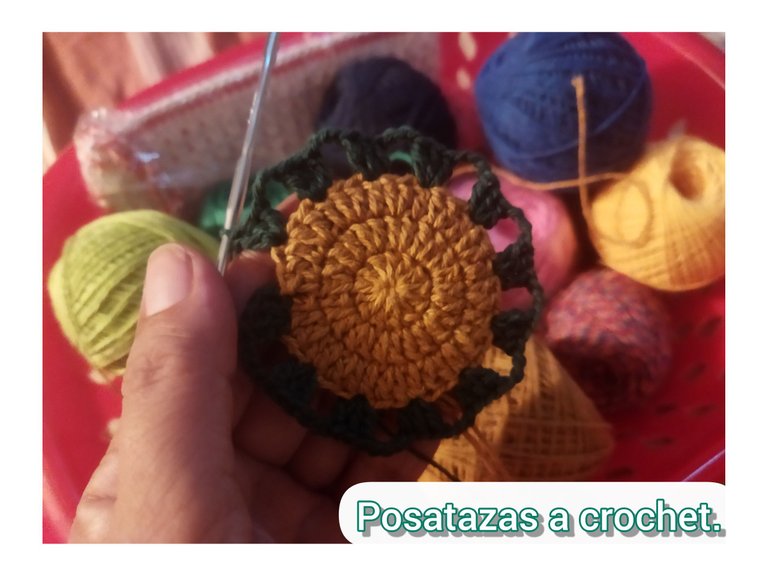
Paso 3.
En la imagen anterior también podrás ver el paso 3. Consiste en realizar 1 punto bajo para empezar la vuelta. Seguidamente tejemos 1 punto relieve de 6 lazadas sin cerrar hacia el frente de la labor. Inmediatamente tejemos 1 punto bajo. Este diseño lo haremos en el mazo de 3 puntos altos que tejimos en la vuelta anterior. Después vamos a tejer 5 puntos altos en el espacio de las 3 cadenas de la vuelta anterior. No se tejen cadenas de separación. Repetimos todo el diseño para completar toda la vuelta.
Step 3.
In the previous image you can also see step 3. It consists of knitting 1 single crochet to start the row. Then we knit 1 relief stitch of 6 loops without closing towards the front of the work. Immediately we knit 1 single crochet. This design will be knitted in the 3 double crochet stitches that we knitted in the previous row. Then we will knit 5 double crochet in the space of the 3 chains of the previous row. No separating chains are knitted. We repeat the whole design to complete the whole row.
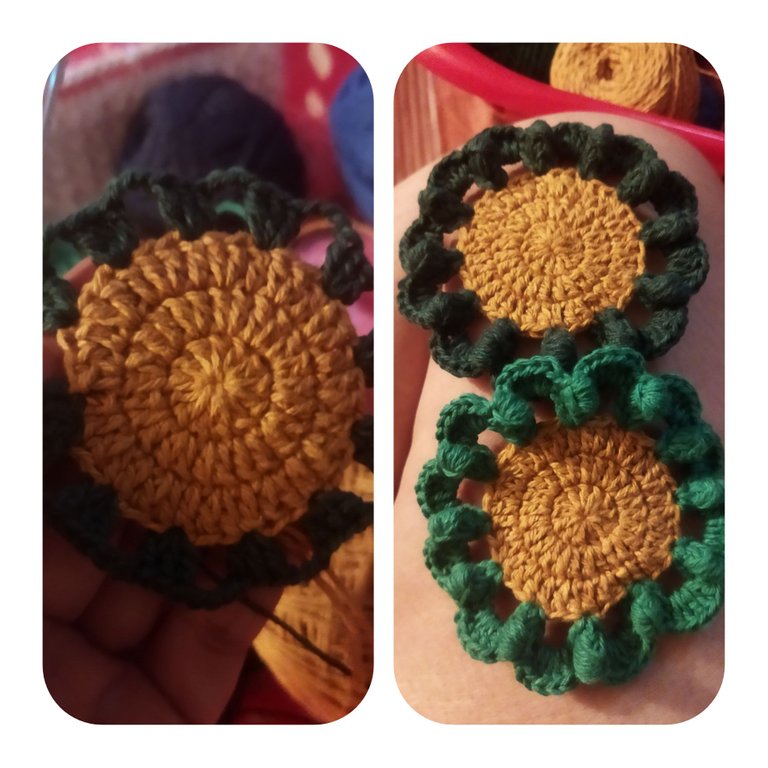
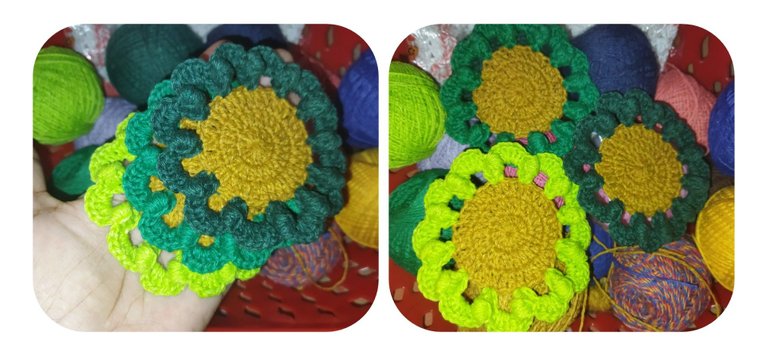
Así deben verse al terminar de tejerlos. El diseño es muy bonito. Si decides tejerlos con un hilo más gordo o grueso el volado del modelo de posatazas se verá aún mejor. Espero que te guste el resultado final.
This is how they should look when you finish knitting them. The design is very nice. If you decide to knit them with a fatter or thicker yarn the flounce of the coaster pattern will look even better. I hope you like the final result.
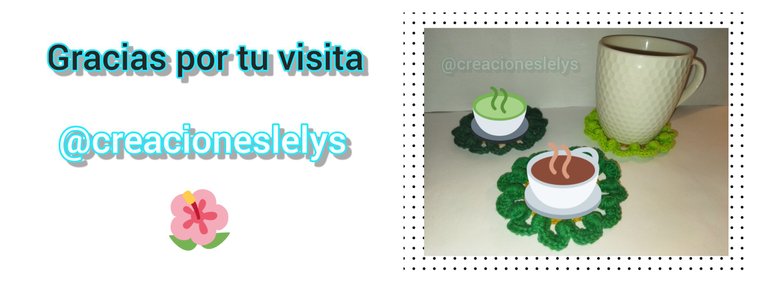
💮 Si deseas hacerlos más grandes solo debes tejer más vueltas de aumentos en la base. Teje cuántos quieras. Combina los colores y disfruta de tu creación. Todas las fotos son de mi propiedad. Gracias a @eve66 por el separador. Edité con Inshot. Usé el traductor de Deelp. Hasta una próxima publicación. Bendiciones.
💮 If you want to make them bigger just knit more rows of increases at the base. Knit as many as you want. Combine the colors and enjoy your creation. All photos are my property. Thanks to @eve66 for the divider. I edited with Inshot. I used Deelp translator. Until a future post. Blessings.
Talented! 😊 How I wish I know how to crochet. Lately I have seen people here that are into crocheting. 😊
!PIZZA
Thanks for stopping by my blog. I love to crochet. It is one of my passions. Greetings.
PIZZA Holders sent $PIZZA tips in this post's comments:
@jijisaurart(2/5) tipped @creacioneslelys (x1)
Please vote for pizza.witness!
Ay que bellas, recordé a mi madre. Quiero comprarme los materiales y las herramientas para comenzar a hacerlas <3 gracias por compartir
Hola. Me da gusto que desees hacerlas. Son lindas y se hacen con poco material. Saludos.
Aca en la casa no puedo hacer eso, sé cómo son y de seguro los gañan, pero quedaría bien en una masa de madera, se vería muy bonito
Seguro que si. Lucen muy bien en las mesas de madera. Y las protegen. Saludos.
Gracias por el apoyo.
Quedaron hermoso los posa tazas, felicidades.
Hola. Muchas gracias por apreciarlo.