Excelente y bendecido inicio de semana estimados amigos de # Hive diy, espero hayan pasado un buen fin de semana.
Hoy les compartiré como decorar un bolígrafo con su estuche, es algo muy sencillo de hacer y queda super lindo, ideal para obsequiar, espero les guste!
Excellent and blessed start of the week dear friends of # Hive diy, I hope you had a good weekend.
Today I will share with you how to decorate a pen with its case, it is something very simple to do and it is super cute, ideal to give as gifts, I hope you like it!
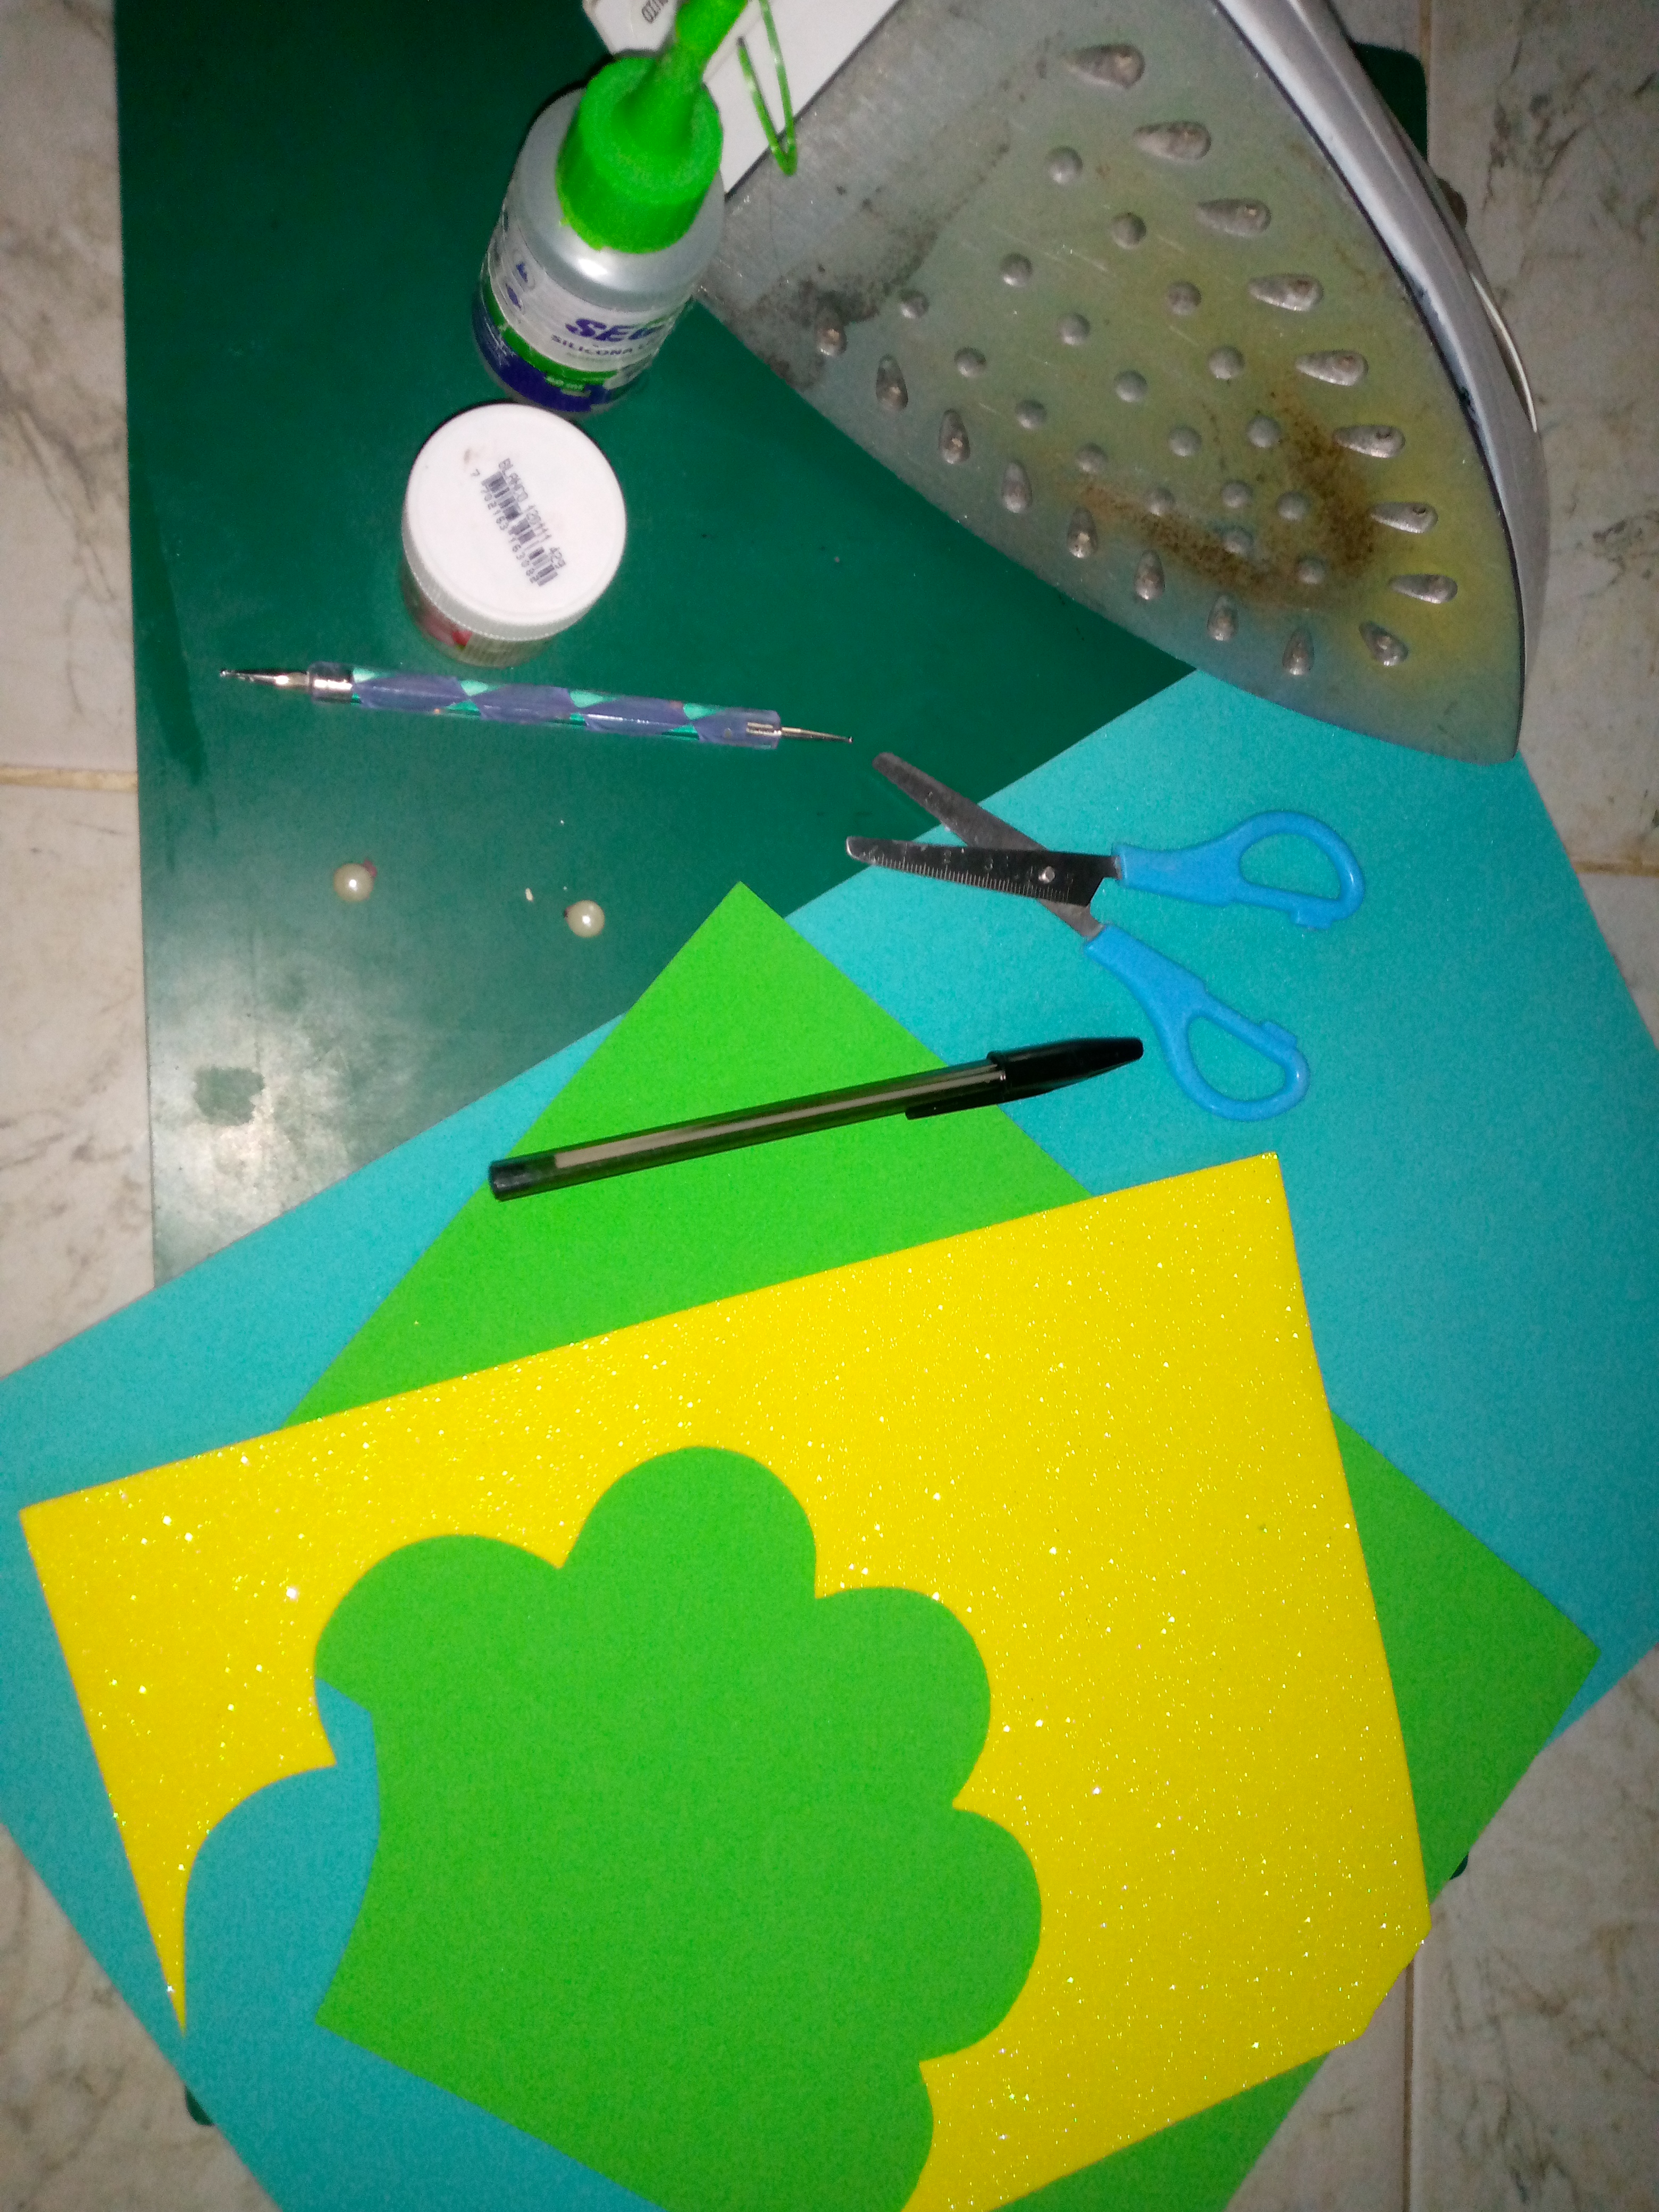
Materiales
• Bolígrafo
• Foami color turquesa, amarillo y verde
• Silicón liquido
• Pintura blanca
• Puntero
• 2 perlas
• Plancha de ropa
Materials
• Ballpoint
• Turquoise, yellow and green foam
• Liquid silicone
• White paint
• Pointer
• 2 pearls
• Clothes iron
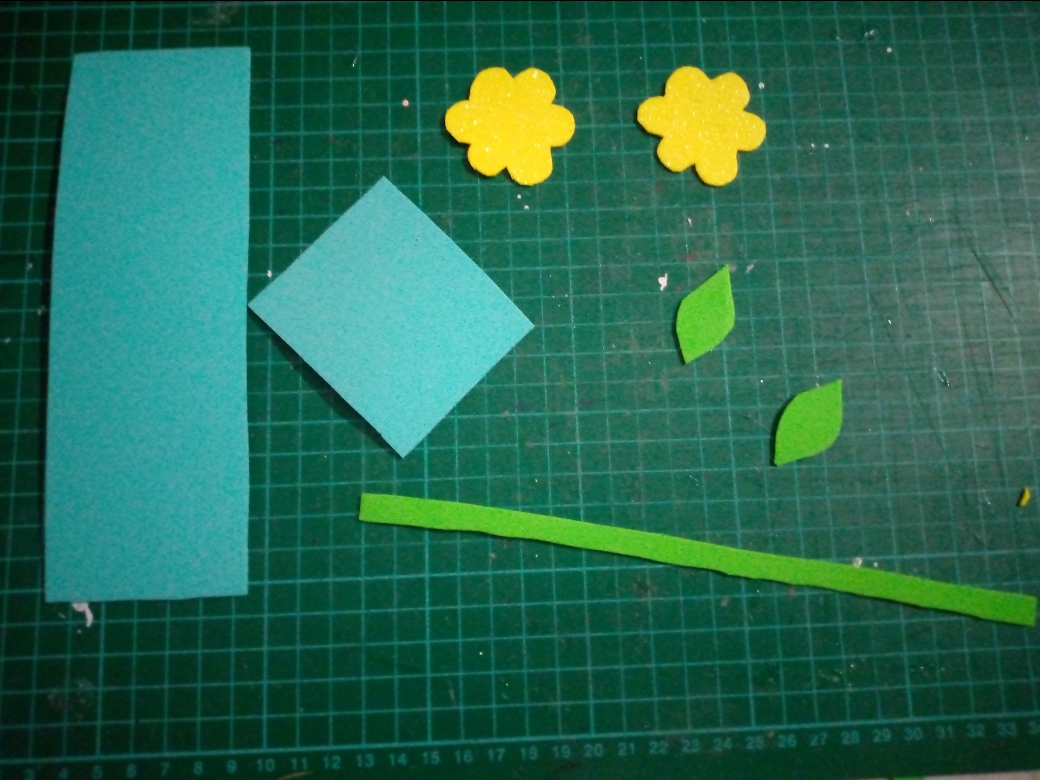
Paso a paso
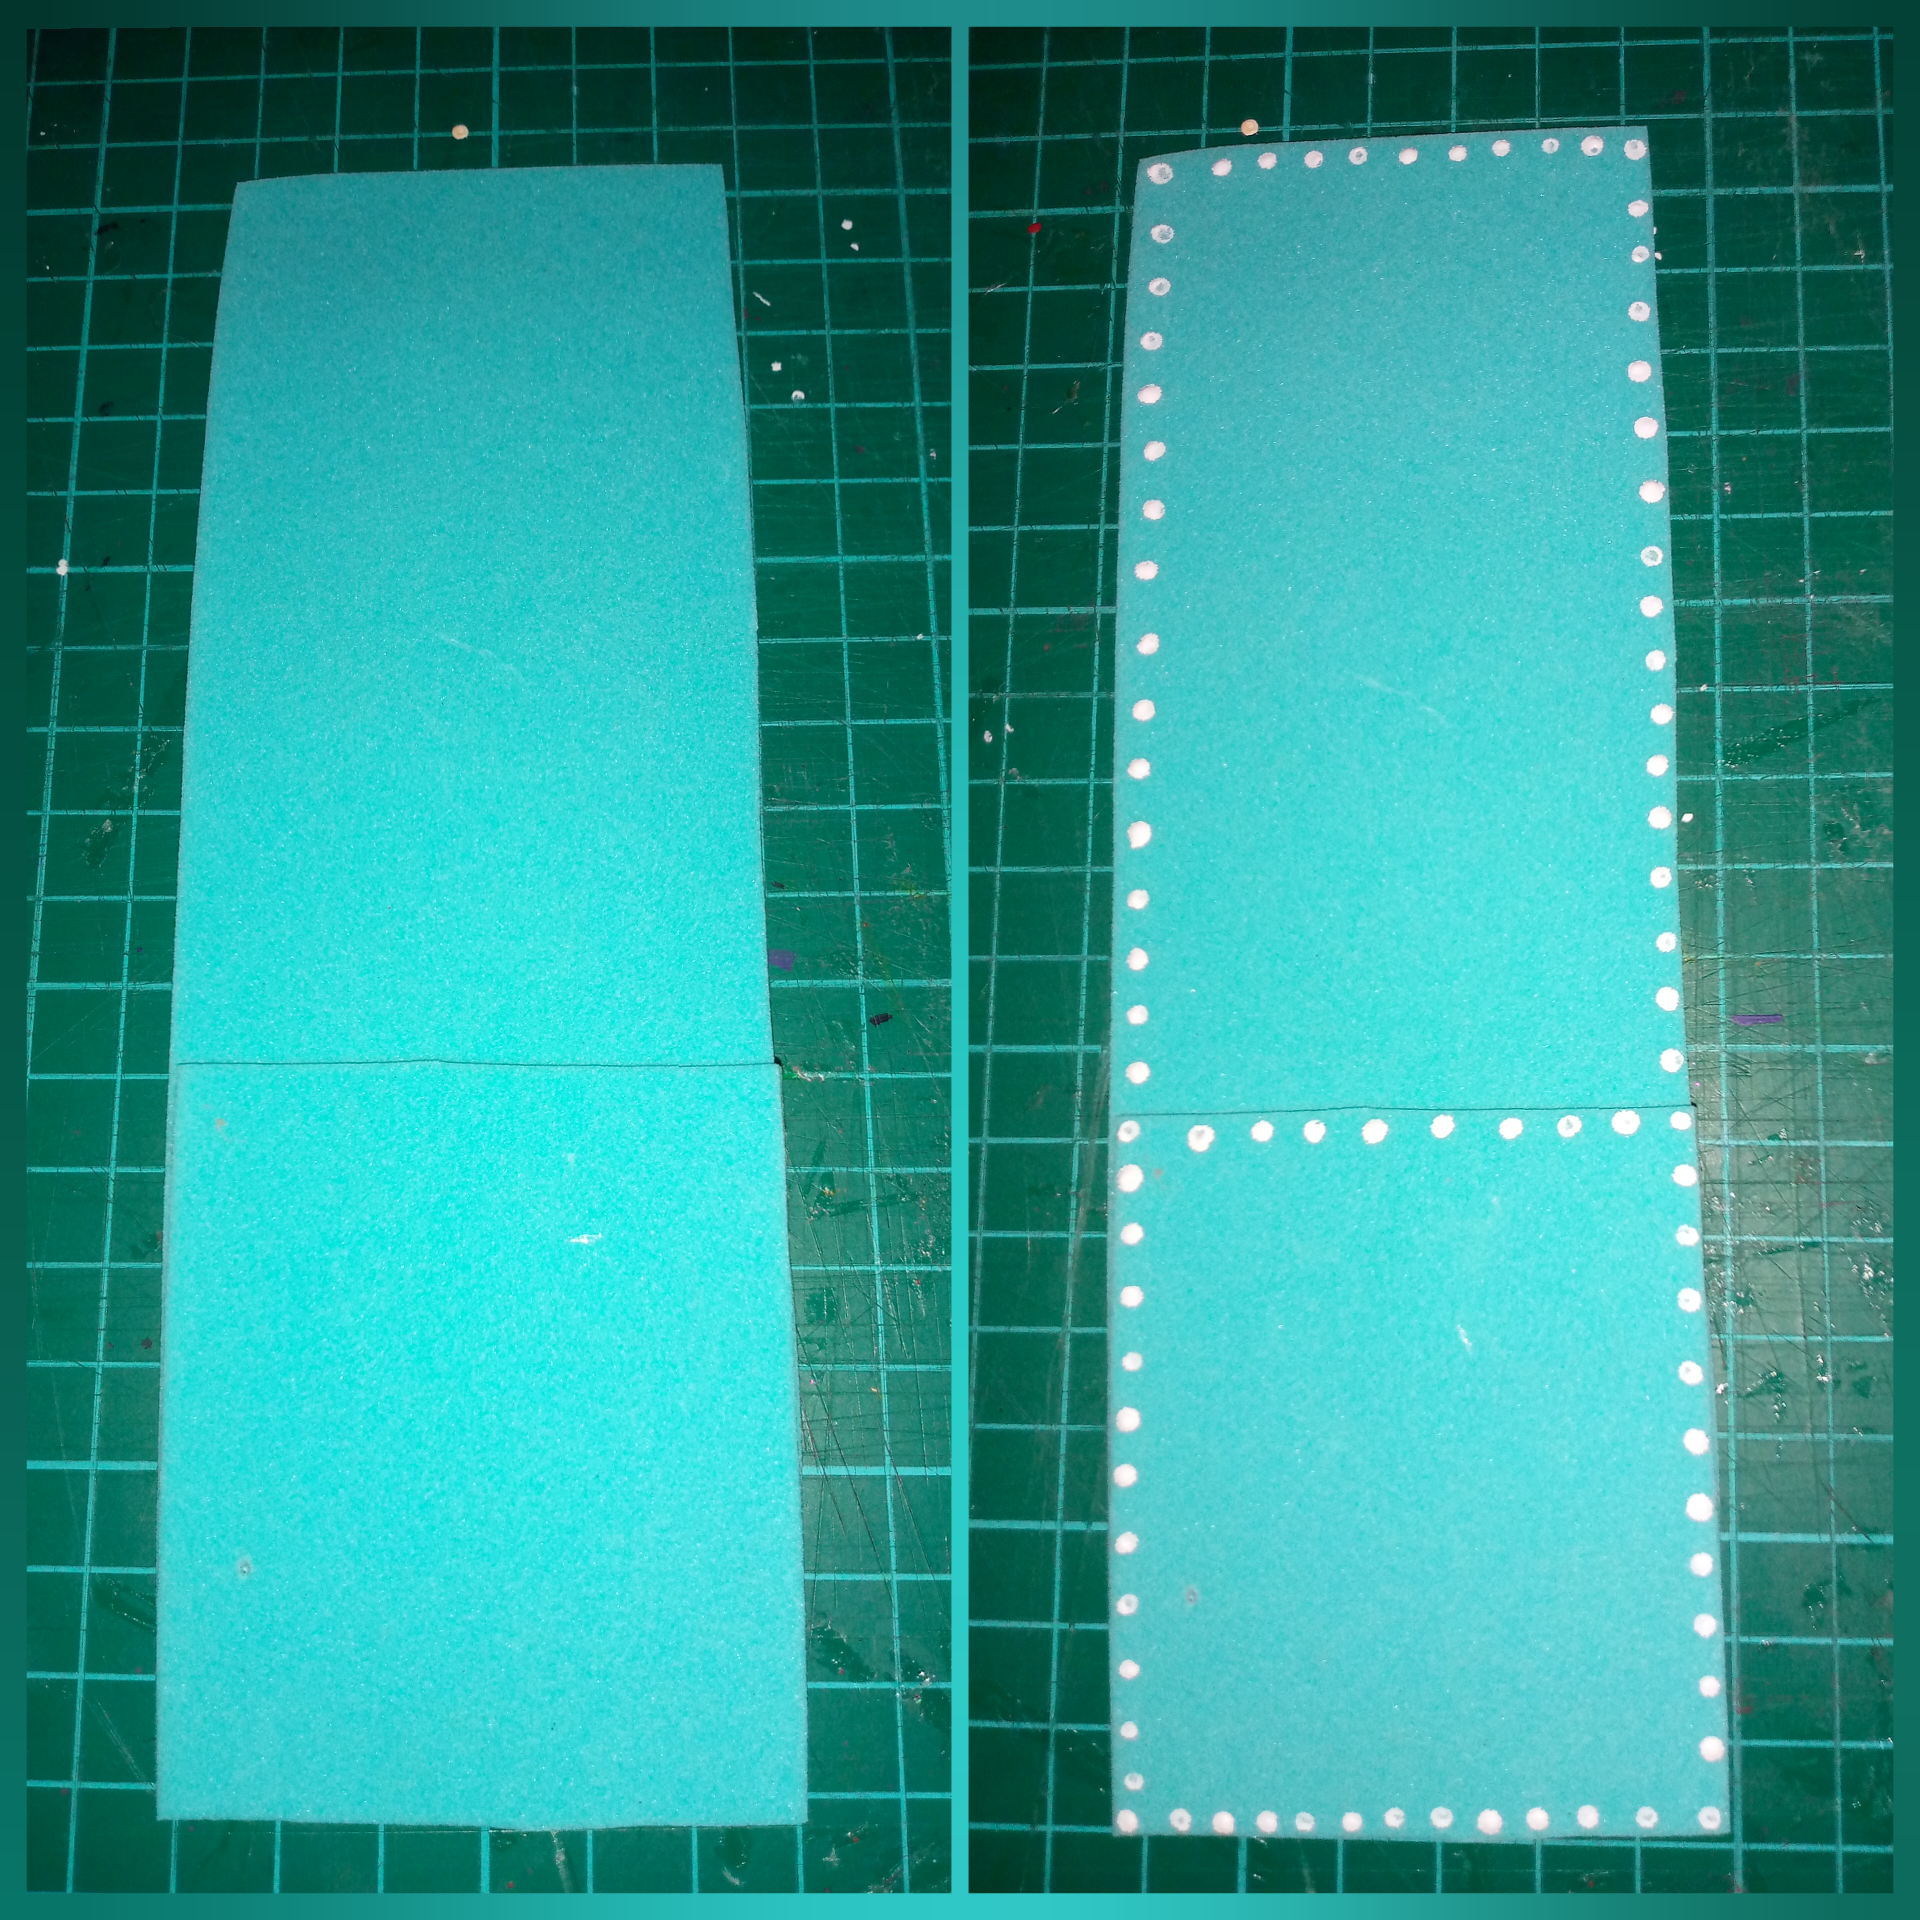
1- Corta dos tiras del foami turquesa, una de 7x18cm y otra de 7x7cm, con el foami amarillo haz dos flores y con el foami verde dos hojas y corta una tira de 1x 10cm.
Step by Step
1- Cut two strips of the turquoise foami, one of 7x18cm and the other of 7x7cm, with the yellow foami make two flowers and with the green foami two leaves and cut a strip of 1x 10cm.
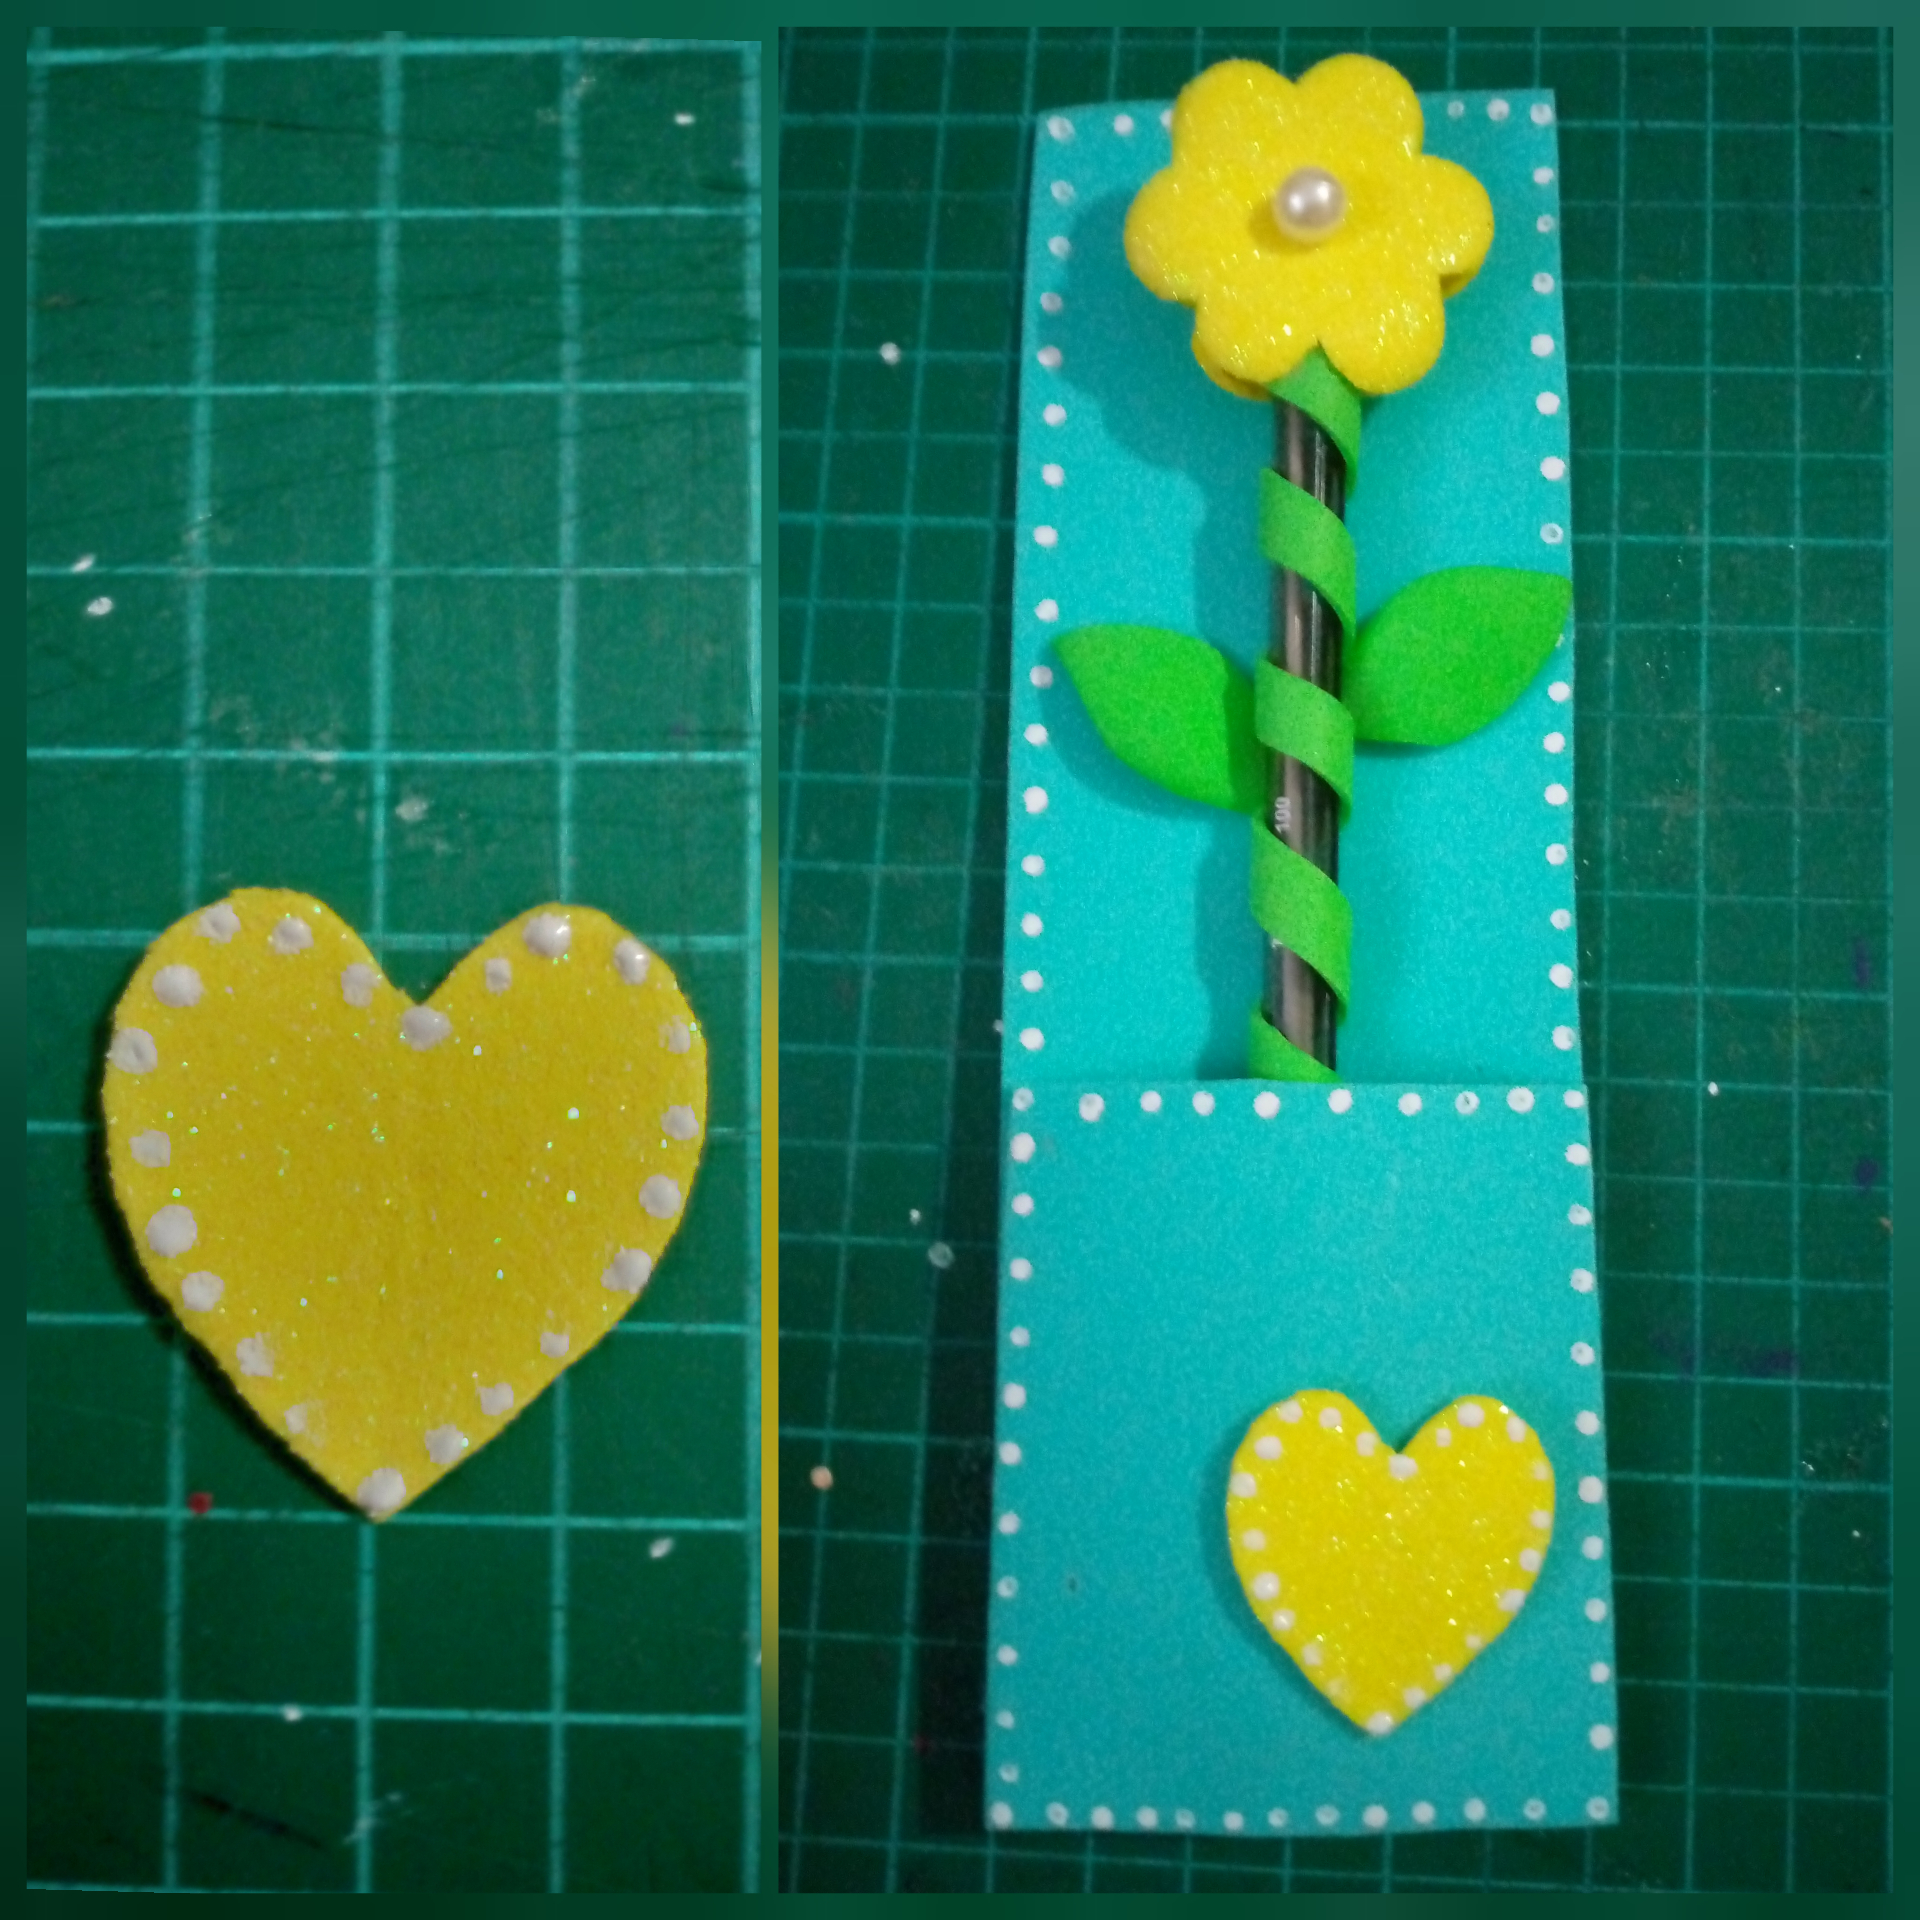
2- Pega la tira turquesa de 7x7cm, en la parte inferior de la tira más larga, solo los lados y la parte de abajo, luego decora con puntos blancos sobre todo su borde y deja secar.
2- Glue the 7x7cm turquoise strip to the bottom of the longest strip, only the sides and the bottom, then decorate with white dots over its entire edge and let it dry.
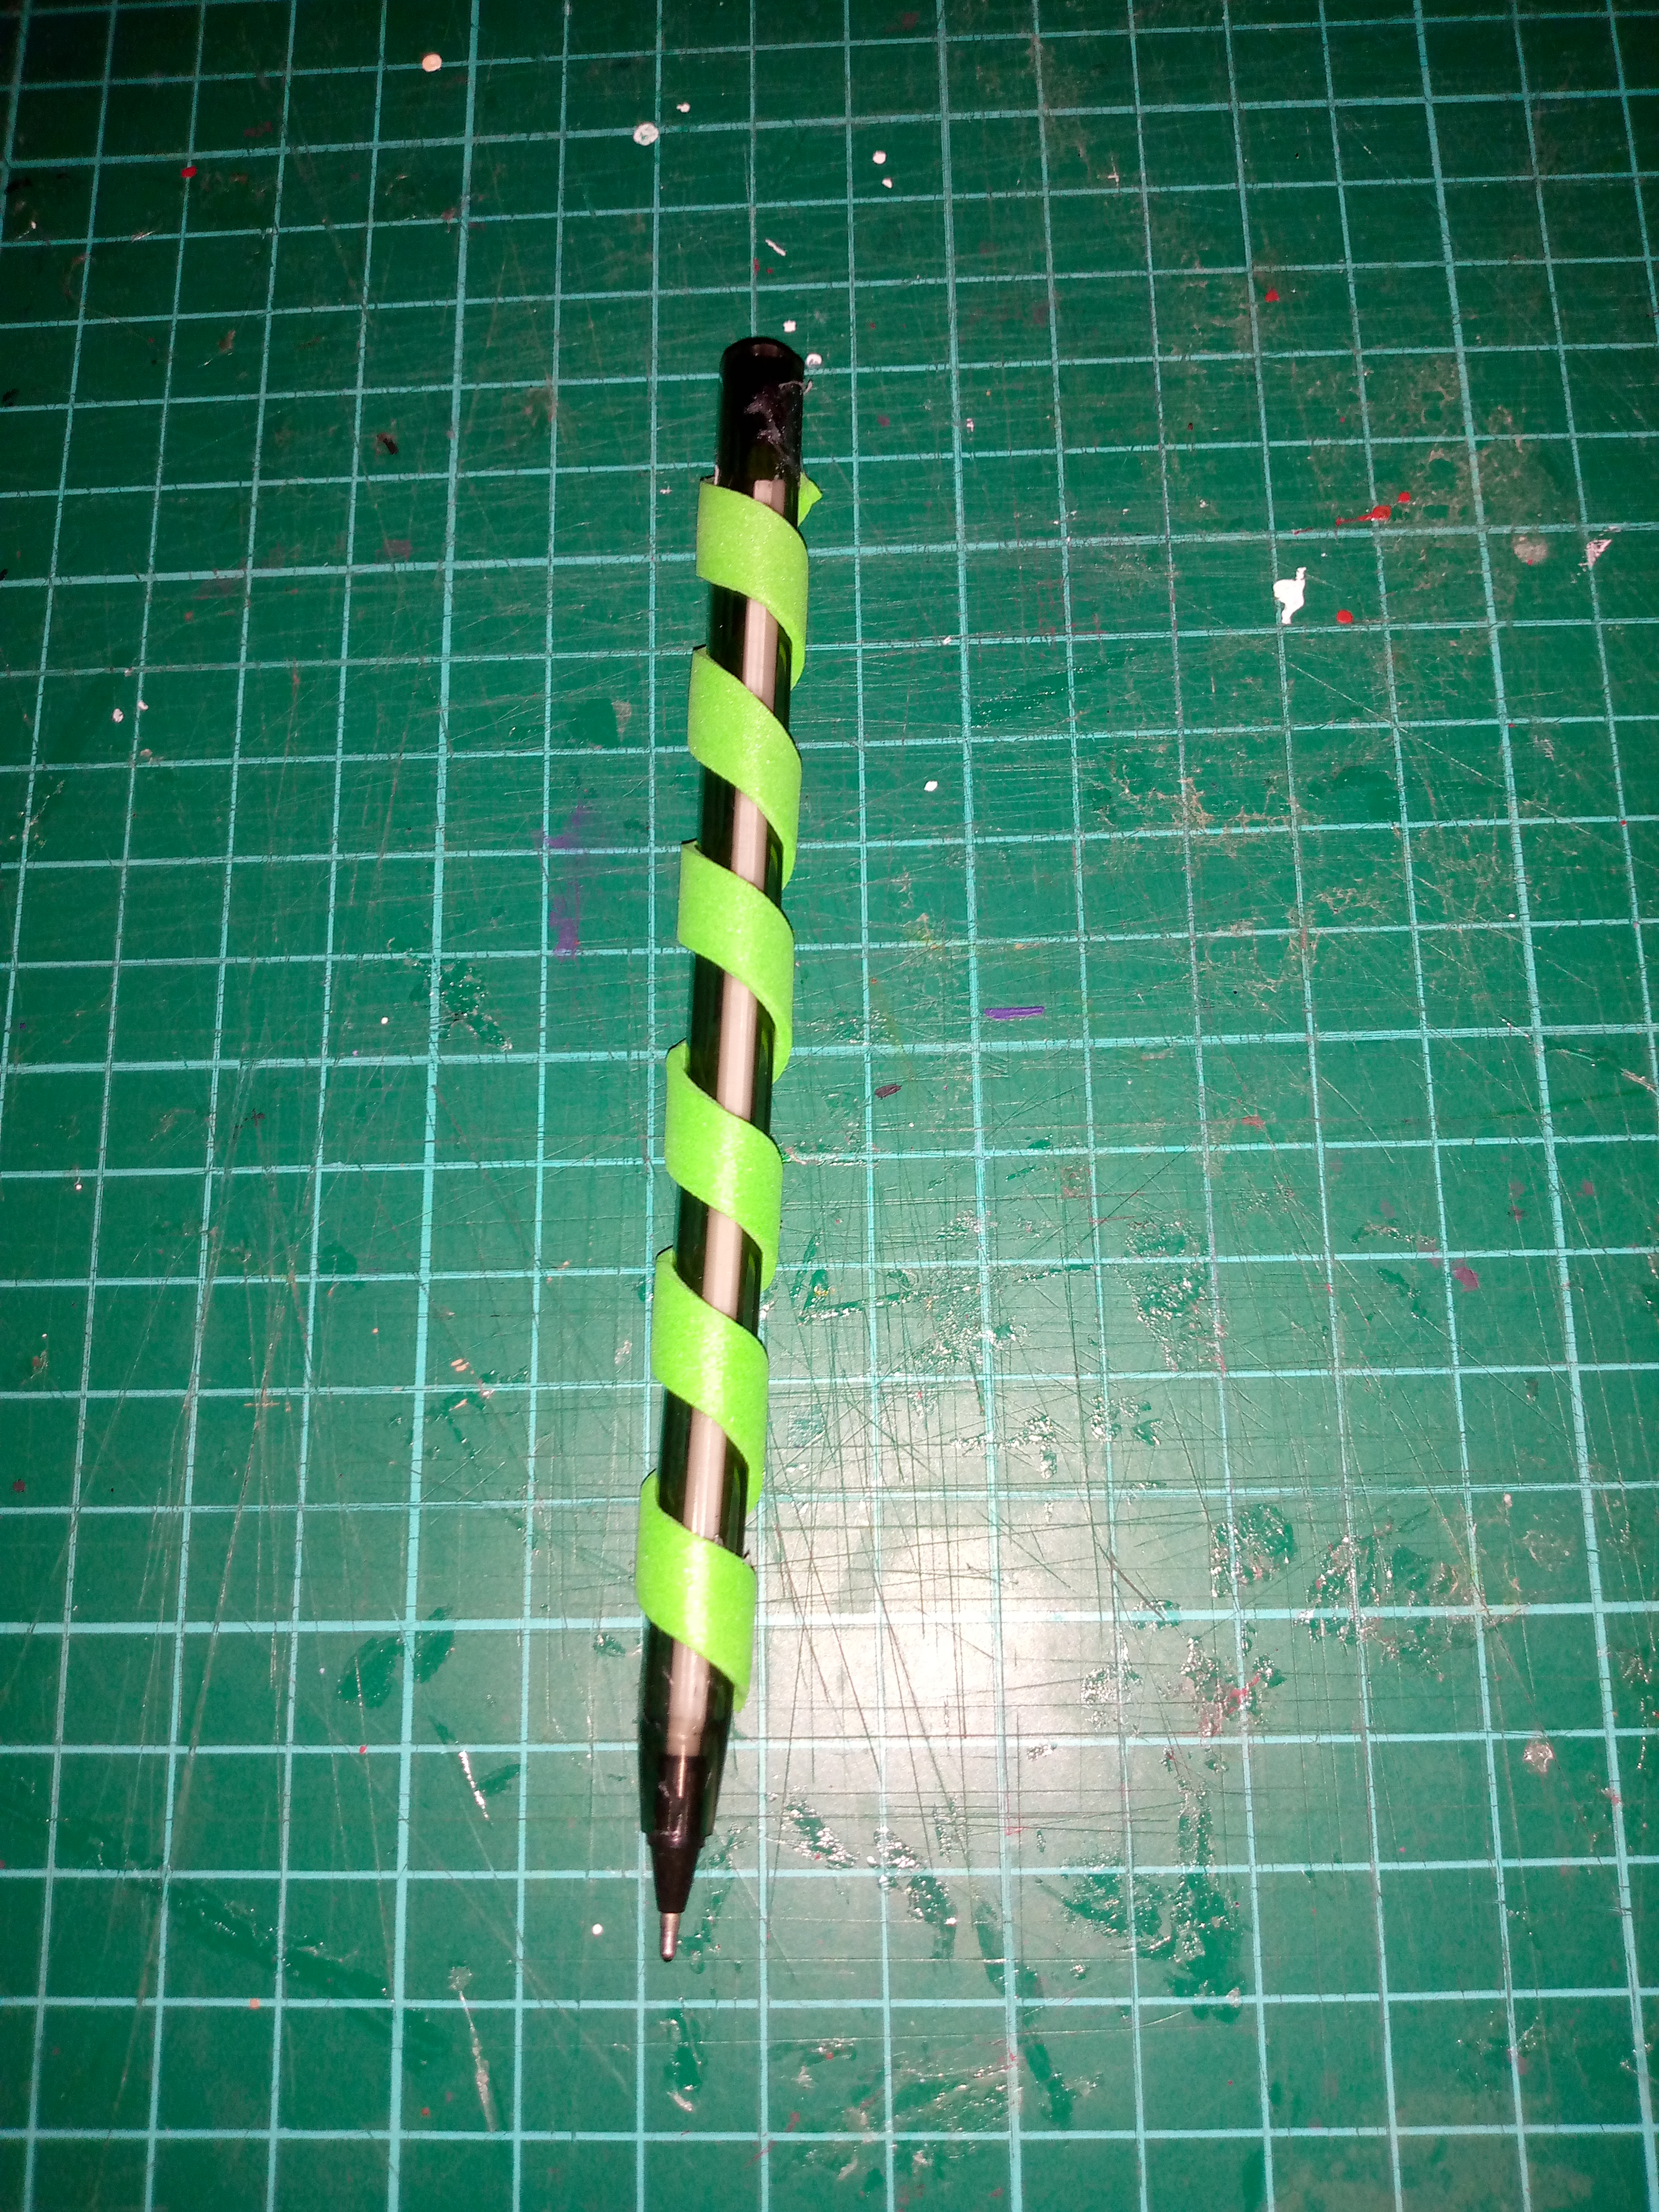
3- Envuelve la tira verde en el bolígrafo.
3- Wrap the green strip in the pen.
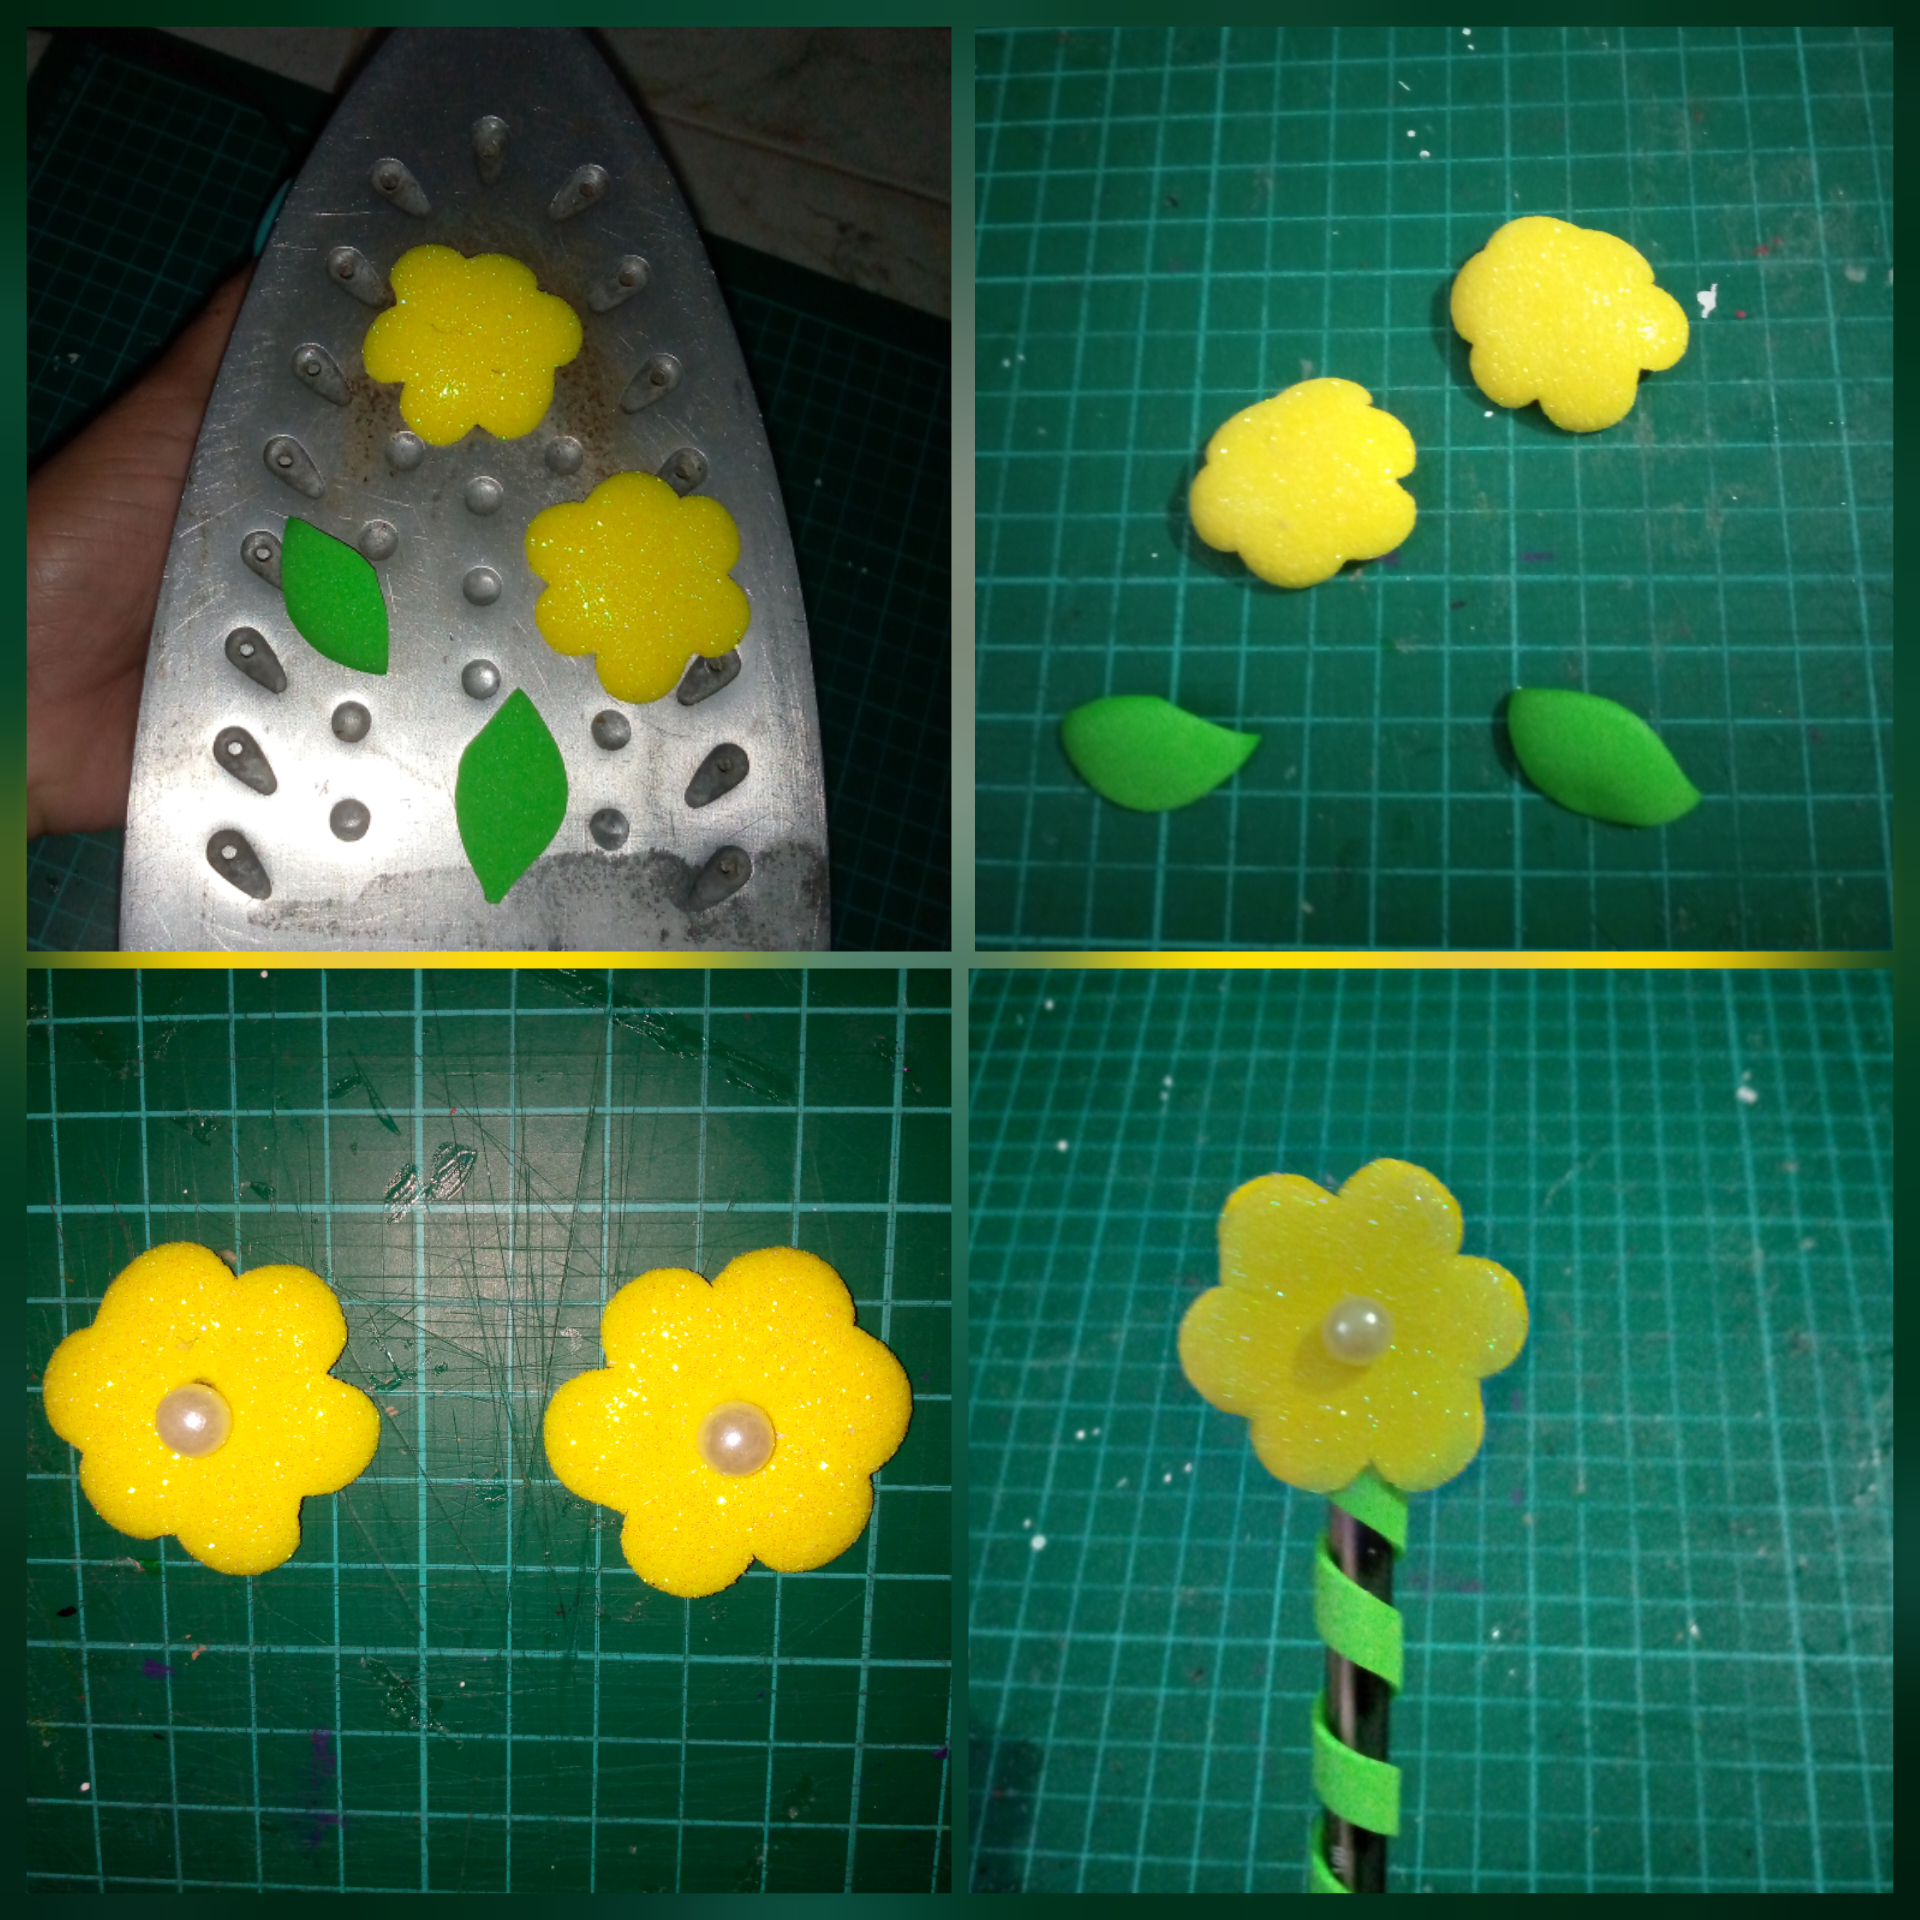
4- Coloca las flores y las hojas sobre la plancha de ropa un poco tibia, para que tomen forma, luego pega las perlas en el centro de cada flor y decora la parte superior del bolígrafo uniendo las dos piezas.
4- Place the flowers and leaves on the slightly warm clothes iron, so that they take shape, then glue the pearls in the center of each flower and decorate the upper part of the pen joining the two pieces.
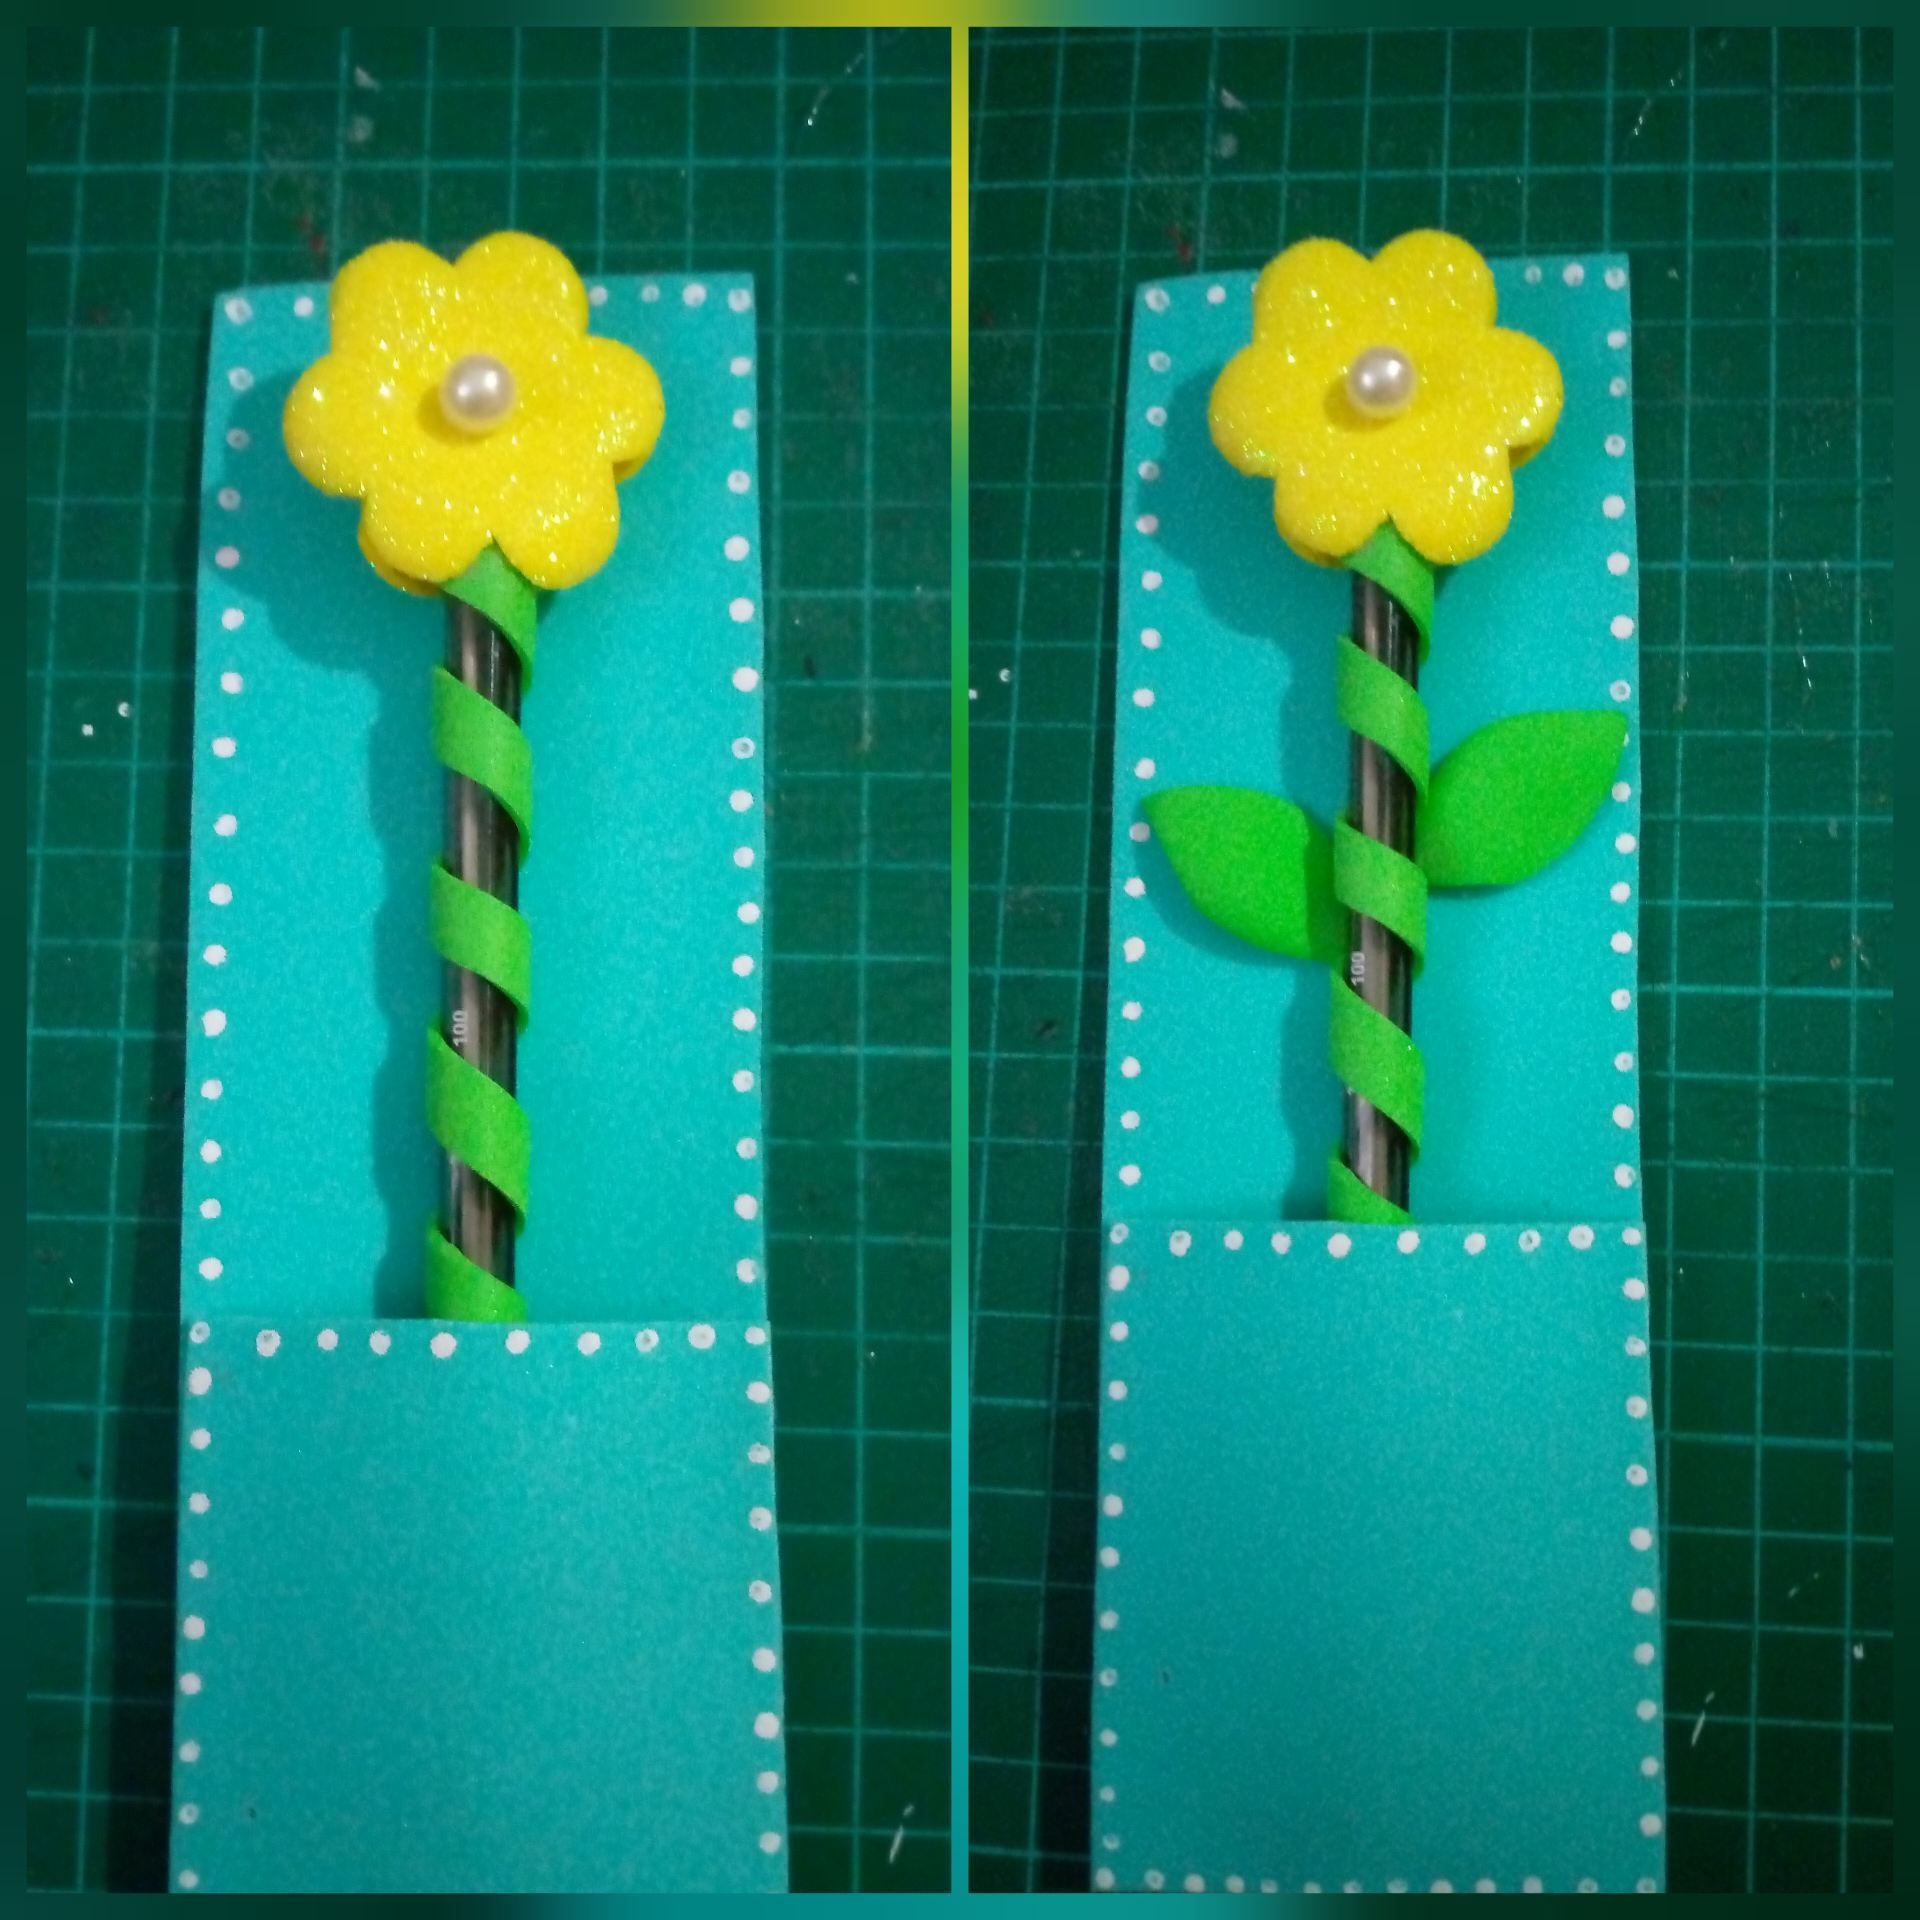
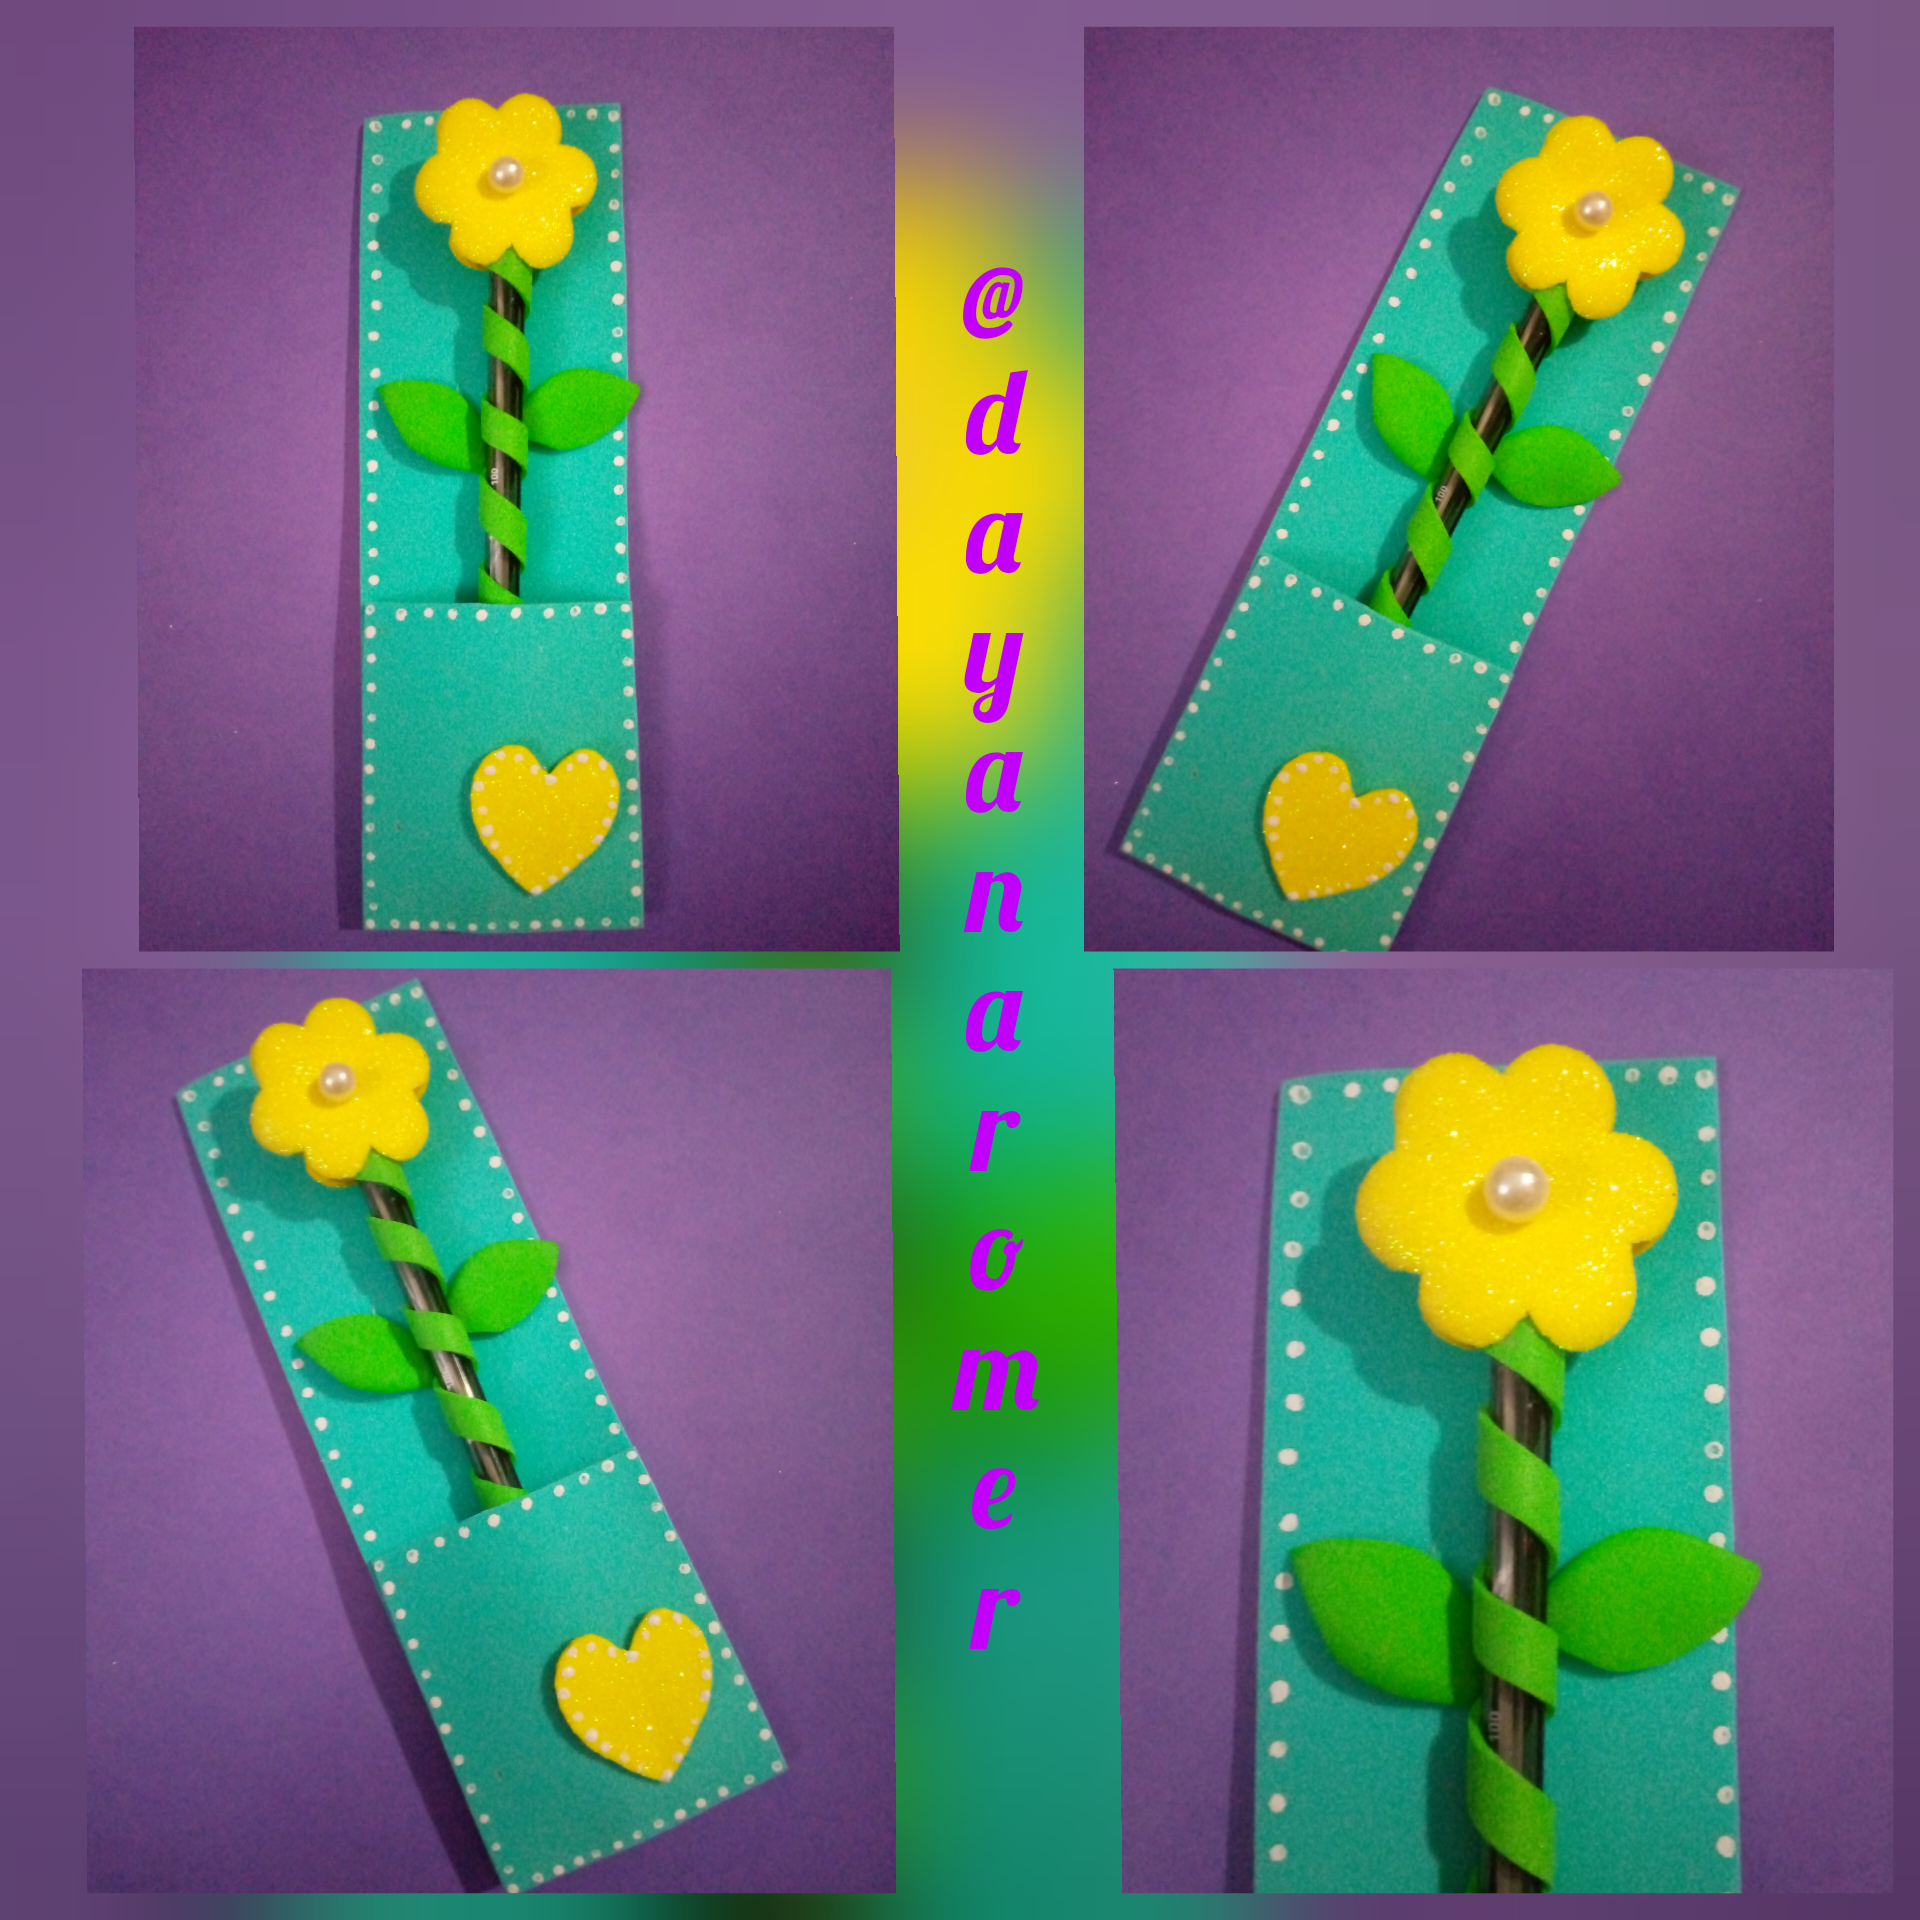
5- Introduce el bolígrafo dentro de su estuche y pega las hojas.
5- Insert the pen into its case and glue the sheets.
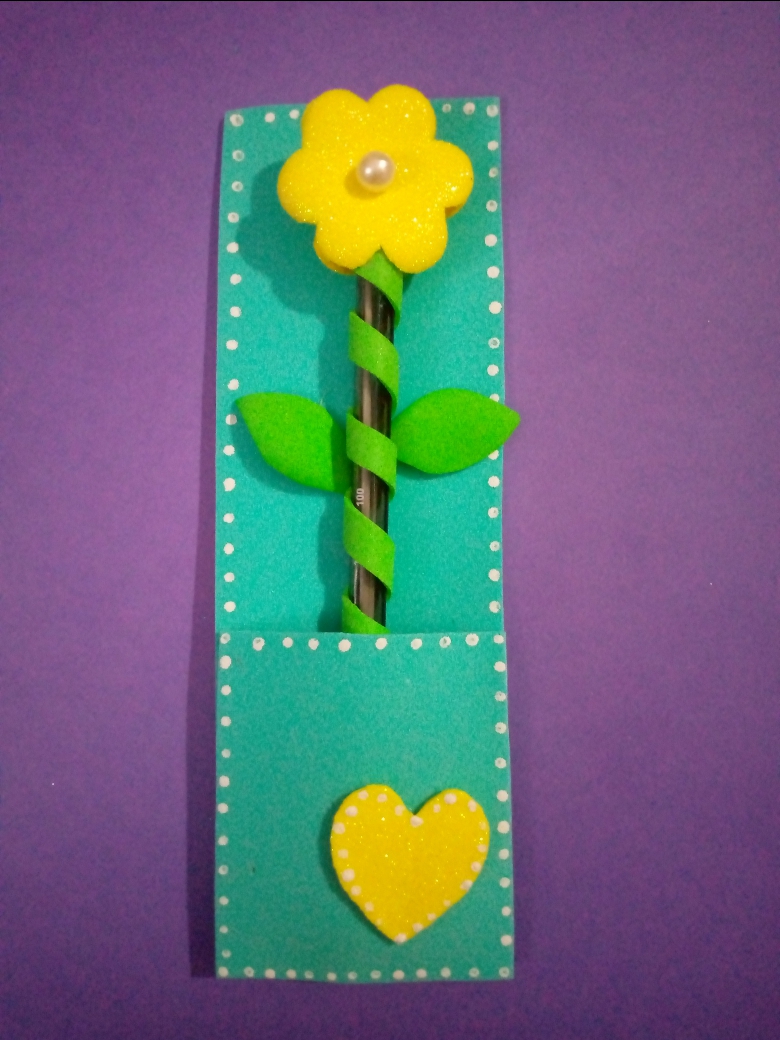
6- Para finalizar haz un corazón, agrégale lunares en el borde y decora el estuche.
6- To finish, make a heart, add polka dots on the edge and decorate the case.
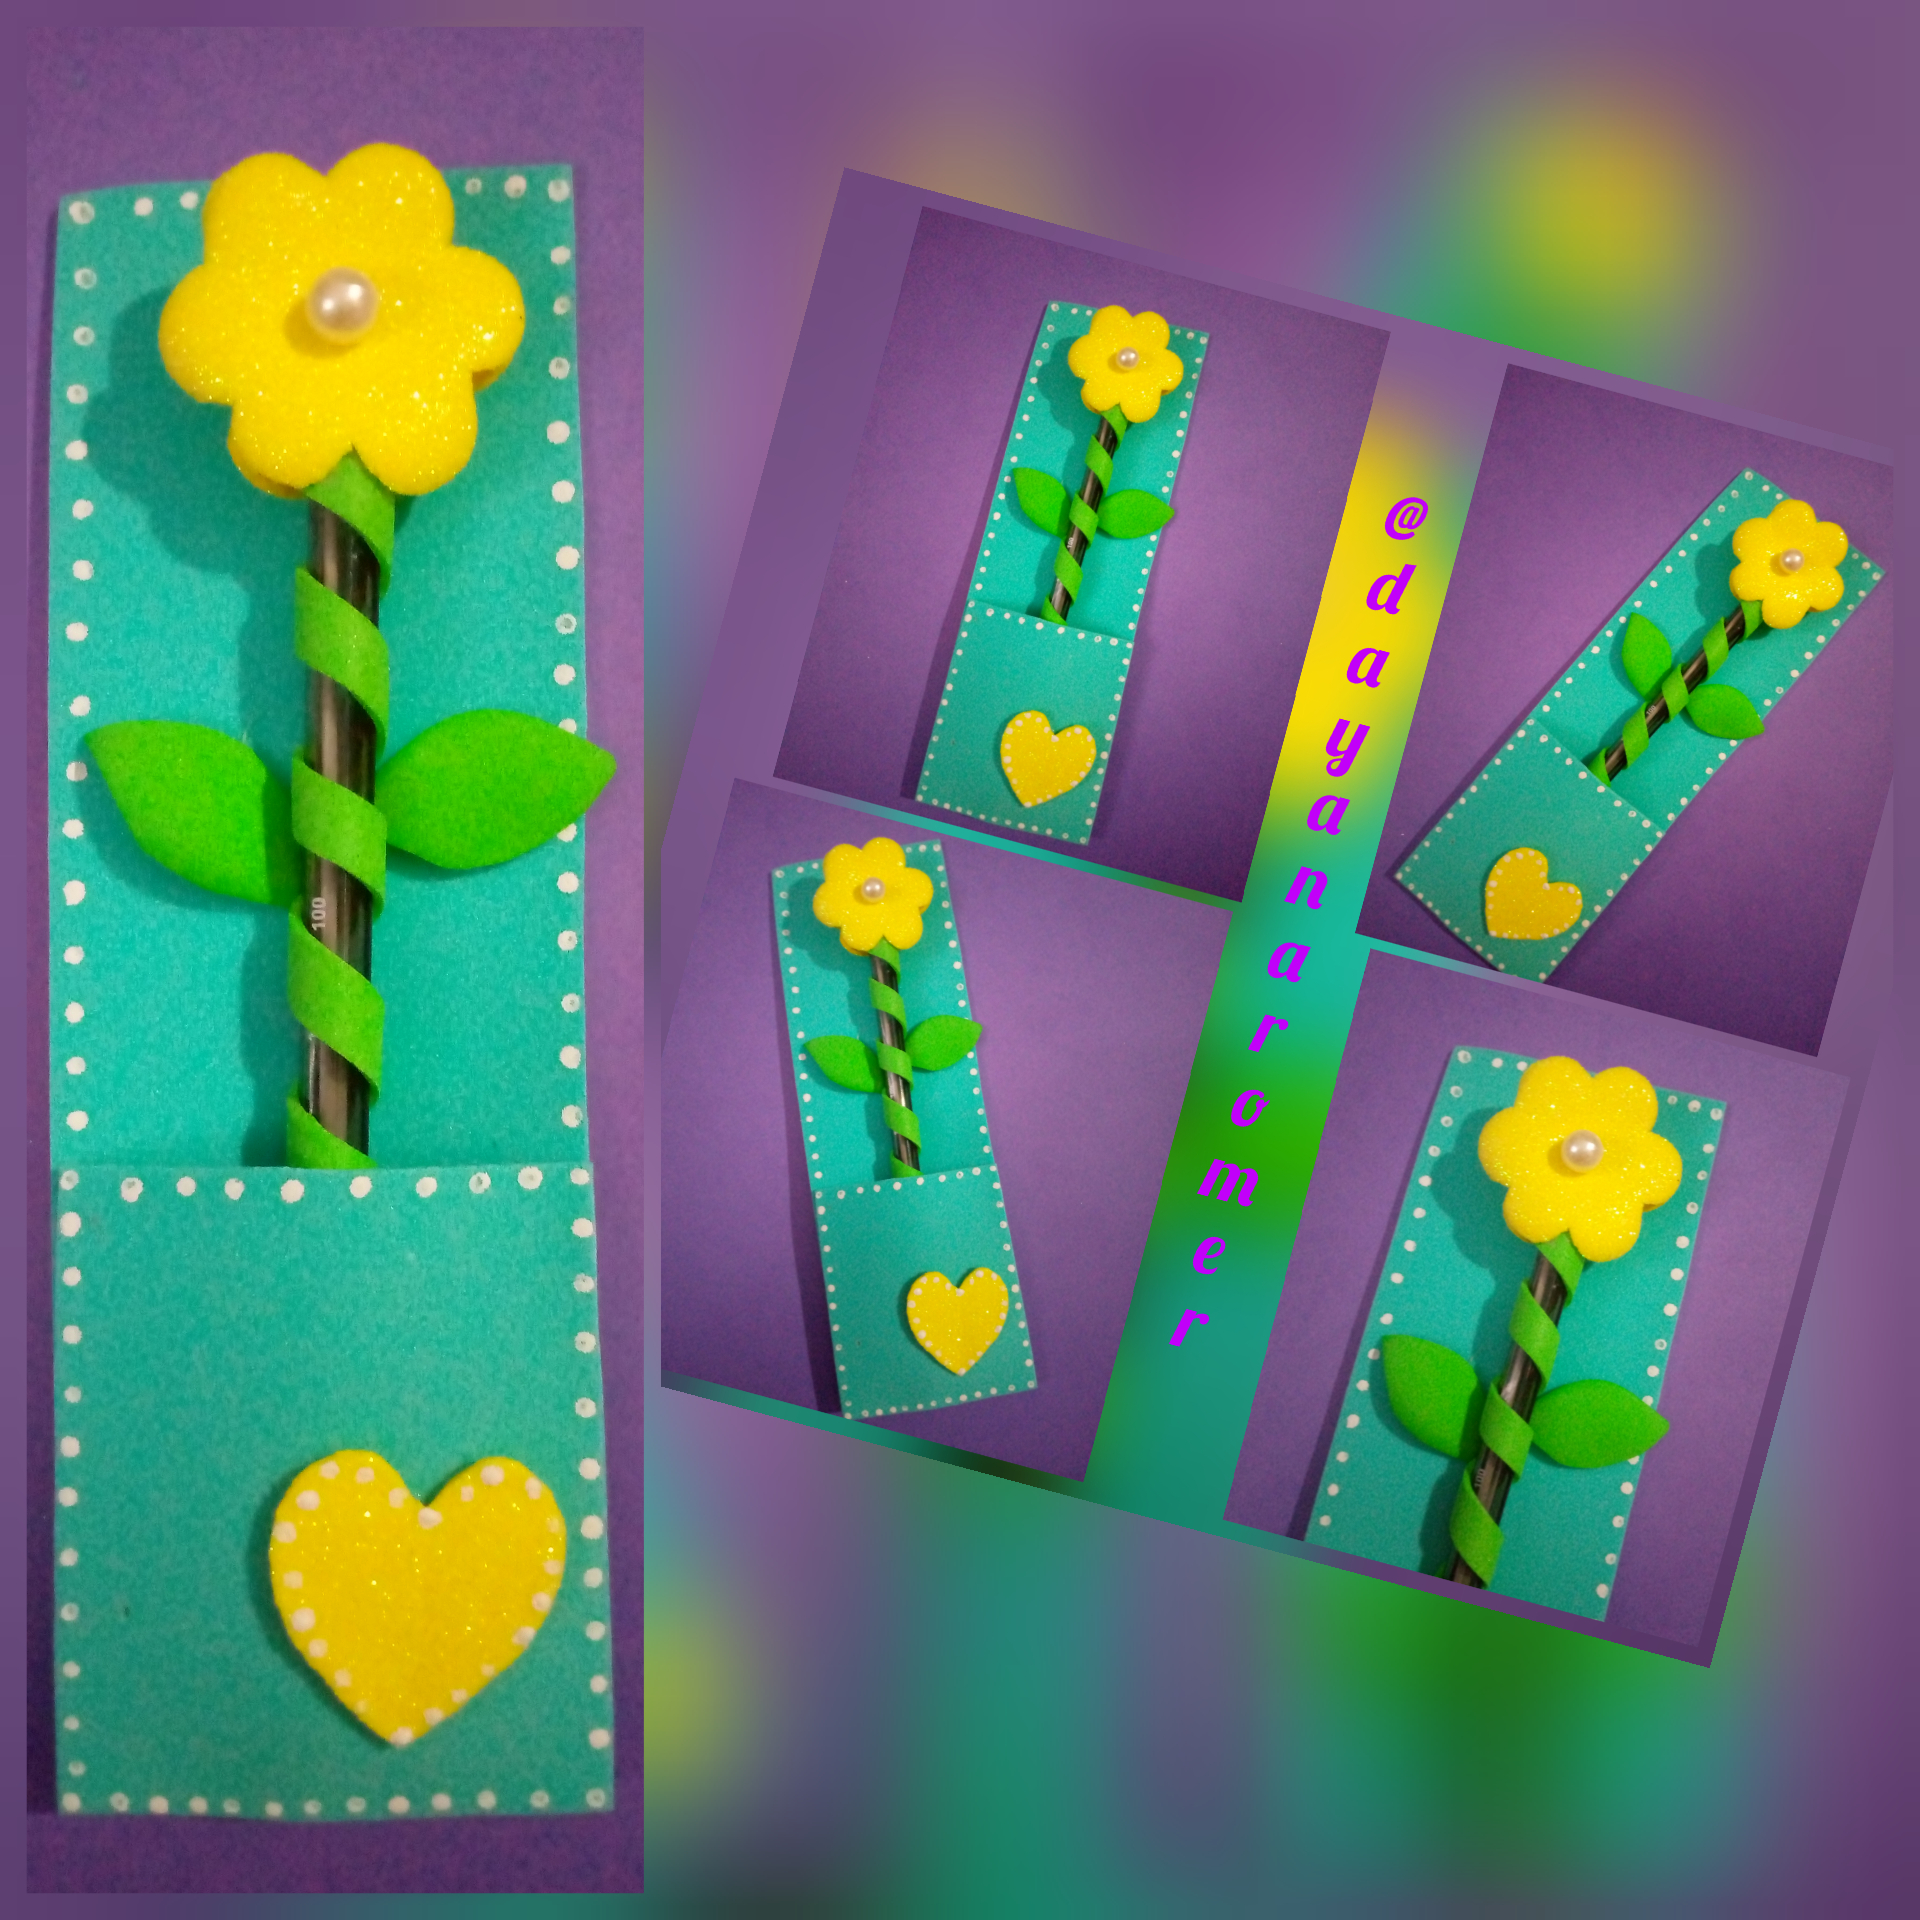
Y así queda.
And so it remains
Espero que haya sido de su agrado amigos, muchas gracias por visitar mi blog, nos vemos en otra oportunidad!
I hope it has been to your liking friends, thank you very much for visiting my blog, see you another time!