Welcome to my Blog.
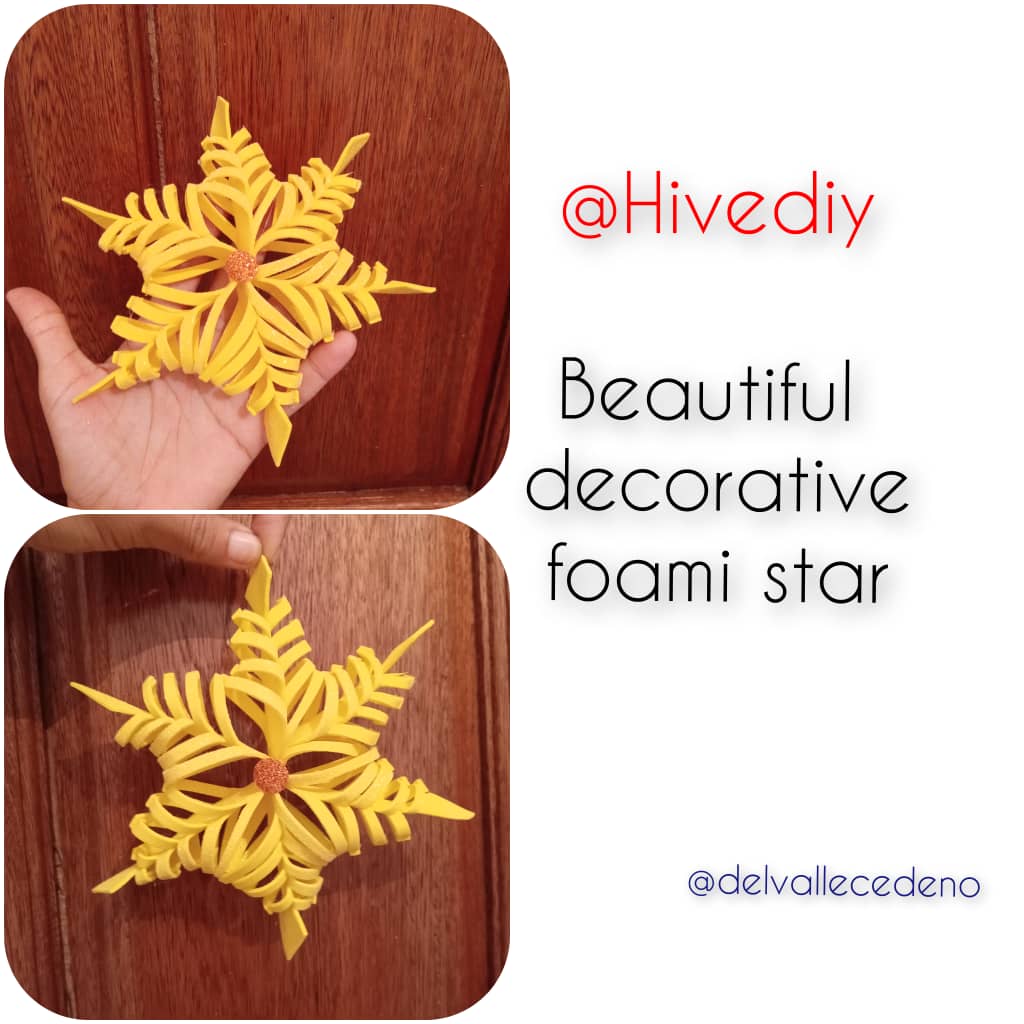
Buenas noche mis amigos que le encantan las manualidades espero estén bien lleno de mucha salud y paz en sus hogares. Hoy quiero compartir con ustedds como elaborar una Hermosa estrella con foami para decorar el árbolito de navidad o cualquier espacio de su agrado es muy sencilla les encantará. A continuación Pasos a seguir:
Good night my friends who love crafts I hope they are full of good health and peace in their homes. Today I want to share with you how to make a beautiful star with foami to decorate the Christmas tree or any space of your liking, it is very simple, you will love it. Next Steps to follow:

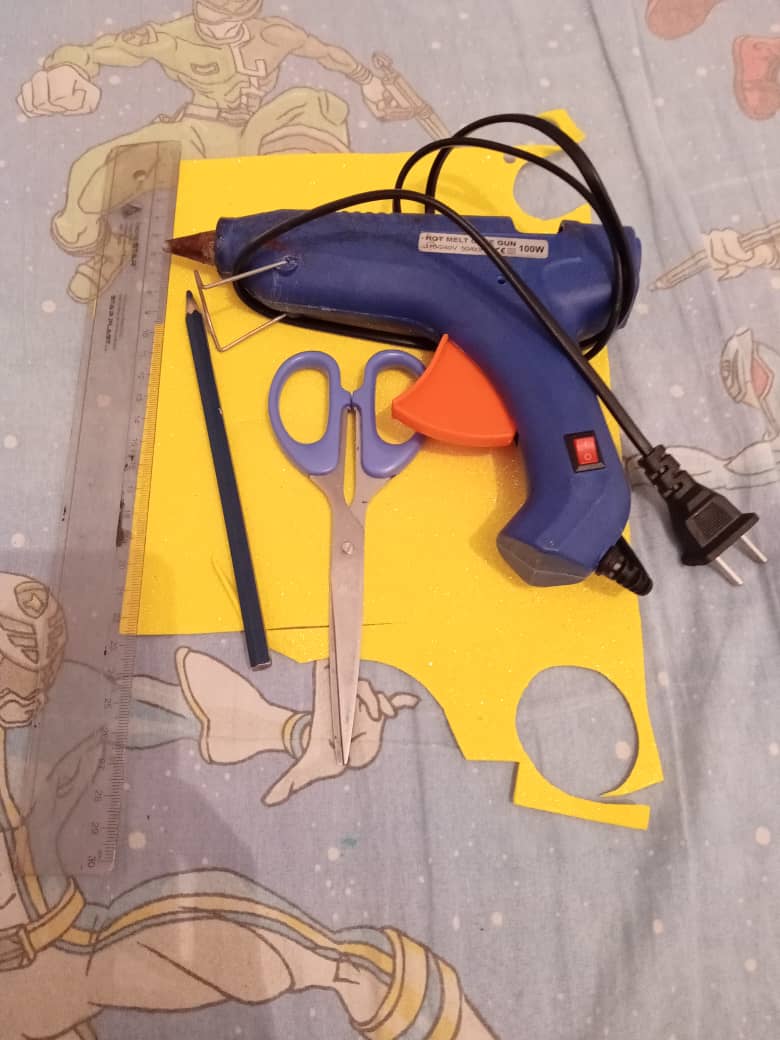
Materiales:
- Foami escarchado de color amarillo.
- Tijeras.
- Silicona caliente.
- Regla.
- Lápiz.
Materials:
- Yellow frosted foam.
- Pair of scissors.
- Hot silicone.
- Rule.
- Pencil.
Step by Step || Pasó a paso:
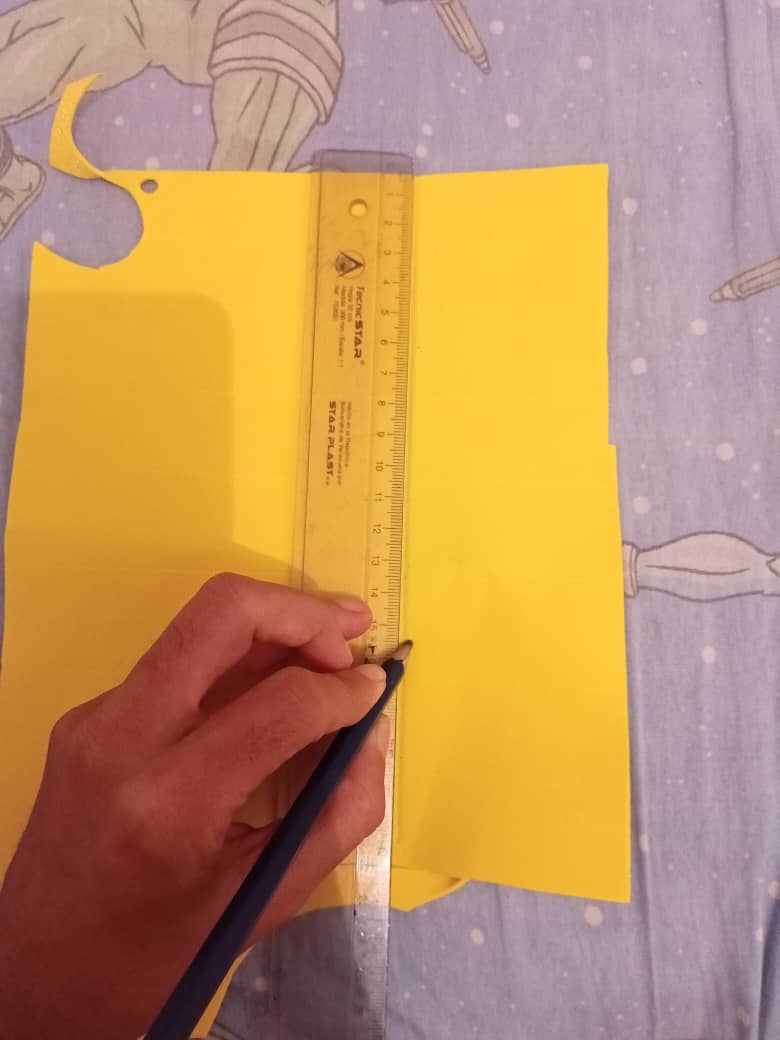
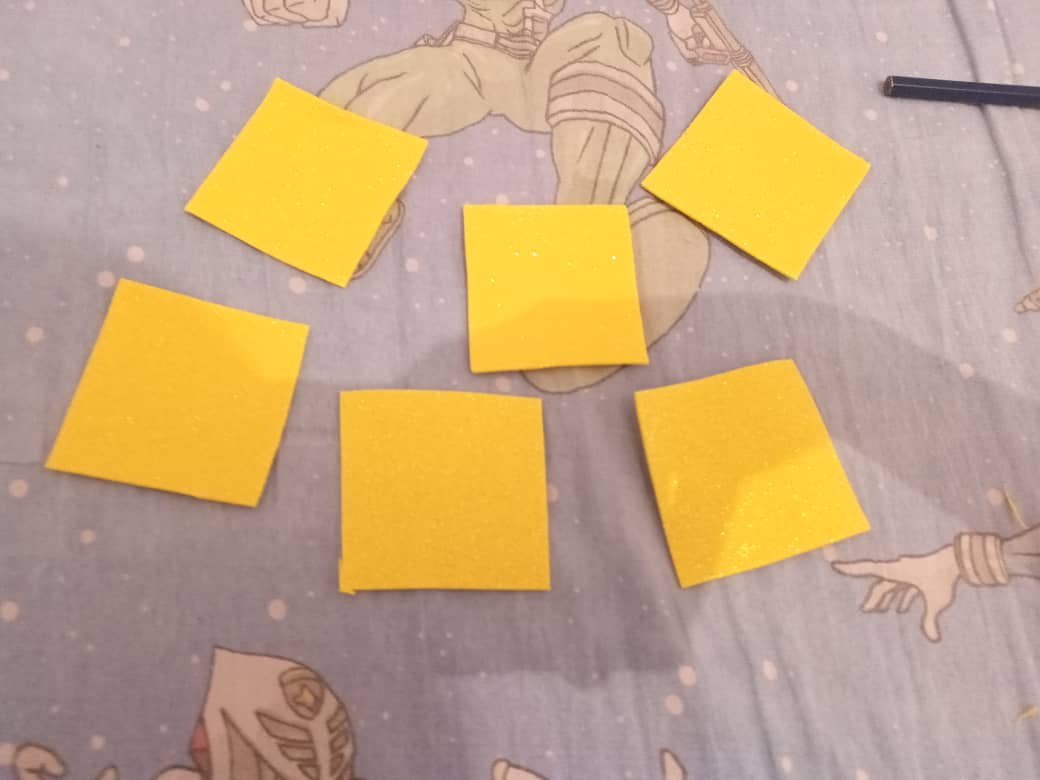
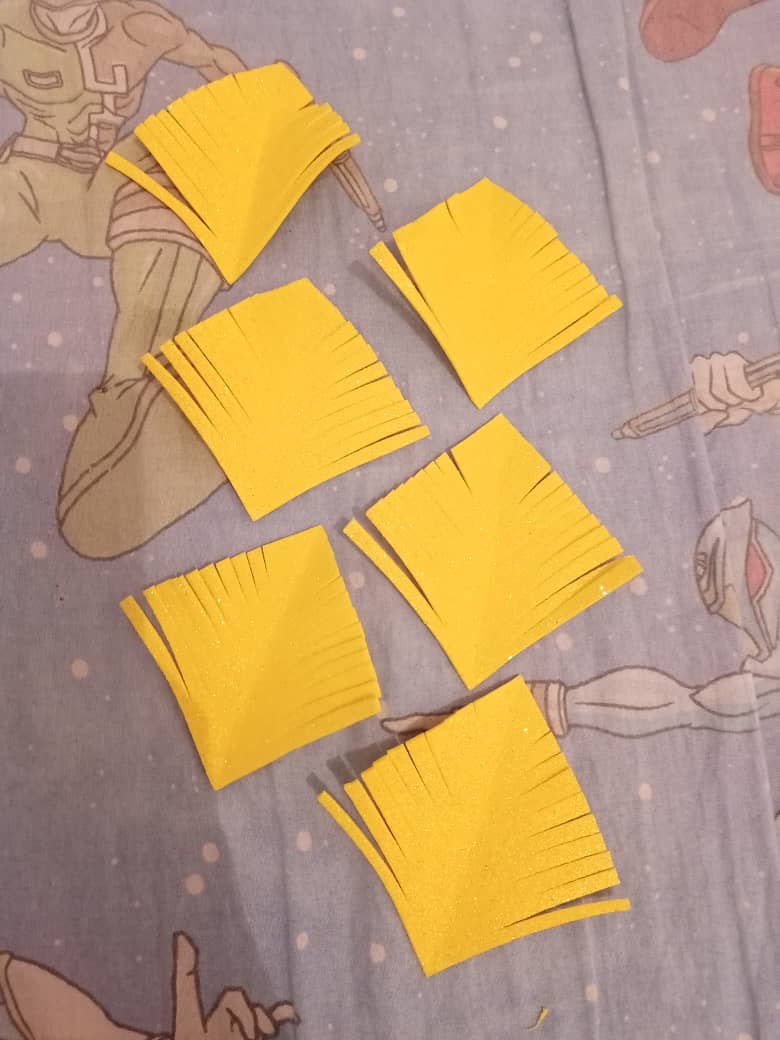
1er paso: Lo primero que haremos es con ayuda de la regla marcar en el foami amarillo 6 pequeños cuadros de 5cm por 5cm cada uno y cortar, eso va dependiendo el tamaño deseado.
1st step: The first thing we will do is with the help of the ruler mark 6 small squares of 5cm by 5cm each on the yellow foami and cut, that depends on the desired size
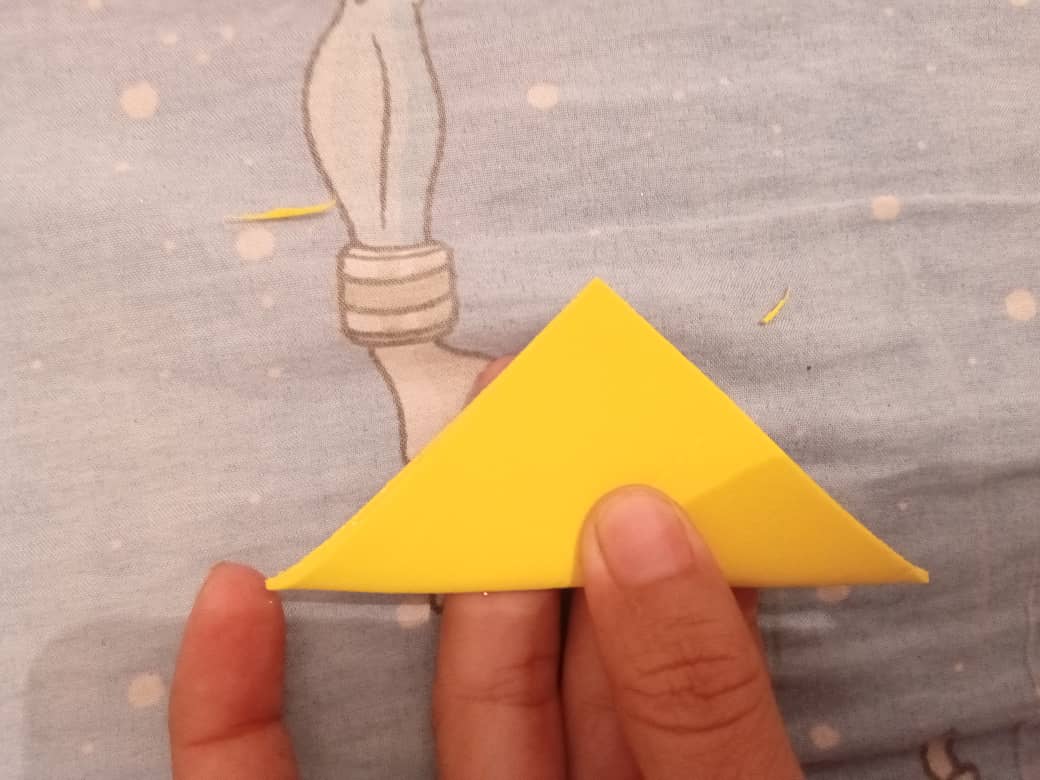
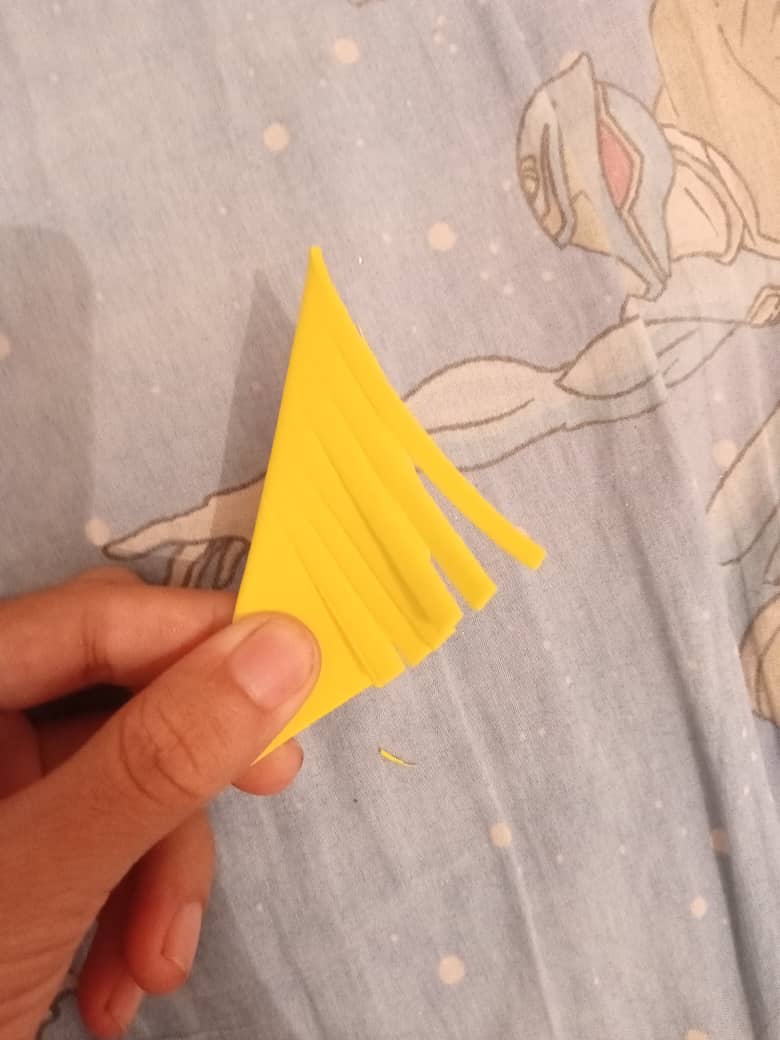
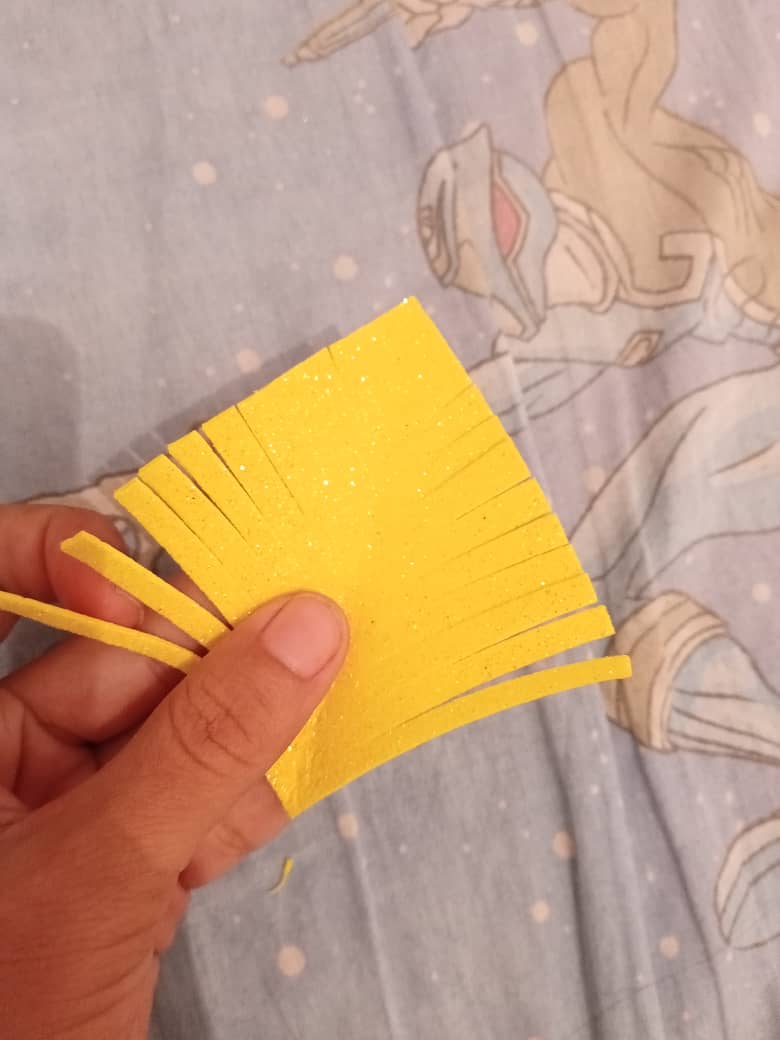
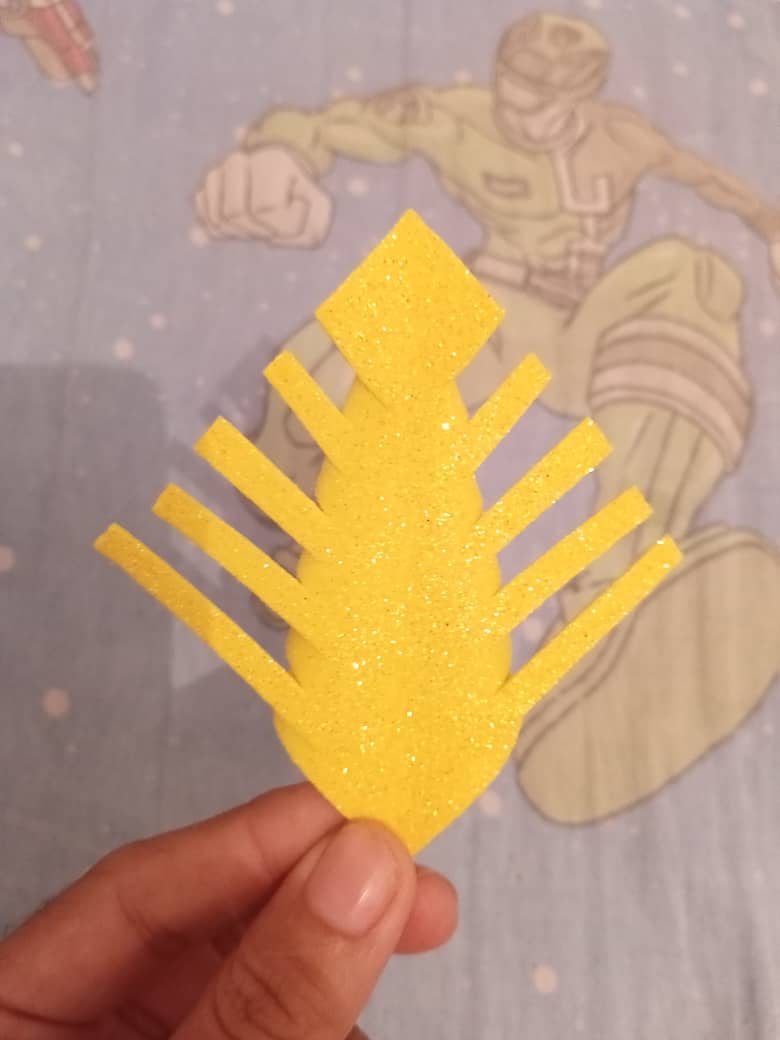
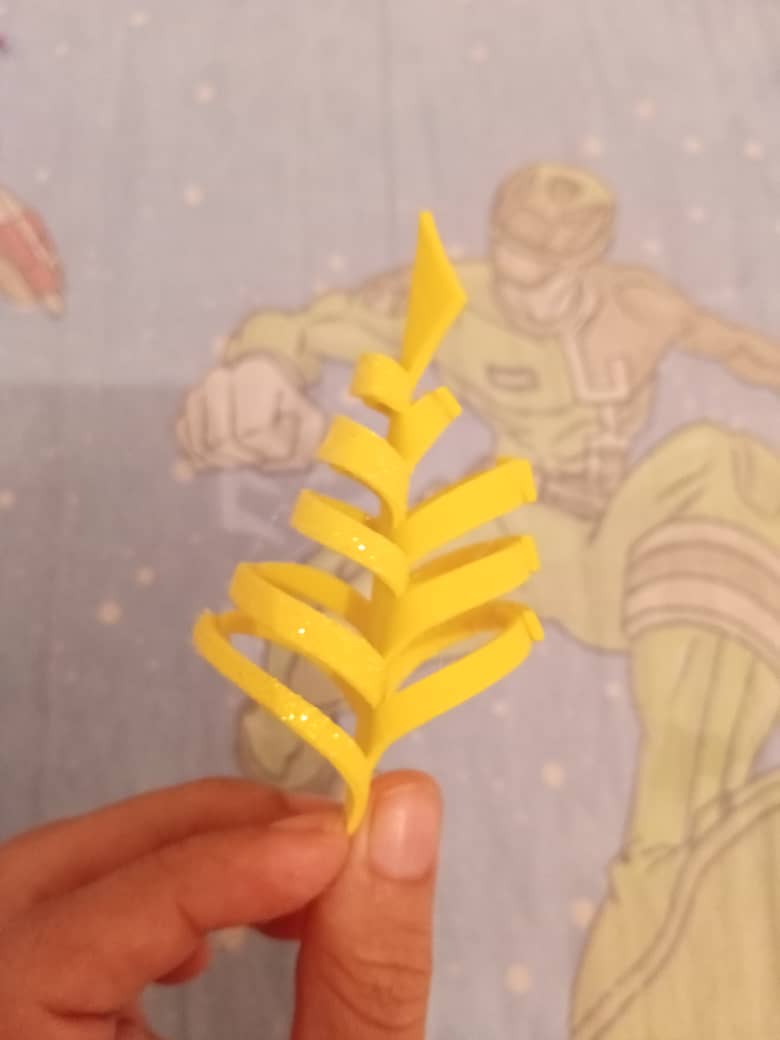
2do paso:Luego doblamos a la mitad de la siguiente manera y hacer pequeños cortes.
2nd step: Then we fold in half as follows and make small cuts.
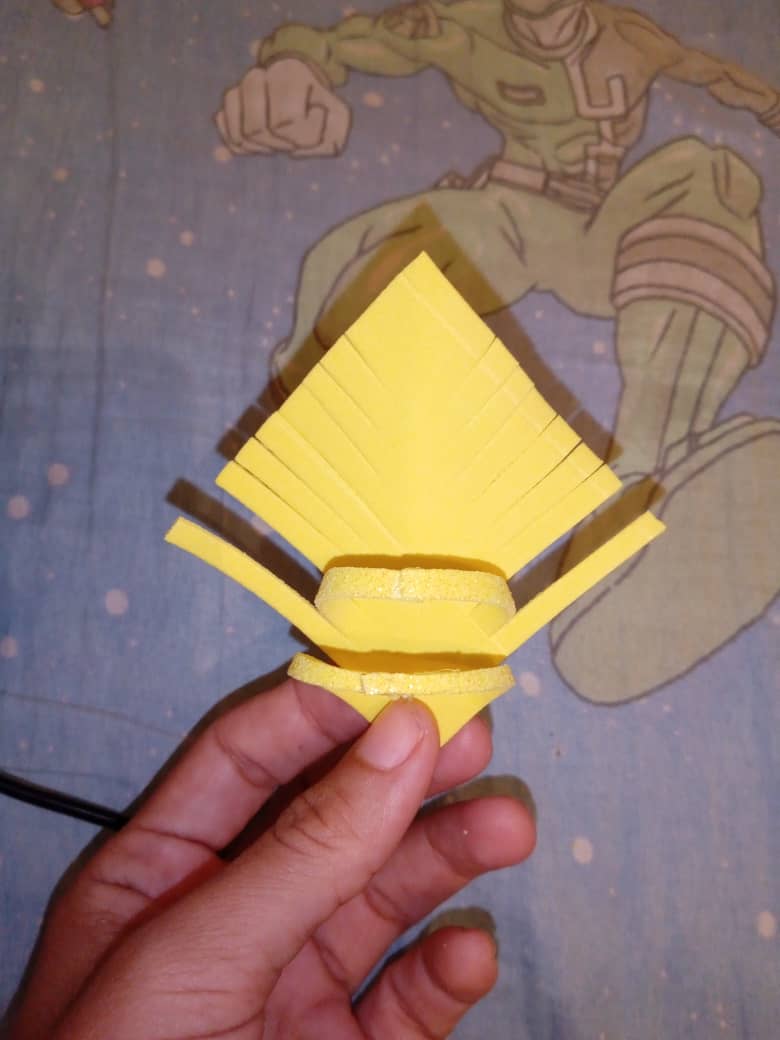
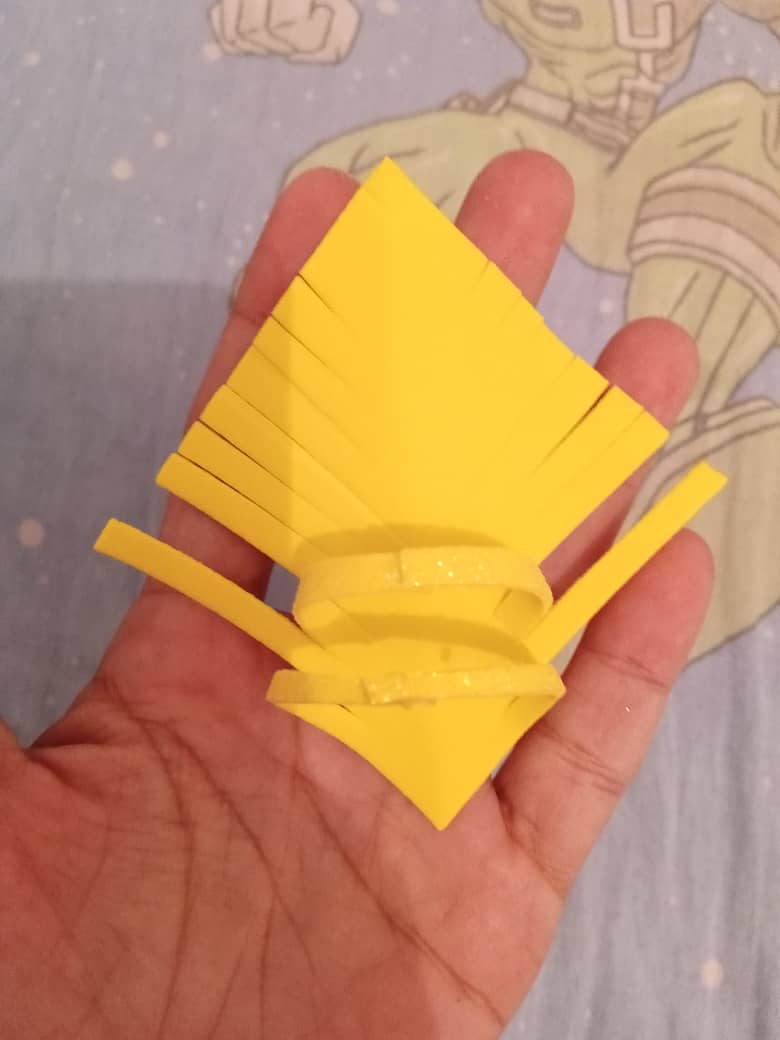
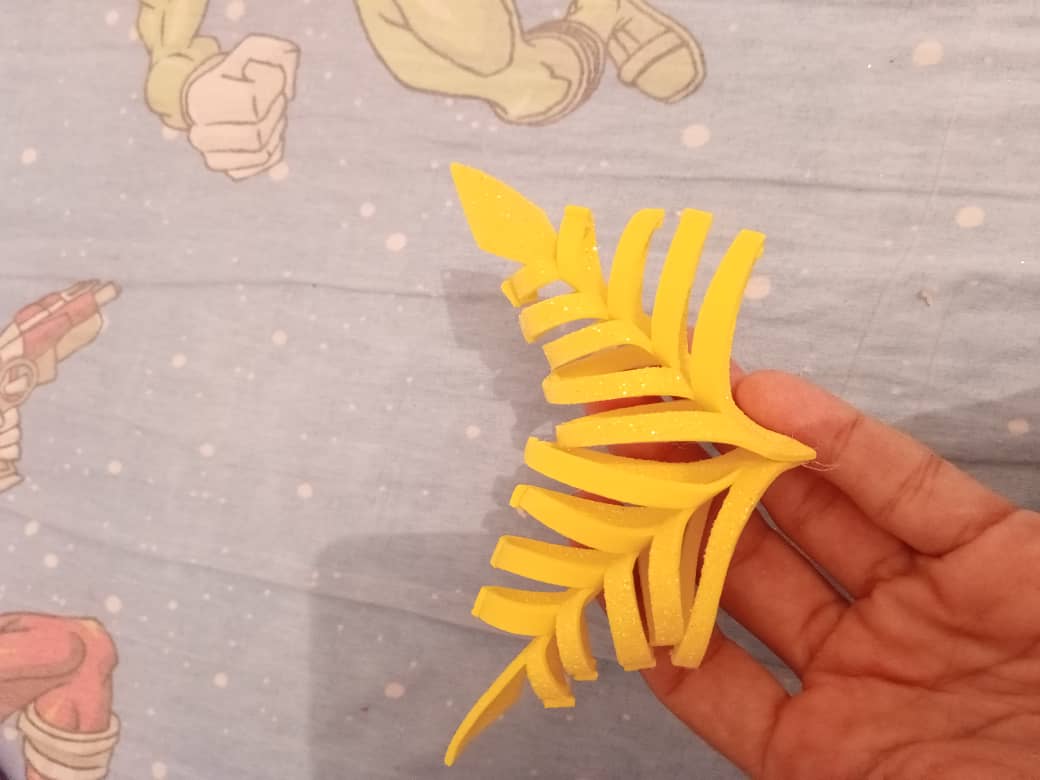
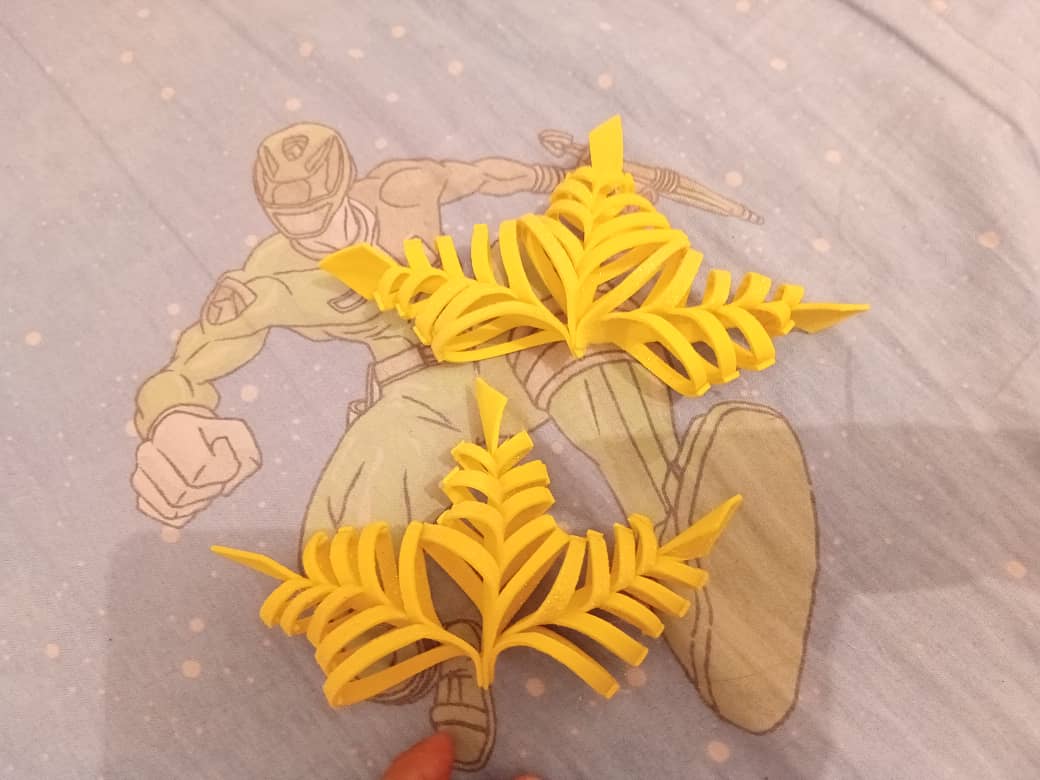
3er paso: Seguidamente procedemos a pegar uno por arriba el otro por debajo como se aprecia en la imagen.
3rd step: Then we proceed to glue one above the other below as shown in the image.
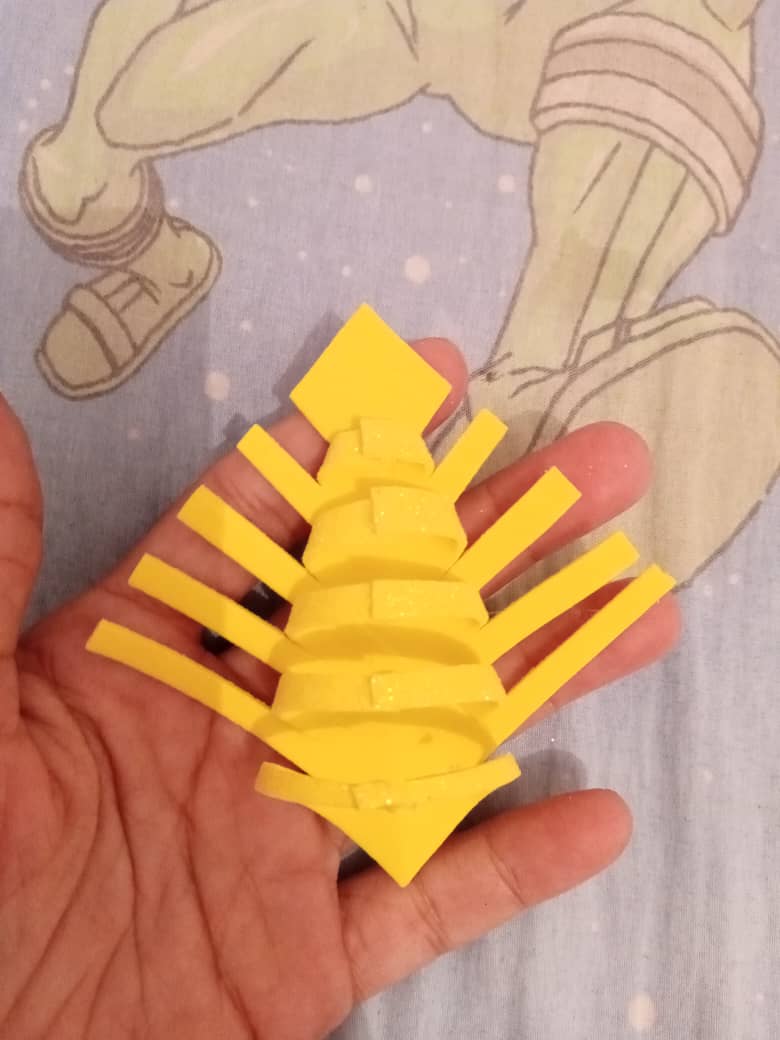
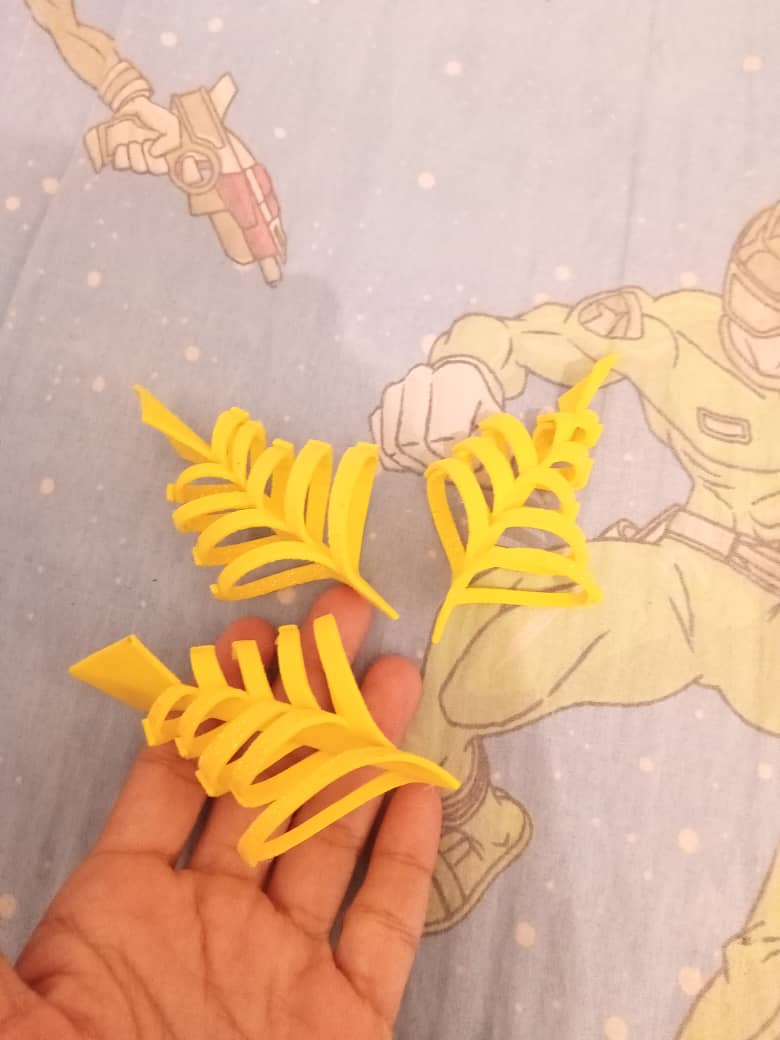
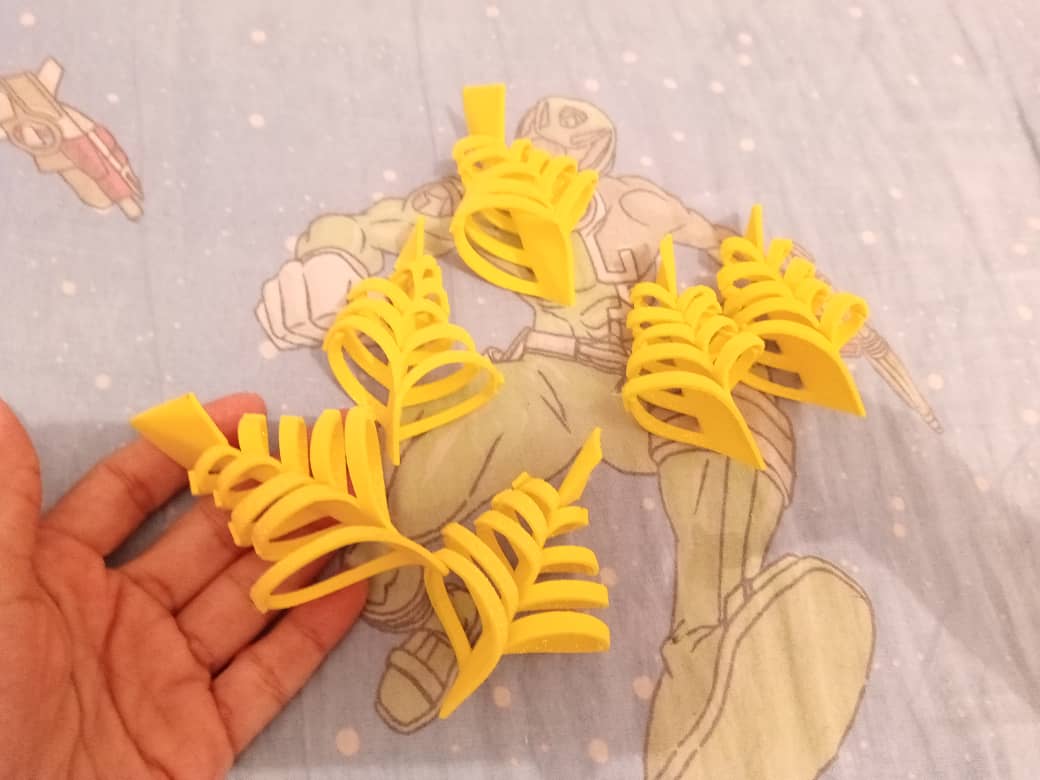
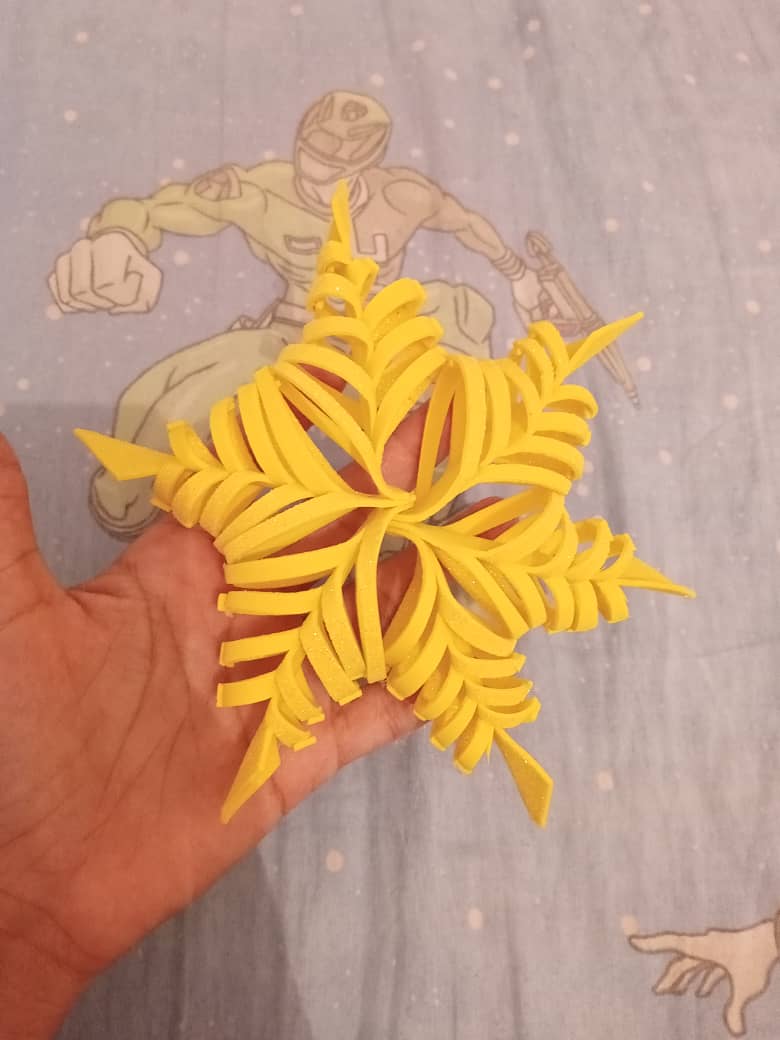
4to paso: Luego de tener todas las puntas listas proceder a pegar hasta armar la estrella.
4th step: After having all the tips ready, proceed to glue until the star is assembled.
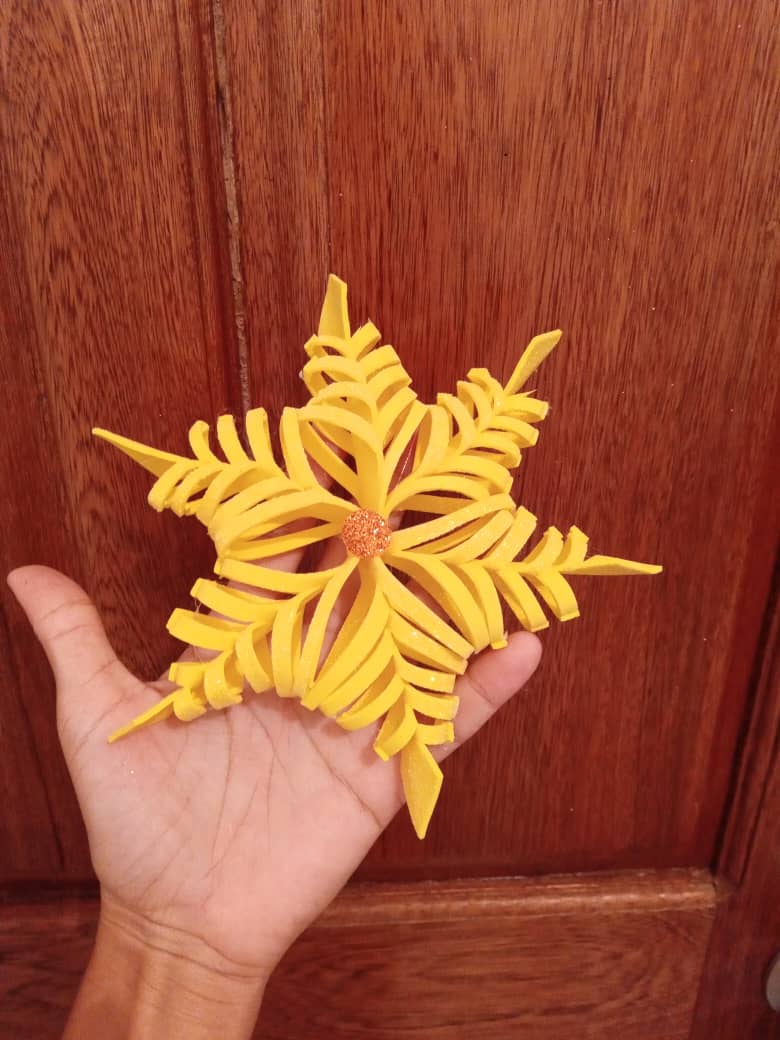
5to paso: Para finalizar pegamos un pequeño detalle en el centro y listo mis amigos.
5th step: To finish we paste a small detail in the center and ready my friends.

Muchas gracias por visitar mi Blog
Thank you very much for visiting my Blog