Welcome to my Blog.
Buenas noche amigos artesanos de esta grandiosa plataforma de Hive Blog, espero se encuentren muy bien llenos de paz y salud en sus hogares. Hoy quiero unirme CREATIVE RECYCLING CHALLENGE #17 propuesto por la amiga @jennyzer, dónde nos invita a realizar manualidades con motivo navideños, para mi entrada les enseñare como elaborar una Caja de regalo en forma de Reno para obsequiar cualquier presente en esta hermosa fecha. A continuación les enseñare, pasos a seguir:
Good night, artisan friends of this great Hive Blog platform, I hope you are very well full of peace and health in your homes. Today I want to join CREATIVE RECYCLING CHALLENGE # 17 proposed by the friend @jennyzer, where he invites us to make crafts for Christmas, for my entry I will teach you how to make a Gift Box in the shape of a Reindeer to give any present on this beautiful date. Next I will show you, steps to follow:

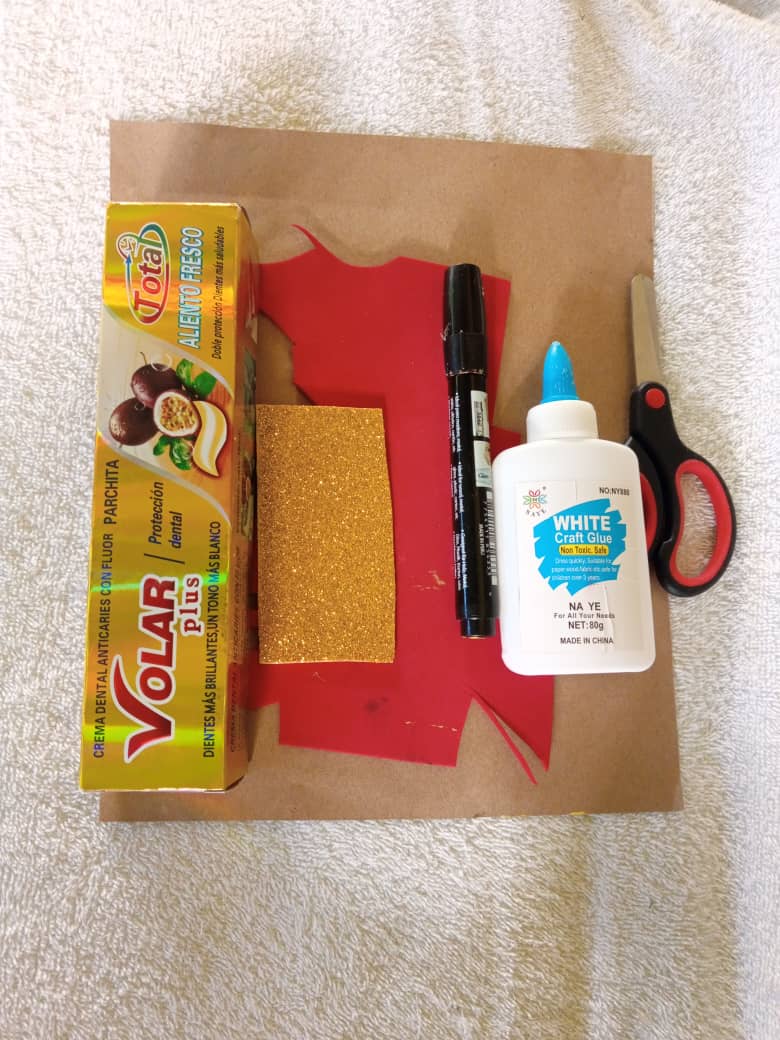
Materiales:
- Cajita de cartón reciclada.
- Papel marrón.
- Tijera.
- Pegamento.
- Foami rojo.
- Retazo de foami dorado.
- Marcador negro.
Materials:
- Recycled cardboard box.
- Brown paper
- Scissor.
- Glue.
- Red foam.
- Scrap of golden foami.
- Black marker.
Step by Step || Pasó a paso:
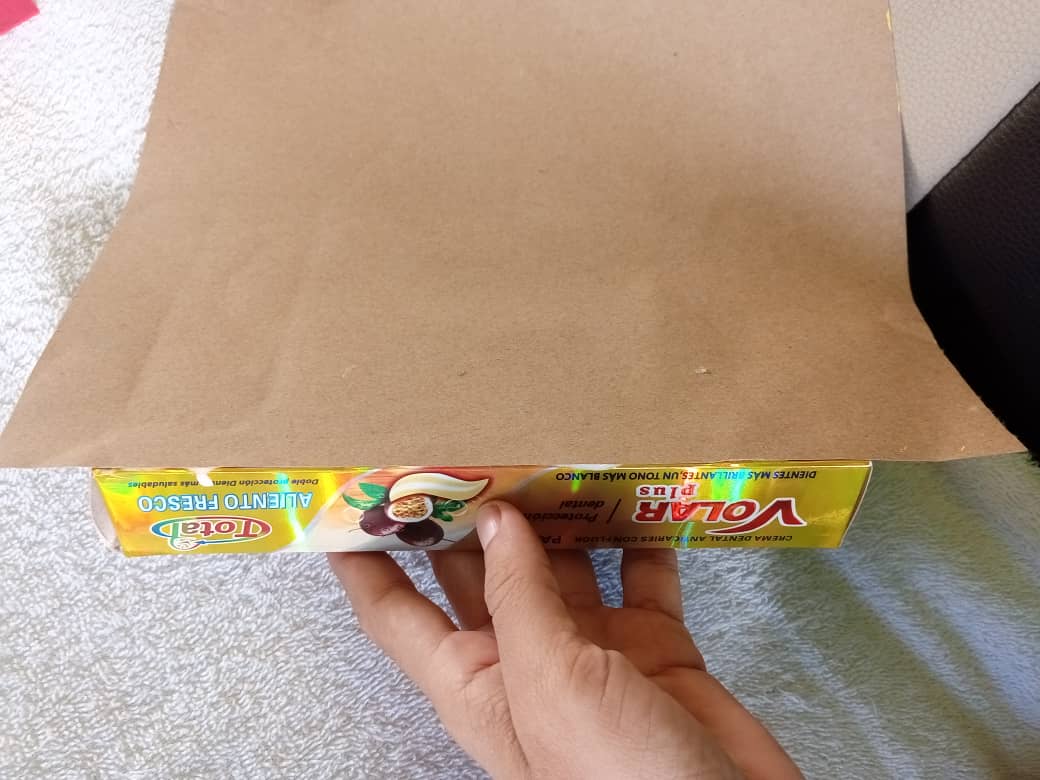
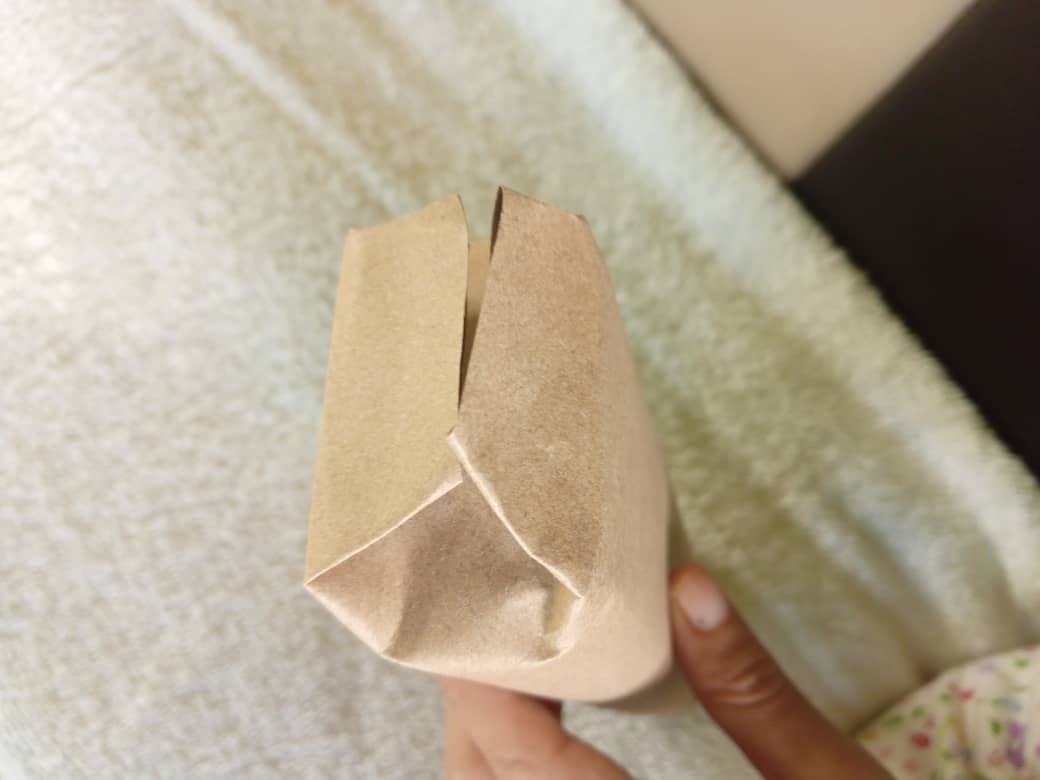
1er paso: Lo primero que haremos es forrar la cajita reciclada con el papel marrón y con ayuda del pegamento.
1st step: The first thing we will do is line the recycled box with the brown paper and with the help of glue.
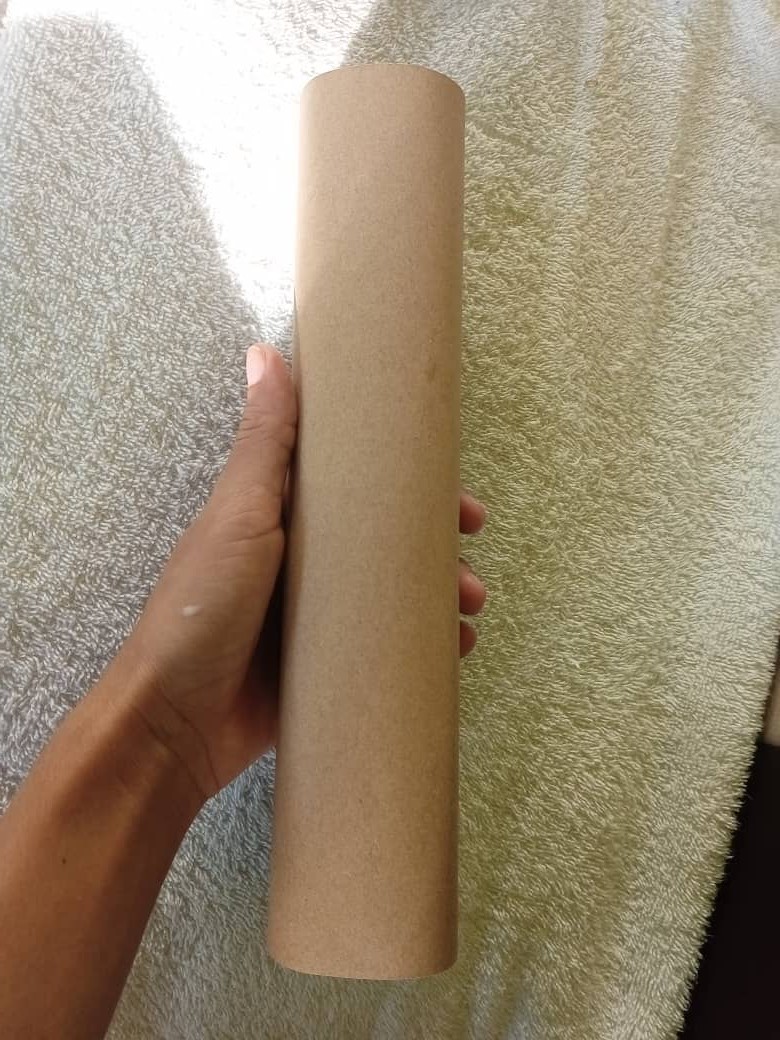
2do paso: Luego vamos a doblar ambos extremos de la siguiente manera y pegarlo.
2nd step: Then we are going to fold both ends in the following way and glue it.

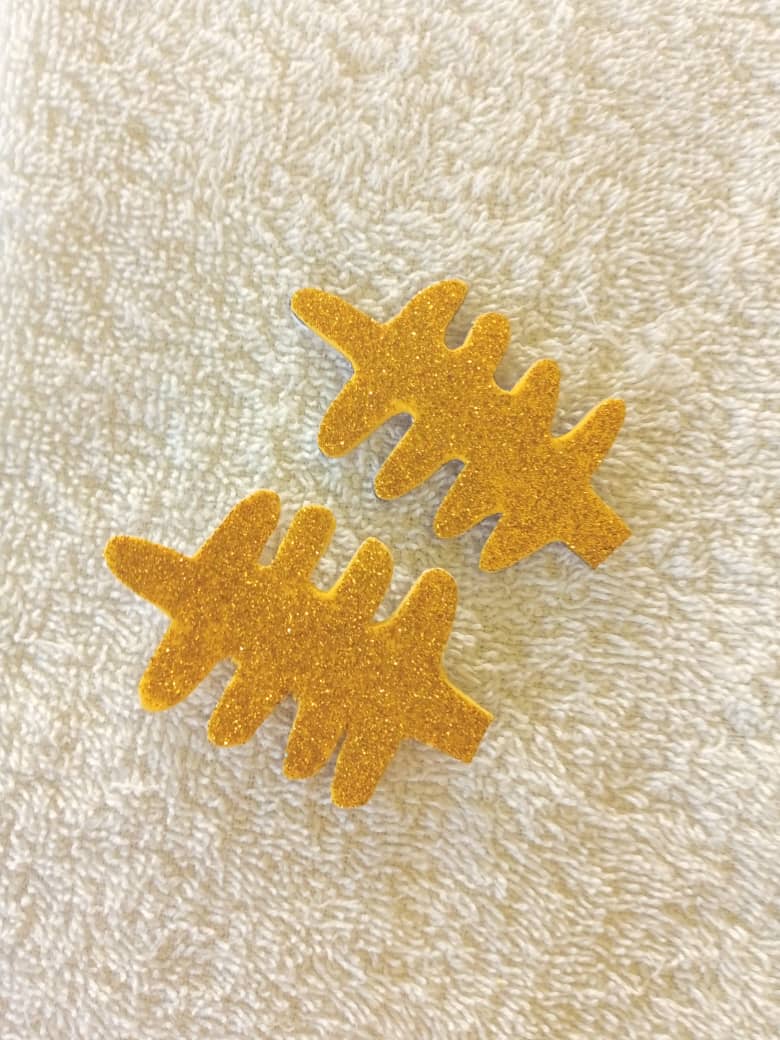
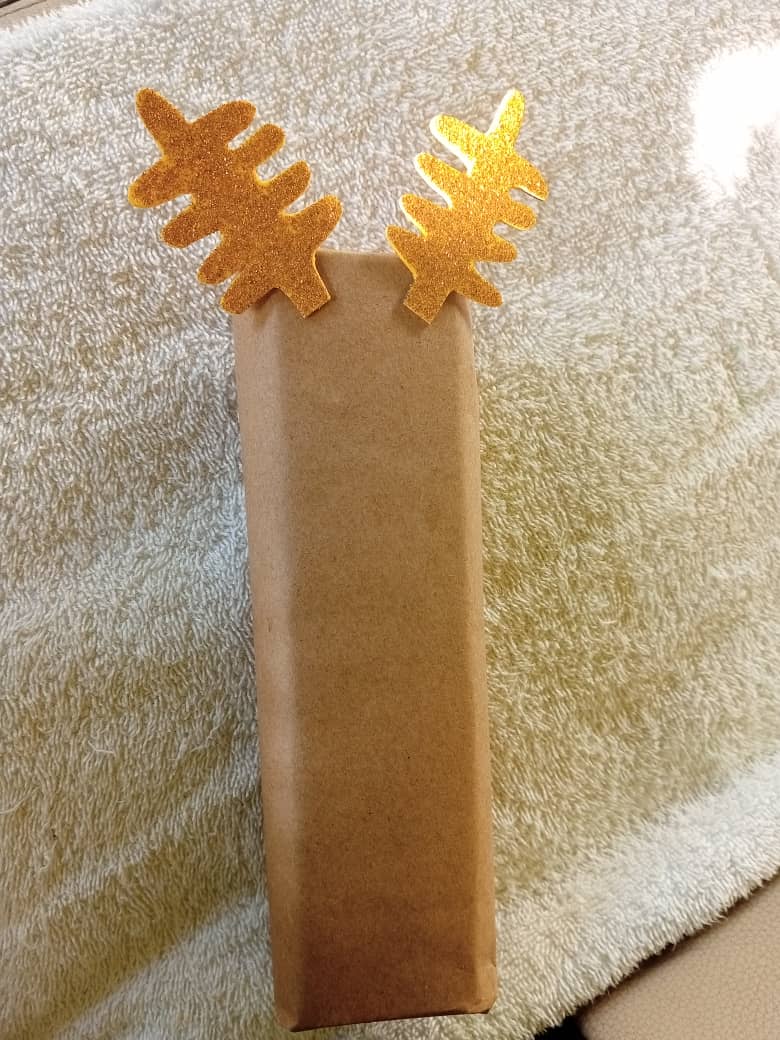
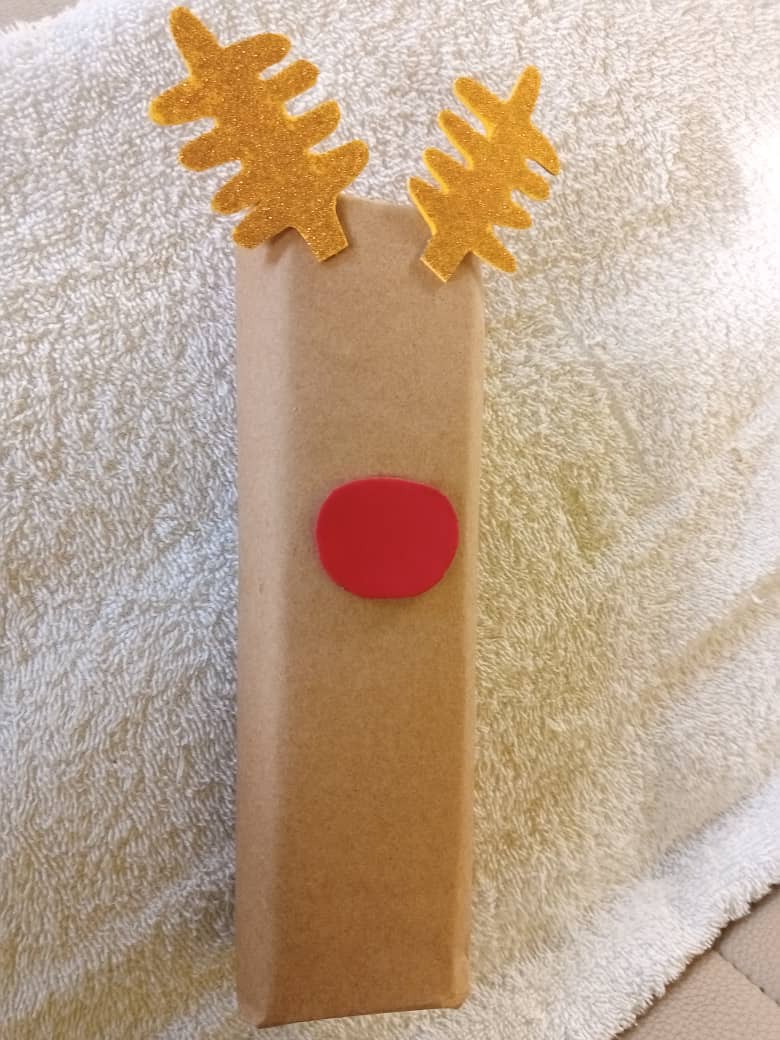
3er paso: Seguidamente marcar en el foami dorado la forma de los cuernos del reno, los cortamos y pegamos.
3rd step: Next, mark the shape of the reindeer's horns on the golden foami, cut and glue them.


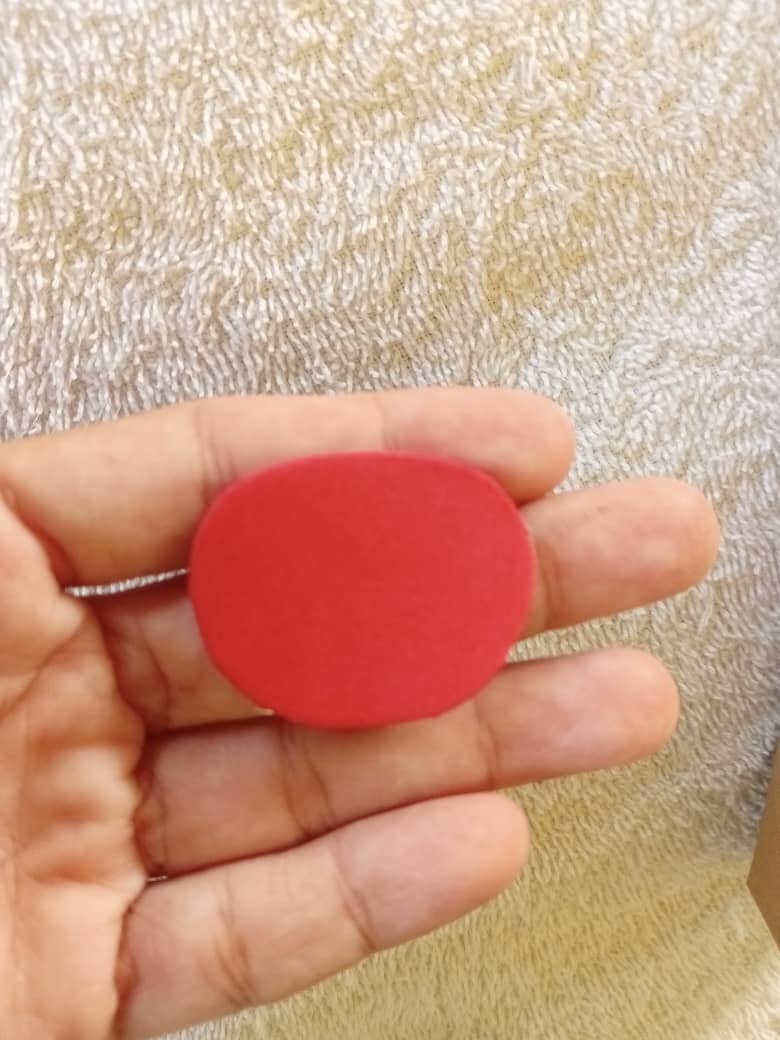
4to paso: Procedemos a cortar en el foami rojo la nariz del reno y anexamos.
4th step: We proceed to cut the nose of the reindeer in the red foam and add.
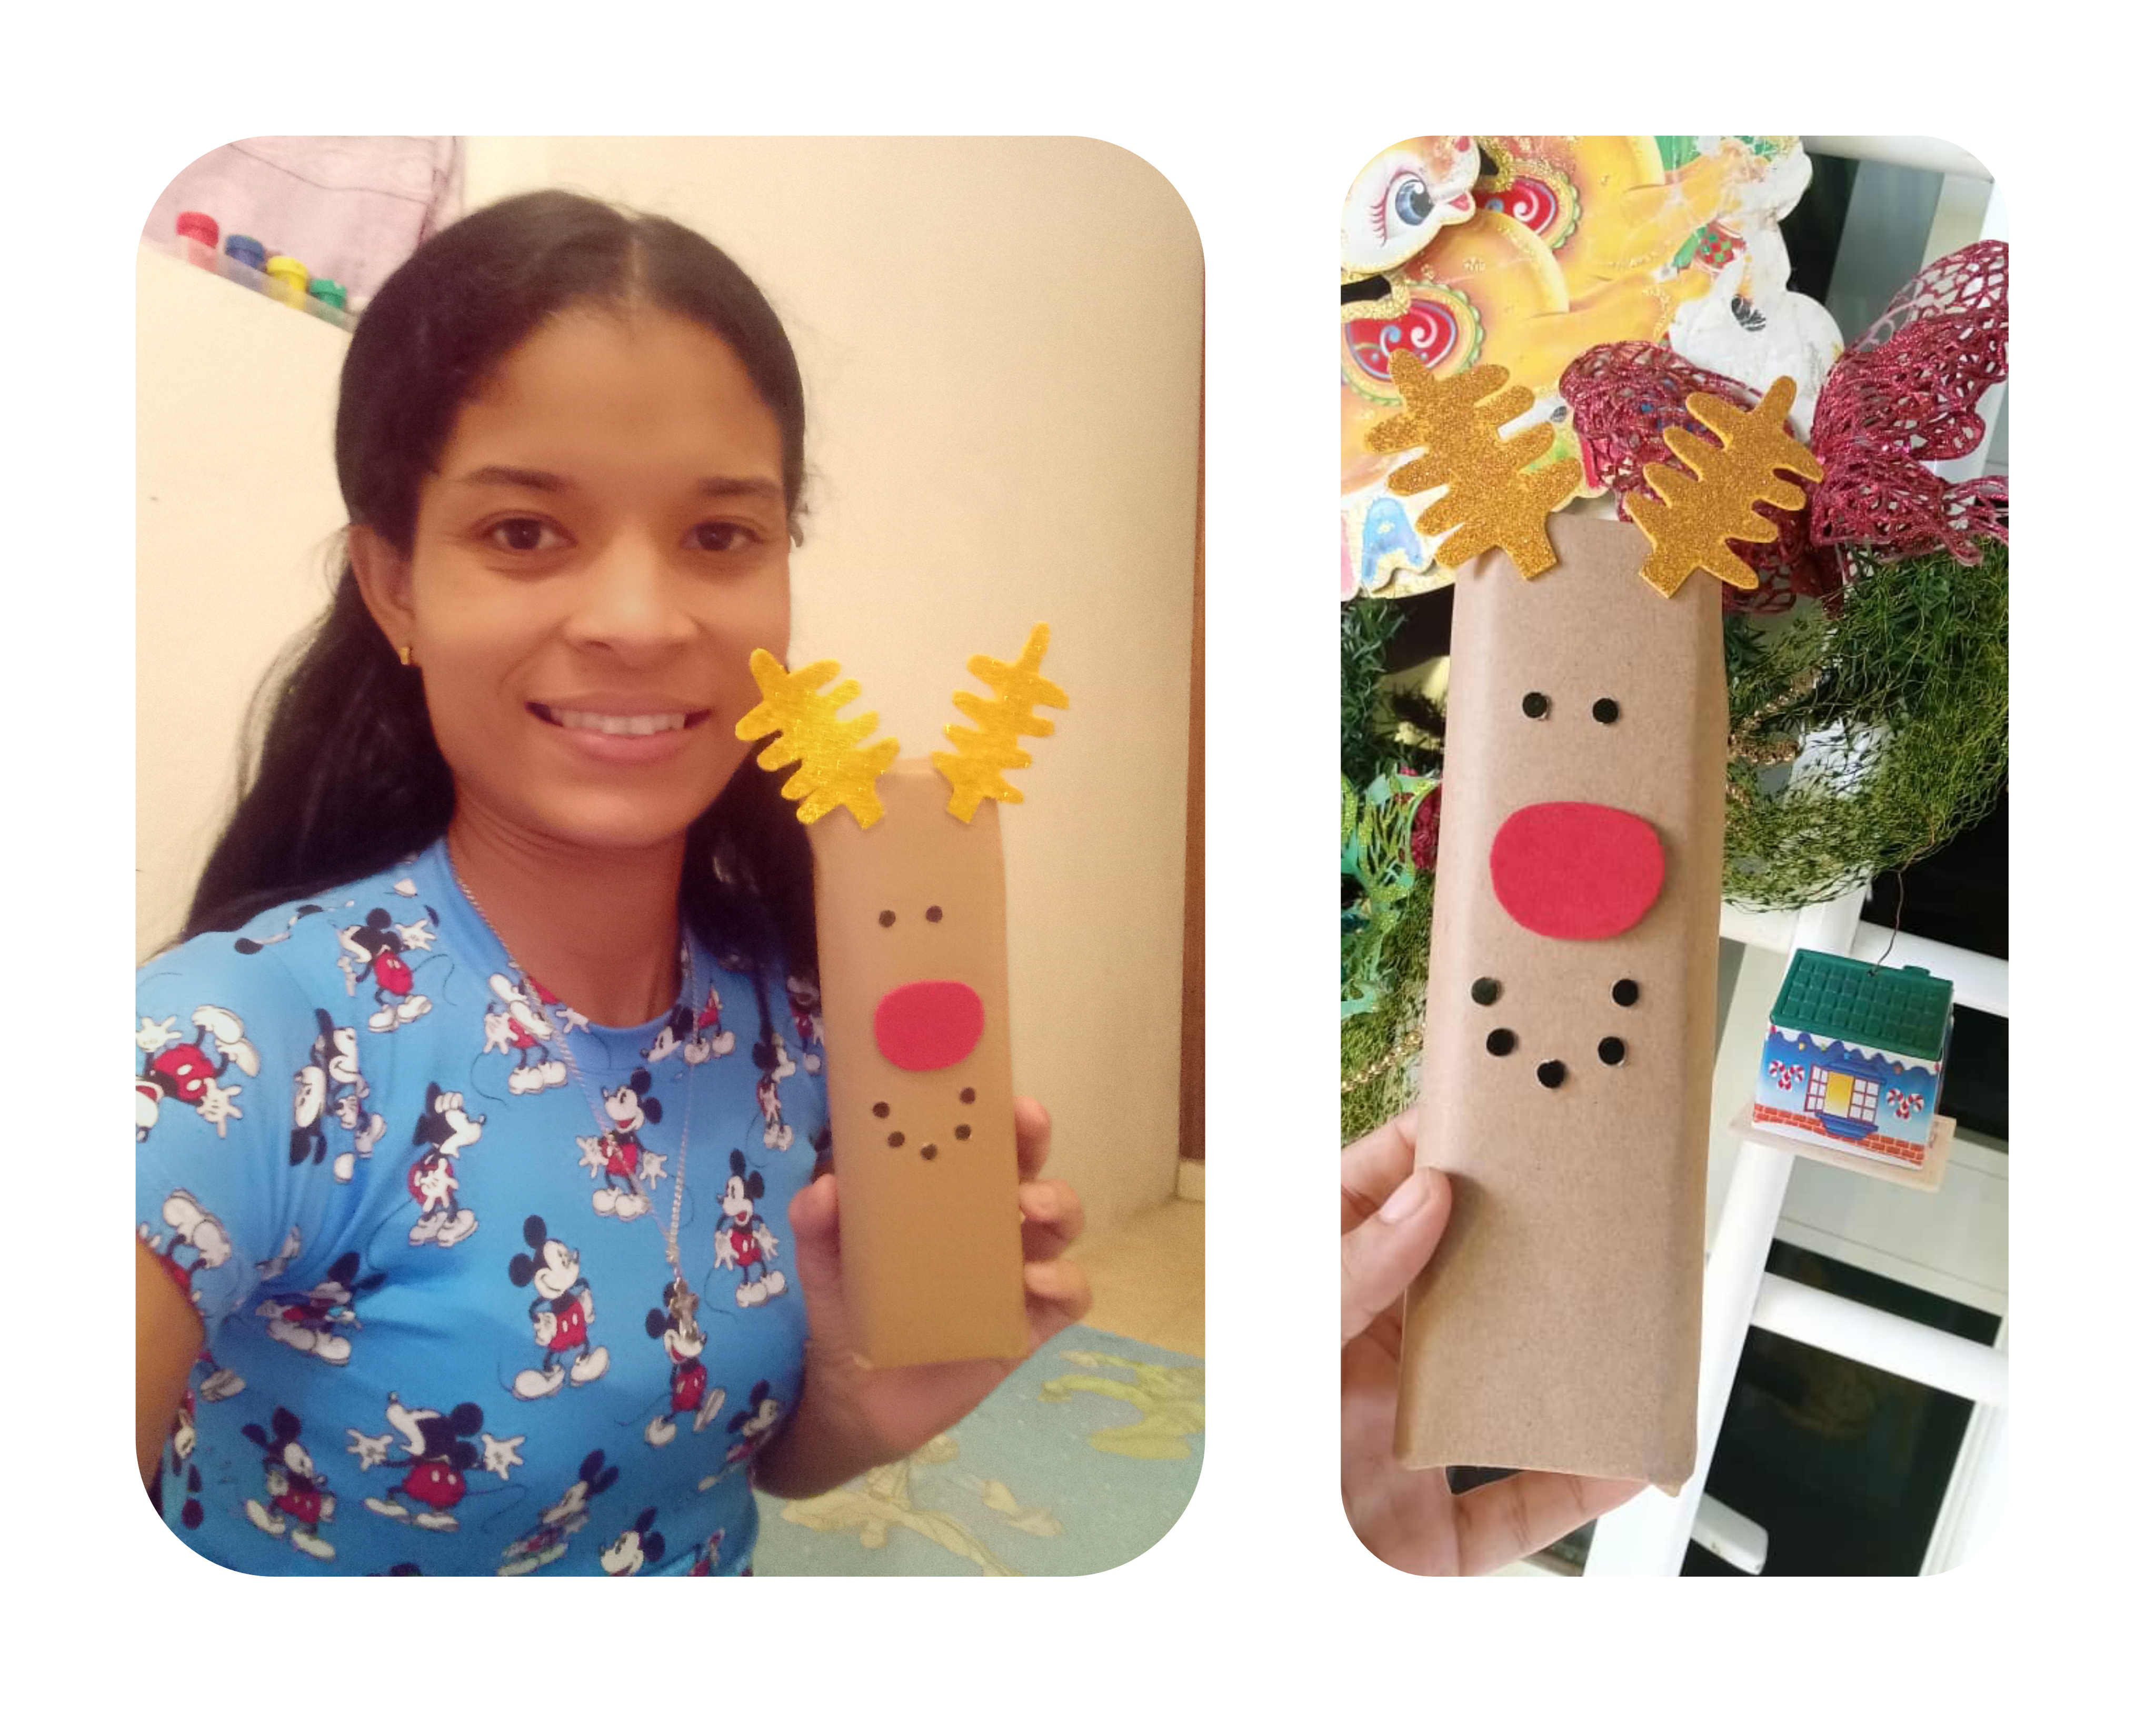
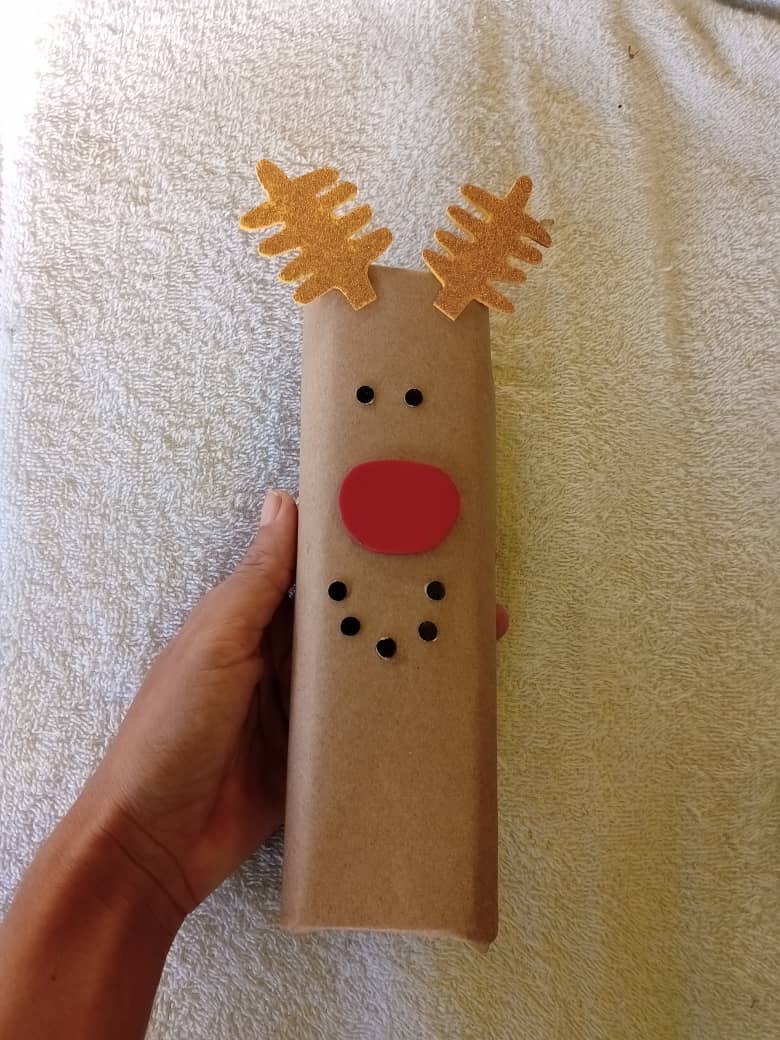
5to paso: Para finalizar hacemos sus ojitos la boca y listo mis amigos así de hermoso quedó.
5th step: To finish, we make their eyes in their mouths and that's it, my friends, that's how beautiful it was.
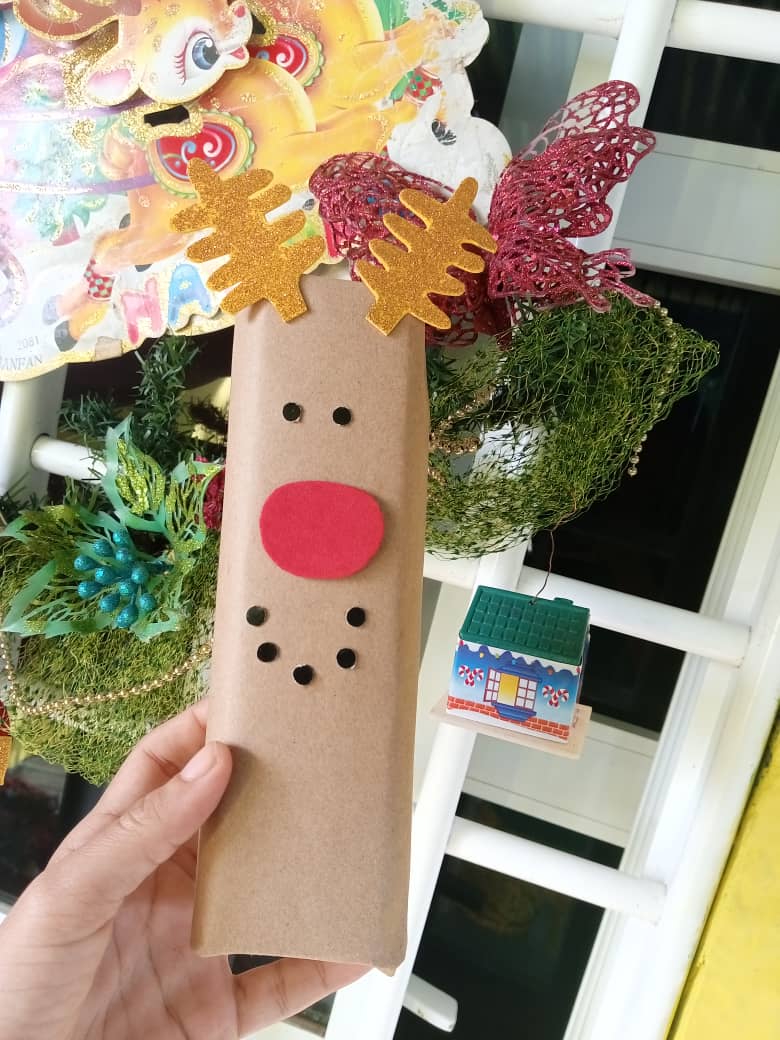
Muchas gracias por visitar mi Blog, invito a la amiga @ary21 a participar.
Thank you very much for visiting my blog, I invite my friend @ ary21 to participate.

Llenaría esa caja de muchos dulces y la regalaría a mis sobrinos, es un detalle navideño muy creativo y reciclado, gracias por participar.