Buenas estimada comunidad de Hive Diy constructores de cosas hermosas y además muy útiles, la verdad que siempre visito esta comunidad y hoy por fin puedo publicar, cuestión que estaba deseando desde que conocí la existencia de esta comunidad explorando las comunidades, porque no tengo mucho tiempo que me inicie en la plataforma, y si algo me apasiona son las manualidades.
Espero seguir publicando otras cosas que me gusta realizar, pero como sabemos las manualidades muy elaboradas o muy grande también requieren de bastante tiempo, pero tratare de por lo menos publicar diversidad entre las cosas que me apasionan realizar, tales como coser, tejer y realizar artesanías entre otras cositas.
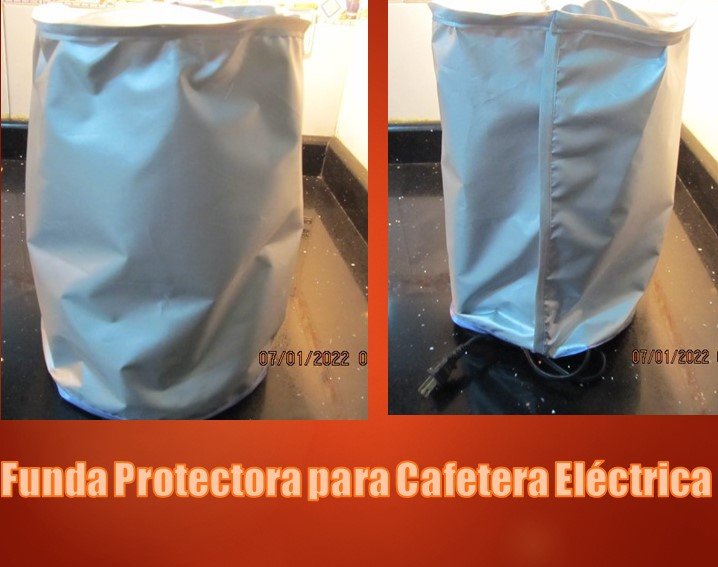
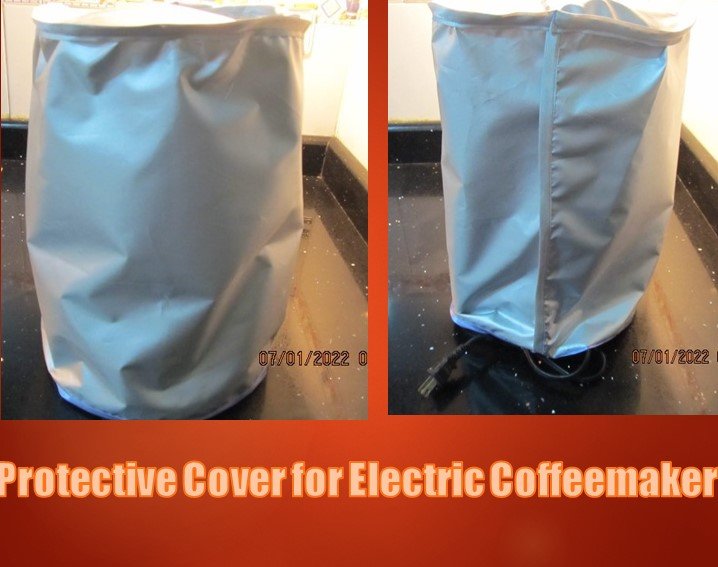
Para iniciarme en esta comunidad con las publicaciones les traigo una funda protectora para la cafetera eléctrica, que es muy válido también para una licuadora o cualquier electrodoméstico similar, de paso es muy funcional para mantener estos electrodomésticos libres de polvillo; por lo cual les indico los materiales y seguidamente el procedimiento.
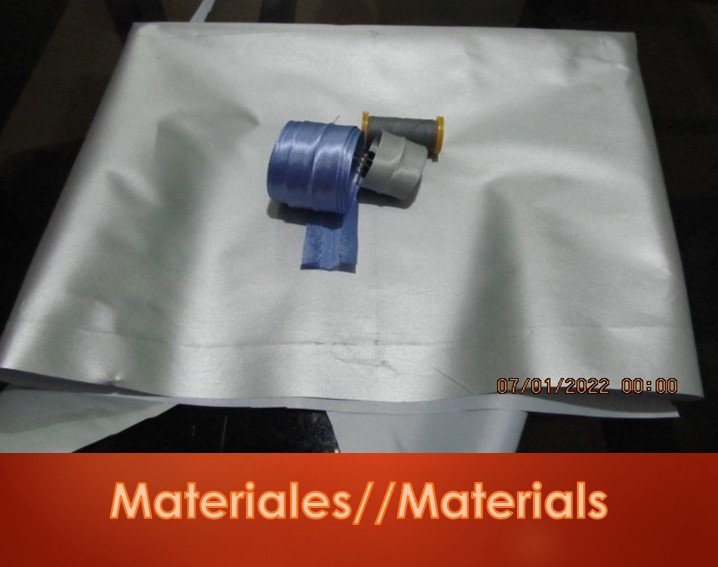
Materiales
- 0,5 metro de tela
- 2 metros de sesgo de 3,5 cm de ancho
- Hilo
- Máquina de coser
- Tijera
- Cinta métrica
Procedimiento
Paso 1
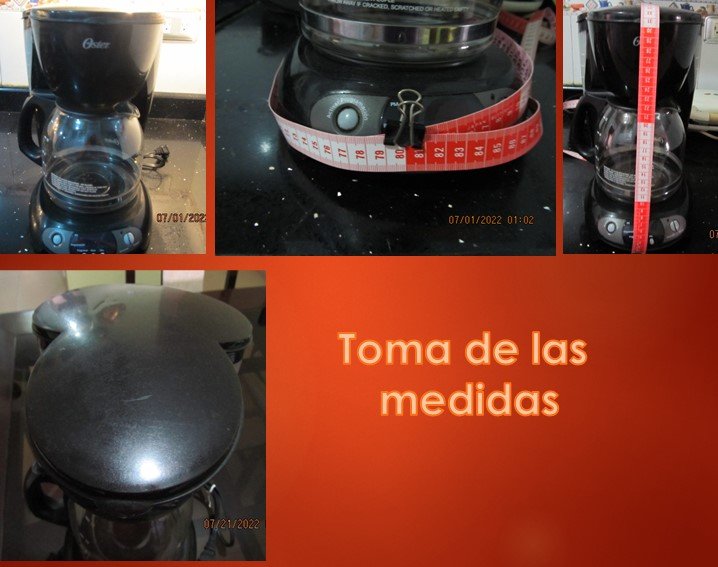
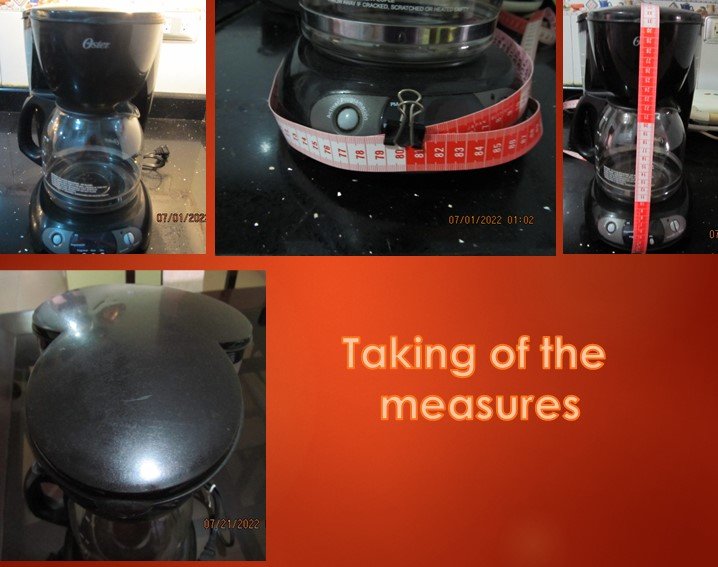
Lo primero que debemos hacer tomar las medidas, en este caso de la cafetera, como es el ancho y alto de la misma; el contorno midió 80 cm en la base y la altura 32 cm, tal como se aprecia en las fotos, pero teniendo en cuenta el asa de jarra le di una holgura de 6 cm, por lo cual el contorno para sacar la pieza fue de 86 cm y con una altura de 33 cm teniendo en cuenta la costura.
Paso 2
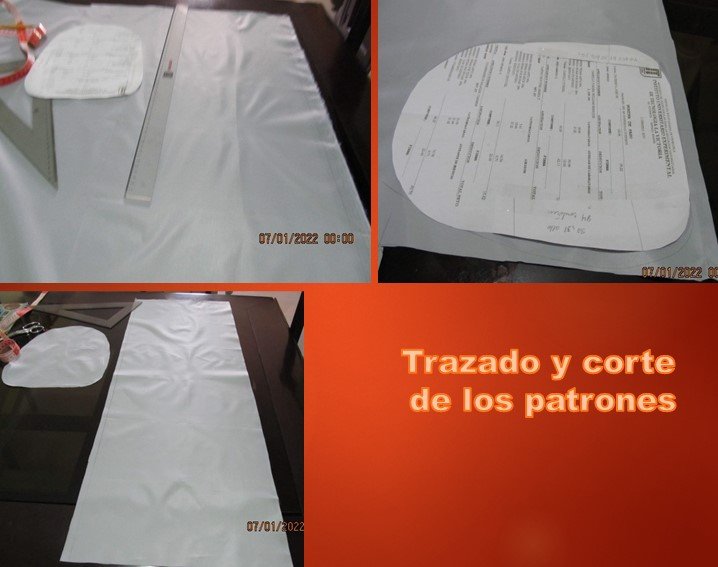
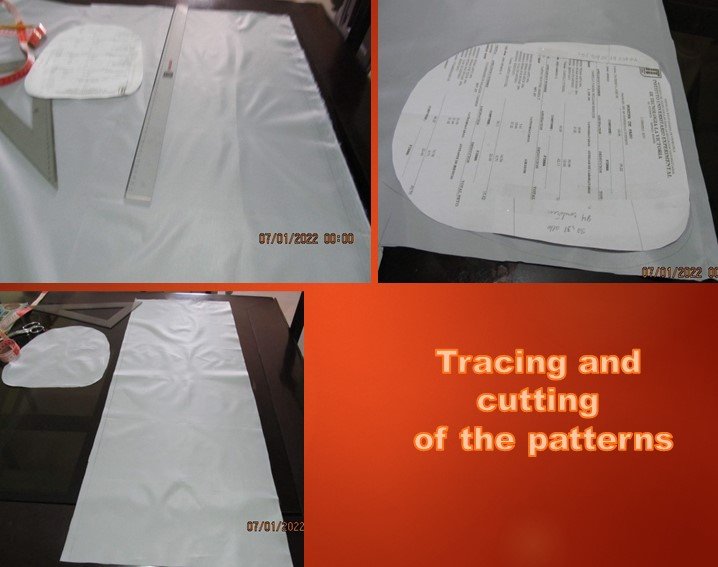
Saque un patrón de acuerdo a la forma semi ovalada de la cafetera para la parte superior, ya que la otra pieza la marque directamente sobre la tela con regla y escuadra; la tela utilizada es un tipo aluminizada.
Paso 3
Una vez sacado el patrón de la pieza superior, realice los cortes de las dos piezas, tal como se aprecia en la foto.
Paso 4
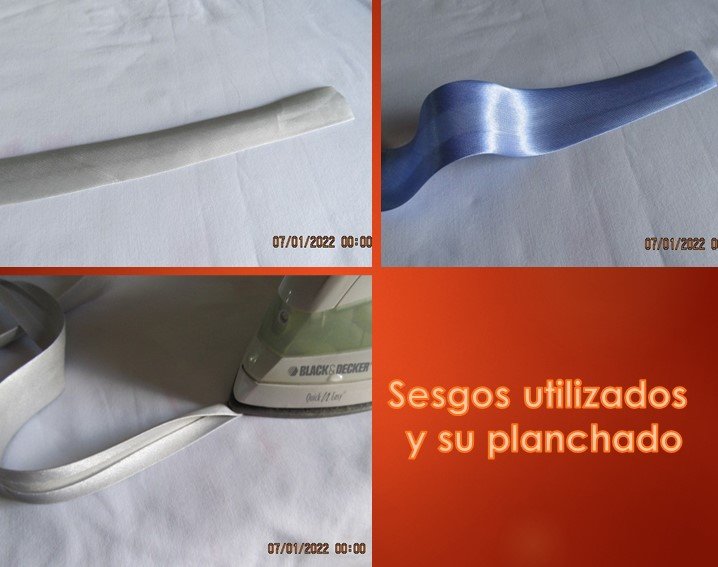
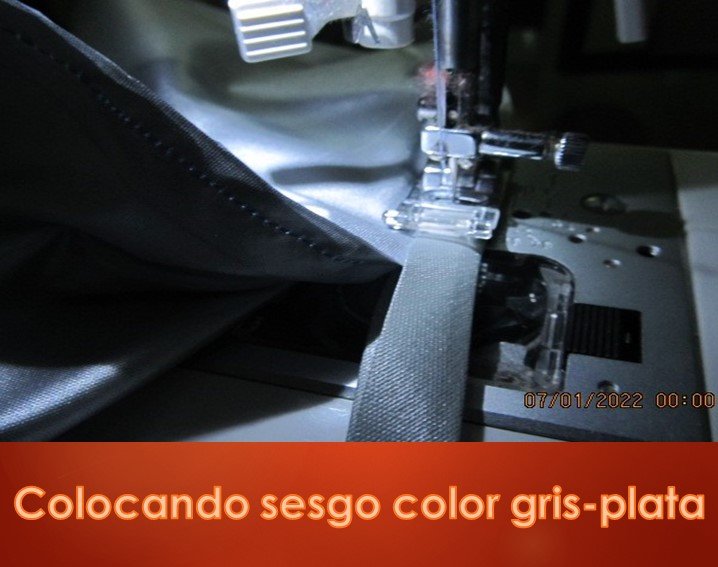
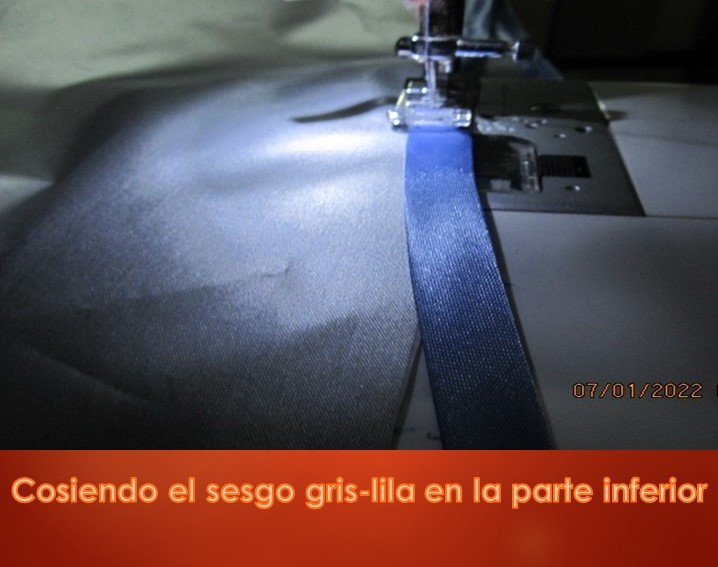
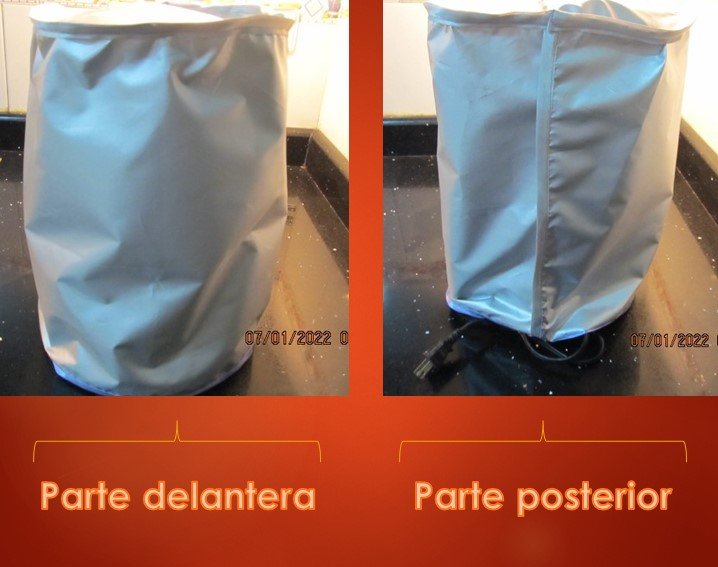
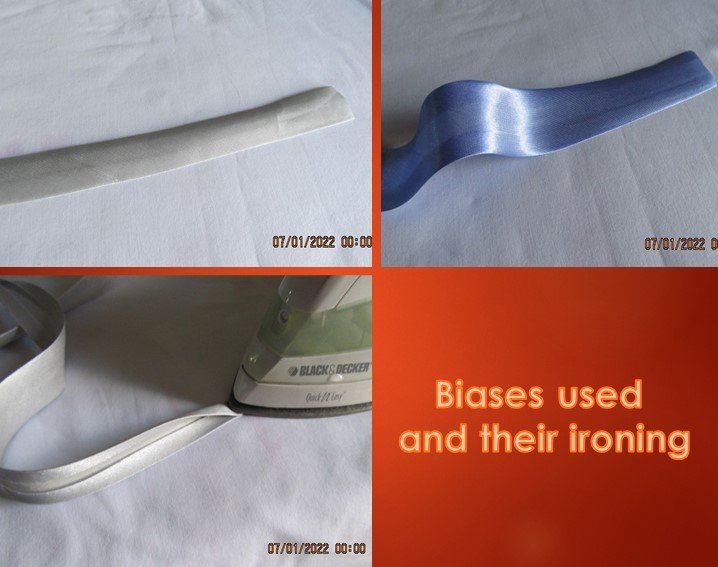
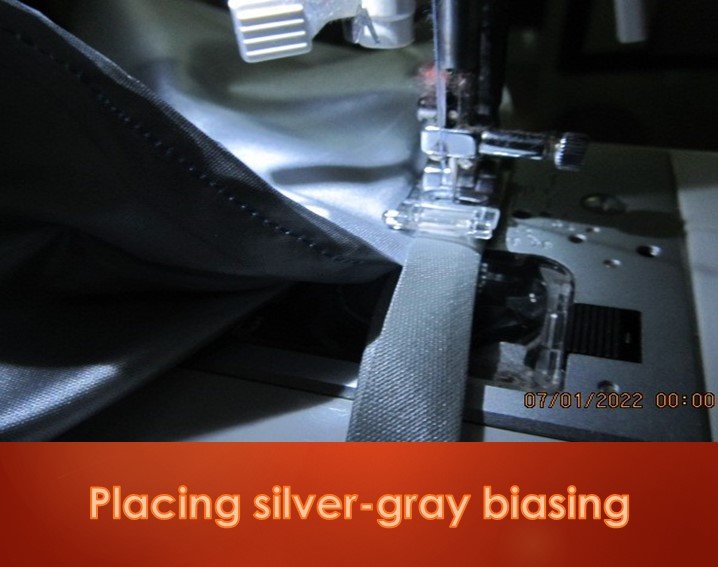
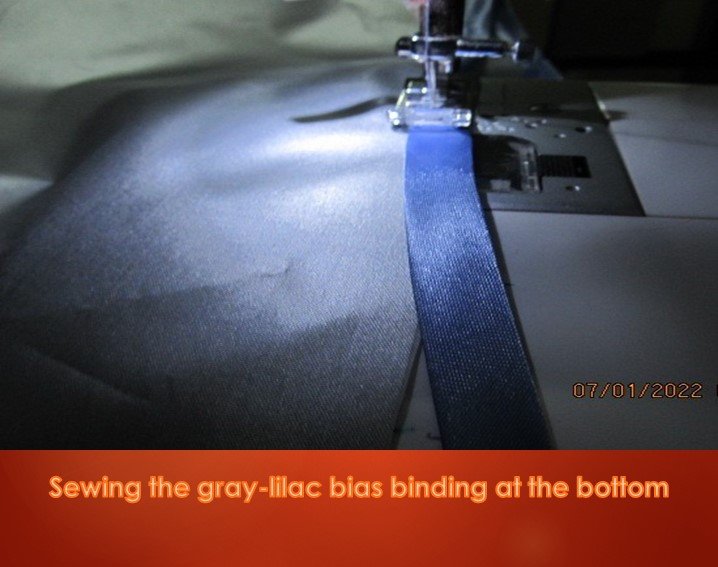
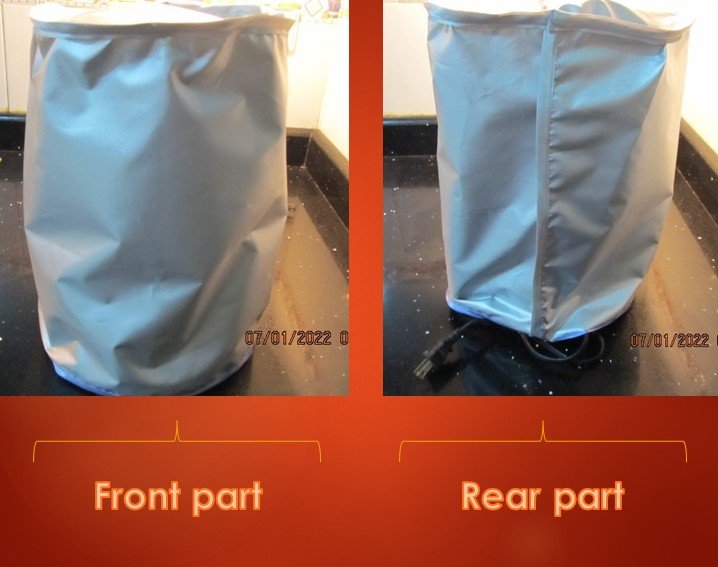
Procedí a unir las partes cortas de la pieza del contorno, pegando el sesgo color gris plata y luego realice lo mismo uniendo la parte superior con la pieza grande, y luego para reforzar la parte inferior, le cosí el sesgo color gris lila, y con ello culminamos una útil funda para la cafetera.
Como pueden haberse dado cuenta es muy fácil de realizar y además la gran utilidad que nos proporciona en la protección de cualquier electrodoméstico que mantengamos sobre el mesón de la cocina, ya que también lo protege de la grasa o cualquier otro elemento de comida cuando estamos cocinando.
Para esta funda ya tenia los materiales de otro proyecto que realice, por lo cual este proyecto tenia bastante tiempo que deseaba realizarlo, porque realmente necesitaba proteger esa cafetera, porque actualmente no le doy mucho uso debido a que es muy grande y me resulta más practico utilizar a diario una cafetera Greca.
English
Good dear community of Hive Diy builders of beautiful things and also very useful, the truth that I always visit this community and today I can finally publish, something I was looking forward to since I knew the existence of this community exploring the communities, because I have not much time that I started on the platform, and if something I am passionate about are the crafts.
I hope to continue publishing other things that I like to do, but as we know the very elaborate or very large crafts also require a lot of time, but I will try to at least publish diversity among the things that I love to do, such as sewing, knitting and crafts among other things.
To get started in this community with the publications I bring you a protective cover for the electric coffee maker, which is very valid also for a blender or any similar appliance, incidentally is very functional to keep these appliances free of dust, so I indicate the materials and then the procedure.
Materials
- 0.5 meter of cloth
- 2 meters of bias binding of 3.5 cm width
- Thread
- Sewing machine
- Scissors
- Tape measure

Procedure
Step 1
The first thing to do is to take the measurements, in this case of the coffee pot, as is the width and height of the same; the contour measured 80 cm at the base and the height 32 cm, as shown in the photos, but taking into account the jug handle I gave a slack of 6 cm, so the contour to remove the piece was 86 cm and with a height of 33 cm taking into account the seam.
Step 2
Make a pattern according to the semi oval shape of the coffee pot for the upper part, since I marked the other piece directly on the fabric with a ruler and square; the fabric used is an aluminized type.
Step 3
Once the pattern of the upper piece is removed, make the cuts of the two pieces, as shown in the photo.
Step 4
I proceeded to join the short parts of the contour piece, gluing the silver gray bias and then do the same by joining the upper part with the large piece, and then to reinforce the bottom, I sewed the lilac gray bias, and thus we completed a useful cover for the coffee pot.
As you may have noticed it is very easy to make and also the great utility it gives us in protecting any appliance that we keep on the kitchen counter, as it also protects it from grease or any other element of food when we are cooking.
For this cover I already had the materials from another project I did, so this project I had wanted to do it for a long time, because I really needed to protect that coffee maker, because currently I do not give it much use because it is very large and I find it more practical to use a Greca coffee maker every day.
Translated with www.DeepL.com/Translator (free version)
Fuente de imágenes: Archivo personal


MIS REDES SOCIALES


¡Felicidades! Esta publicación obtuvo upvote y fue compartido por @la-colmena, un proyecto de Curación Manual para la comunidad hispana de Hive que cuenta con el respaldo de @curie.
Si te gusta el trabajo que hacemos, te invitamos a darle tu voto a este comentario y a votar como testigo por Curie.
Si quieres saber más sobre nuestro proyecto, acompáñanos en Discord: La Colmena.
Gracias por el apoyo @la-colmena
Your content has been voted as a part of Encouragement program. Keep up the good work!
Use Ecency daily to boost your growth on platform!
Support Ecency
Vote for new Proposal
Delegate HP and earn more
Congratulations @doriscova8! You have completed the following achievement on the Hive blockchain and have been rewarded with new badge(s):
Your next target is to reach 4750 upvotes.
You can view your badges on your board and compare yourself to others in the Ranking
If you no longer want to receive notifications, reply to this comment with the word
STOPSupport the HiveBuzz project. Vote for our proposal!
Hola, a mi también me gusta mucho la costura, por eso me encanta este proyecto, que quedó muy bonito y además es bastante práctico.