Hello Steemians friends…
☺☺☺
Welcome back to my blog. This week I was restoring my headbands since little by little they are falling apart and only the plastic remains, so I will show you a step by step of my work in which I use only recycled materials. All this material I am accumulating in my basket of costume jewelry every time a necklace, a ribbon etc. is damaged.
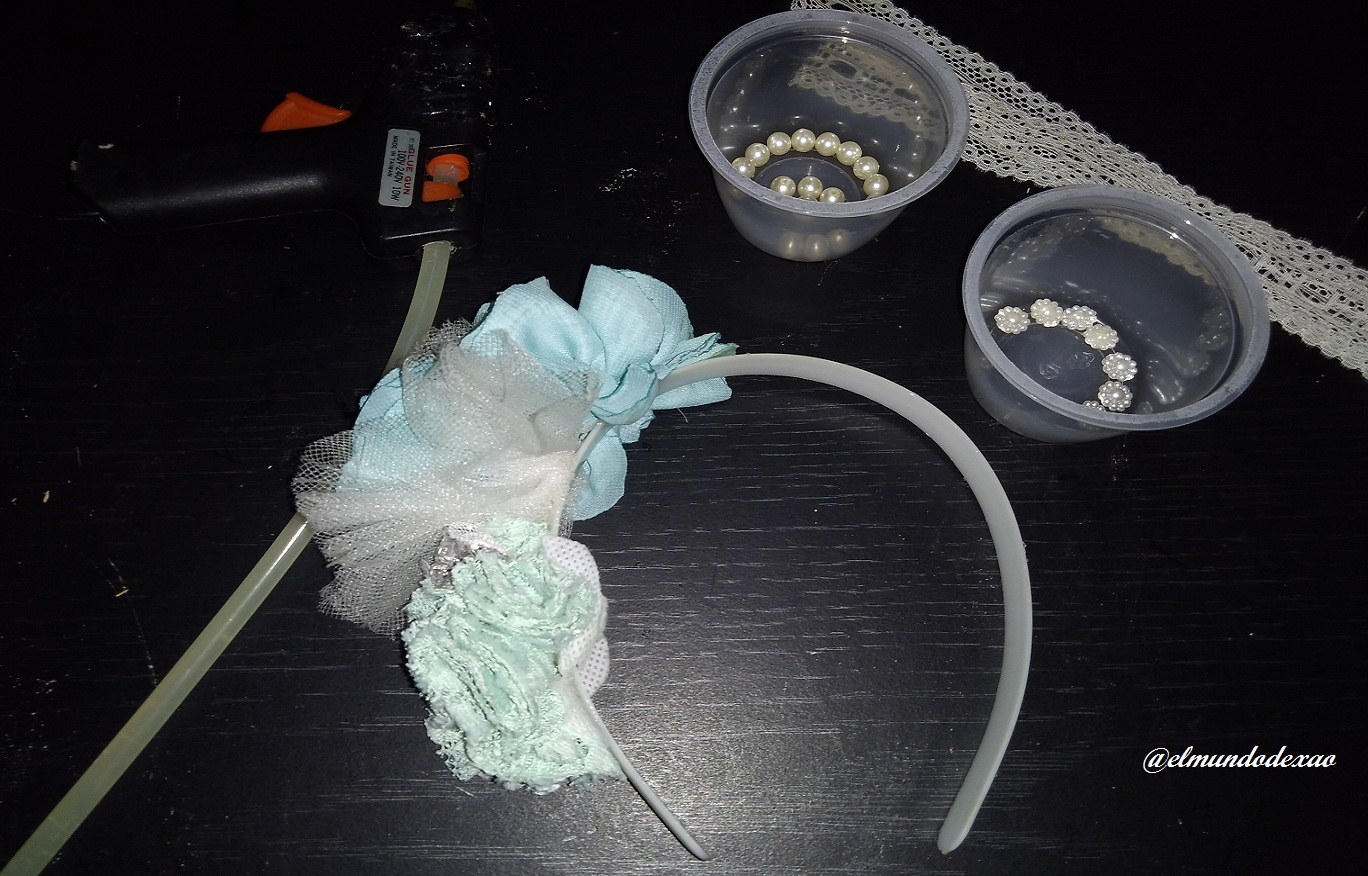
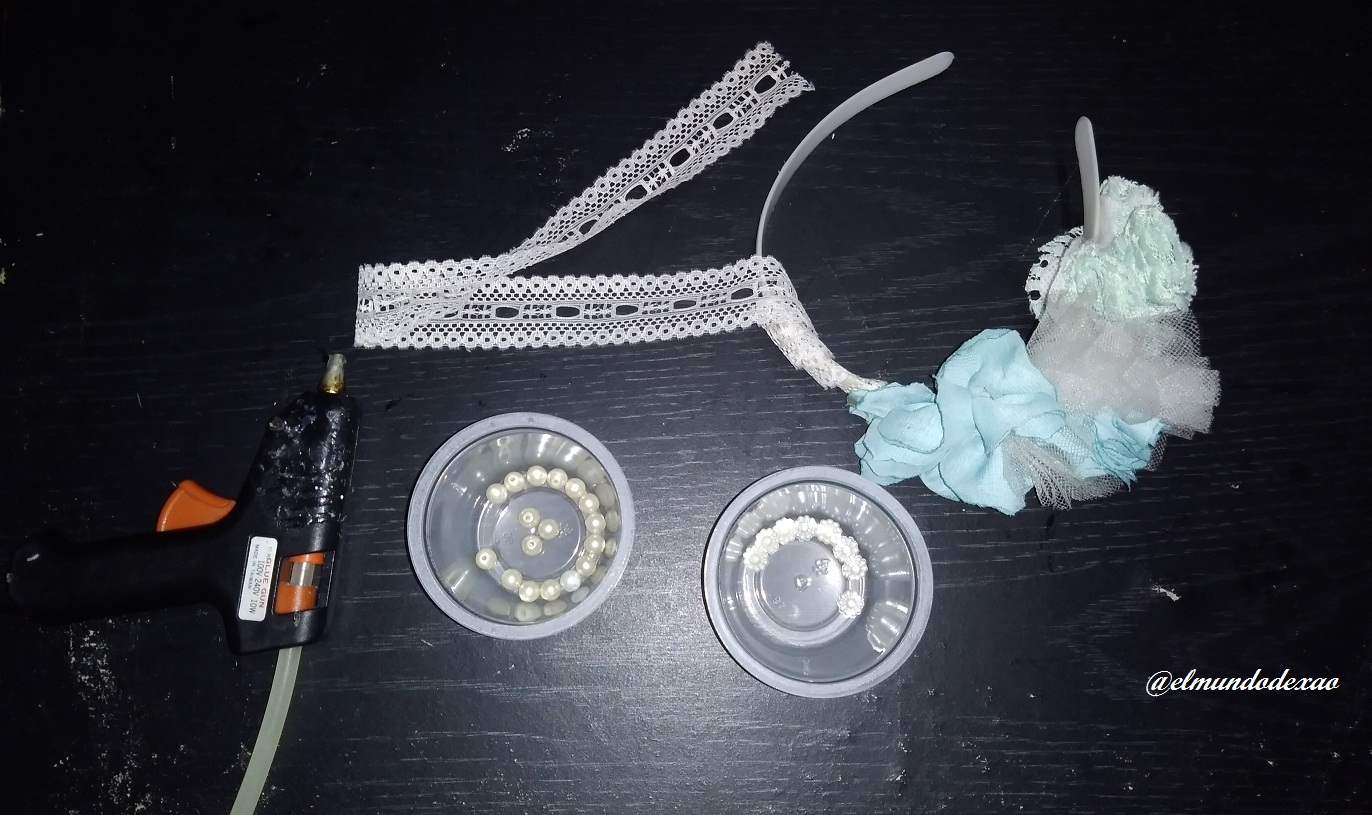
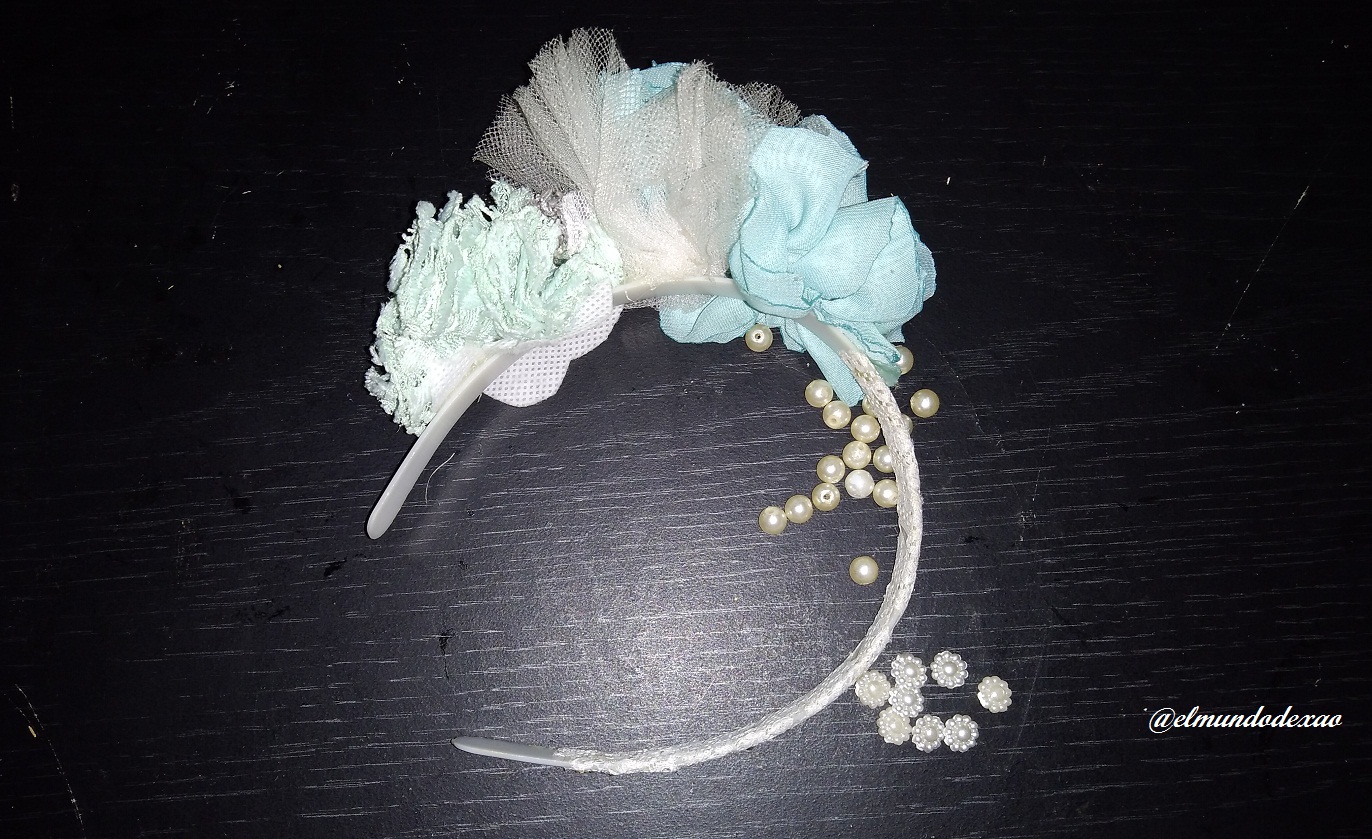
Here are the materials I used:
An aqua green and white ribbon.
A white ribbon.
Plastic balls (small).
Plastic flowers (small).
And a small white lace ribbon.
Silicone gun and silicone stick.
 Step # 01: I proceed to glue the ribbon on one side of the headband, taking part of the ribbon from both sides and surrounding the headband since only gluing it will not be enough because the surface of the headband is smooth and it will only take a few days for it to peel off.
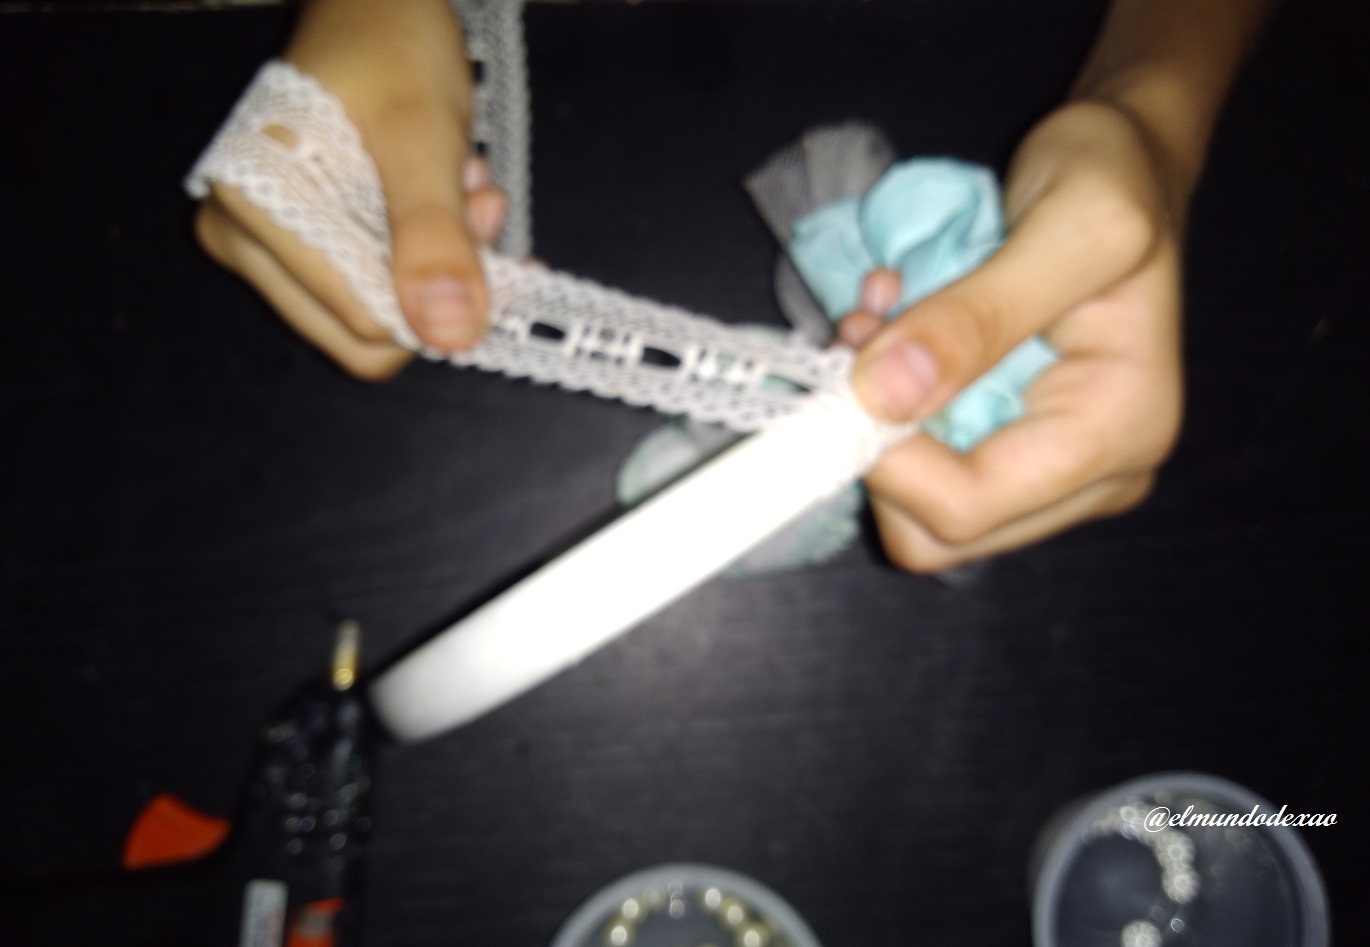
 Step # 02: I roll the lace ribbon on the other half of the headband to create a base where I will glue the beads and flowers, as I mentioned in the first step I do this not only as an ornament but also to create a base where the ornaments will be firmer.
 Step # 03: Once the ribbon is glued I can start gluing the balls and the flowers, when I was starting I had thought of placing them in pairs but then I decided to place them in a row and I think they turned out better.
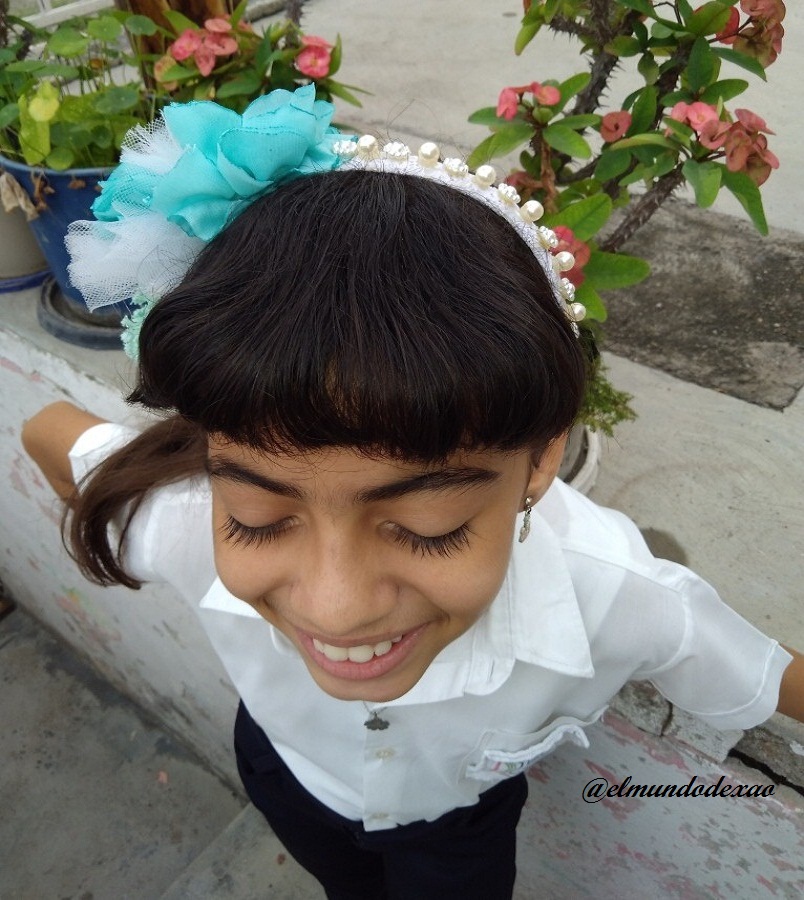
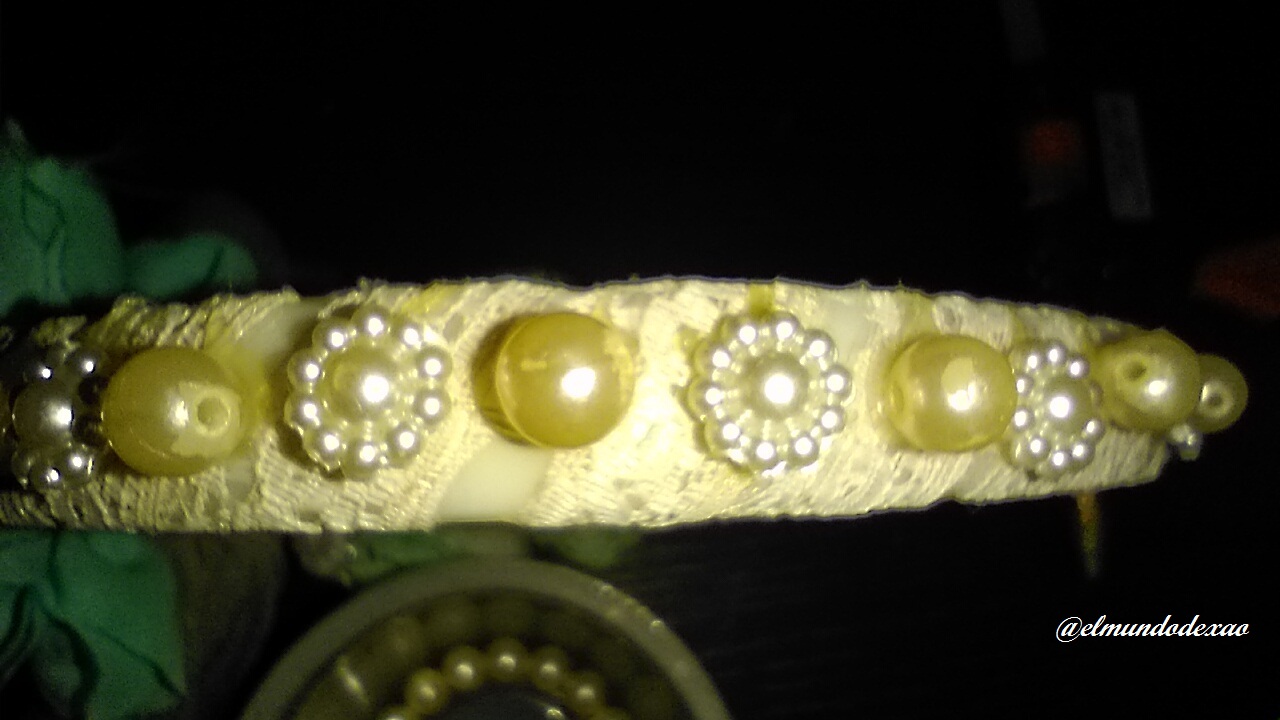 As you can see in three simple steps I was able to decorate this headband, so I can wear a new style when I go out for a walk or to take it to school. I hope you find it useful or as an idea to decorate them with your own styles, I say goodbye wishing you all an excellent day.
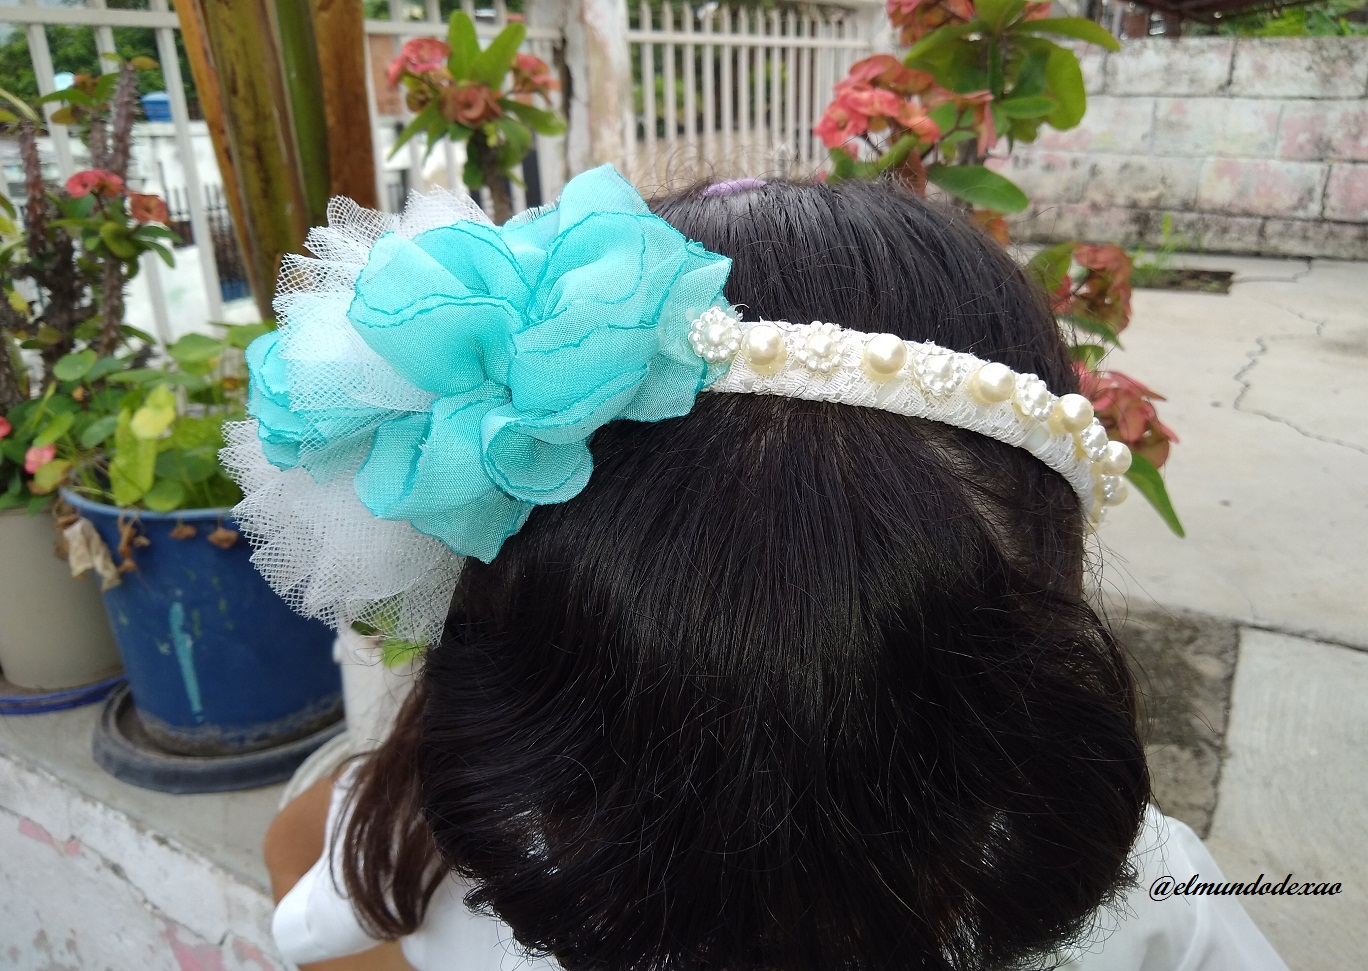
Photo Source: Own photos captured with a Síragon camera.
Modified size: With the Paint Program.
Thanks for visiting my blog... Ah! Don't forget to vote, reesteemear and comment.
Translated with:


Hola amigos Steemians…
☺☺☺
Bienvenidos nuevamente a mi blog. Esta semana estuve restaurando mis cintillos ya que poco a poco estos se van desarmando y solo queda el plástico por lo que les mostrare un paso a paso de mi trabajo en el cual utilice solo materiales de reciclaje. Todo este material lo voy acumulando en mi cesta de bisuterías cada vez que se daña un collar, un lazo etc.
A continuación menciono los materiales que utilice:
Un lazo verde agua y blanco.
Un cintillo blanco.
Bolitas de plástico (pequeñas).
Flores de platico (pequeñas).
Y una pequeña cinta blanca de encaje.
Pistola y barra de silicón.
Paso # 01: Procedo a pegar el lazo de uno de los lados del cintillo, tomando parte del lazo de ambos lados y rodeando el cintillo ya que solo pegarlo no bastara debido a que la superficie del cintillo es lisa y solo pasaran pocos días para que se despegue.
Paso # 02: Enrollo la cinta de encaje en la otra mitad del cintillo para crear una base donde voy a pegar las bolitas y las florecitas, como mencione en el primer paso esto no solo lo hago como adorno sino también para crear una base en la que los adornos queden más firmes.
Paso # 03: Una vez pegada la cinta de puedo comenzar a pegar las bolitas y las flores, cuando estaba comenzando había pensado en colocarlas de pares pero luego decidí colocarlas salteadas y creo quedaron mejor.
Como pueden observar en tres sencillos pasos pude decorar este cintillo, así puedo lucir un nuevo estilo al salir de paseo o para llevarlo al colegio. Espero les sea de utilidad o como idea para decorarlos con sus propios estilos, me despido deseándoles un excelente día a todos.
Fuente de Fotos: Propias capturadas con una cámara Síragon.
Modificado el tamaño: Con el Programa Paint.
Gracias por visitar mi Blog… ¡AH! No se olvide de votar, reesteemear y comentar.
Un bello trabajo, senvillo pero delicado. Me gustó mucho el resultado. 😊👍🏼
💙✨🎊💖🌷🌺🥀🍂💫🍀🌵🌸💮🏵️🌼🌲🌟🌳🍁🌙🌱🌹⭐🌈🍄💐🎉💜🌻
Hola @chacald.dcymt, me alegra que le gustara y agradezco su comentario y su tiempo. Le deseo una linda tarde y un excelente fin de semana.

Que bueno darle una nueva vida a las cosas, te quedó hermoso y se nota que ha la modelo tambien le encantó, saludos 😉
How nice to give a new life to things, it was beautiful and you can tell that the model also loved it, greetings 😉
Hola @yosoyada, Gracias por su comentario, me alegra le gustara y agradezco su visita y apoyo.

Le deseo un feliz fin de semana.
😉