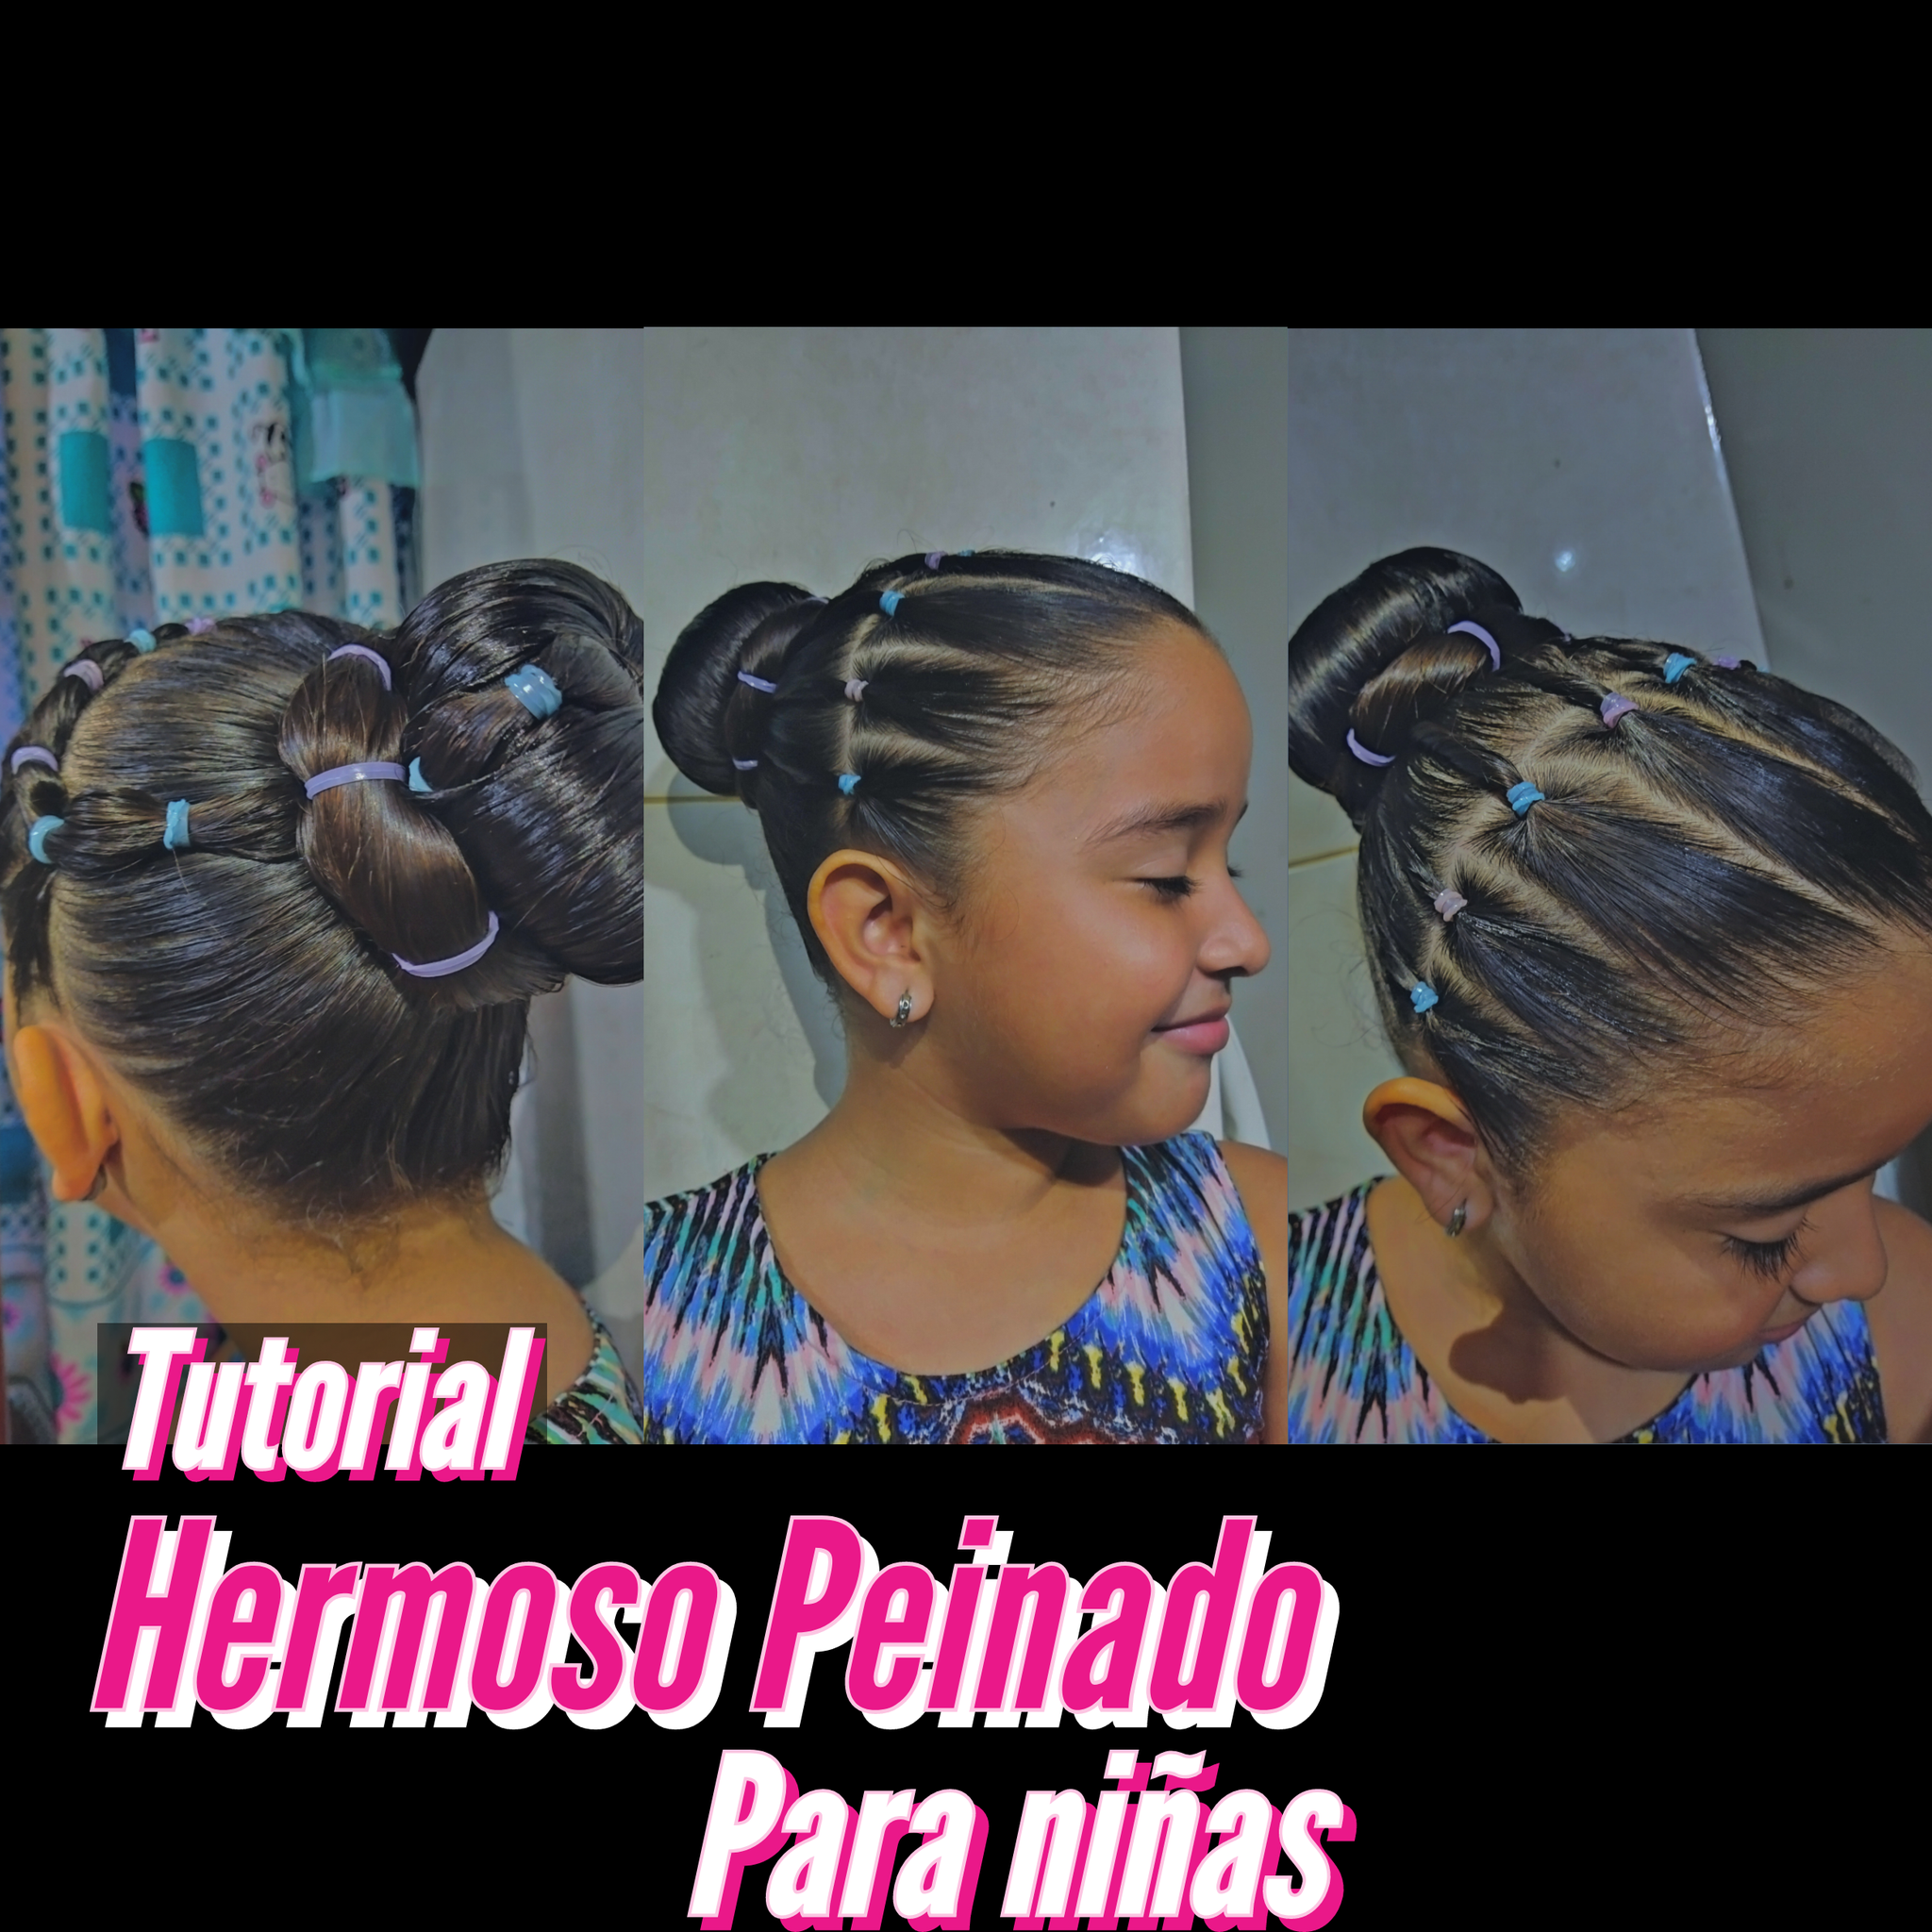
It's amazing to know the different hairstyles we can do with our hair. Greetings hive family, today I want to show you a tutorial to make a nice hairstyle. I dedicated myself to do my little sister's hair since she had to dance at church and she had to wear a hairstyle with a donut so I wanted to play with her hair. I hope you like it, it's super easy and always wanting to give and get a beautiful finish. Stay to see the step by step of this beautiful hairstyle.

.png)
Paso 1: Necesitamos tener el pelo húmedo y desenredando completamente, aplicamos una crema para peinar y así suavizar el pelo y al momento de peinarlo sea mucho más factible. Vamos a divider el pelo por la mitad, pero no hasta abajo si no hasta la mitad de la cabeza, dividiremos en dos partes, la derecha y la izquierda, dejando entera la parte trasera del pelo con la que haremos al final la dona del peinado. Luego de haber divido el pelo, en la parte de adelante haremos un retiro de lado.
Step 1: We need to have the hair wet and detangling completely, we apply a combing cream to soften the hair and at the moment of combing it will be much more feasible. We are going to divide the hair in half, but not down to the bottom but to the middle of the head, we will divide it in two parts, the right and the left, leaving the back part of the hair whole with which we will make the donut at the end of the hairstyle. After having divided the hair, in the front part we will make a side parting.
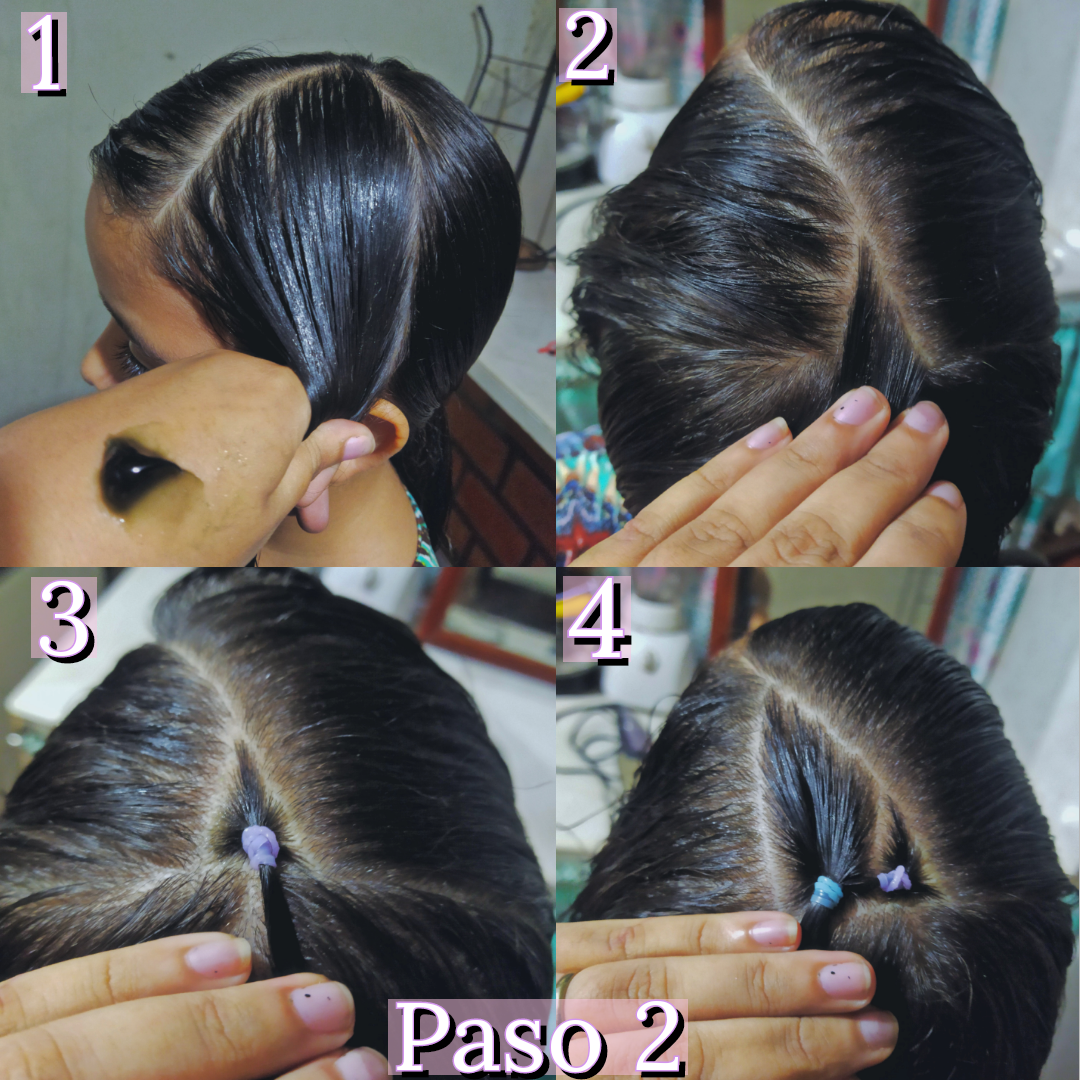
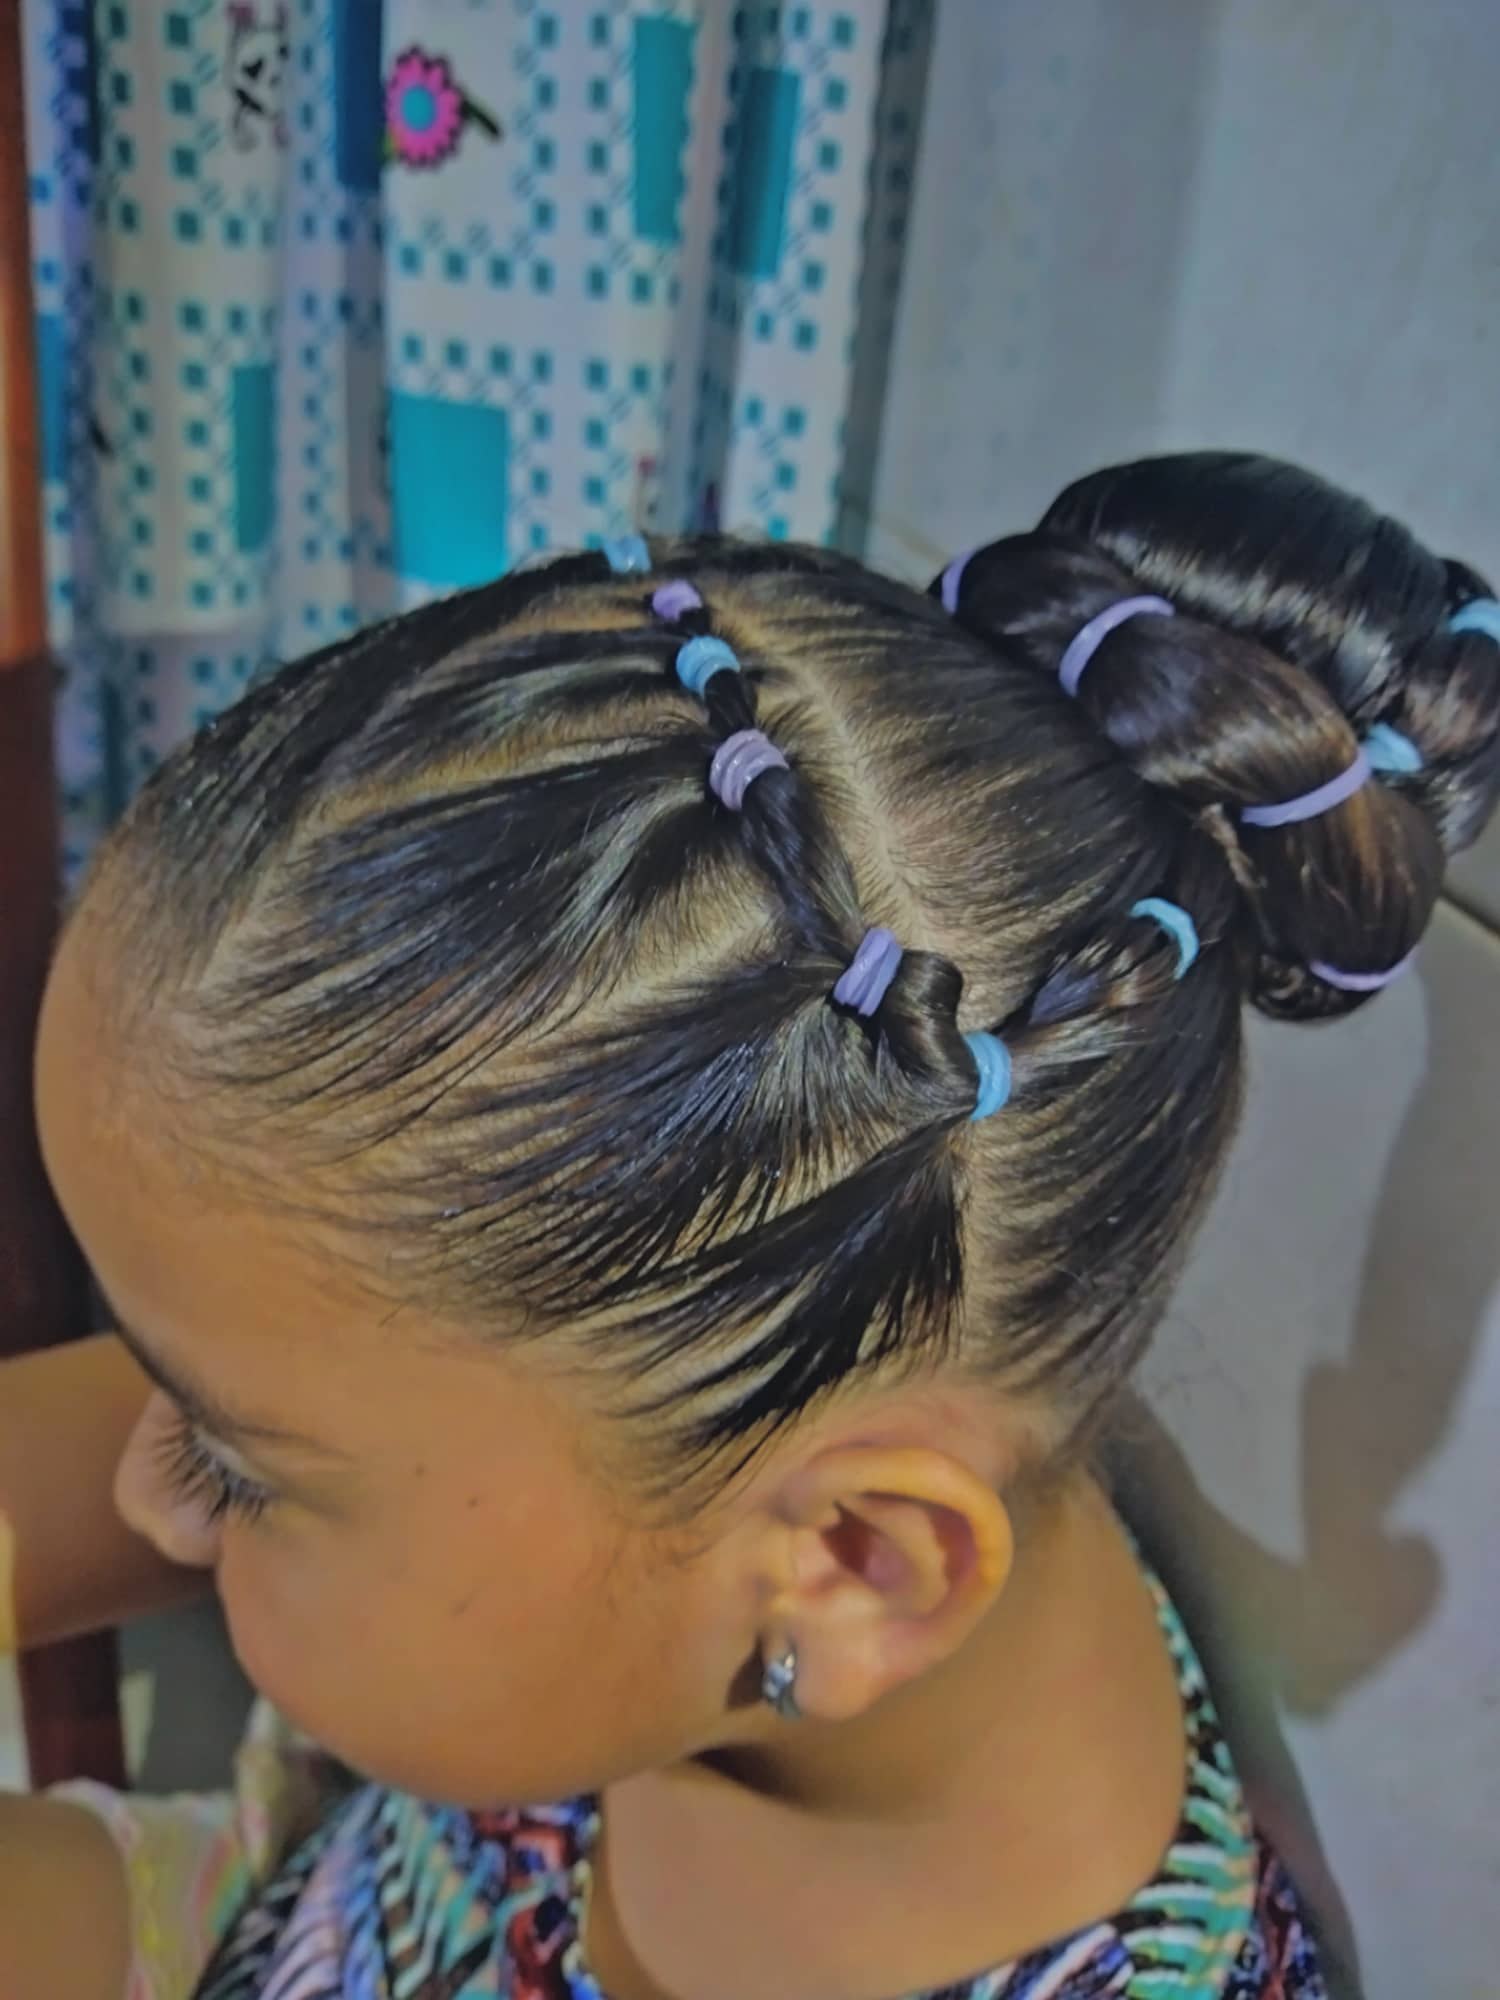
Paso 2: Comenzaremos con la parte izquierda de la división del pelo, vamos a aplicar gelatina para que nuestro peinado quede fuerte y dure más. Vamos a comenzar de arriba hacia abajo, dividiremos en franjas largas, vamos a comenzar desde lo más pequeño hasta lo más grande, juguemos con los colores de las ligas, eso hace que el peinado cobre color y vida. Luego de colocar la liga en la primera división del pelo, Procedemos a amarrar otra pero a ésta añadiremos la sobrante del pelo que amarramos anteriormente. Y así vamos a hacer sucesivamente.
Step 2: We will start with the left side of the hair parting, we will apply gelatin to make our hairstyle stronger and last longer. We will start from top to bottom, we will divide in long strips, we will start from the smallest to the biggest, let's play with the colors of the garters, that makes the hairstyle gain color and life. After placing the garter on the first hair part, we proceed to tie another one but to this one we will add the leftover of the hair we tied previously. And so we are going to do successively.
.png)
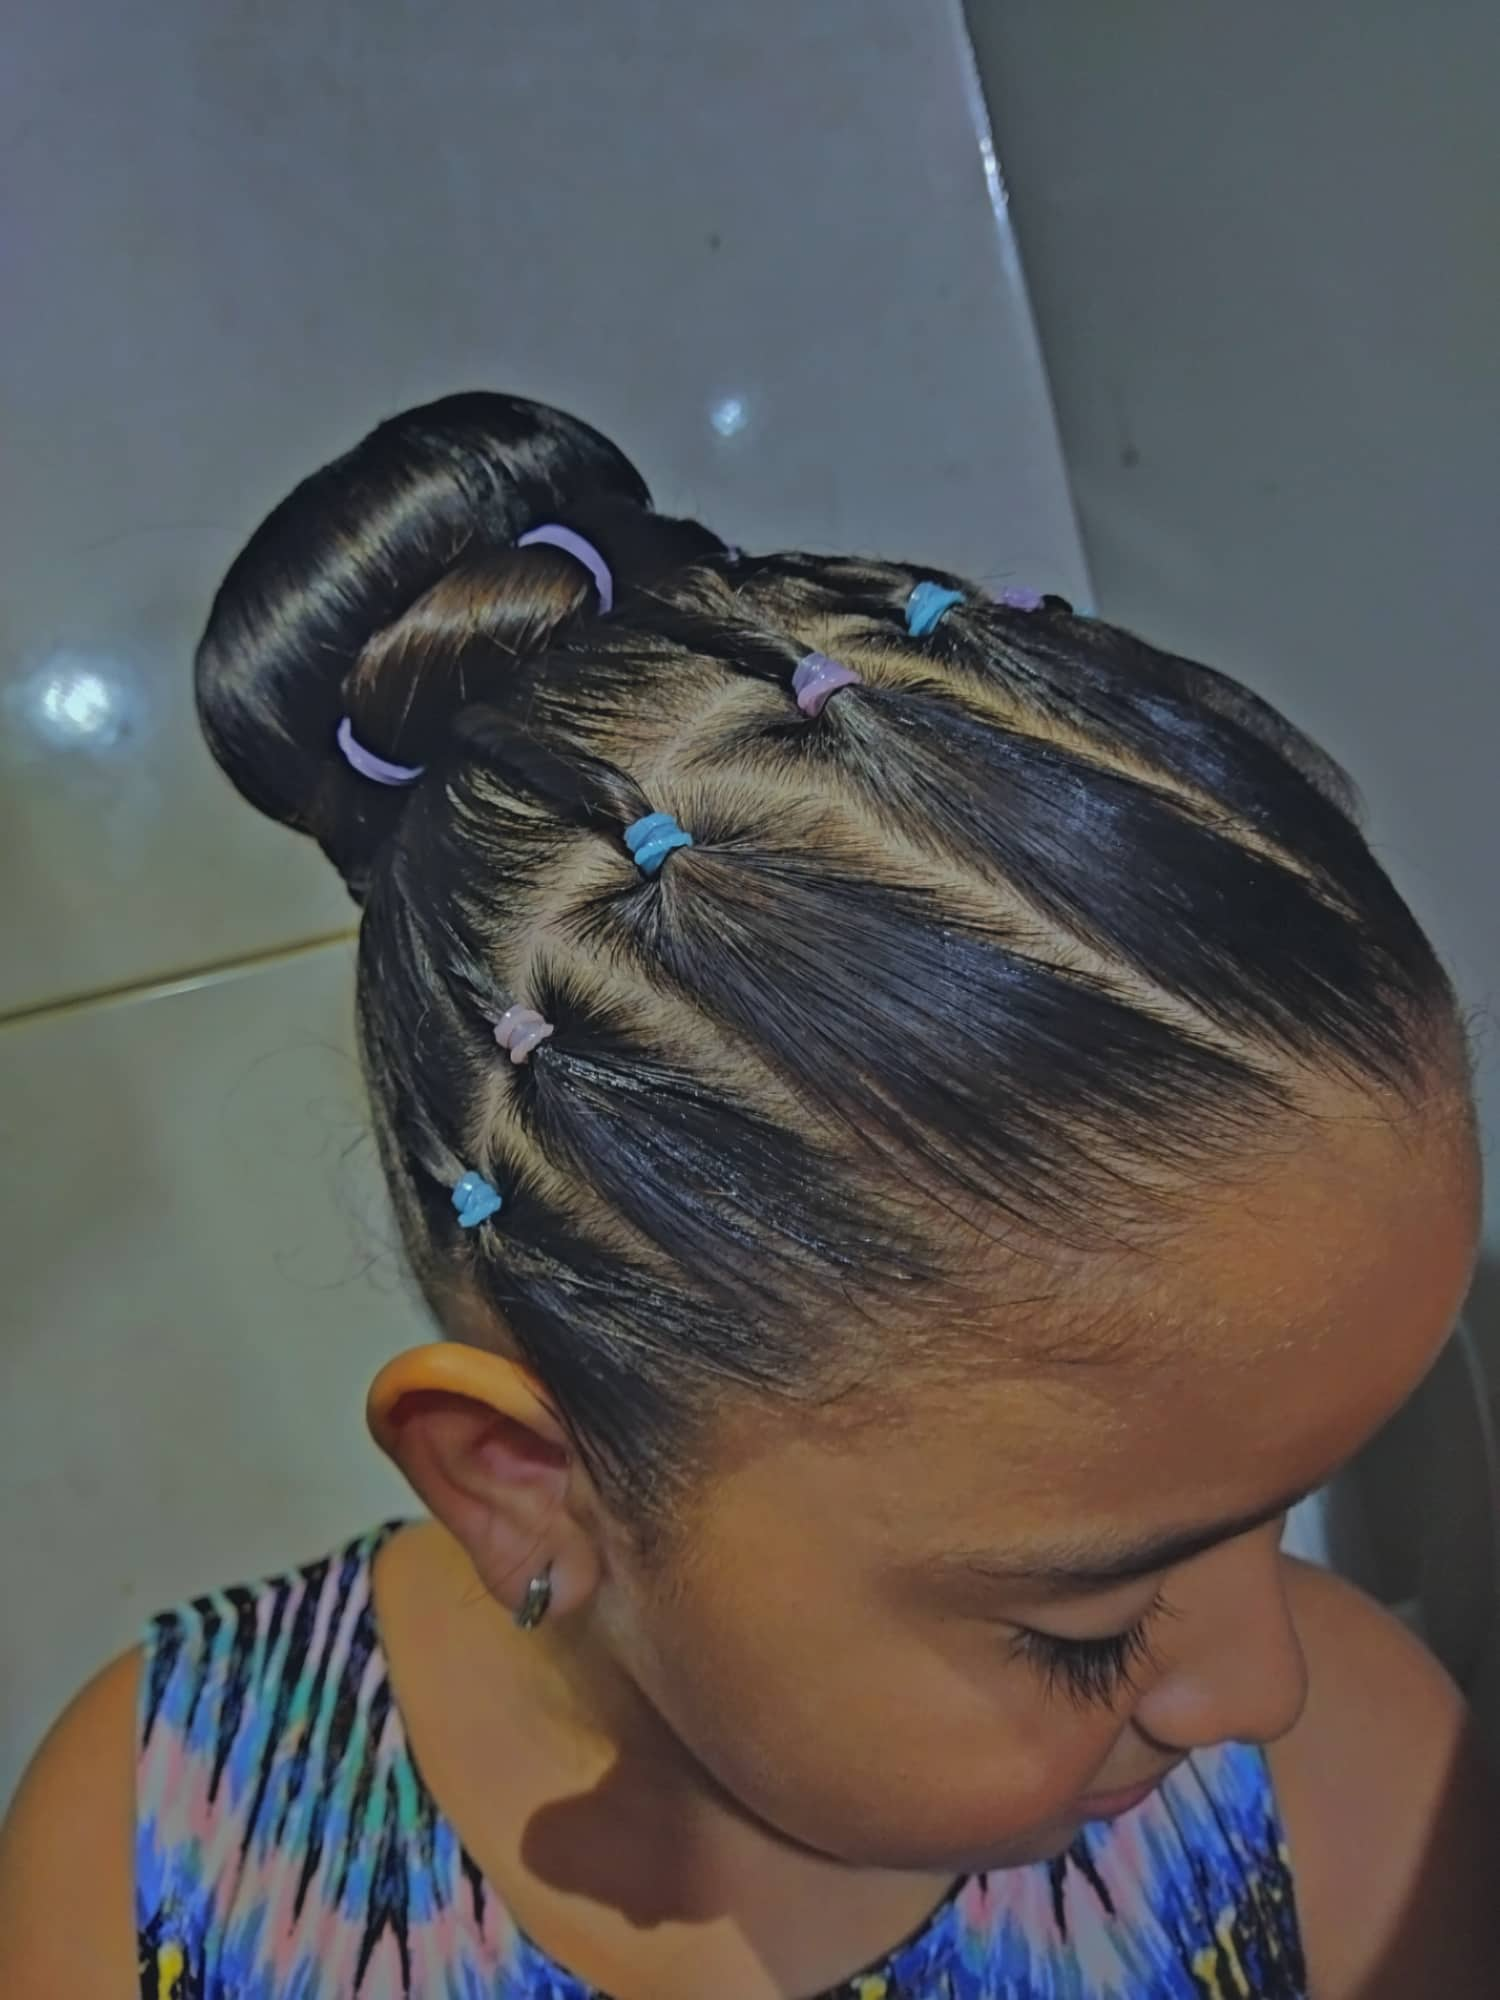
Paso 3: Seguiremos la secuencia del peinado. Luego vamos a la parte derecha del cabello, ésta parte la haremos algo parecida a la anterior solo que no tomaremos el pelo restante si no que lo dejaremos suelto así como lo muestra las imágenes. Vamos peinando y echando gelatina para que el peinado quede muy lindo.
Step 3: We will follow the sequence of the hairstyle. Then we go to the right part of the hair, this part we will do something similar to the previous one but we will not take the remaining hair but we will leave it loose as shown in the images. We go combing and pouring gelatin so that the hairstyle is very nice.
.png)
Paso 4: el pelo restando de las ligas que amarramos en esta parte, con ellas haremos unos rizos con gelatina para que al momento de amarrar atrás quede con un acabado muy lindo. Luego nos vamos a la parte izquierda, con la parte suelta que quedó vamos a amarrar varias ligas en el pelo, esto hará que se vea mucho más hermoso el peinado. Luego ya terminada la parte de adelante vamos a agregar gelatina a la parte del pelo para la dona y vamos a peinar.
Step 4: the hair remaining from the hair ties that we tied in this part, with them we will make some curls with gelatin so that when we tie it back it will have a very nice finish. Then we go to the left part, with the loose part that was left we are going to tie several garters in the hair, this will make the hairstyle look much more beautiful. Once the front part is finished we are going to add gelatin to the part of the hair for the donut and we are going to comb it.
.png)
Paso 5: Peinamos bien la parte trasera del peinado, para así poder hacer una coleta y unir todas las piezas del Peinado. Amarramos y hacemos la coleta, y Peinamos muy bien. Luego tomamos la dona y la vamos a colocar en la coleta Procederemos a dividir el pelo para que cubra cada parte de la dona y así quede muy linda.
Step 5: We comb well the back part of the hairstyle, so we can make a ponytail and join all the pieces of the hairstyle. We tie and make the ponytail, and we comb it very well. Then we take the donut and we are going to place it in the ponytail. We will proceed to divide the hair so that it covers each part of the donut and so it looks very pretty.
.png)
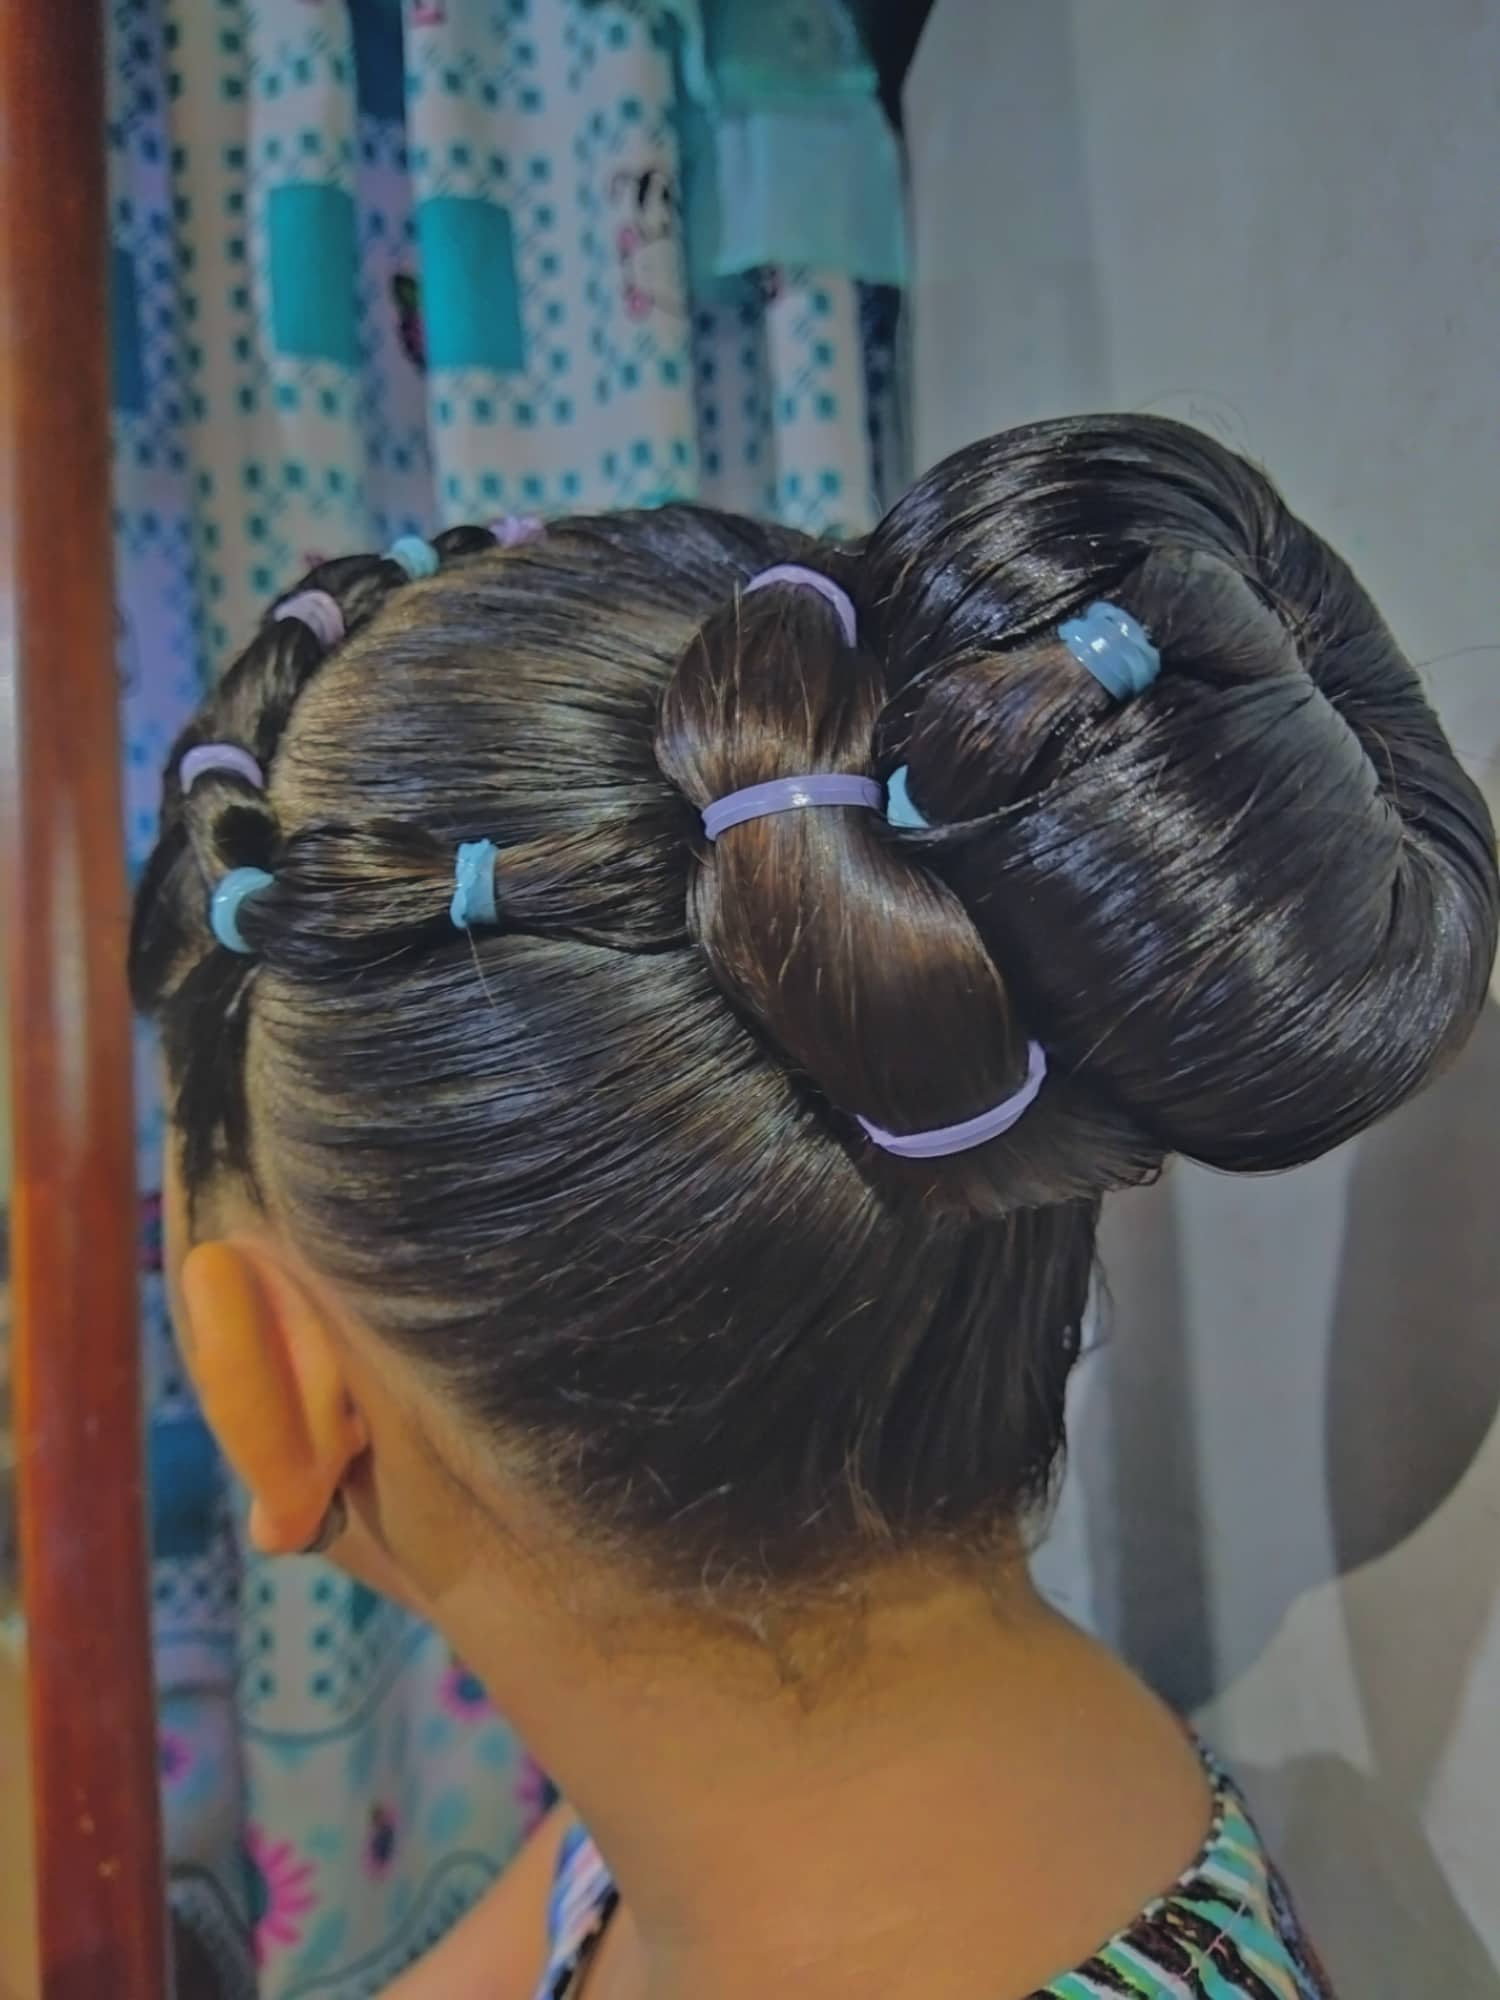
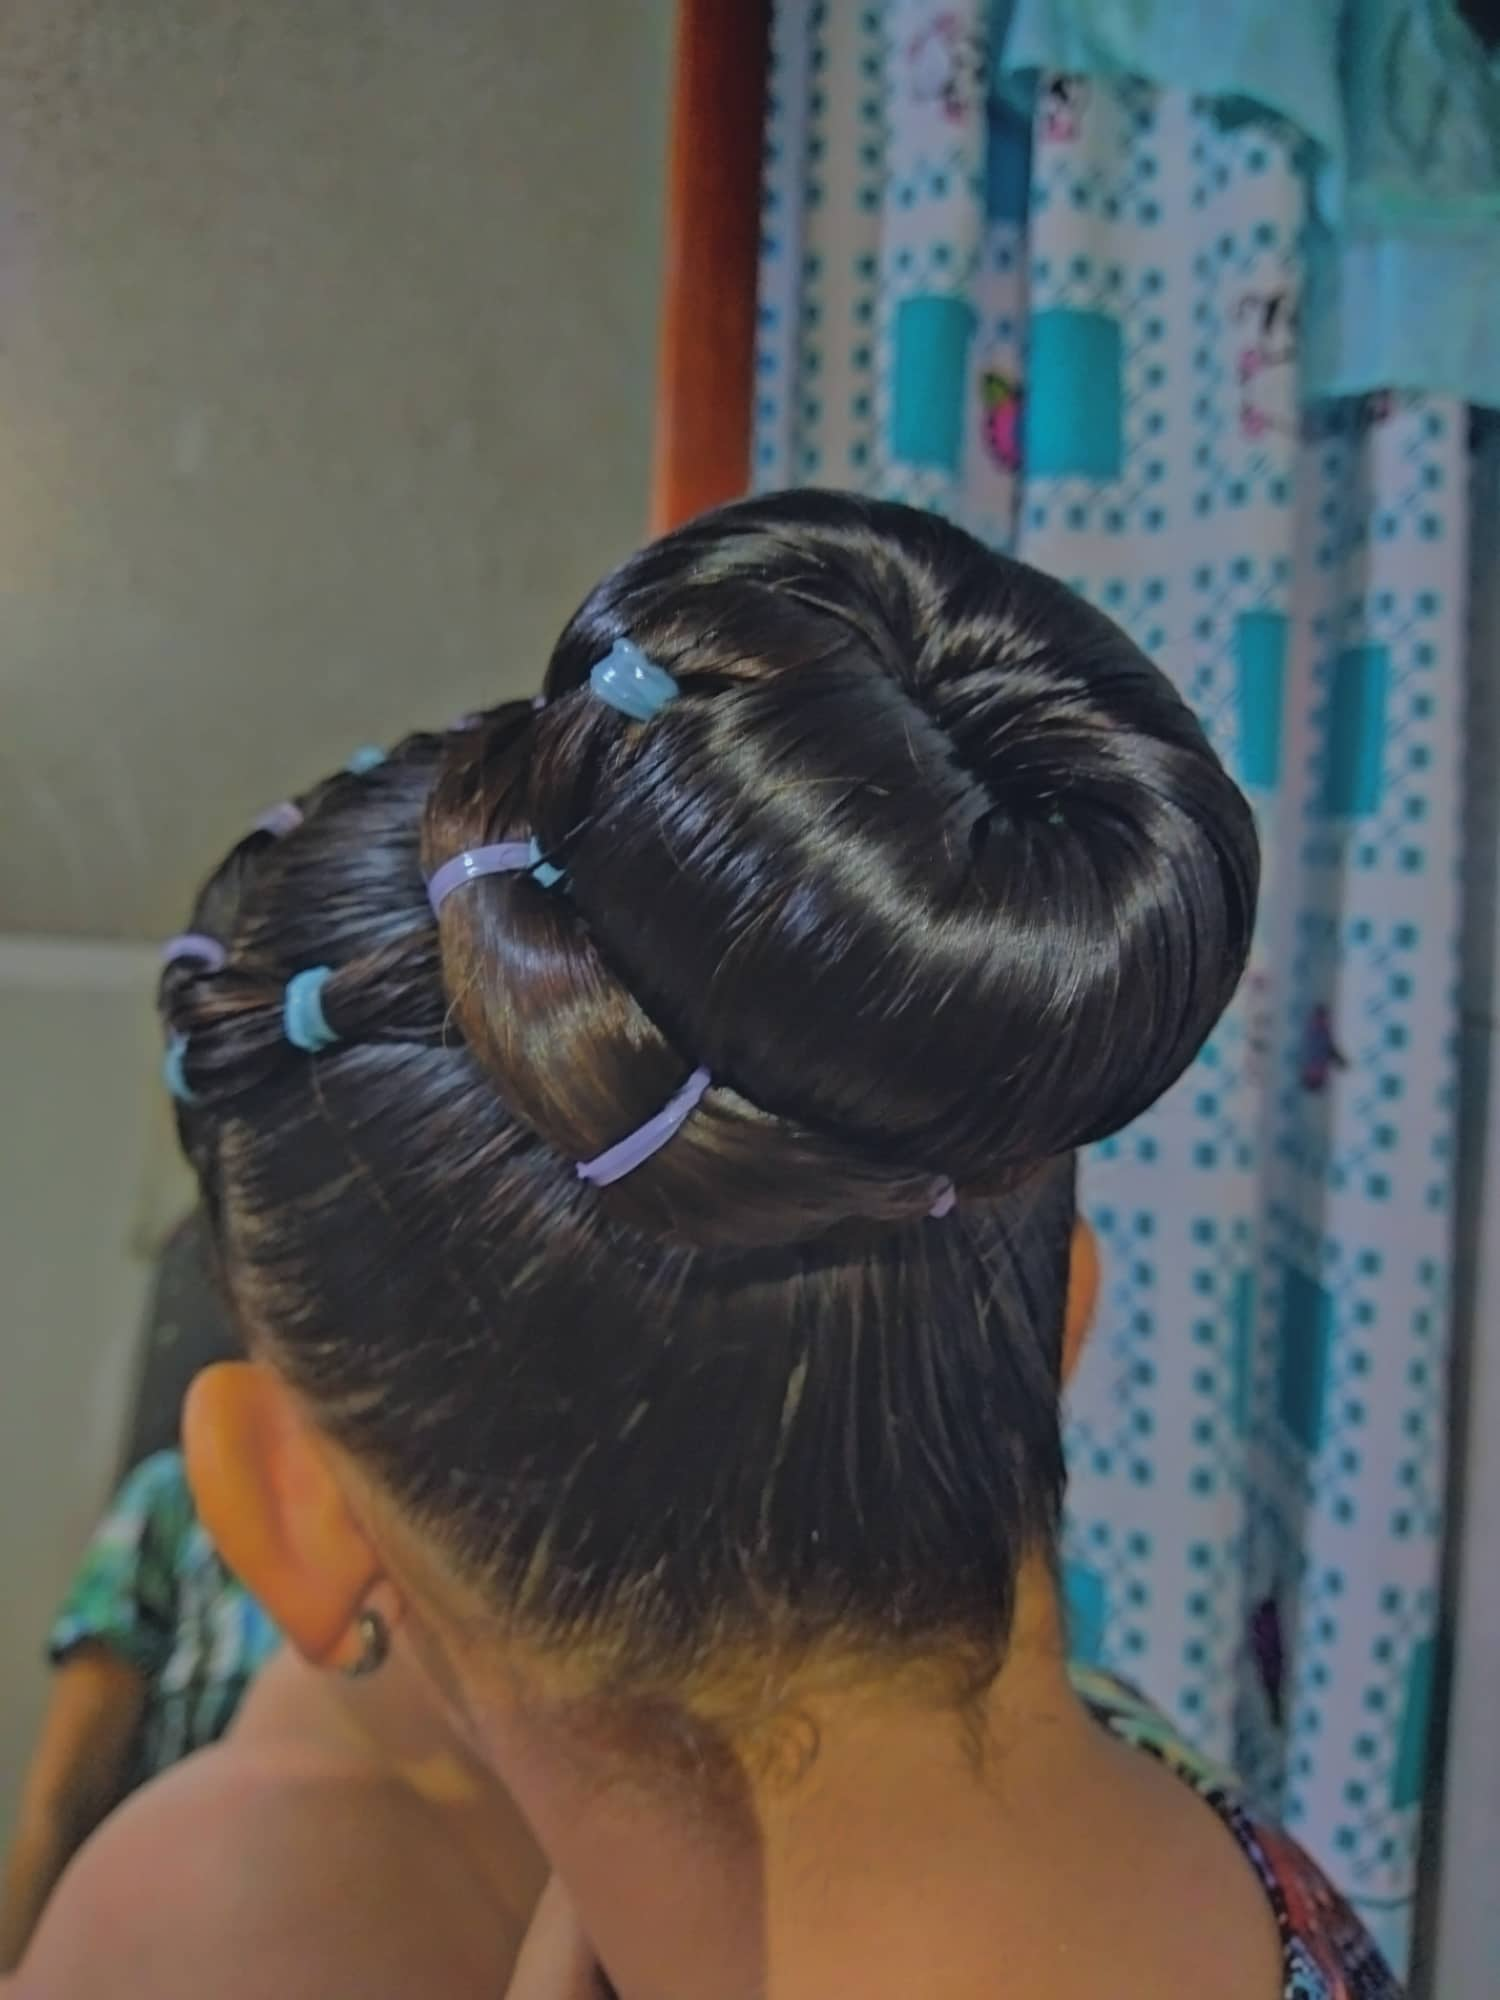
Paso 6: luego de peinar la dona vamos a amarrar con una cola para finalizar la dona. Procedemos luego a peinar y a echar gelatina al pelo restante de la dona. Con éste pelo haremos lo mismo que hicimos en la parte izquierda con el pelo restante. Pondremos ligas de colores a lo largo del pelo y ésta la colocaremos al rededor de la dona para cubrir los defectos que hayan podido quedar. Y de ésta manera concluimos éste hermoso peinado.
Step 6: after combing the donut we are going to tie it with a tail to finish the donut. Then we proceed to comb and put gelatin on the remaining hair of the donut. With this hair we will do the same as we did on the left side with the remaining hair. We will put colored rubber bands along the hair and we will place them around the donut to cover the defects that may have been left. And in this way we conclude this beautiful hairstyle.
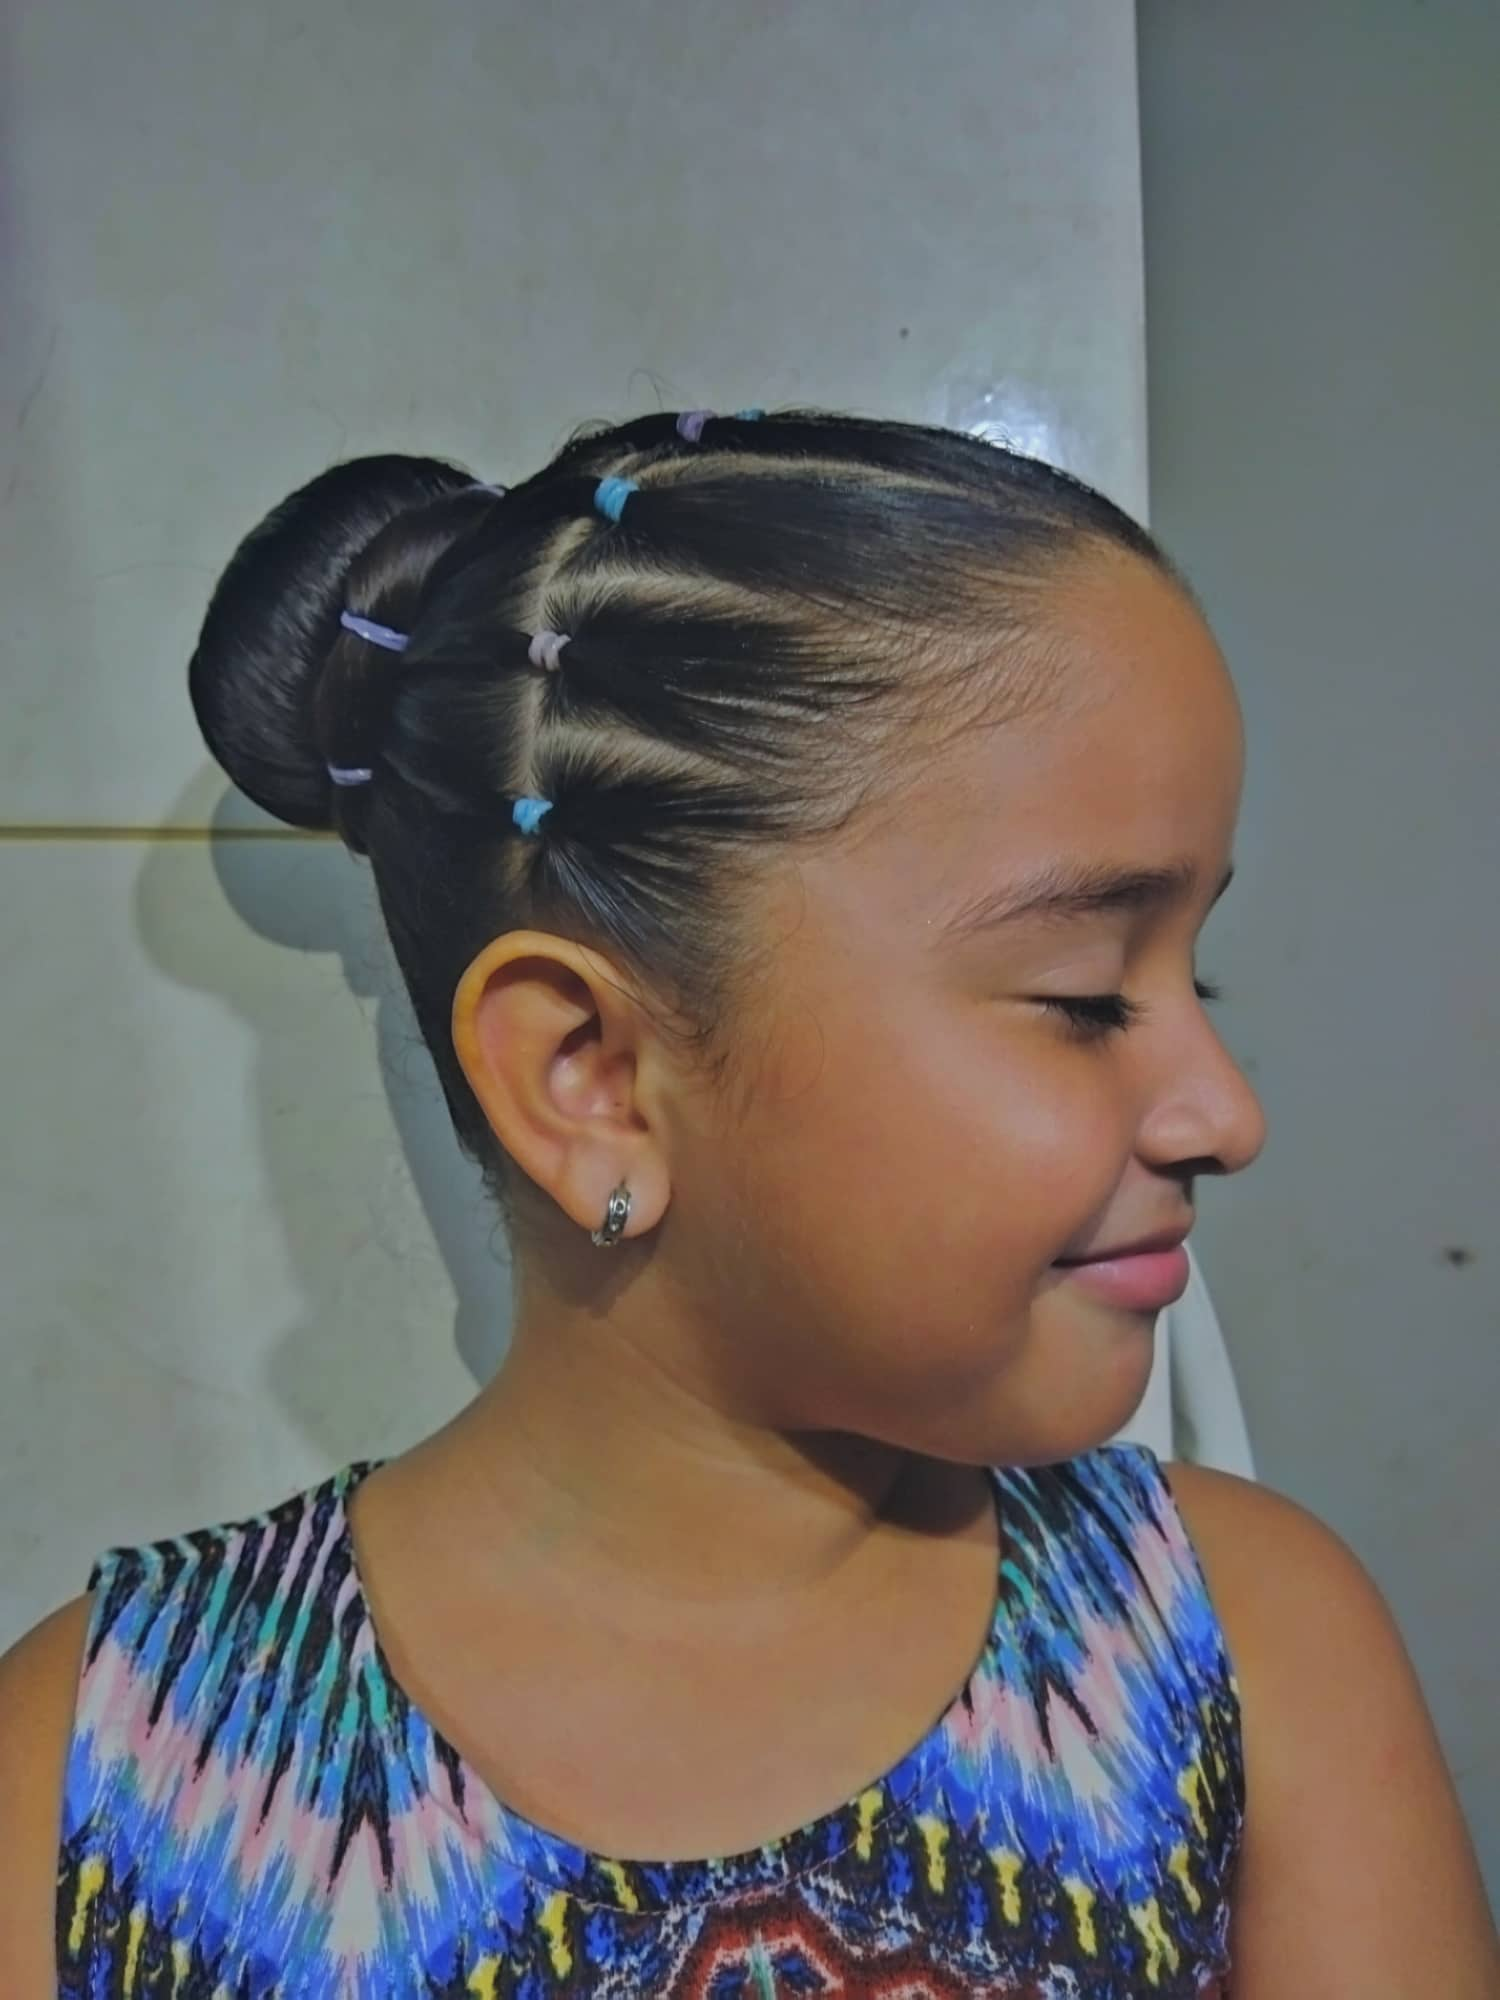
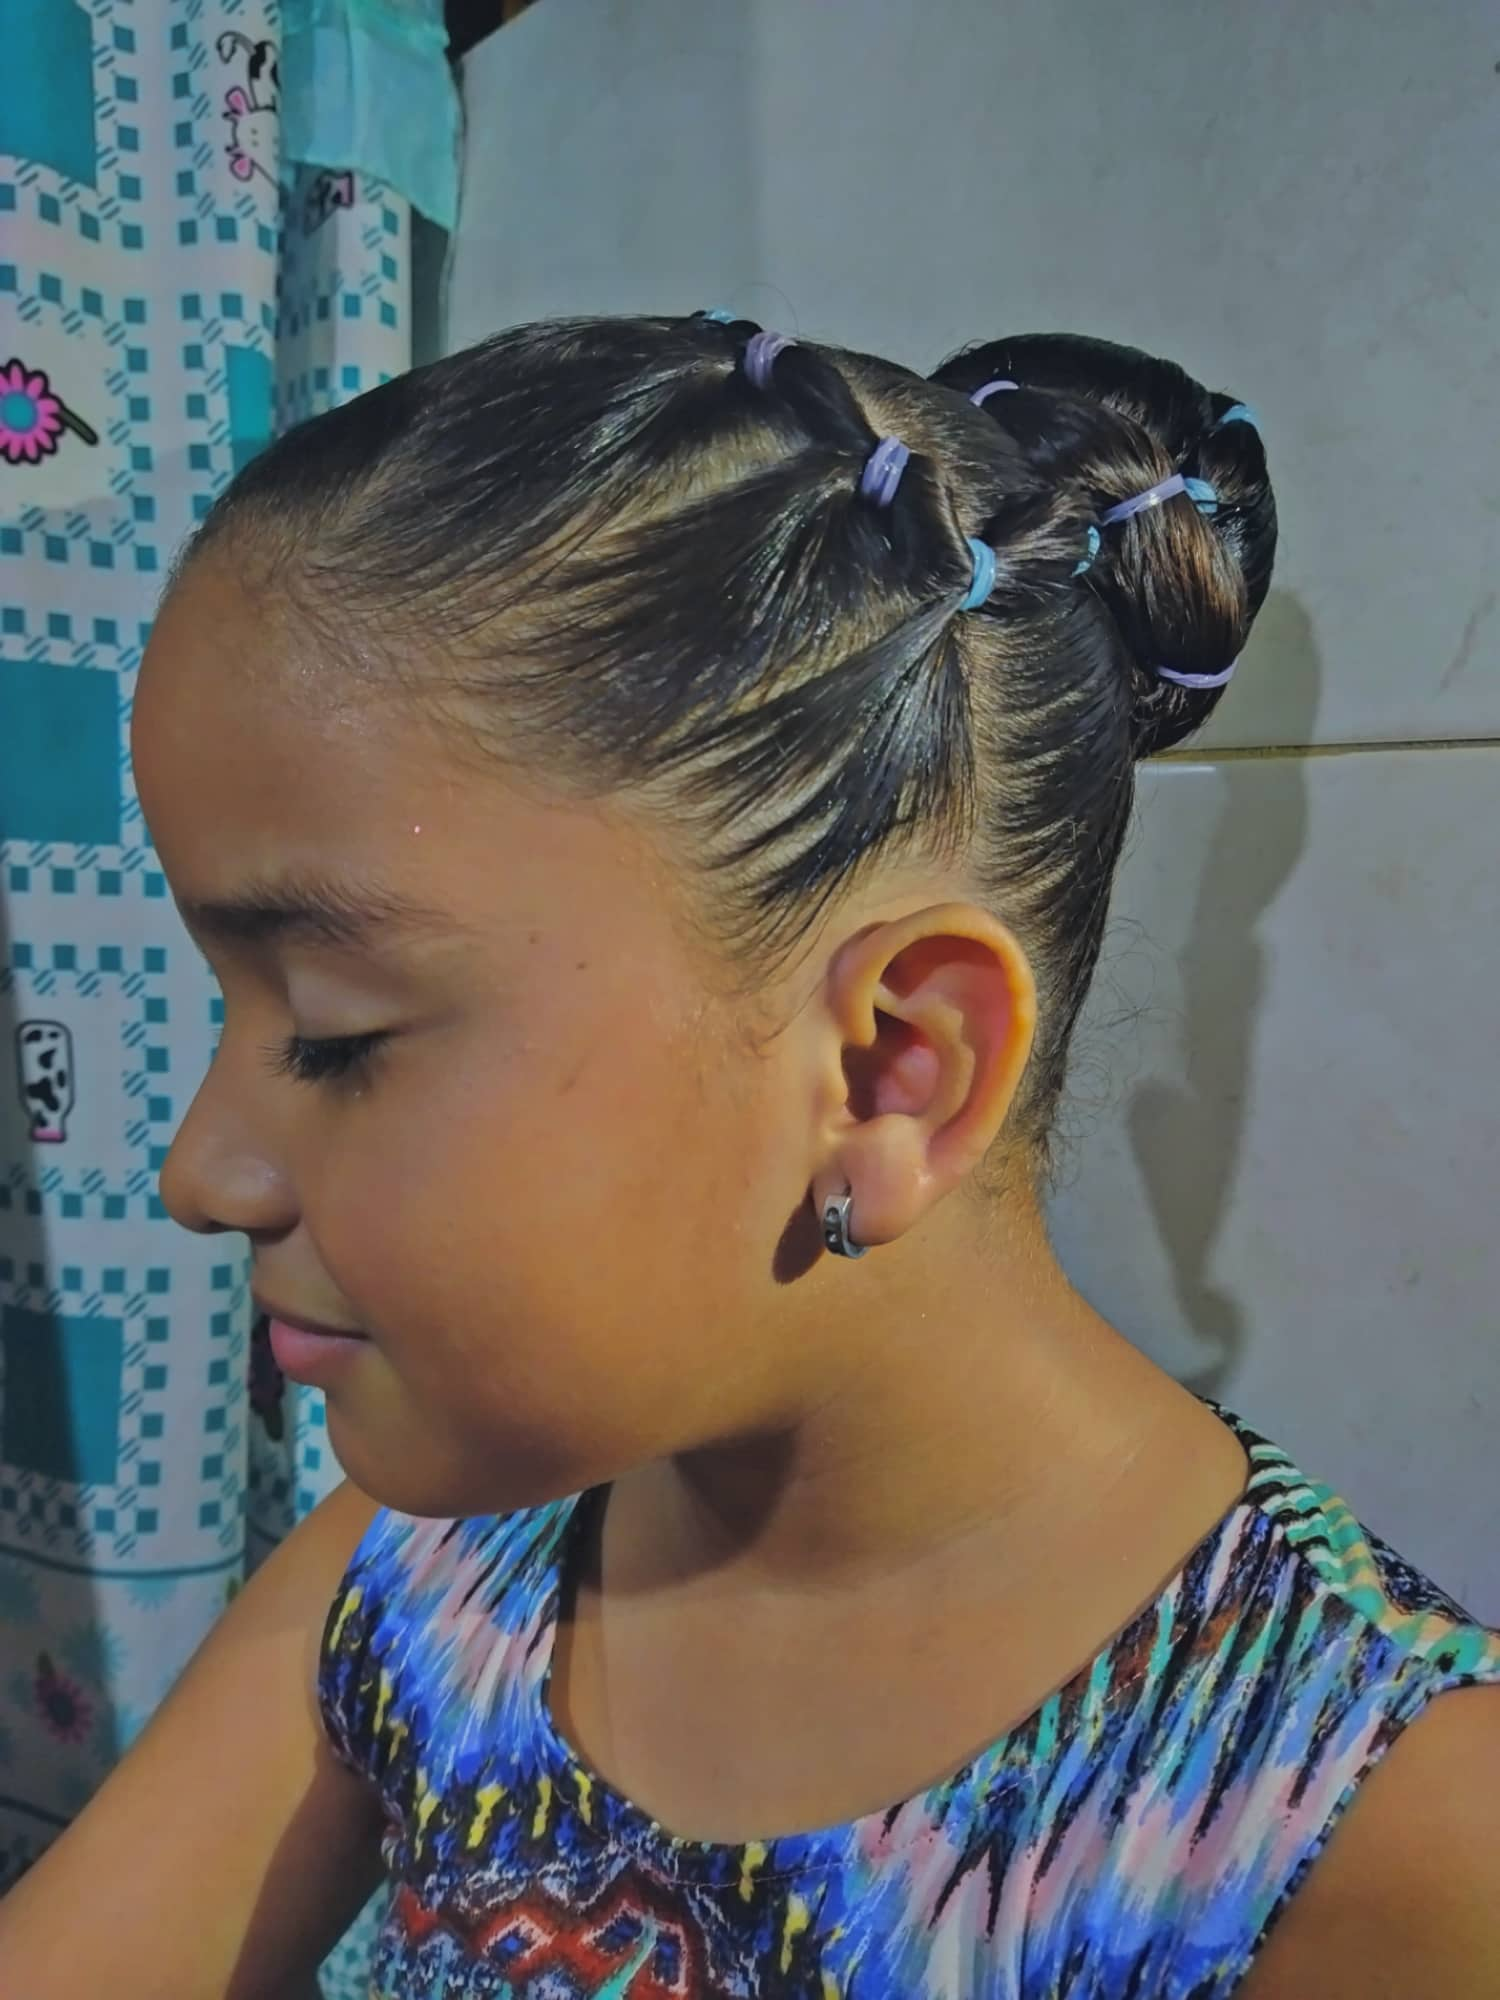
Final Result.
.png)
Que hermoso poeinado y que bien recogido queda, hasta lo usaría yo misma que no soy niña y si supiera peinarme jaja