
¡Hola Chicos!
Existen infinidad de posibilidades cuando de adornos navideños se trata y podemos crear un adorno con casi cualquier tipo de material, bien sea reciclado o nuevo.
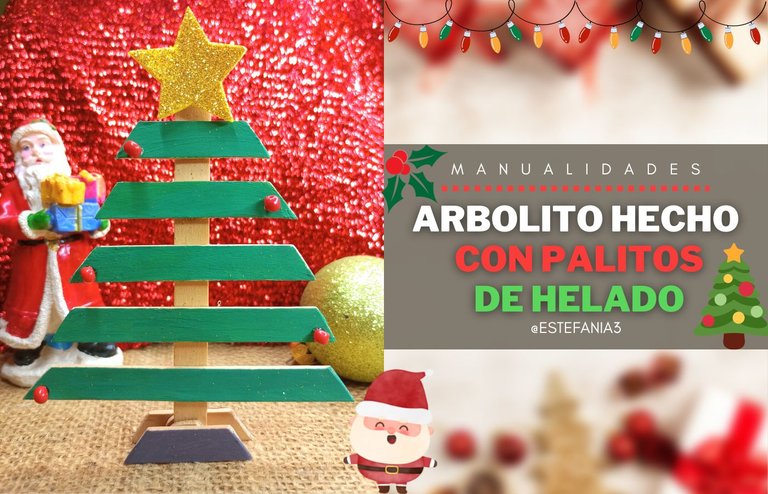
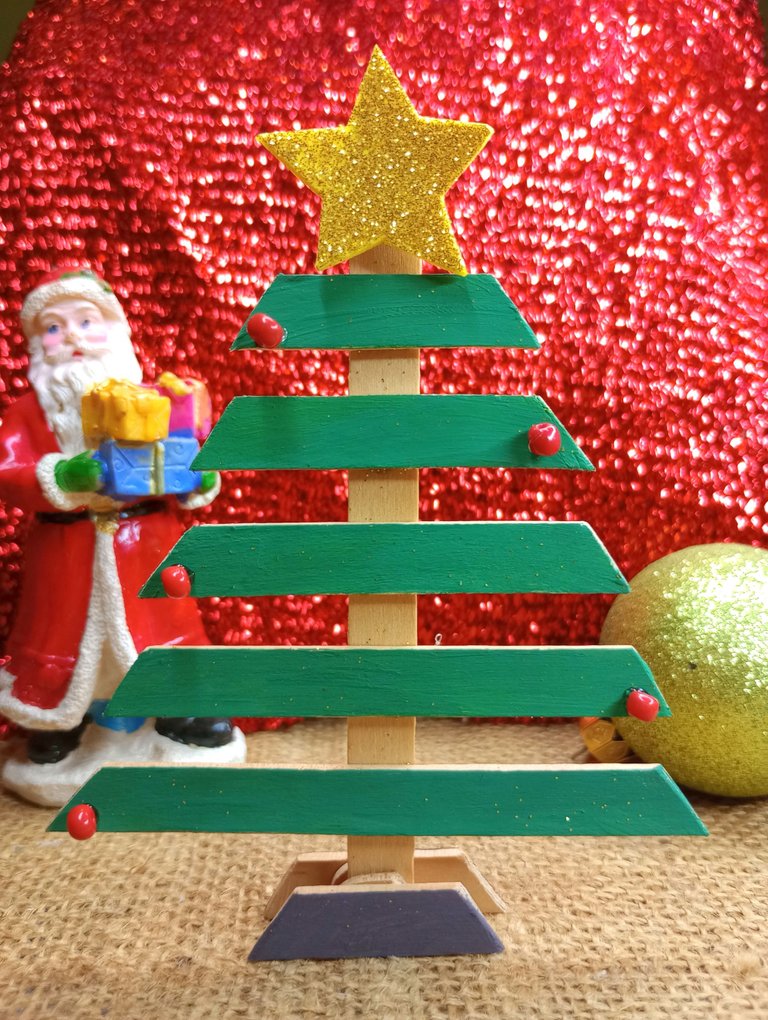
Hoy me gustaría enseñarte como he hecho este lindo arbolito con palitos de helado, que a mi parecer queda súper tierno y es un lindo regalo para cualquier persona que trabaje en una oficina y quiera colocar un poco de navidad en su escritorio, o para colocar de decoración sutil en nuestra mesa navideña.
Las posibilidades de uso son muchas, ya todo queda de parte de tu creatividad. A mí me pareció chévere para utilizarlo como decoración de fondo cuando esté creando contenido para mi blog.
Se hace súper rápido y me parece una actividad genial para hacer con los pequeños de la casa.
Pero no sigamos hablando más, mejor vayamos con el paso a paso para crear este lindo arbolito con palitos de helado. ♥
Hello Guys!
There are endless possibilities when it comes to Christmas decorations and we can create an ornament with almost any type of material, whether recycled or new.
Today I would like to show you how I have made this cute little tree with ice cream sticks, which in my opinion is super cute and is a nice gift for anyone who works in an office and wants to place a bit of Christmas on their desk, or to place on subtle decoration on our Christmas table.
The possibilities of use are many, and everything is left to your creativity. I thought it was cool to use as a background decoration when creating content for my blog.
It is done super fast and I think it is a great activity to do with the little ones in the house.
But let's not talk any more, let's go step by step to create this cute little tree with ice cream sticks. ♥
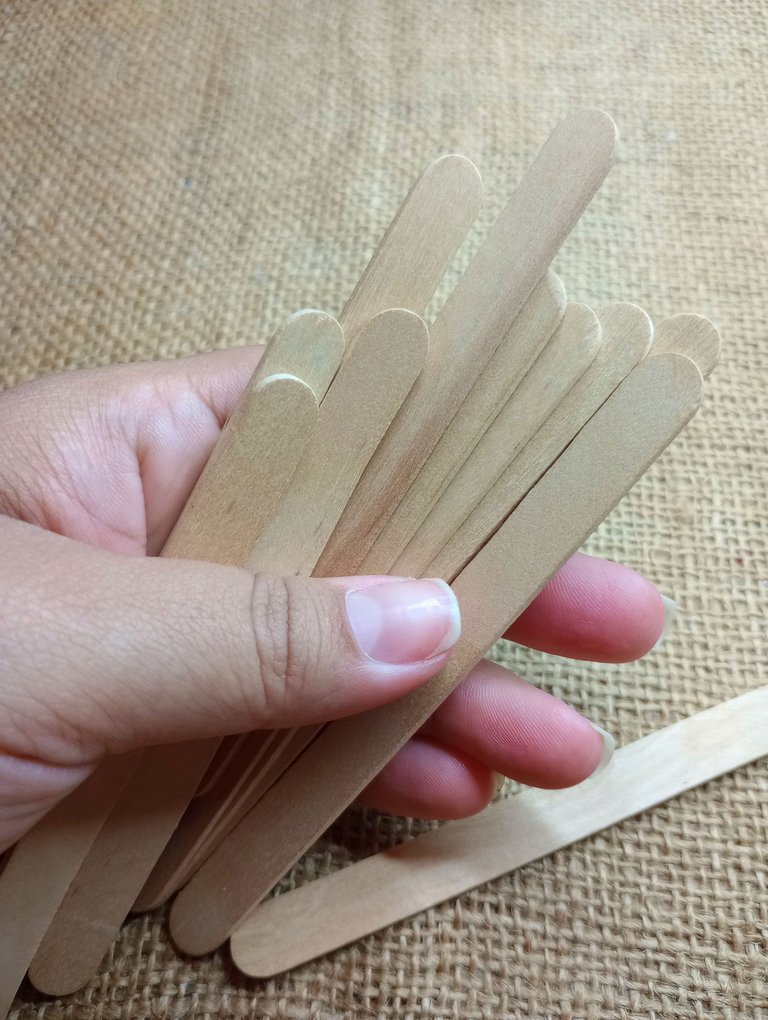
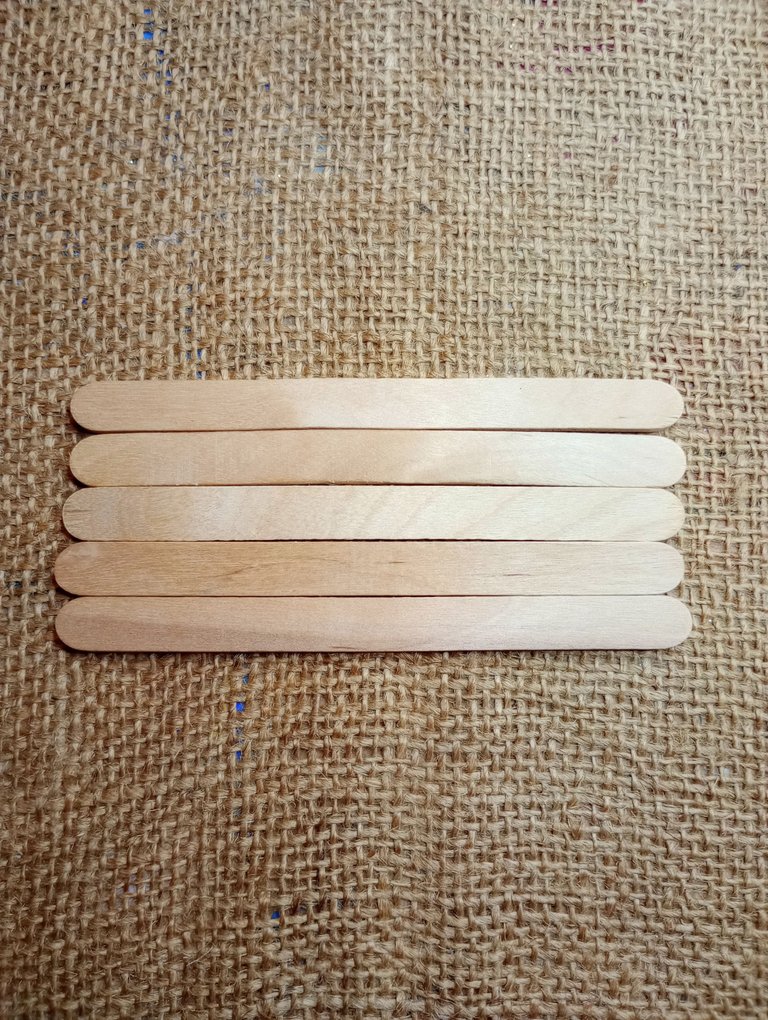
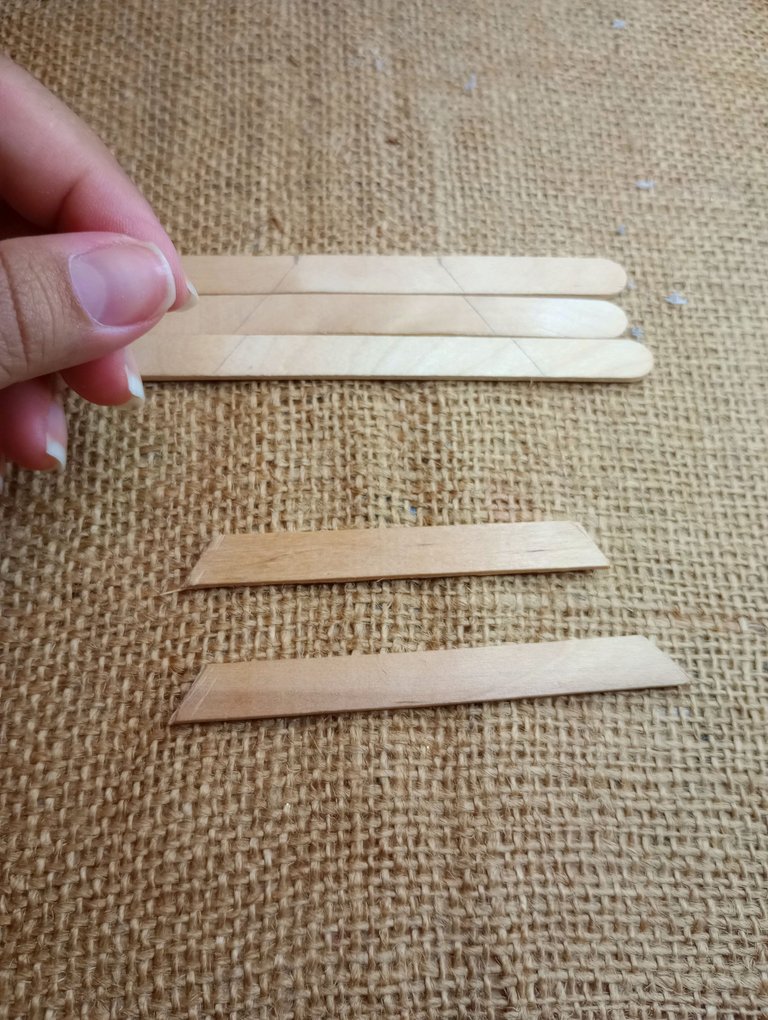
Primero vamos a ubicar 5 palitos de manera horizontal, uno abajo del otro, bien alineados.
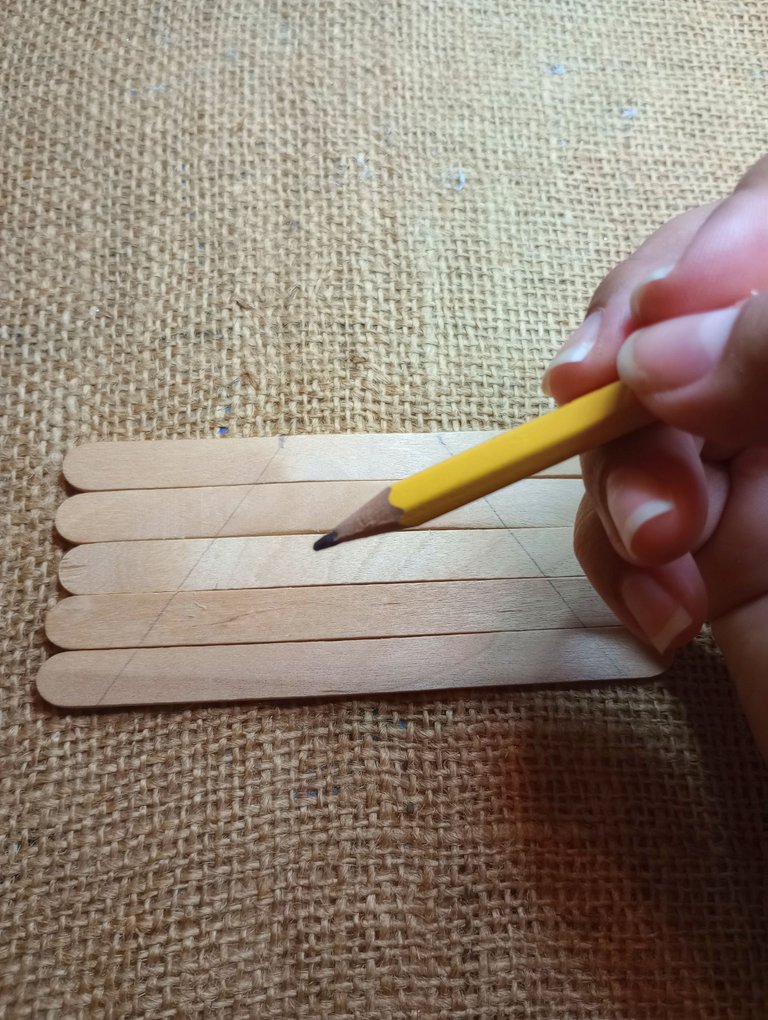
Con un lápiz y una regla vamos a trazar dos líneas en diagonal para hacer los segmentos del arbolito.
Para tener una guía, en el primer palito trazaremos dos puntos, midiendo 4 centímetros desde cada uno de los extremos, y en el último marcaremos dos puntos, pero con apenas un centímetro desde cada extremo.
Así nos quedarán ambos lados con las líneas a la misma distancia.
First we are going to place 5 sticks horizontally, one below the other, well aligned.
With a pencil and a ruler we are going to draw two diagonal lines to make the segments of the little tree.
To have a guide, we will draw two points on the first stick, measuring 4 centimeters from each end, and on the last stick we will mark two points, but with just one centimeter from each end.
Thus we will have both sides with the lines at the same distance.
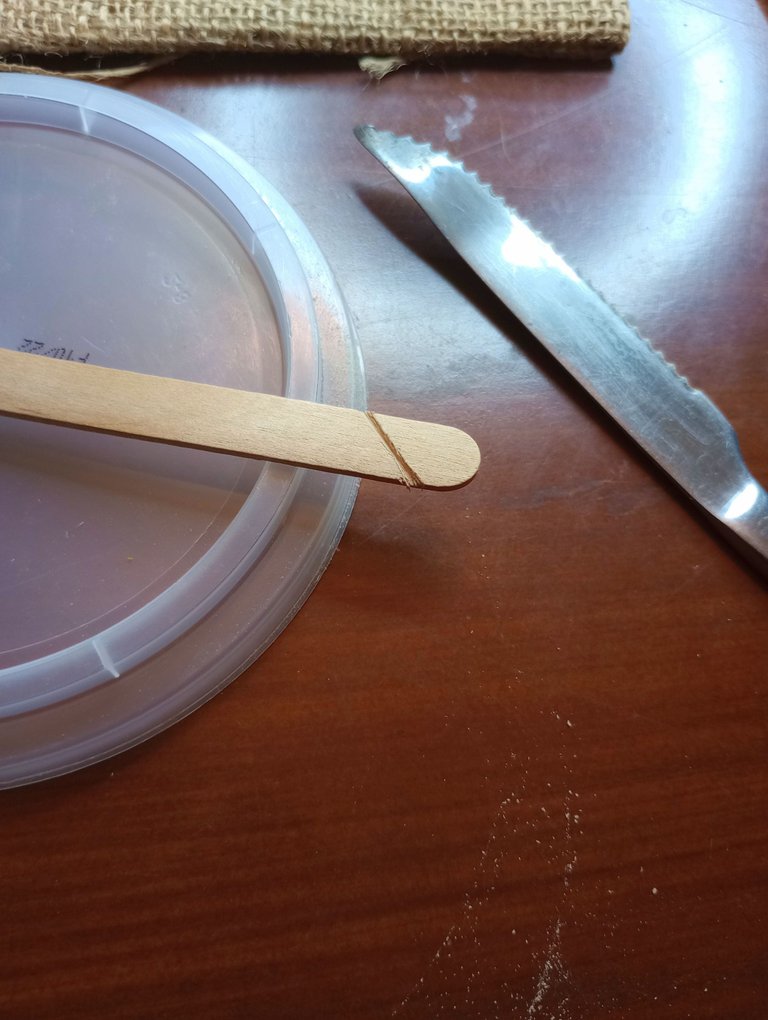
Ahora haremos cortes en cada una de estas líneas para hacer los picos en cada palito. Yo he utilizado un cuchillo de sierra y con mucho cuidado fui cortando cada uno de los lados.
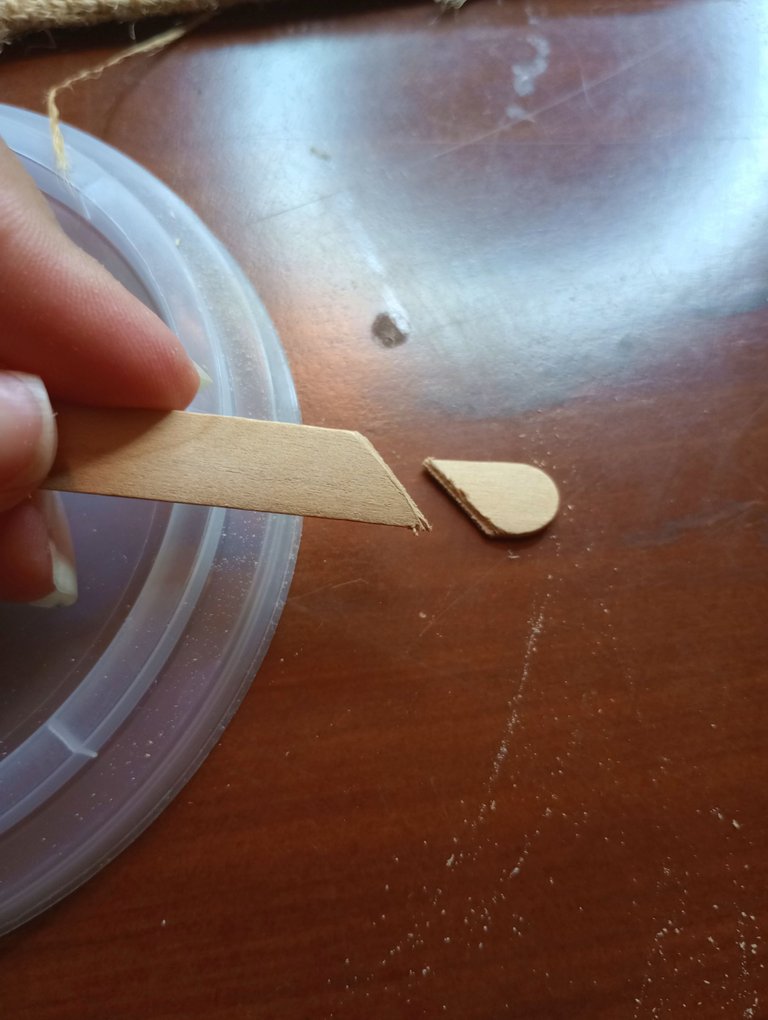
Now we will make cuts in each of these lines to make the peaks in each stick. I have used a serrated knife and very carefully I was cutting each one of the sides.
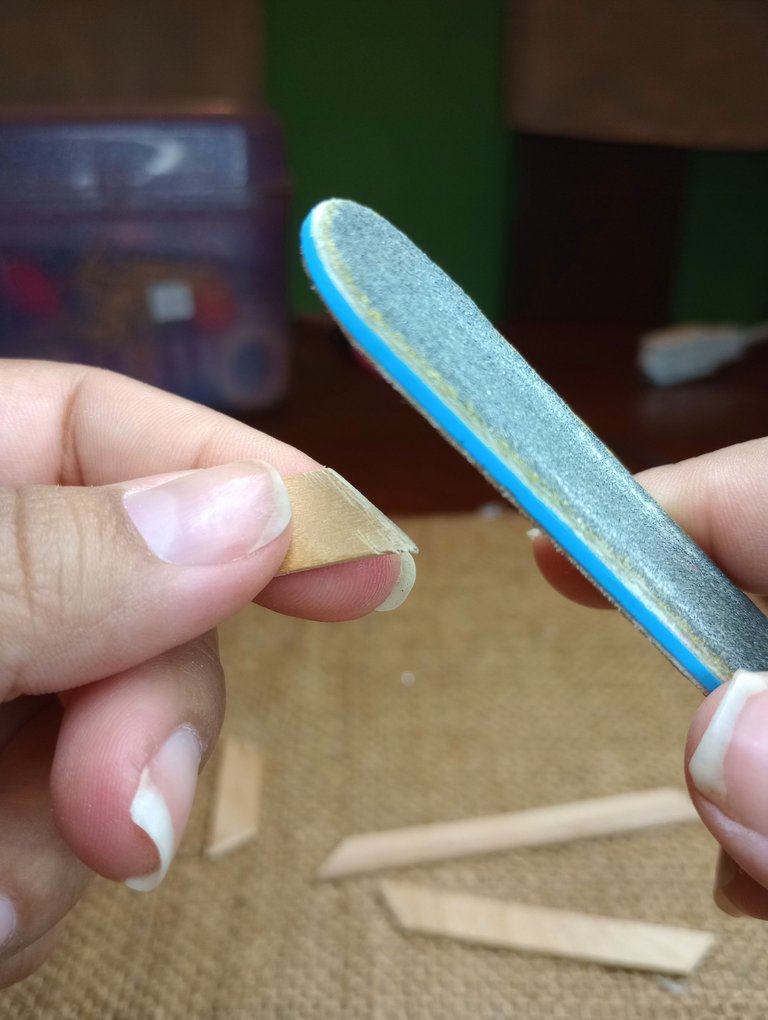
Como los bordes quedaban un poco ásperos, utilicé una lima de uñas para suavizarlos. Así hice con cada uno de los palitos.
Since the edges were a bit rough, I used a nail file to smooth them out. So I did with each of the sticks.
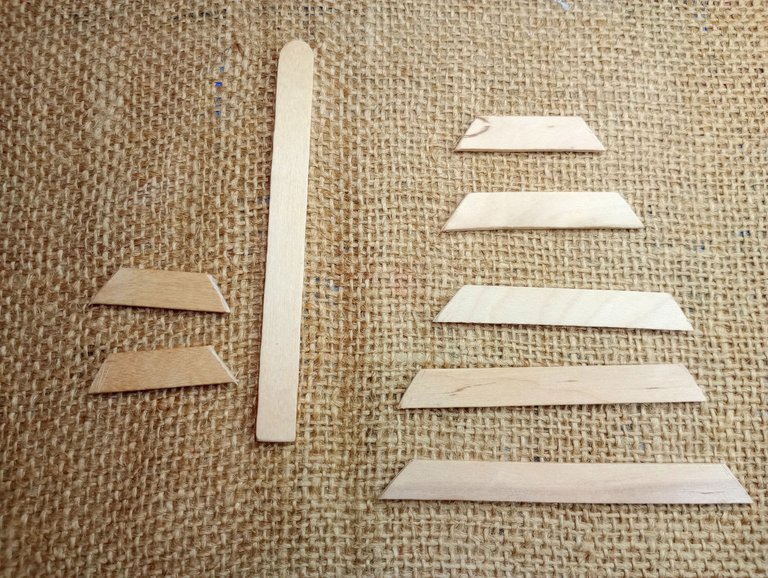
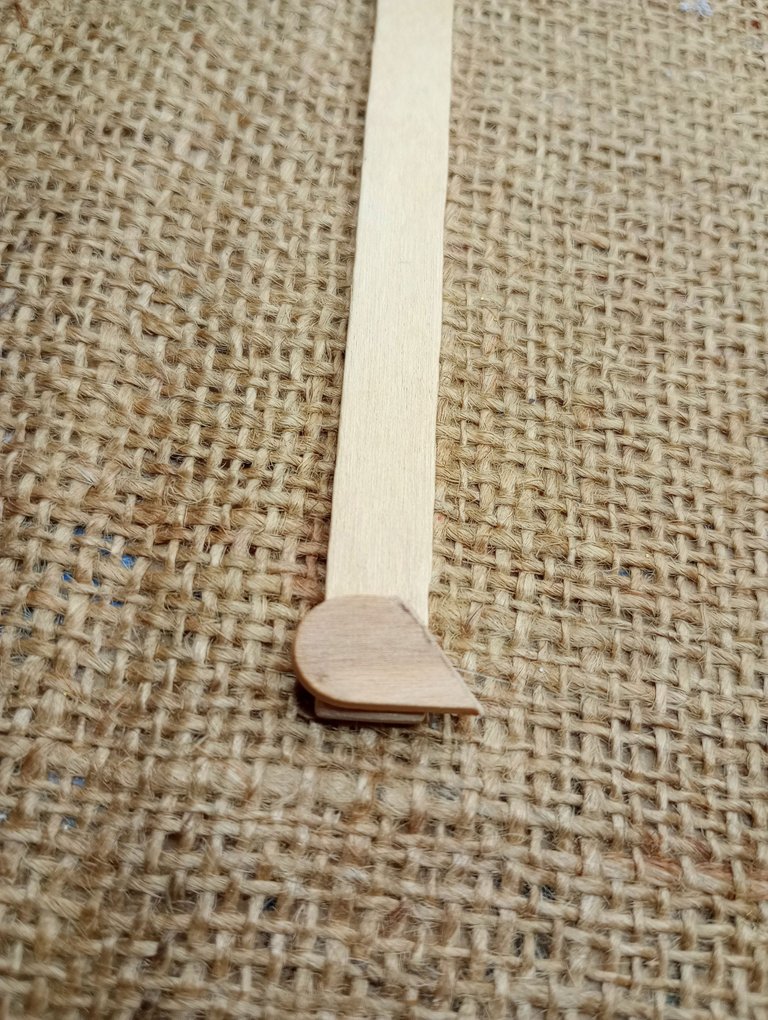
Como pieza central utilicé un palito de helado al cual le corté la parte inferior para que quedara recta.
Con los excedentes de los palitos que corté hice dos trocitos iguales para la base del arbolito.
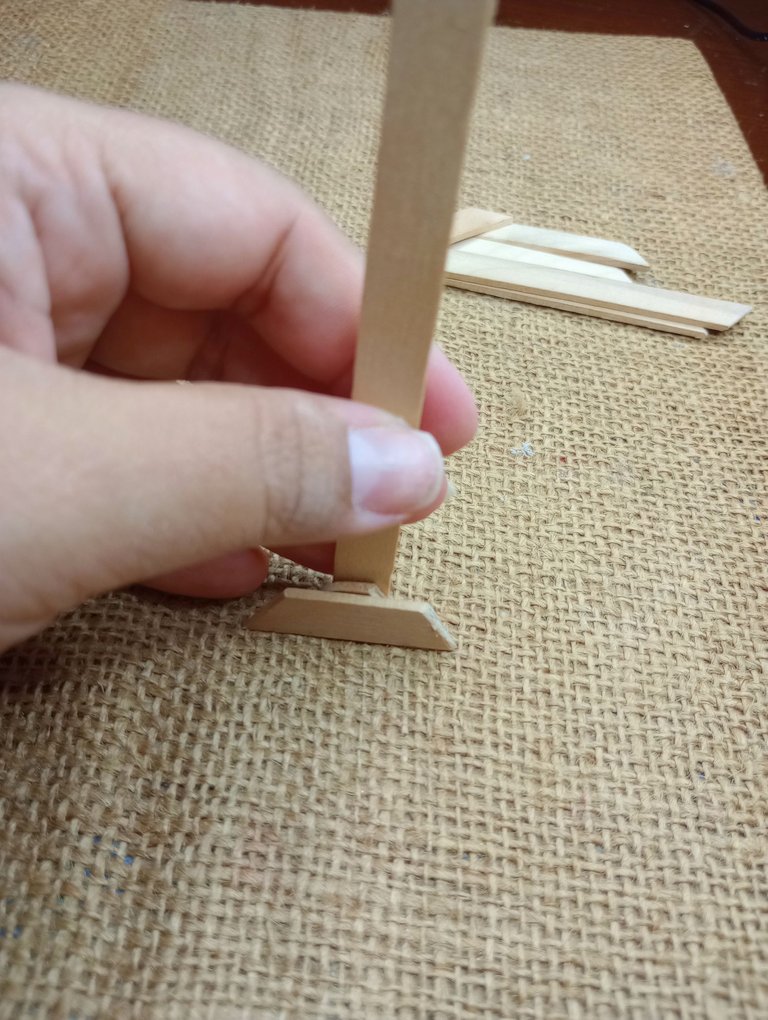
Luego utilicé uno de los trozos sobrantes más pequeño para darle volumen a la base y luego pegué una de estas piezas.
Coloqué el palito de base de forma vertical al momento de pegarlo para asegurarme que se creara una base firme que se pudiera "mantener de pie".
As a center piece I used a popsicle stick that I cut off the bottom to make it straight.
With the surplus of the sticks that I cut, I made two equal pieces for the base of the tree.
I then used one of the smaller leftover pieces to give volume to the base and then glued one of these pieces together.
I positioned the base stick upright when gluing to ensure it created a firm base that could 'stand up'.

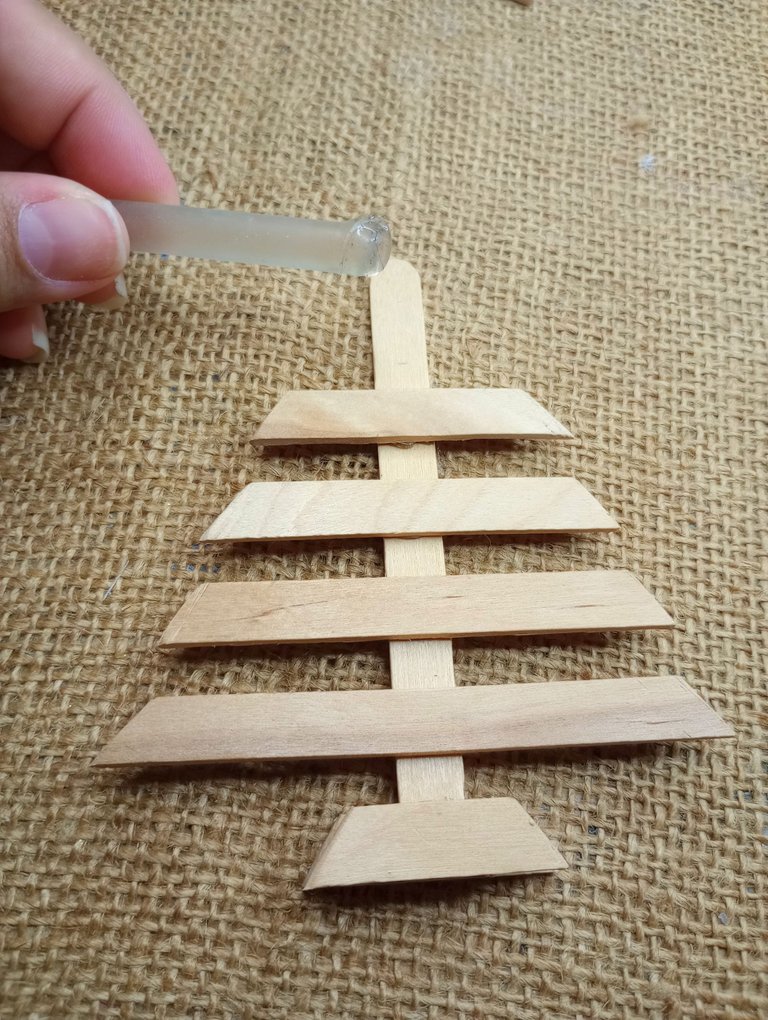
Luego fui pegando cada uno de los tramos del arbolito, dejando una pequeña distancia de unos 0.5 centímetros, y en la parte superior coloqué un pequeño rectángulo con los bordes redondeados para hacer la base de donde iría la estrella del árbol.
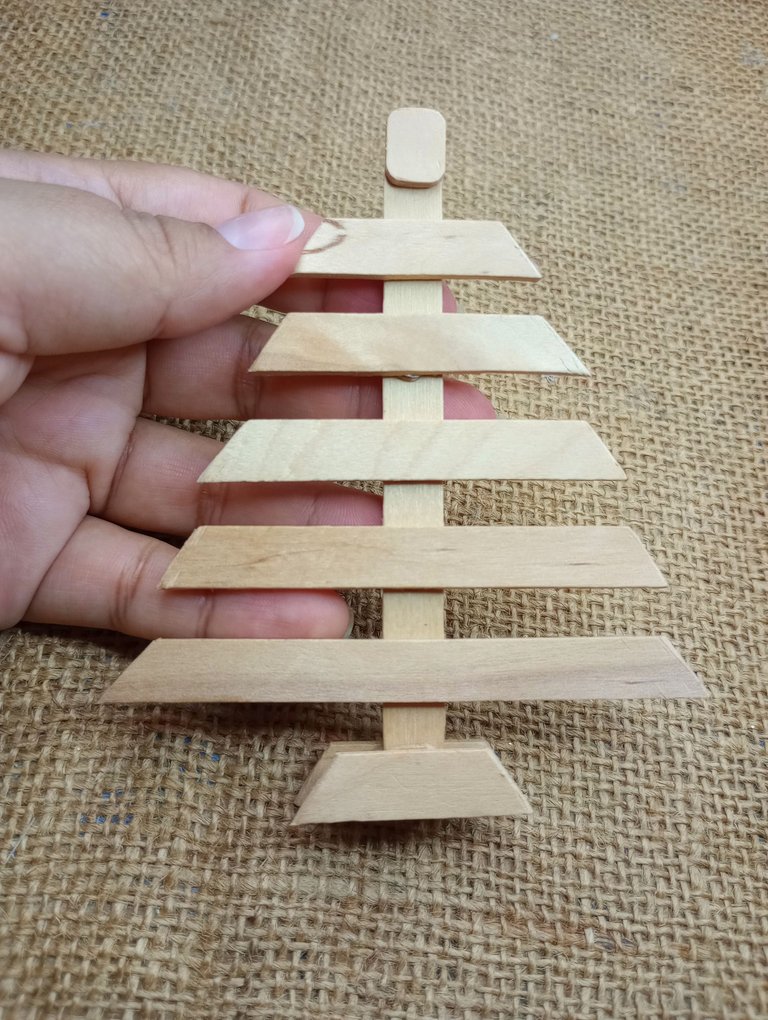
Then I was gluing each of the sections of the tree, leaving a small distance of about 0.5 centimeters, and on top I placed a small rectangle with rounded edges to make the base where the star of the tree would go.
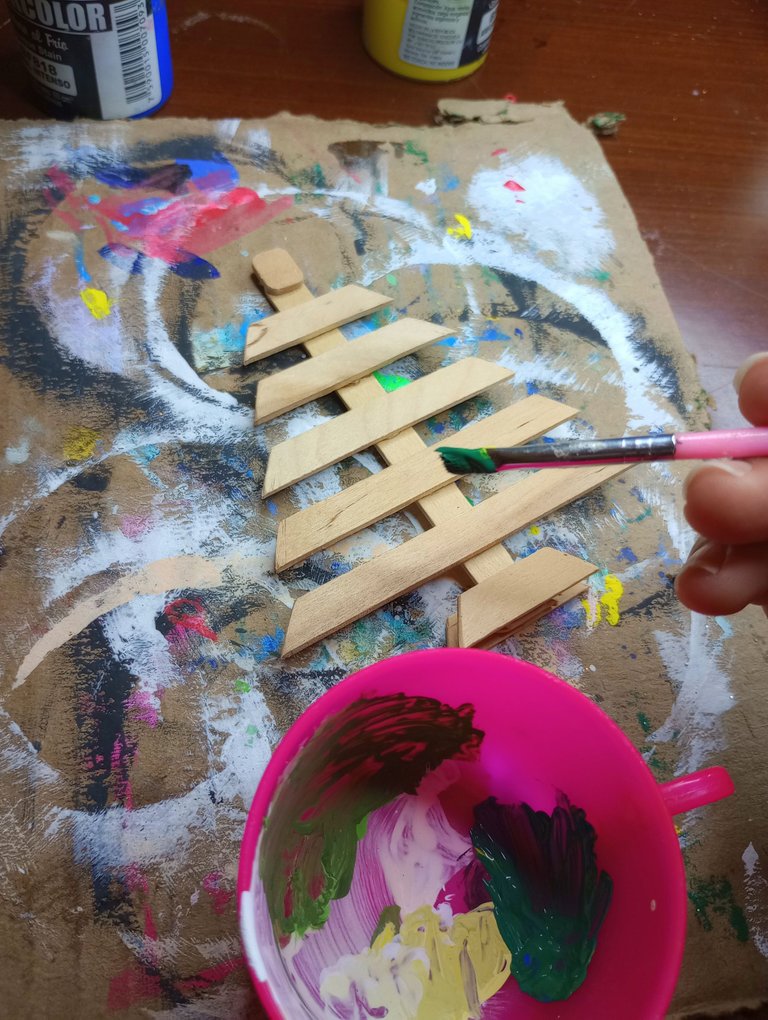
Con pintura verde pinté los tramos del arbolito y la base con un poco de marrón.
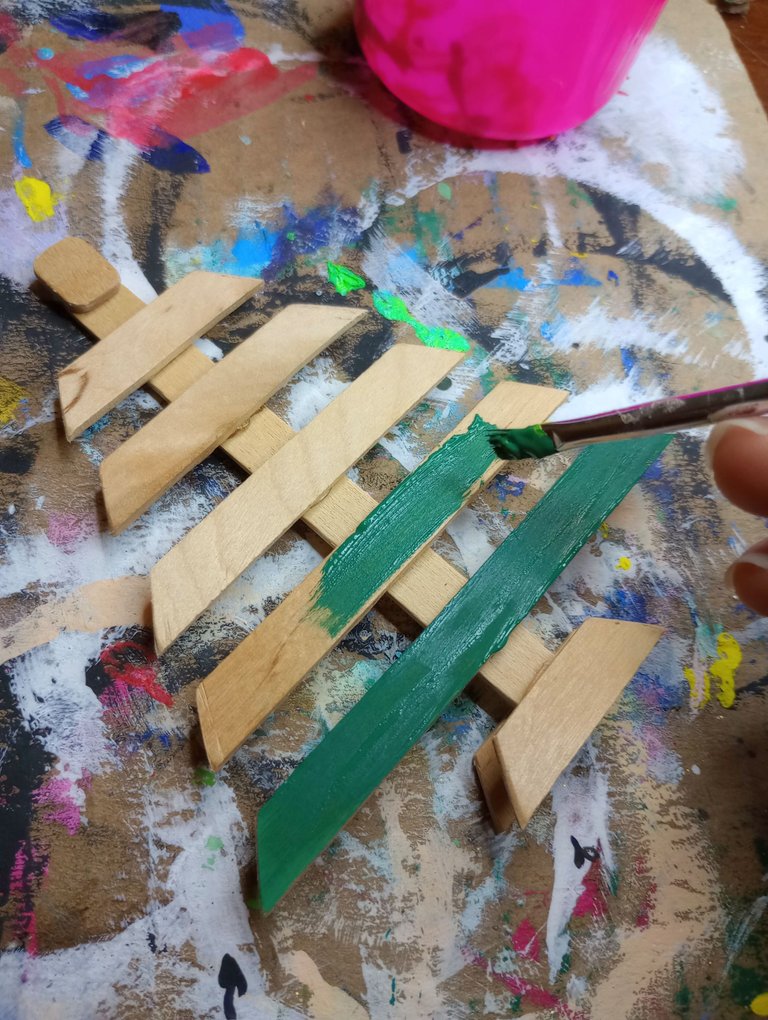
With green paint I painted the sections of the tree and the base with a little brown.
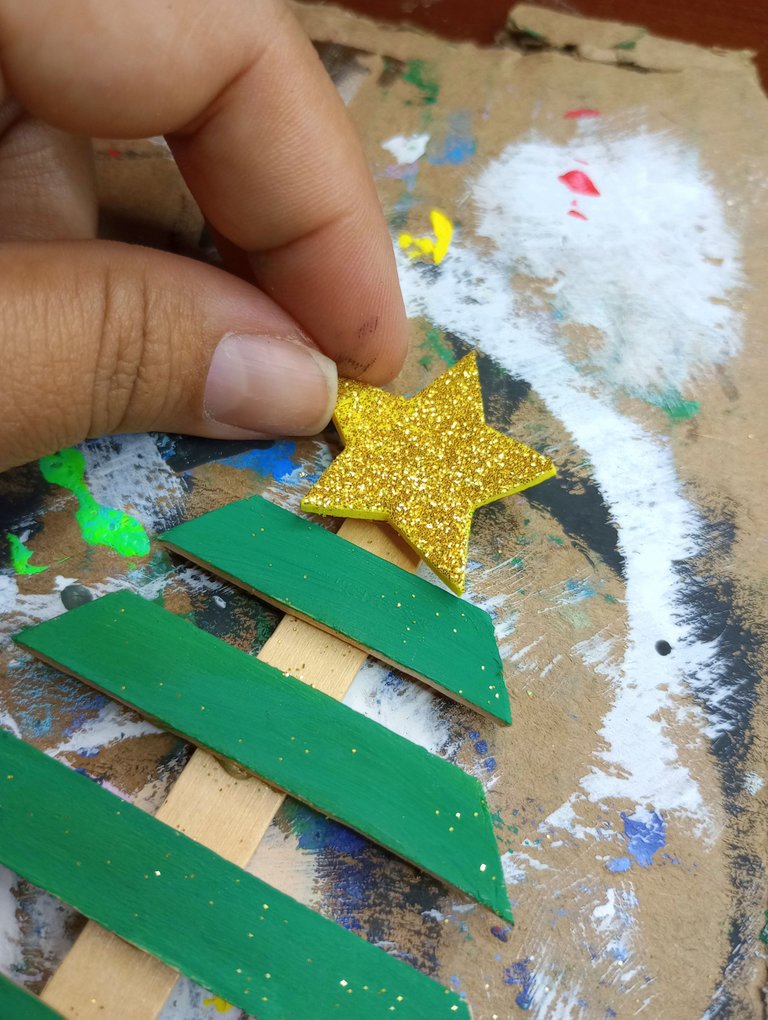
Por último, corté una estrella con foamí escachado y coloqué algunos abalorios en los lados del arbolito para simular las bambalinas.
Así quedó listo este lindo arbolito navideño, bastante minimalista pero que queda perfecto en cualquier rincón del hogar.
Espero les haya gustado la propuesta y nos leemos en una próxima manualidad.
Lastly, I cut a star out of scalloped foam and placed some beads on the sides of the little tree to simulate the scenes.
This is how this beautiful little Christmas tree was ready, quite minimalist but which is perfect in any corner of the home.
I hope you liked the proposal and we read in a next craft.

Espero haya sido de tu agrado y provecho.
Un gran abrazo a todos, y nos leemos en un próximo post
• Lakrearte en Hive •
Att: Estefania Garcia ♥

Imágenes y separadores de mi autoría
Portada editada en Canva
Fotografías tomadas con un Moto G31
Texto traducido en Google ImTranslate v.14.27
Está hermoso y muy sencillo de hacer, gracias por compartir el paso a paso 👍
Muchas gracias me alegra que te haya gustado 😊✨
Minimalista pero con toque super lindo, creo que podrían colgar pequeñas fotos alrededor y sería un portaretrato muy creativo.
Un detalle ideal para adornar mi salón de clases
That's an excellent idea and a nice decoration for Christmas. Maybe I should start creating one, would look nice on my desk. Well done!
Yay! 🤗
Your content has been boosted with Ecency Points, by @estefania3.
Use Ecency daily to boost your growth on platform!
Support Ecency
Vote for new Proposal
Delegate HP and earn more
Muy lindo
The rewards earned on this comment will go directly to the people( @mamaemigrante ) sharing the post on Twitter as long as they are registered with @poshtoken. Sign up at https://hiveposh.com.
Esos detallitos me gustan, sobre todo porque yo vivo la navidad en #modogrinch, ya que me da flojera tener que recoger todo en enero... pero así es más fácil adornar y recoger luego...
Gracias por compartir
Somos dos. Acá no tenemos arbolito porque me daba flojera sacarlo y decorarlo. Así que lo vendí jajaja y la verdad no es necesario llenar toda la casa de cosas para poder celebrar la navidad. Yo soy de las que dejó las decoraciones todo el año 😂
Es que así en miniaturas, quedan bonitas para todo el año. En Diciembre solo las cambias de puesto para sentir que "decoraste" para navidad