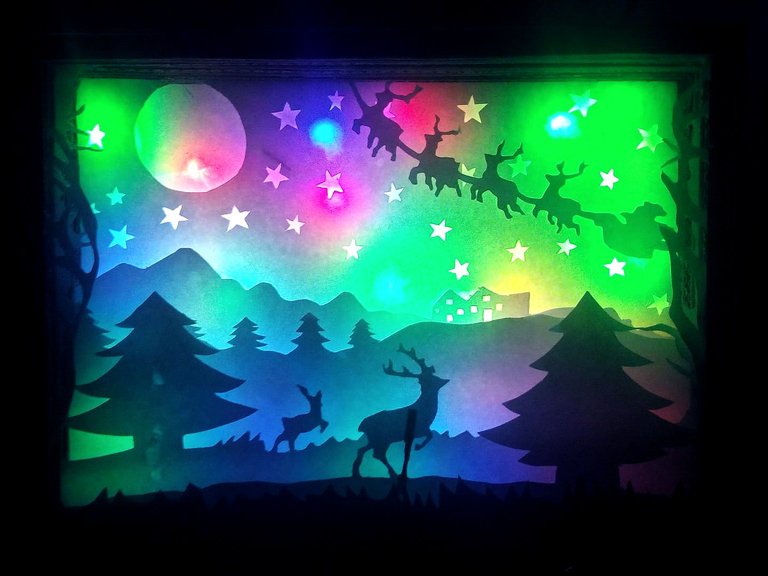
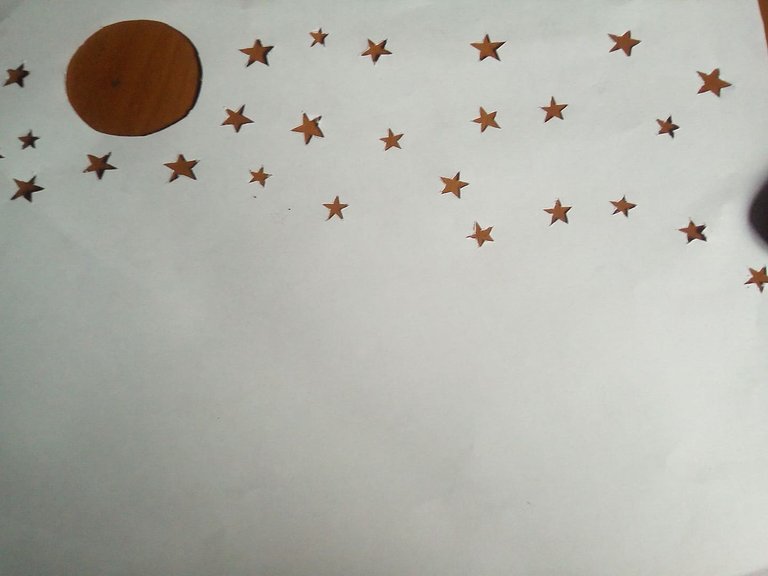
Hello friends, thanks to the invitation of my friend @jennyzer and her event each month, the CREATIVE RECYCLING CHALLENGE, here I bring my participation for this month's challenge. Before I had done two crafts about Christmas that had been two stars so I did not know what to do. In this way I want to present a box-shaped lamp illuminated with LEDs. This box contains several panels of cut paper to give a 3D focus, the coastal landscape of some reindeer in the forest, and in the sky Santa Claus in his sleigh giving gifts. Hope you like.
Hola amigos, gracias a la invitacion de mi amiga @jennyzer y su evento de cada mes, el CREATIVE RECYCLING CHALLENGE, aqui traigo mi participación para el desafío de este mes. Ya antes había relizado dos manualidades sobre la navidad que habían sido dos estrellas así que no sabía que hacer. De esta manera quiero presentar una lámpara en forma de caja iluminada con leds. Esta caja contiene varios paneles de papel cortado para dar un enfoque de 3D, el paisaje costa de unos renos en el bosque, y en el cielo Santa Claus en su trineo repartiendo regalos. Espero que les guste.

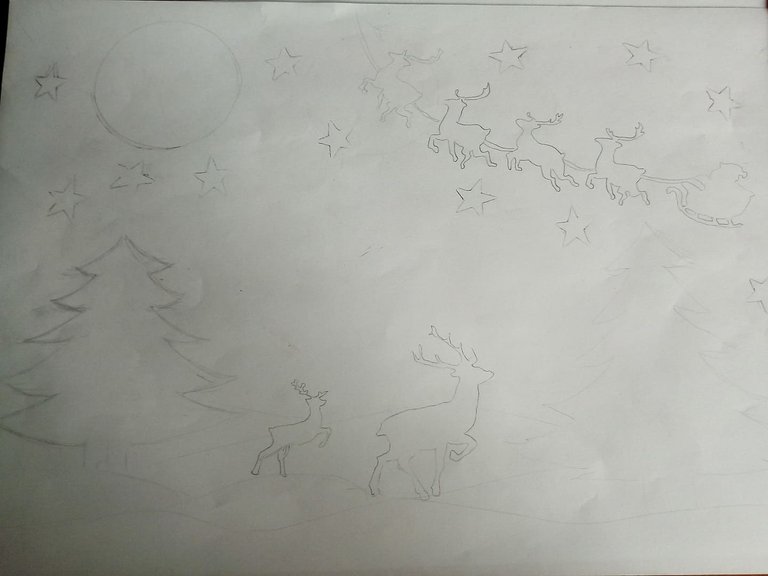
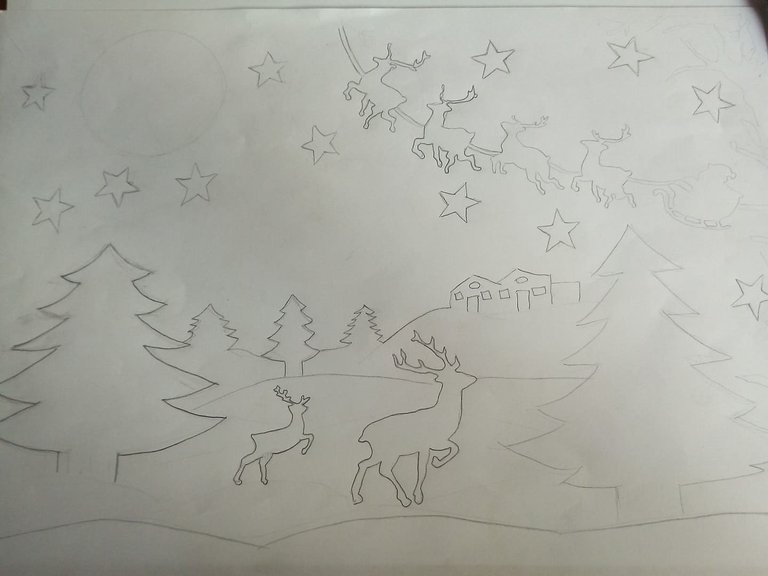
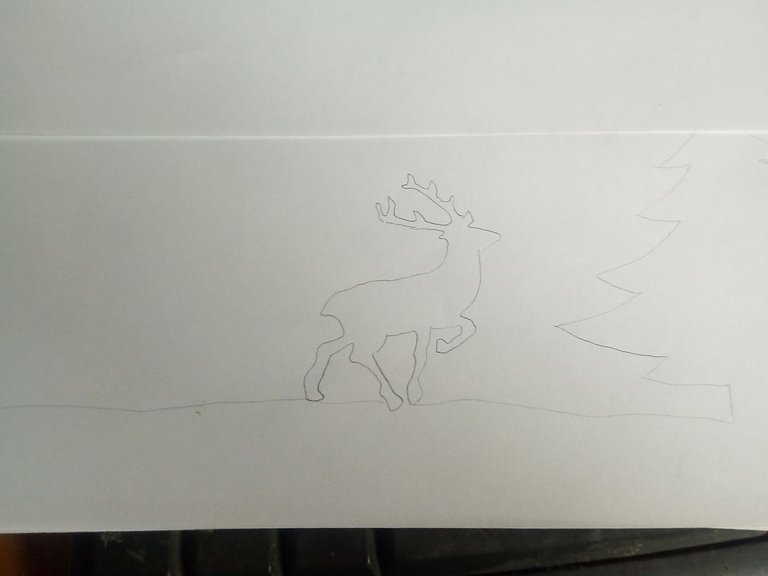
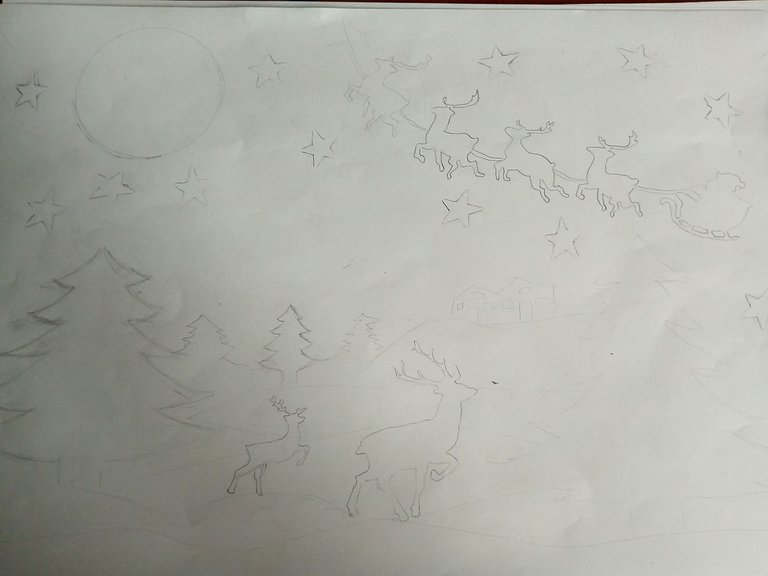
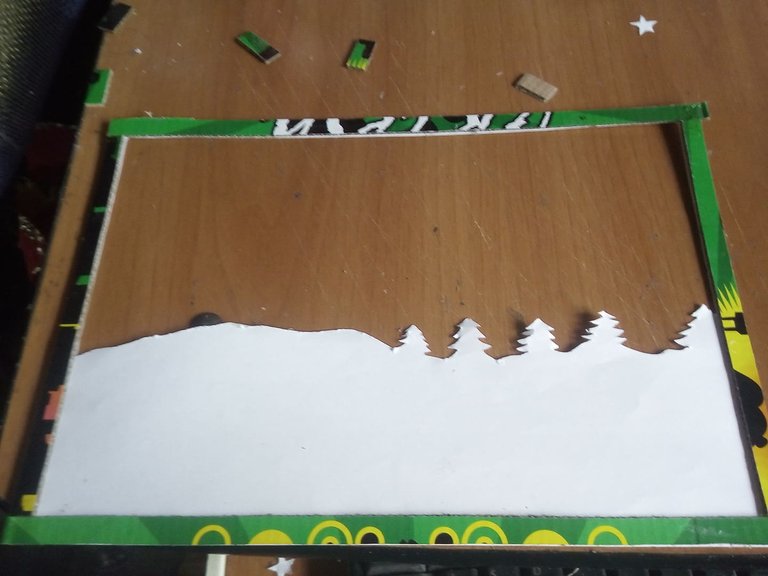
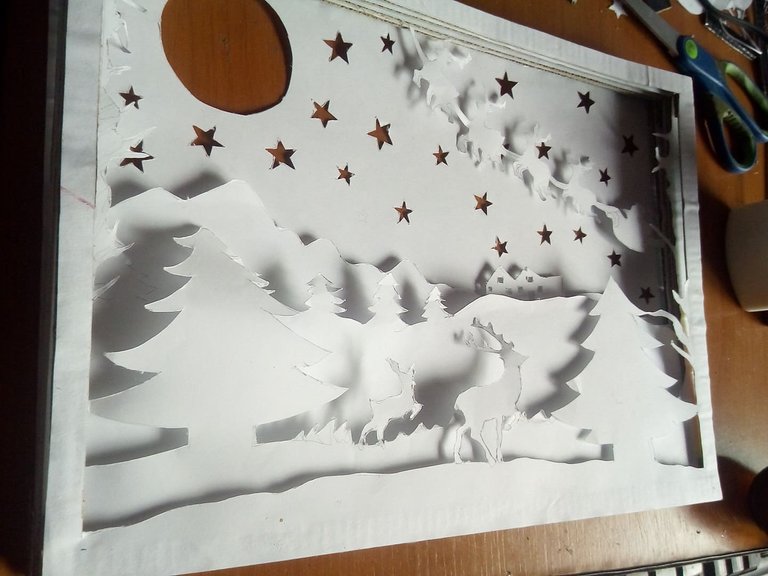
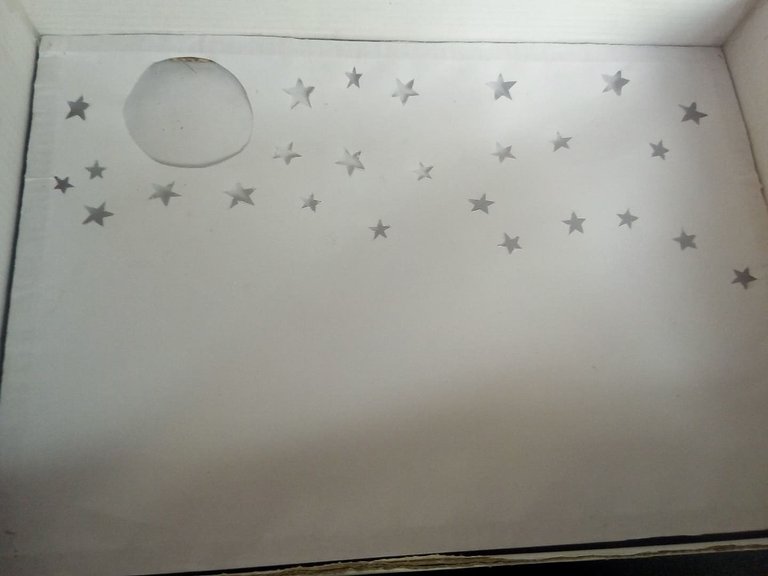
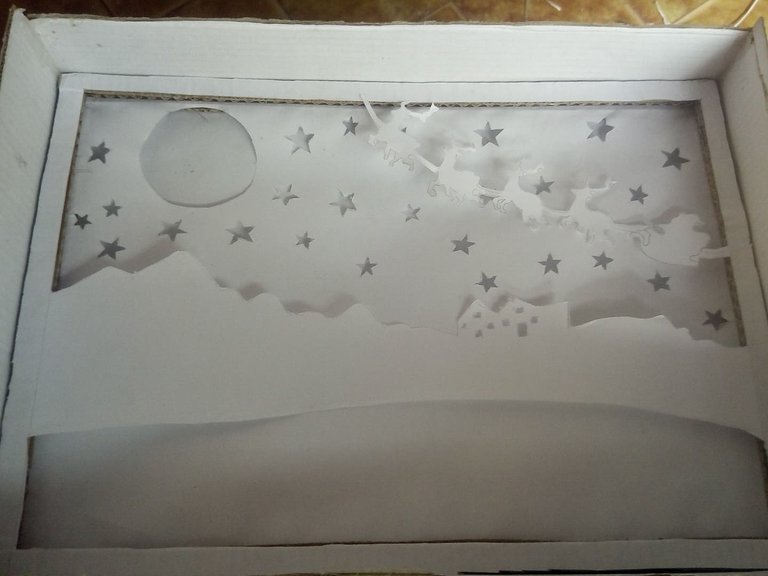
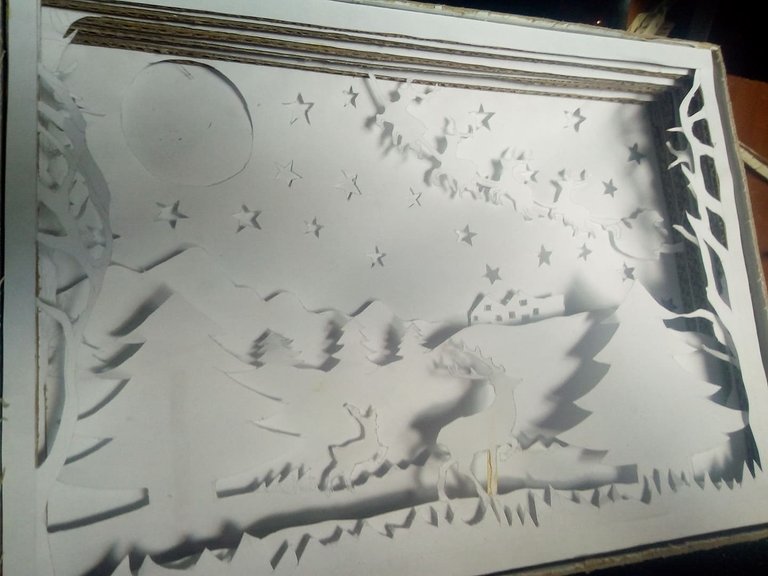
For this work we will first make the landscape that will go inside the box. I used some cardboard where I had sketches of old drawings that I never finished. We draw the landscape and we are placing within the drawing the position that it will have in each panel. For this lamp I made 6 panels in total that you will see below.
Para este trabajo primero realizaremos el paisaje que irá dentro de la caja. He utilizado unas cartulinas dond etenía bocetos de dibujos antiguos que nunca terminé. Dibujamos el paisaje y vamos colocando dentro del dibujo la posición que tendra en cada panel. Para esta lámpara hice 6 páneles en total que irán viendo a continuación.
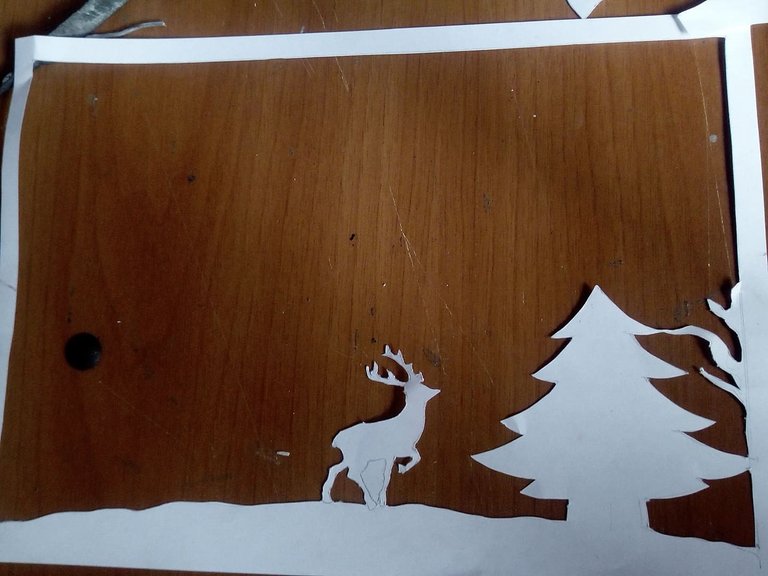
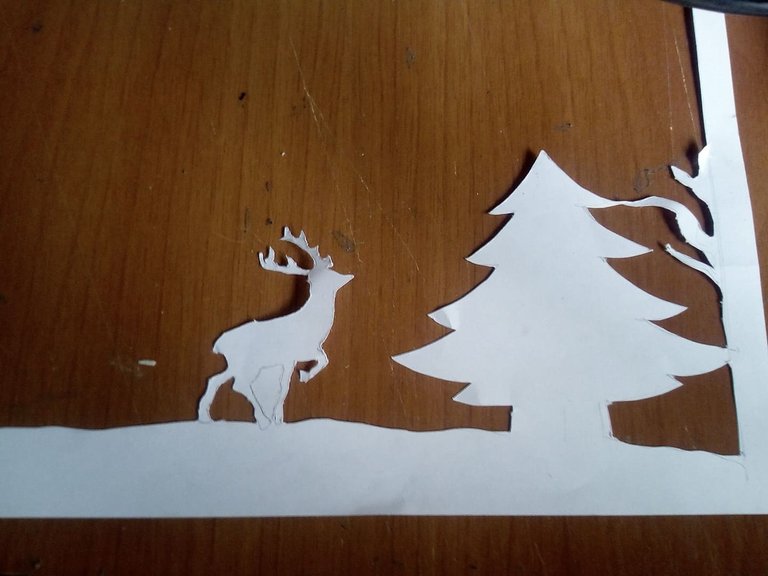
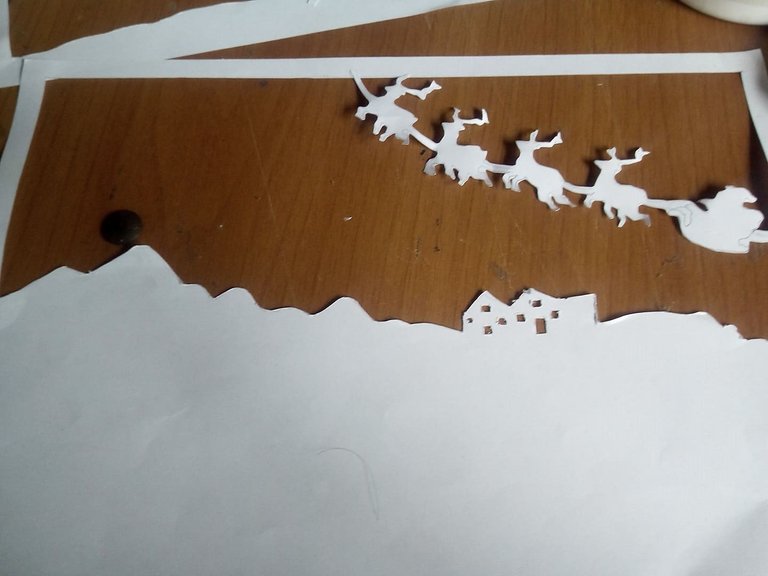
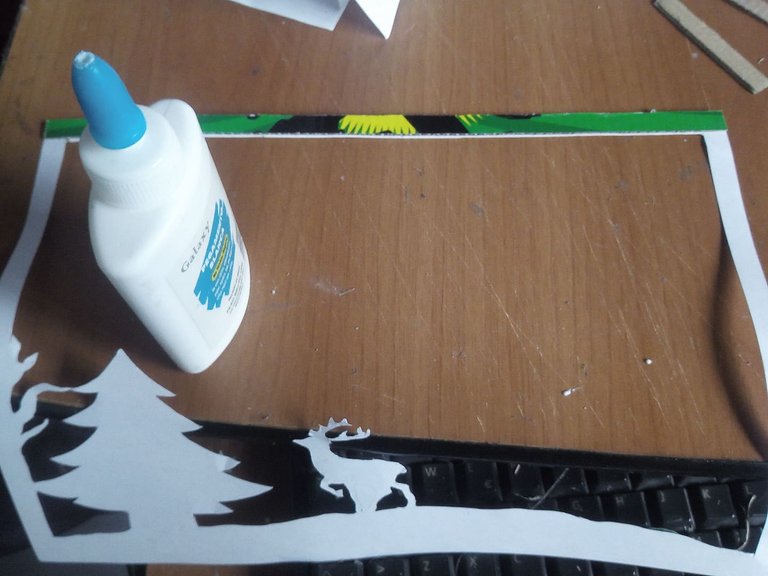
The next step is to cut out the drawings and draw the shapes that we draw. We are cutting one by one. The one that made me the most difficult was Santa's sleigh, it took me a long time to do it, if I had a laser cutter I would have done it in the blink of an eye lol.
El siguiente paso es recortar los dibujos y sacar las formas que dibujamos. Vamos cortando uno por uno. El que se me hizo más dificil fue el trineo de Santa, tardé mucho tiempo en hacerlo, si tuviera una cortadora laser lo habría hecho en un abrir y cerrar de ojos jejeje
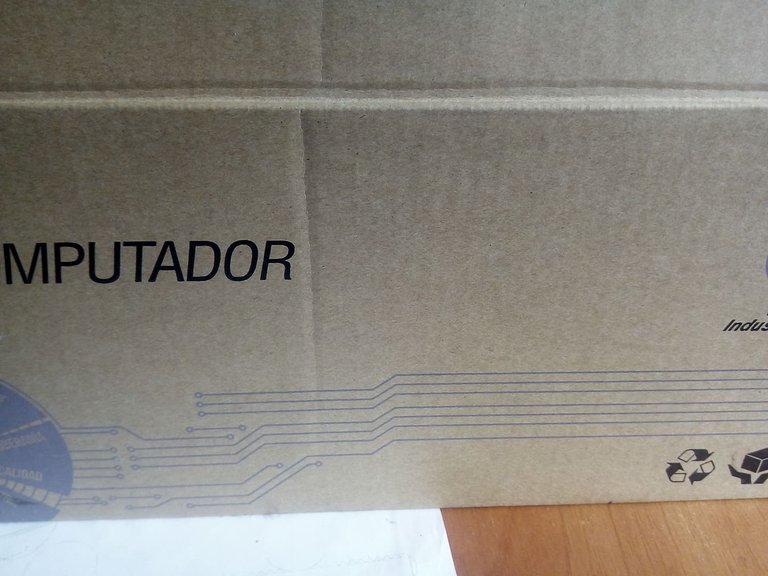
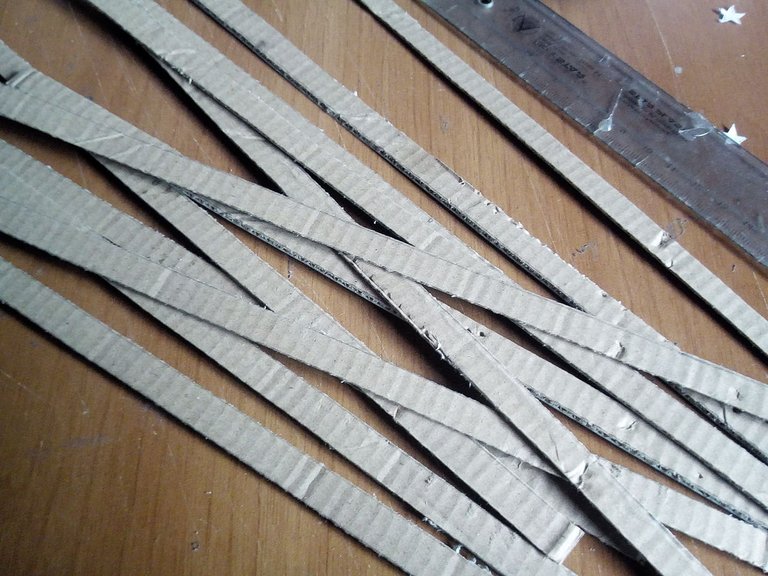
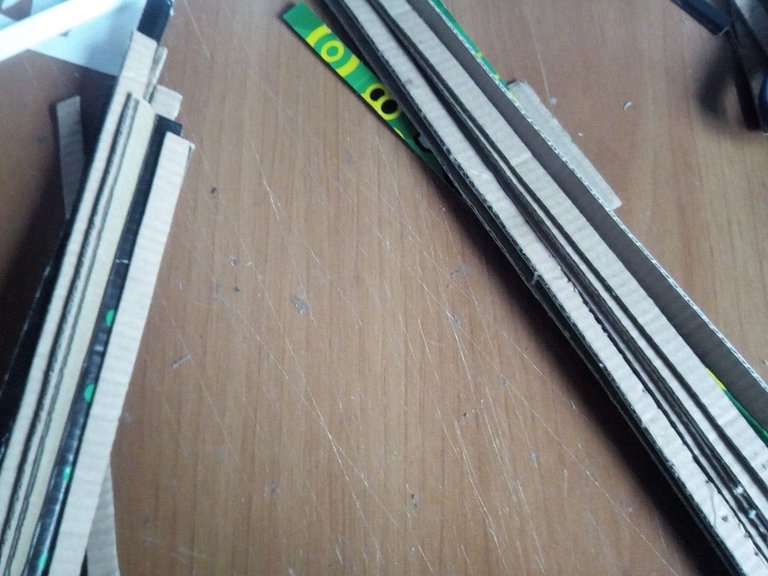
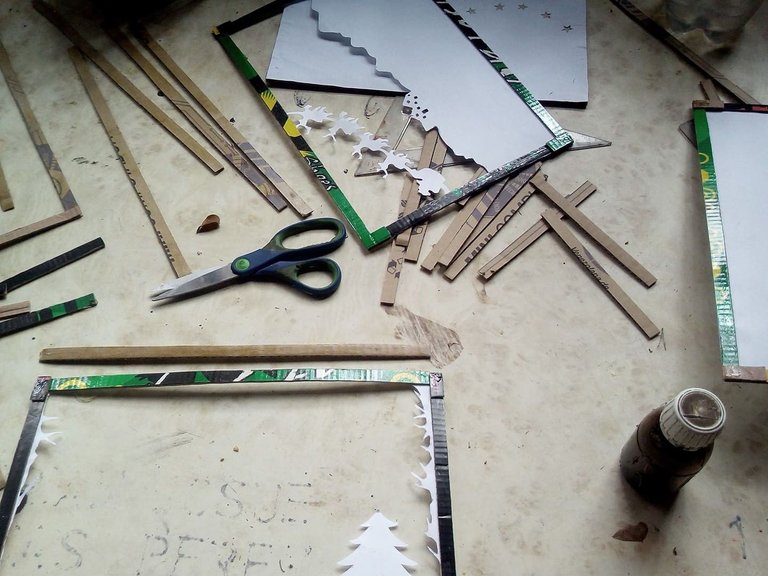
Once we have the panels cut we have to make the frame for each one, we will look for a carto box and we will cut strips that are 1 centimeter wide and 30 centimeters long, in total we cut 12. We will also cut 12 strips of 1 centimeter of wide by 20 centimeters long. That will be the length of the lamp. Then we are assembling the frames for each panel. In the end we place one on top of the other to see how it looks.
Una vez que ya tenemos los páneles cortados tenemos que hacer el marco para cada uno, buscaremos una caja de carto y recortaremos tiras que tengan 1 centímtero de ancho y 30 centímetros de largo, en total cortamos 12. También cortaremos 12 tiras de 1 centpimtero de ancho por 20 centímteros de largo. Esa será la longitud de la lámpara. Luego vamos armando los marcos para cada panel. Al final colocamos uno encima del otro para ver como nos queda.
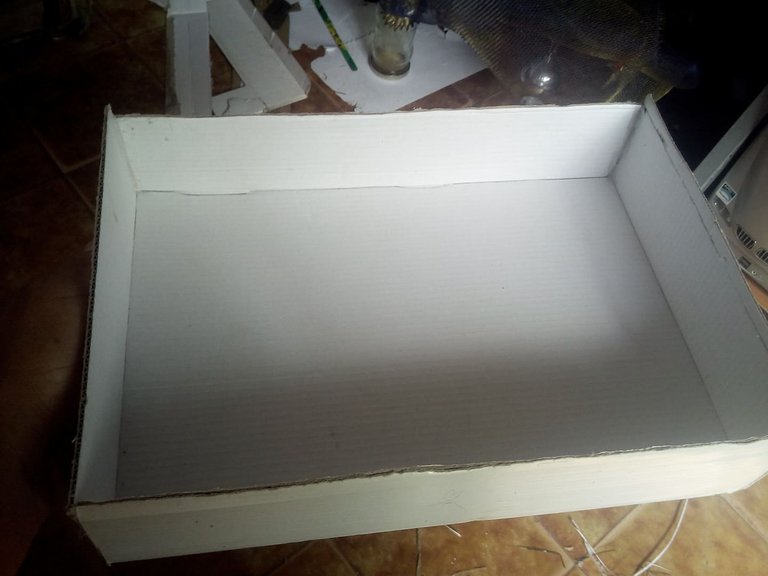

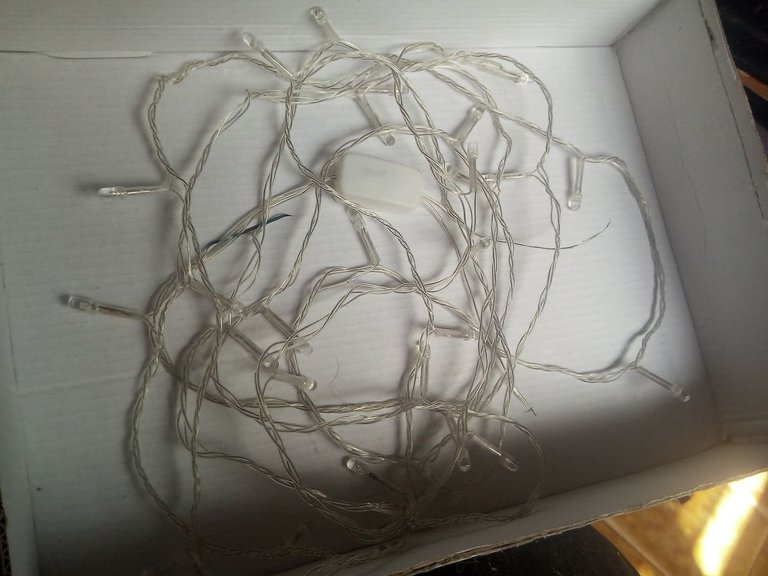
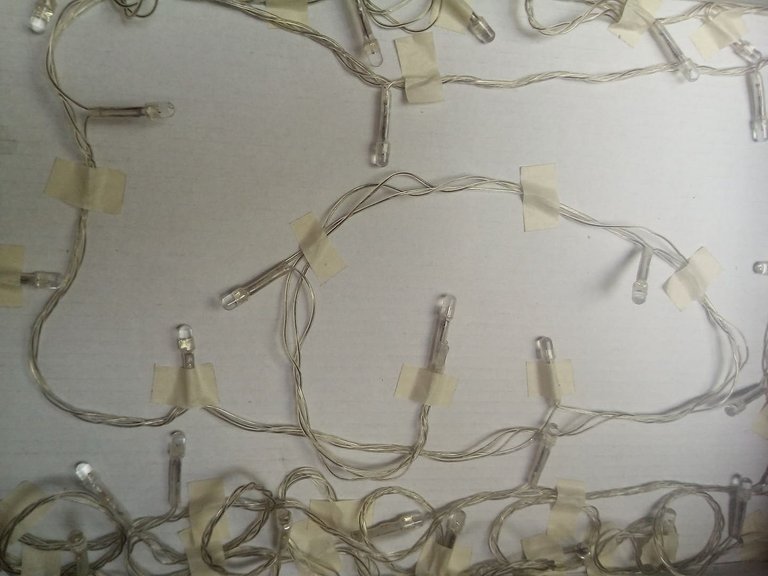
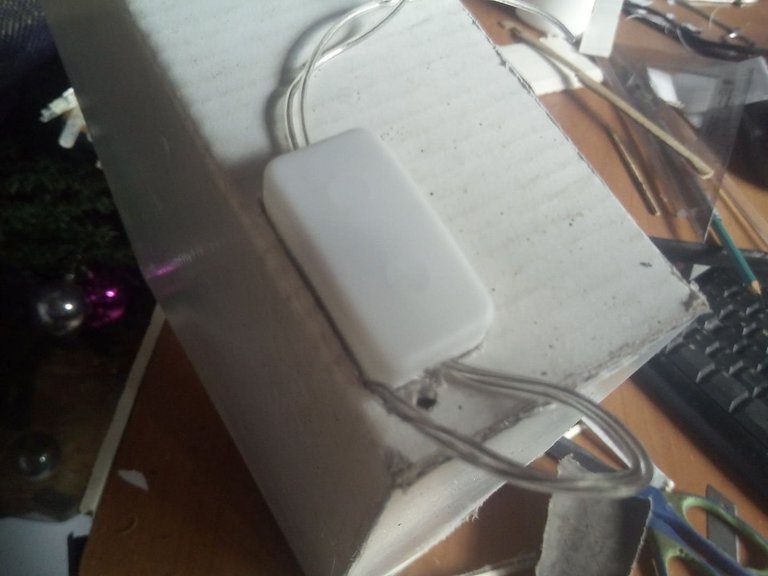
Now we choose the box where we will place the lights and the panels that we made. I took this box from a pizza, it was extremely large so I transformed it and brought it to the ideal size. Then with some Christmas lights that we are not using, we will place them at the bottom of the box, we distribute it very well inside so that all this part is illuminated and can be seen very well.
Ahora elegimos la caja donde colocaremos las luces y los páneles que hicimos. Yo tomé esta caja de una pizza, era sumamente grande así que la transformé y la llevé al tamaño ideal. Luego con unas luces de navidad que no estemos utilizando las colocaremos al fondo de la caja, la distribuimos muy bien en el interior para que toda esta parte este iluminada y se pueda ver muy bien.
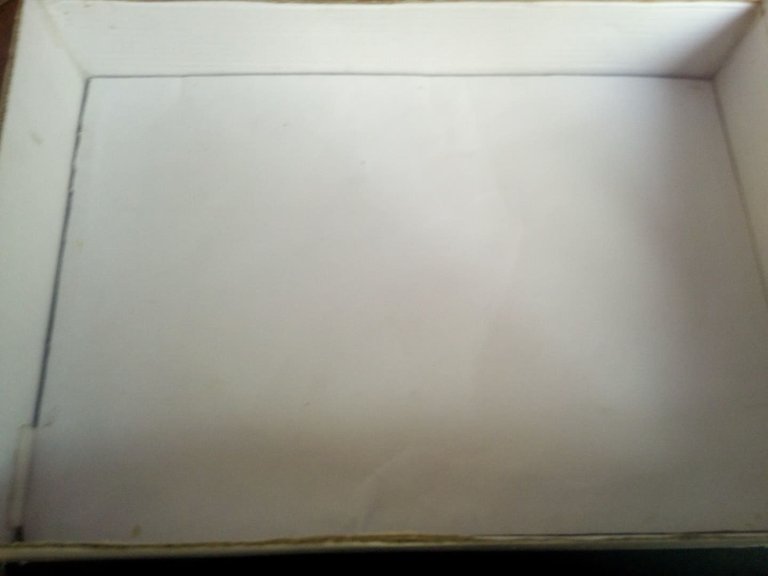
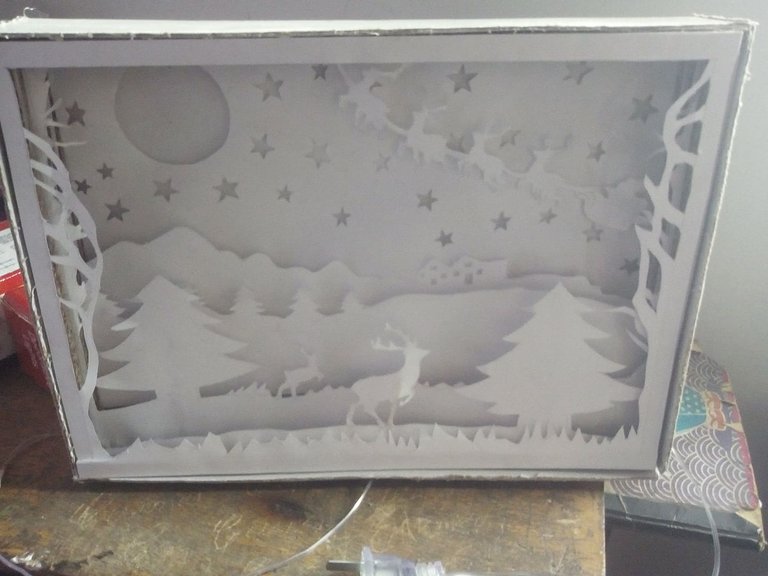
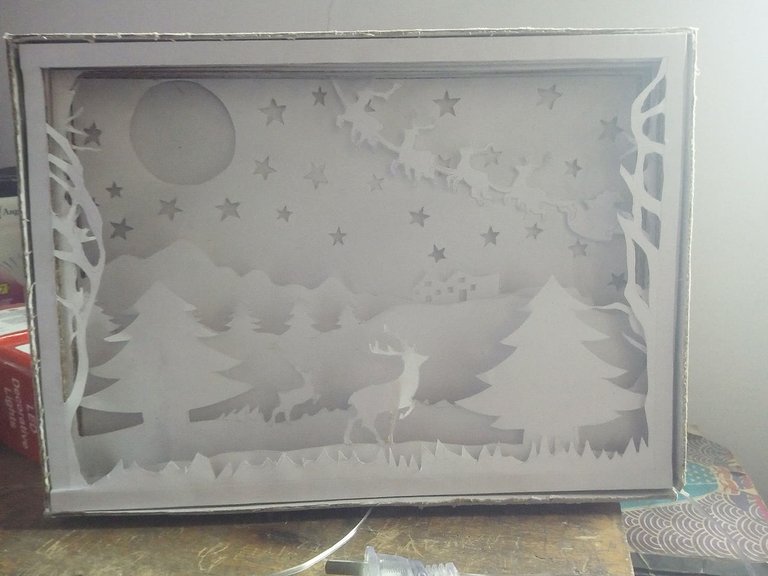
The final step is to place the panels inside the box. I forgot to mention that there is a panel in which it is a white sheet without drawing, this sheet serves to filter the light and not shine directly. We place this in the first place then we are putting one by one until the end. Once assembled we can see how each layer we have made looks like, we just have to wait for the night to turn it on, or it will lead to a dark room. So we will have finished.
El paso final es colocar los páneles dentro de la caja. Se me olvidó mencionar que hay un panel en que es una hoja blanca sin dibujo, esta hoja sirve para filtrar la luz y que no ilumine directamente. Esta la colocamos en primer luego vamos metiendo una a una hasta el final. Ya ensamblada podemos ver como queda cada capa que hemos hecho, solo nos falta esperar la noche para encenderla, o llevara auna habitación oscura. Así habremos finalizado.
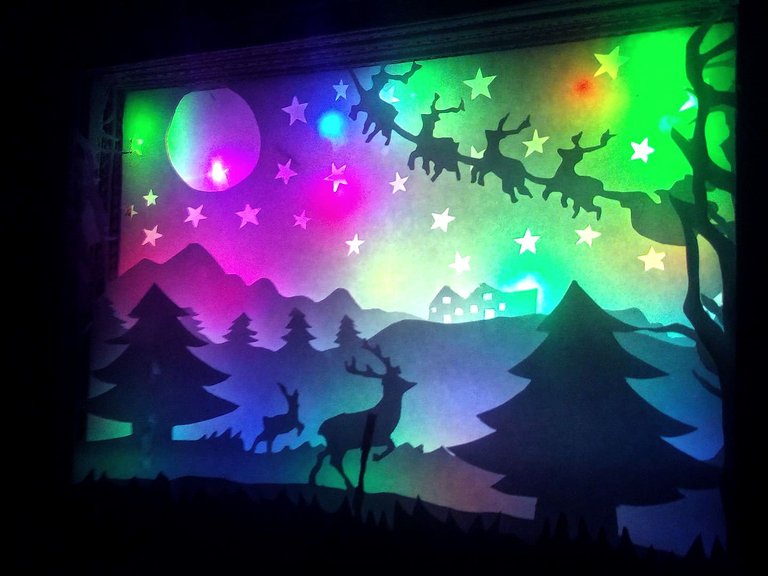
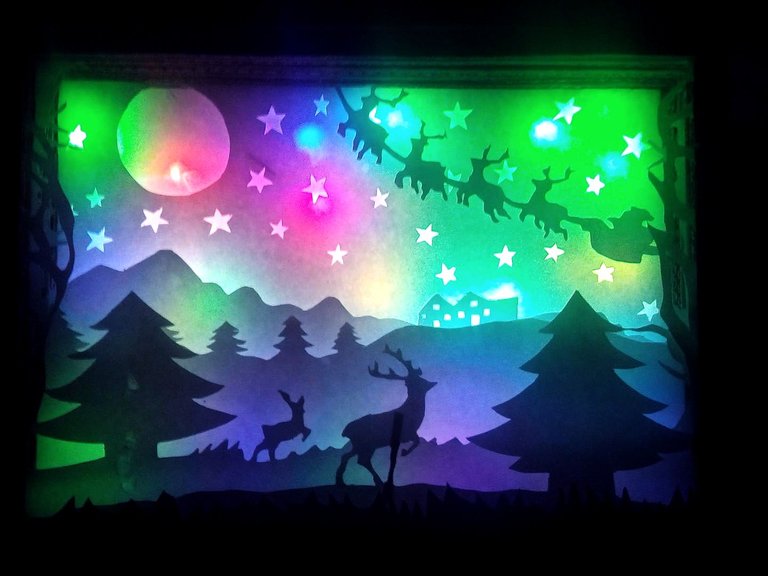
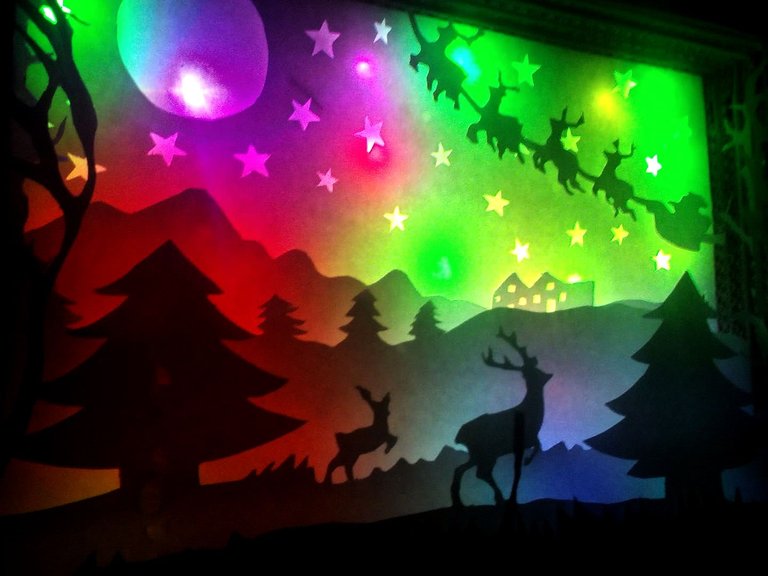
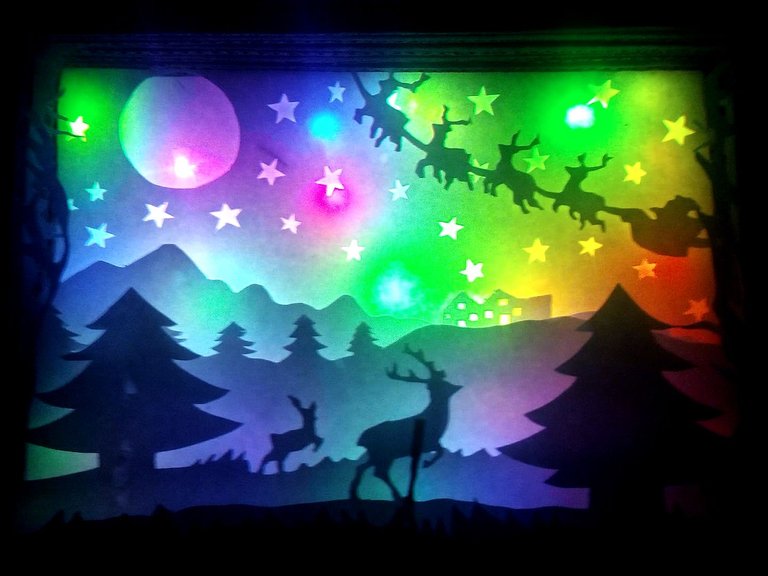
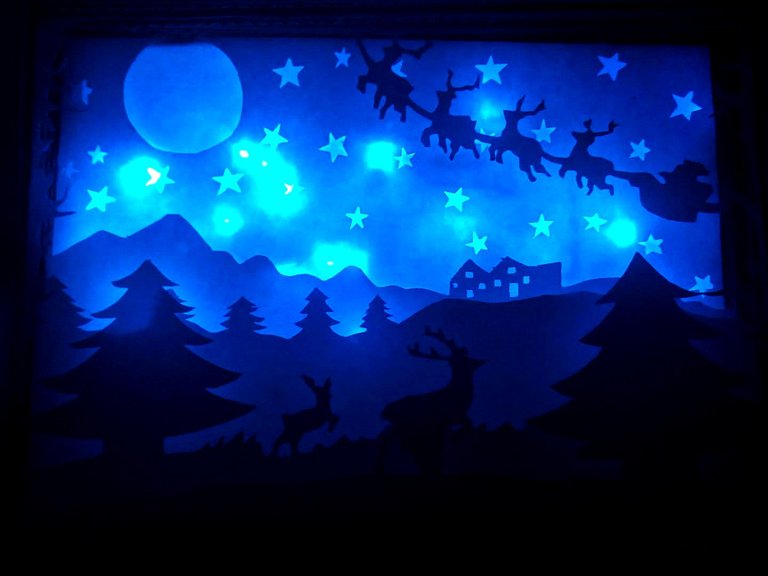
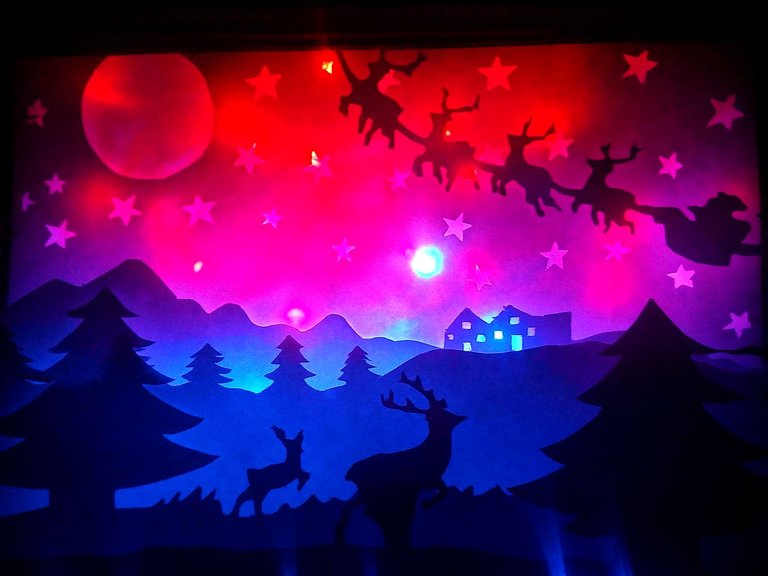
This is what this beautiful Christmas lamp looks like. The lights have a control with which we can choose several gears for the ignition, as well as we can choose if we only want one color, so I put a single image of blue color, and another of blue mixed with red and I really liked the result. I had some problems, for example, I cut two panels wrong so I had to draw them again, the lights did not work and I had to repair them which made the process take longer, even with all the accidents I achieved my purpose and was very satisfied. I hope you have liked my contribution to this challenge and I encourage all those who also want to participate to do so, they will have fun. I say goodbye to you soon wishing a merry Christmas to the entire community. Greetings.
Así es como se ve esta hermosa lámpara de navidad. Las luces traen un control con el cual podemos elegir varias marchas para el encendido, así como también podemos elegir si solo queremos un color, así puse una sola imagen de color azu, y otra de azul mezclado con rojo y me gustó mucho el resultado. Tuve algunos problemas, como por ejemplo, dos paneles los corté mal así que tuve que dibujarlos de nuevo, las luces no servían y tuve que repararlas lo que hizo que tardara más tiempo en el proceso, aun con todos los accidentes consegí mi propósito y quedé muy satisfecho. Espero les haya gustado mi aporte para este desafío y animo a todos aquellos que quieran tambien participar a que lo hagan, se divertirán. Me despido hasta pronto deseaando una feliz navidad a toda la comunidad. Saludos.
Cerraste con broche de oro, le pusiste bastante empeño realizar un paisaje 3D no es cosa de un día, aprecio mucho cada participación que realizaste durante este año en mi concurso, gracias por traer tu talento a creative recycling.
Me contenta mucho que te haya gustado como quedó. Tarde varios días pero valio muchisimo la pena.. El mejor desafió que puede existir.
Como siempre magnífico trabajo. Quedé encantada, idea apuntada para un futuro cercano jejeje
Saludos, bendiciones y éxitos.
Muchas gracis querida amiga, tus comentarios siempre reconfortantes.. Espero que lo hagas y con un gran modelo jeje saludos!
Esta idea está muy genial bro, me gustó bastante, super sencilla y exclusivamente con materiales que seguros tenemos en nuestro hogar. Que tengas un muy buen día, salud y bendiciones hermano!
si, solo materiales comunes, eso es lo mejor.. no gastar un solo peso.. Que bueno que te haya gustado, gracias por pasar!!
The rewards earned on this comment will go directly to the person sharing the post on Twitter as long as they are registered with @poshtoken. Sign up at https://hiveposh.com.
Buenaso mi pana, bastante creativo.
gracias hermano!
Pero que vaina tan buenarda, la verdad no me esperaba algo así, se nota que le metiste mucho tiempo
así es, estuve trabajando en ella casi por 4 días con tanto accidente. jejeje me alegra que te haya gustado!
Un espectáculo, felicidades amigo gran creatividad.quedo muy bonito
Excelente idea, amigo @fixie
El resultado es bellísimo.
No me celebro la Navidad, pero ese método funcionaría perfectamente para cualquier otra ocasión.
Gracias, por compartirlo.
Un abrazo
Realmente hermoso, mucha suerte amigo, saludos!
Me alegra muchisimo que te haya gustado como quedó la lámpára.. Saludos amiga!
Enhorabuena amigo! Alucinante el resultado se ve que le has dediado tiempo. Tengo algo pensado para el año que viene hecho con latas de aluminio. A ver si me sale bien y puedo optar como tú a estar en el podium de la próxima edición navideña. Que disfrutes de tu cuadro navideño estas navidades y te espero lo mejor para 2022.