Hello friends of Hive, I hope you are very well, after a few days with problems to enter Hive I was finally able to do it. I do not know what happened but no browser worked for me, I could not comment or vote, then I closed session to enter again and it was impossible. Already today I was able to enter again. I want to show you my latest recycling job: A mighty War Tank made from recycled cardboard. This all-terrain vehicle was the great difference in World War II as one of the most used weapons, after that it evolved until it had the tanks that now exist. Hope you like the process.
Hola amigos de Hive, espero que se encuentren muy bien, después de algunos días con problemas para poder entrar a Hive al fin pude lograrlo. No sé que sucedía pero ningún navegador me funcionaba, no podia comentar ni votar, luego cerré sesión para entrar de nuevo y fue imposible. Ya hoy pude entrar de nuevo. Quiero mostrarles mi último trabajo de reciclaje: Un poderoso Tanque de guerra hecho con cartón reciclado. Este vehículo todo terreno fue la gran diferencia en la Segunda Guerra Mundial como unas de las armas más usadas, después de ahí fue evolucionando hasta tener los tanques que ahora existen. Espero que les guste el proceso.

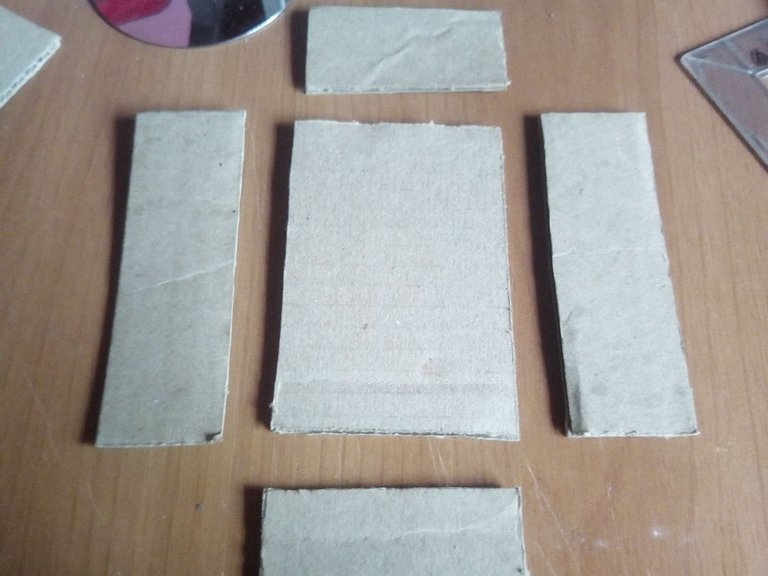
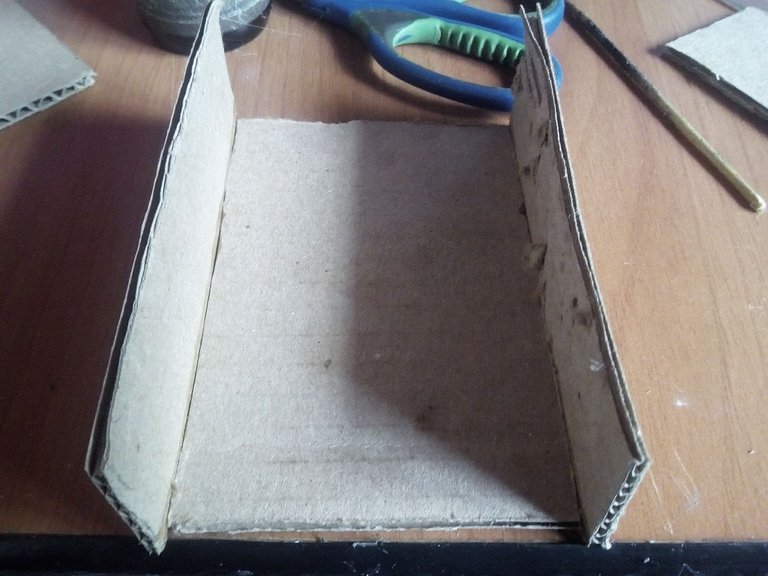
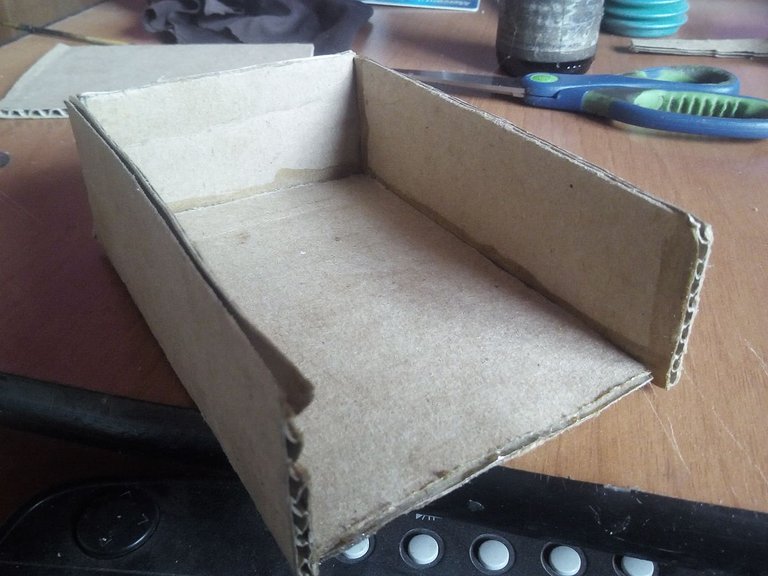
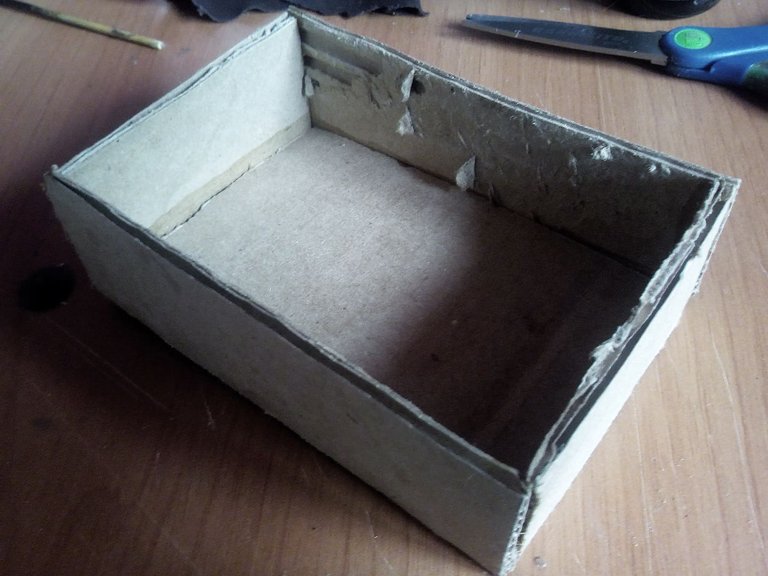
To make this scale model we can use any kind of cardboard, but preferably we should use the one that is harder so that the model is very consistent. First we cut some templates to make a box, this box will be the central part of the tank body. we take out the lower and upper parts and the sides. We assemble the box without placing the upper part, we will leave that for later.
Para hacer este modelo a escala podemos utilizar cualquier clase de cartón, pero preferiblemente debemos usar el que sea más duro para que la maqueta nos quede bien consistente. En primer lugar cortamos unas plantillas para hacer una caja, esta caja será la parte central de la carrocería del tanque. sacamos las partes inferiores y superiores y los costados. Armamos la caja sin colocar la parte de arriba, eso lo dejaremos para después.
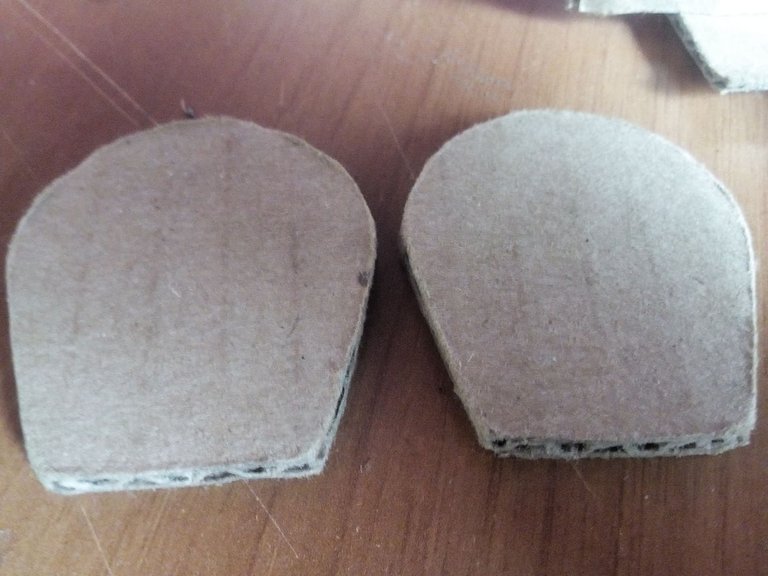

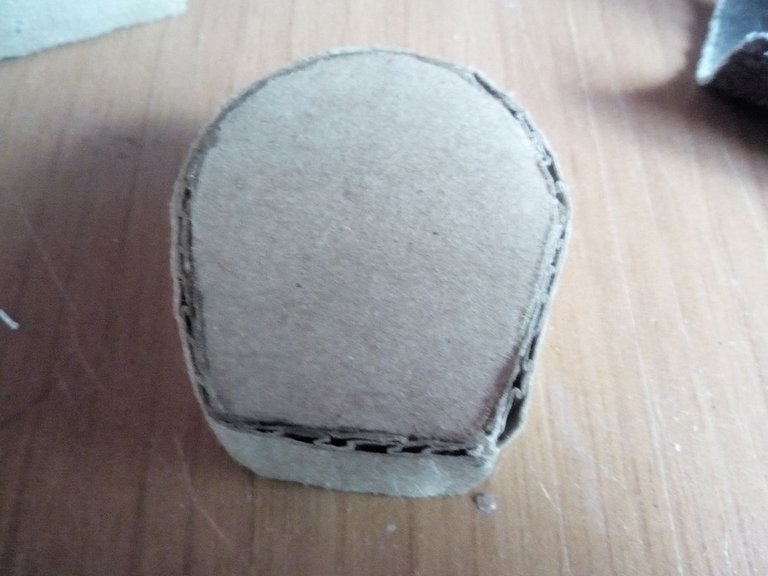
When we have completed the box, we proceed to make the part that supports the tank's barrel and that moves to be able to aim, it also works as the entrance to the interior of the tank. It is composed of two parts, the first part supports the barrel and the other part acts as a counterweight to be able to move in the directions. Both go together.
Cuando hayamos completado la caja, procedemos a hacer la parte que sostiene el cañón del tanque y que se mueve para poder apuntar, también funciona como la entrada al interior del tanque. Esta compuesta de dos partes, la primera parte sostiene el cañón y la otra parte hace de contrapeso para poder moverse en las direcciones. Ambas van unidas.
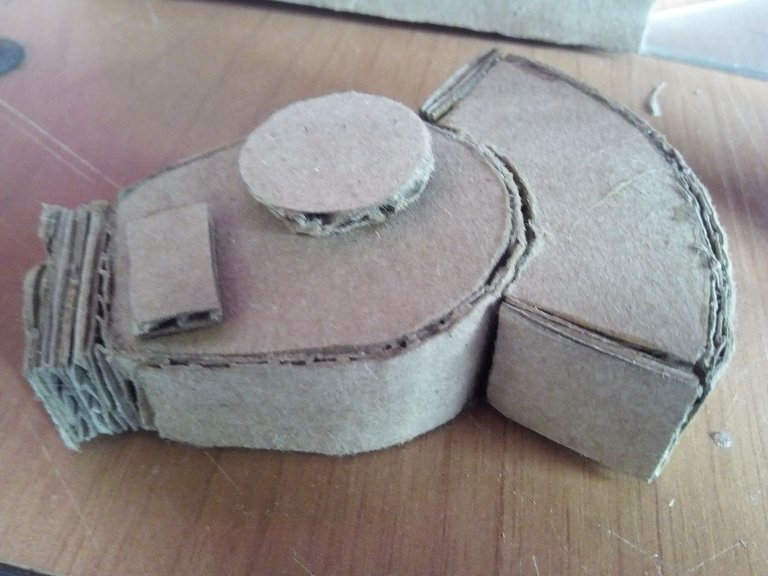

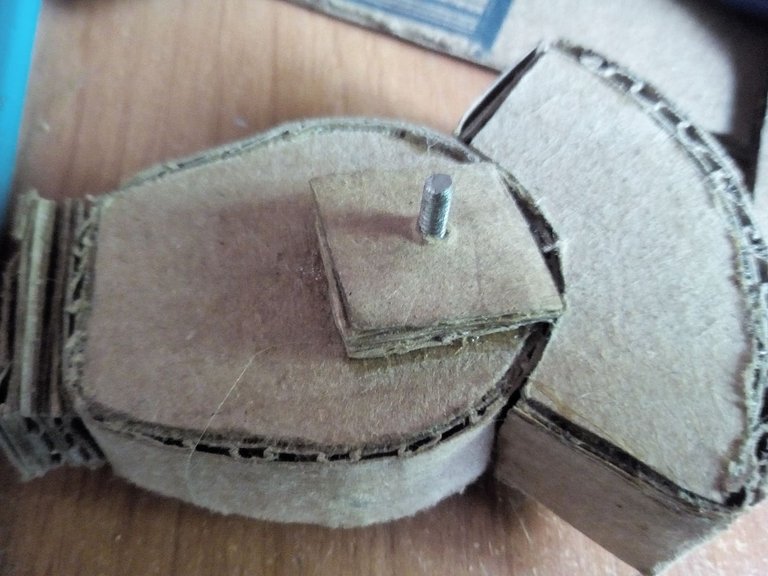


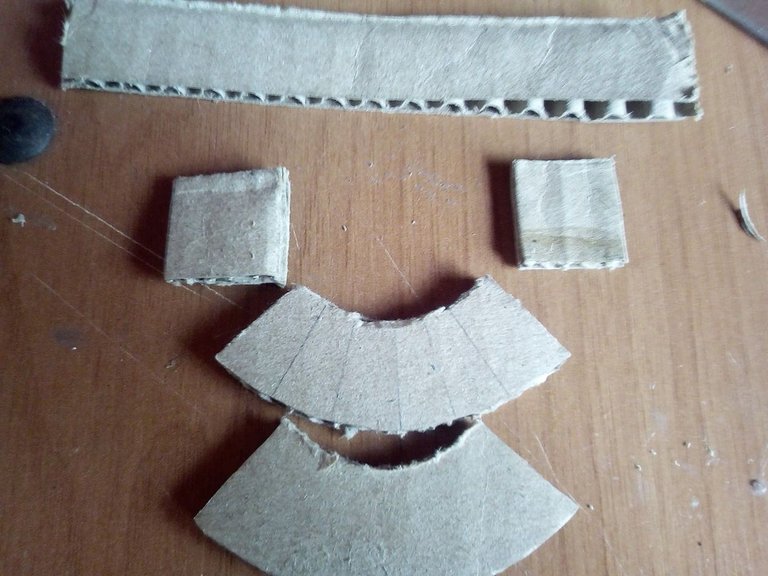
Now we assemble the two parts that we made separately. We can use silicone or glue to join them, we will also make the axis that allows the barrel to point in a 360 ° radius using a small cardboard base and a screw in the center. Then we will glue that cardboard base to the base of the barrel, finally we make a hole in the upper part of the box and place both parts in position, lastly we glue it on the rest of the bodywork.
Ahora ensamblamos las dos partes que hicimos por separado. Podemos usar silicon o pegamento para unirlas, también haremos el eje que permita que el cañon apunte en un radio de 360° utilizando una pequeña base de carton y un tornillo en el centro. Luego pegaremos esa base de cartón a la base del cañon, por ultimo hacemos un hoyo a la parte superior de la caja y colocamos ambas partes en posición, pur último lo pegamos en el resto de la carrocería.
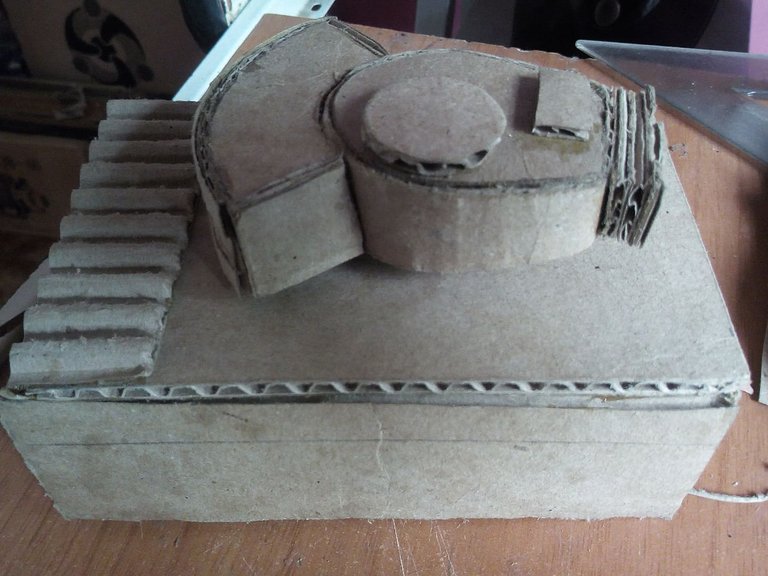
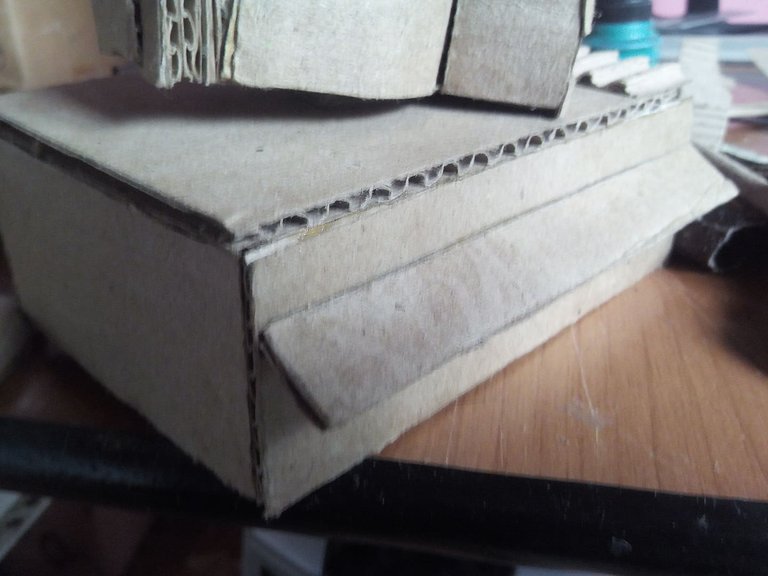
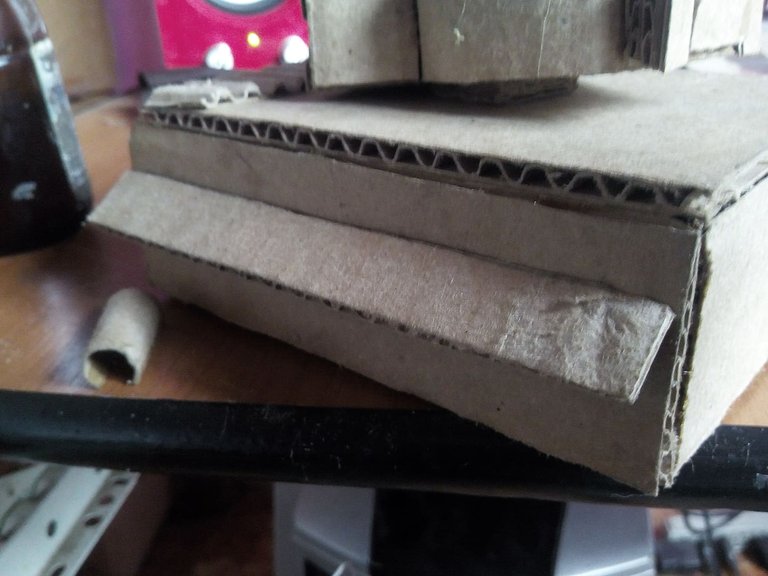
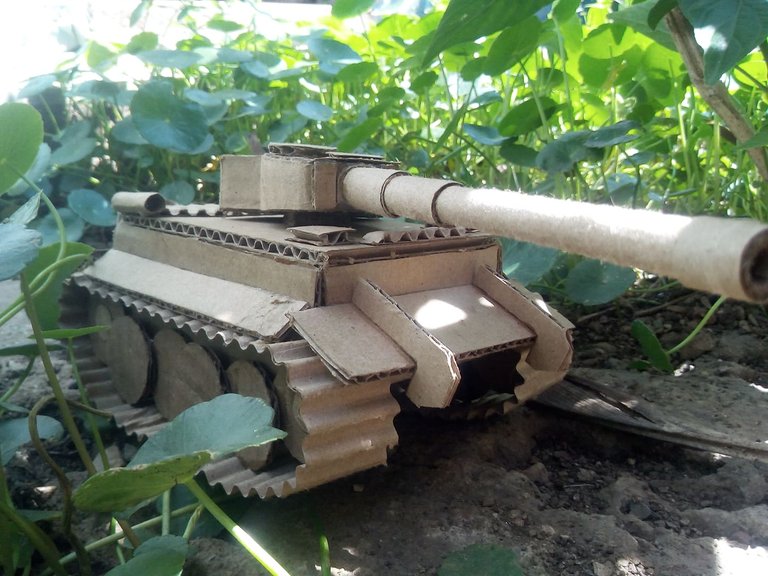
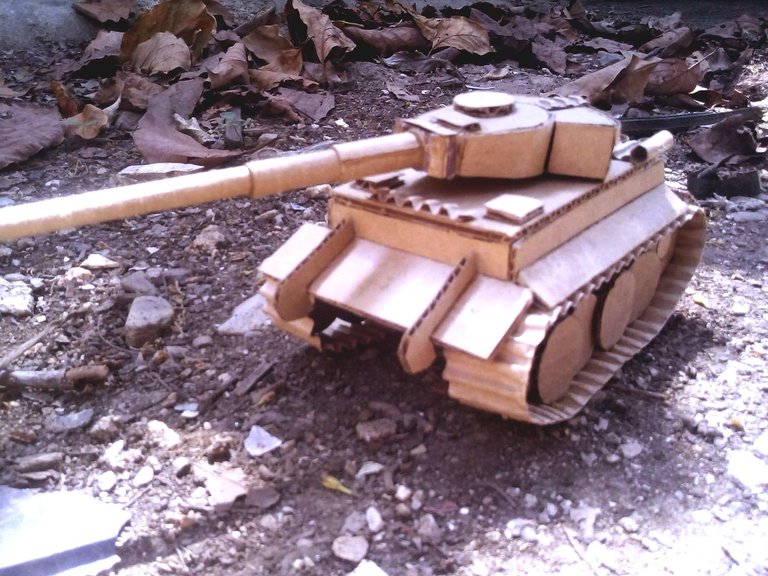
The next step is to make the protectors that go on the sides, these protectors are for the wheels, and have the function of cleaning the wheels and gears when the tanks go through muddy terrain. We cut all cardboard strips, we make a line where we want to put them and we glue them.
El paso siguiente es hacer el los protectores que van en los costados, estos protectores son para las ruedas, y tienen la funcion de limpíar las ruedas y los engranajes cuando los tanques atraviesan terrenos fangosos. Cortamos toc tiras de carton, hacemos una línea donde queremos ponerlas y las pegamos.
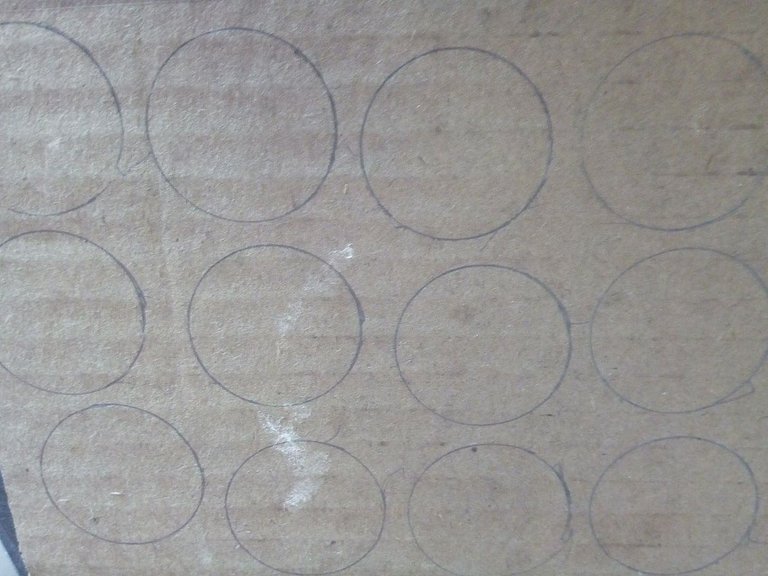
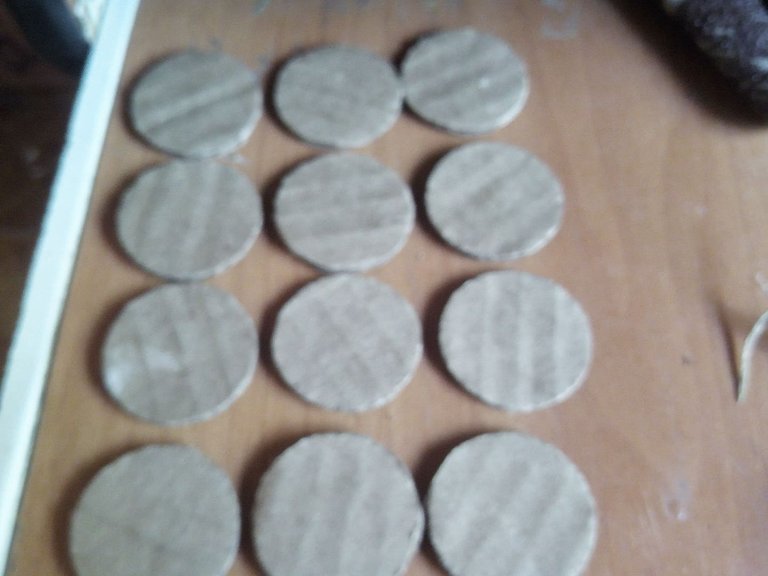
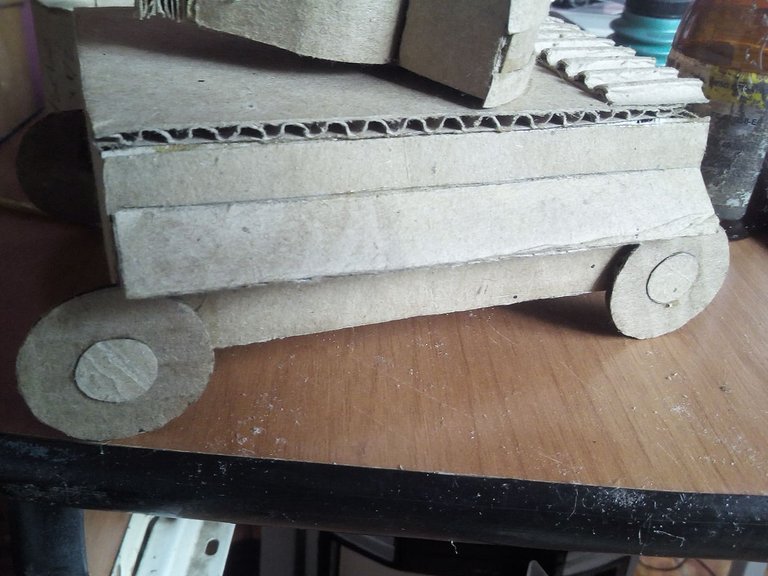
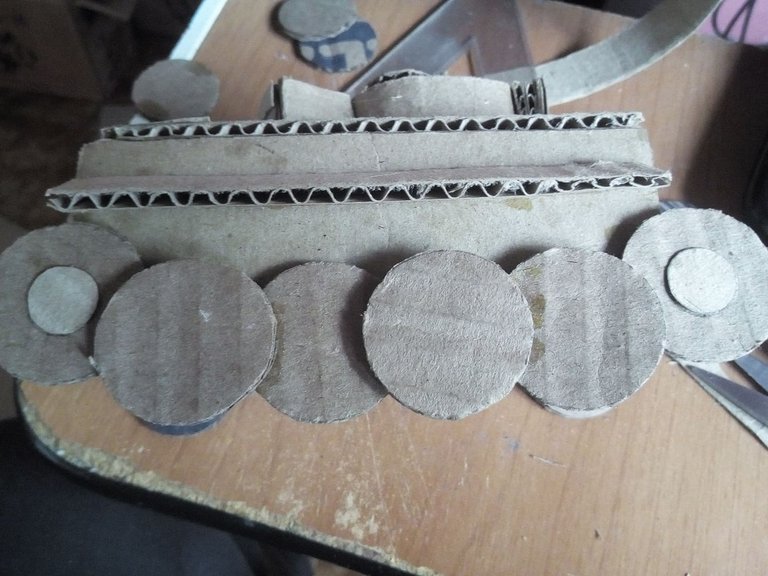
To make the wheels we draw 12 circles of a size according to the body of the tank. We cut with scissors and we first place 4 wheels on the tips, and between them we place 4 wheels on each side using this model that I follow, one wheel on top of the other.
Para hacer las ruedas trazamos 12 círculos de un tamaño acorde a la carrocería del tanque. Recortamos con unas tijeras y vamos colocando primero 4 ruedas en las puntas, y entre ellas colocamos 4 ruedas en cada costados utilizando este modelo que yo sigo, una rueda encima de la otra.
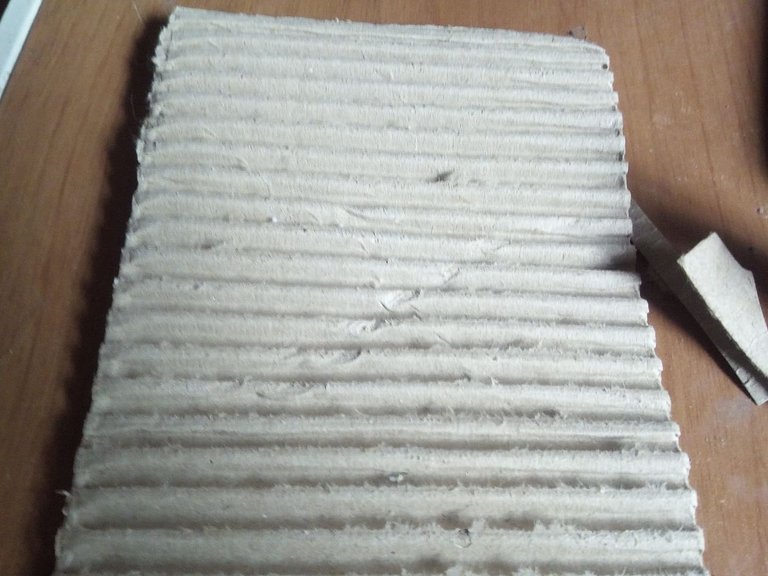
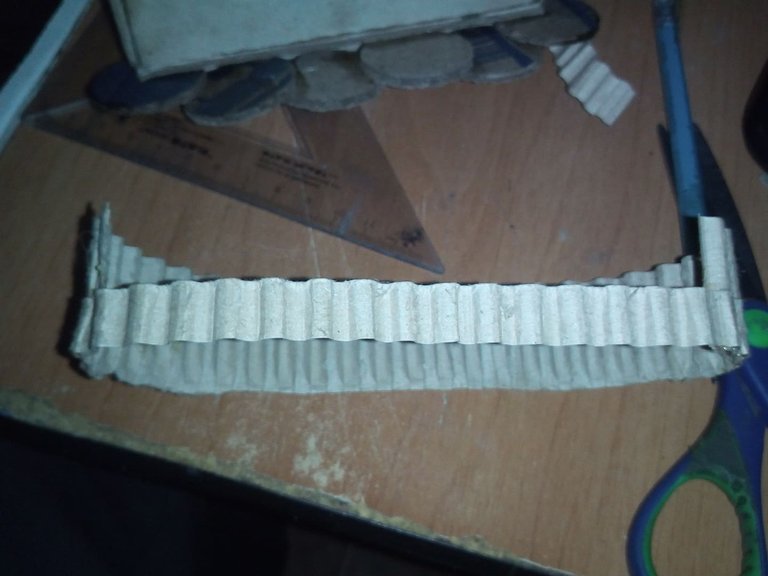
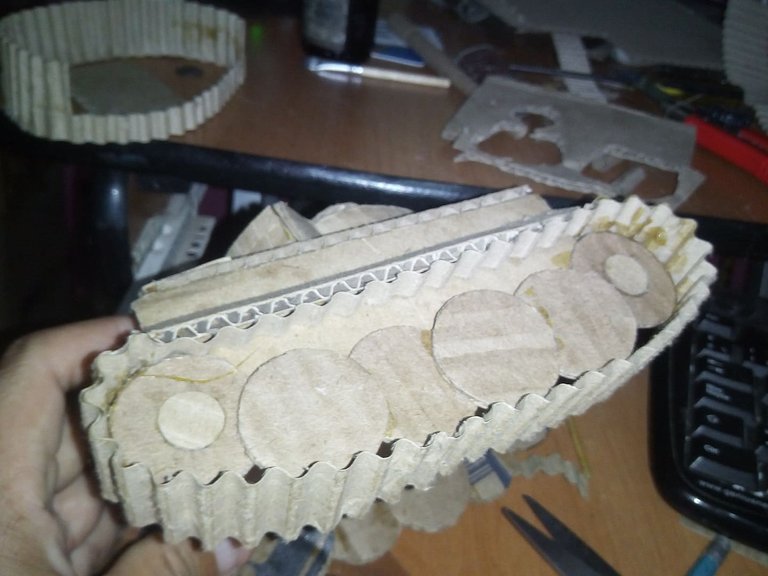
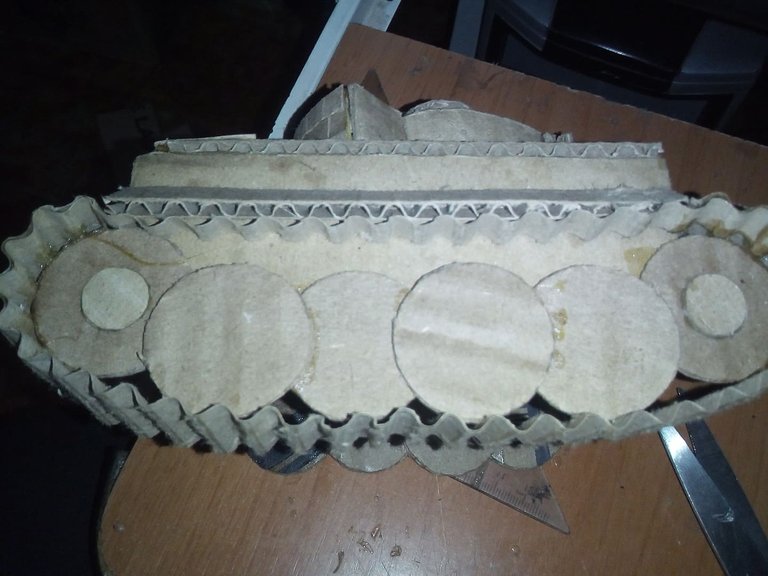
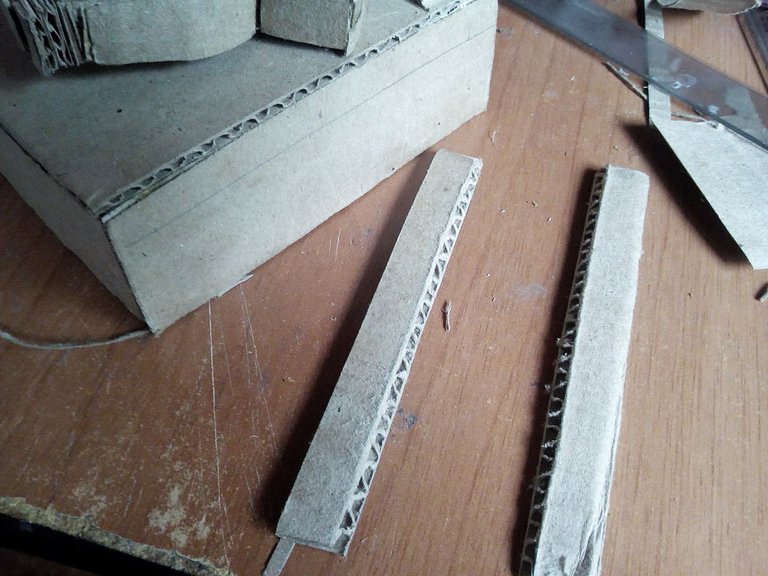
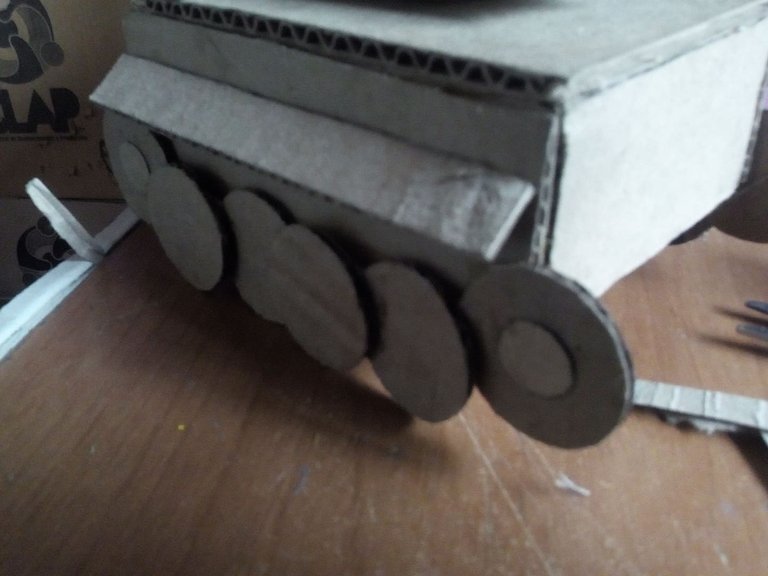
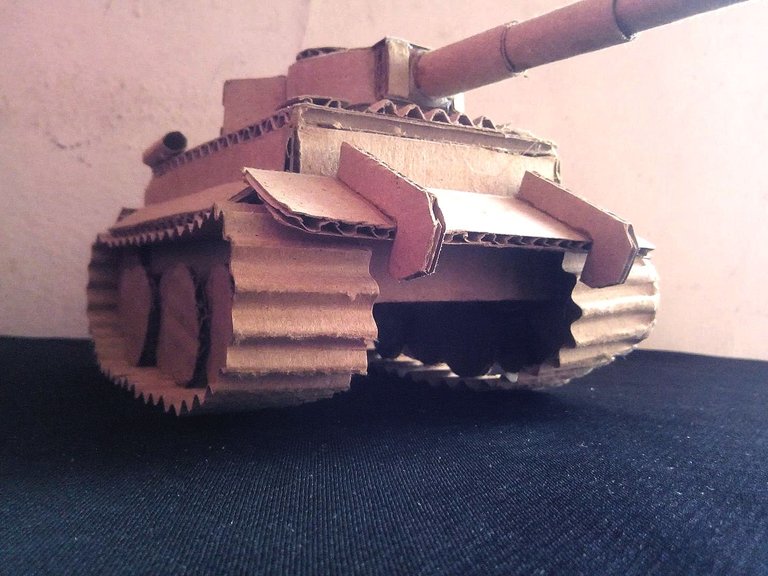
Then we will put the strip that makes the tanks never stop and have great mobility in the most difficult terrain, the wheels work as gears, each one connected with this strip. For this we take a piece of cardboard and remove one of the parts, leaving the part with relief uncovered, cut two strips for both sides of the tank and then place each one in its place.
Luego pondremos la tira que hace que los tanques nunca se detengan y posean gran movilidad en los terrenos más dificiles, las ruedas funcionan como engranajes unidas cada una con esta tira. Para eso tomamos un pedazo de cartón y retiramos una de las partes, dejando la parte con relieve descubierta, cortamos dos tiras para ambos costados del tanque y luego colocamos cada una en su lugar.
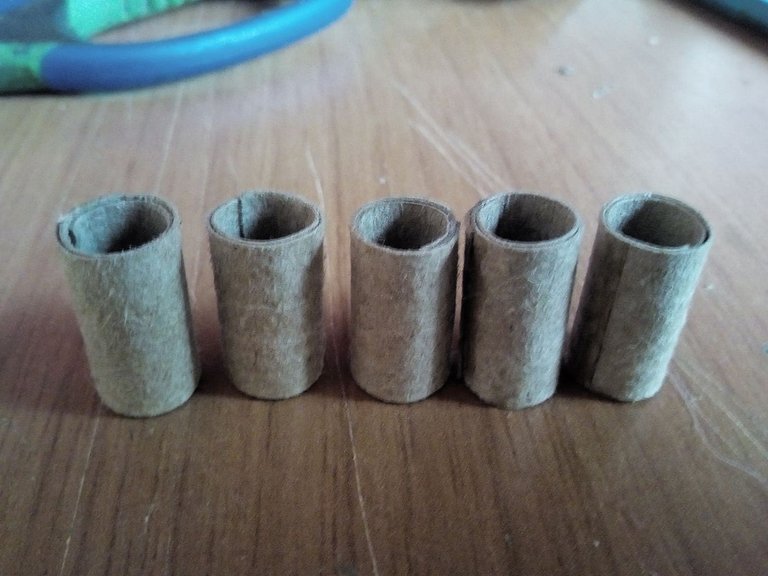
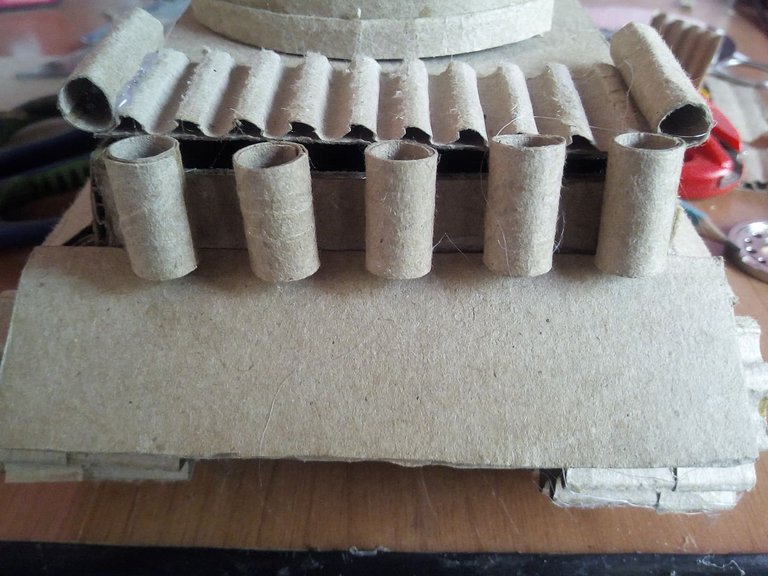
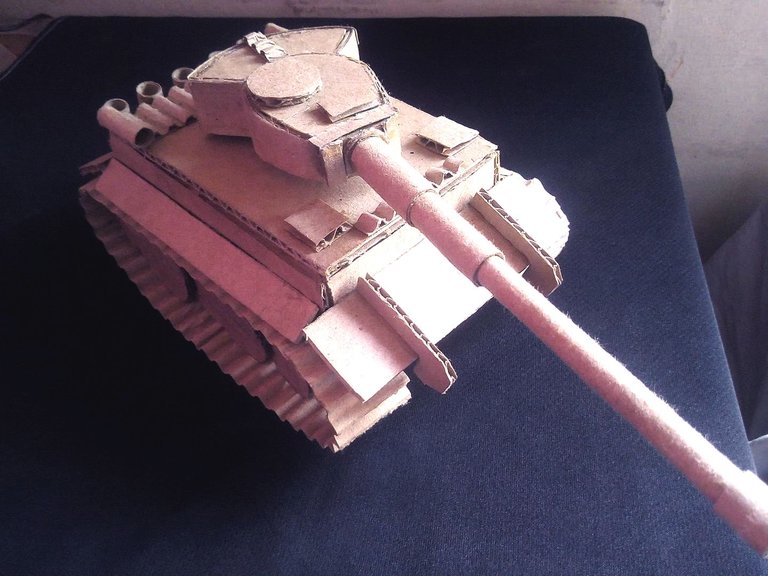
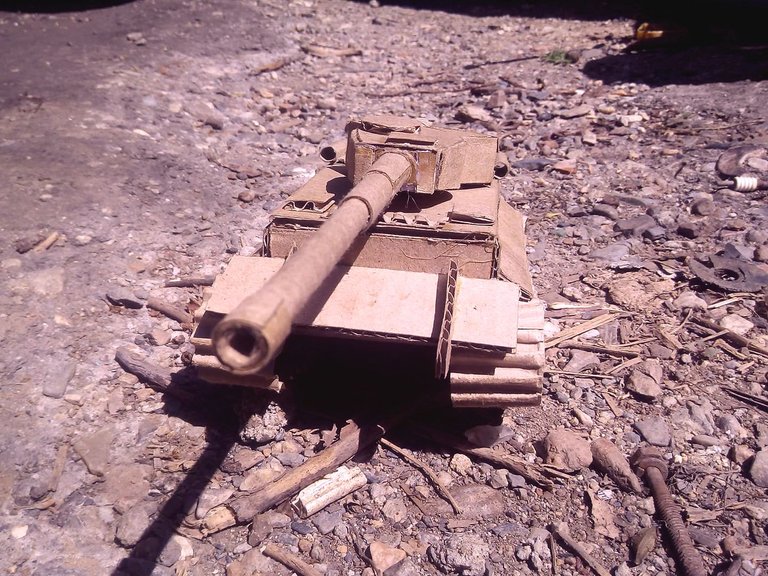
To finish our tank we will make the dreaded retractable cannon. We will make tubes of different sizes with the cardboard that we had left over from the wheels. We will join it in parts, then we will make the front and rear fenders, and finally 5 cardboard tubes that go in the rear that are as accessories, We glue the barrel and the fenders and we will have finished this tank.
Para finalizar nuestro tanque haremos el temido cañón retractil. Haremos unos tubos de diferentes tamaños con el cartón que nos sobró de las ruedas. Lo uniremos por partes, luego haremos las defensas de la parte delantera y trasera, y por último 5 tubos de cartón que van en la parte trasera que son como accesorios, Pegamos el cañón y las defensas y habremos terminado este tanque.

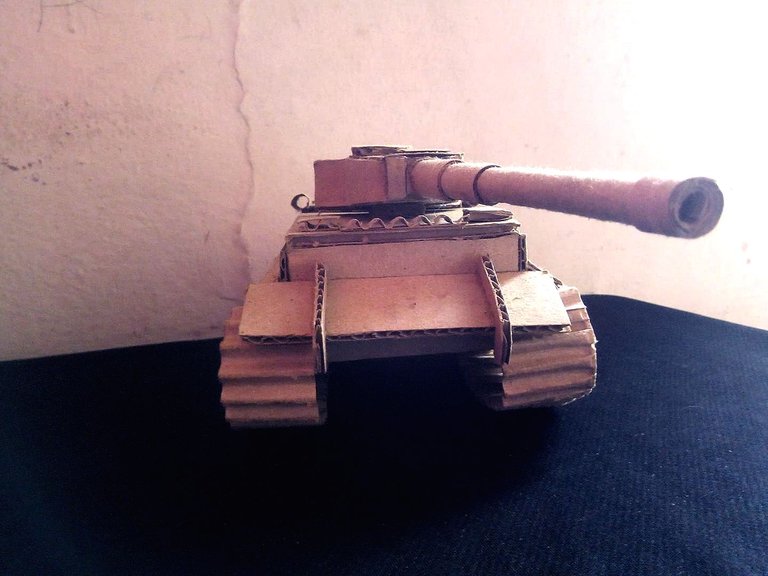
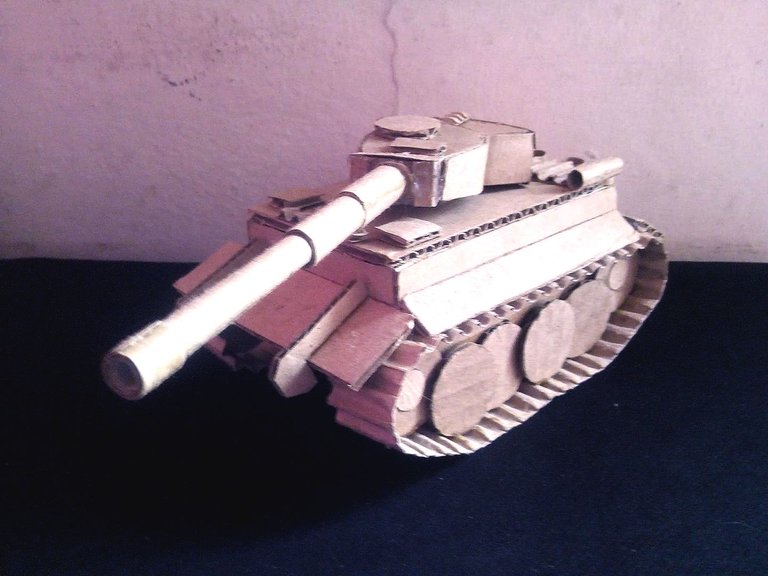
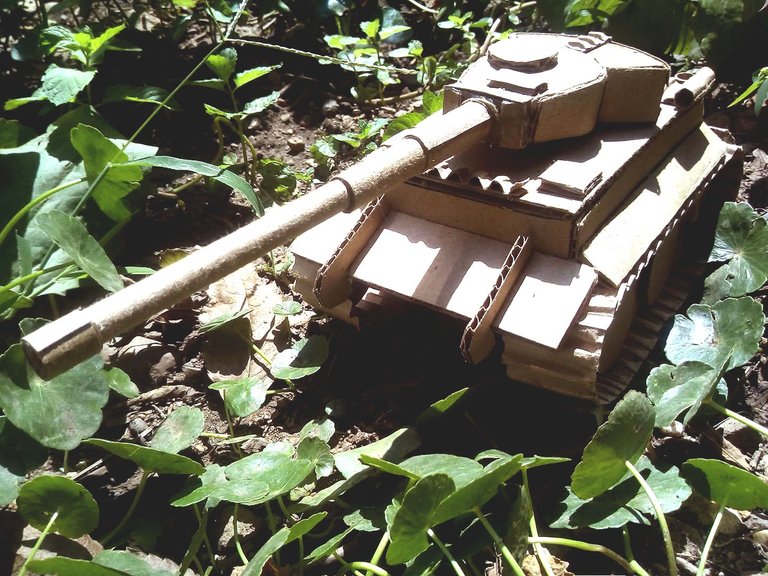
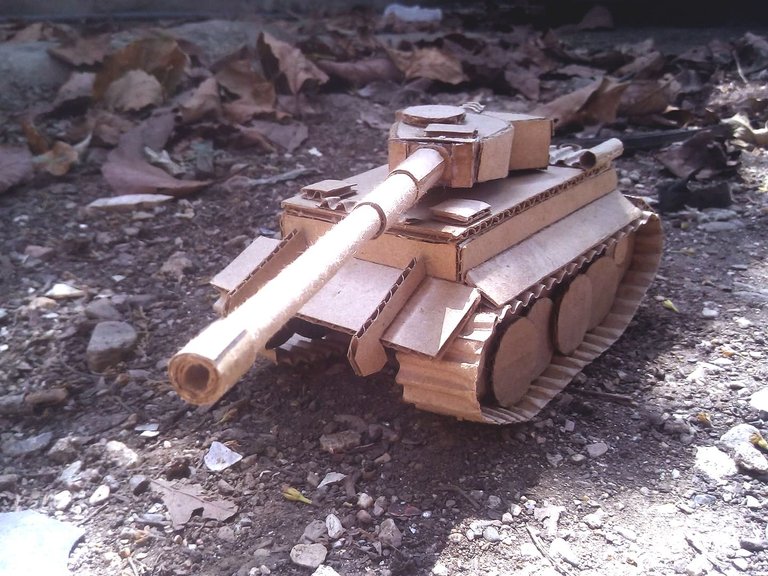
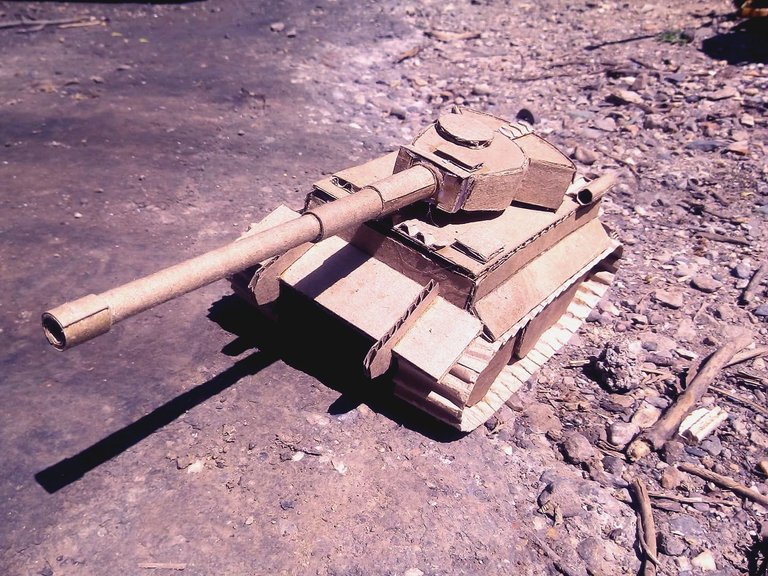
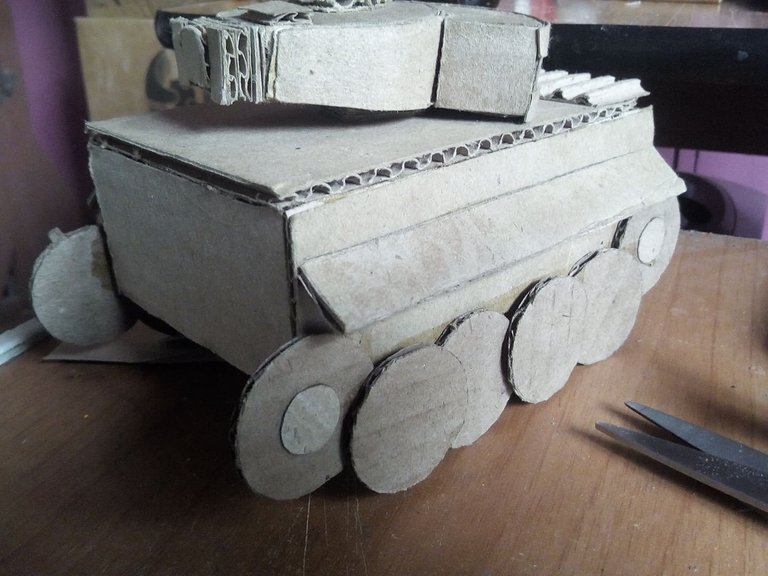
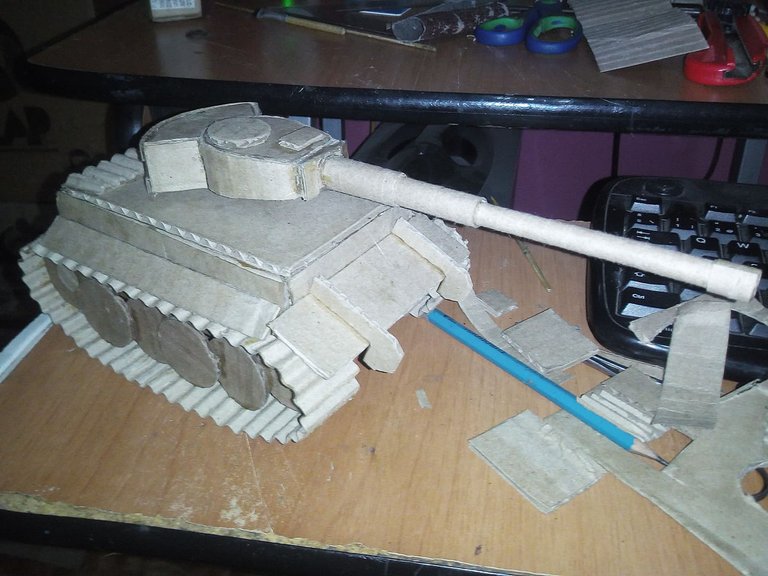
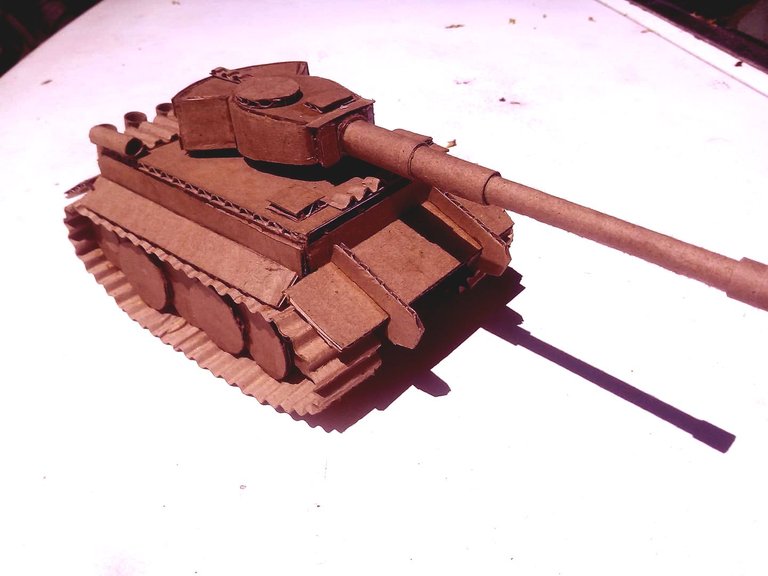
This is how this powerful war tank has been. It measures approximately 20 centimeters including the length of the barrel, as you can see it can point in any direction. It is a beautiful example to teach children to build with hands and to put a common material such as cardboard to good use. We can make movable wheels even fit a motor to control it remotely.
We can paint it the color we want and make camouflage spots on it and use it as an ornament in our homes. This has been my contribution for today, I hope it has been to your liking and you have enjoyed the process. I say goodbye to you soon, do not forget to comment how you thought it was and if you have any ideas or suggestions. See you soon.
Así ha quedado este poderoso tanque de guerra. Mide aproximadamente 20 centímetros incluyendo el largo del cañón, como pueden ver puede apuntar a cualquier dirección. Es una hermoso ejemplar para enseñar a los niños a construir cons manos y darle un buen uso a un material tan común como el carton. Podemos hacerle ruedas movibles incluso colocarle un motor para manejarlo a control remoto. Podemos pintarlo del color que queramos y hacerle manchas de camuflajes y usarlo de adorno en nuestras casas. Este ha sido mi aporte por el día de hoy, espero que haya sido de su agrado y hayan disfrutado el proceso. Me despido hasta pronto, no olviden comentar que tal les ha parecido y si tienen alguna idea o sugerencia. Hasta pronto.
The rewards earned on this comment will go directly to the person sharing the post on Twitter as long as they are registered with @poshtoken. Sign up at https://hiveposh.com.
¡Wow! Quedó estupendo tu modelo a escala, me gustó muchísimo, sobre todo la forma tan creativa en que elaboraste las ruedas y el cañón. ¡Mis respetos hacia ti como artesano!
Okey, what a way to create that tank, wow not for nothing but that tank will want this brutal, when I looked at it I thought it was an image, I congratulate you you have a lot of talent.
Congratulations, your post has been upvoted by @dsc-r2cornell, which is the curating account for @R2cornell's Discord Community.
Enhorabuena, su "post" ha sido "up-voted" por @dsc-r2cornell, que es la "cuenta curating" de la Comunidad de la Discordia de @R2cornell.
Wow wow wow , manooooo , no te creo , hiciste ese tanque de una forma que madre mía ajajjaja quedo estupendo , con el cañón que giara y todo , las orugas quedaron de calidad , ahora mi pregunta es ¿qué tipo de tanque es? , por la forma de la carrocería parece un M4 Sherman , pero por el cañón tan largo pareciera un Tiger IV, definivivamente me gustó ajajja saludos.
es un M4 Sherman pero con el cañ{on un poco modificado.. ME alegra que te haya gustado el proceso jeje.. Saludos!