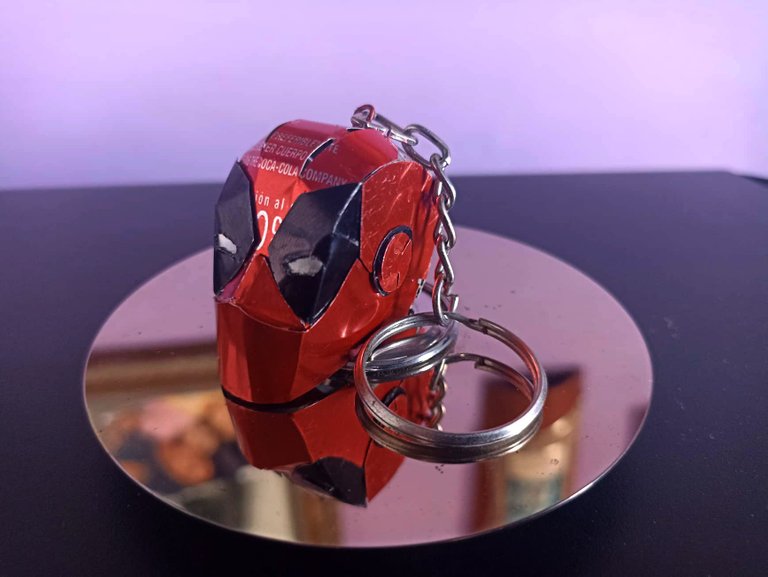
Hello friends, I hope you are very well and in good health, today I want to show you how to make a keychain with the figure of Deadpool, the immortal antihero of Marvel and who already has 2 great movies that reflect very well the character of the character. The keychain is made with soda cans and the templates are based on the Iron Man helmet model that I have made on previous occasions, although this one has slight modifications. Next I will show you step by step how to do it.
Hola amigos, espéro que se encuentren muy bien y con mucha salud, hoy quiero mostrarles como hacer un llavero con el la figura de Deadpool, el antihéroe inmortar de Marvel y que ya cuenta con 2 buenísimas películas que reflejan muy bien el carácter del eprsonaje. El llavero está hecho con latas de soda y las plantillas estan basadas en el modelo del casco de Iron Man que ya he realizado en oportunidades anteriores, aunque este cuenta con ligeras modificiaciones. A continuación les mostraré le paso a paso de como hacerlo.

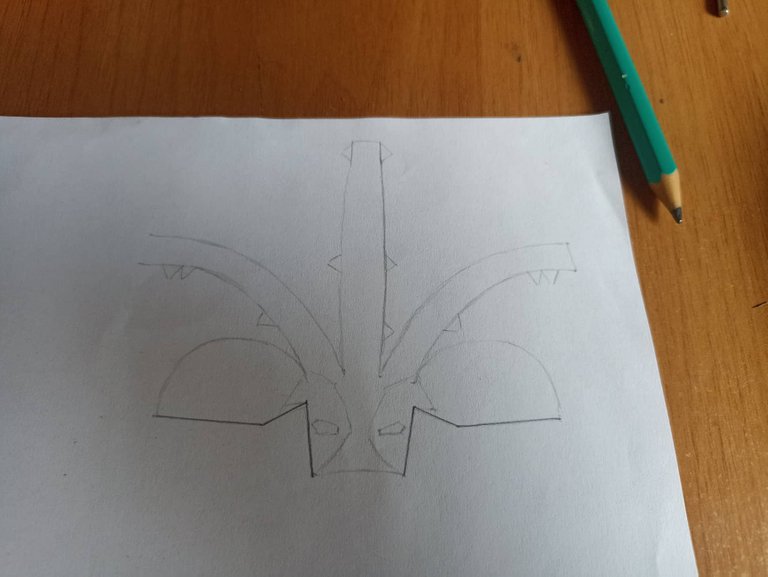
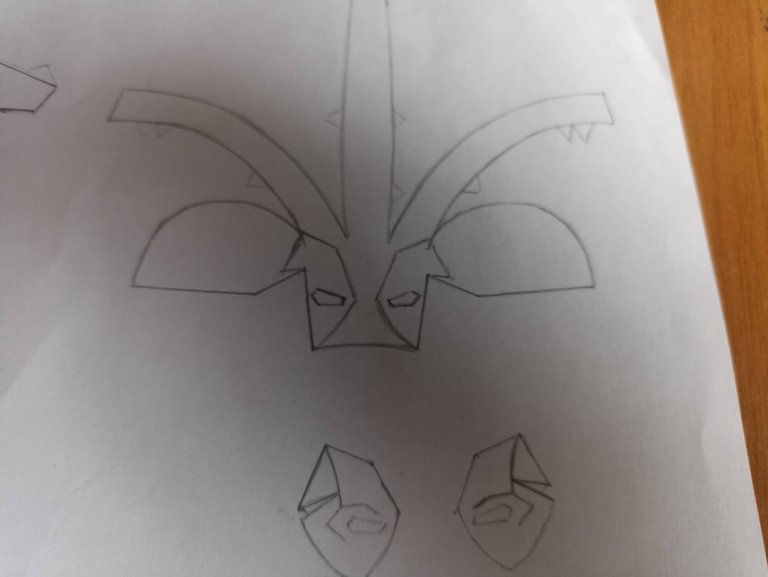
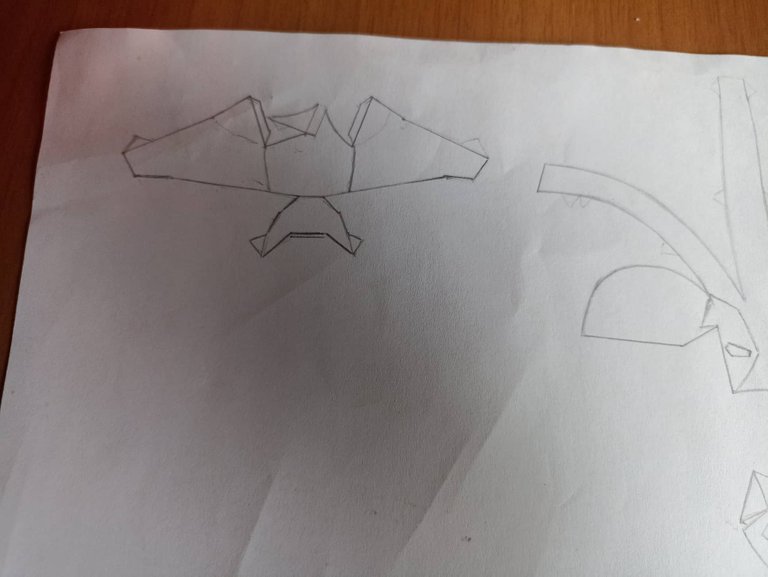
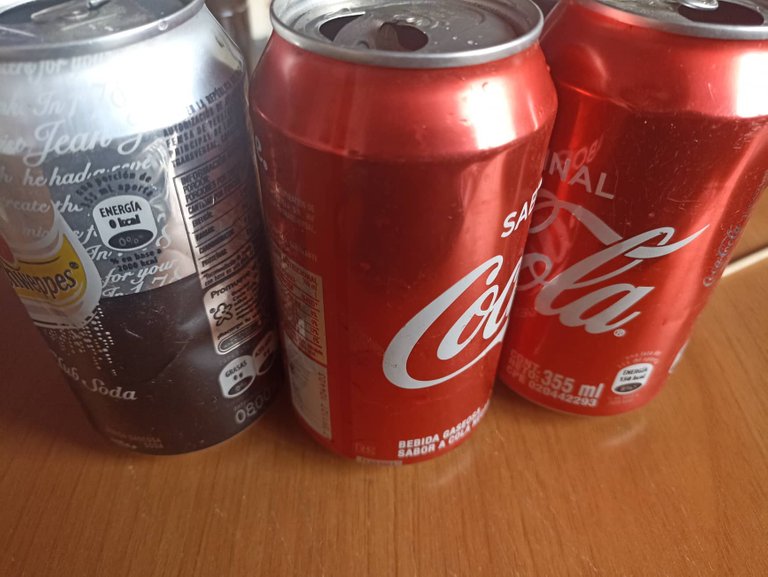
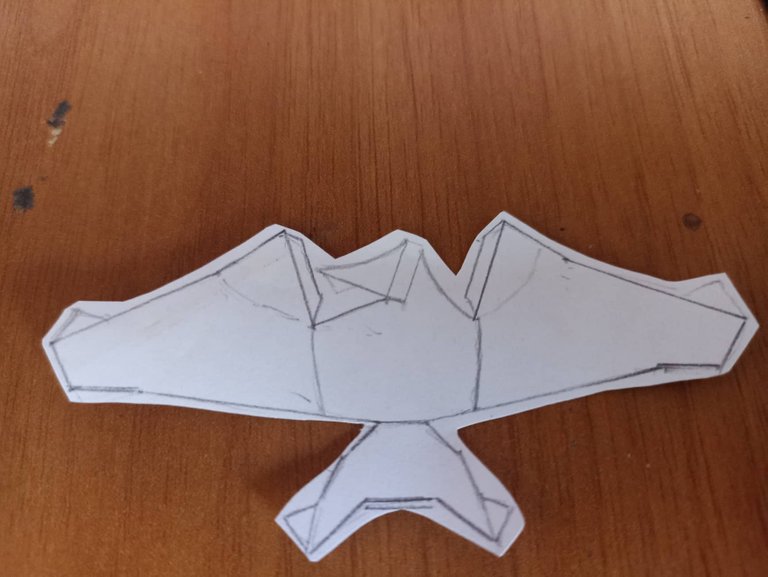
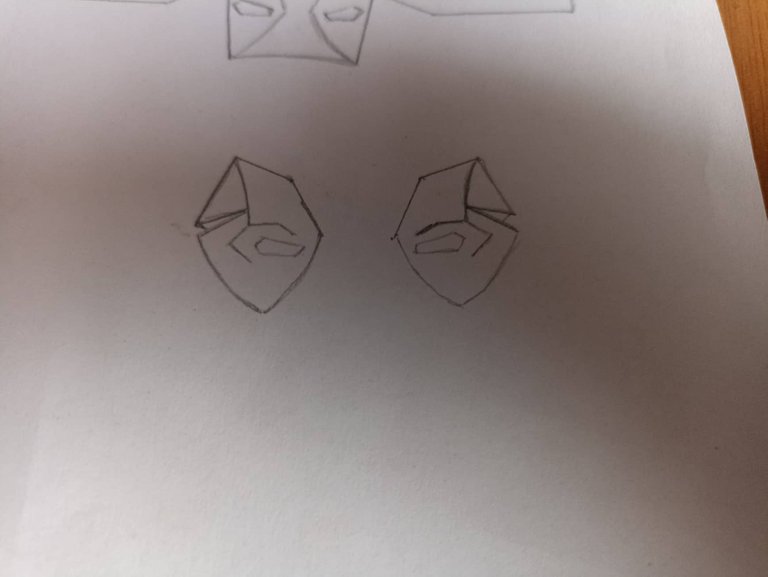
The first step was to draw the template, I made this based on the design of the Iron Man helmets but I made the modifications to achieve the best resemblance to Deadpool. The helmet is included with the part of the head, then the face and finally the eyes, there are also some accessories on the sides of the head. To make the helmet I used coke cans to take full advantage of the red color.
El primer paso fue dibujar la plantilla, esta la hice basándome en el diseño de los cascos de Iron Man pero le hice las modificaciones para lograr el mejor parecido con Deadpool. El casco está comprendido con la parte de la cabeza, luego el rostro y por último los ojos, también van unos accesorios a los lados de la cabeza. Para hacer el casco utilicé latas de coca cola para aprovechar el color rojo en su totalidad.
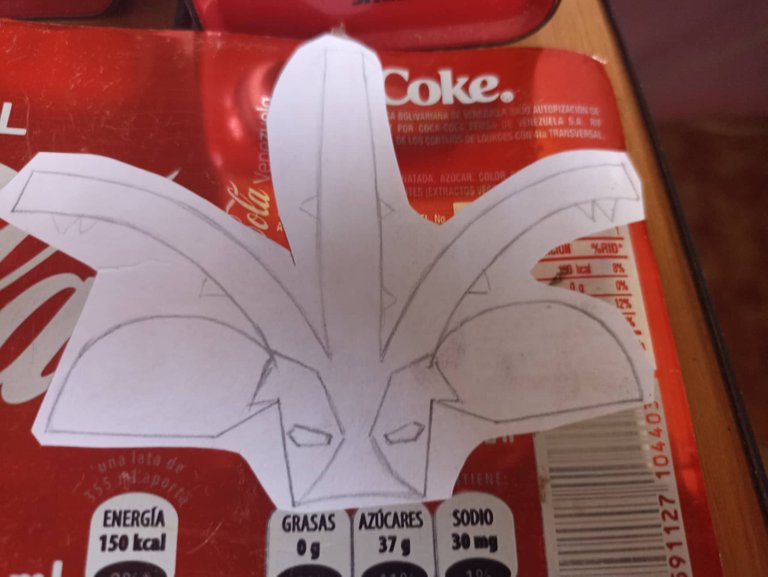
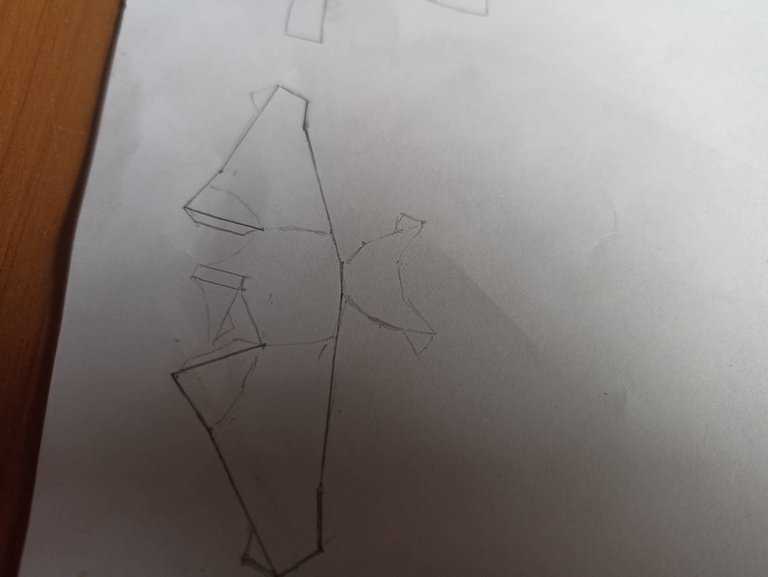
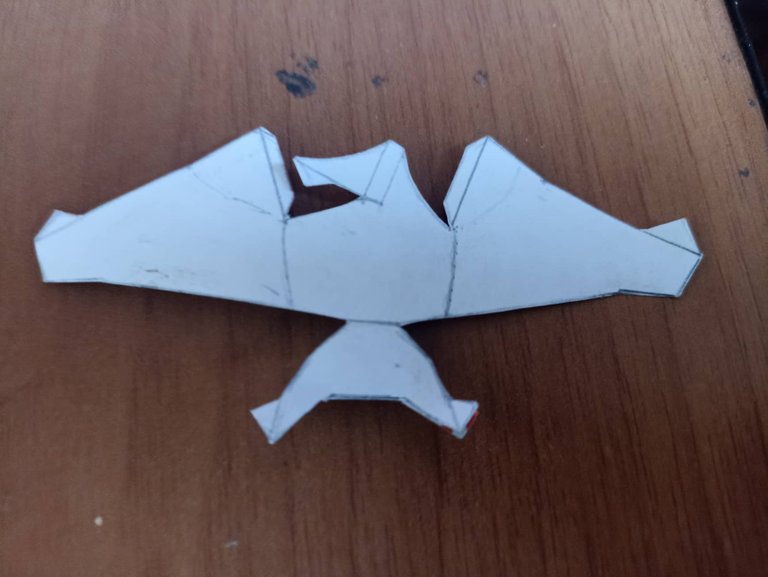
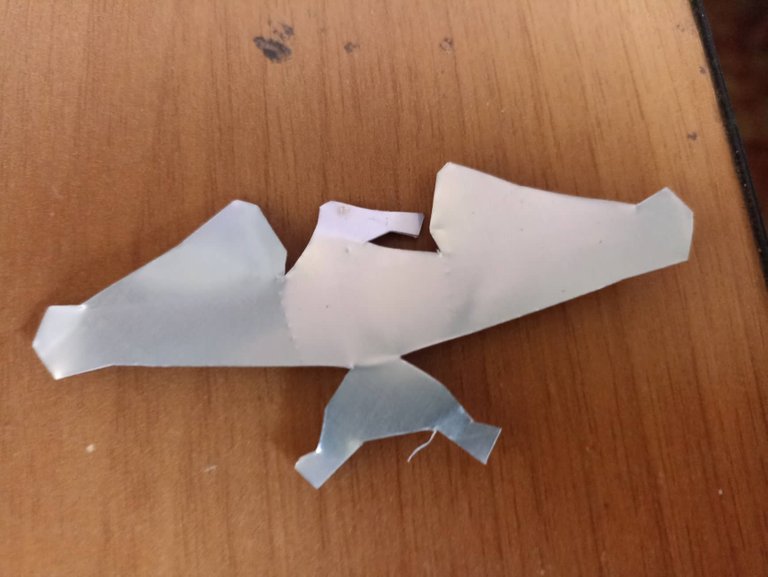
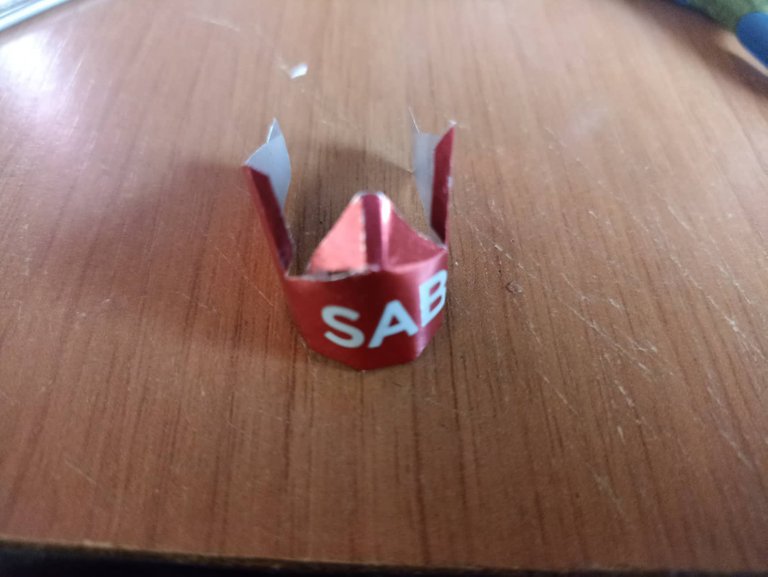
The first step is to make it a head, we cut out the template and stick it on the coke can, and then we extract the piece being careful not to damage it. Then we remove the template and using glue we join all the parts, so that it is better fixed and aligned we can use some tweezers to press and that it is right in place.
El primer paso es hacerla cabeza, recortamos la plantilla y la pegamos en la lata de coca cola, y luego extraemos la pieza con cuidado de no dañarla. Después retiramos la plantilla y utilizando pegamento vamos uniendo todas las partes, para que quede mejor fijada y alineada podemos utilizar unas pinzas para presionar y que quede justo en el lugar.
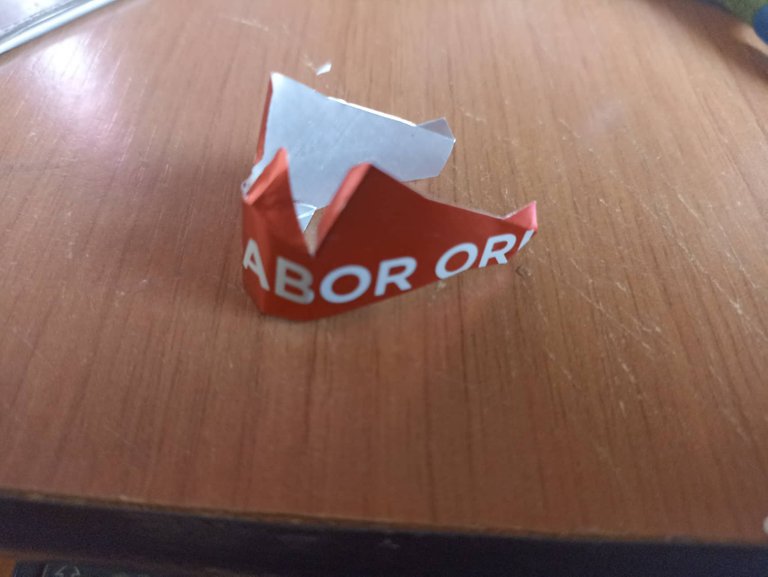
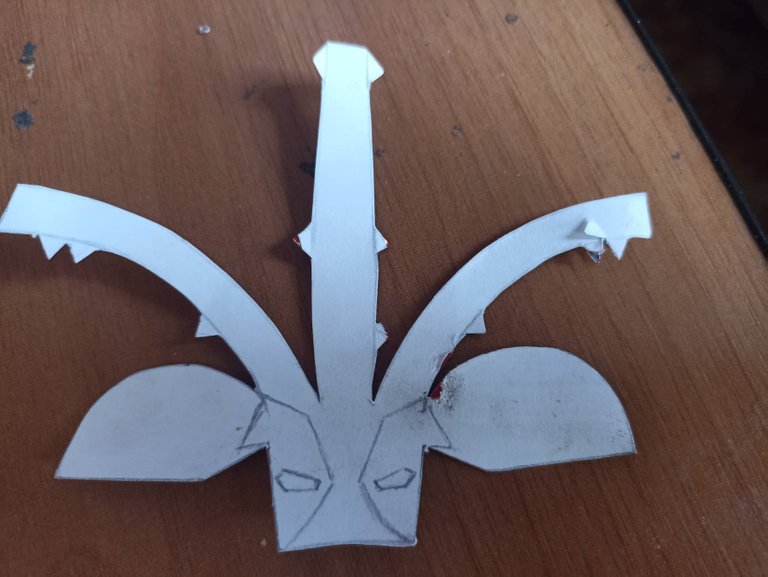
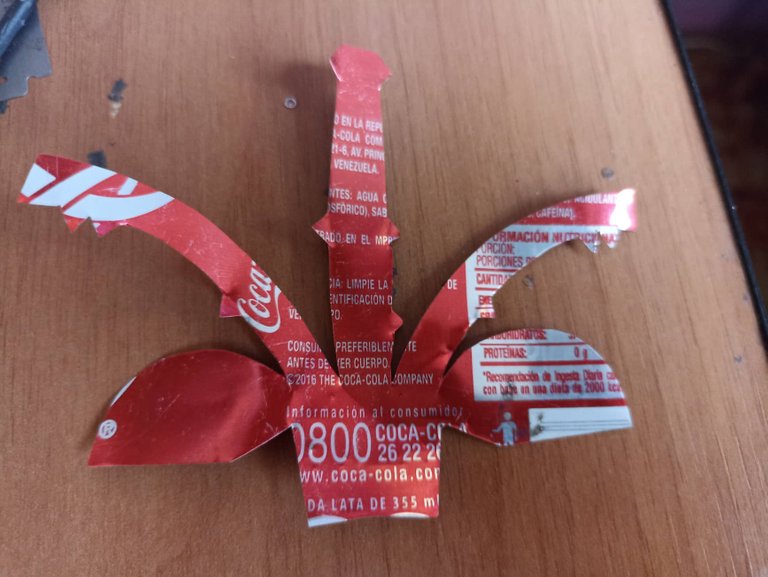
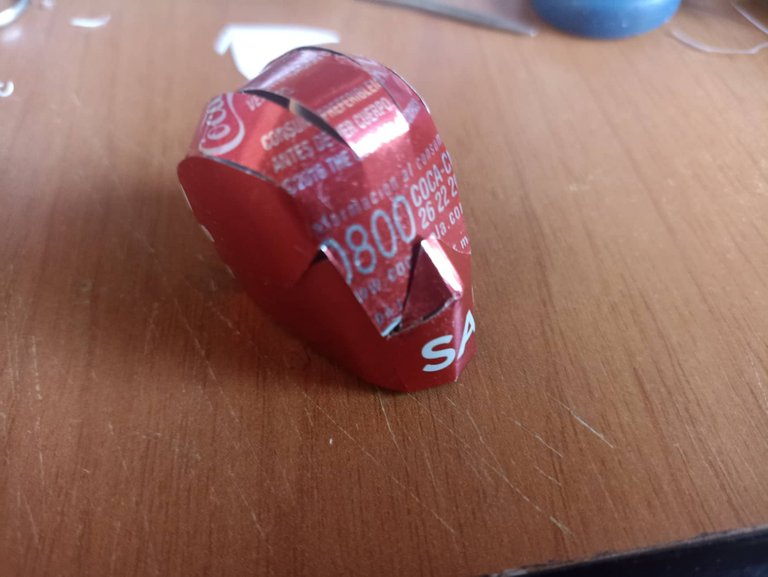
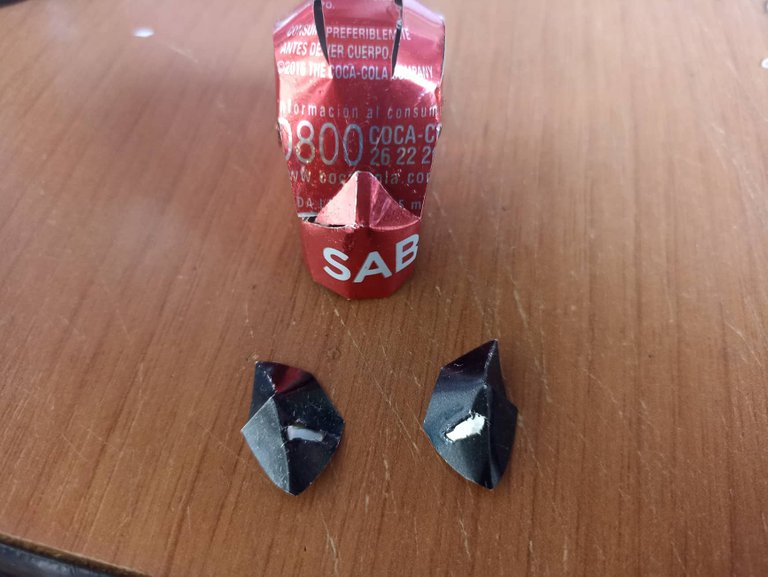
Then we make the part of the face by cutting out the template and also putting it on the coca colca can. We extract the piece following the same previous process and we mold it, as you can see you can clearly see the part of the jaw and the nose after having molded it. After this, it remains to join the two pieces to have most of the hull already made.
Despues hacemos la parte del rostro recortando la plantilla y también poniendola sobre la lata de coca colca. Extraemos la pieza siguiendo el mismo proceso anterior y la moldeamos, como pueden observar se puede ver claramente la parte de la mandíbula y la nariz luego de haberla moldeado. Luego de esto queda unir las dos piezas para tener la mayor parte del casco ya realizado.
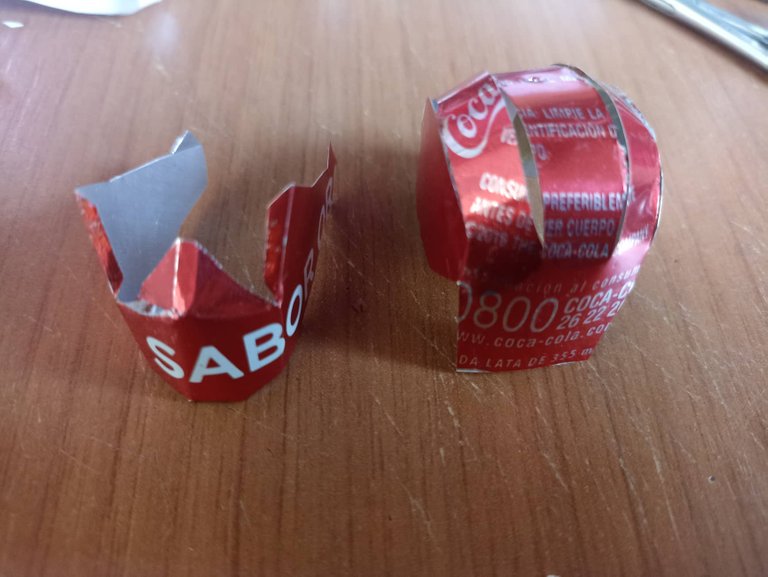
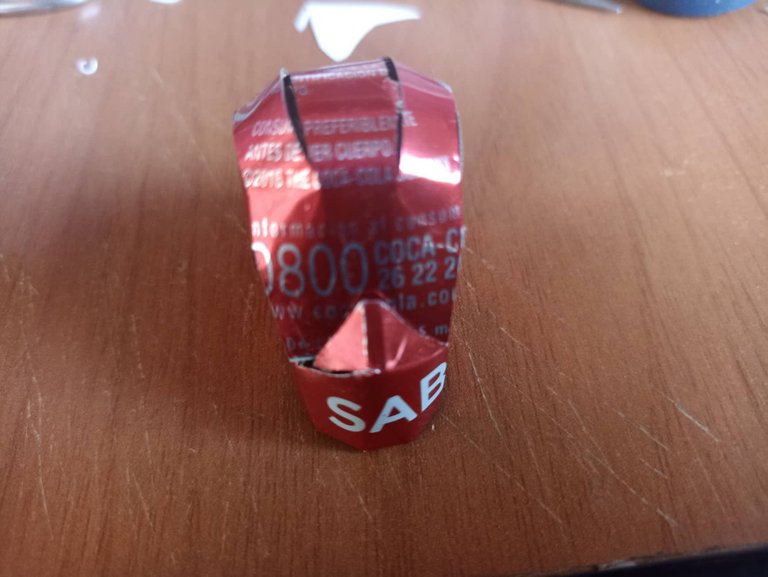
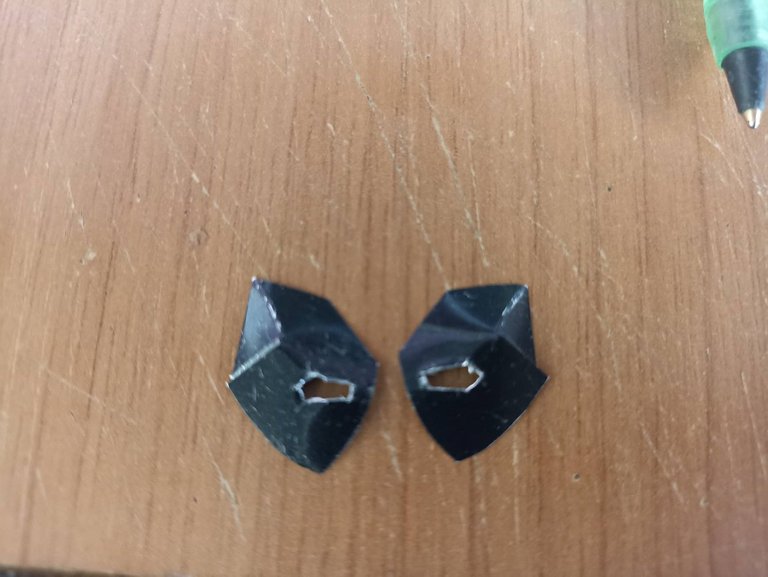
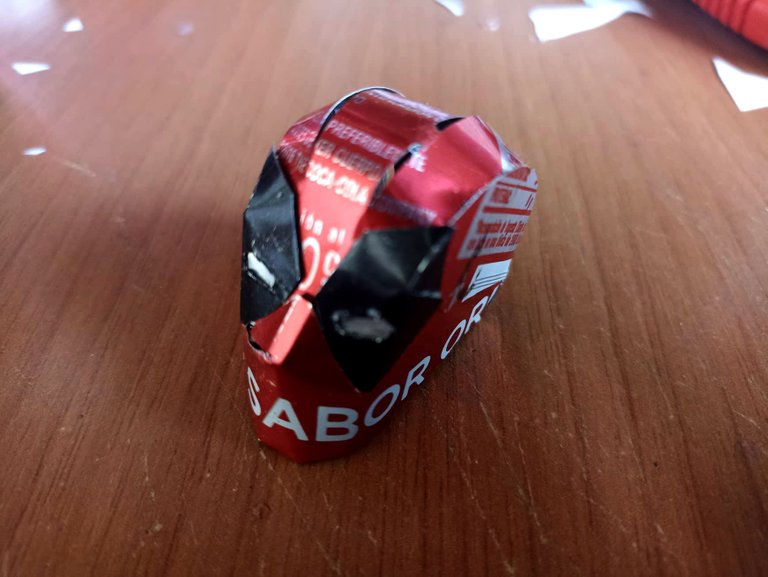
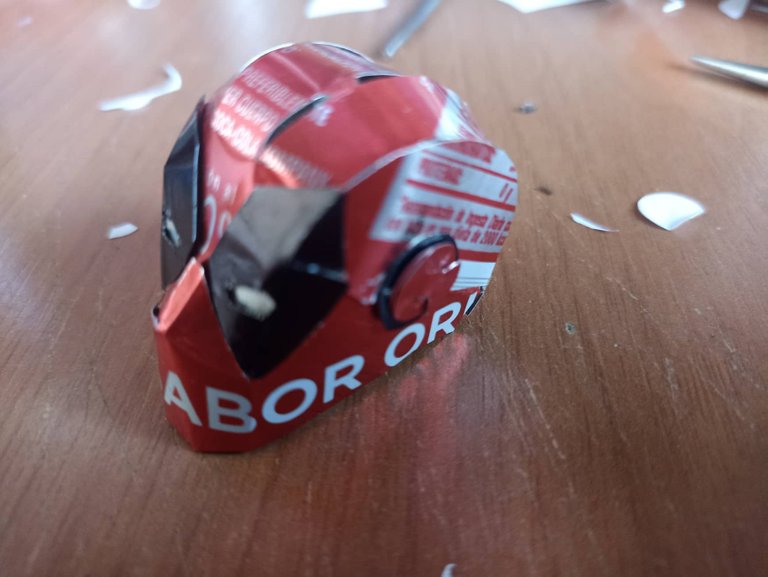
The next step is the assembly of the pieces that hemor made, we put glue on both pieces and little by little we join them so that they are perfectly aligned, by doing so we can see very well how the head and face look, you can see the molded nose . Then we are going to make the pieces that are black and that are around the eyes and that give that special touch to Deadpool's mask to differentiate it from other characters. We cut them out, fold them so that they are well aligned and then stick them on the face.
El siguiente paso es el ensamblaje de las piezas que hemos realizados, colocamos pegamento en ambas piezas y poco a poco las vamos uniendo para que queden perfectamente alineadas, al hacerlo podremos contemplar muy bien como queda la cabeza y el rostro, puede verse la nariz moldeada. Despues vamos a realizar las piezas que son de color negro y que estan alrededor de los ojos y que le dan ese toque especial a a la máscara de Deadpool para diferenciarse de otros personajes. Las recotamos, las doblamos para que queden bien alineadas pára luego pegarlas en el rostro.
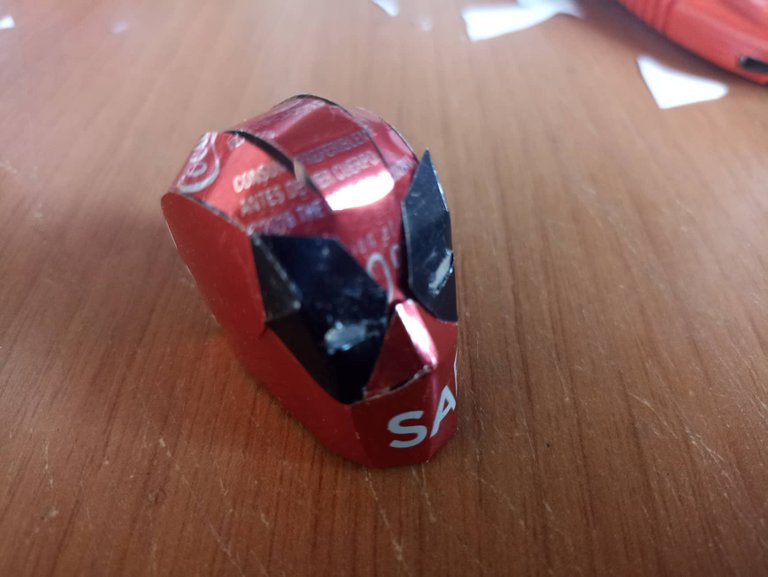
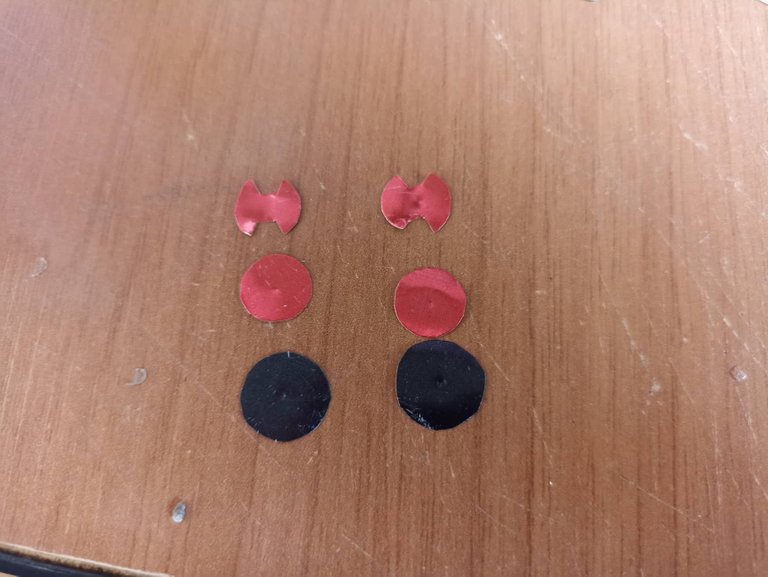
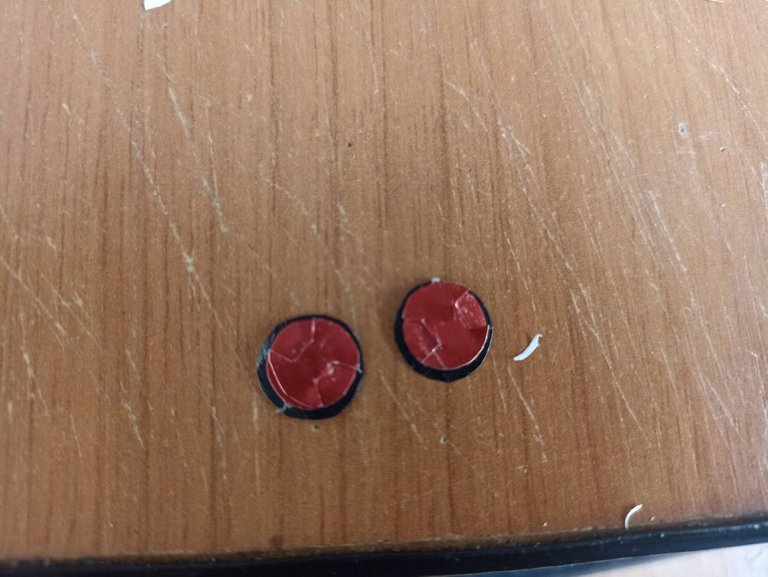

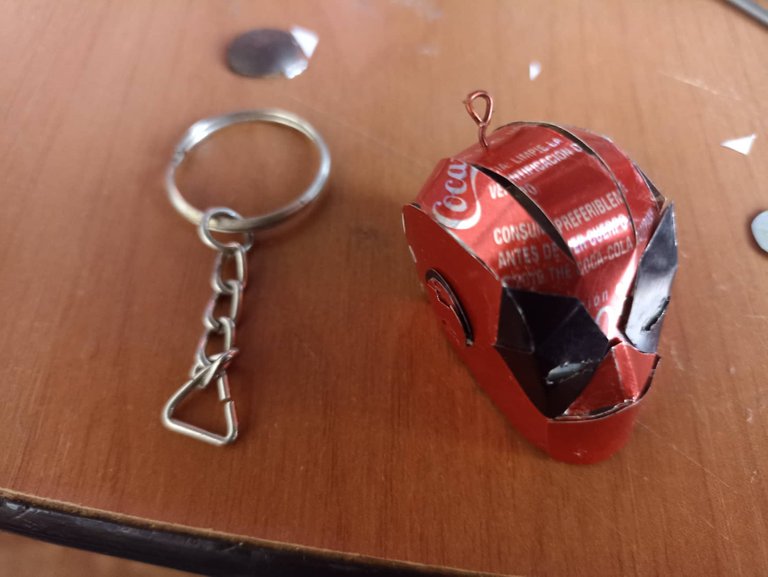
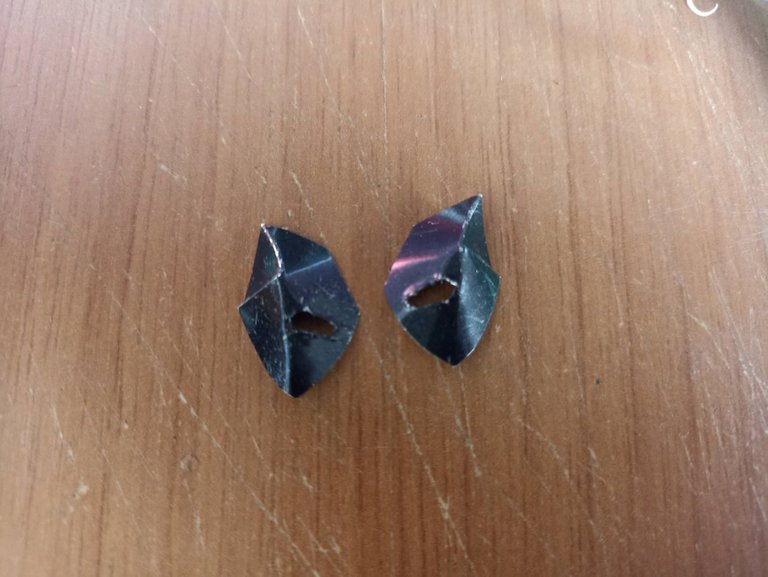
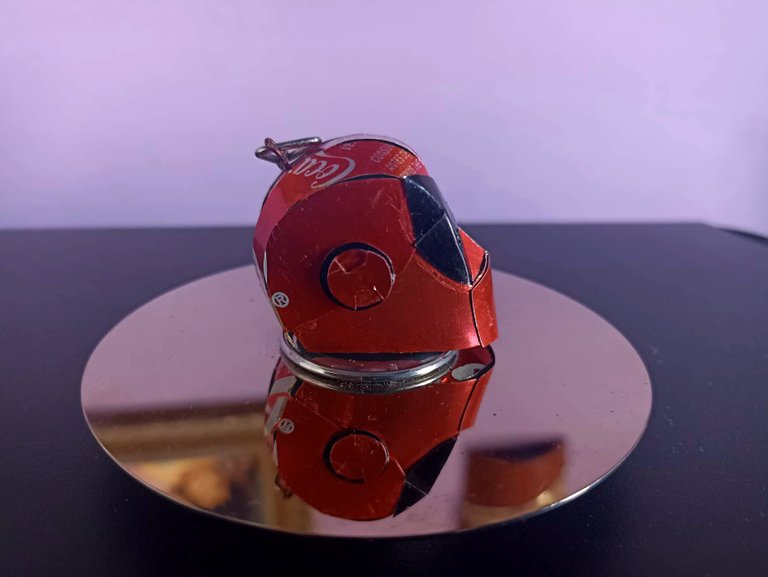
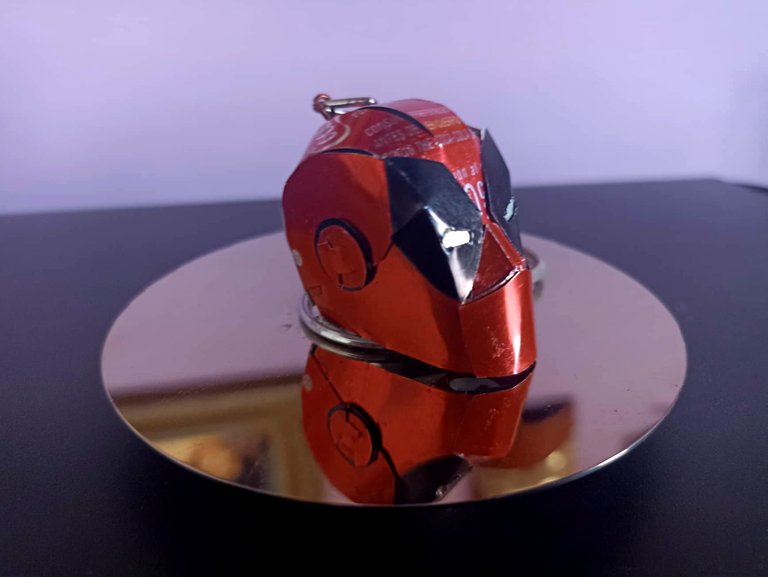
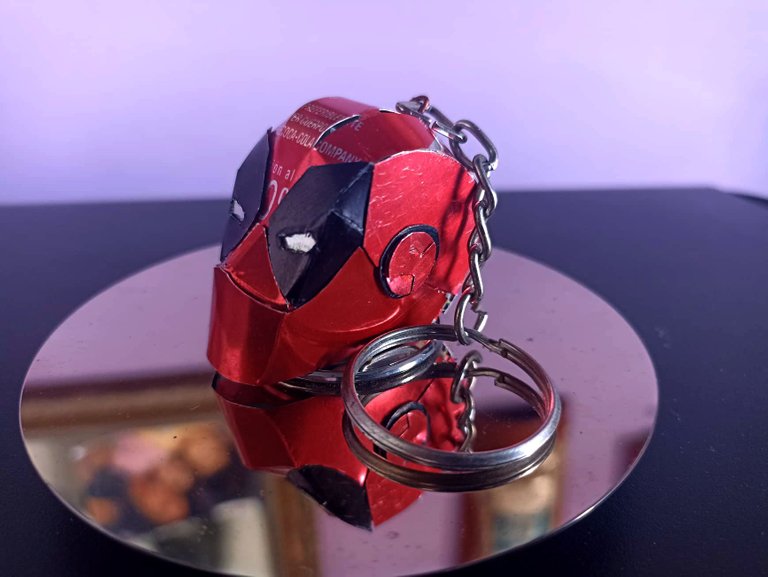
Now we have to refine the last details of the hull. We place the pieces of the eyes in their corresponding place using glue, we are putting them little by little so that both are very fair and aligned. Then we are going to make some ear protectors, very similar to those used by Iron Man helmets, these consist of 3 circles where the bottom one is black and the middle one is red and the top one is also red but it has some small cuts . We join them and then we glue them on each end of the helmet, finally we make a hole in the upper part of the helmet to insert the chain and thus turn it into a keychain.
Ahora nos toca afinar los últimos detalles del casco. Colocamos las piezas de los ojos en su lugar correspondiente utilizando pegamento, las vamos poniendo poco a poco para que ambas queden bien justas y alineadas. Después vamos a hacer unos protectores para los oídos, muy similares a los que usan los cascos de Iron Man, estos constan de 3 circulos donde el de abajo es negro y el del medio es rojo y el superior tambien es rojo pero tiene unos pequeños cortes. Los unimos y luego los pegamos en cada extremos del casco, por último hacemos un agujero el parte superior del casco para introducir la cadena y de esta manera convertirlo en un llavero.
 <c/enter>
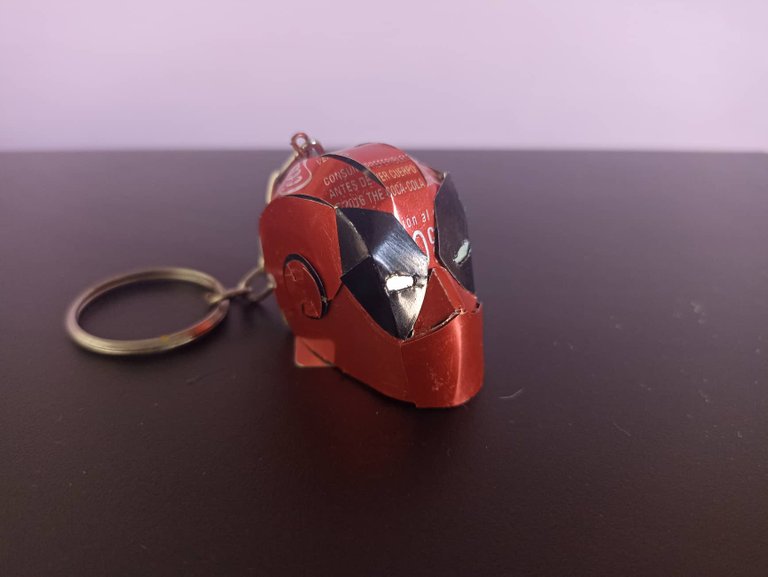
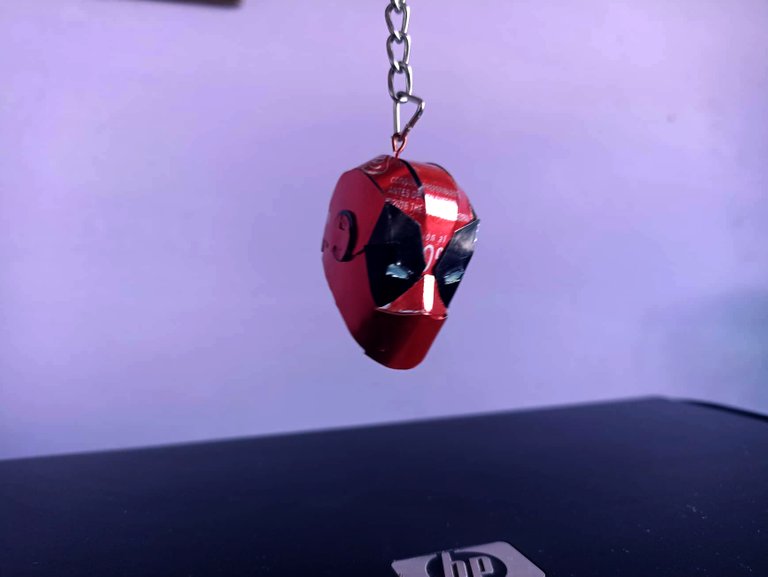
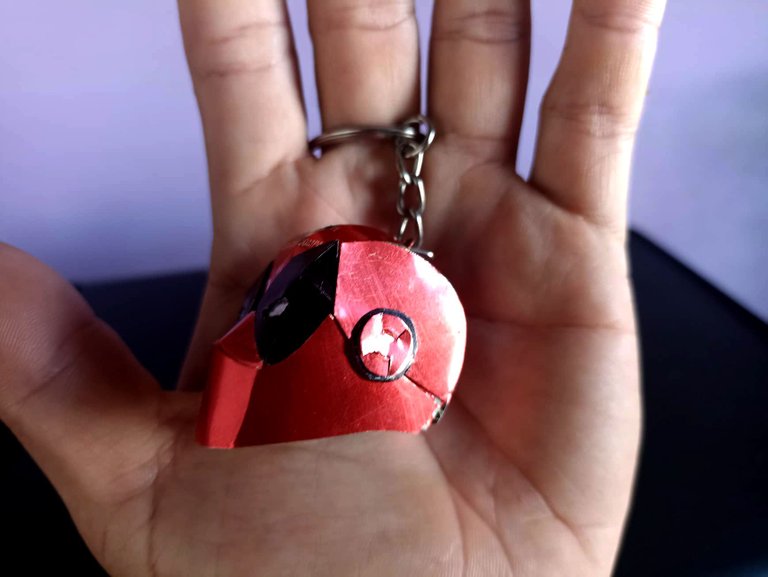
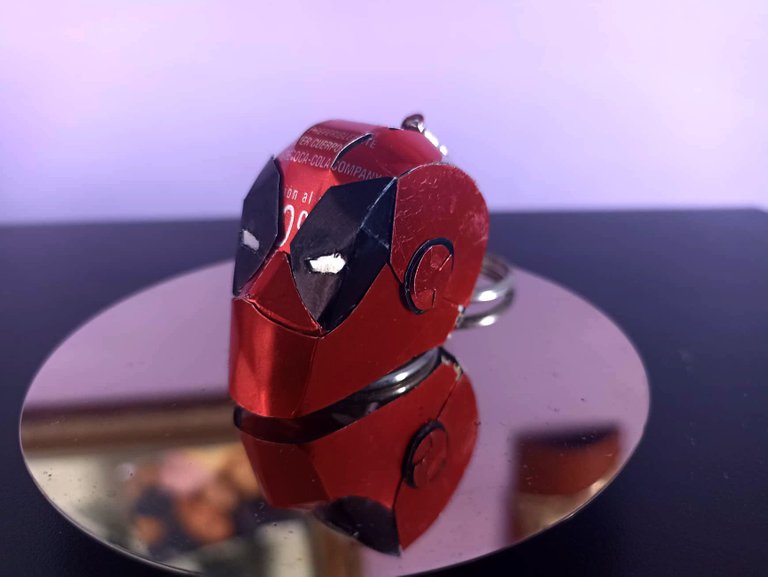
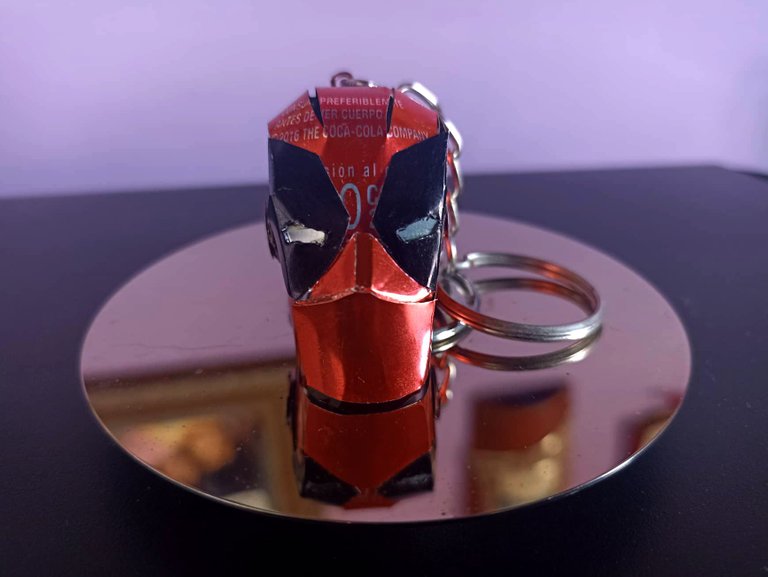
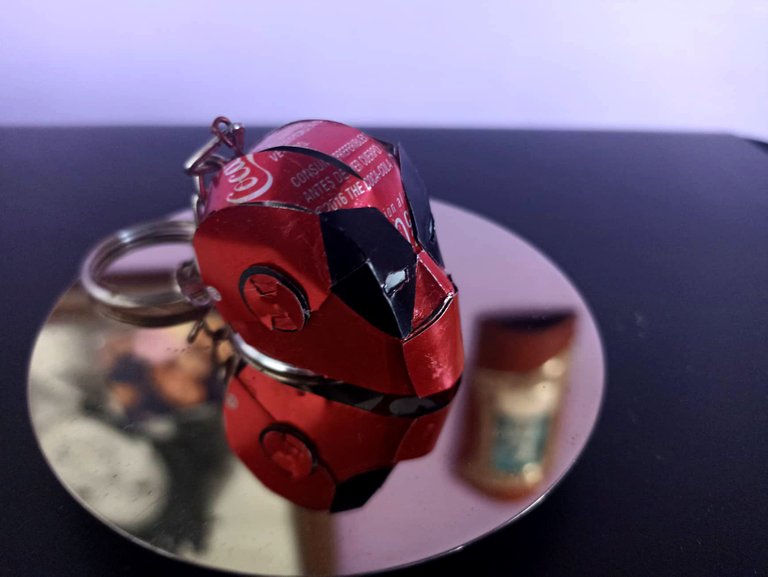
After putting the missing details in order, we have finished the keychain with Deadpool's helmet. At the end I imagined what it would be like to make the complete figure, I think it would be a great challenge, since it would be interesting to see how it turns out, but for this project I would need to collect many cans to do it, but it is something that I will keep in mind, I hope I can share it with everyone your. I hope you liked this simple tutorial, which can also be done in cardboard or plastic, it can also be made in various sizes and even be able to make a lamp. It has many applications. I say goodbye see you soon, do not forget to comment what you think. See you in a new opportunity.
Luego de poner en orden los detalles que faltaban así hemos finalizado el llavero con el casco de Deadpool. Al finalizarlo me imaginaba como sería hacer la figura completa, creo que sería un gran desafío, ya que sería interesante ver como queda, pero para este proyecto necesitaría recolectar muchisimas latas para hacerlo, pero es algo que tendré en cuenta, ojalá pueda compartirlo con todos ustedes. Espero que les haya gustado este sencillo tutorial, que también puede realizarlo en cartulina o en plástico, también puede hacerse de varios tamaños y hasta poder hacer una lámpara. Tiene muchas aplicaciones. Me despido hasta pronto, no olviden comentar que les ha parecido. Nos vemos en una nueva oportunidad.
The rewards earned on this comment will go directly to the people(@fixie) sharing the post on Twitter as long as they are registered with @poshtoken. Sign up at https://hiveposh.com.
Me encantaaaa @fixie 😍
Saludos amigo 💕
awwwww <3 <3 graaaaacias querida amiga de mi corazón. que bueno que te haya gustado..
Un hermoso trabajo... Me encantaaaa🥰.
Lo mejor es ver todo el proceso desde el inicio,desde que fue un boceto hasta el trabajo terminado... 👏🏼👏🏼👏🏼👏🏼.
Mis respetos...
🎆🎇🎉🎊🌧️💐✨🌾🌱🌹🌙🌿🍃🥀⚡🌺☘️🍀🌈🌷⭐🪴🌵🌸🌟💮🌴🌳💫☀️💮☔🌲🌳🌍🌌🌠☄️🏵️🐝🌻🌼🍄🐞🦋💙☕💜🍍🎆🎇🎉🎊
Muchas gracias, siempre trato de enseñar las bases de todo el proceso para que alguien más se anime a hacerlo o a replicarlo con otros materiales. Gracias por tomarte el tiempo para observarlo.
Wow, me dejas impactada con esta gran creación, me encanta cuando recrean personajes u objetos en miniatura o pequeños, y este llavero es un ejemplo ideal, ni siquiera sé como lograste este resultado, la explicación es tan sencilla, pero cuando llegas a la parte de hacerlo (en mi caso) todo se derrumba. Me encantaría ver otros diseños con otros personajes. Saludos!
Los pasos son sencillos, solo hay que tener paciencia para armarlos para que quede bien y no torcido. Con las plantillas uno se ayuda mucho. Por supuesto, así será, verás mas llaveros con otros personajes icónicos..
Excelente trabajo, muy limpio y el resultado genial. Saludos
Hola me alegra que te haya gustado el resultado final. Es algo pequeño pero muy llamativo y muy facil de hacer!
Es otro trabajo genial. Muchas gracias por compartir.
Gracias amigo, saludos!
Me quedé con la boca abierta, te quedó espectacular! 👏👏👍 Sólo una acotación, ten más cuidado con la ortografía 😉 ojalá pronto puedas mostrarnos a Deadpool de cuerpo completo, saludos 🤗😺
la ortografía me queda a veces para el ojete cuando redacto con el celular, aunque me paso como 20 minutos revisando palabras antes de publicar siempre se me escapan algunas.. Pero tendré más cuidado con eso.. Ojalá se de ese proyecto, será un gran desafío!! Saludoos! jeje