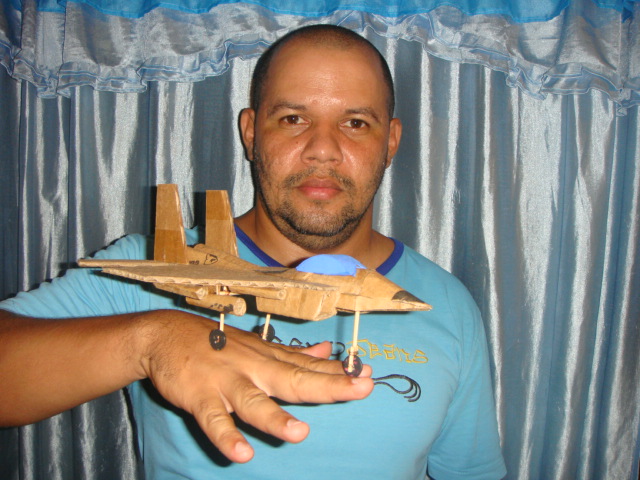
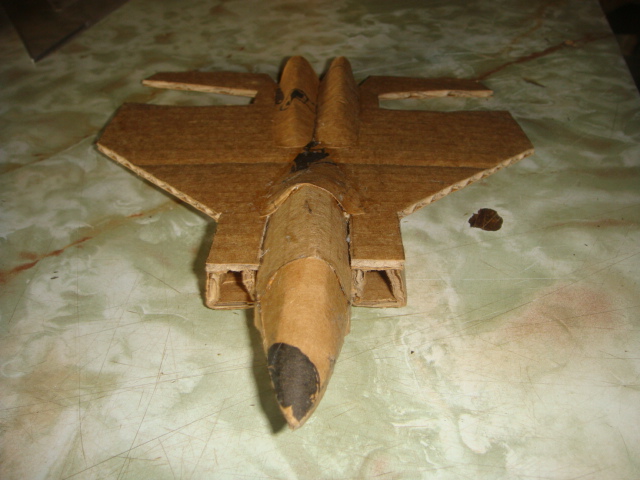
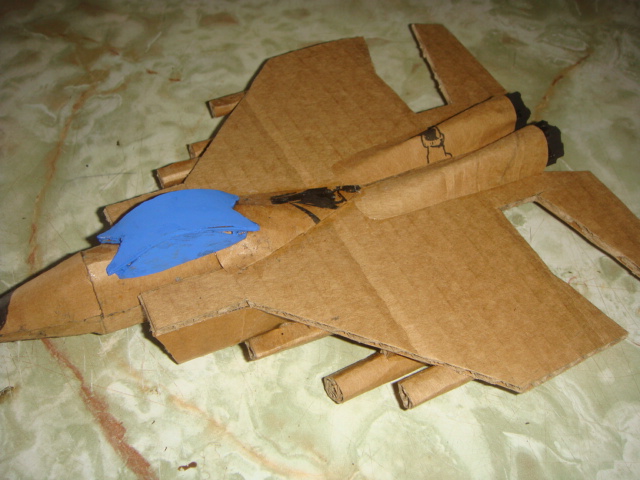
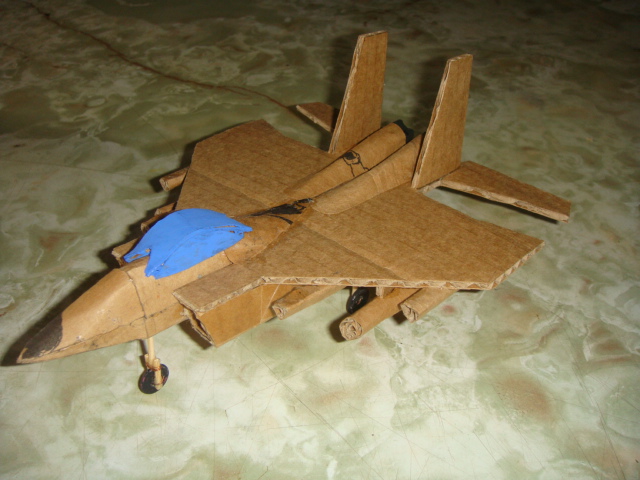
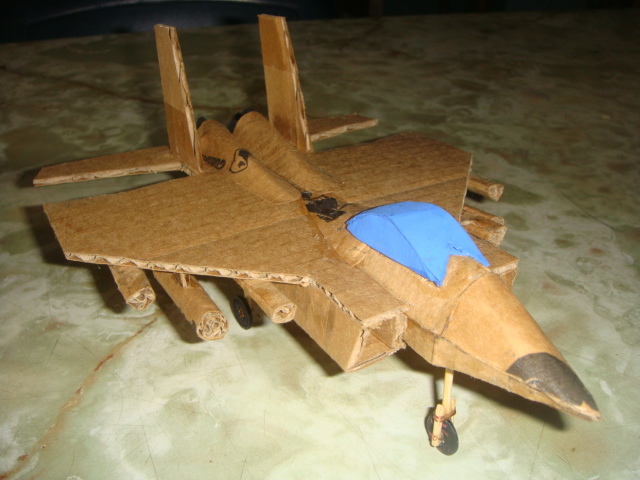
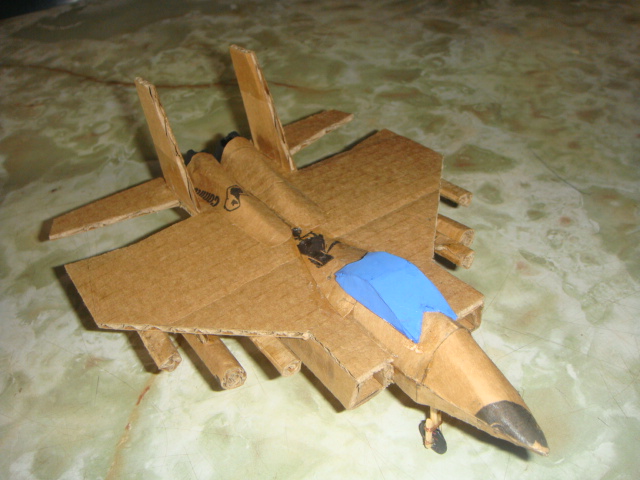
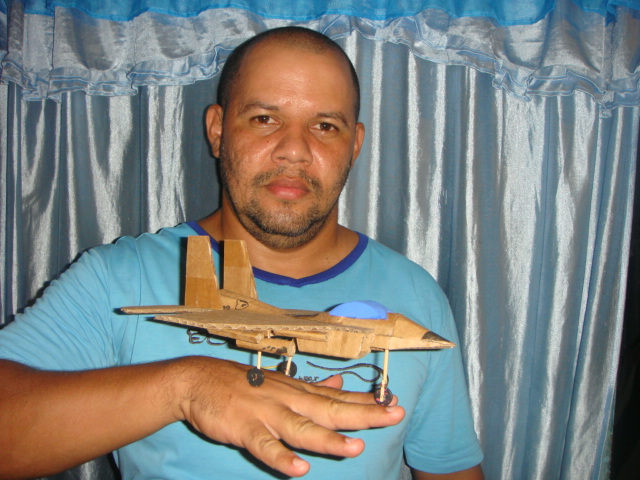
Un cordial saludo amigos de hive, de regreso nuevamente con ustedes esta vez con mi trabajo creativo de hoy que consiste en la elaboración de una pequeña maqueta de un avión de combate f-15, esta misma realizada con material de provecho espero les guste.
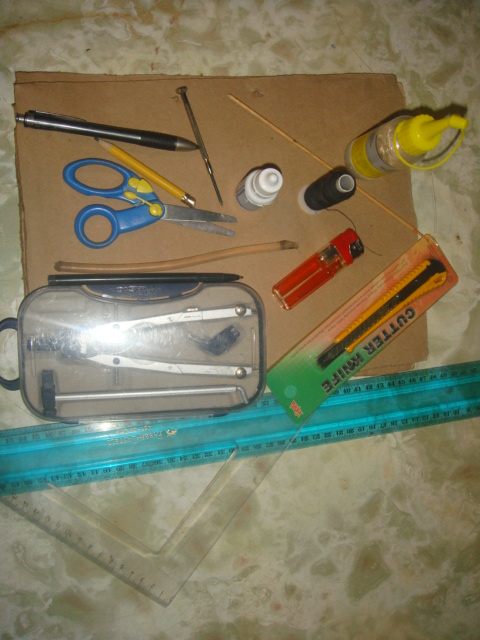
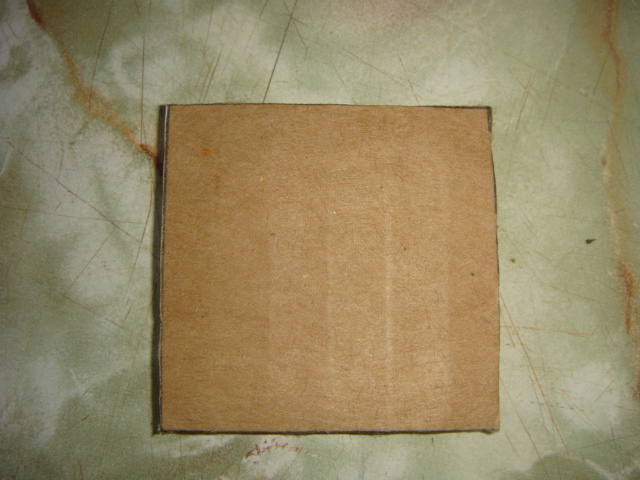
MATERIALESCartón.Silicón.Reglas.Tijeras.Lápices.Yesquero.Exacto.Compas.Palillos de altura.3 botones.Pintura al frio.
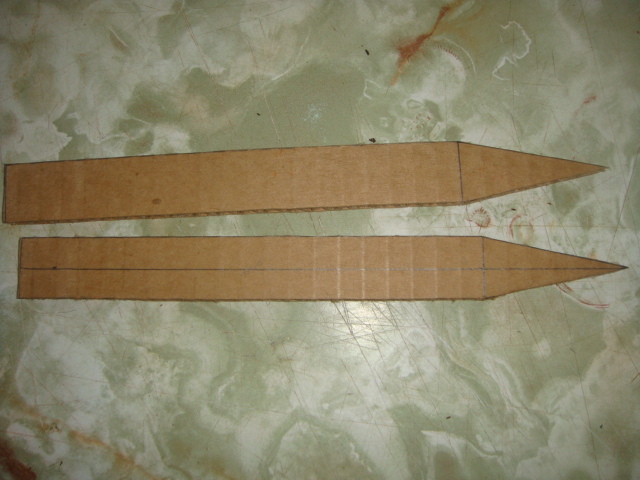
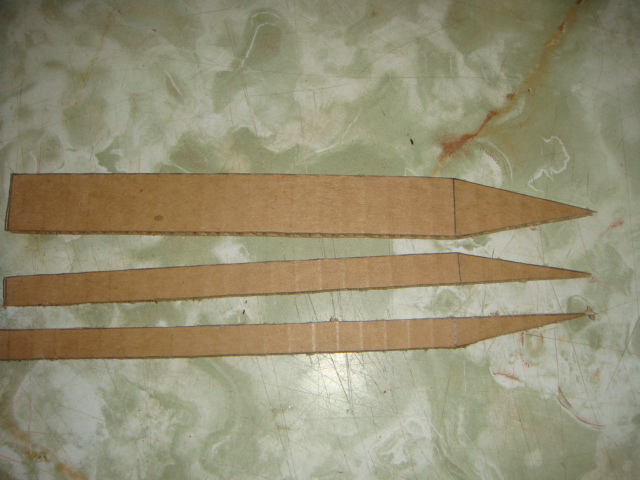
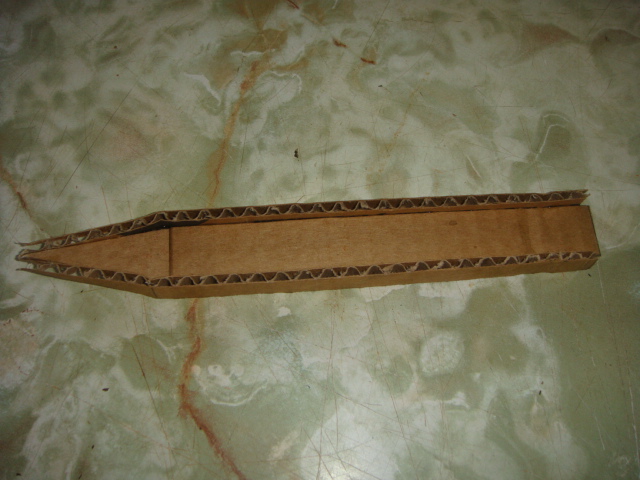
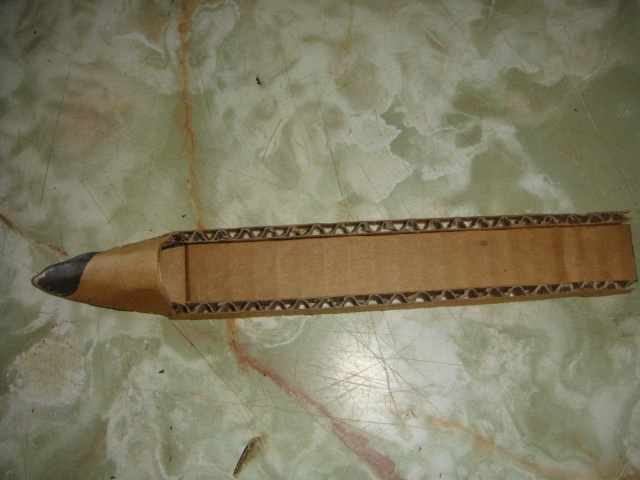
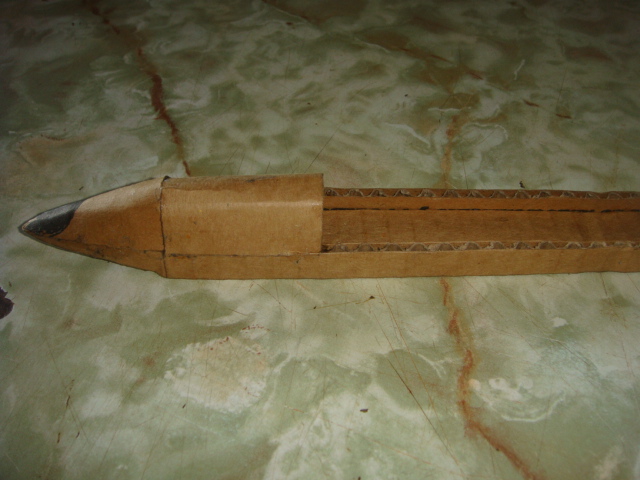
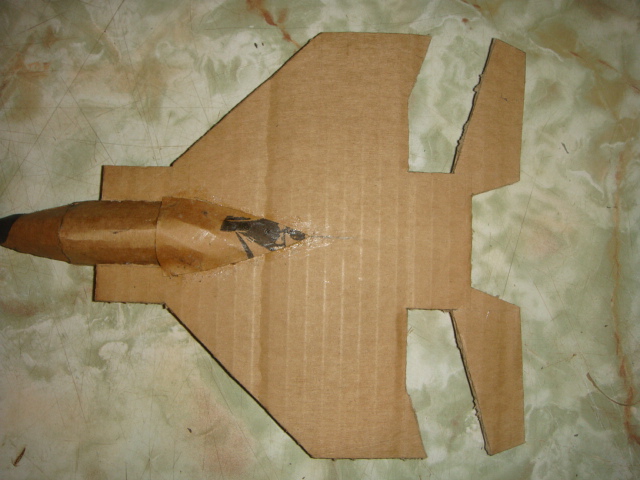
PASO A PASOUtilizando cartón comenzaremos a marcar un par de rectángulos de 20cms de largo por 2cms de ancho esto para hacer el cuerpo base de nuestro avión, ahora marcaremos un triangulo en uno de los extremos de cada rectángulo a 5cms y cortaremos los restantes de los laterales, uno de los rectángulos lo cortaremos a la mitad de manera longitudinal, luego uniremos cada mitad de este a los laterales del que nos quedo entero para formar la base de nuestro avión.
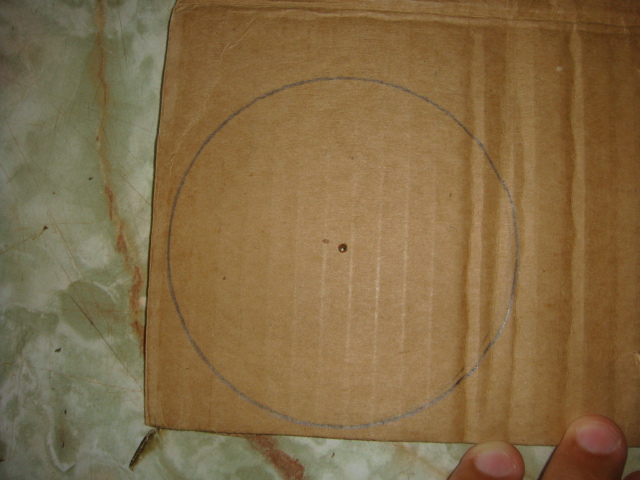
Luego haremos una circunferencia con un radio de entre 5 y 6cms y a esta le cortaremos un cuarto de la misma para hacer la parte superior de la punta o frente de nuestro avión, luego un cuadrado de 4cms para hacer la parte inferior de la cabina.
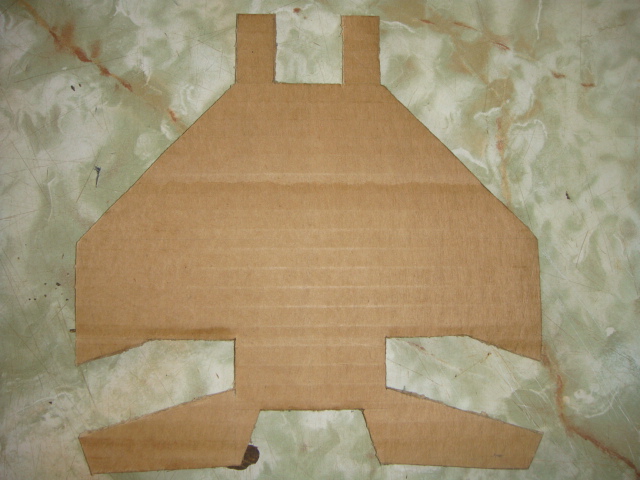
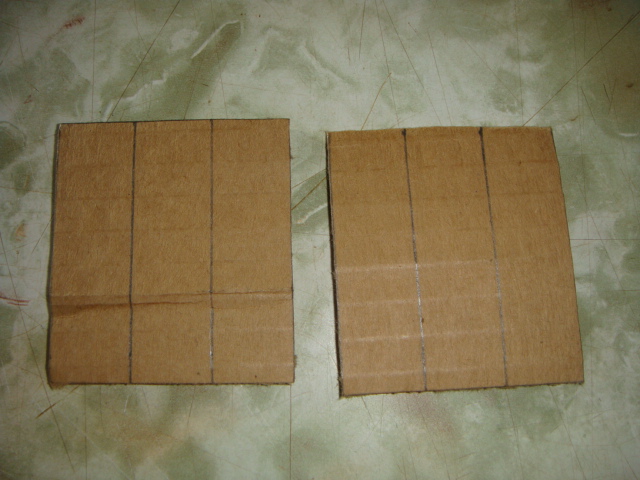
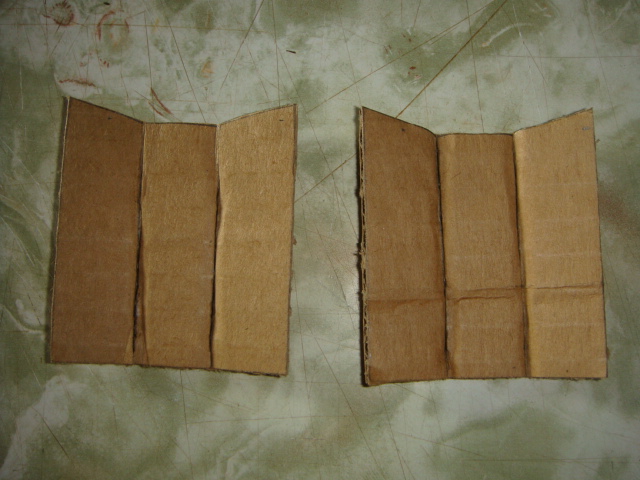
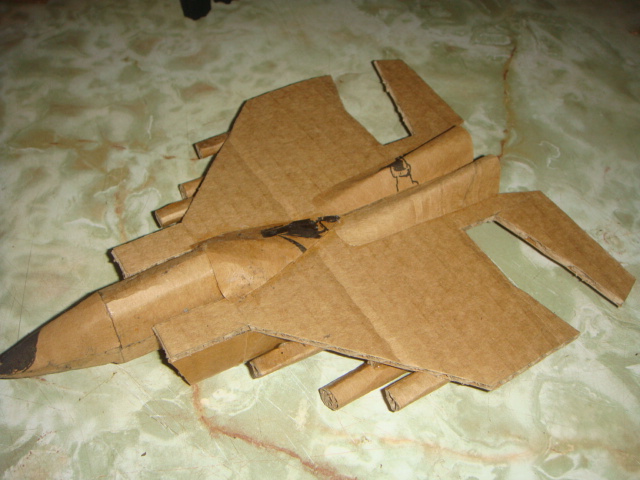
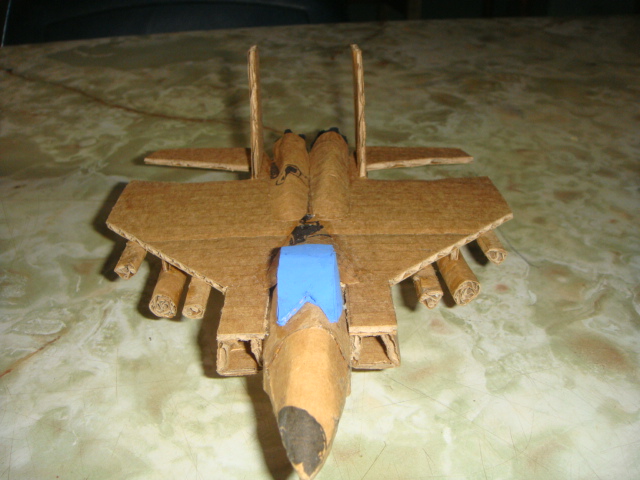
Ahora marcaremos y recortaremos un cuadrado de 20cms para hacer las alas y el resto del cuerpo del avión en el cual irán fijados los difusores, armas, alerones, turbinas, escapes, entre otros detalles, al tener el cuadrado le haremos marcas a dividirlos en cuatros partes iguales y haremos medidas a escala dependiendo del tamaño que deseemos nuestras alas y demás componentes.
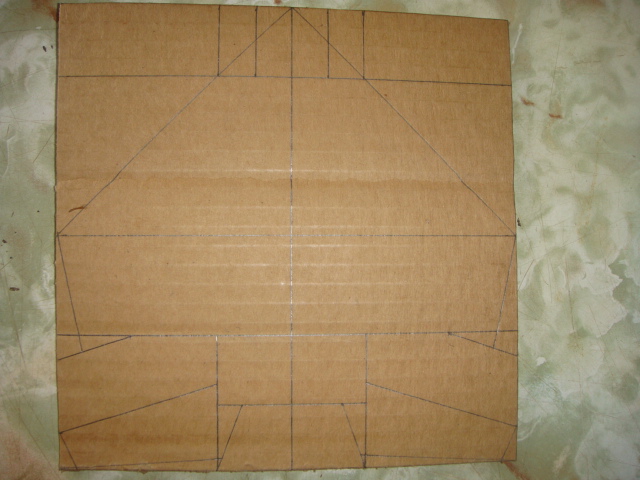
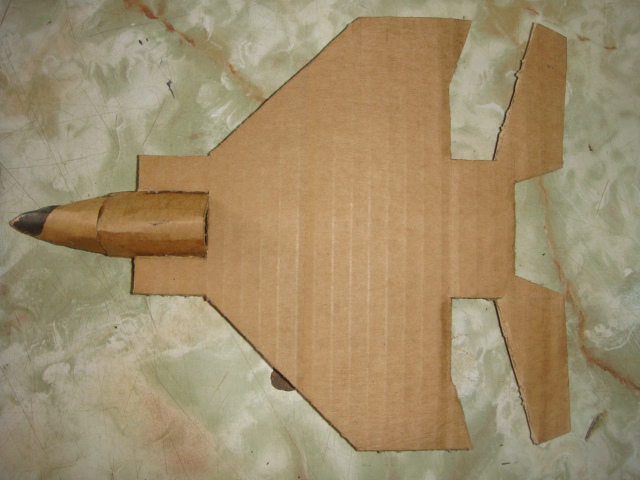
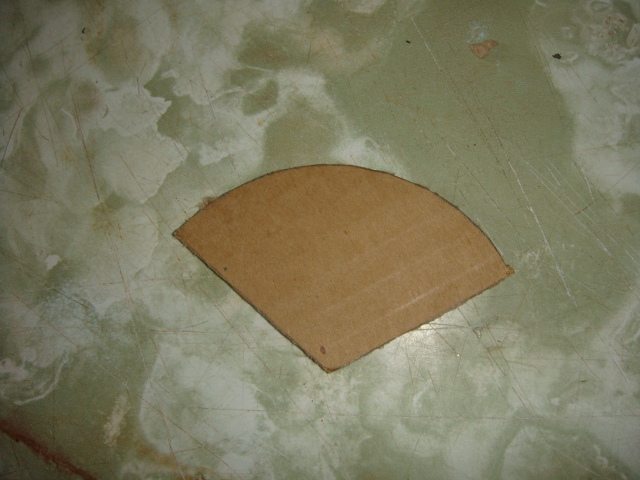
Luego utilizaremos otro cuarto de la circunferencia ya realizada para realizar la punta de nuestro avión y daremos forma más puntiaguda para realizar la parte inferior trasera de la cabina.
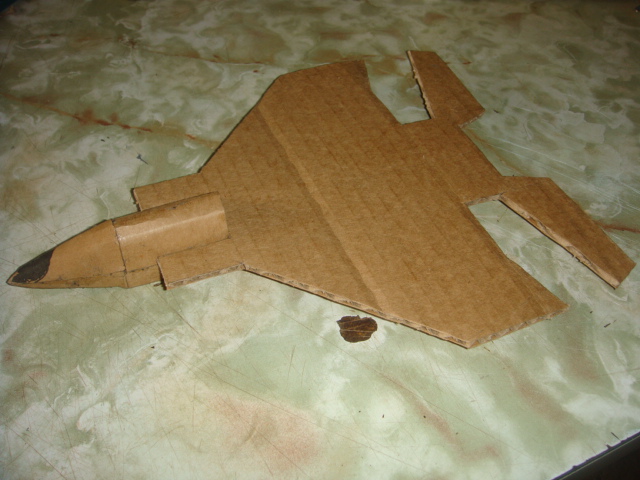
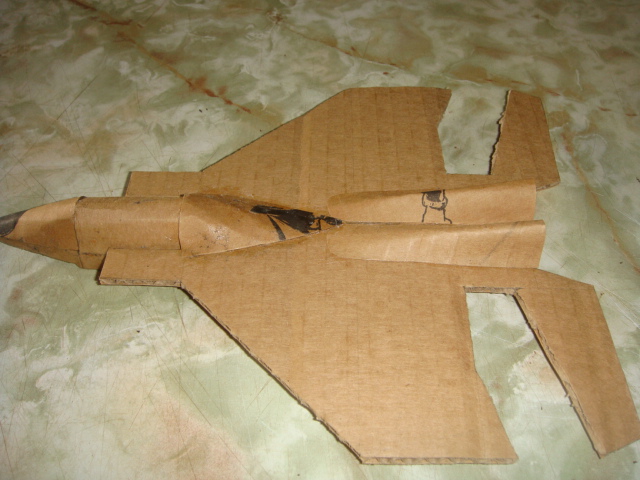
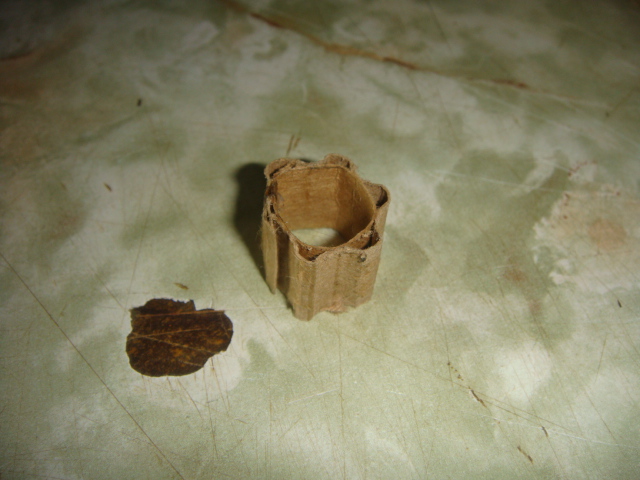
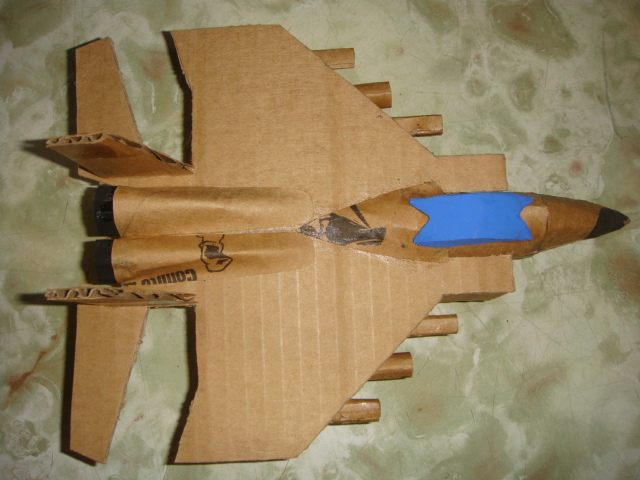
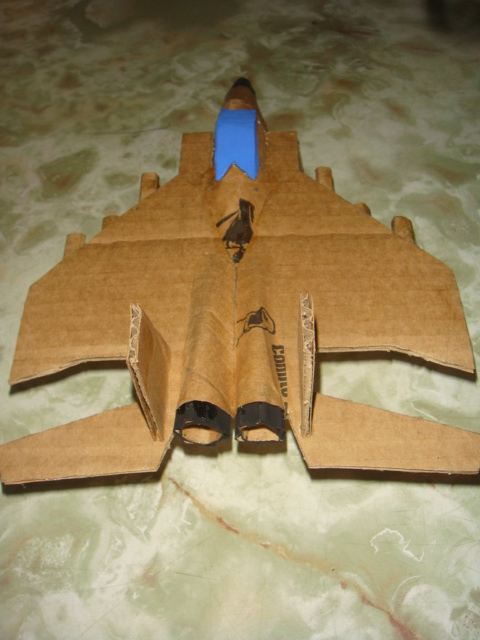
Ahora haremos otra circunferencia con un radio de 8cms y le cortaremos a esta dos cuartos de la misma picados a la mitad y redondearemos las puntas para hacer y fijar las turbinas del avión esto se hará con la cara suave que habíamos despegado de nuestro cartón, y también cortaremos dos tiras 2cms de ancho de cartón al cual se le despego una de sus caras y quedo la parte corrugada expuesta para hacer los escapes de las turbinas estos se harán a la medida dependiendo del tamaño del cual hallemos dejado nuestros motores, para diferenciarlos estos escapes los pintaremos de negro.
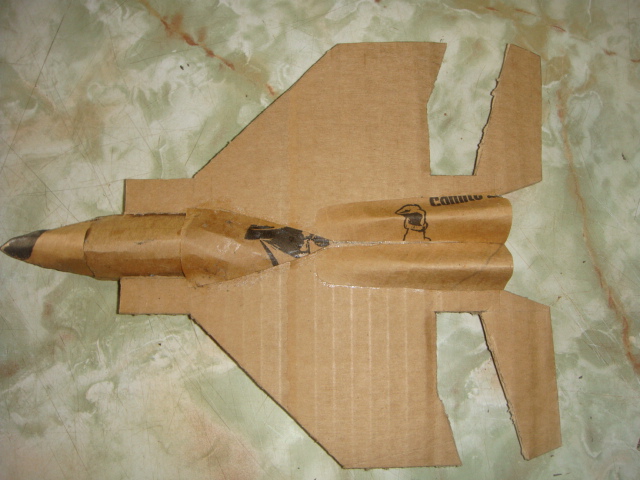
Aquí procederemos a marcar y recortar en nuestro cartón dos rectángulos de 6cms de largos por 5,5cms de ancho para hacer los difusores del avión, entonces doblaremos estos a 2cms de cada lado quedando el centro de 1,5cms y fijaremos a los laterales de nuestro avión por debajo de la cabina del piloto.
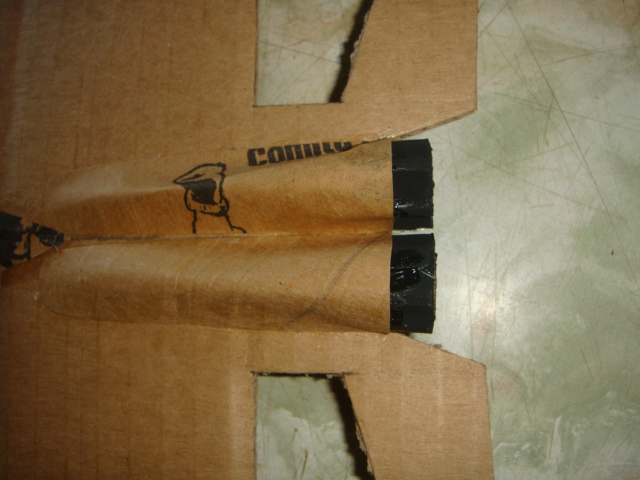
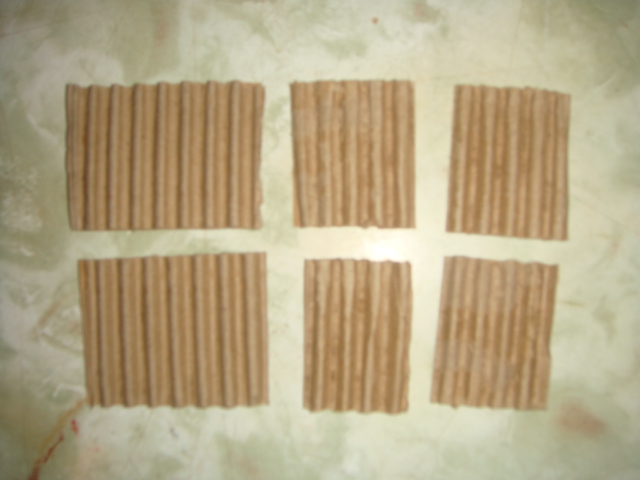
Seguidamente marcaremos en el cartón un rectángulo de 24cms de largo por 4cms de ancho y le quitaremos unas de las caras al cartón para dejarlo con la forma ondulada expuesta, cortaremos dos pedacitos de 6cms cada uno y cuatro pedacitos de 3cms cada uno luego procederemos a enrollar cada uno de esos pedacitos para hacer los misiles de nuestro avión.

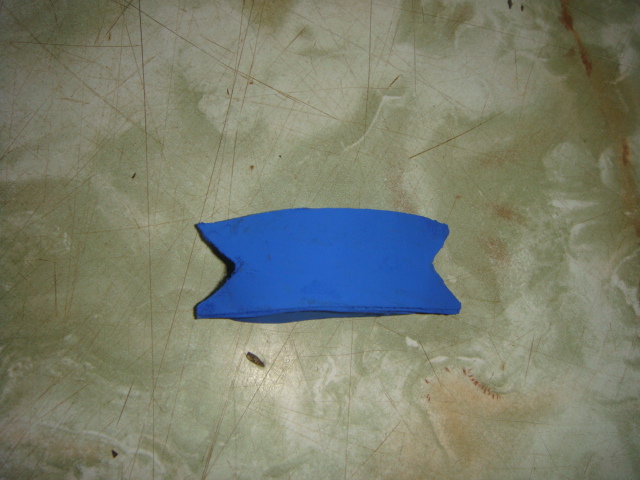
Seguidamente haremos la cabina a medida tomando las medidas de lo ancho que nos quedo la parte central de nuestro avión, para ello cortaremos una tira de cartón de 6cms la largo y por 2,5cms de ancho y y fijaremos a dos piezas en forma de semi-circulo de 2cms de alto para hacer los laterales y por ultimo pintaremos de azul y fijaremos a la parte central de nuestro avión y ya estará lista la cabina.
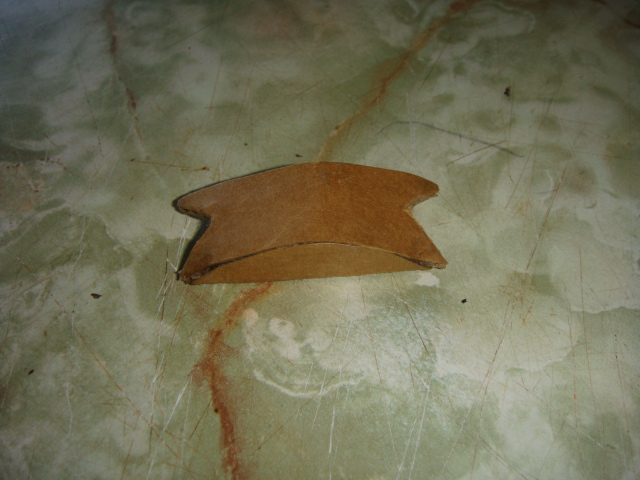
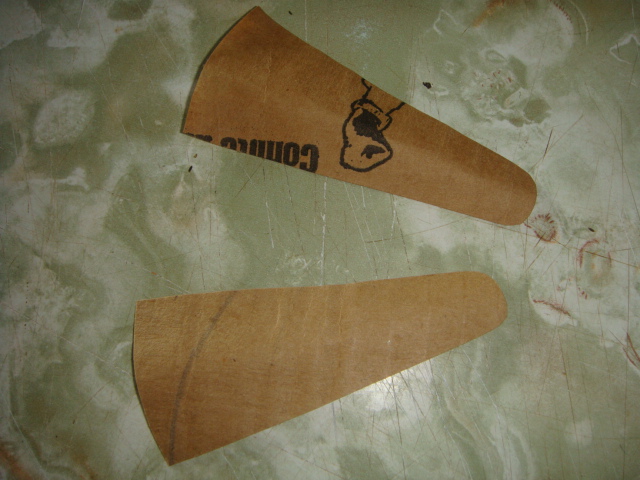
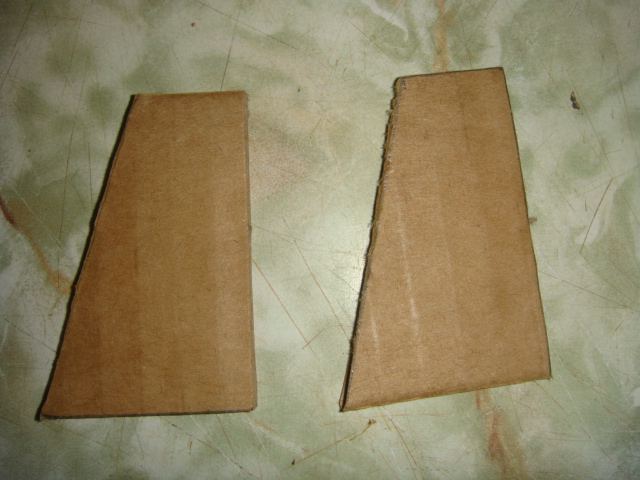
Luego cortaremos dos sesiones de 4cms de ancho por 6cms de largo y haremos un corte en reducción a la sesión ancha a 2cms para hacer las alas traseras con alerones.

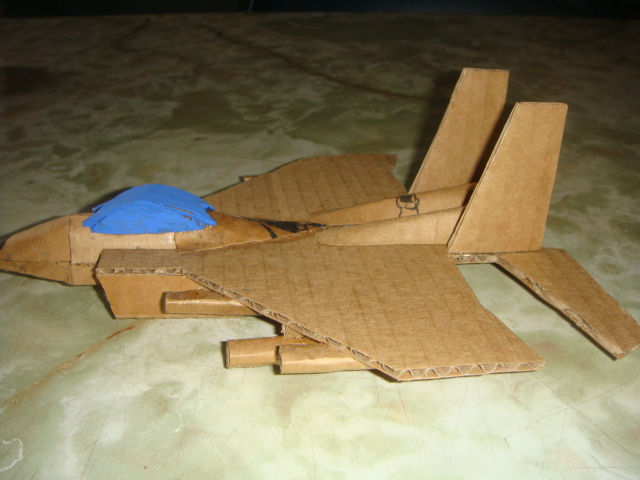
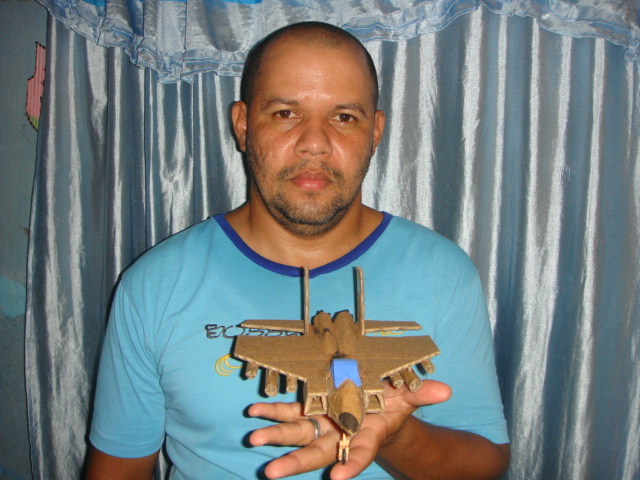
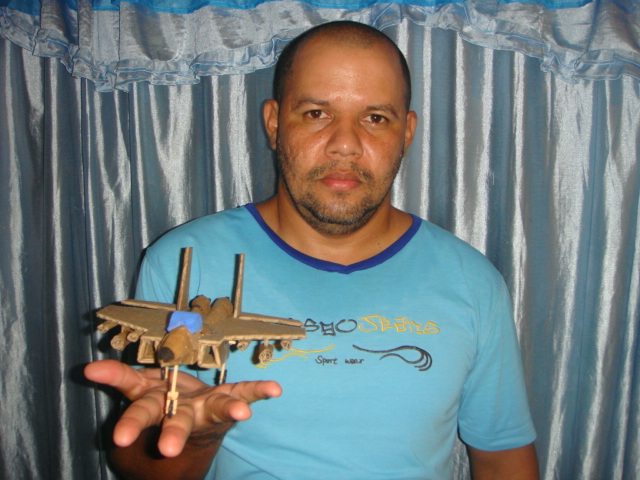
Y por ultimo haremos el tren de aterrizaje con los palillos de altura y los botones, la altura de la misma quedara a gusto de cada quien, aquí fijaremos los botones a los extremos de los palillos de altura y estos a su vez a la parte inferior de nuestro avión y ya tendremos listo nuestro avión de combate F-15, espero les allá gustado y los disfruten, saludos, hasta la próxima.

Excelente trabajo amigo
gracias
Congratulations @hectorher! You have completed the following achievement on the Hive blockchain and have been rewarded with new badge(s) :
Your next target is to reach 600 upvotes.
You can view your badges on your board and compare yourself to others in the Ranking
If you no longer want to receive notifications, reply to this comment with the word
STOPEres un artista! El
Avión tiene muchos detalles! Te quedó fantástico!
muchas gracias me alegra que le alla gustado