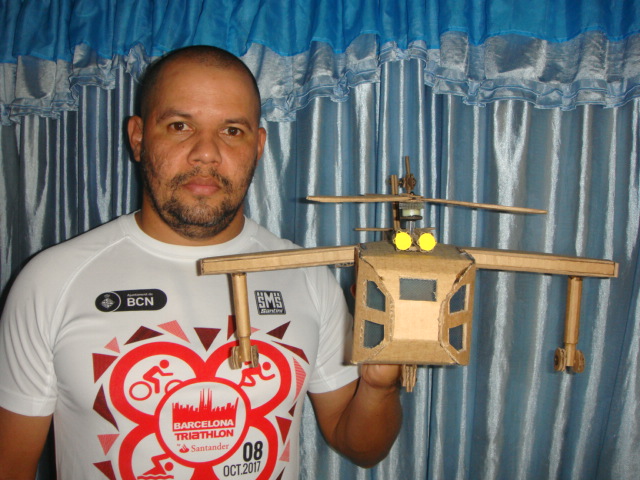
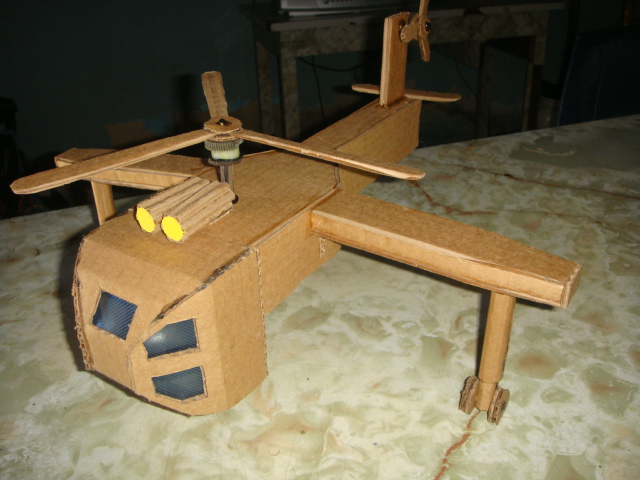
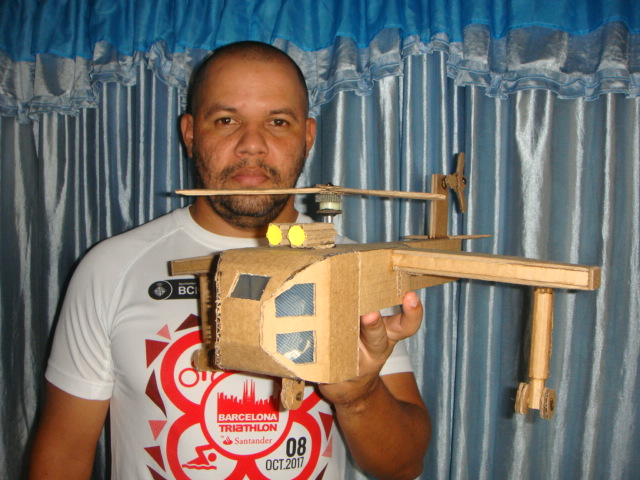
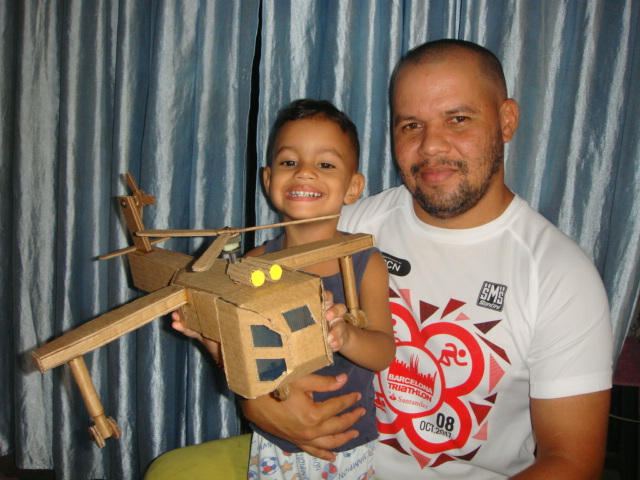
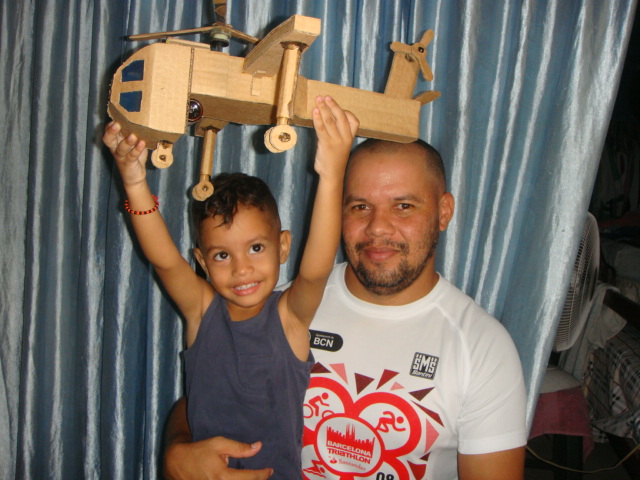
Un cordial saludo amigos de hive, nuevamente con ustedes esta vez con mi trabajo creativo de hoy que consiste en la elaboración de una réplica a escala de un helicóptero de carga, esta misma realizada con material de provecho espero les guste.
MATERIALESCartón.Silicón.Reglas.Tijeras.Lápices.Yesquero.Exacto.Compas.Palillos de altura.
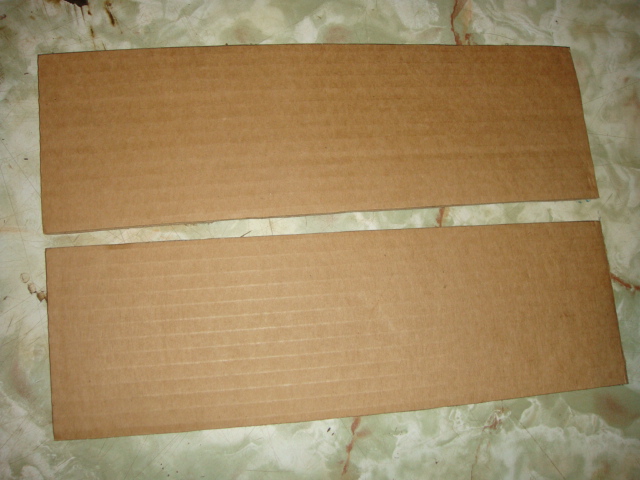
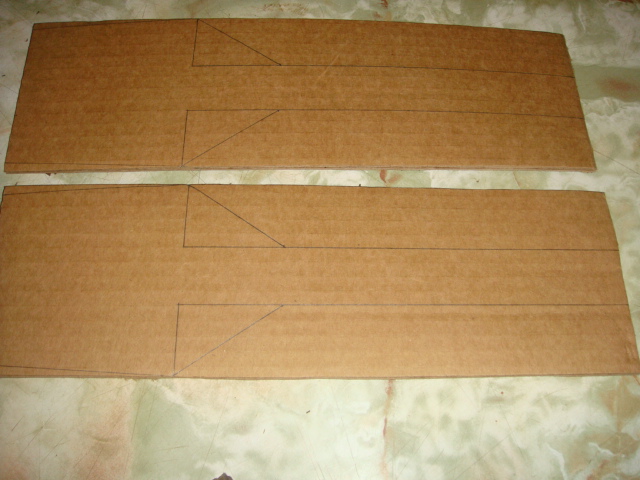
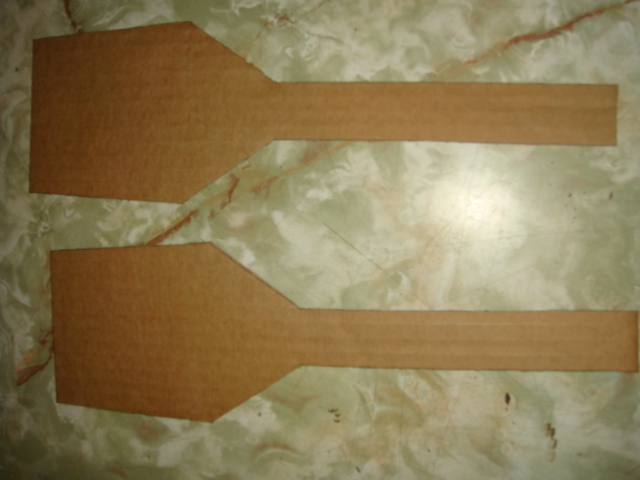
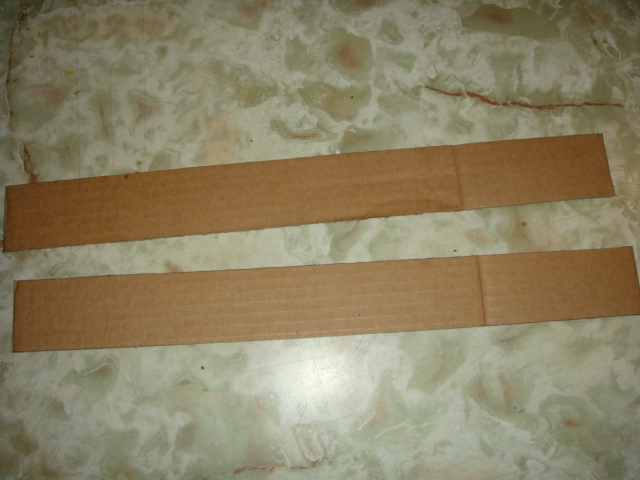
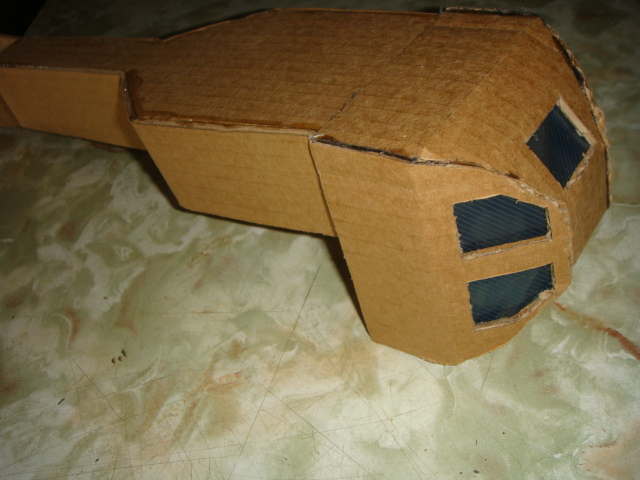
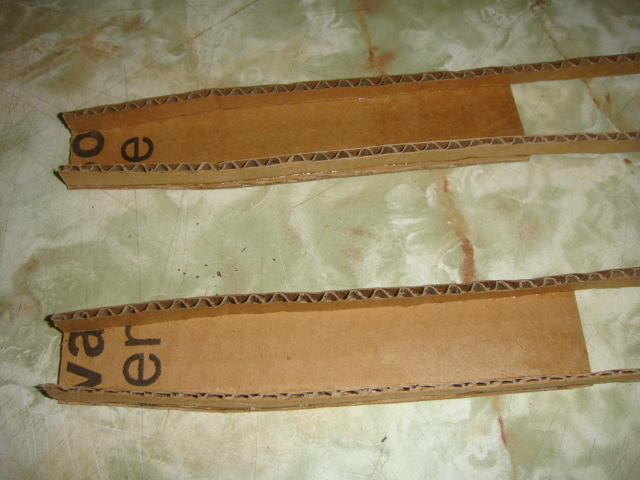
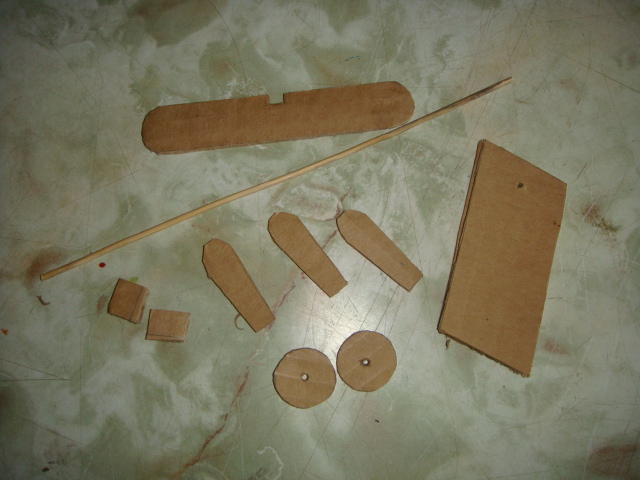
PASO A PASOUtilizando cartón comenzaremos a marcar un par de rectángulos de 10cms de ancho por 30cms de largo esto para hacer el cuerpo base de nuestro helicóptero, y en estos marcaremos el modelo del cuerpo del helicóptero y recortaremos.
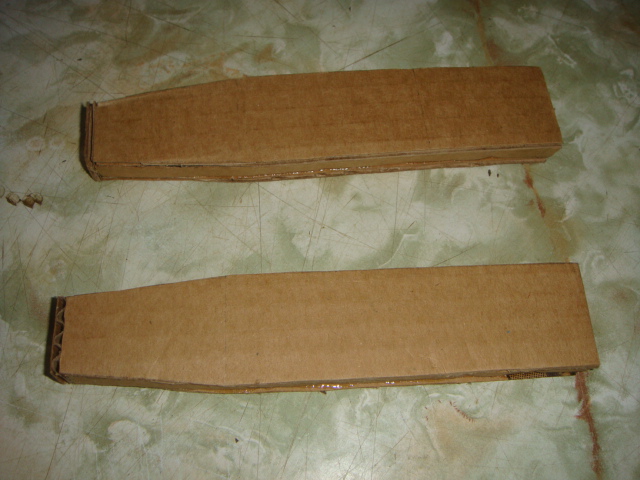
Ahora recortaremos dos rectángulos de 5cms de ancho por 35cms de largo para formar y cerrar el cuerpo del helicóptero.
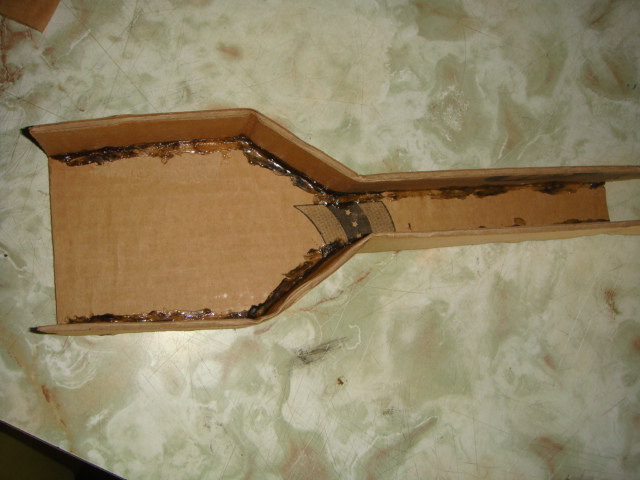
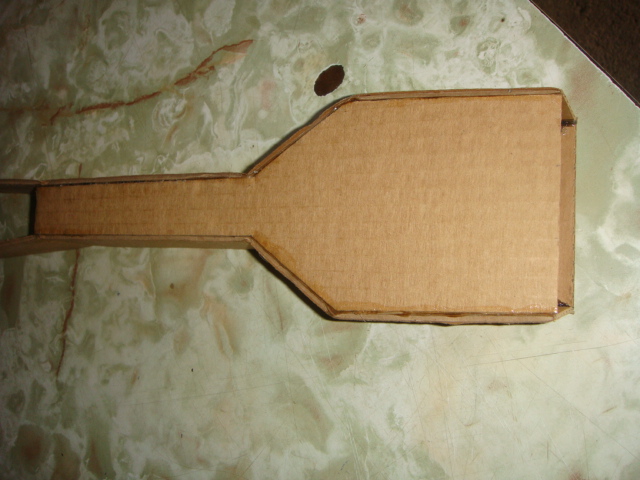
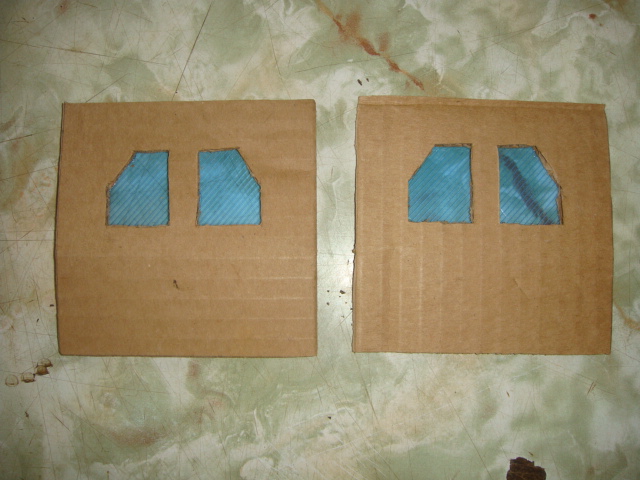
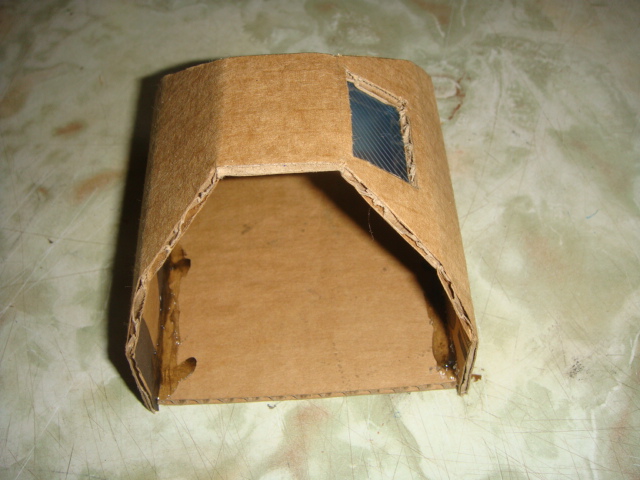
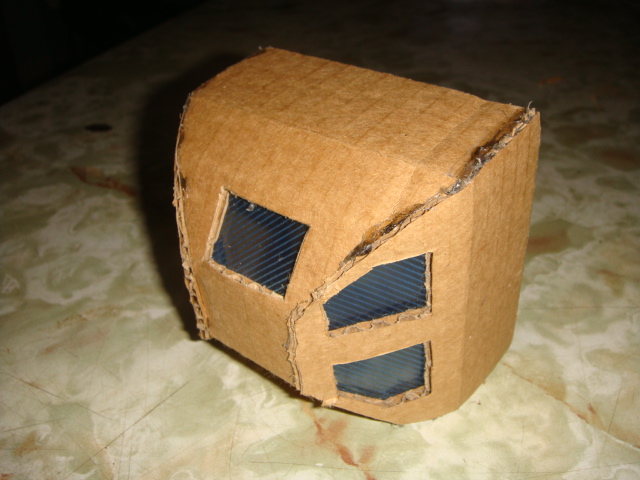
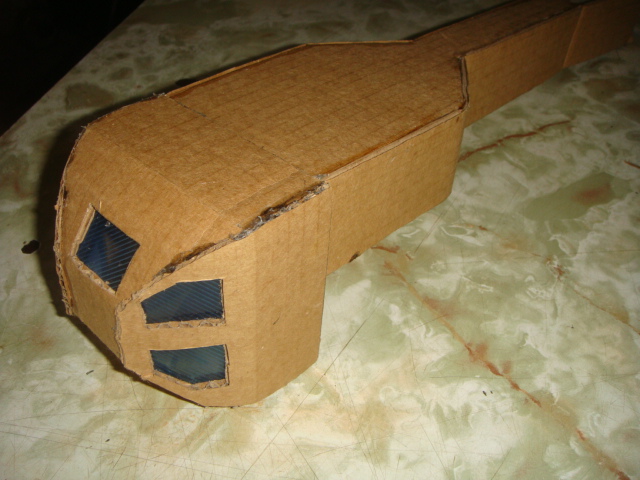
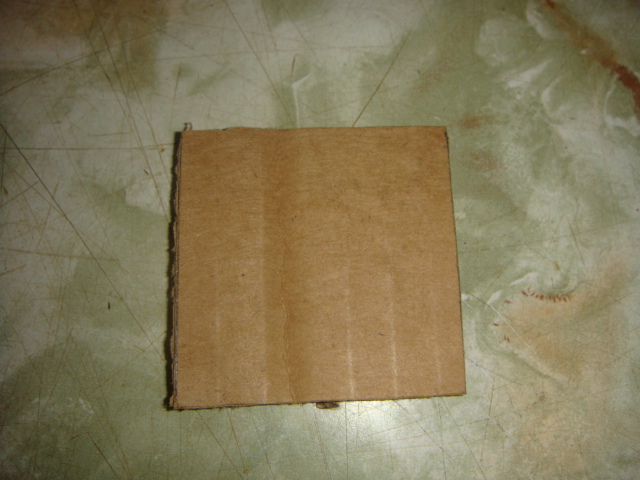
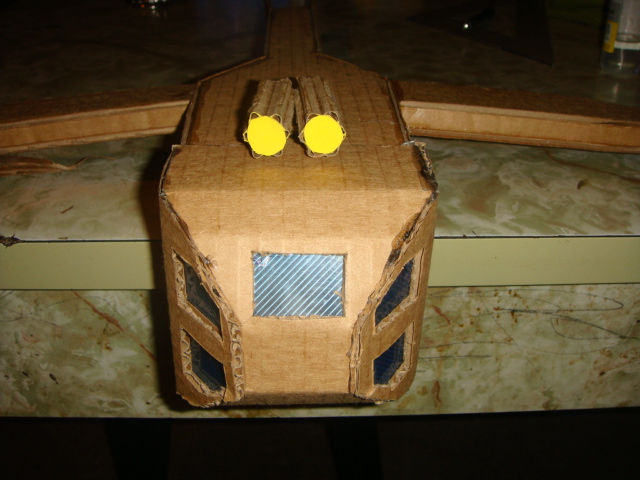
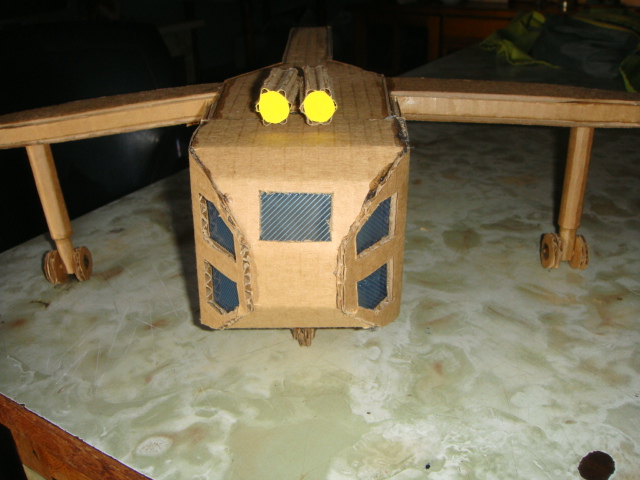
Luego marcaremos un cuadrado de 10x10cms para la base de la cabina y dos más de 10x10cms para los laterales de la misma en los cuales marcaremos y recortaremos las ventanas, y un rectángulo de 10cms de ancho por 20cms de largo para el frontal de la cabina y el parabrisas de la misma, las cuales ventanas y parabrisas cubriré con acetato para simular el vidrio, y luego uniremos esta al cuerpo del helicóptero.

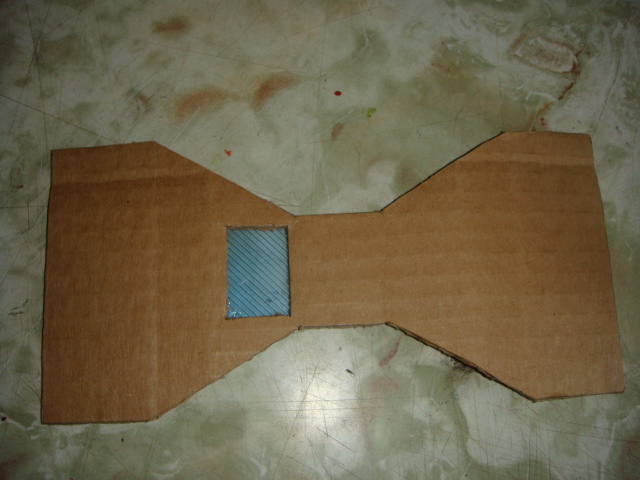
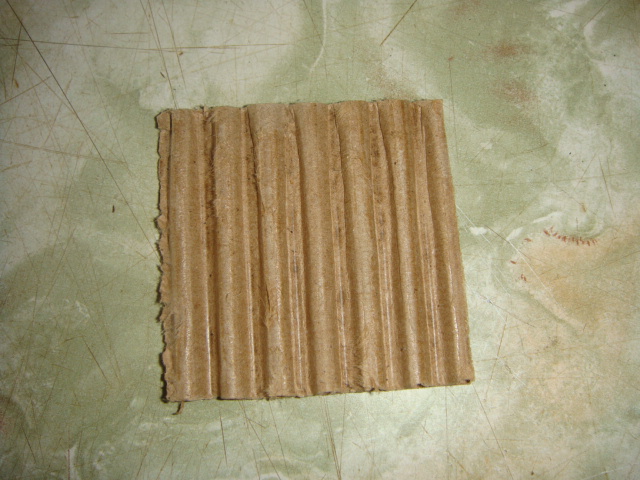
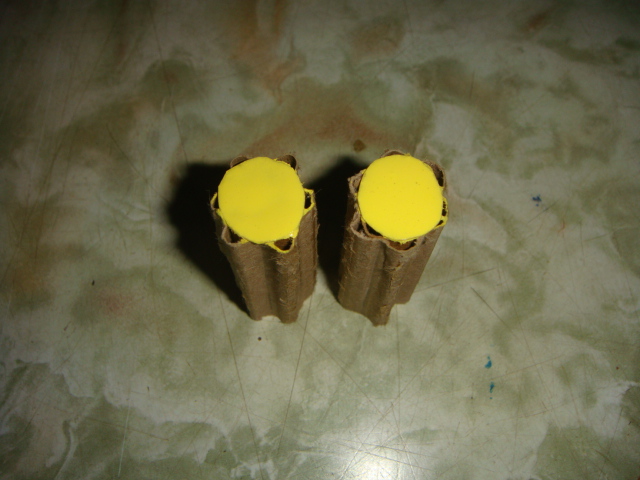
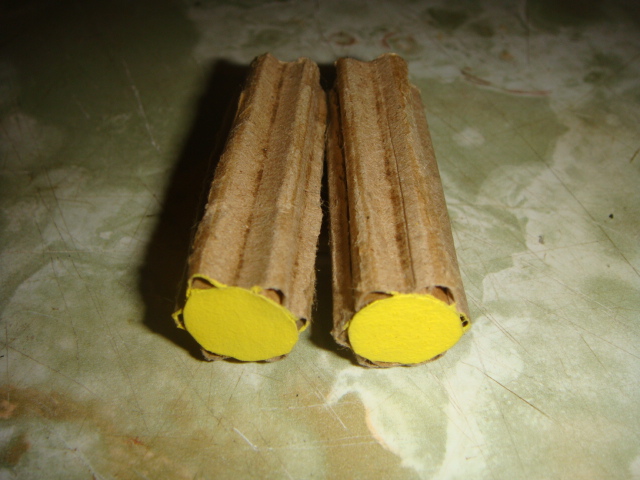
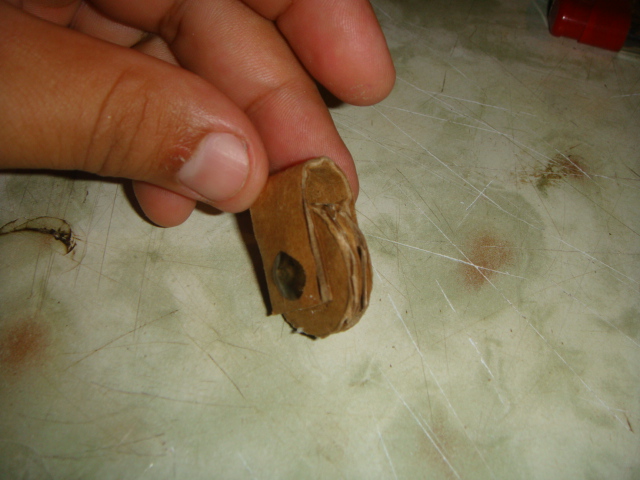
Ahora marcaremos y recortaremos 4 rectángulos de 13cms de largo por 4 cms de ancho y 4 rectángulos de 13cms de largo por 1,5cms de ancho para los laterales de las alas y poder cerrar las mismas, también recortaremos 2 cuadrados de 6x6cms y le quitaremos una de las caras al cartón para hacer los motores.

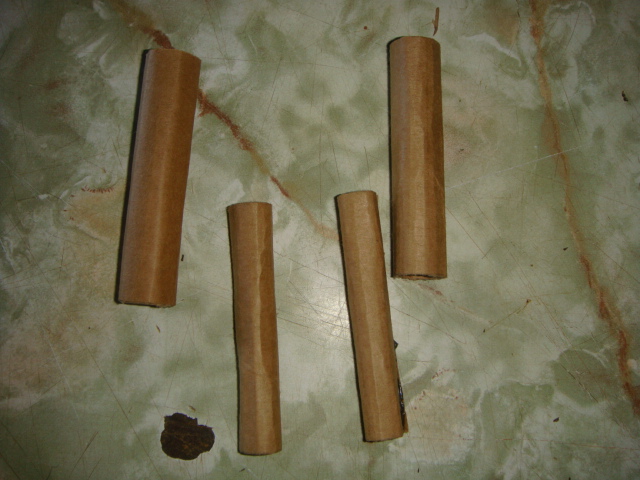
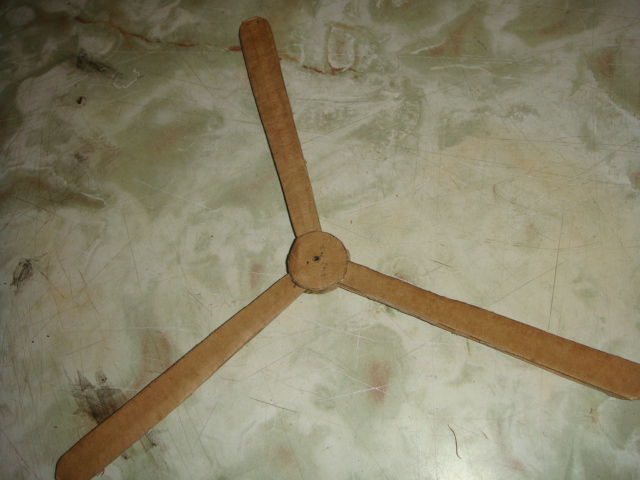
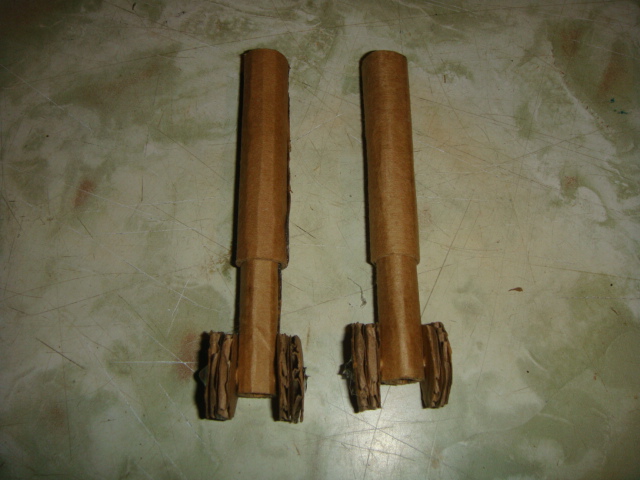
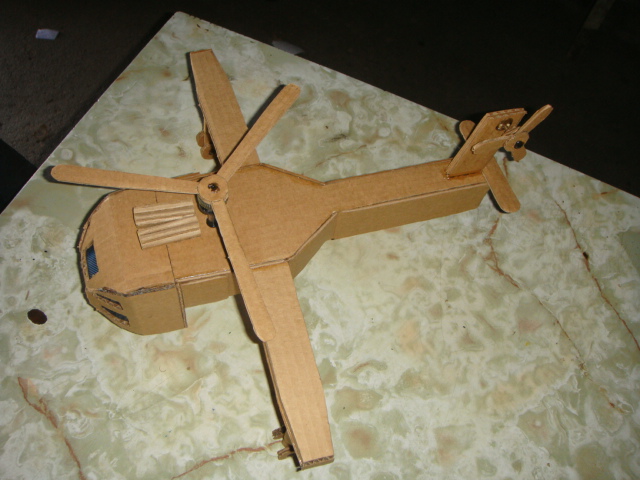
Seguidamente haremos pequeños tubos para hacer el tren de aterrizaje de nuestro helicóptero y sus respectivas ruedas, y recortaremos también tres rectángulos de 13cms de largo por 1,5 de ancho con reducción a 1cms para hacer el rotor principal.
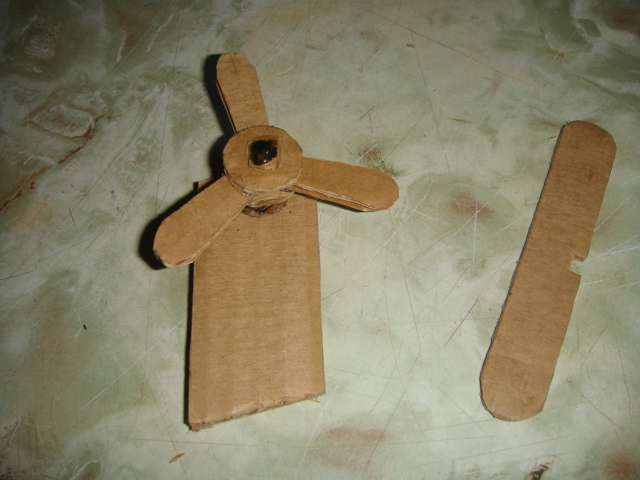
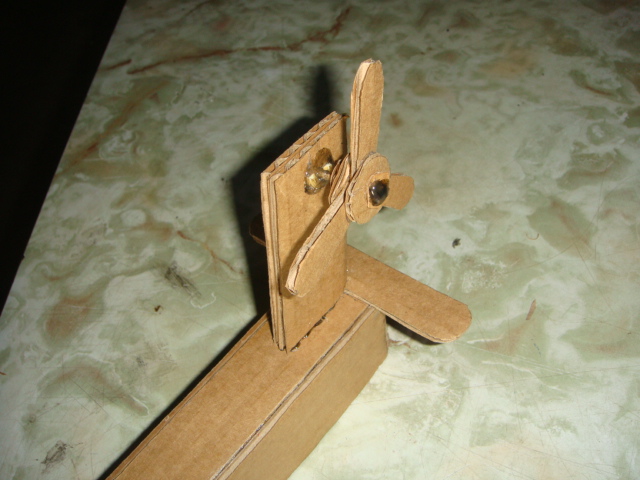
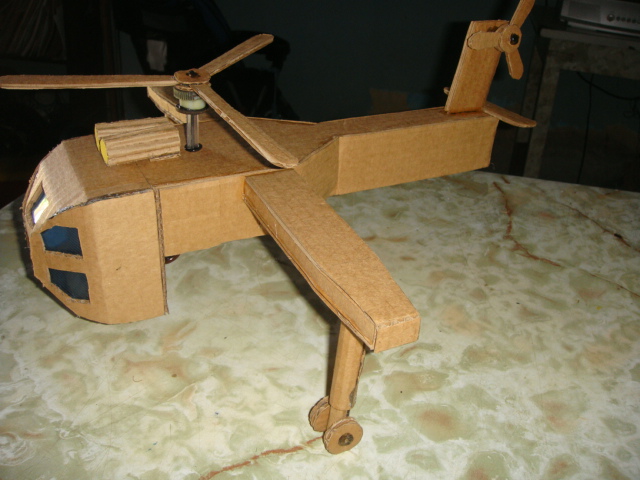
Y ya para terminar haremos el rotor trasero el cual recortaremos tres rectángulos de 5cms de largo y 1,5cms de ancho con reducción a 1cms, y la base de este un rectángulo de 9cms de alto por 4cms de ancho y un alerón estabilizador de 10cms de largo por 2cms de ancho y fijaremos todo y ya tendremos nuestro helicóptero listo, espero les allá gustado, saludos hasta la próxima.
Tremenda nave hiciste... Que modelo es?