Saludos amigas y amigos, les deseo un hermoso día y feliz inicio de semana, con las pilas recargadas para emprender nuevas aventuras, con buena vibra.
Greetings friends, I wish you a beautiful day and a happy beginning of the week, with batteries recharged to undertake new adventures, with good vibes.
Acá les presento mi nueva aventura.
Here is my new adventure.
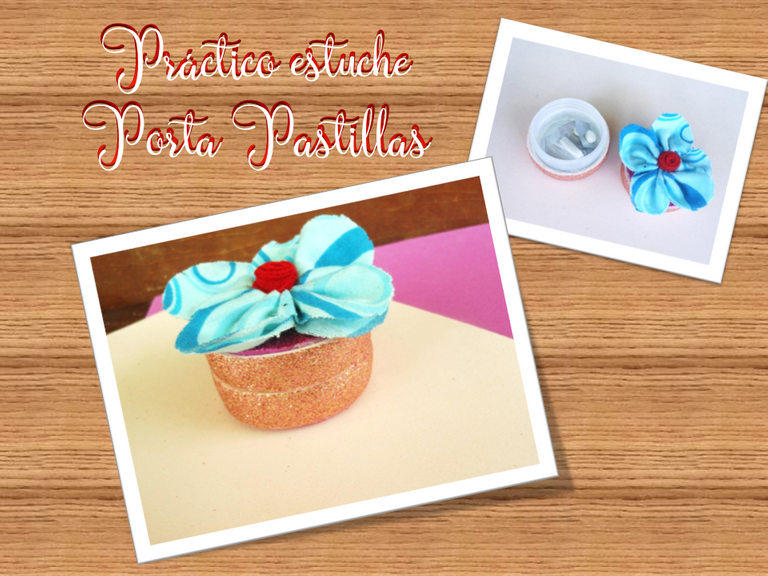
Hoy les traigo un Práctico estuche Porta Pastillas, esta idea surge por la necesidad de cargar siempre en el bolso pastillas para el dolor de cabeza o antialérgicos.
Yo sufro de jaquecas y una de mis hijas heredo ese mal también, no es algo que nos de seguido, pero puede pasar a causa de saltarnos el almuerzo, estrés o consumir muchos lácteos, en fin, cada uno tiene diferentes detonantes de las jaquecas y es por eso que no puede faltar en nuestro bolso los analgésicos.
Today I bring you a Practical Pill Case, this idea comes from the need to always carry in the bag pills for headaches or allergy.
I suffer from headaches and one of my daughters inherited this disease too, it is not something that happens often, but it can happen because of skipping lunch, stress or consuming a lot of dairy products, in short, everyone has different triggers of headaches and that is why you can not miss in our bag painkillers.
Cuando las cargamos sueltas en el bolso se maltratan y hasta se rompe la envoltura, lo cual es malo, ya que se contamina el medicamento y tendríamos que desecharlo.
A causa de una necesidad, surgen las idea y creación de soluciones, y como debemos ser prácticos y resolver con lo que tenemos a nuestro alcance, aquí en donde aprovechamos al máximo los materiales y colaboramos con el medio ambiente.
When we carry them loose in our bag, they get damaged and even the wrapping breaks, which is bad, since it contaminates the medicine and we would have to throw it away.
Because of a need, the idea and creation of solutions arise, and as we must be practical and solve with what we have within our reach, this is where we make the most of the materials and collaborate with the environment.
Vamos a iniciar esta manualidad, por acá tenemos los materiales que utilizaremos:
Let's start this craft, here are the materials we will use:
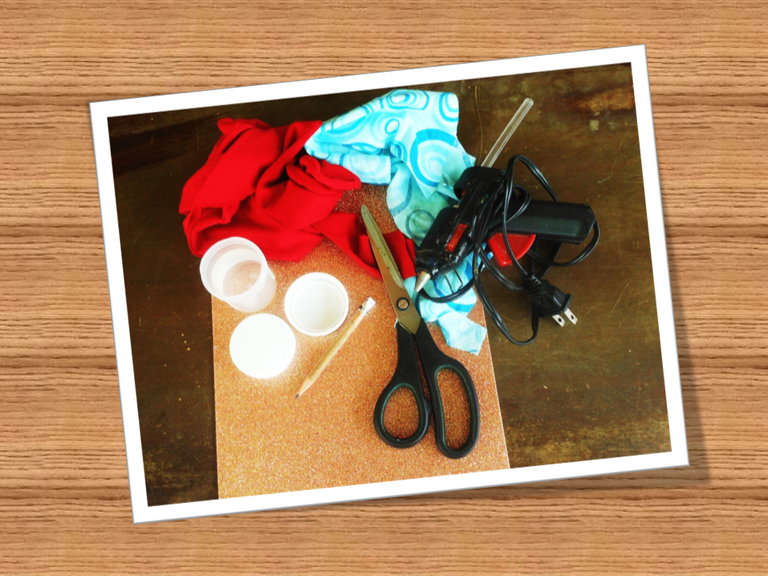
- Envases de pintura, vacío
- Foami
- Tela
- Tijera
- Pistola de silicón
- Silicon
- Lápiz
- Paint containers, empty
- Foami
- Fabric
- Scissors
- Silicone gun
- Silicone
- Pencil


Iniciemos, tomamos el envase y procedamos a marcar con una línea punteada la zona por donde vamos a cortar, como el material es suave, se corta muy fácil.
Let's start, we take the container and proceed to mark with a dotted line the area where we are going to cut, as the material is soft, it is very easy to cut.
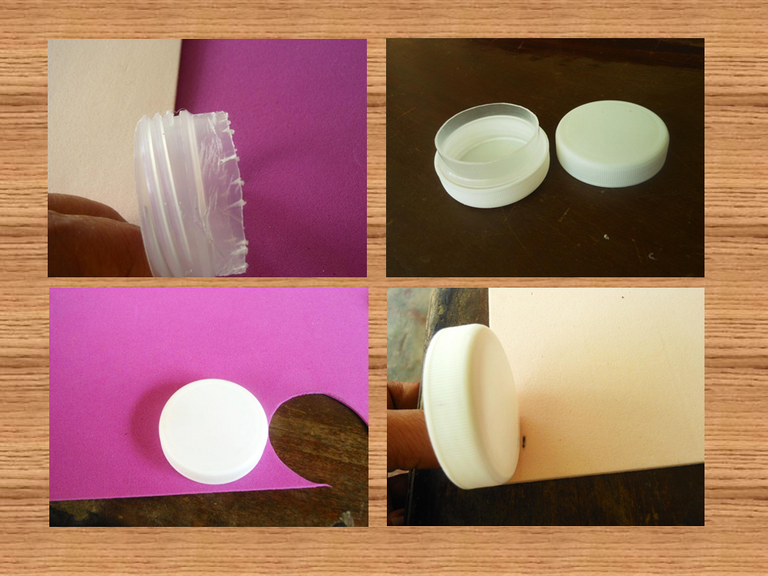
Como el plástico es muy liso, es necesario que le realicemos una serie de rayas con la punta de un cuchillo, tanto a la superficie de las tapas como a la parte que cortamos, para así lograr que se agarre mejor el silicón. Como se ve en las imágenes y pegamos una de las tapas a la parte que no tiene rosca, y listo ya tenemos nuestro potecito.
Since the plastic is very smooth, it is necessary to make a series of stripes with the tip of a knife, both on the surface of the lids and on the part we cut, so that the silicone grips better. As shown in the pictures and glue one of the lids to the part that has no thread, and ready we have our little pot.
Tomamos la tapa como medida, para marcar en el foami los círculos que cubrirán la superficie de ambas tapas. Podemos tomar como referencia en ancho de la tapa para sacar la medida de las tiras que irán cubriendo el borde de ambas tapas.
We take the lid as a measure to mark on the foami the circles that will cover the surface of both lids. We can take as a reference the width of the lid to measure the strips that will cover the edge of both lids.
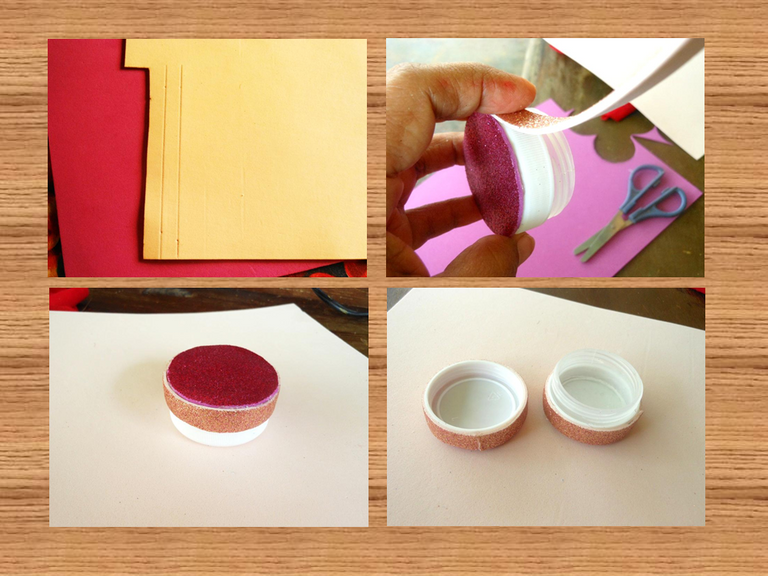
Ya tenemos marcadas las tiras en el foami; después de que hallamos pegado el foami que sobre las tapas, procedemos a recortar la tiras y pegamos primero la que irá en la tapa que va enroscada y por último la de abajo, tal como se ve en las imágenes. Listo ya tenemos la primera fase lista.
We have already marked the strips on the foami; after we have glued the foami on the lids, we proceed to cut the strips and glue first the one that will go on the twisted lid and finally the one below, as shown in the pictures. There we have the first phase ready.
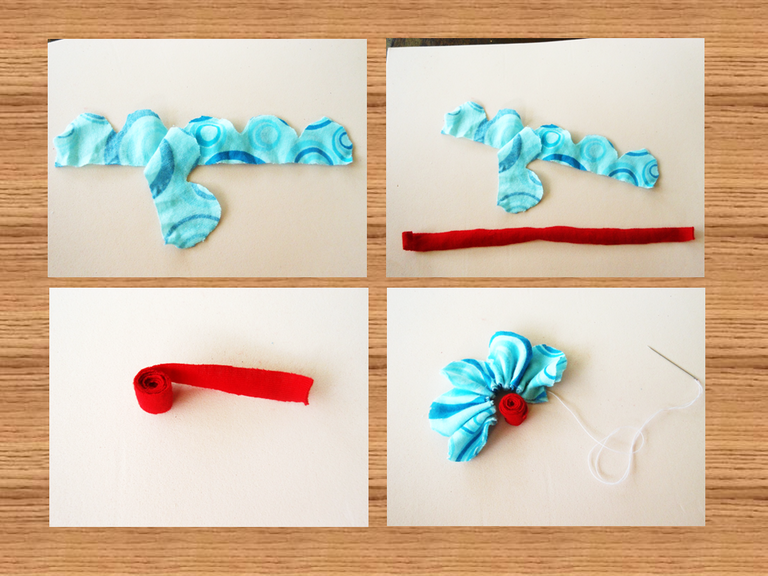
Ahora haremos un adorno para dar un toque final a nuestro envase. Procedemos a recortar dos tiras onduladas para hacer una flor de doble pétalo y la tira que será el centro de la flor.
Now we will make an ornament to give a final touch to our container. We proceed to cut out two wavy strips to make a double petal flower and the strip that will be the center of the flower.
Para la flor, pasamos el hilo con puntadas espaciadas por la base recta de la tela, luego arruchamos para que tome la forma. Con la tira sólo la enrollamos y fijamos con unas puntadas de hilo para que no se suelte.
For the flower, we pass the thread with spaced stitches through the straight base of the fabric, then we ruffle it to take the shape. With the strip we just roll it up and fix it with a few stitches of thread so that it does not come loose.
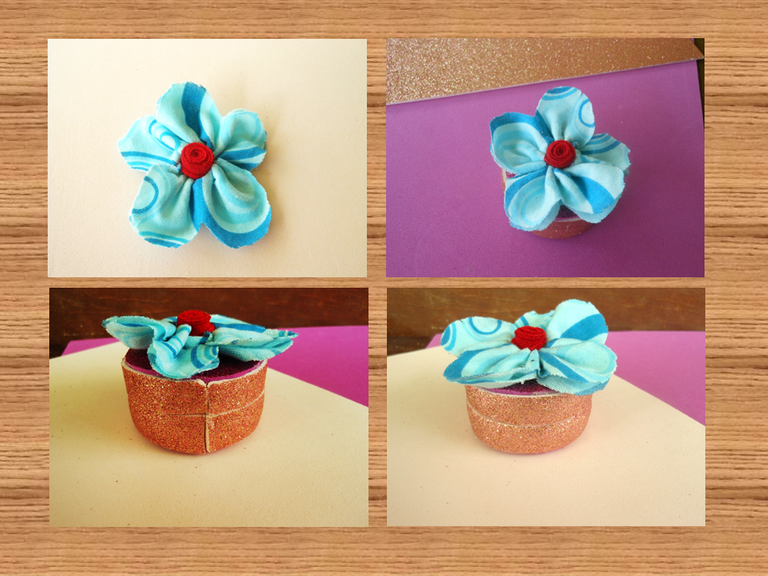
Cosemos, unimos las piezas y ya nuestra flor está lista, la pegamos a la tapa. Debemos tomar en cuenta que las uniones de las tiras que pegamos coincidan, para que se vea con buen acabado el trabajo.
We sew, join the pieces and our flower is ready, we glue it to the lid. We must take into account that the joints of the strips that we glue match, so that the work looks well finished.
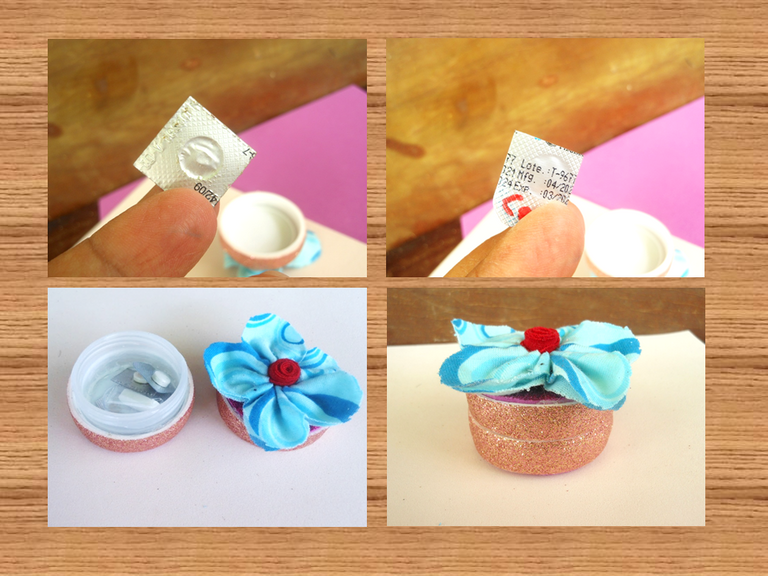
En la primera imagen podemos ver con se va deteriorando la envoltura de la pastilla, en las segunda es así como debe estar la envoltura y nuestro pote es el ideal para que siempre esté en perfecto estado, además que es muy lindo y decorativo.
In the first image we can see how the wrapper of the tablet is deteriorating, in the second one this is how the wrapper should be and our pot is the ideal one so that it is always in perfect condition, besides it is very nice and decorative.
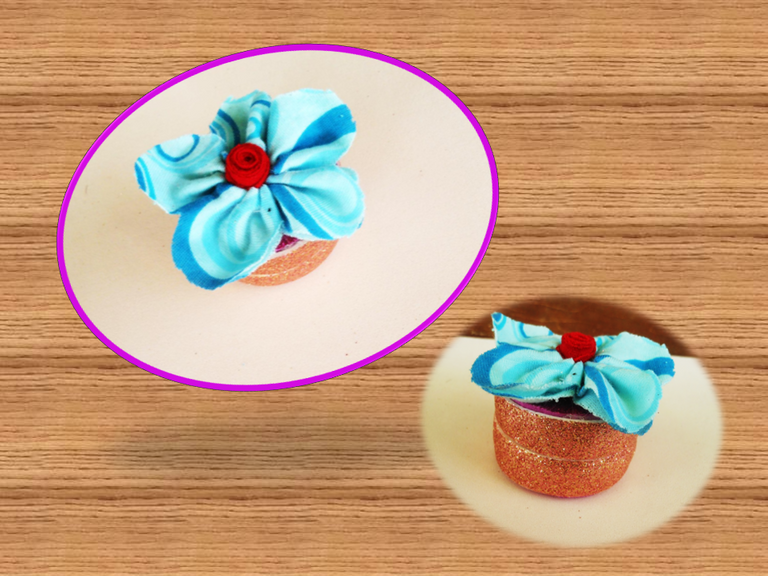
Espero les haya gustado y se animen a elaborarlo, hasta otra oportunidad que espero sea pronto.
I hope you liked it and I encourage you to elaborate it, until another opportunity that I hope will be soon.
Gracias por dedicar un poco de tu precioso tiempo en leer mi publicación.
Thank you for taking some of your precious time to read my post.
Si tu eres feliz, los que estén a tu lado también lo serán.
If you are happy, those around you will also be happy.
Separadores: @eve66
Las fotografías utilizadas son de mi propiedad
Translated with www.DeepL.com/Translator (free version)

Banner hecho por @jes.seth
Te quedó muy lindo...es bueno decorar el pastillero, así te da fuerza para seguir con un tratamiento. 👍🏼😁 Excelente idea.
Gracias por compartir 🌼💜🥀🌹🌺🌷🌸💮🏵️🌻
Muchisimas gracias por tu comentario, saludos.