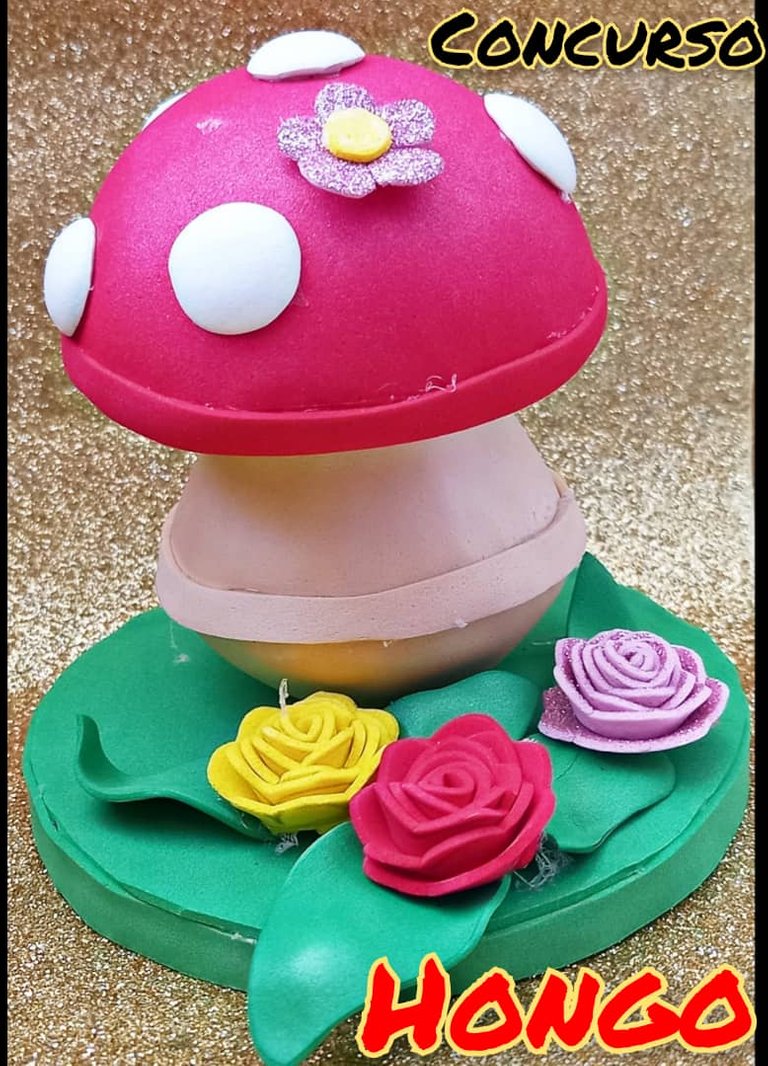
Hola mis queridos amigos, espero estén bien,hoy les traigo mi participación del concurso , que siempre lleva esta linda comunidad #HiveDiy, con el nombre de Foami y anime fusión, a cargo de @marybellrg.
Lindo hongo realizado con bolas de anime , cartón y foami.
¡Sin mas manos a la obra!
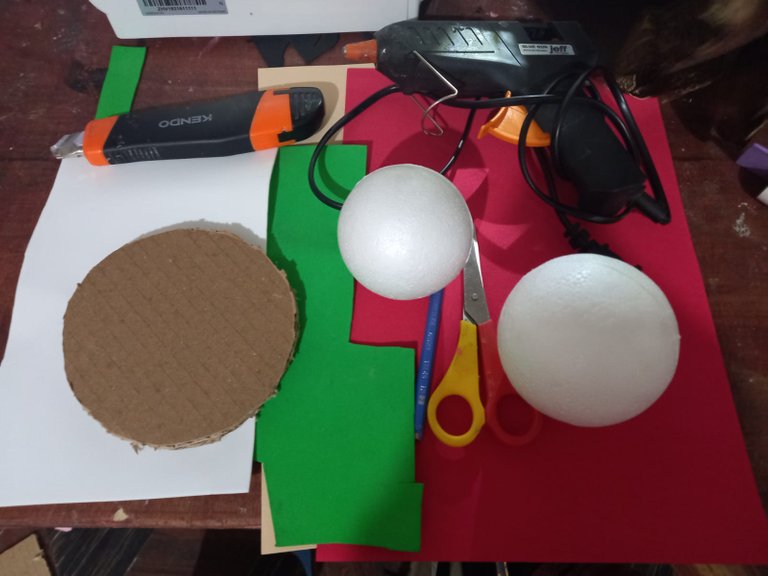
MATERIALES:
- Goma Eva roja, color piel, blanca y verde.
- Bolas de anime.
- Cortador.
- Tijeras.
- Lápiz.
- Pistola de Silicón.
- Silicón en barra.
- Palillo de altura.
- Un círculo de cartón doble.
MATERIALS:
- Red, skin-colored, white and green eva rubber.
- Anime balls.
- Cutter.
- Scissors.
- Pencil.
- Silicone gun.
- Silicone stick.
- Height stick.
- Double cardboard circle.
PROCEDIMIENTO:
PROCEDURE:
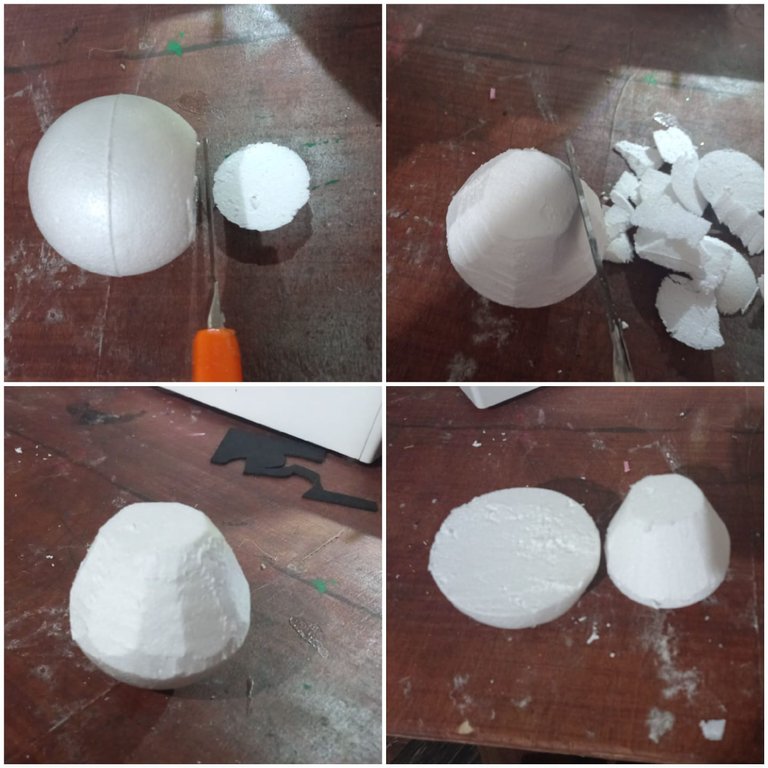
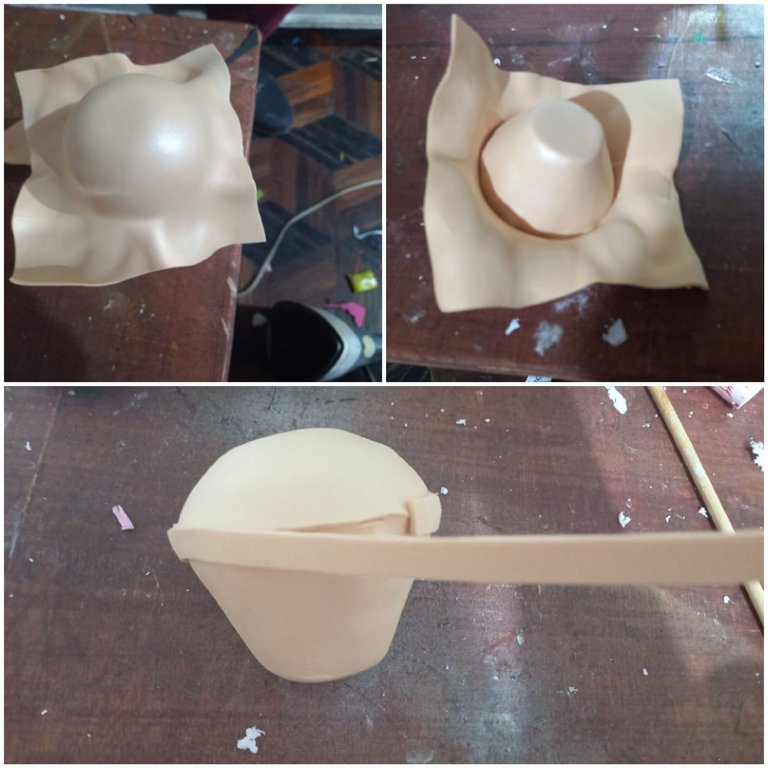
Primero, realizaremos la forma del pie del hongo con una de las dos bolas de anime, específicamente la más pequeña; utilizando para esto el cuter. Animismo cortaremos la mitad de la bola de anime más grande para hacer el sombrero del hongo.
First, we will make the shape of the mushroom's foot with one of the two anime balls, specifically the smaller one; using the cutter for this. We will also cut half of the larger anime ball to make the mushroom's hat.
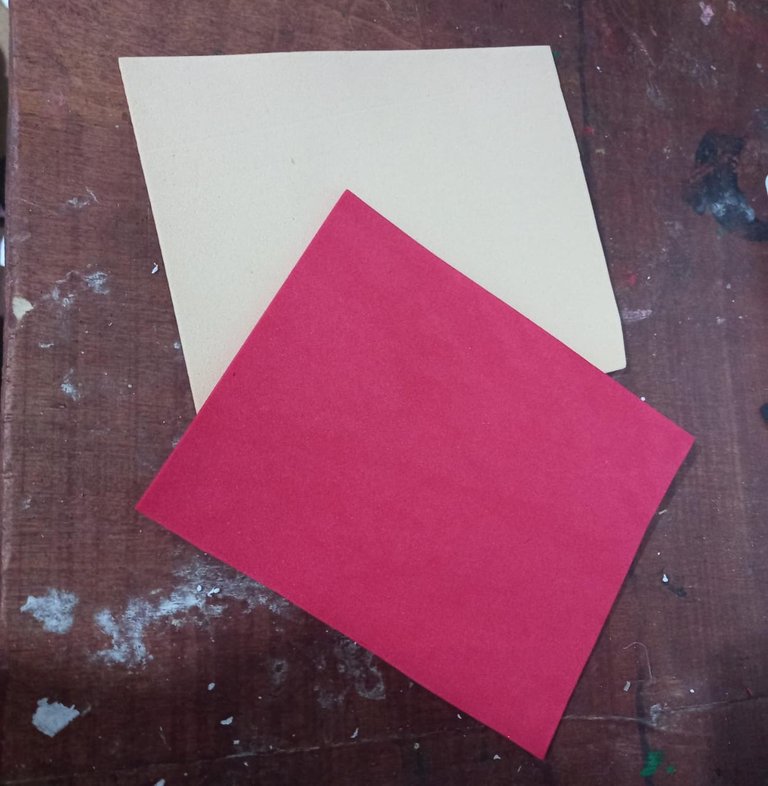
Después recortaremos un cuadrado de goma Eva roja y dos de color piel de aproximadamente 13×13 cm para forrar las dos piezas del hongo, estos los colocaremos sobre la plancha de manera individual.
Then we will cut a square of red Eva rubber and two squares of skin color of approximately 13×13 cm to cover the two pieces of the mushroom, these we will place them individually on the plate.
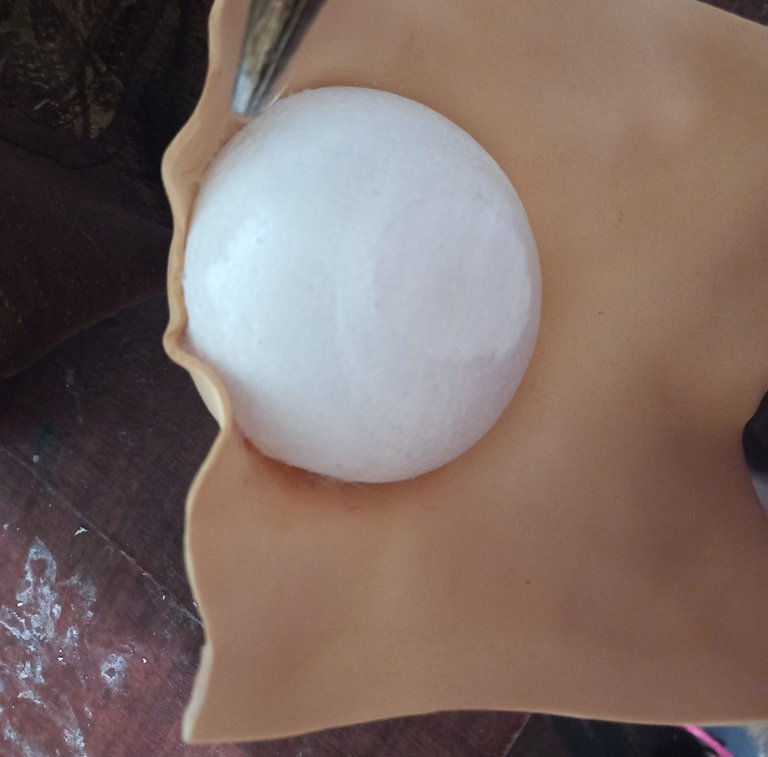
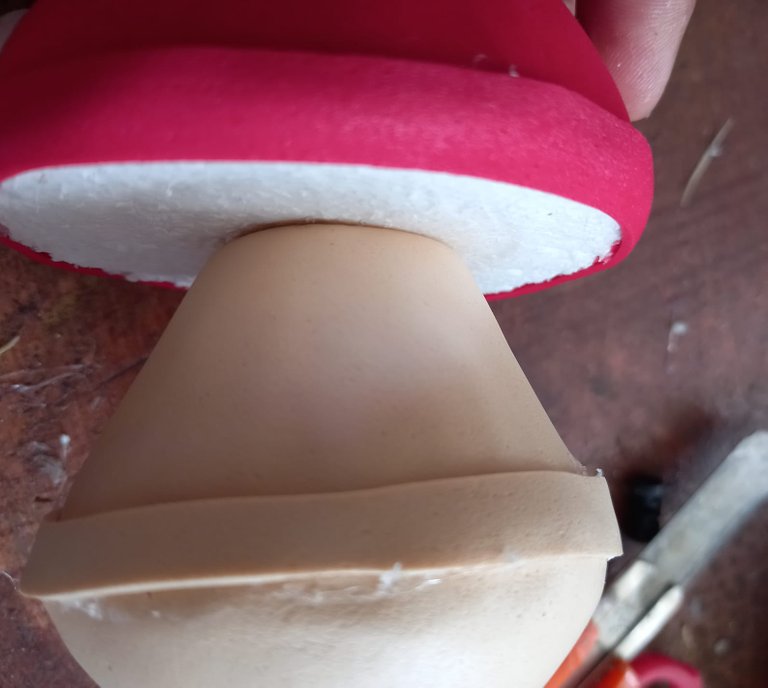
Montamos sobre la plancha, primero la goma Eva color piel, la retiramos una vez que esté floja y la estiramos sobre la parte superior del pie del hongo hasta que cubra esa parte de punta.
We mount on the plate, first the skin-colored Eva rubber, remove it once it is loose and stretch it over the upper part of the mushroom foot until it covers that part of the tip.

Seguidamente calentamos otro cuadrado de goma Eva de color piel, para forrar la parte baja del pie del hongo, haciendo el mismo procedimiento de estirar hasta que cubra la zona deseada y recortamos el exceso.
Next, we heat another square of skin-colored Eva rubber to line the lower part of the mushroom's foot, following the same procedure of stretching until it covers the desired area and trimming the excess.
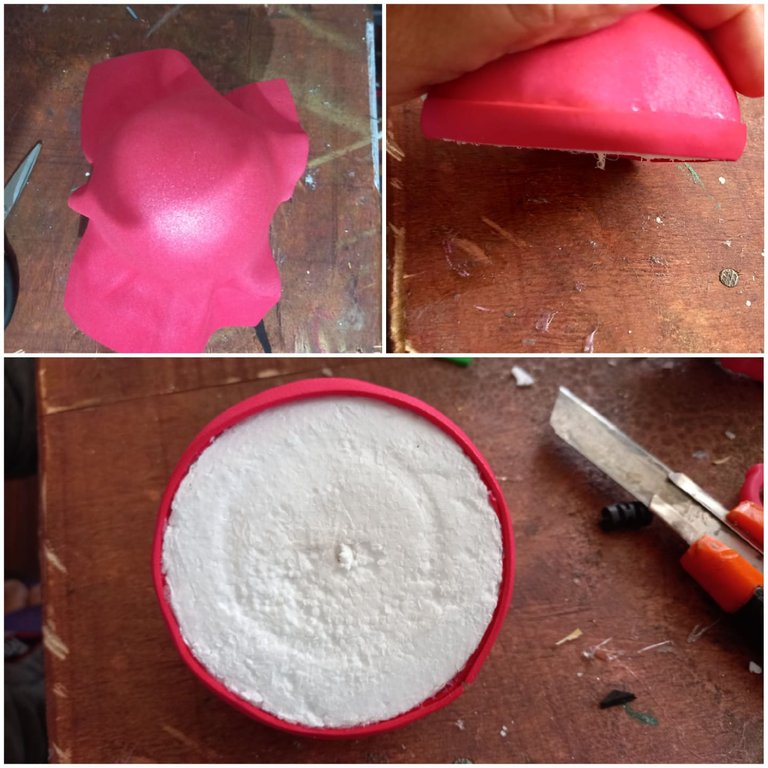
Para cubrir el sombrero del hongo, utilizaremos la misma técnica del foami sobre la plancha, estiramos y cubrimos el anime, recortamos el exceso y pegamos una tira roja por toda la orilla del mismo.
To cover the mushroom cap, we will use the same technique of foami on the iron, stretch and cover the anime, trim the excess and glue a red strip all around the edge of it.
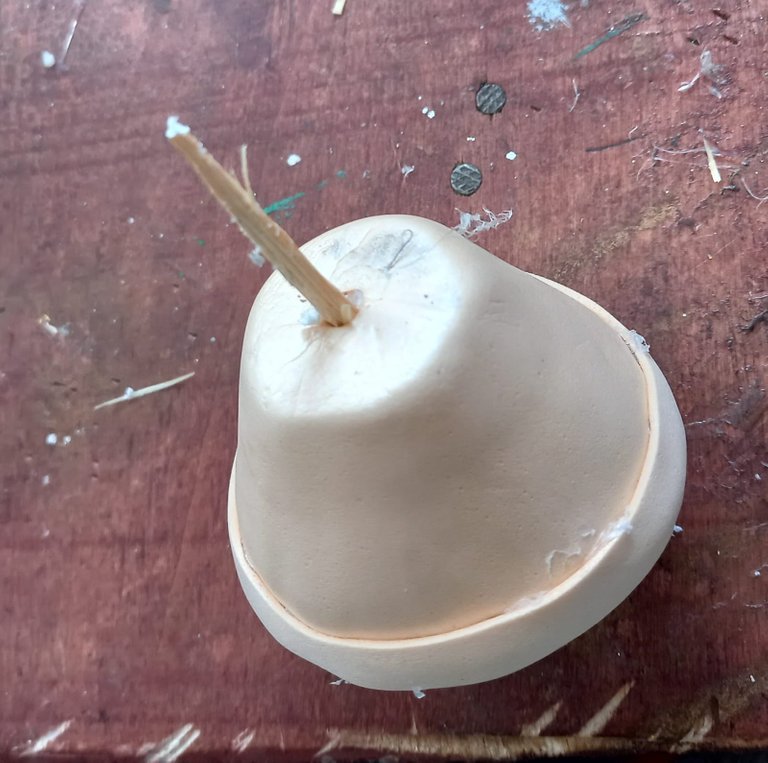
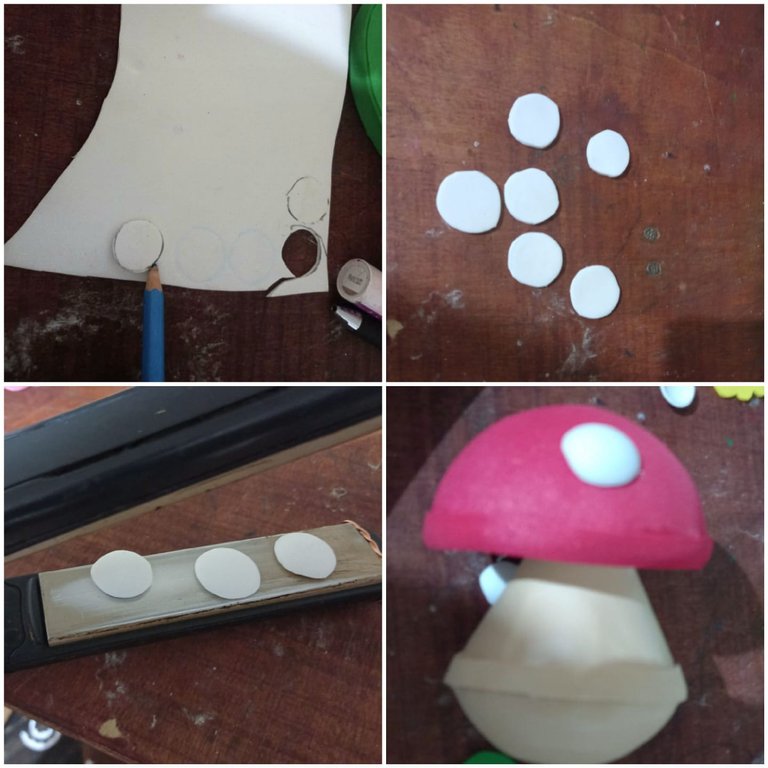
Posteriormente introducimos un palillo de altura pequeño en el centro del pie del hongo para unir éste con el sombrero.
Subsequently, we introduce a small height stick in the center of the mushroom foot to join it with the cap.
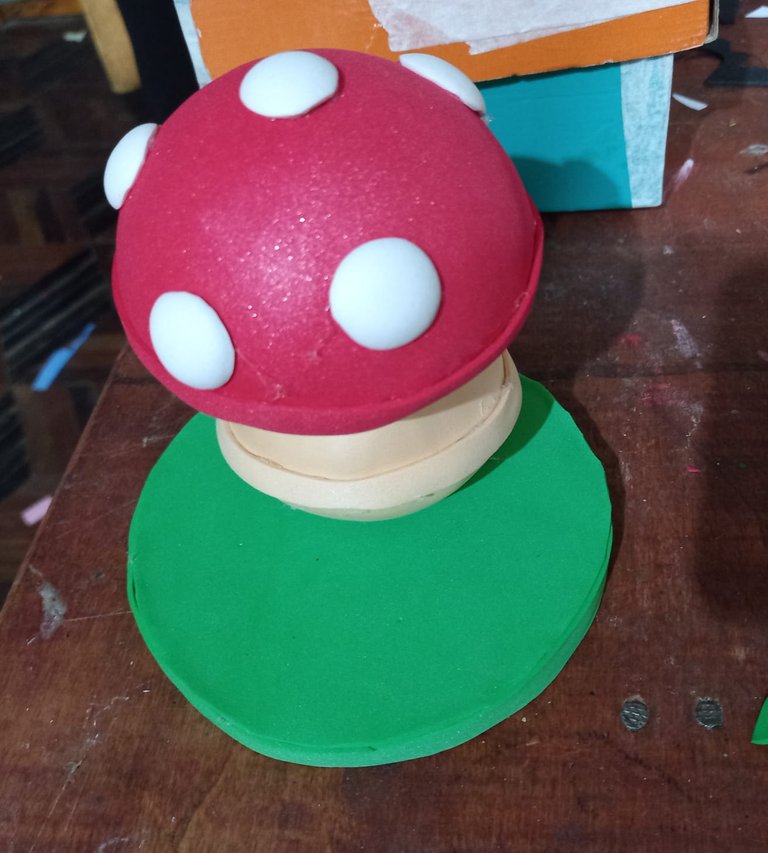
Después recortaremos pequeños círculos de goma Eva blanca para hacer los Restos del velo o las típicas manchas blancas que vemos en los hongos, que van sobre el sombrero del hongo, las cuales abombamos un poco con la plancha antes de pegarlas.
Then we will cut small circles of white Eva rubber to make the Remains of the veil or the typical white spots that we see on the mushrooms, which go on the cap of the mushroom, which we bulge a little with the iron before gluing them.
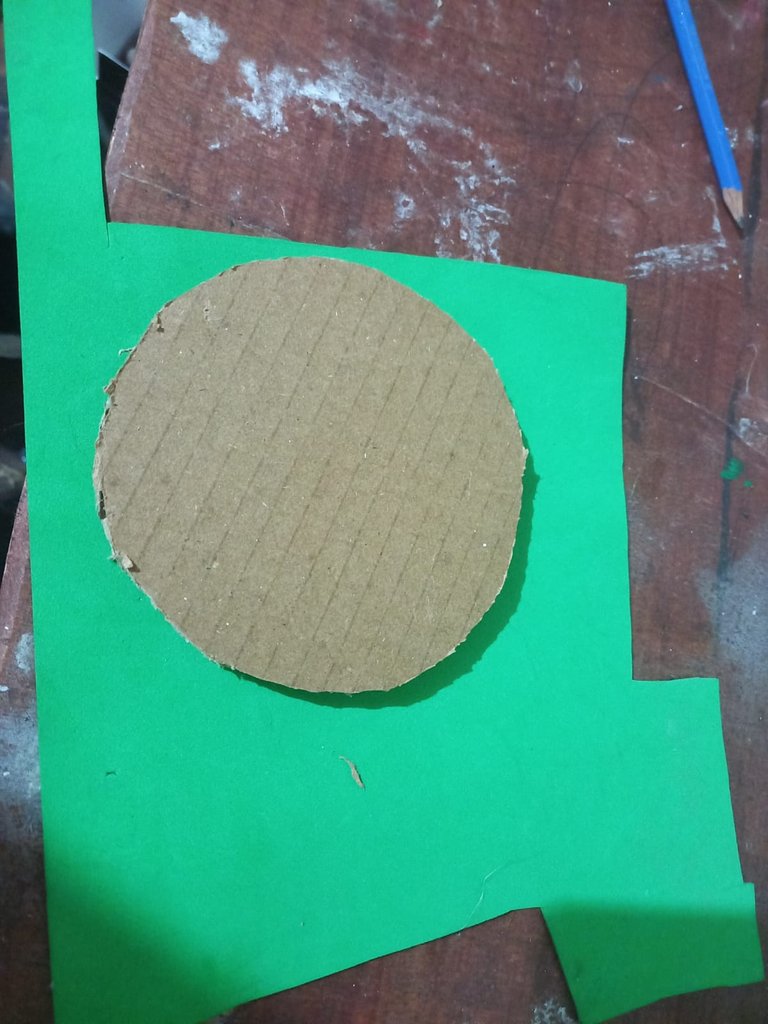
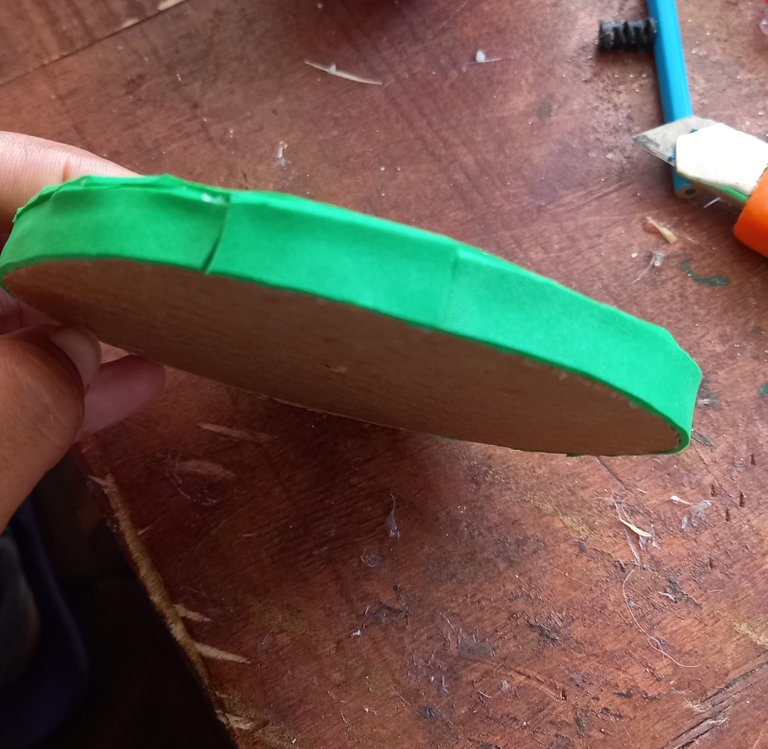
Luego forramos con goma Eva verde la superficie del círculo de cartón y con una tira cubrimos el borde de éste.
Then we line the surface of the cardboard circle with green Eva rubber and with a strip we cover the edge of it.
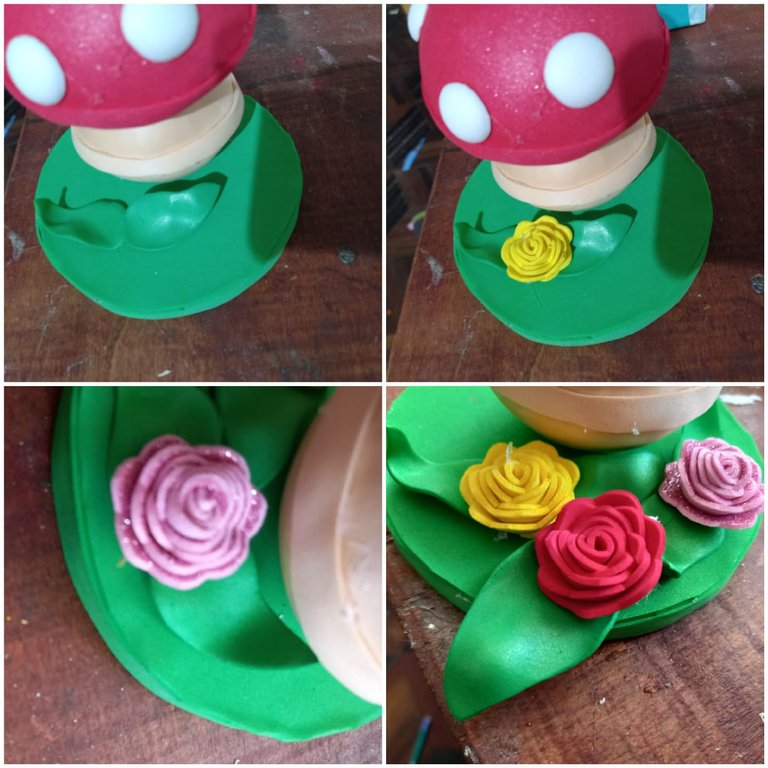
Con goma Eva verde haremos unas hojitas pasadas por la plancha para darle forma y con goma Eva rosada, amarilla y roja haremos tres flores.
With green eva gum we will make some little leaves and with pink, yellow and red eva gum we will make three flowers.

Después fijaremos el hongo sobre la base de cartón.
Then we will fix the mushroom on the cardboard base.
Para finalizar, pegamos las hojas y las flores sobre la base de cartón forrado y fijamos una pequeña florecira en el sombrero del hongo.
Finally, we glue the leaves and flowers on the lined cardboard base and attach a small flower on the mushroom cap
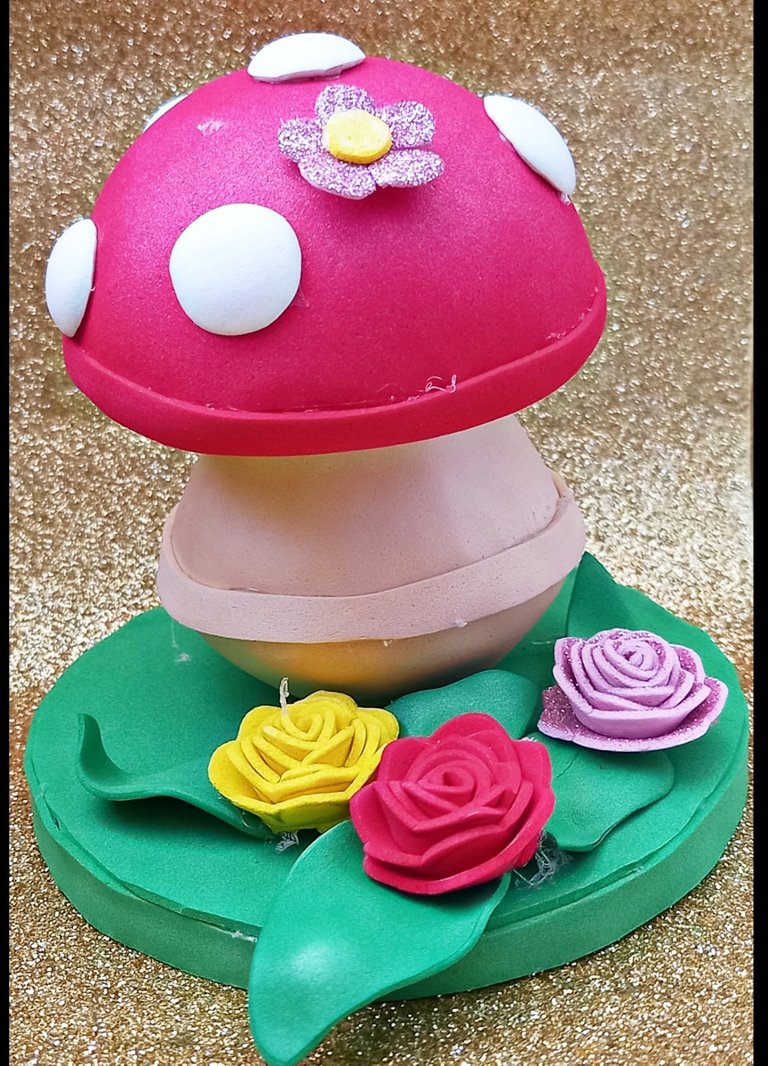
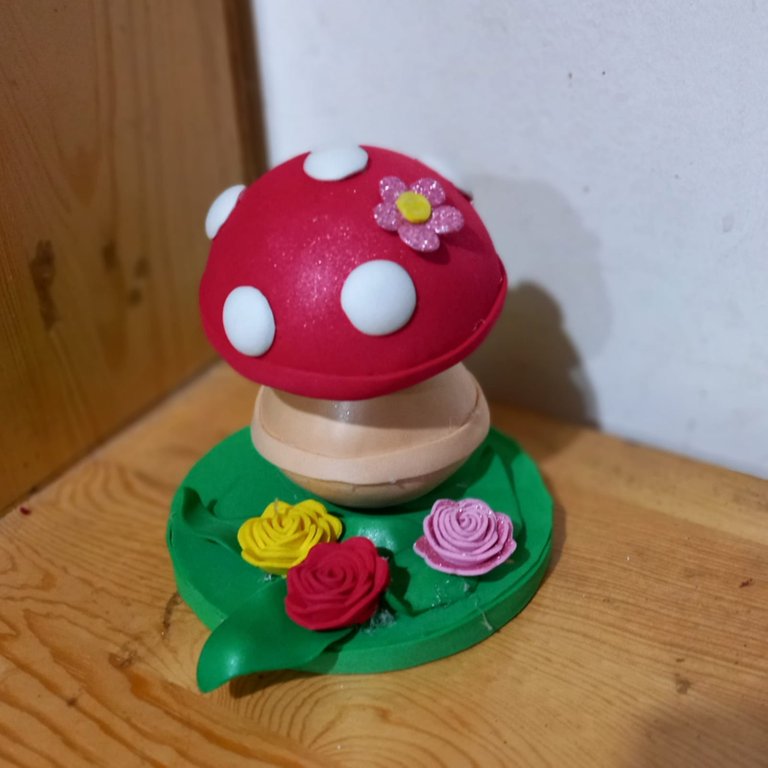
RESULTADO FINAL UN HERMOSO HONGO.
END RESULT A BEAUTIFUL MUSHROOM.
  Las fotos son de mi autoría y editada con incollage.
   Traducido con DEEPL.
 The photos are of my authorship and edited with incollage.
  Translated with DEEPL.

Gracias por leer y votar, espero les haya gustado, invito a participar en el concurso a mi amiga @zoraida01
Thank you for reading and voting, I hope you liked it, I invite my friend @zoraida01 to participate in the contest.
Te ha quedado muy lindo ese hongo. Bastante ingenioso el trabajo con los materiales propuestos para el concurso. Gracias por participar! 🤗
Que bueno , me alegra que te guste @marybellrg .
Es un bello trabajo, quedo muy bien, te dejo mi voto y te sigo, saludos.
Gracias, muchas gracias @comandoyeya . Bendiciones.
Quedó hermoso, gracias por la invitación amiga, vamos a ver qué puedo hacer.