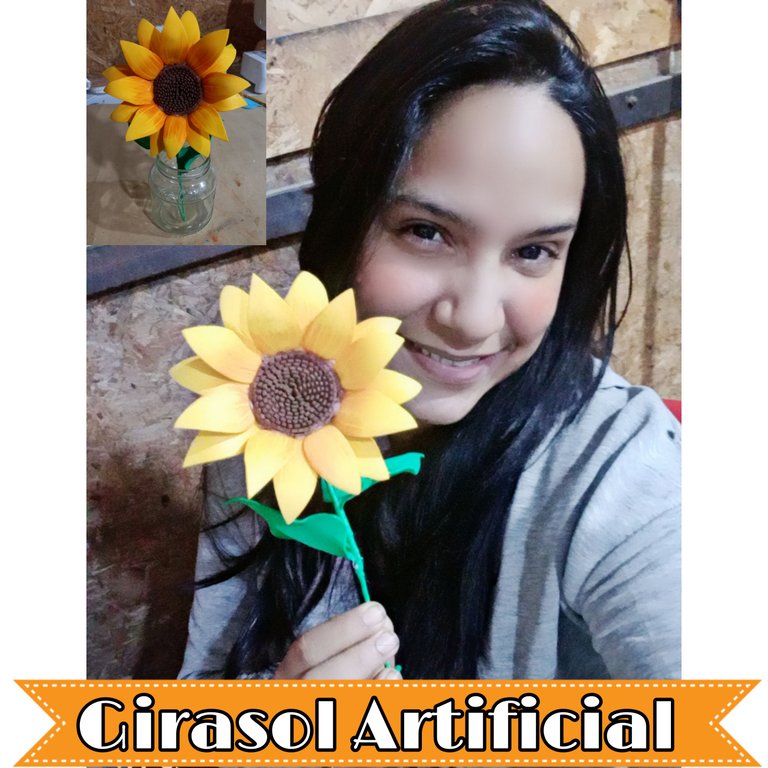
Hola mi linda Colmena de artesanos, deseo que hoy tengan un excelente día lleno de éxitos lleno de mucha salud con la bendición de Dios hoy Les traigo un tutorial de cómo realizar girasoles artificiales con foami aplicando la técnica del termoformado, ya que ésta nos dará hermosos resultados en nuestros proyecto de foami.
Hello my pretty beehive of artisans, I wish you an excellent day full of success today full of health with the blessing of God today I bring you a tutorial on how to make artificial sunflowers with foami applying the technique of thermoforming, as this will give us beautiful results in our foami project.

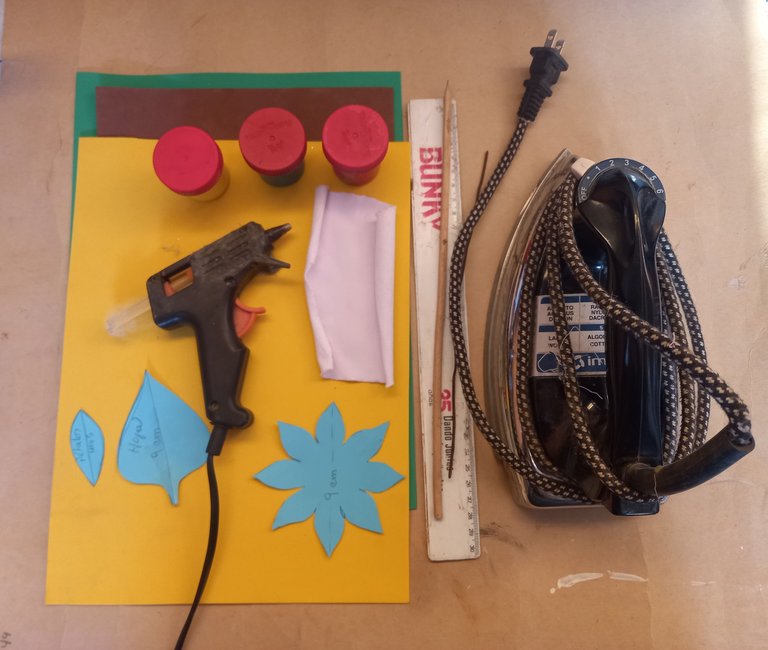
- Foami marrón, verde y amarillo.
- Patrones del girasol 🌻 (hojas y pétalos)
- Alambre.
- Plancha para ropas.
- Regla.
- Palillo de altura.
- Pinturas.
- Trapito.
- Pistola de silicón caliente.
- Tijeras.
- Brown, green and yellow foami.
- Sunflower patterns 🌻 (leaves and petals).
- Wire.
- Clothes iron.
- Ruler.
- Height stick.
- Paints.
- Rag.
- Hot silicone gun.
- Scissors.

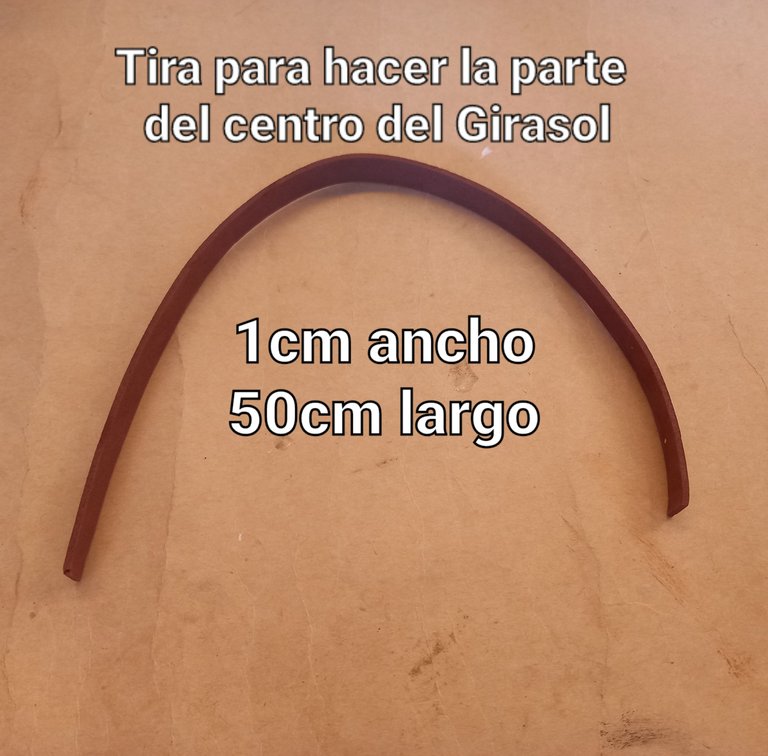
Lo primero que vamos a hacer es recortar una tira de foami marrón de 1 cm de ancho y 50 cm de largo, a la cual le haremos pequeños cortecitos sin llegar muy cerca de la orilla. En el caso de que el foami no sea tan largo, lo que haremos es recortar las tiras necesarias para que nos den los 50 cm.
The first thing we are going to do is to cut a strip of brown foami 1 cm wide and 50 cm long, to which we will make small cuts without getting too close to the edge. In the case that the foami is not so long, we will cut the necessary strips to give us the 50 cm.
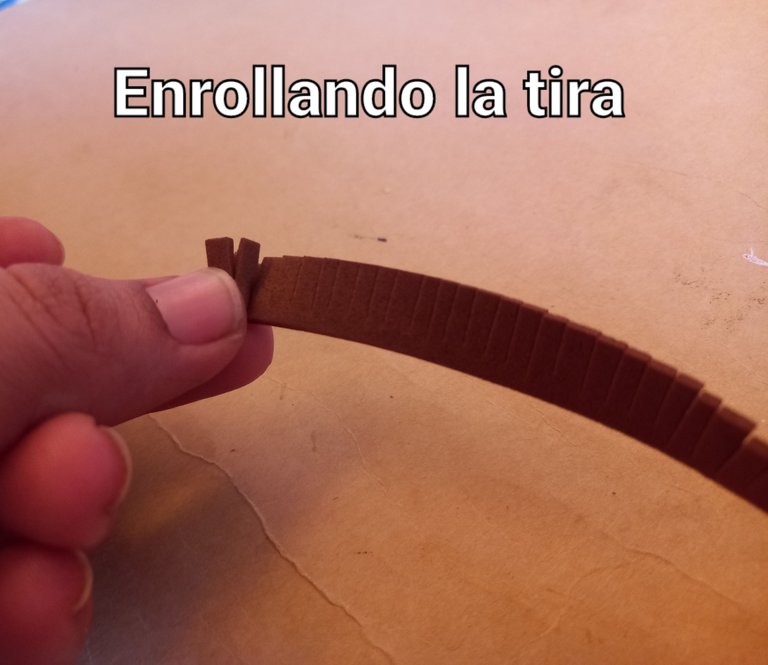
Luego comenzaremos a enrollar nuestra tiras si tu caso es de que no tienes los 50 cm de foami completo a medida que va a ser rollando Paz anexando las tiras necesaria hasta completar los 50 cm de largo.
Then we will begin to roll our strips if your case is that you do not have the full 50 cm of foami as it will be rolling Peace annexing the necessary strips to complete the 50 cm long.
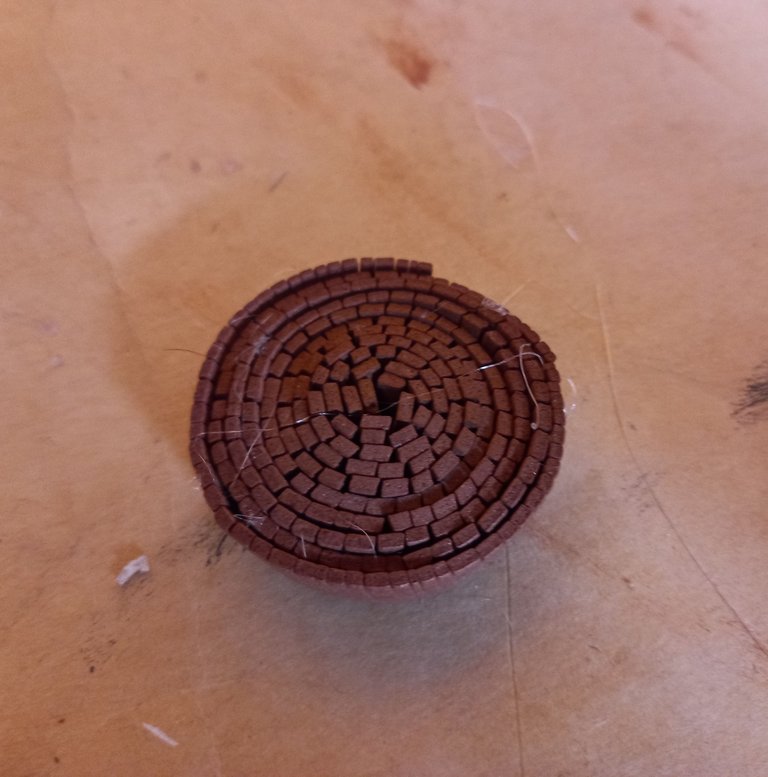
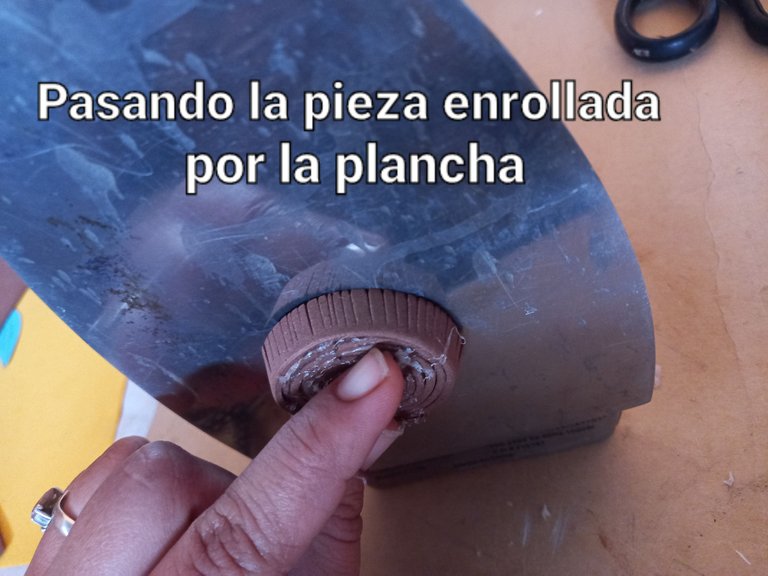
Una vez que hayamos enrollado nuestra tira, la cual va a simular las semillas de girasol junto a las flores interiores, procedemos a colocarla sobre la plancha para que las puntas de los pequeños cortes que hicimos, se expandan un poco.
Once we have rolled our strip, which will simulate the sunflower seeds together with the inner flowers, we proceed to place it on the plate so that the tips of the small cuts we made expand a little.
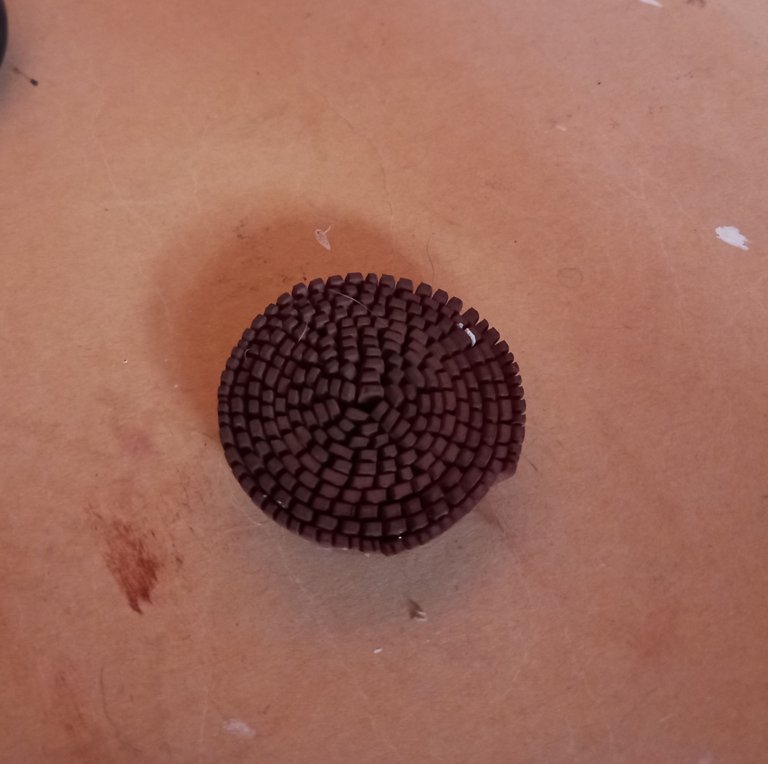
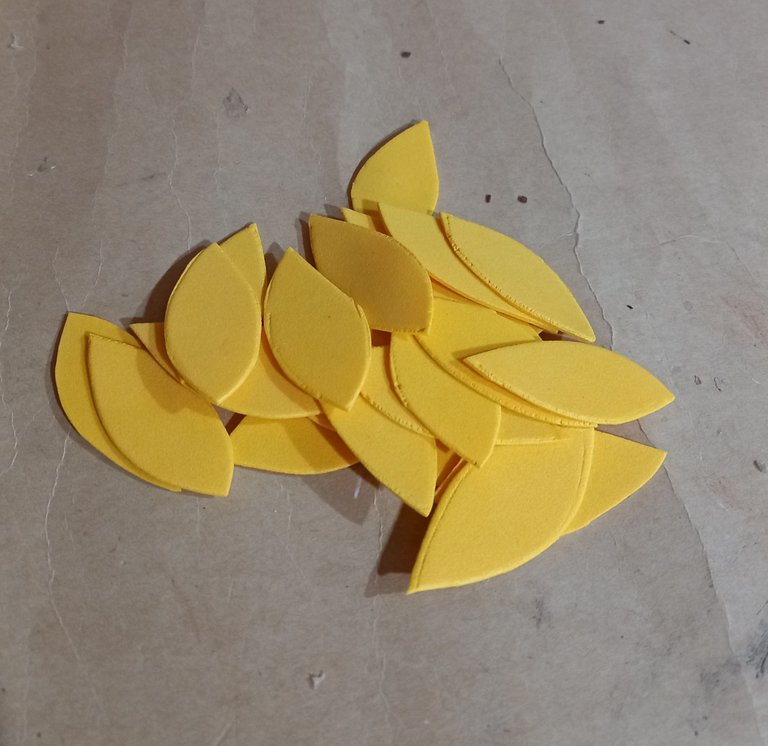
Lo siguiente que haremos es marcar y recortar los patrones de los pétalos, en este caso necesité 16 pétalos de 5cm de largo.
The next thing to do is to mark and cut out the patterns of the petals, in this case I needed 16 petals of 5cm long.
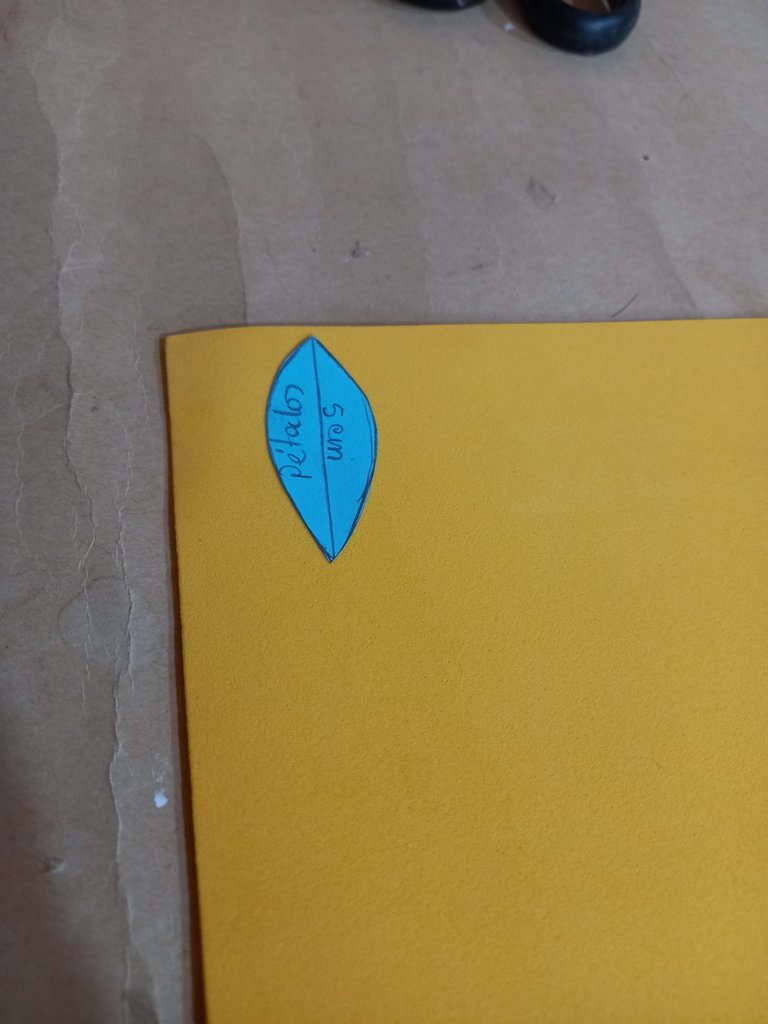
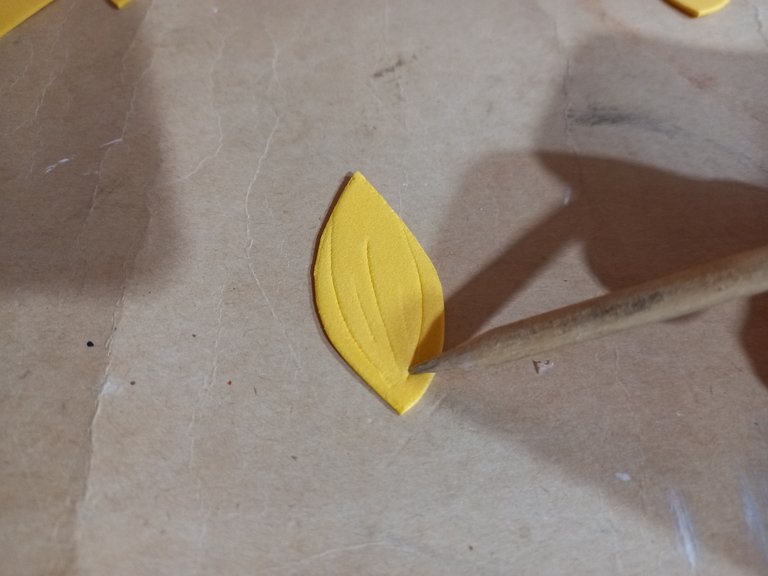
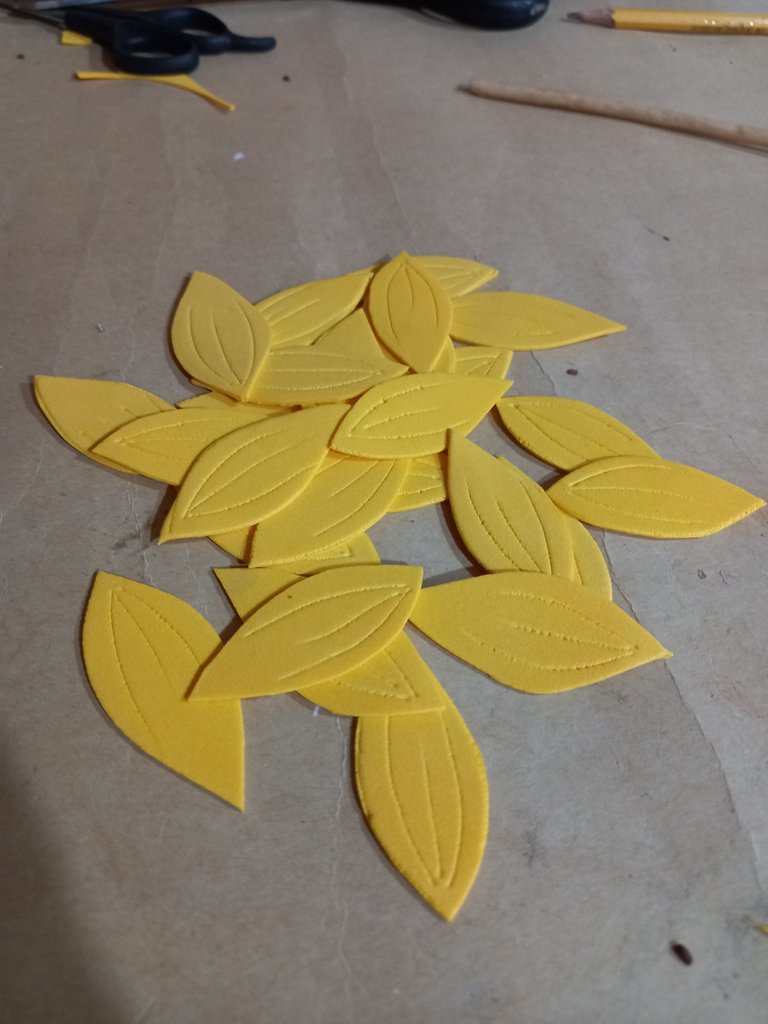
Cuando tengamos todos nuestros pétalos recortados procedemos a hacerle unas formas de paréntesis en los bordes laterales y en el centro de cada uno de ellos.
When we have all our petals cut out, we proceed to make some parenthesis shapes on the lateral edges and in the center of each one of them.
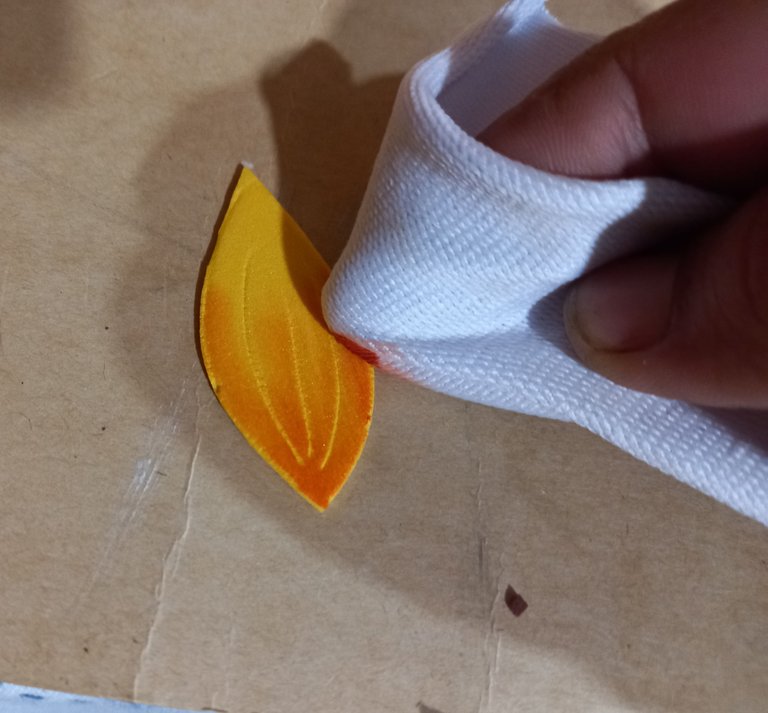
Posteriormente difuminamos la parte inferior de todos los pétalos con pintura anaranjada.
Then we blur the lower part of all the petals with orange paint.
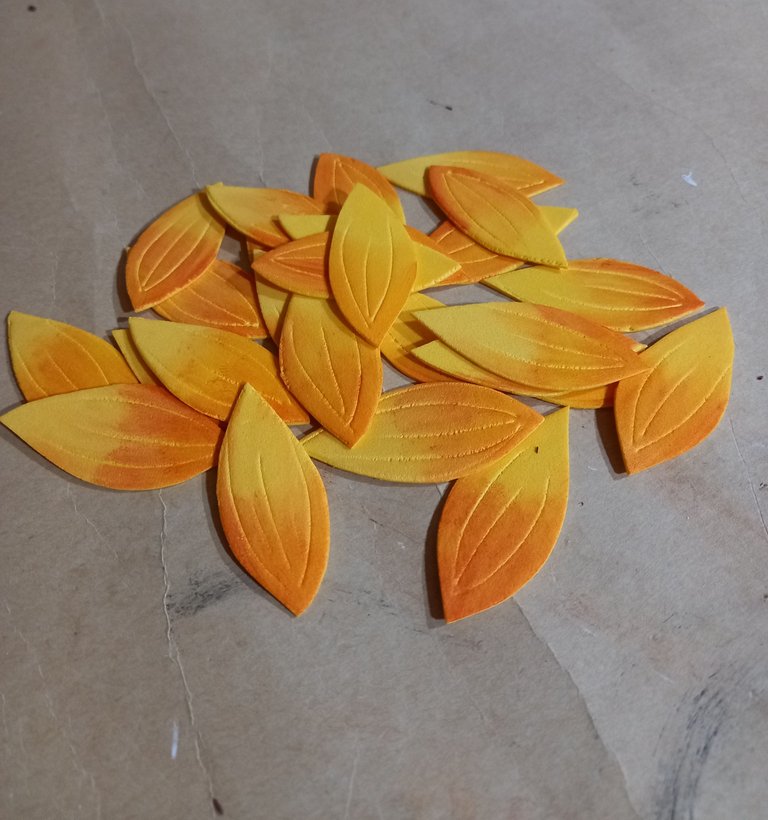
Exponemos los pétalos al calor de la plancha, para termoformarlos.
We expose the petals to the heat of the iron to thermoform them.
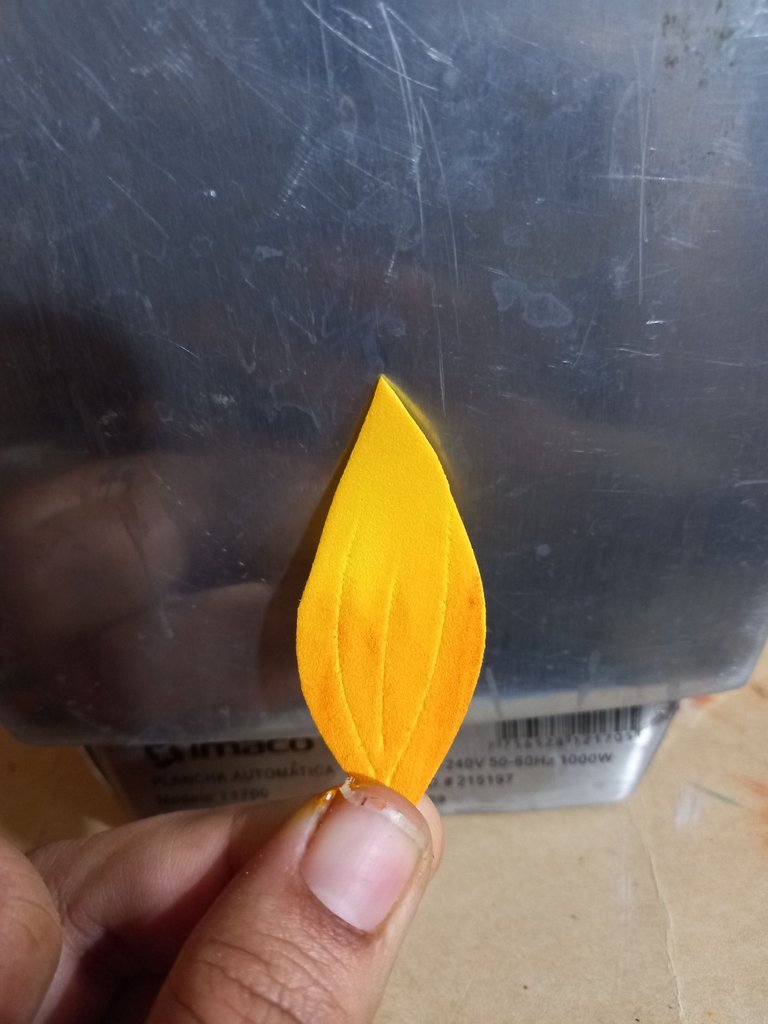
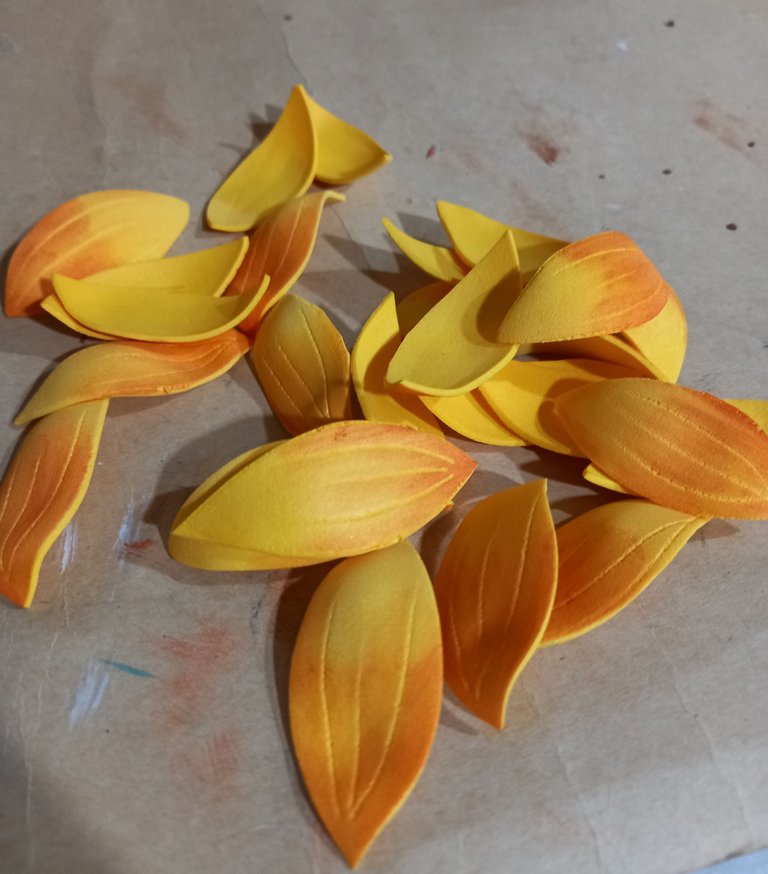
Comenzaremos a pegar los primeros ocho pétalos por todo el borde del rollo de foami marrón que hicimos anteriormente.
We will start gluing the first eight petals all around the edge of the brown foami roll we made earlier.
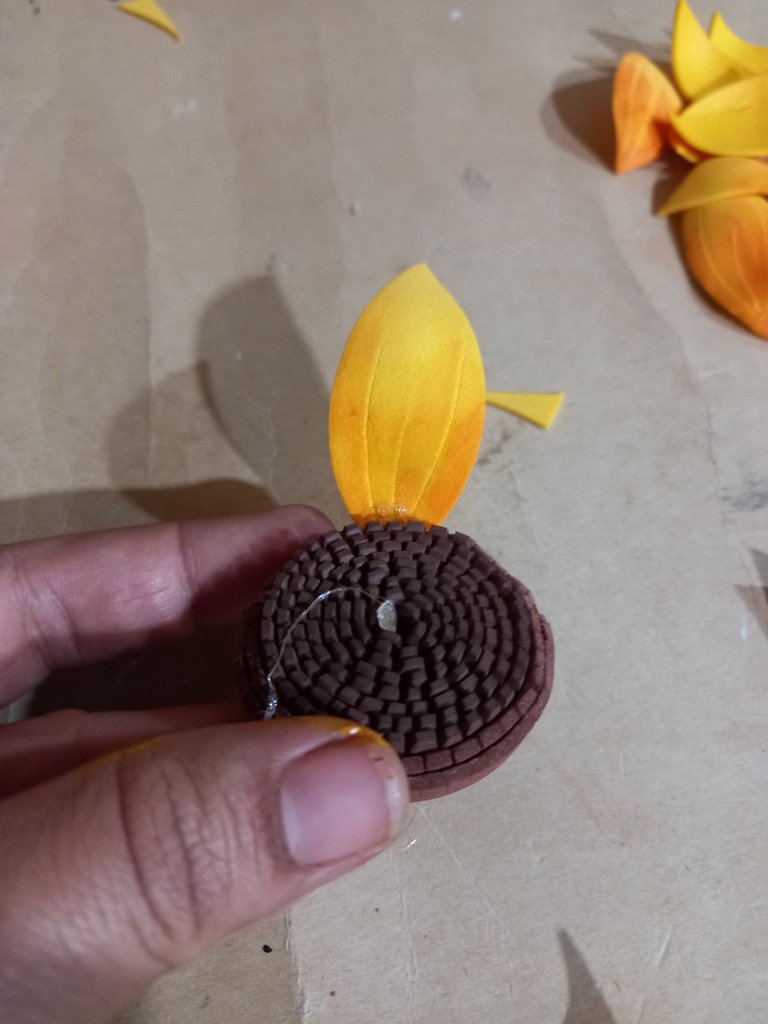
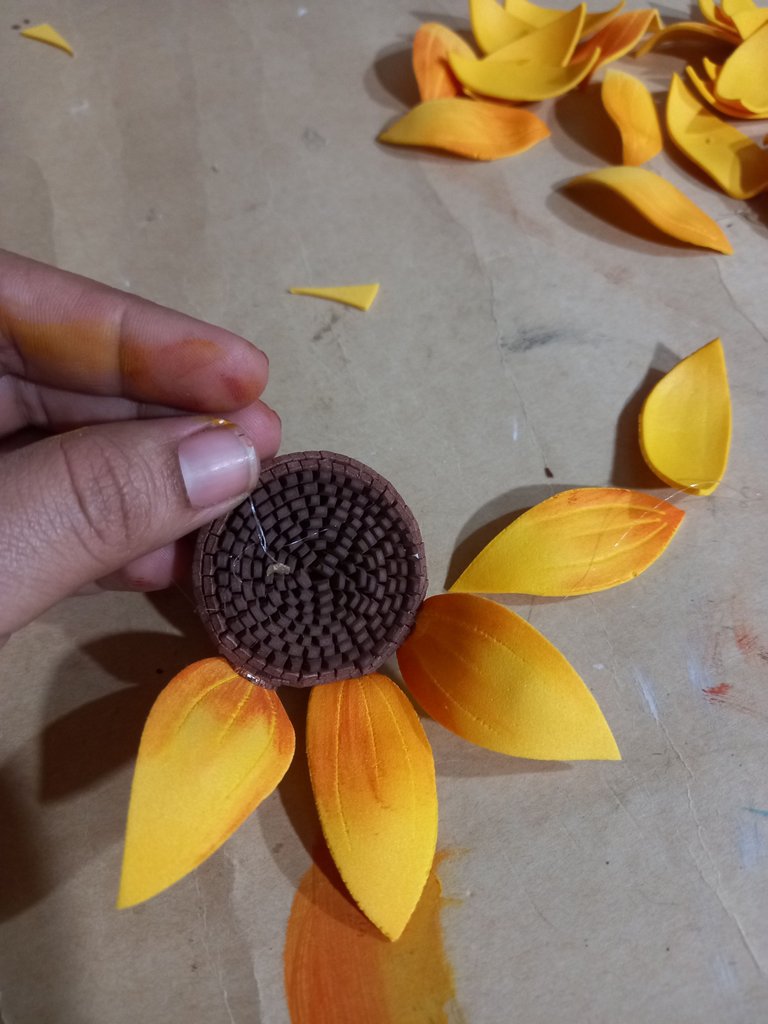
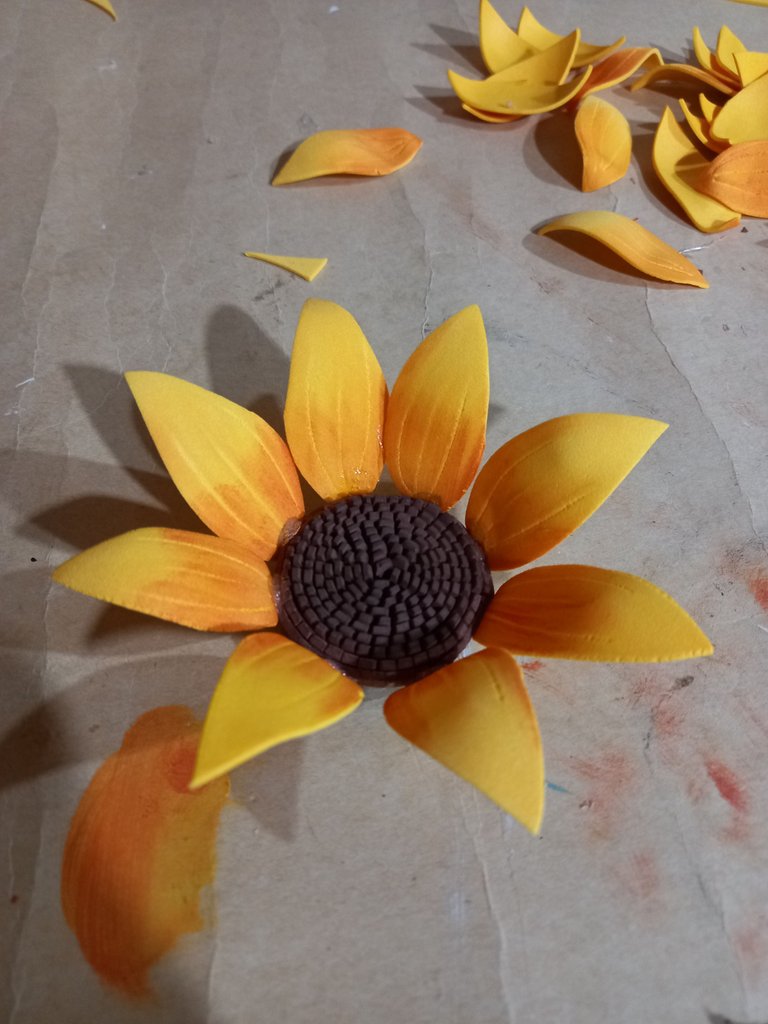
Luego pegaremos los otros ocho pétalos que quedan, uno en medio de cada dos pétalos que pegamos anteriormente.
Then we will glue the other eight remaining petals, one in the middle of each of the two petals we glued previously.
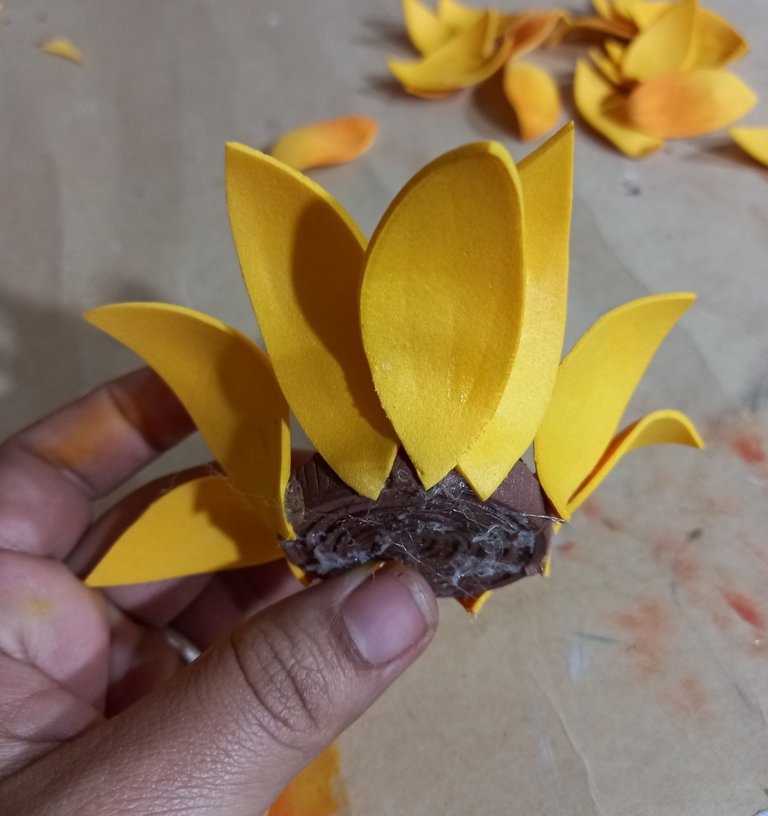
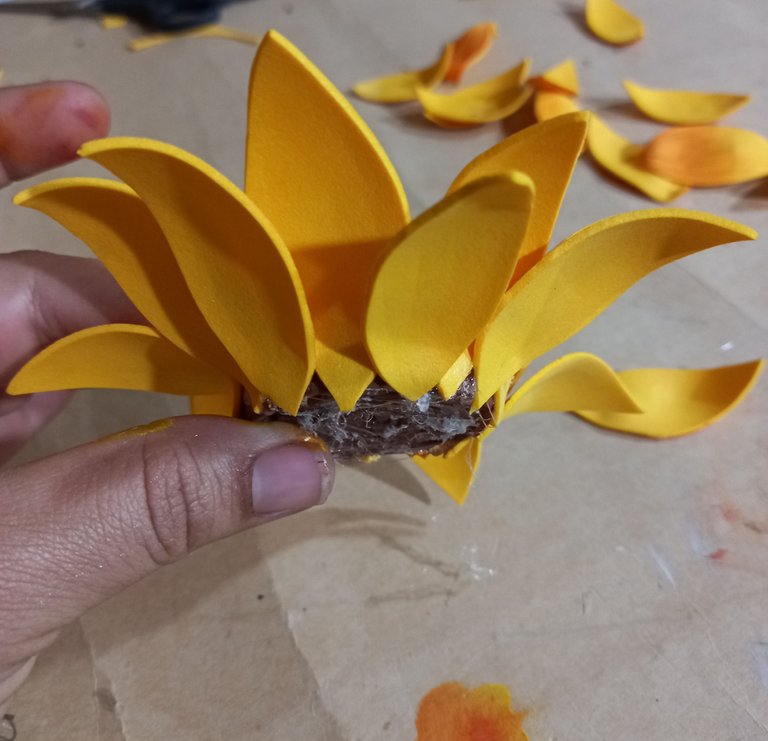
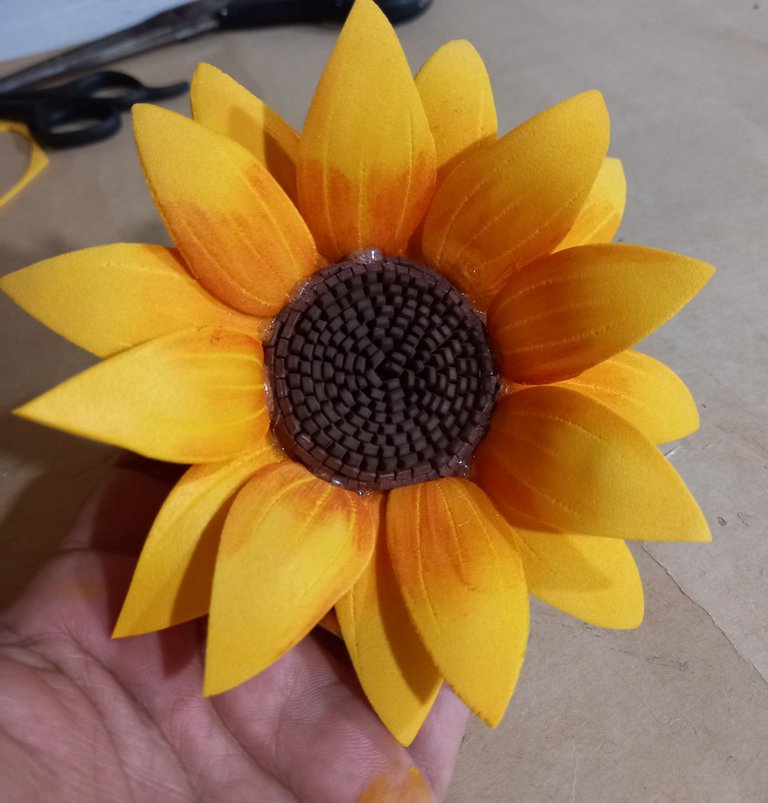
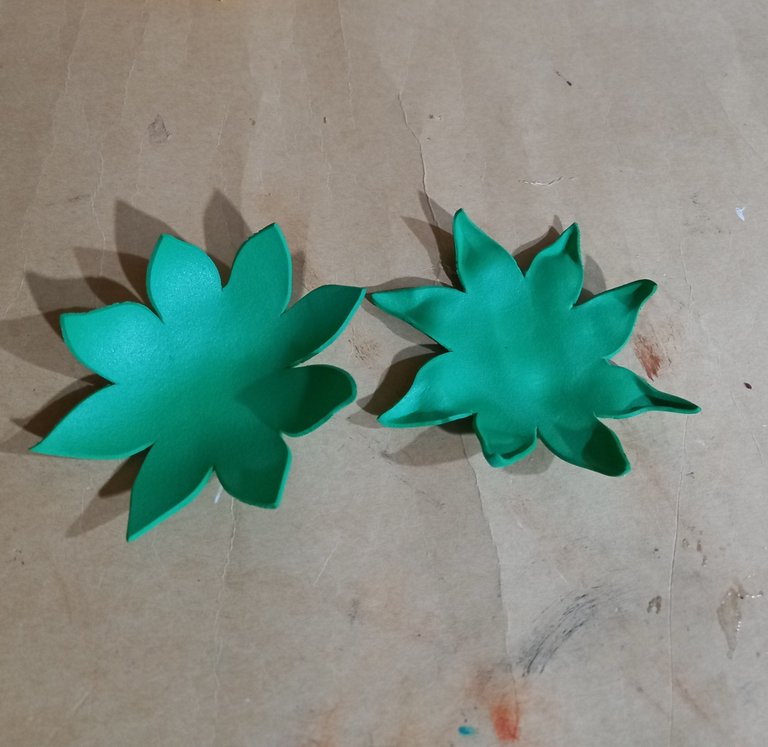
Hasta aquí tendremos nuestro girasol, ahora vamos a realizar las hojas que van detrás del mismo, de estas sacaremos dos piezas.
So far we will have our sunflower, now we are going to make the leaves that go behind it, from these we will take two pieces.
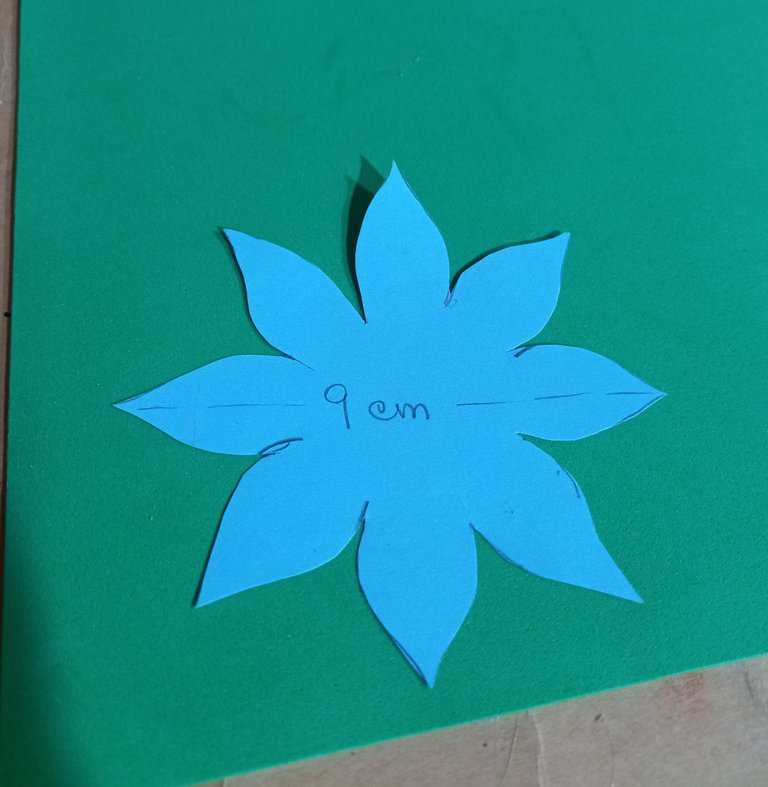
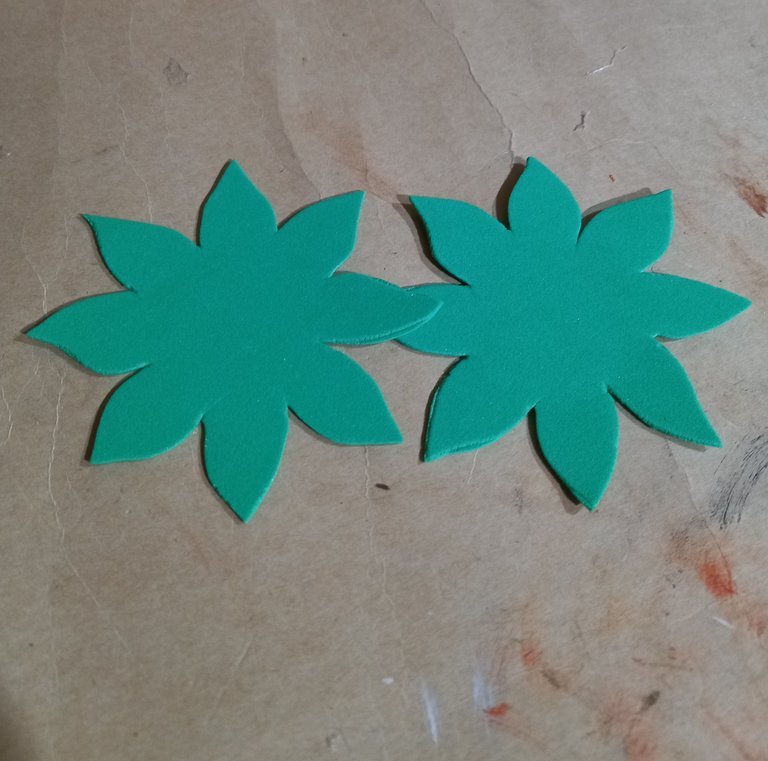
Pasaremos por la plancha las hojas que recortamos para termoformar es decir la exponemos al calor de la plancha y con nuestras manos le daremos la forma que queremos.
We will pass through the iron the sheets that we cut out for thermoforming, that is to say, we expose them to the heat of the iron and with our hands we will give them the shape we want.
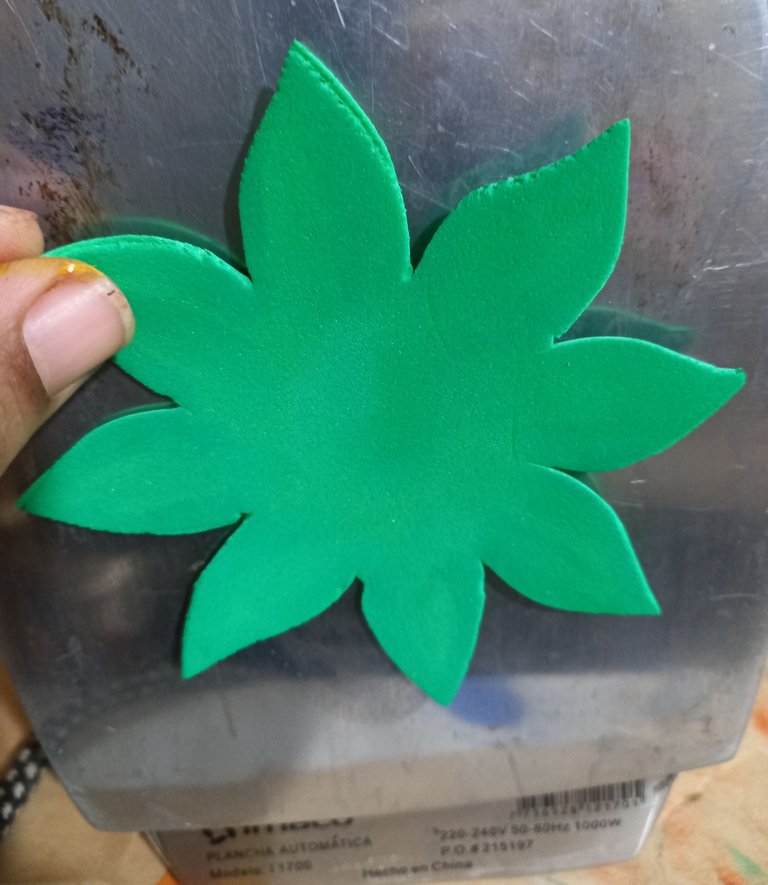
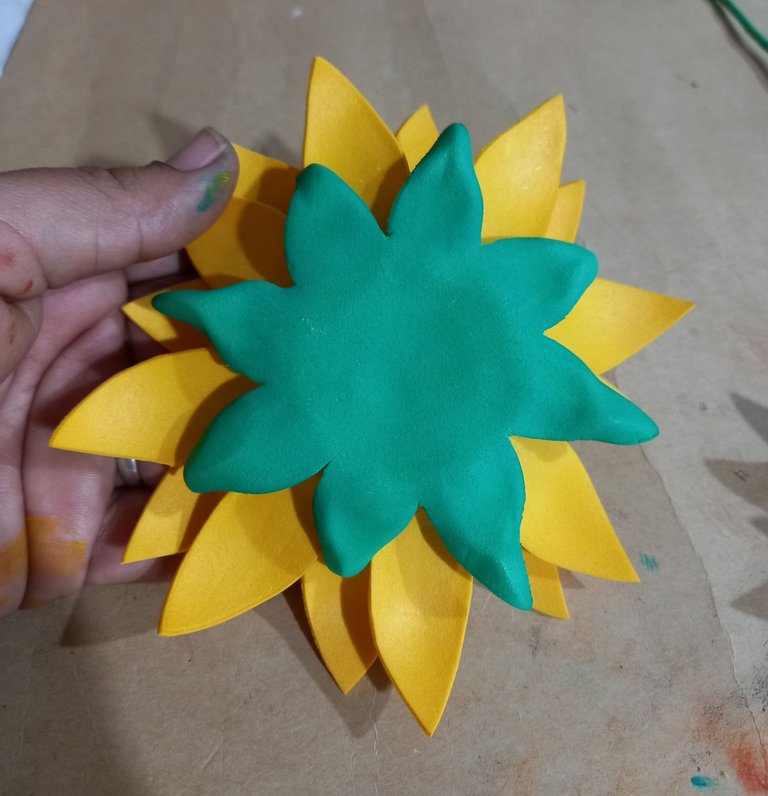
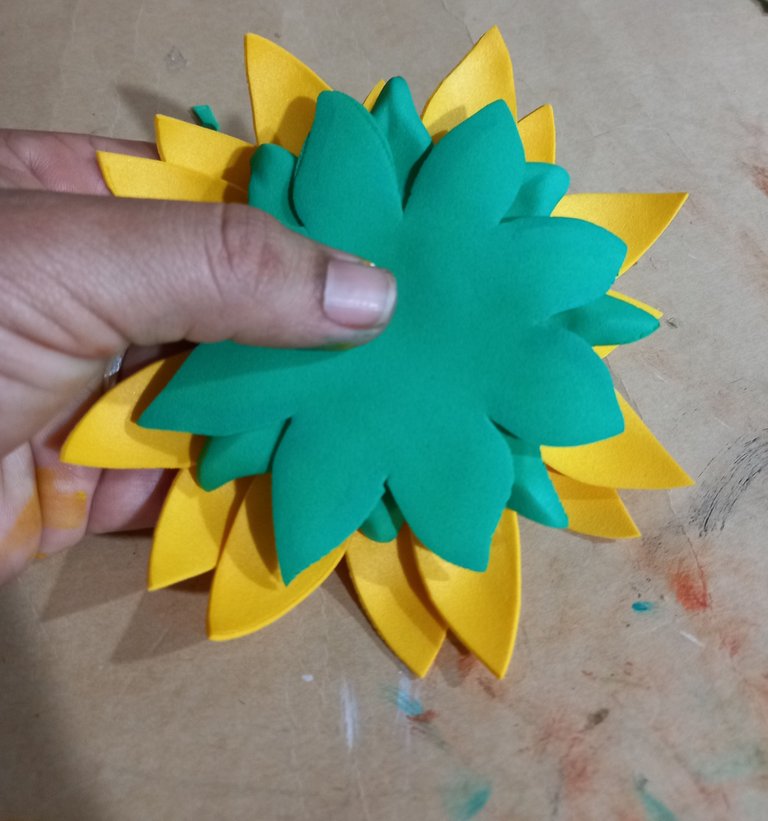
Cuando le hayamos dado forma a nuestras hojas procedemos a pegarlas detrás del girasol.
When we have shaped our leaves we proceed to glue them behind the sunflower.
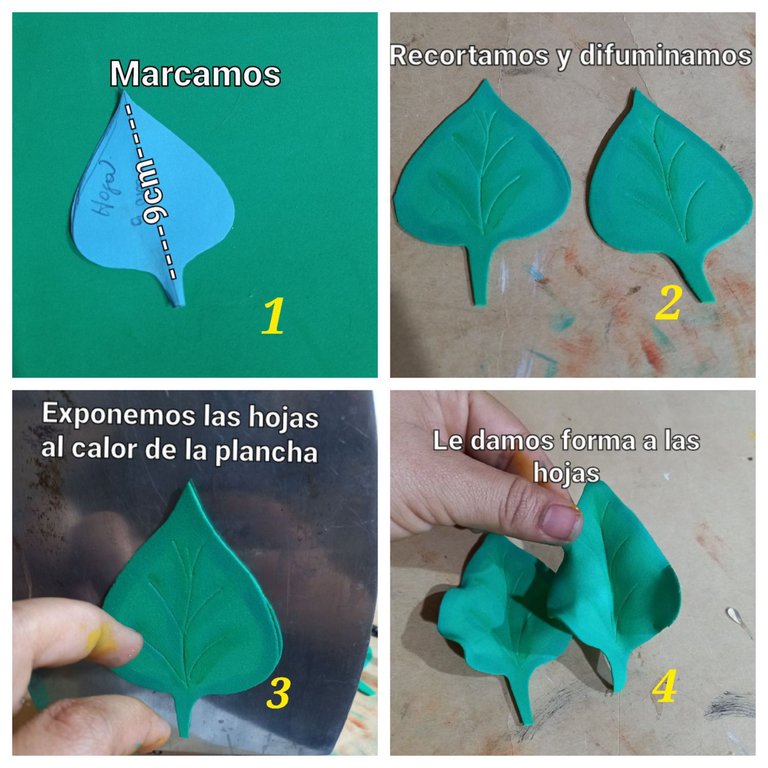
Después recortaremos dos hojas que Irán en el tallo a esta le aplicaremos el mismo procedimiento anterior difuminamos sus bordes la exponemos al Calor de la plancha y le damos la forma deseada.
Then we will cut out two leaves that will go on the stem and we will apply the same procedure as above, blur its edges, expose it to the heat of the iron and give it the desired shape.
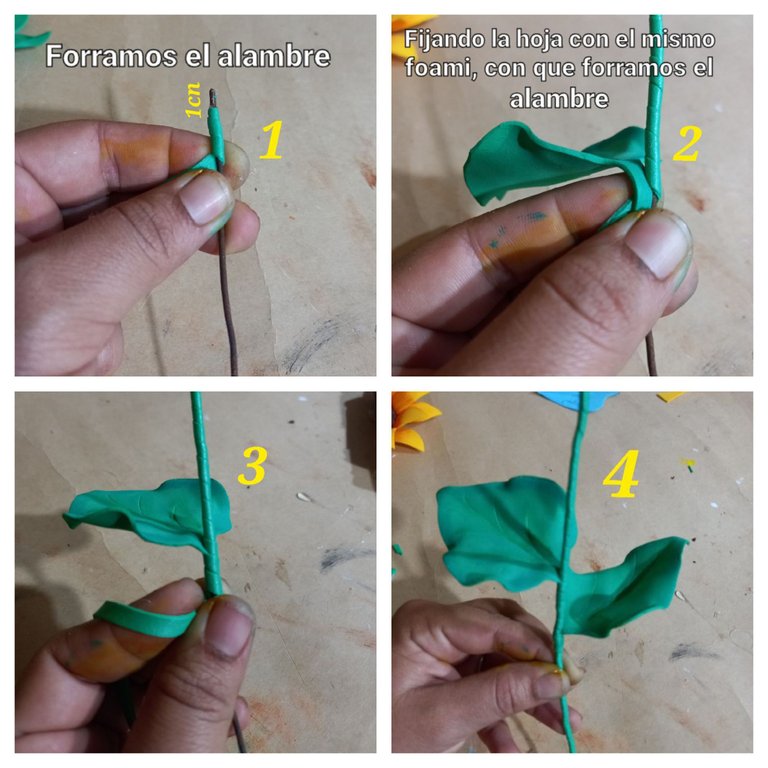
Comenzaremos a forrar nuestro alambre con una tira de aproximadamente 30 cm de largo o la cantidad necesaria para cubrir todo el alambre. En este paso, comenzaremos primero asegurando la punta del foami en el alambre, dejando un pequeño espacio sin cubrir y a medida que vayamos enrollando hacemos una pausa, colocamos una hoja, seguimos enrollando, hacemos otra pausa y colocamos la otra hoja, es decir, nuestras hojas del tallo van a quedar aseguradas con el enrollado que hagamos en el alambre.
We will start lining our wire with a strip of approximately 30 cm long or the amount needed to cover the entire wire. In this step, we will start first securing the tip of the foami on the wire, leaving a small space without covering and as we roll up we make a pause, place a leaf, continue rolling, make another pause and place the other leaf, that is, our leaves of the stem will be secured with the rolled up we make on the wire.
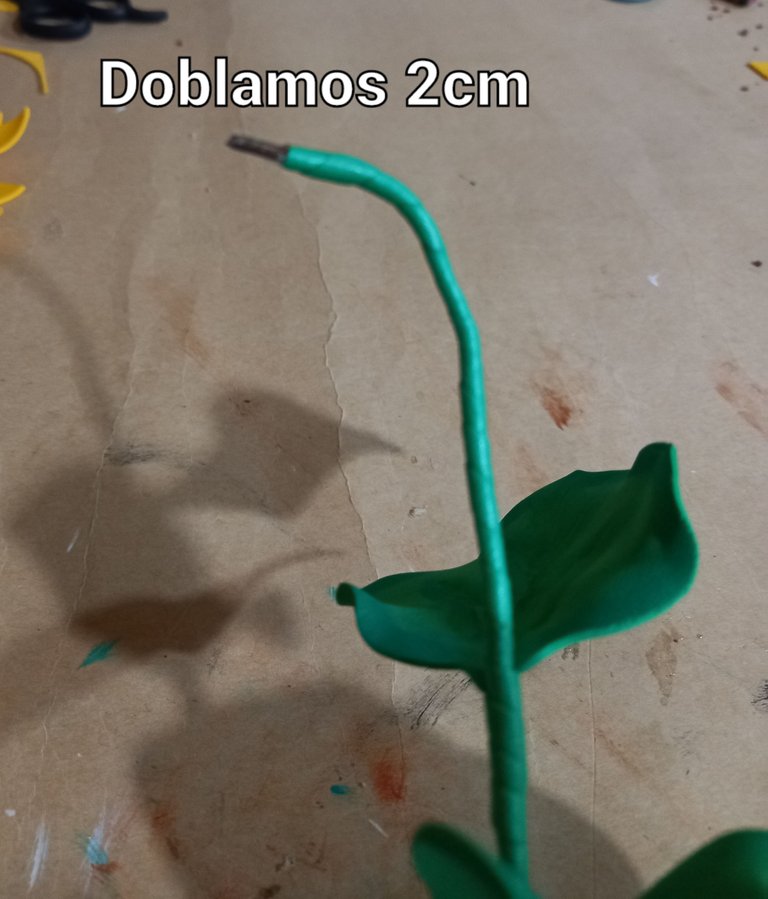
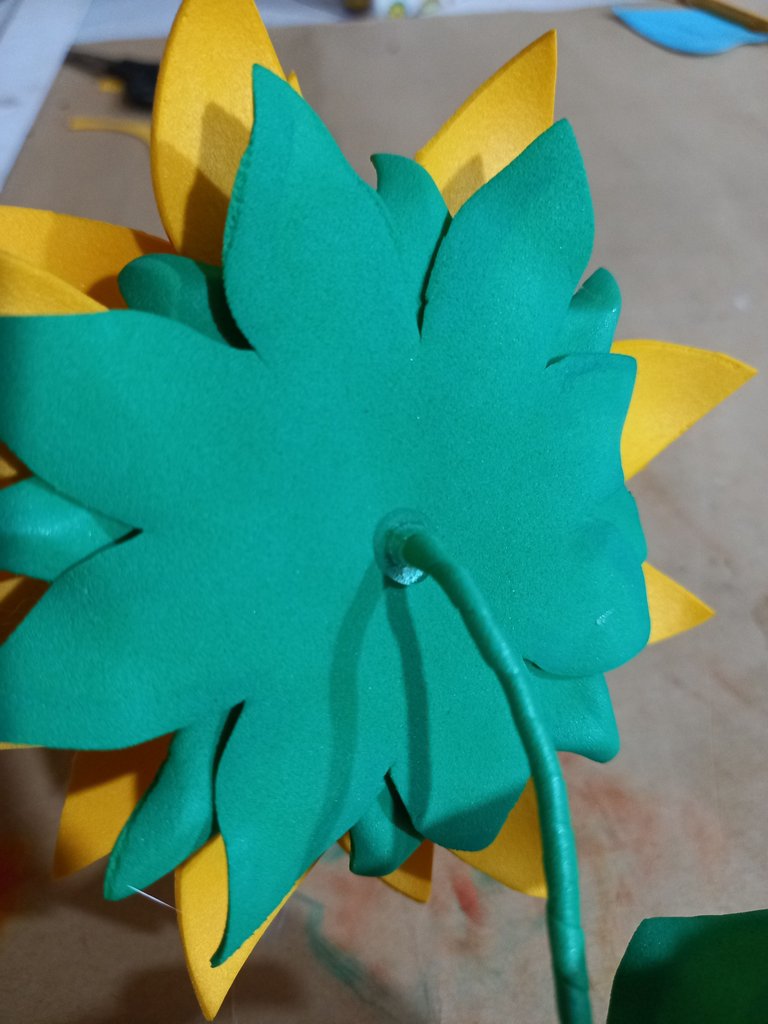
Cuando tengamos nuestro tallo listo con las hojas, procedemos a hacerle un pequeño doblés de 2 cm aproximadamente, aplicamos un poco de silicón en la punta del alambre que quedó sin forrar y lo introducimos por la parte de atrás del girasol.
When we have our stem ready with the leaves, we proceed to make a small bend of approximately 2 cm, we apply a little silicone on the tip of the wire that was left uncovered and we introduce it through the back of the sunflower.
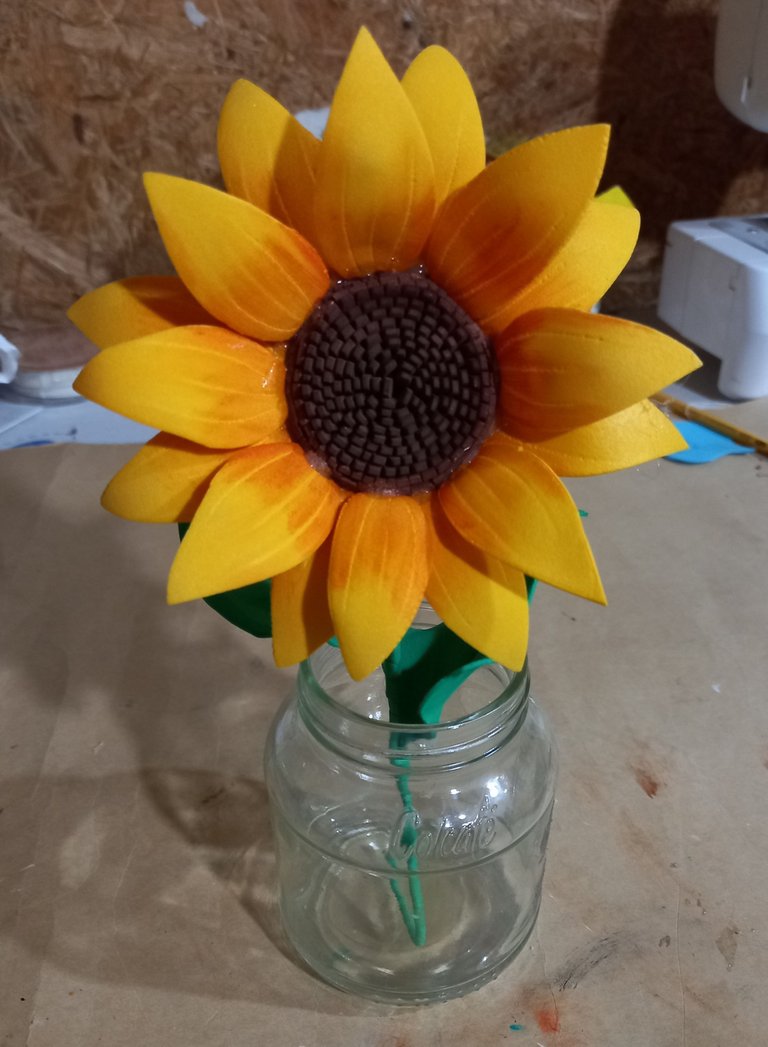
¡Y listo de esta manera ya tenemos listo nuestro girasol , veamos el resultado!
And ready in this way we have our sunflower ready, let's see the result!

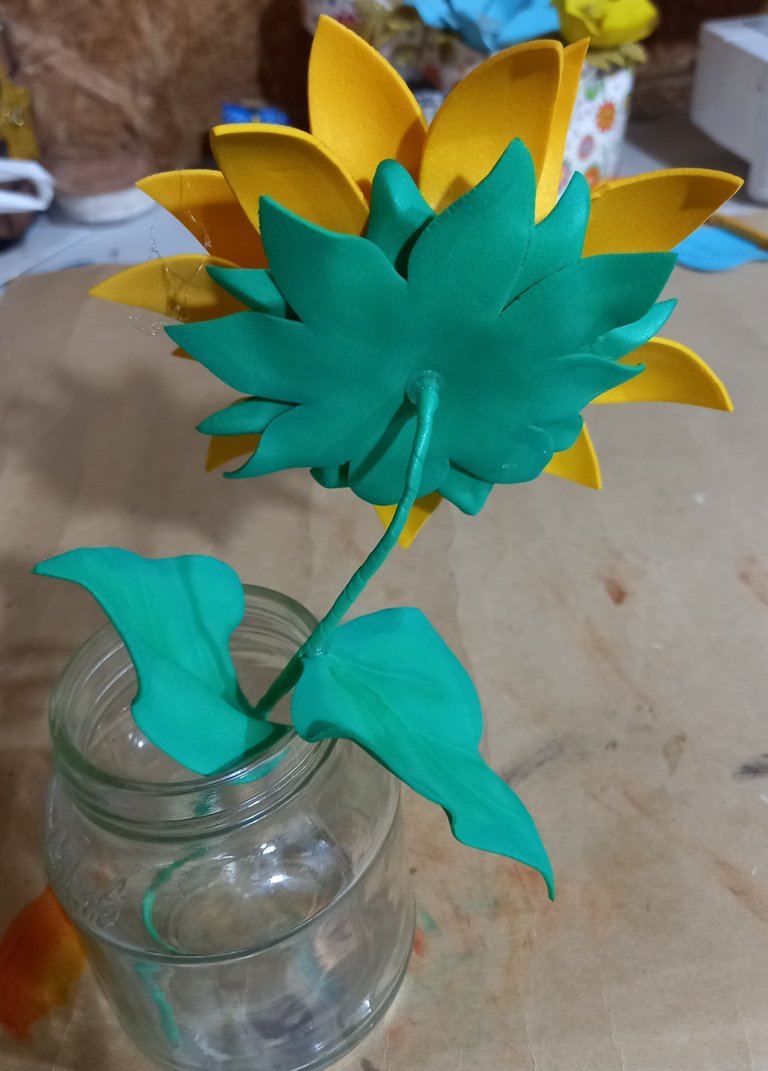
*Espero que este material te haya gustado y haya sido de gran utilidad para proyectos futuros. Que tengan un grandioso día, será hasta otra oportunidad. Dios los bendiga mucho 🙏🏻 💕. *
*I hope you liked this material and that it has been very useful for future projects. Have a great day, will be until another opportunity. God bless you very much 🙏🏻 💕. *
¡Felicidades! Esta publicación obtuvo upvote y fue compartido por @la-colmena, un proyecto de Curación Manual para la comunidad hispana de Hive que cuenta con el respaldo de @curie.
Si te gusta el trabajo que hacemos, te invitamos a darle tu voto a este comentario y a votar como testigo por Curie.
Si quieres saber más sobre nuestro proyecto, acompáñanos en Discord: La Colmena.
Hola, gracias amigos por su valioso apoyo 😊 👍🏻. Que tengan un lindo día. Bendiciones 😊 🙏🏻
Amiga @kathelopez77 te quedó hermoso y hasta realista.
Felicitaciones
Gracias amiguita linda por comentar. Saludos 😊
Te quedaron muy lindos amiga.!!
Gracias corazón. Saludos 😊
Hola @kathelopez77 bello trabajo me encantan los girasoles, vi tu técnica para las líneas yo uso un cautíl o pirograbador a falta de esta herramienta el palillo de altura buena idea gracias por compartir🤗😘
Gracias corazón, si amiga esa es la ventaja de trabajar con el foami, que puedes marcar líneas con objetos de punta, gracias por comentar. Saludos 😊
🤗
Thank you for sharing this amazing post on HIVE!
Your content got selected by our fellow curator @rezoanulvibes & you just received a little thank you via an upvote from our non-profit curation initiative!
You will be featured in one of our recurring curation compilations and on our pinterest boards! Both are aiming to offer you a stage to widen your audience within and outside of the DIY scene of hive.
Join the official DIYHub community on HIVE and show us more of your amazing work and feel free to connect with us and other DIYers via our discord server: https://discord.gg/mY5uCfQ !
If you want to support our goal to motivate other DIY/art/music/homesteading/... creators just delegate to us and earn 100% of your curation rewards!
Stay creative & hive on!
Gracias amigos @diyhub y @rezoanulvibes por siempre apoyar. Que tengan un grandioso resto del día. Saludos 😊 🖐🏻
Congratulations, your post has been upvoted by @dsc-r2cornell, which is a curating account for @R2cornell's Discord Community. We can also be found on our hive community & peakd as well as on my Discord Server
Felicitaciones, su publication ha sido votado por @dsc-r2cornell. También puedo ser encontrado en nuestra comunidad de colmena y Peakd así como en mi servidor de discordia
Gracias queridos amigos de @dsc-r2cornell por la valoración brindada. Saludos y Bendiciones 😊 🙏🏻
Hermosisimo el resultado final😍😍
Gracias amiguita @milagrosmhbl 😊
@kathelopez77 wow😍 awesome 👏👏👏👏👏🏆️🏆️🏆️
Gracias 👍🏻 😊
Siempre es genial ver la manera en que se utilizan estos materiales para hacer creaciones tan geniales como esta flor, que vista desde lejos se ve real.
Gracias por compartir con nosotros su trabajo.
Nuevamente le digo, cuidado con el uso de etiquetas de ballenas.
Gracias estimado amigo @gaboamc2393 por su motivador comentario y por el consejo. Saludos y Bendiciones 🙏🏻🖐🏻
¡Felicidades amiga @kathelopez77! que buena creatividad 👍 💮
Gracias 👍🏻😊
Hermoso @kathelopez77 !!!😊
Gracias 👍🏻 😊