Español.
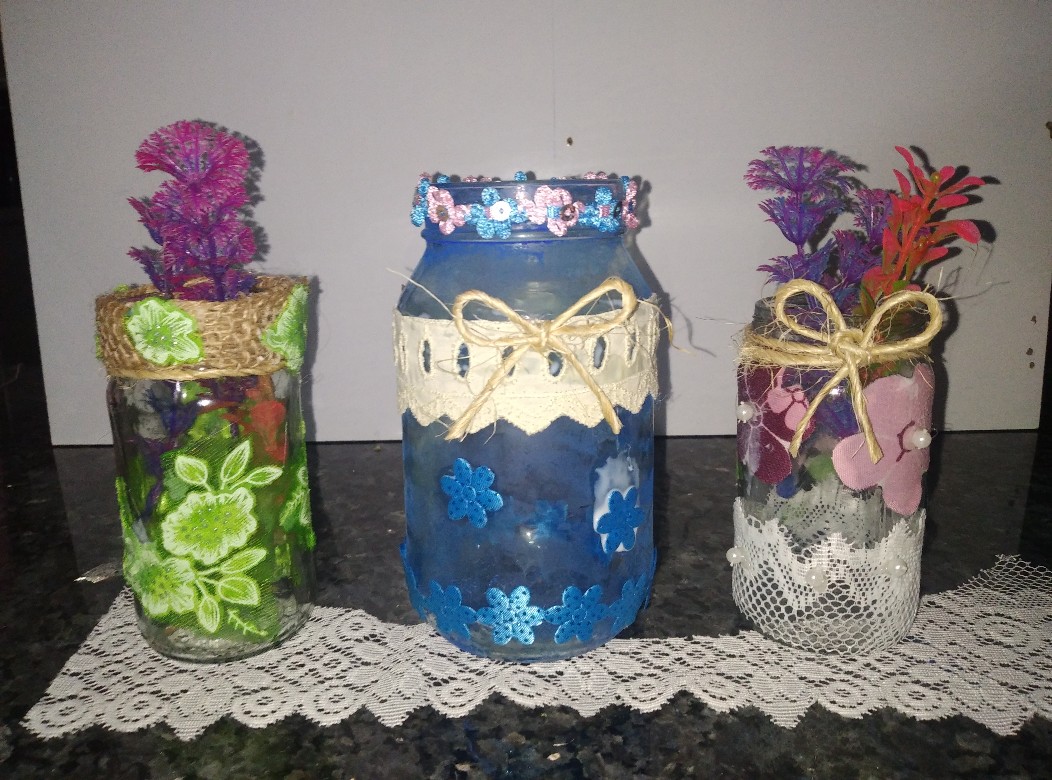
Éxitos infinitos a todos los que hacen vida en esta gran comunidad y muy en especial, a los que participan en el concurso semanal de @HIVEDIY, yo en esta oportunidad me uno a el, con la Decoración de Envases de Vidrio usando la técnica (DECOUPAGE), son ideales para decorar cualquier espacio. La técnica DECOUPAGE, que ha tenido gran trayectoria y deslumbra con su aplicación, siendo usada durante muchas épocas. Es mí primera vez que la pongo en practica, por ello me documente un poco e incluso ví algunos tutoriales, dónde hacen genialidades en decoraciones de espacios y muebles que embellecen los espacios de nuestros hogares, me ha gustado mucho está técnica, y pienso aprender un poco más, para decorar muebles y transformar algunas cosas en casa. Está técnica me hizo recordar mucho, la costumbre de una tía que usaba a media pared papel tapiz, y yo decore los cuartos de mis hijos pero usando la cinta de tapiz para separar los colores de la pared, se veía geniales, sin más les cuento.
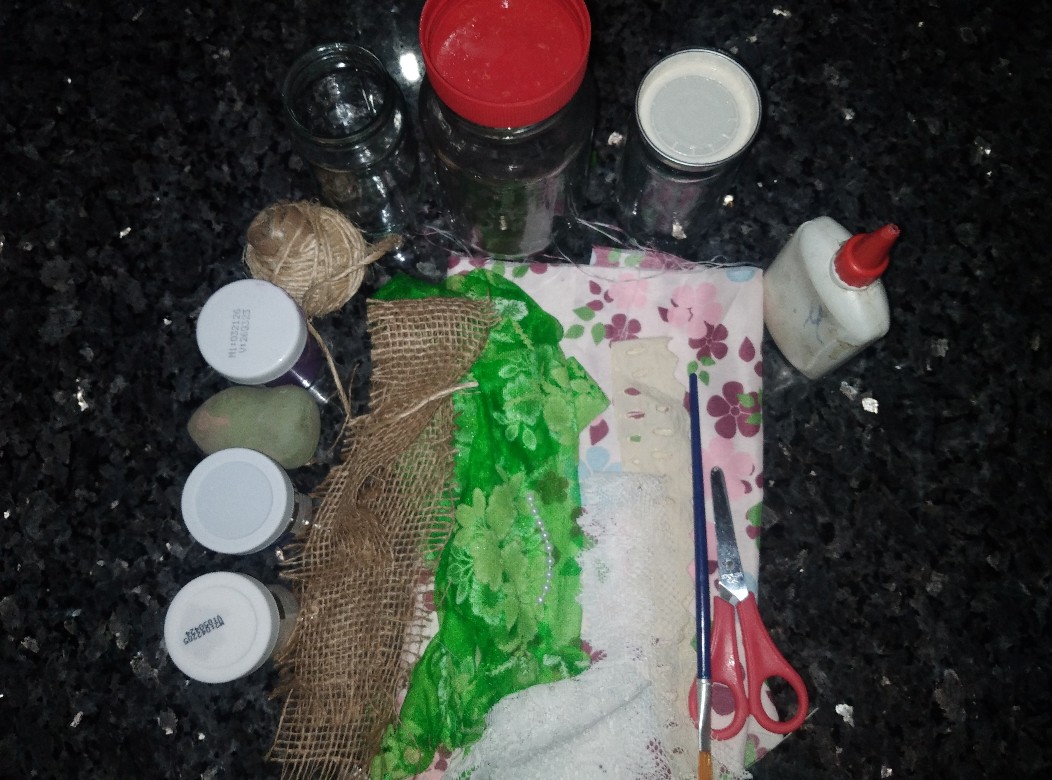
Materiales:
. Envases de vidrio de diferentes tamaños.
. Telas estampadas
. Encajes
. Tela de yute
. Mecatillo
. Pintura al frío
. Pegamento o cola blanca
.tijera
. Pinceles
. Cinta de florescorridas color azul.
. Esponjas
. Perlitas
. Silicón caliente
            Pasos:

     Envases 1 y 2
Para ellos tome los envases más pequeños: luego de esterilizarlo y secarlos
1.) Recortó con la tijera, las aplicaciones que forman el estampado de las telas, empajeeo muy bien para eliminar el residuo.
Envase 1
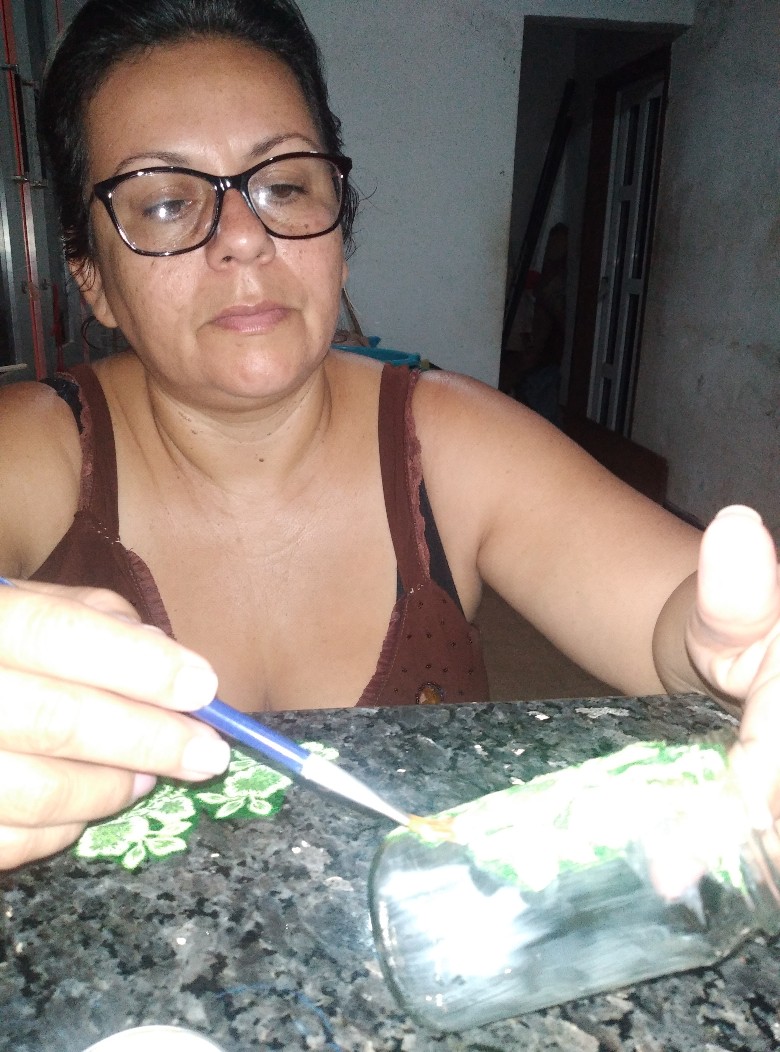
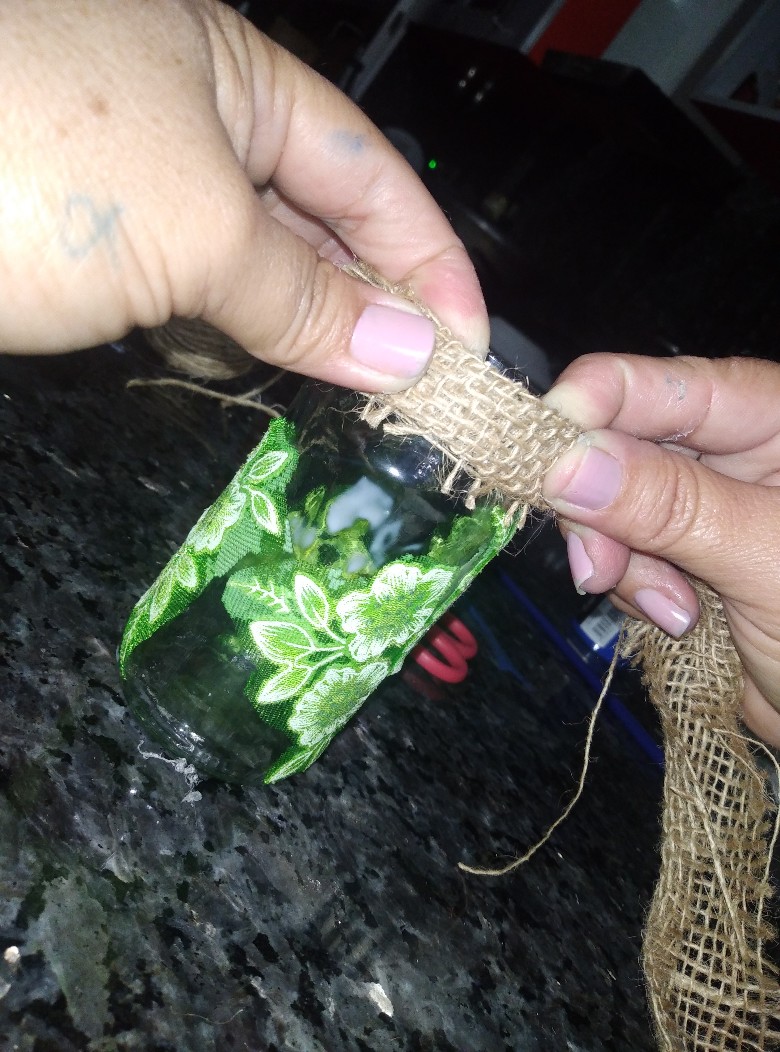
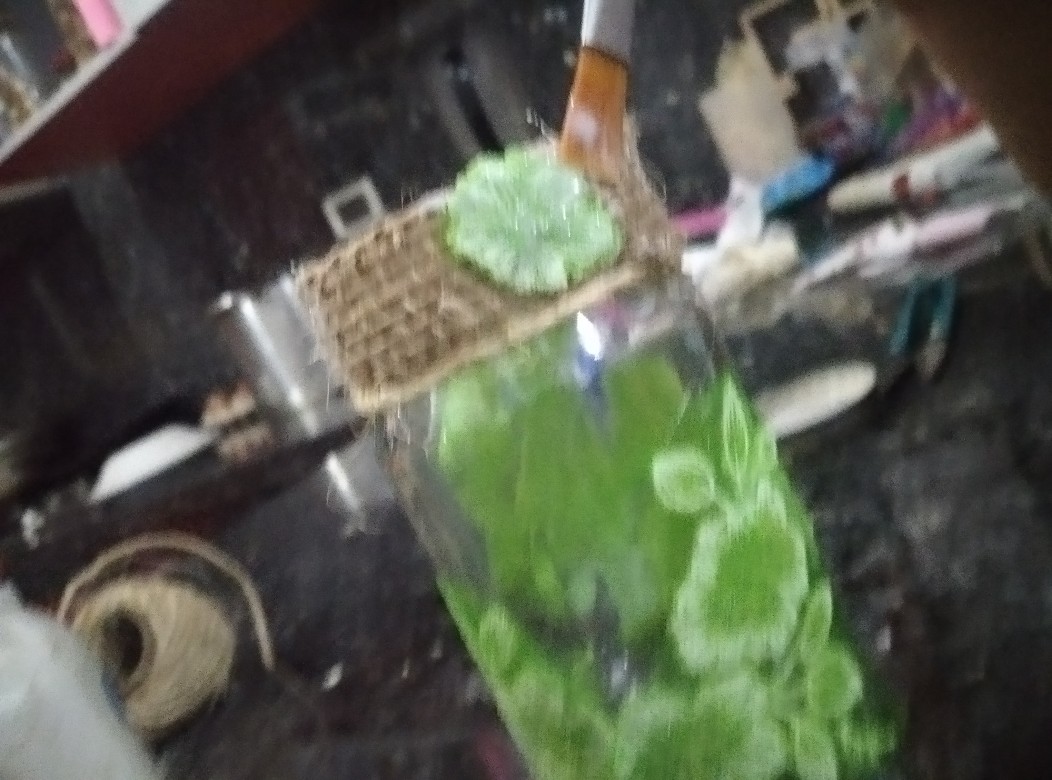
1.) Cubro completamente el vaso con abundante pegamento, para este escojo la tela de color verde, y pego las aplicaciones de tela, alternando las para que tengan armonía, luego en el borde superior aplico mucho más pegamento y pego un listos de tela de yute.
2.) Para hacer más constate pego sobre el liston de yute algunas aplicaciones de mismo color y remarcó con pintura color blanca y pincel los detalles de las flores.
3.) Por debajo de la tela de yute pego además una tira de mecatillo.
4.) Para finalizar este primer vaso pongo nuevamente abundante pegamento y dejo secar un tiempo prudente
Vaso 2
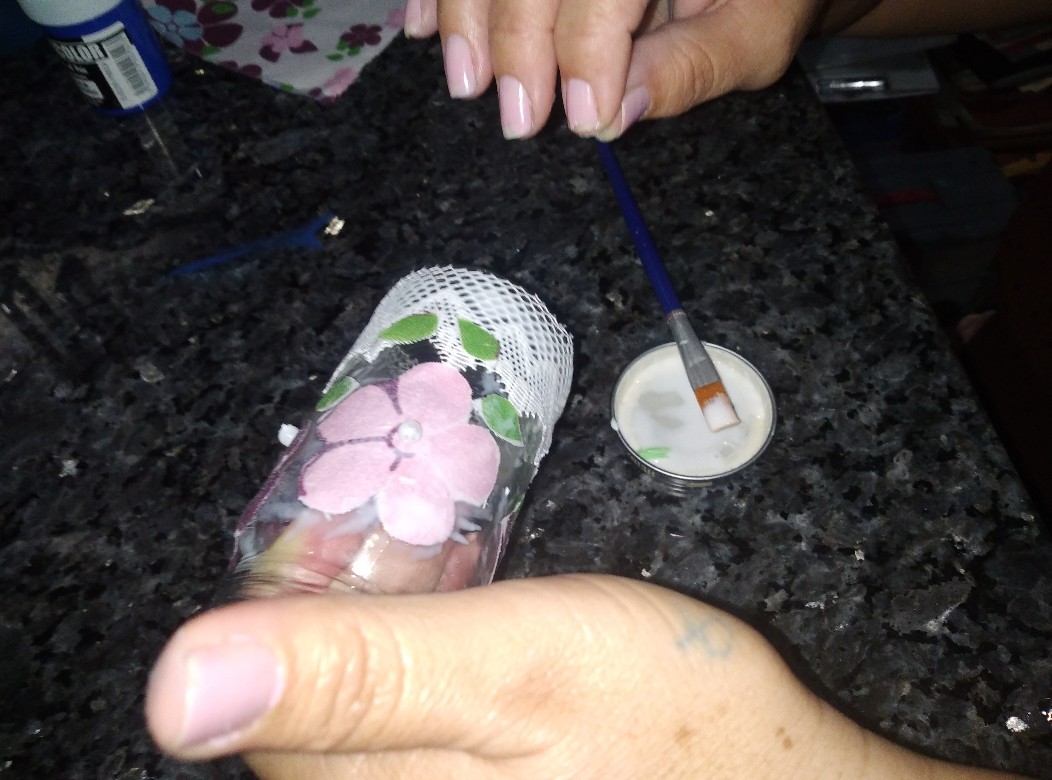
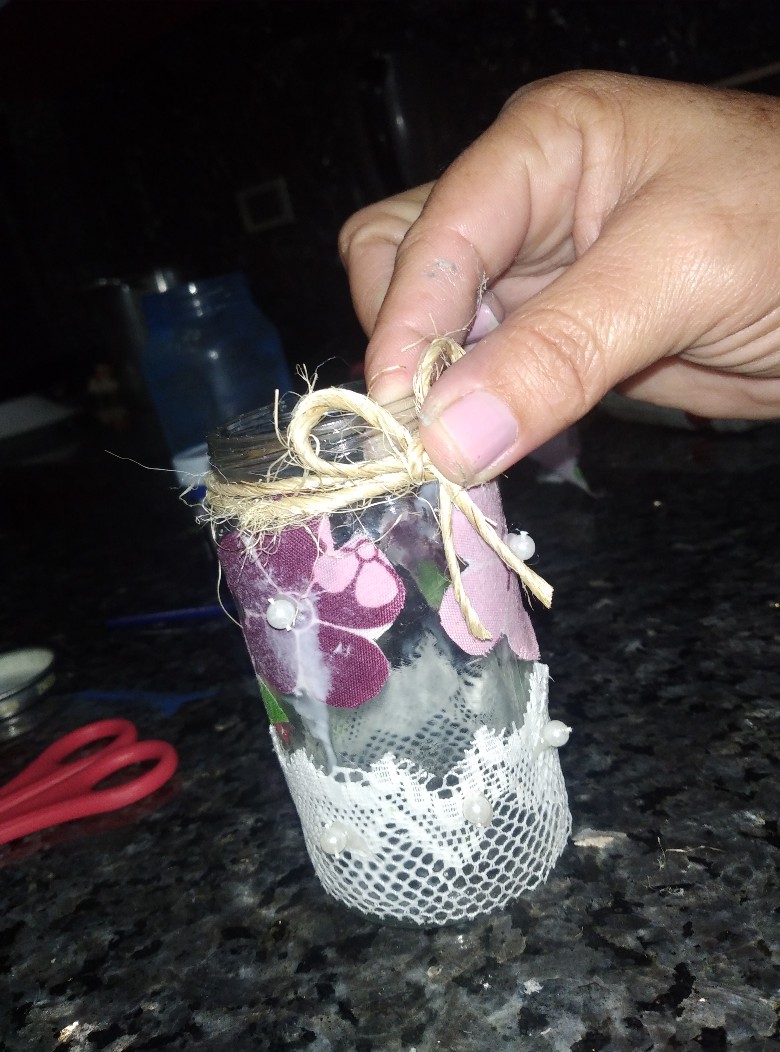
1.) Aplico abundante pegamento al siguiente envase e inicio pegando en la parte inferior un lindo encaje color blanco y en el reto de el envase pego las flores de diferentes colores y tamaños, de igual forma pego las aplicaciones y hojas.
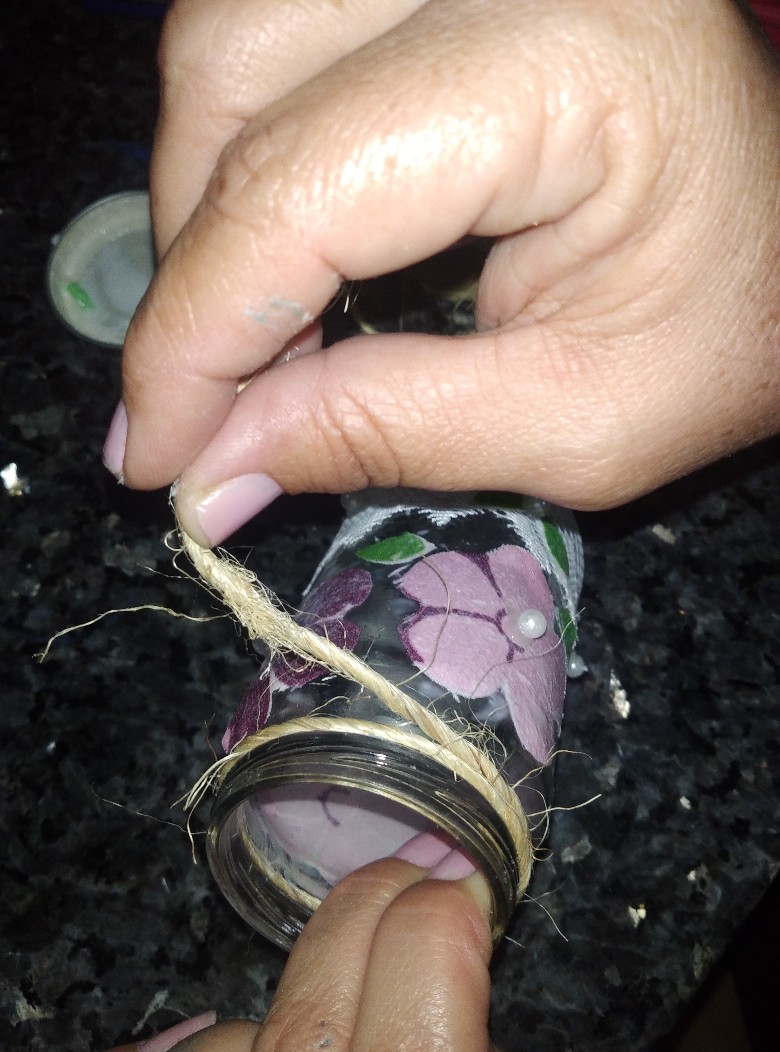
2.) En el borde superior de el envase aplico nuevamente pegamento y doy dos vueltas con el mecatillo, hago un pequeño lazo de mecatillo y pego para definir el lado frontal de el envase decorador.
3.) Pego en el centro de las flores y sobre el encaje algunas perlitas para dar vistosidad, para ello use una pequeña puntada de silicón caliente, aunque no se muestra en los materiales, improvece, ya que no fue fácil sostener las perlitas con la pegamento líquido.
4.) Nuevamente igual que al envase anterior pongo un poco más de pegamento y dejo secar.
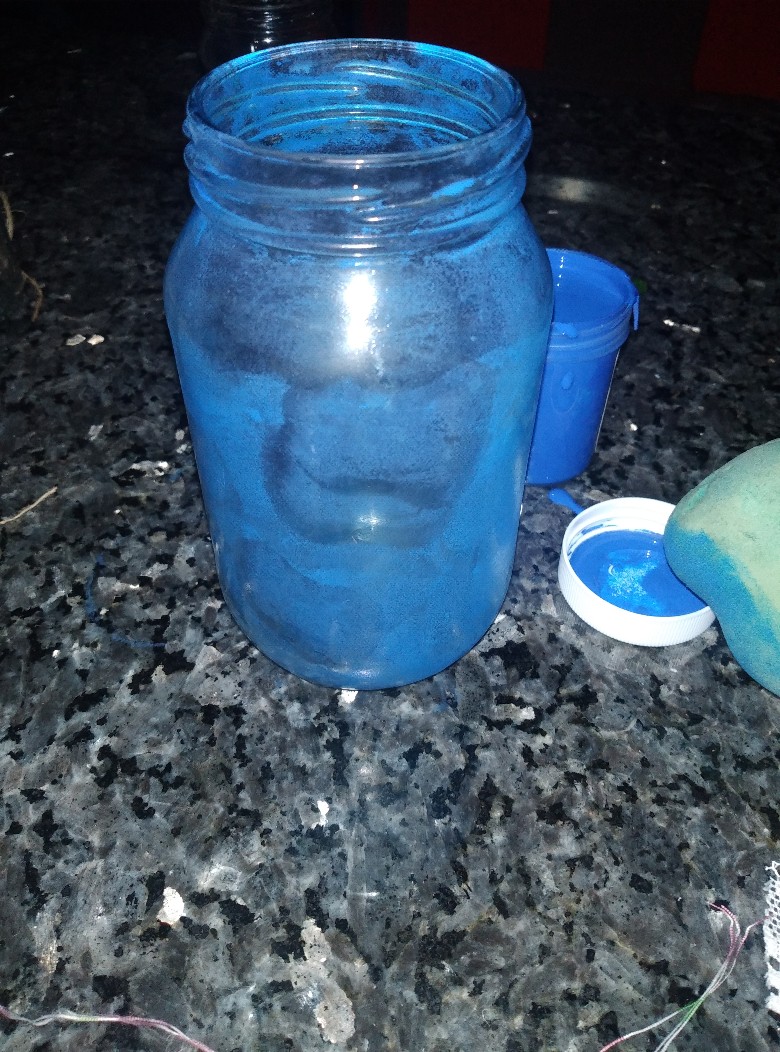
Envase 3
Este es el de mayor tamaño dentro de los envases.
1.) Con la esponja, esparzo un poco de pintura azul en total la superficie de el envase, y dejo secar el tiempo necesario.
2.) Mientras espero el secado, desprendió de la cinta de flores color azul las flores.
3.) Pongo pegamento a todo el alrededor de el envase, un poco más abajo del borde superior y pego el encaje pasa cintas de tela.
4.) Luego aplico pegamento en la zona donde pegare las flores y el restante de esta cinta pego en el pie o borde inferior del envase.
5.) Armó un lazo de mecatillo y pego en el frente del envase y en el borde superior pego una delicada cinta de flores de rabo de ratón de colores azul y rosado.
6.) Pongo pegamento sobre las aplicaciones, de el encaje y de las cintas usadas en el y dejo seque.
.Las fotos presentadas en la portada son de el día anterior, es decir luego de haber secado por completo el pegamento.
. Todas las fotos son de mí propiedad tomadas durante la ejecución de el proyecto con mí teléfono inteligente y con ayuda de mí hija.
. Use traductor Google.
Me agrado mucho este concurso y de igual manera está técnica, que no había usado antes para decorar. Agradezco hayas visitado mí blog.
Fuentes.
https://espaciohogar.com/decoupage-tecnicas-decorativas/
(Engles)
Infinite successes to all those who make life in this great community and very especially, to those who participate in the weekly @HIVEDIY contest, this time I join him, with the Decoration of Glass Containers using the technique (DECOUPEGE ), are ideal for decorating any space. The DECOUPEGE technique, which has had a long history and dazzles with its application, being used for many ages. It is my first time that I put it into practice, so I documented myself a little and I even saw some tutorials, where they do genius in decorations of spaces and furniture that beautify the spaces of our homes, I really liked this technique, and I plan to learn a little more, to decorate furniture and transform some things at home. This technique made me remember a lot, the custom of an aunt who used wallpaper half the wall, and I decorated my children's rooms but using the wallpaper tape to separate the colors of the wall, it looked great, without further ado I tell you .
Materials:
. Glass containers of different sizes.
. Patterned fabrics
. lace
. jute cloth
. mecatillo
. Cold paint
. White glue or glue
.scissors
. Brushes
. Blue flower ribbon.
. sponges
. pearls
. hot silicone.
Container 1
1.) I completely cover the glass with abundant glue, for this I choose the green fabric, and I paste the fabric applications, alternating them so that they have harmony, then on the upper edge I apply much more glue and I paste a list of fabric of jute.
2.) To make it more consistent, paste some applications of the same color on the jute ribbon and highlight the details of the flowers with white paint and brush.
3.) Underneath the jute fabric I also glue a strip of string.
4.) To finish this first glass, I put abundant glue again and let it dry for a reasonable time.
Glass 2
1.) I apply plenty of glue to the next container and start by gluing a beautiful white lace to the bottom and in the challenge of the container I paste the flowers of different colors and sizes, in the same way I paste the applications and leaves.
2.) On the upper edge of the container I apply glue again and make two turns with the mecatillo, make a small loop of mecatillo and glue to define the front side of the decorator container.
3.) I paste some pearls in the center of the flowers and on the lace to give it an eye-catching effect, to do this I used a small stitch of hot silicone, although it is not shown in the materials, it improves, since it was not easy to hold the pearls with the liquid glue.
4.) Again the same as the previous container I put a little more glue and let it dry.
Container 3
This is the largest in the packs.
1.) With the sponge, I spread a little blue paint on the entire surface of the container, and let it dry as long as necessary.
2.) While I wait for it to dry, I peeled off the flowers from the blue flower tape.
3.) I put glue all the way around the container, a little below the top edge and glue the lace through fabric ribbons.
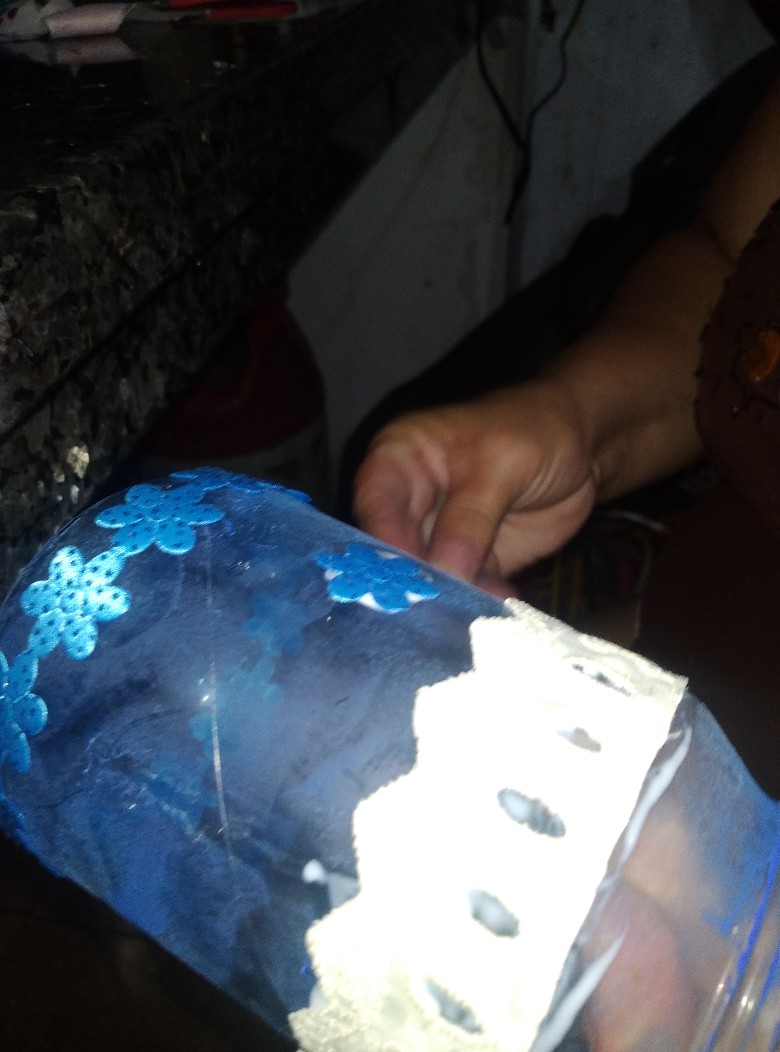
4.) Then I apply glue in the area where I will stick the flowers and the rest of this tape I stick on the foot or bottom edge of the container.
5.) I made a mecatillo bow and glued it to the front of the container and to the top edge I glued a delicate ribbon of blue and pink mousetail flowers.
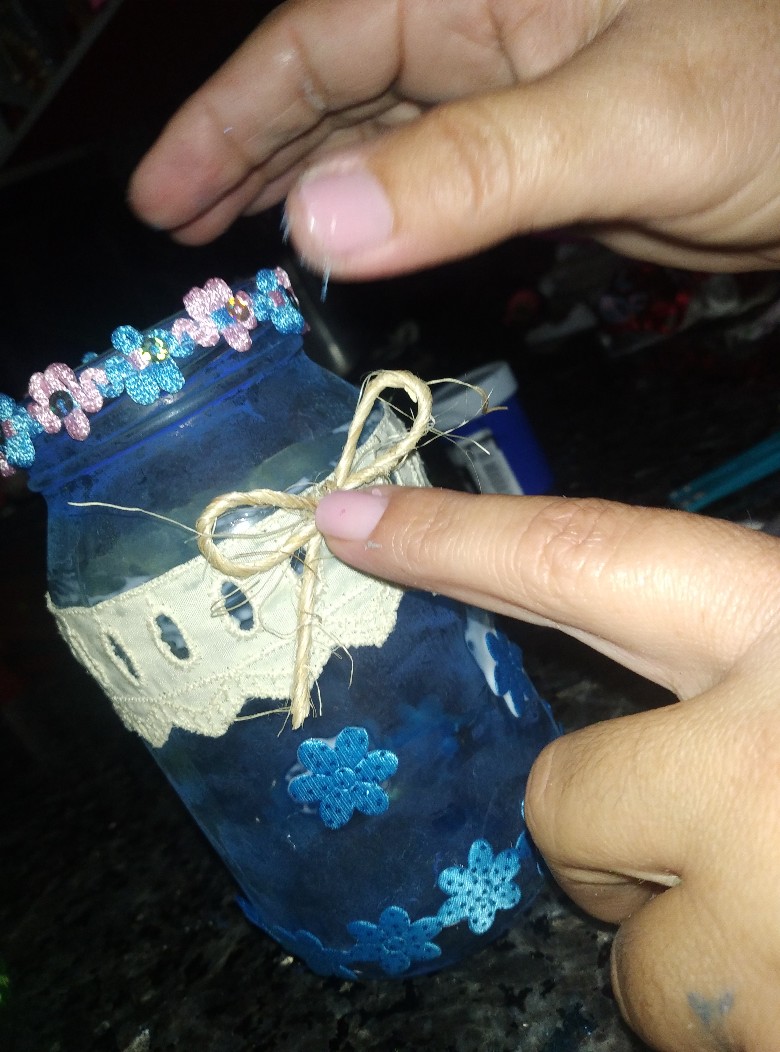
6.) I put glue on the appliqués, of the lace and of the ribbons used in it and let it dry.
Referenc and fuent.
https://espaciohogar.com/decoupage-tecnicas-decorativas/
The photos presented on the cover are from the day before, that is, after the glue has dried completely.
. All the photos are my property, taken during the execution of the project with my smartphone and with the help of my daughter.
. Use Google translate.
I really liked this contest and in the same way this technique, which I had not used before to decorate. I appreciate you visiting my blog.
Un trabajo muy lindo y sin duda lo disfrutaste mucho. Gracias por compartir y suerte en el concurso 🤞🏼😉.
🎆🎇🎉🎊🌧️💐✨🌾🌱🌹🌙🌿🍃🥀⚡🌺☘️🍀🌈🌷⭐🪴🌵🌸🌟💮🌴🌳💫☀️💮☔🌲🌳🌍🌌🌠☄️🏵️🐝🌻🌼🍄🐞🦋💙☕💜🍍🎆🎇🎉🎊
@chancald.dcmt(69), agradecida me hayas visitado y mucho más por tu comentario...besitos
Te han quedado muy lindos estos envases y lo mejor, con material accesible. Que lindo que te hayas motivado a investigar y ejecutar la técnica. Encuentro que es muy bonita y versátil para las decoraciones. Muchisimas gracias por compartir tu publicación. Te deseo éxito en el concurso! Un abrazo de vuelta!.
Agradecida con su comentario querida amiga @marybellrg(73). Abrazos.
Hola @katiuskamata, nunca he intentado aplicar la técnica de esa manera, pero luce muy bonita.
Gracias por compartir su técnica, y mucha suerte en el concurso... 💕
Gracias amiga, adoro tu comentario...abrazos
Es una original forma de aplicar esta técnica, nunca la había hecho y puedo apreciar a través de tu proyecto que queda igual de genial. Muchas gracias por participar en nuestro concurso.
En efecto amistad, así tal cual lo describes, disfrute esto...participar fue un gran gusto...muy agradecida con su apoyo...abrazos.
Excelente trabajo @katiuskamata, me encanto tu creatividad en esta técnica, gracias por compartir y ¡Felicidades! 😉