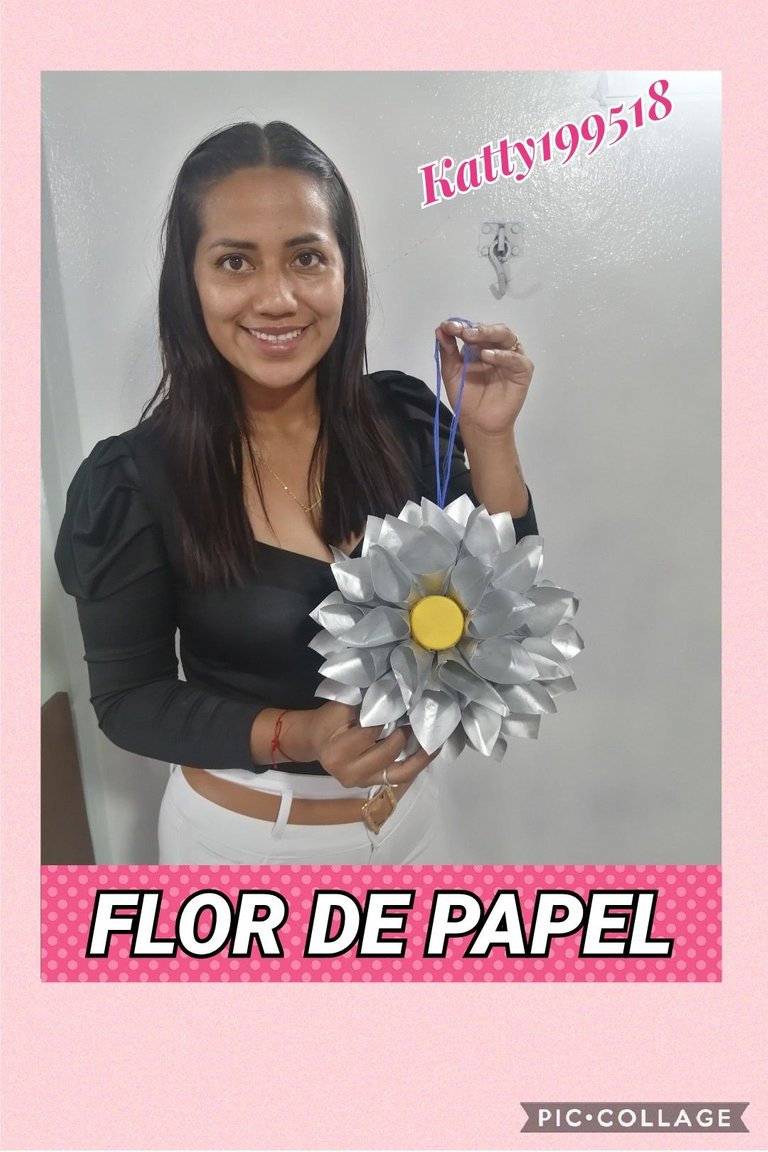
Hola mis apreciados amigos hivers, espero que estén pasando un lindo día , me emociona poder compartir con ustedes mi participación en el Creative Recycling Challenge # 14 || ¡ES HORA DE RECICLAR! || ¡Juntos creamos conciencia!, de @jennyzer, aprovechando que tengo muchas hojas con material impreso que ya no sirven, las voy a utilizar para realiza Una Bella Flor en 3d. Agradeciendo de antemano la invitación realizada por mi amiga @kathelopez77.
Hello my dear friends hivers, I hope you are having a nice day, I am excited to share with you my participation in the Creative Recycling Challenge # 14 || IT'S TIME TO RECYCLE! || Together we create awareness! by @jennyzer, taking advantage that I have many sheets with printed material that are no longer useful, I will use them to make a beautiful 3d flower. Thanking in advance the invitation made by my friend @kathelopez77.
Los materiales que utilizaremos, son los siguientes:
- Cola escolar blanca.
- Hojas de papel bond usadas.
- Lápiz.
- Regla.
- Cartón
- Tijeras.
- Spray.
The materials we will use are the following:
- White school glue.
- Used sheets of bond paper.
- Pencil.
- Ruler.
- Cardboard.
- Scissors.
- Spray.
¡ACOMPÁÑAME EN ÉSTE PASO A PASO!
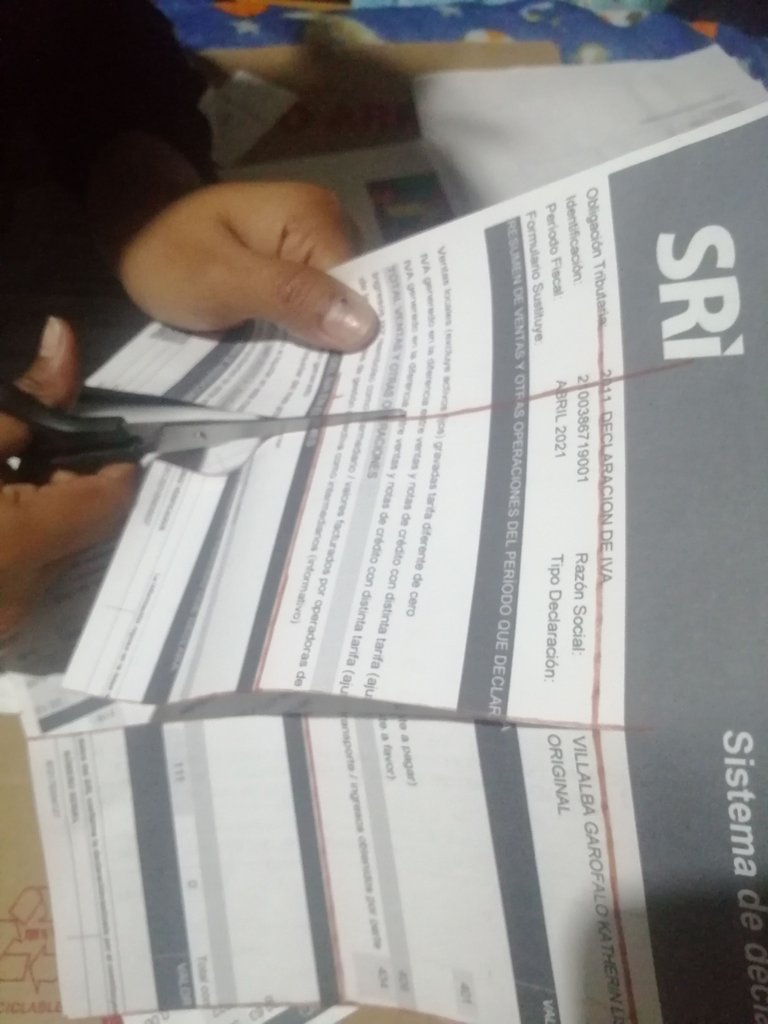
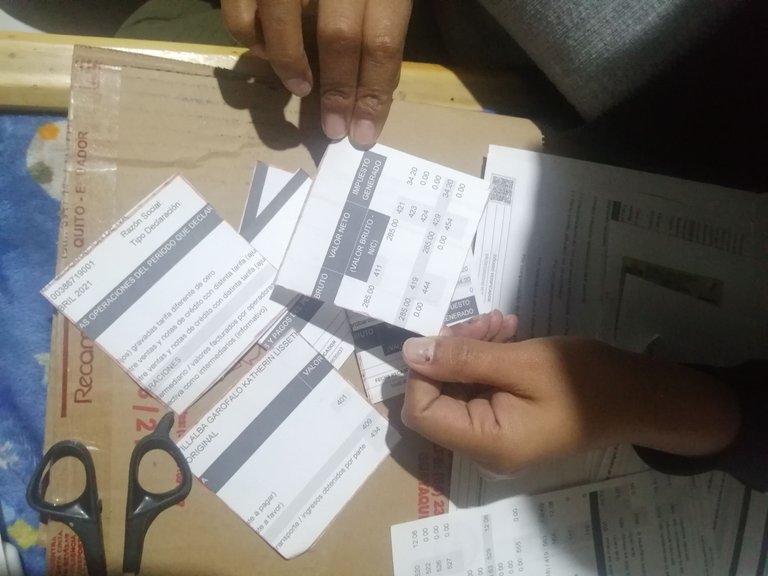
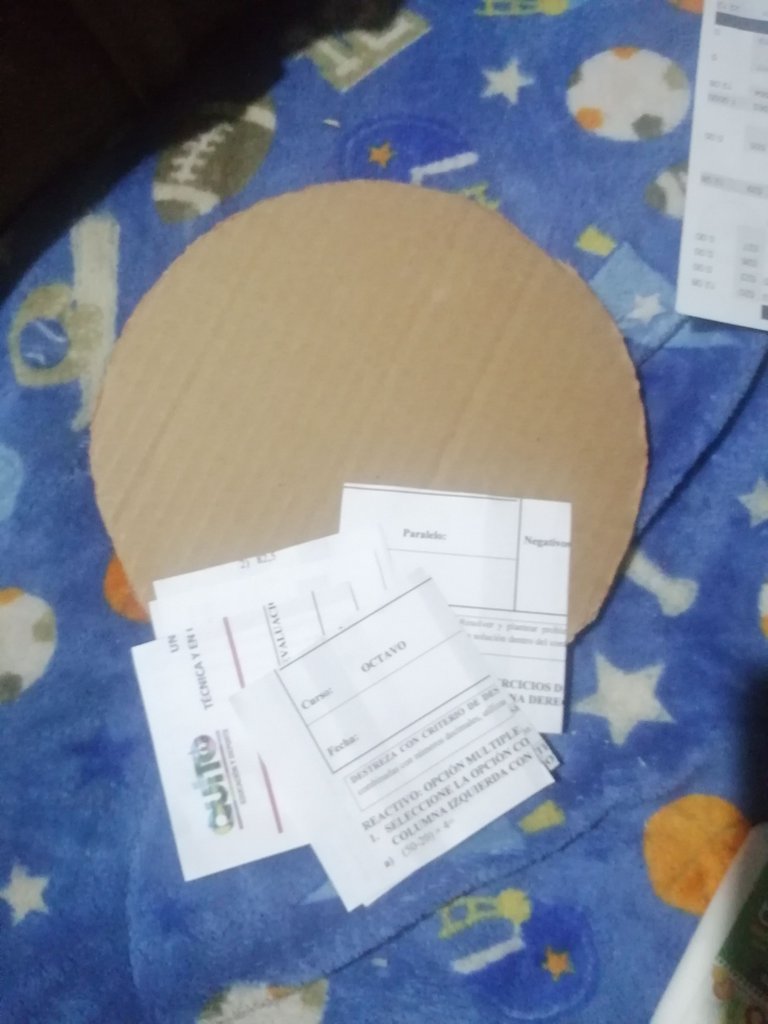
PASO 1:
Recorta cuadros de papel de 8×8
STEP 1:
Cut out 8×8 squares of paper.
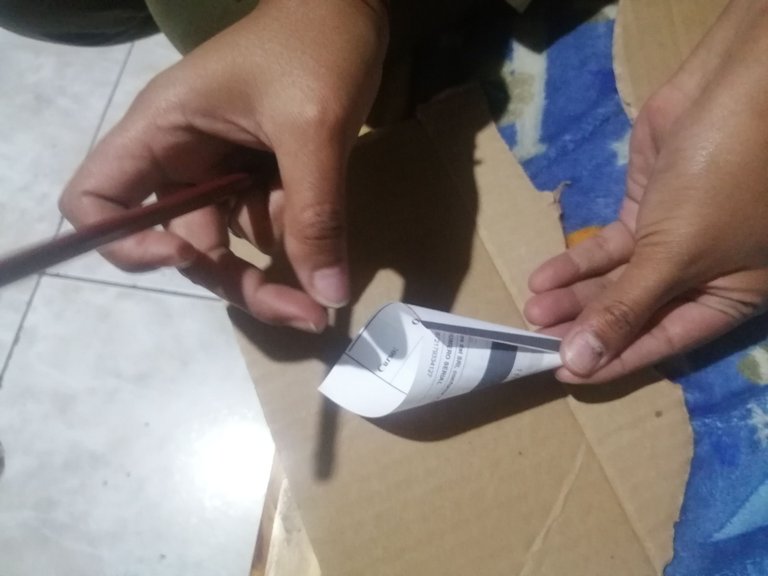
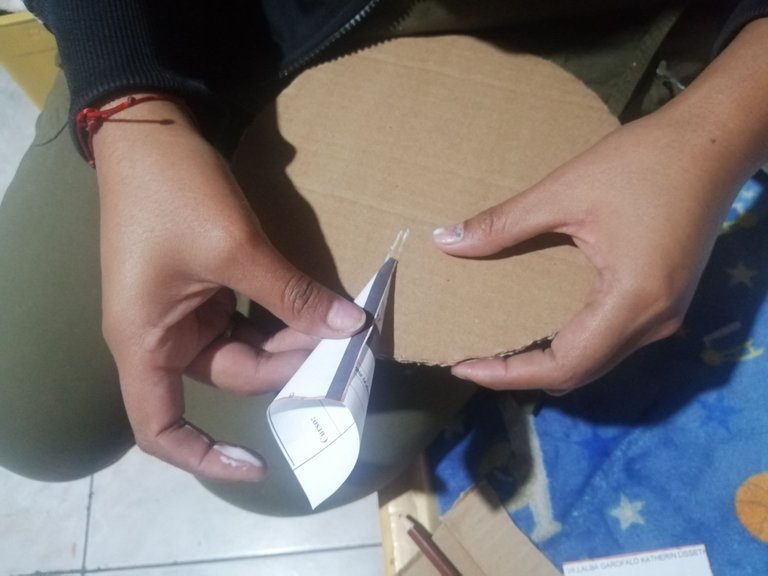
PASO 2:
Realiza conos con los cuadros.
STEP 2:
Make cones with the squares.
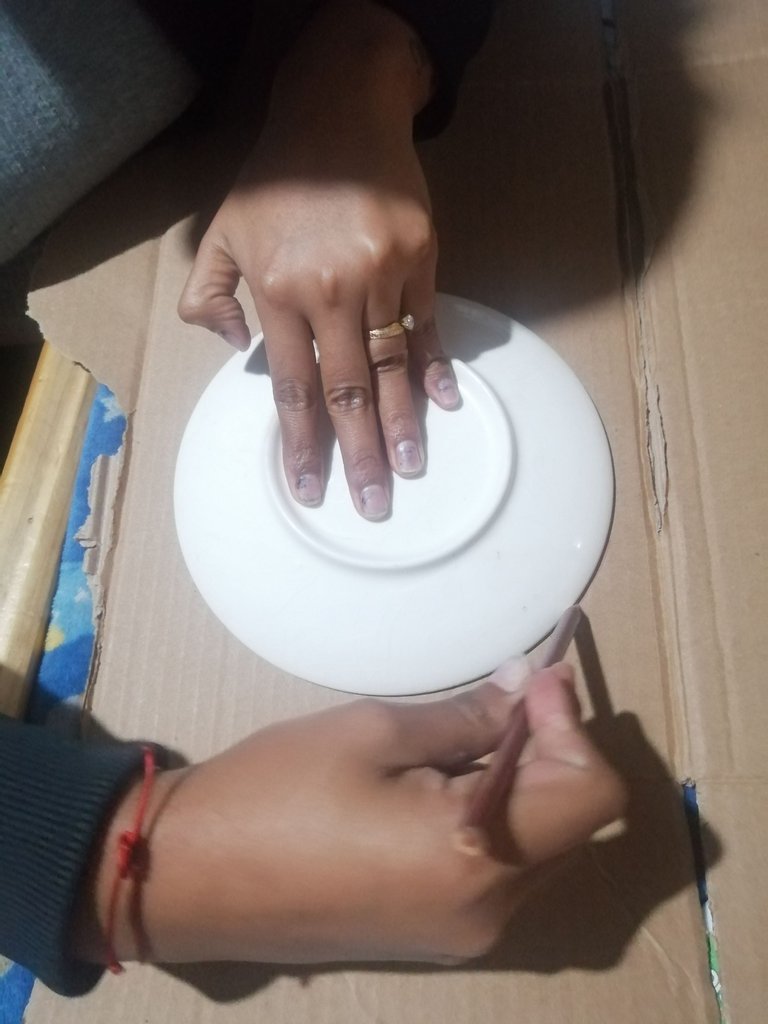
PASO 3:
Con la ayuda de un objeto redondo, marca un círculo del tamaño que desees sobre el cartón y recorta.
STEP 3:
With the help of a round object, mark a circle of the desired size on the cardboard and cut out.
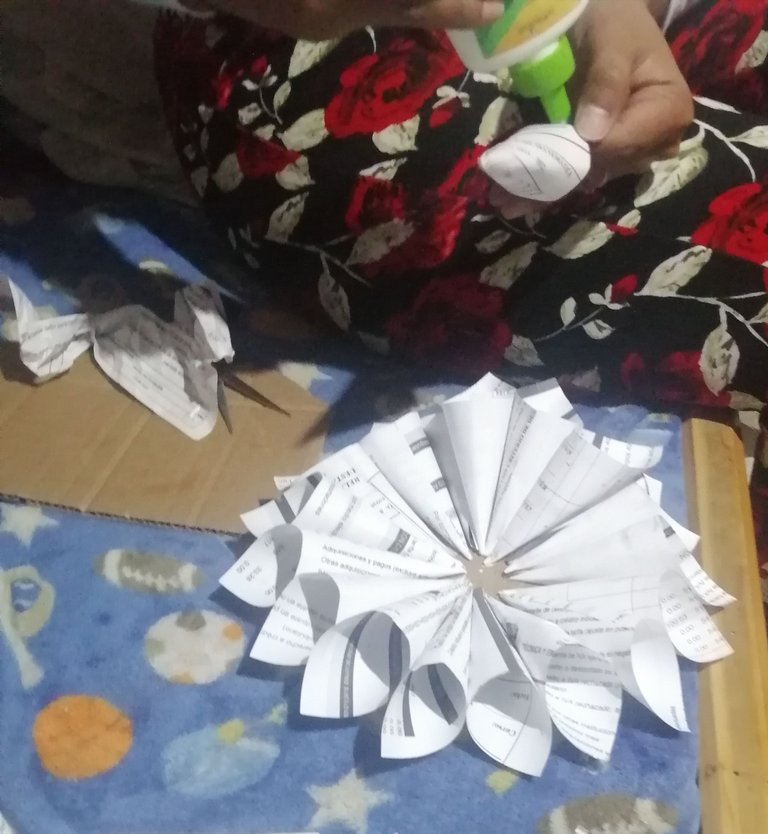
PASO 4:
Pega los conos en el círculo de cartón comenzando desde los bordes hacia dentro, hasta cubrirlo todo.
STEP 4:
Glue the cones onto the cardboard circle starting from the edges and working inwards, until all the cones are covered.
PASO 5:
Pinta todo con spray del color que desees.
STEP 5:
Spray paint everything with the color of your choice.

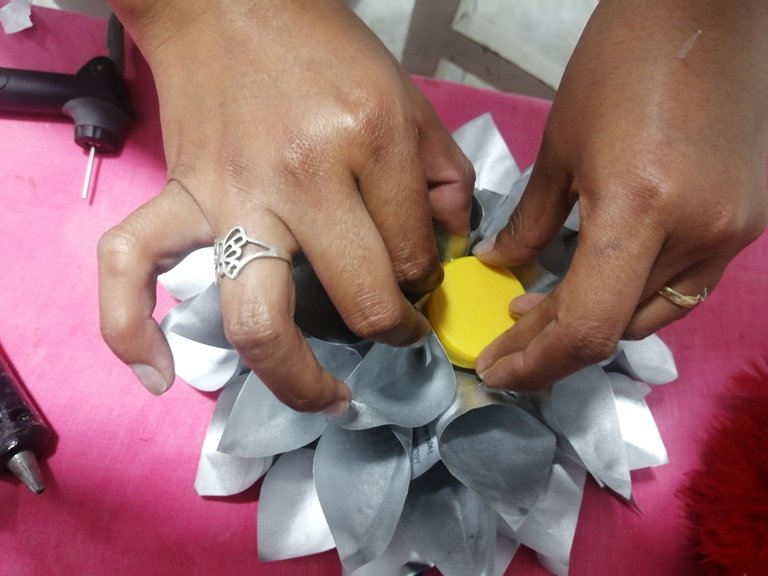
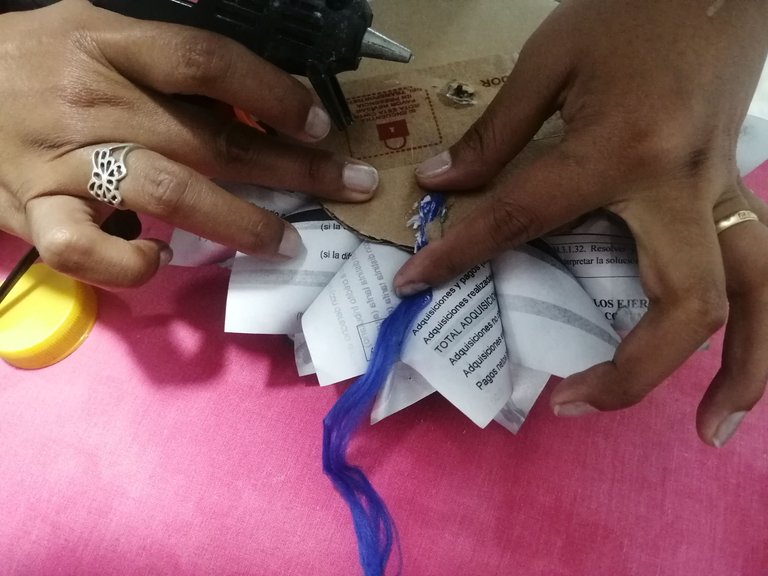
Por último pega una tapa en el centro de la flor y por la parte trasera de la misma ,pega un pequeño cordón para colgarla.
Finally, glue a lid in the center of the flower and on the back of the flower, glue a small cord to hang it.
Hasta otra oportunidad amigos. Saludos 🤗
Until another opportunity friends. Greetings 🤗.
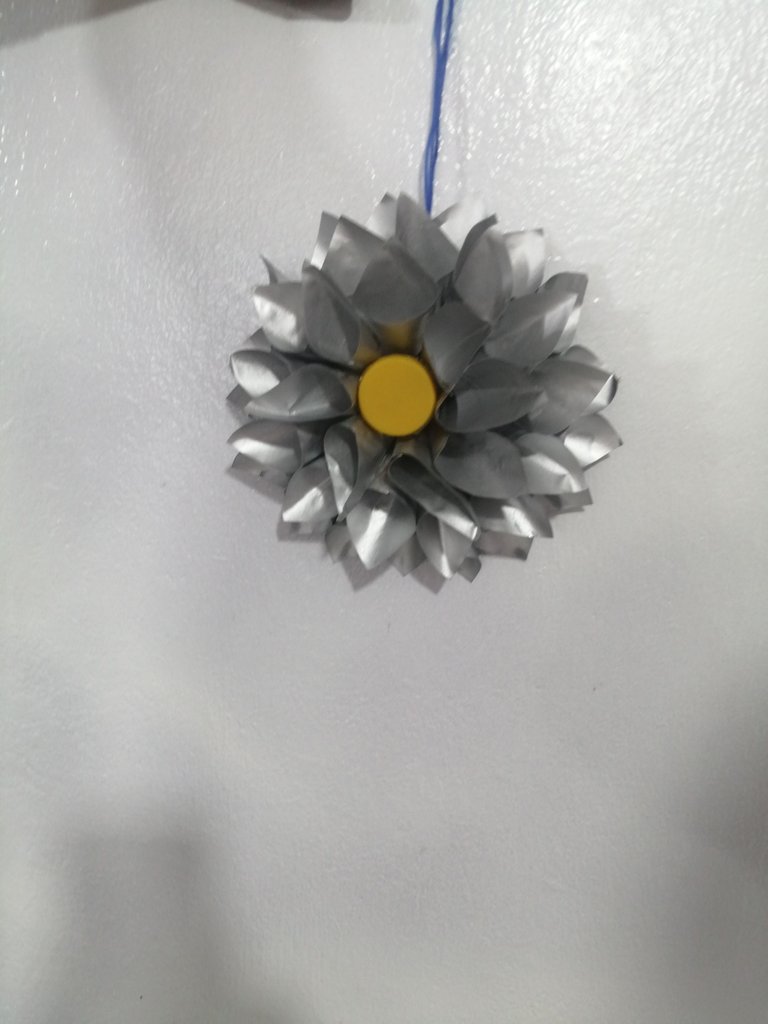
Con ese acabado plateado no se distingue que el material es papel, me gusta esta creación para decorar en navidad, económico, festivo y reciclado, gracias por formar parte de esta edición.