
 )
)Hola mis queridos lectores de esta comunidad, espero que se encuentren bien y que tengan o hayan tenido un excelente y bendecido día.
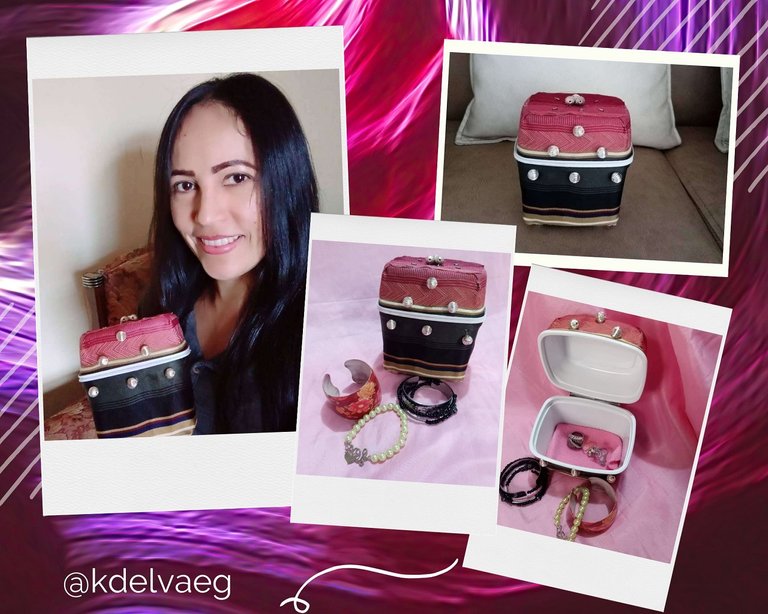
El día de hoy quiero mostrarle como realice, de manera rápida y sencilla un joyero, lo mejor de todo es que lo realice con material reciclado y que son ideales para darle un uso diferente para el que fue creado.
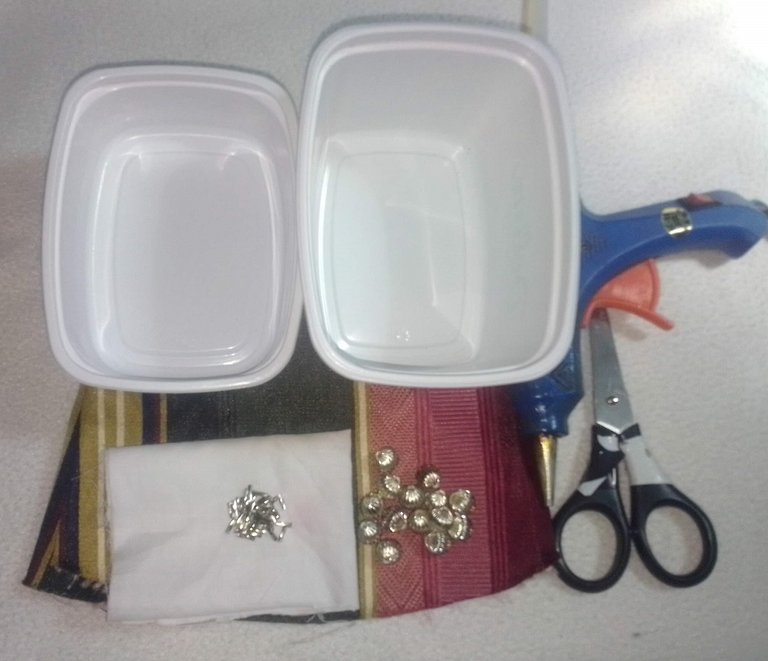
| 2 Envases vacios, uno pequeño y uno grande |
| Tijera |
| Lápiz |
| Silicon |
| Cuentas para decorar |
| Retazo de tela |
Procedimiento:
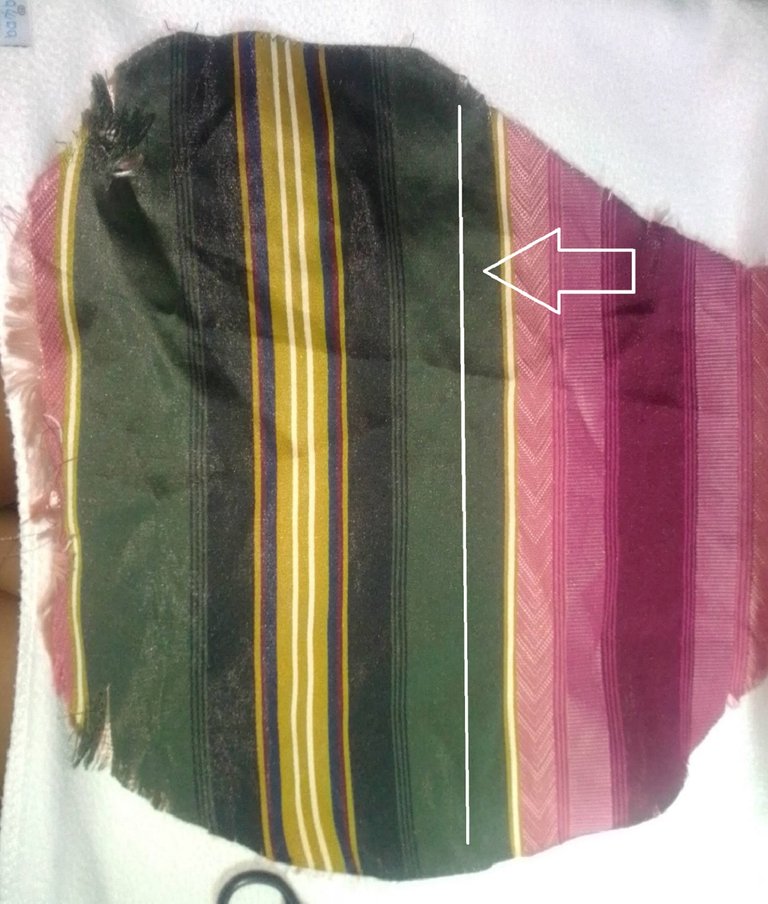
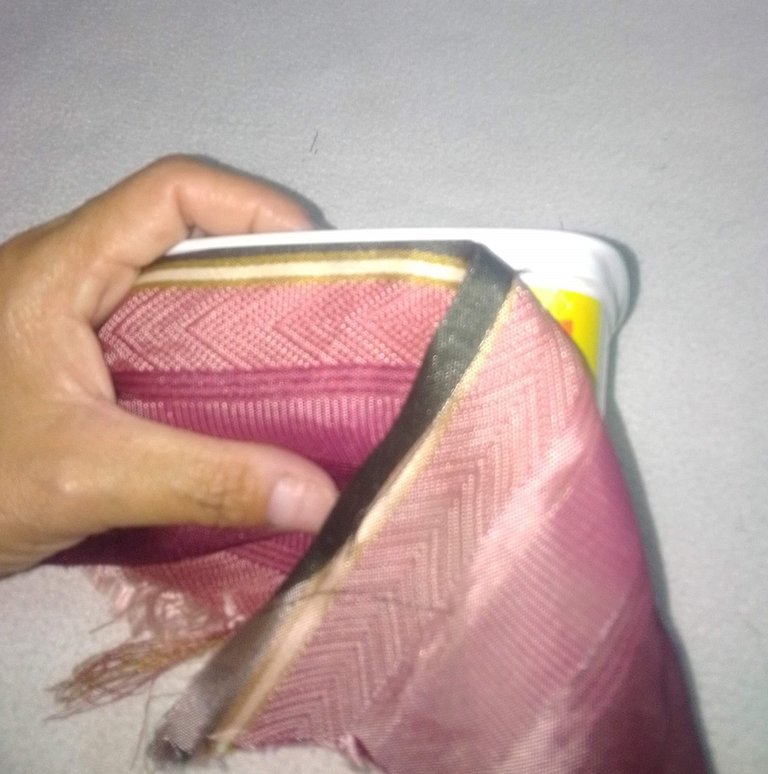
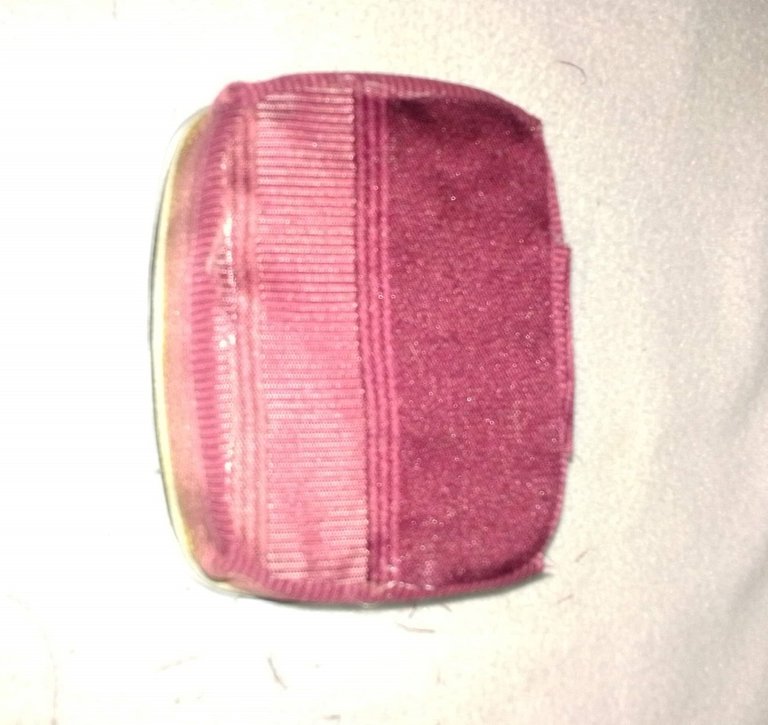
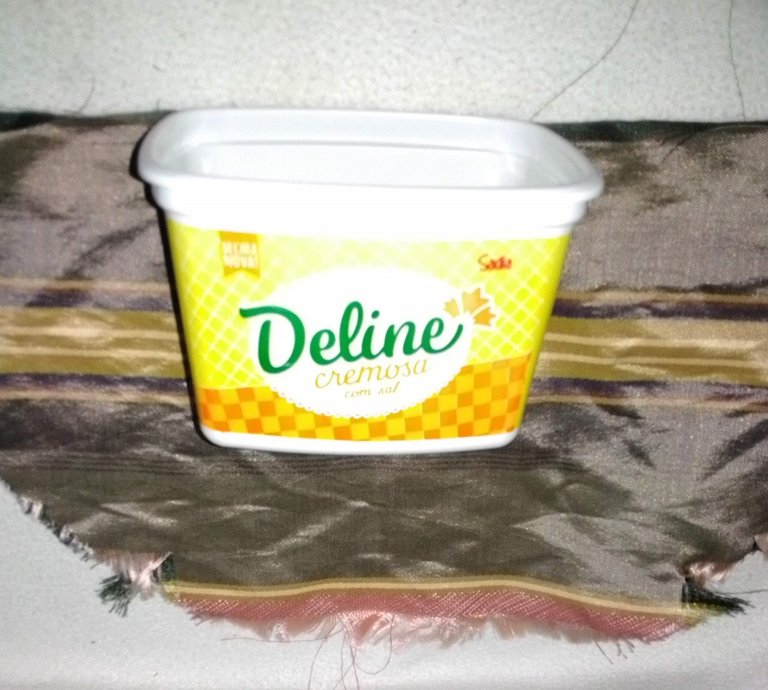
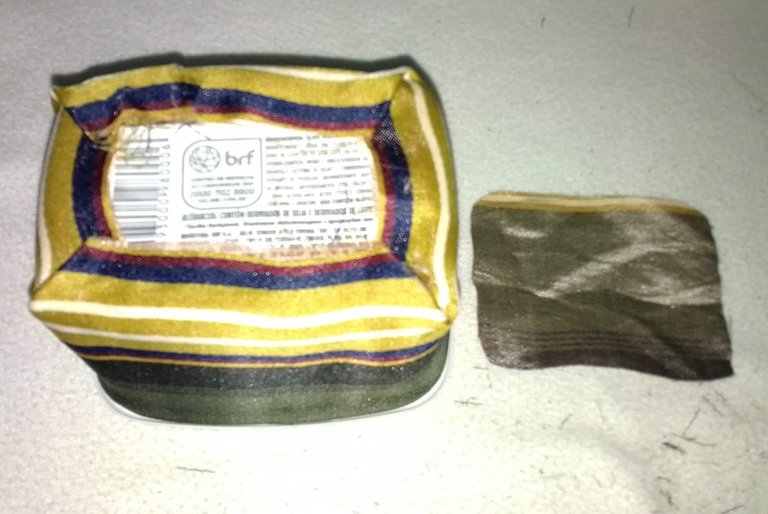
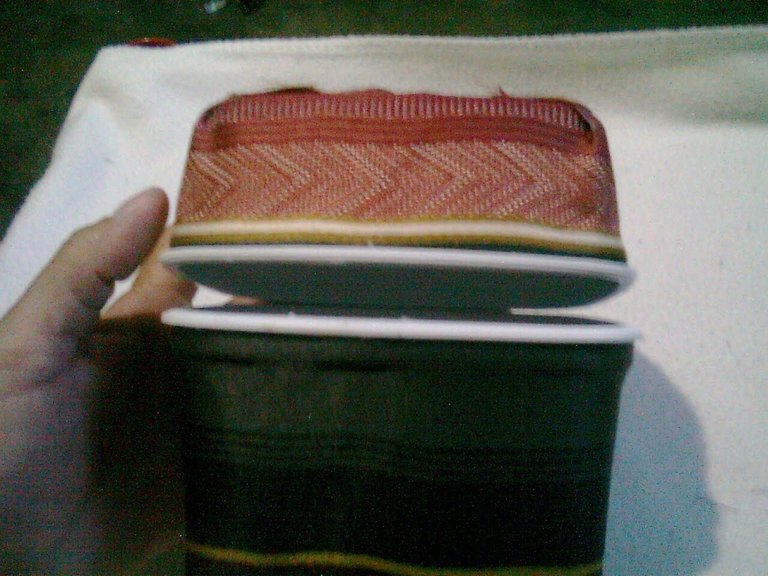
Los envases que utilice en este caso fueron de mantequilla, la forma que tienen los envases son ideales para hacer este joyero. Como pueden ver el retazo de tela que utilice es de raya y de diferente color, así que voy a aprovechar esas rayas y esos dos colores para forrar cada envase. Corte la tela justo por la raya que indico en la imagen.
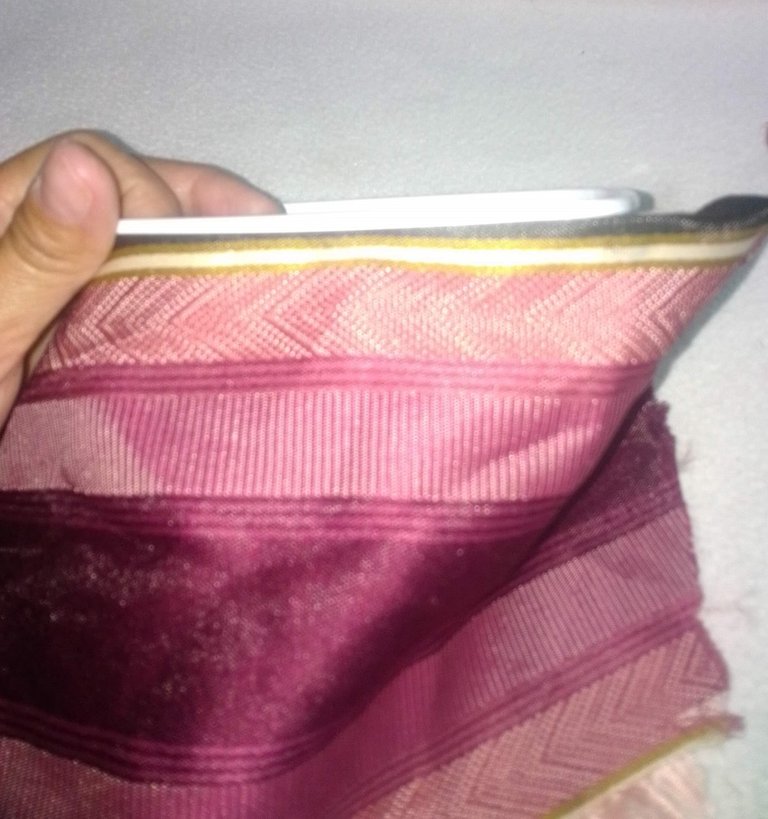
Doble la orilla de tela y pegue al envase justo por la raya amarilla, para así aprovechar y me quede de decoración. Como el borde del envase tiene una orilla sobresaliente, pegue la tela por debajo de la orilla y así quede oculta.
 |  |
|---|
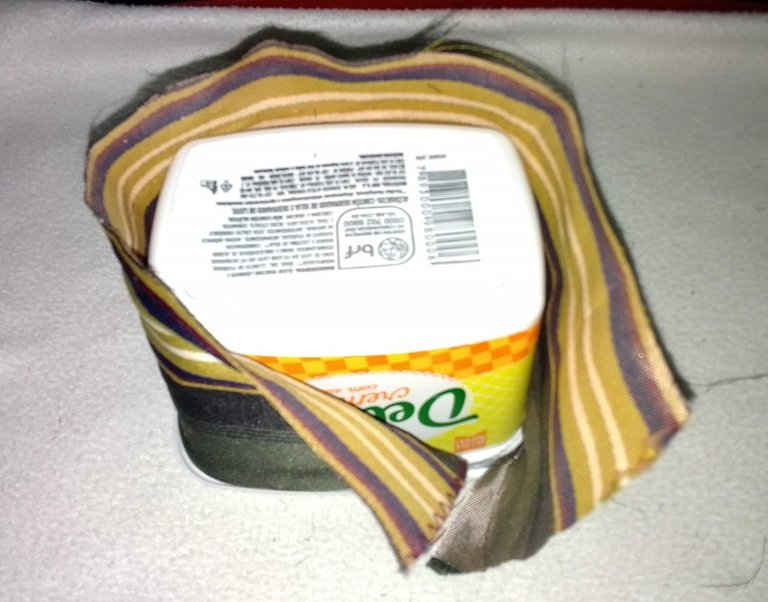
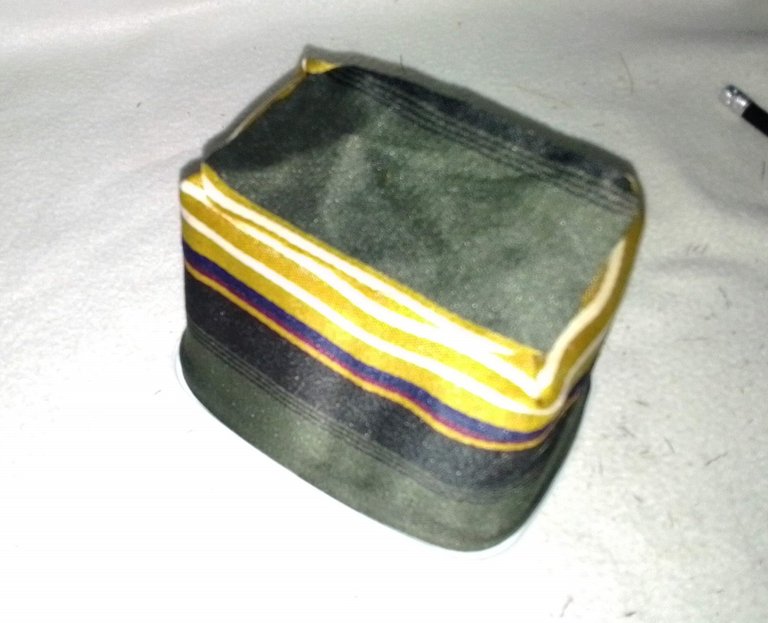
Termine de pegarlo por todo el borde del envase, después de eso corte la tela sobrante en la parte de abajo del envase, para poder hacer un doble y pegarlo en el fondo del envase.
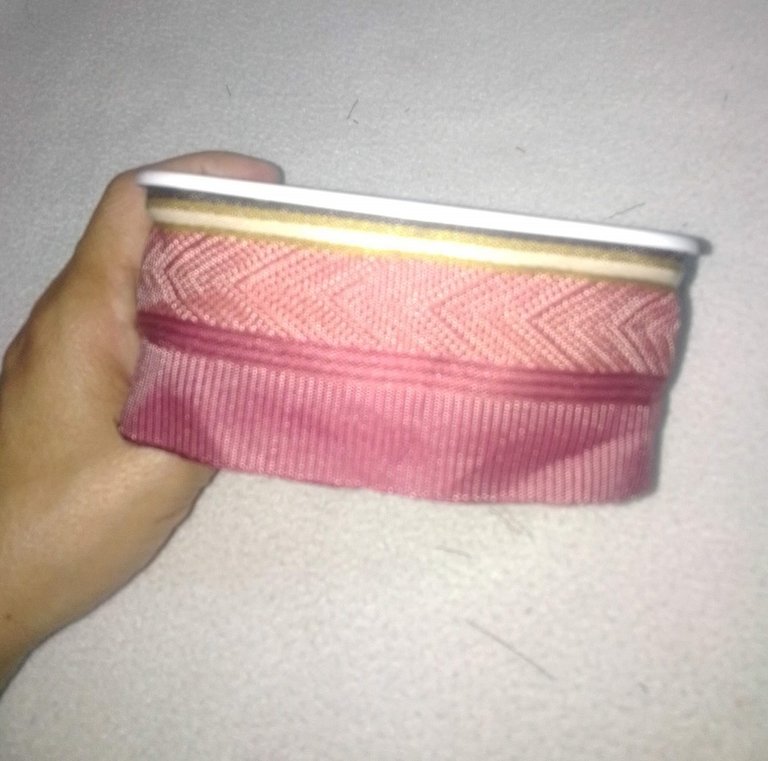
Ya forrado todo el envase, corte un pedazo de tela, justo del tamaño de la parte de abajo del envase y lo pegue.

Y me quedo de esta manera.
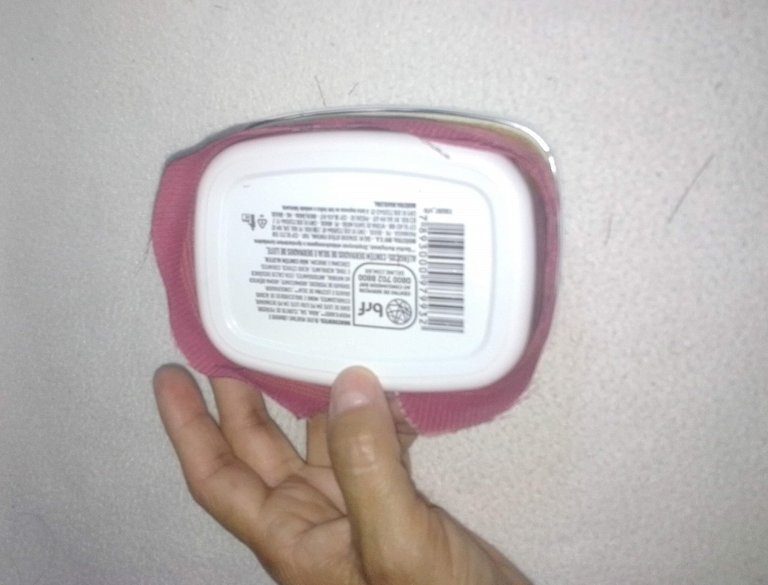
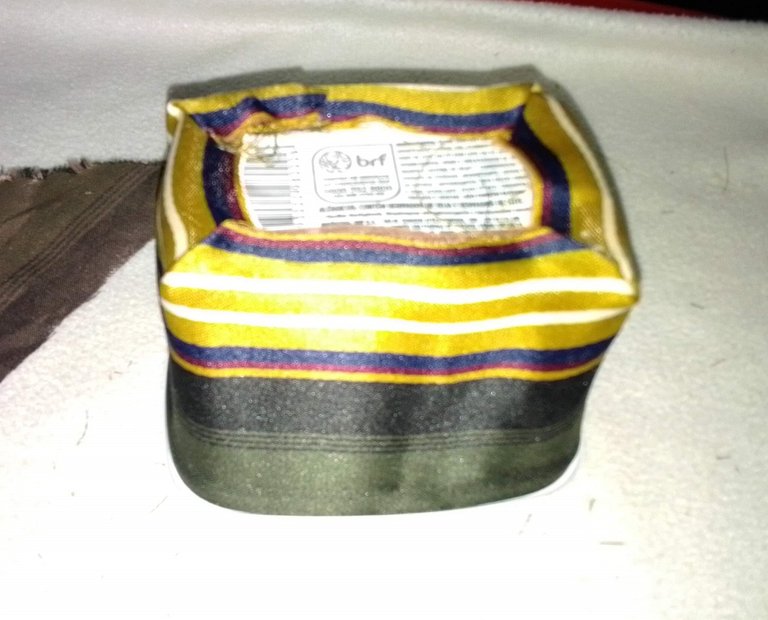
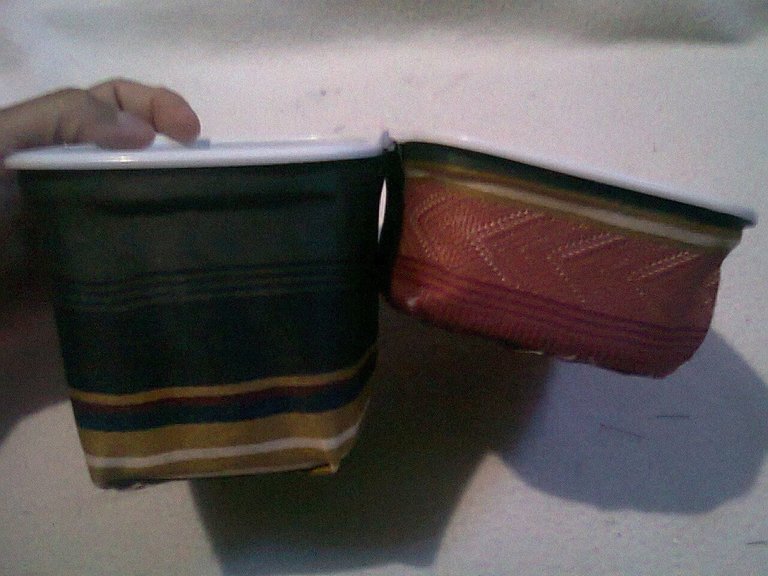
Hice el mismo procedimiento para forrar el otro envase más grande, y aquí les muestro en las siguientes imágenes, como quedo.
 |  |
|---|---|
 |  |
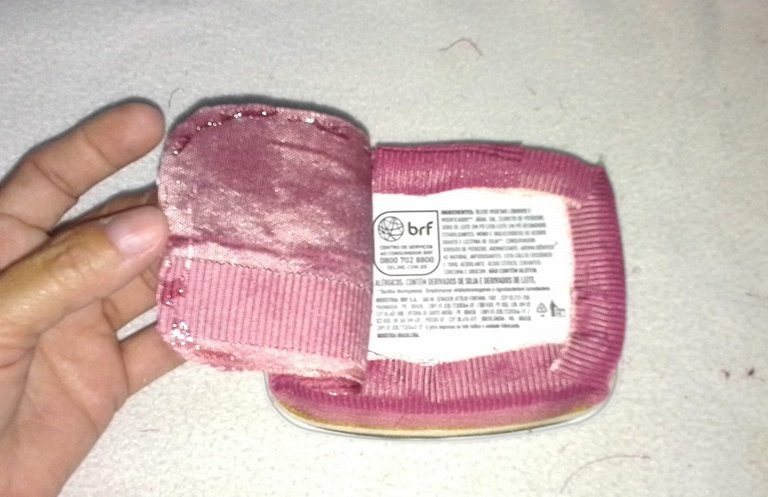
Una vez que tenía los dos envases ya forrados, procedí a recortar un pedazo de tela cuadrado de 6 x 6 cm aproximadamente.
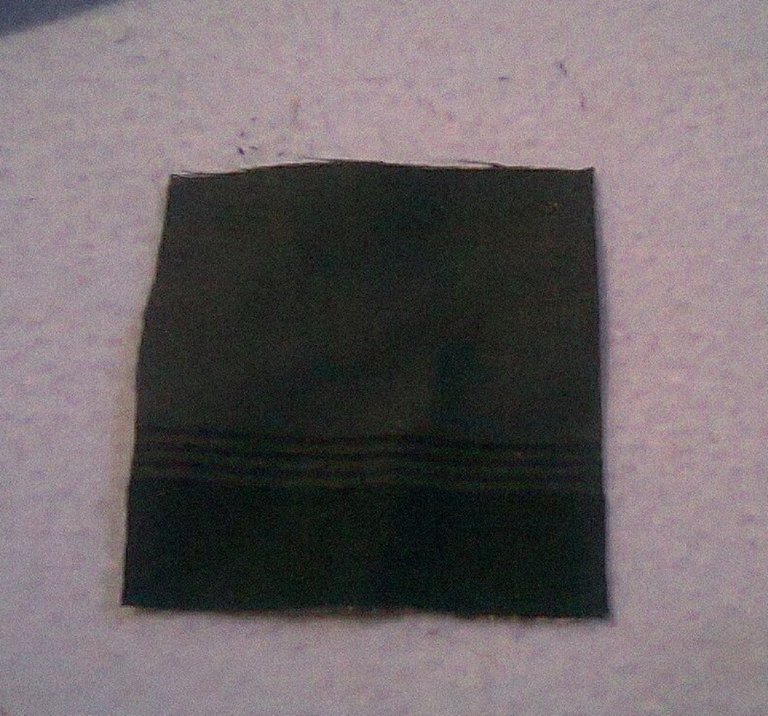
Con la ayuda del silicon lo pegue la mitad de la tela en la parte de atrás del envase grande y luego la otra mitad la pegue en el envase pequeño, para así poder unir los dos envases.
 |  |  |
|---|
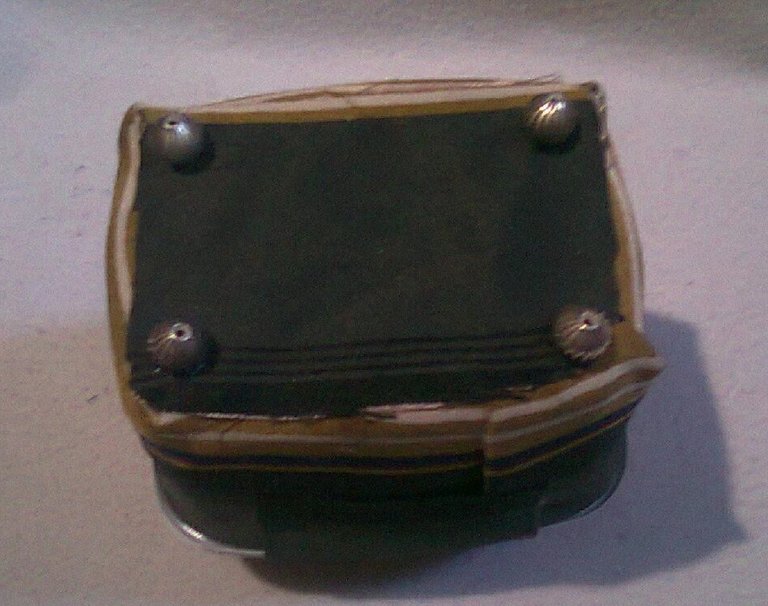
Ahora ya que tengo todo armado, procedo a decorarlo. Agarre 4 cuentas y las pegue con silicon en la parte de abajo, para que me sirvan como patas del joyero.
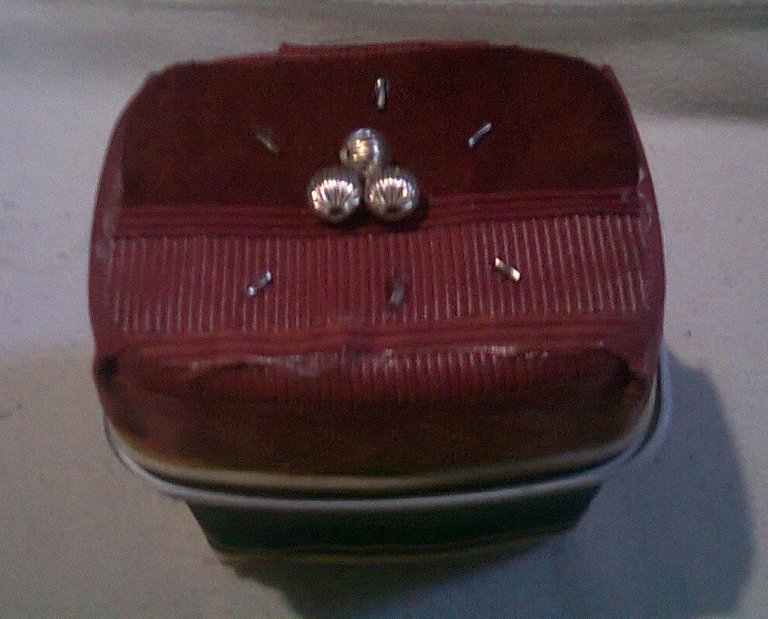
Para decorar en la parte de arriba, coloque 3 cuentas juntas que me servirán de manija para poder abrir el joyero. Y decoré con otras cuentas alrededor de las otras.
Decore también el frente del joyero con otras cuentas y las coloque en forma de pirámide.
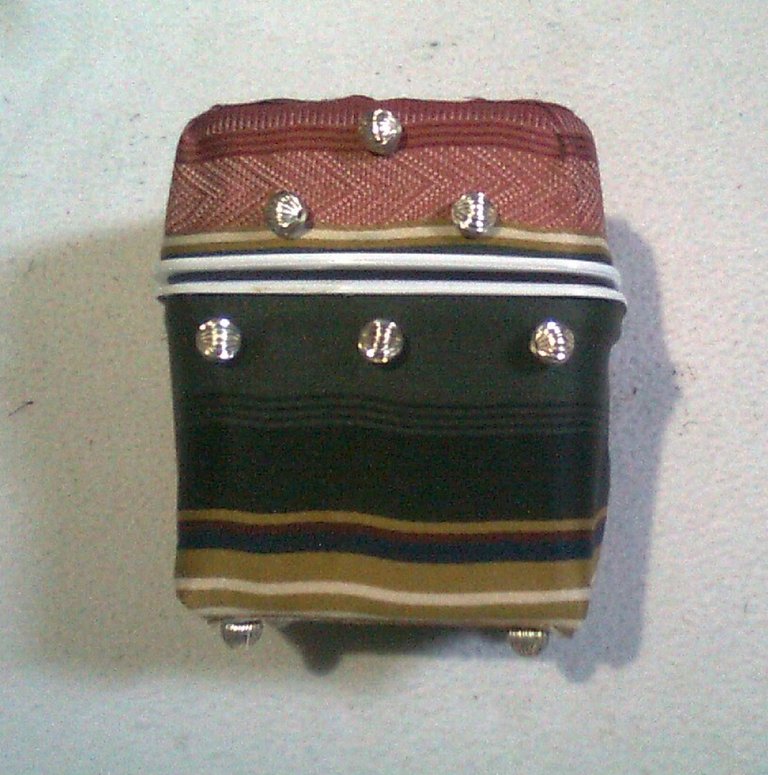
Y este es el resultado final.
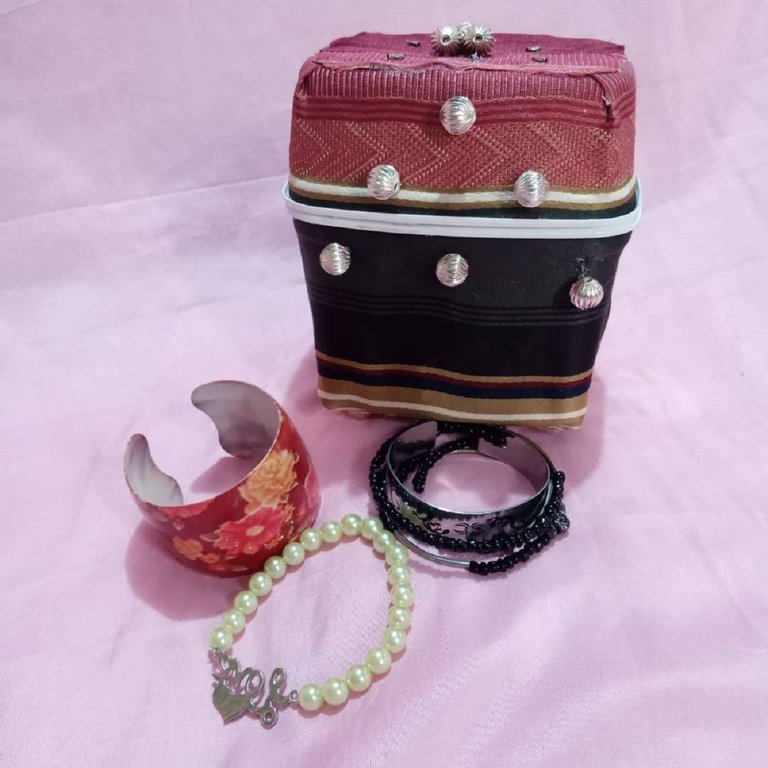
Espero que les haya gustado, a mí me encanto como quedo, me sirve para guardas mis accesorios y es decorativo.
Me despido como siempre, no sin antes agradecerles que me hayan dedicado un poco de su valioso tiempo para visitar mi blog, los espero en mi próxima publicación, pórtense bien y cuídense mucho.
Contenido de creación original:
💍Todas las fotos son de mi propiedad tomadas y editadas con mi celular Alcatel.
💍 La imagen de portada fue realizada con la aplicación Canva y editada por mí.
💍 Para la edicion de la foto de portada y el separador, use la aplicacion Canva. El separador fue editado por mí en Paint.
💍 La traducción al idioma inglés fue realizada con ayuda de DeepL.
 )
)
Hello my dear readers of this community, I hope you are well and that you have or have had an excellent and blessed day.
Today I want to show you how to make, quickly and easily a jewelry box, best of all is that I made it with recycled material and are ideal for a different use for which it was created.
| 2 empty containers, one small and one large |
| Scissors |
| Pencil |
| Silicone |
| Beads for decoration |
| Piece of cloth |
Procedure:
The containers I used in this case were butter containers, the shape of the containers are ideal for making this jewelry box. As you can see the piece of fabric I used is striped and of a different color, so I am going to use those stripes and those two colors to line each container. Cut the fabric just by the stripe indicated in the image.
Fold the edge of the fabric and glue it to the container right along the yellow stripe, so that I can use it as a decoration. As the edge of the container has a protruding edge, glue the fabric under the edge to hide it.
| |
|---|
Finish gluing it all around the edge of the container, after that cut the excess fabric at the bottom of the container, so you can make a double and glue it at the bottom of the container.
Once the entire container is lined, cut a piece of fabric, just the size of the bottom of the container, and glue it on.
And I stay this way.
I did the same procedure to line the other larger container, and here I show you in the following images, how it turned out.
| |
|---|---|
| |
Once I had the two containers already lined, I proceeded to cut out a square piece of fabric measuring approximately 6 x 6 cm.
With the help of the silicone I glued half of the fabric on the back of the large container and then glued the other half on the small container, in order to join the two containers.
| | |
|---|
Now that I have everything assembled, I proceed to decorate it. I took 4 beads and glued them with silicone on the bottom, to serve as the legs of the jewelry box.
To decorate the top, I placed 3 beads together to serve as a handle to open the jewelry box. And I decorated with other beads around the others.
Also decorate the front of the jewelry box with other beads and place them in a pyramid shape.
And this is the final result.
I hope you liked it, I love how it turned out, it serves me to store my accessories and it is decorative.
I say goodbye as always, but not before thanking you for taking a little of your valuable time to visit my blog, I hope to see you in my next post, be well and take care of yourselves.
Original creation content:
💍All photos are my own taken and edited with my Alcatel cell phone.
💍 The cover image was made with the Canva application and edited by me.
💍 For the editing of the cover photo and the separator, I used the Canva application. The separator was edited by me in Paint.
💍 The English translation was done with the help of DeepL.
Gracias por el apoyo.😉👍🏻
Thank you for sharing this amazing post on HIVE!
Your content got selected by our fellow curator @rezoanulvibes & you just received a little thank you via an upvote from our non-profit curation initiative!
You will be featured in one of our recurring curation compilations and on our pinterest boards! Both are aiming to offer you a stage to widen your audience within and outside of the DIY scene of hive.
Join the official DIYHub community on HIVE and show us more of your amazing work and feel free to connect with us and other DIYers via our discord server: https://discord.gg/mY5uCfQ !
If you want to support our goal to motivate other DIY/art/music/homesteading/... creators just delegate to us and earn 100% of your curation rewards!
Stay creative & hive on!
Agradecida por su apoyo. 😊
Que buena idea! está lindo. felicidades
Gracias @yohadice, saludos. 👍😊
Has sido curado por @visualblock / You've been curated by @visualblock
Bienvenidas delegaciones / Delegations welcome
Encuentra nuestra comunidad aquí / Find our community here
Trail de Curación / Curation Trail
Gracias por el apoyo! 😉👍🏻
Es un trabajo sencillo y muy bonito, le deseo mucha suerte.
Gracias por visitar mi blog. Saludos! 😉👍🏻
Lets entomb waste in a pyramid
Hermoso trabajo amiga!! fácil, util y bellisimo <3 muchas gracias
Gracias, me alegra que te haya gustado. 🤗
Congratulations @kdelvaeg! You have completed the following achievement on the Hive blockchain and have been rewarded with new badge(s):
Your next target is to reach 3250 upvotes.
You can view your badges on your board and compare yourself to others in the Ranking
If you no longer want to receive notifications, reply to this comment with the word
STOPCheck out the last post from @hivebuzz:
Support the HiveBuzz project. Vote for our proposal!