Español
Hola mis estimados lectores, feliz y bendecido día.
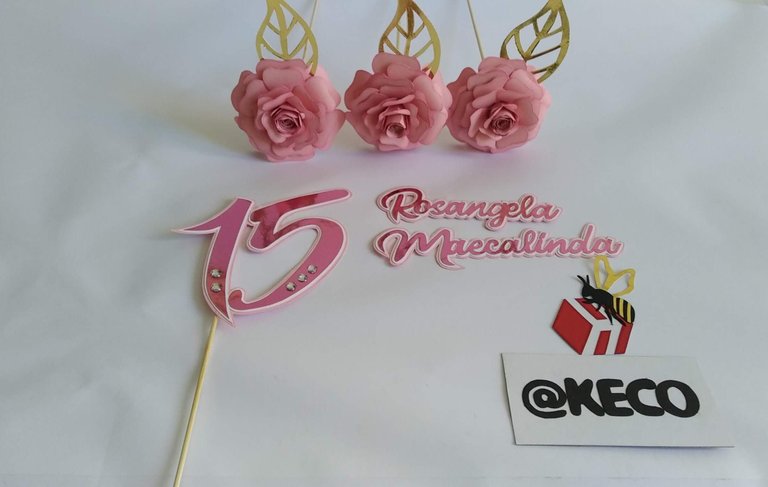
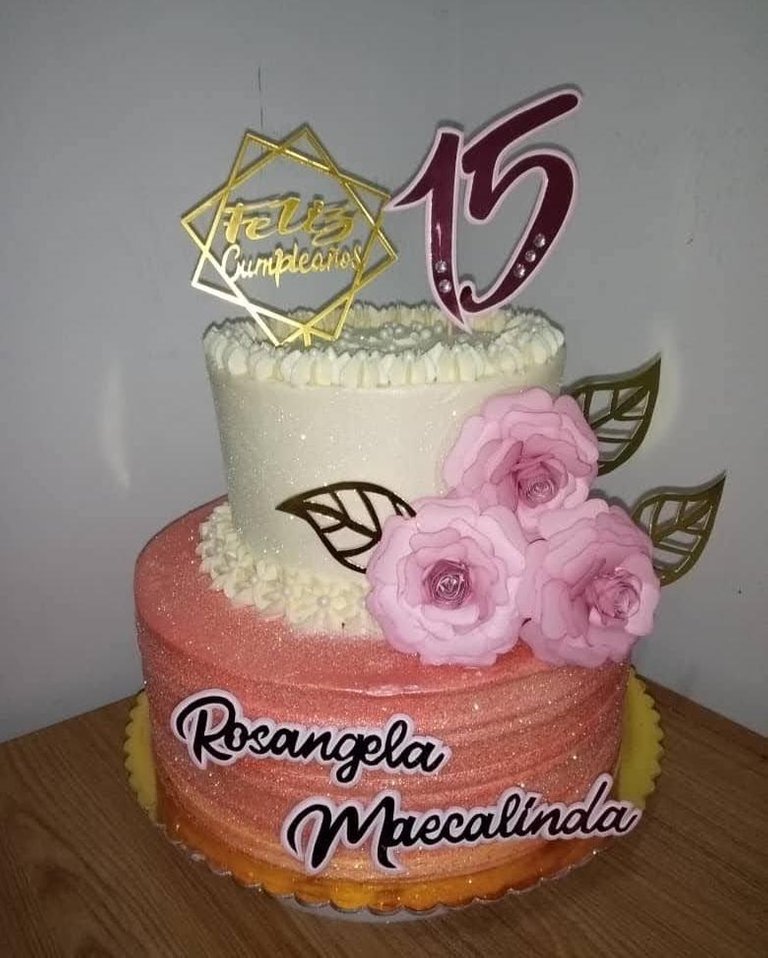
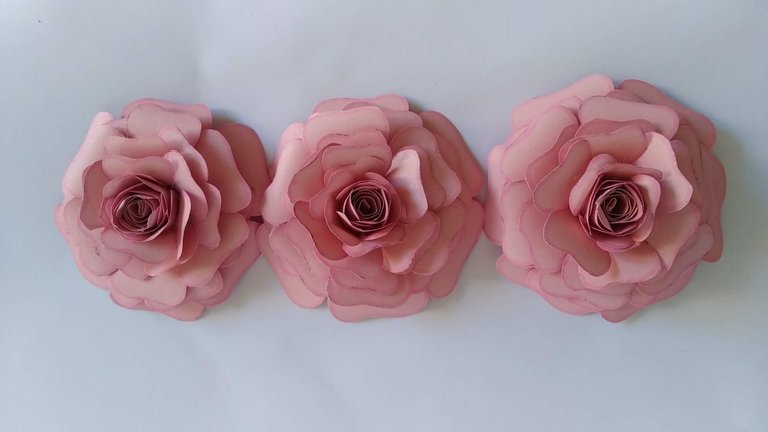
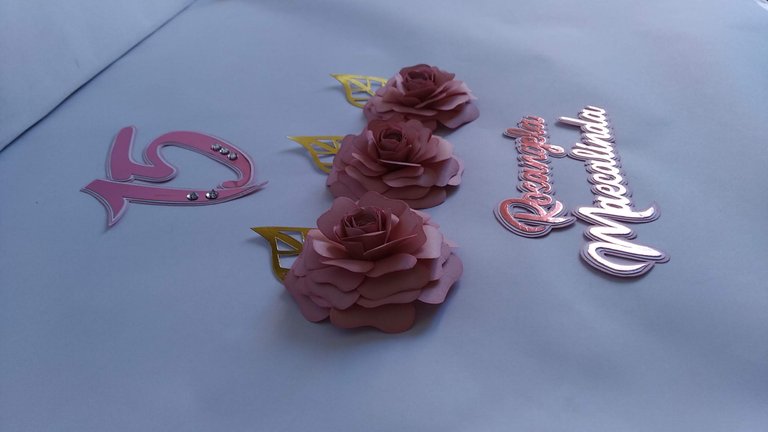
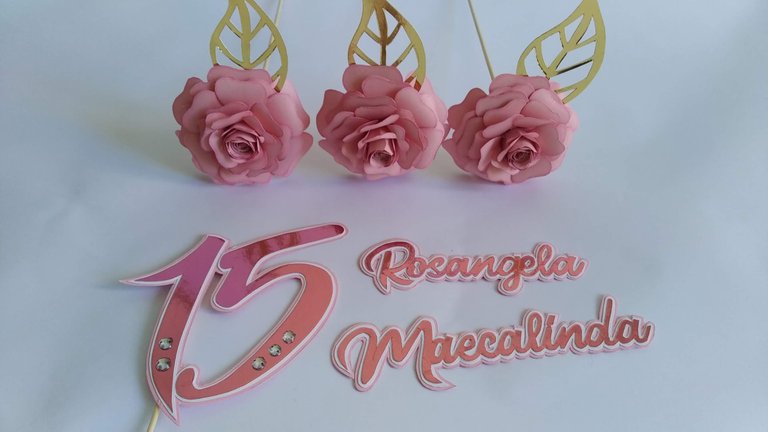
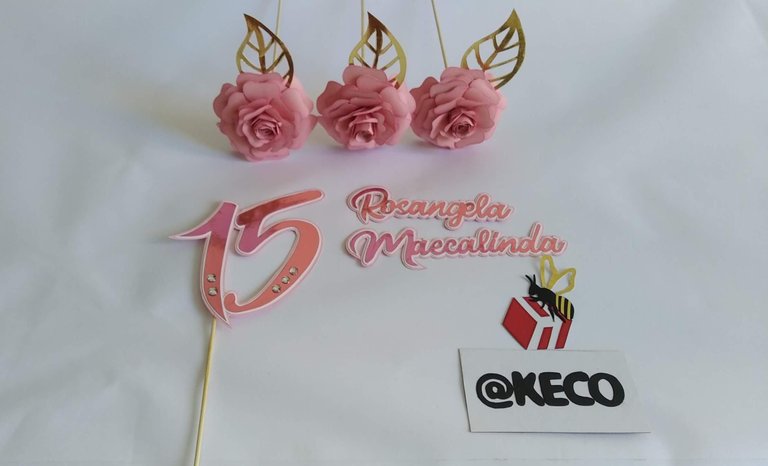
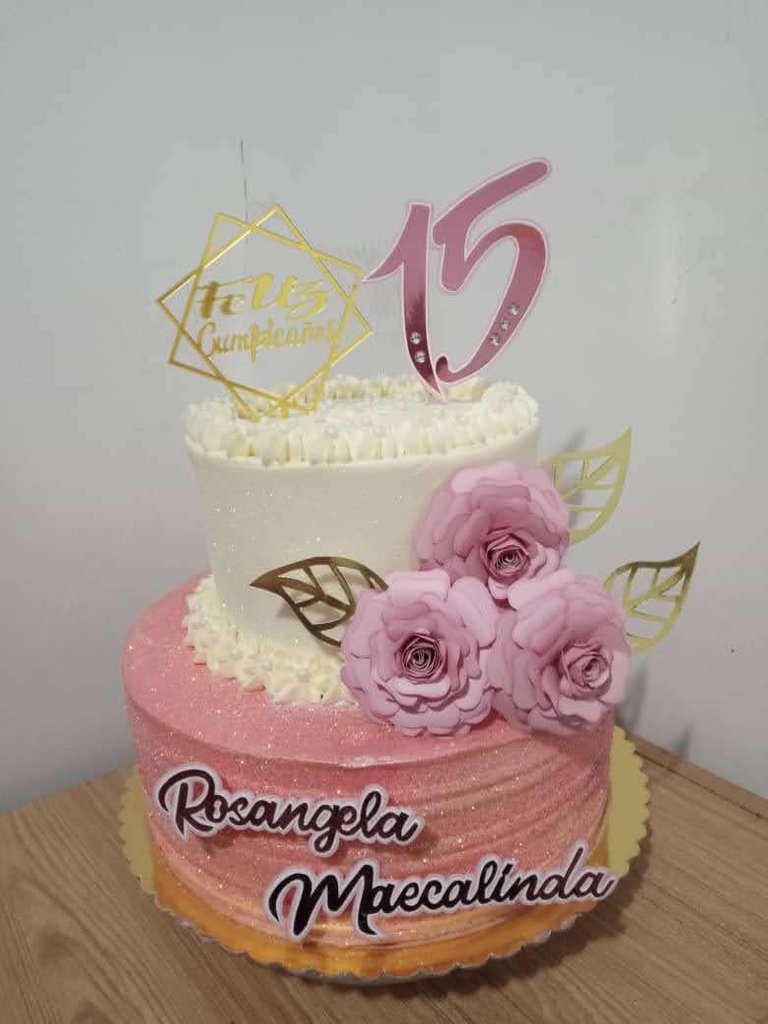
Para celebrar los hermosos quince (15) años de Rosangela se le realizó un topper hermoso y sencillo que dió a su pastel de cumpleaños un encanto único ya que solo fue adornado con tres (3) flores, la edad y el nombre. El pastel como siempre, creado por mi súper pastelera favorita Mayda.
Toda la decoración a se hizo con mucho amor y se elaboró básicamente con cartulina de colores. Espero puedan apreciar este lindo topper, y puedan decirme en los comentarios que les pareció.
Sin más y esperando disfruten del trabajo realizado les dejo los materiales utilizados, el proceso y las imágenes del trabajo.
- Cartulina de colores (rosada, blanca).
- Cartulina fucsia tipo espejo.
- Cartulina dorada tipo espejo.
- Gemas de plástico plateadas.
- Marcador rosado.
- Acetato.
- Hoja blanca.
- Palitos de madera.
- Silicón Caliente.
- Silicón Frío.
- Cutter.
- Tijera.
- Lápiz.
FLORES:
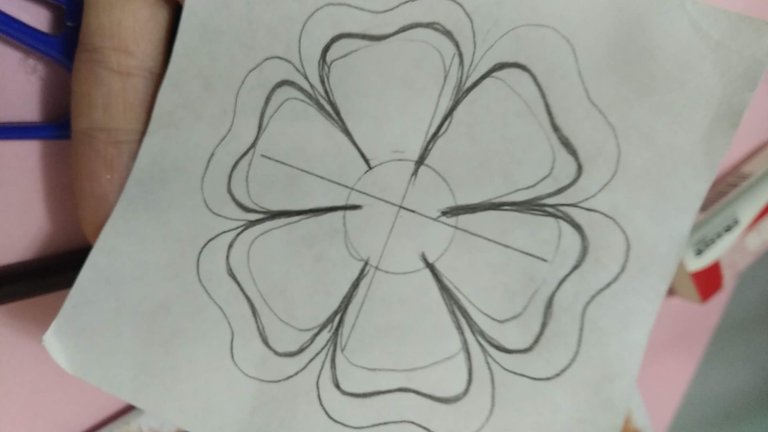
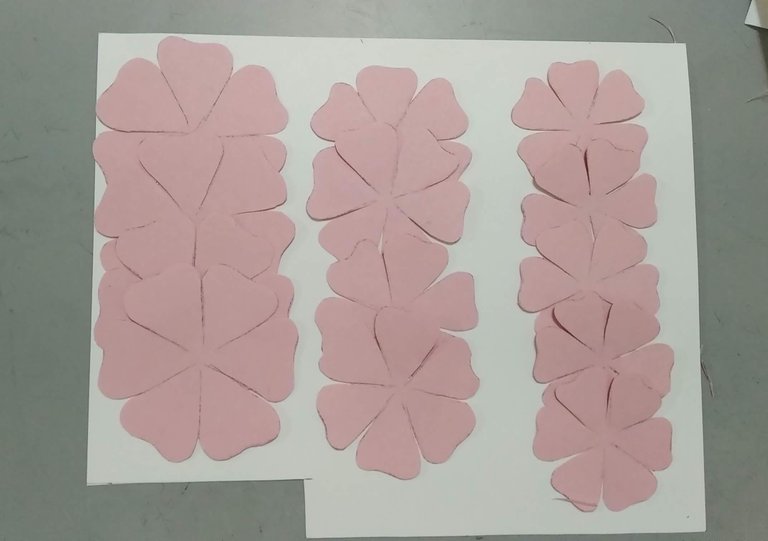
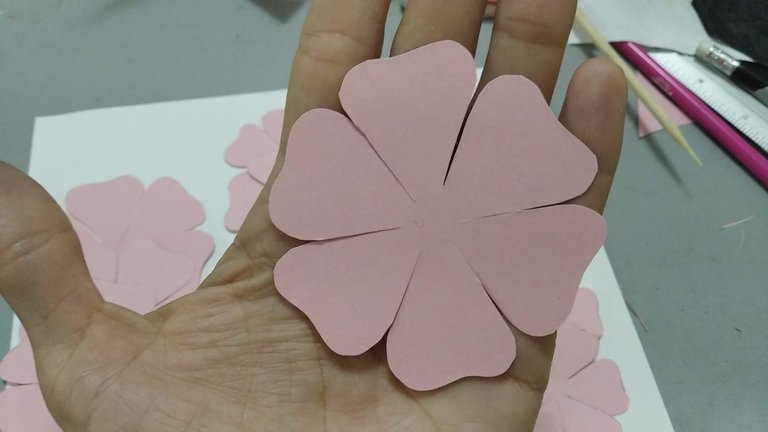
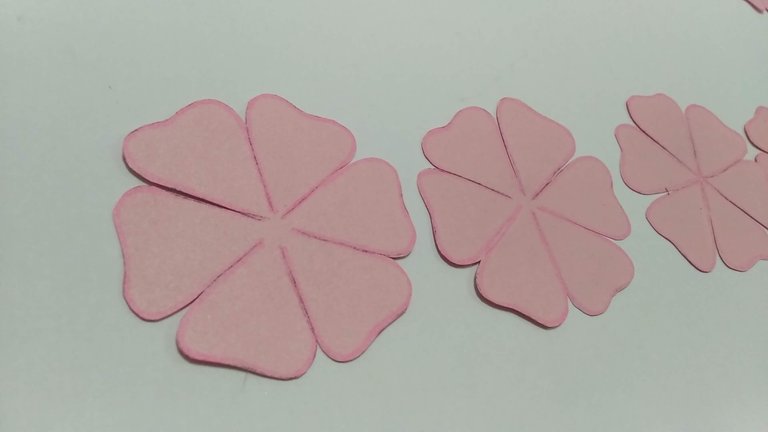
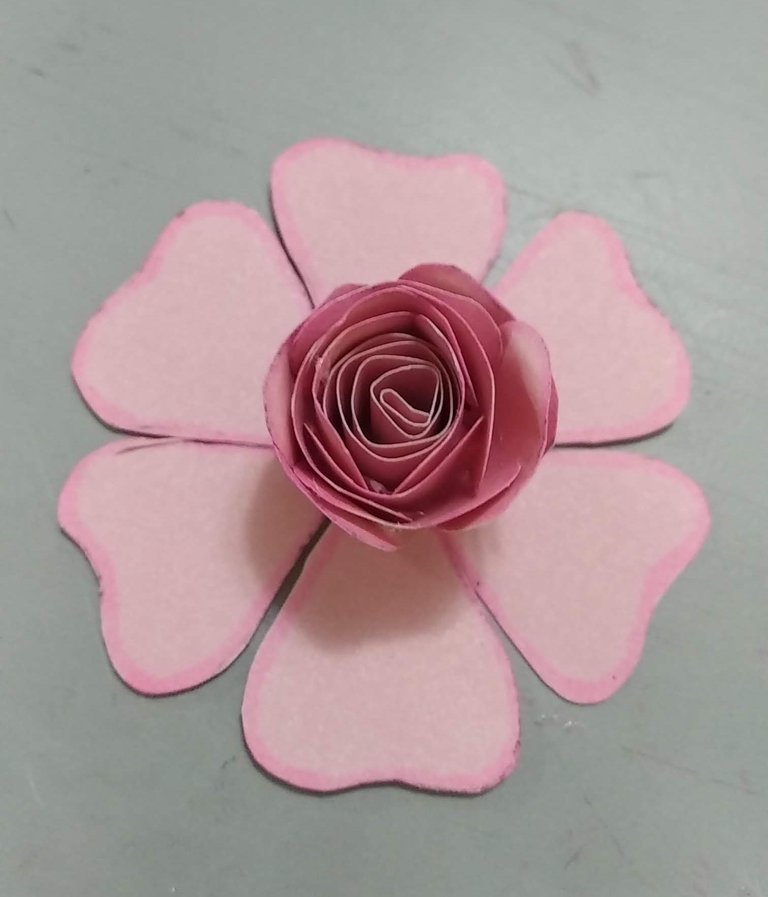
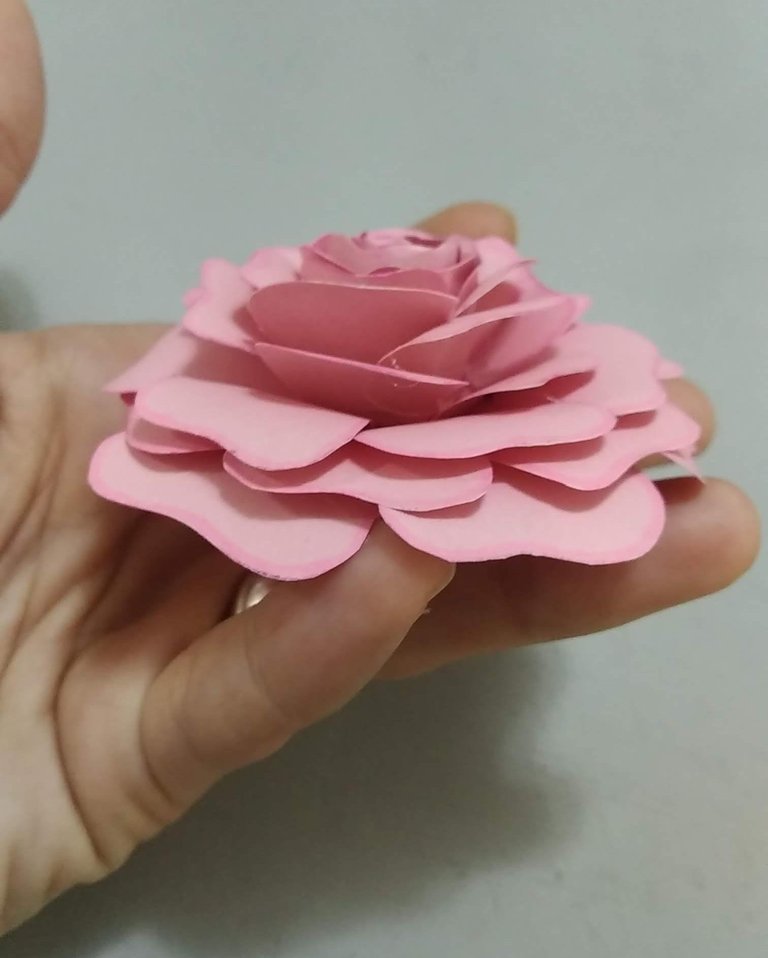
- En una hoja blanca, diseñamos la silueta de la flor que deseamos y la repetimos en tres tamaños distintos. En éste caso la flor es de 6 pétalos y la más grande mide aproximadamente 8 cm de diámetro (de pétalo a pétalo).
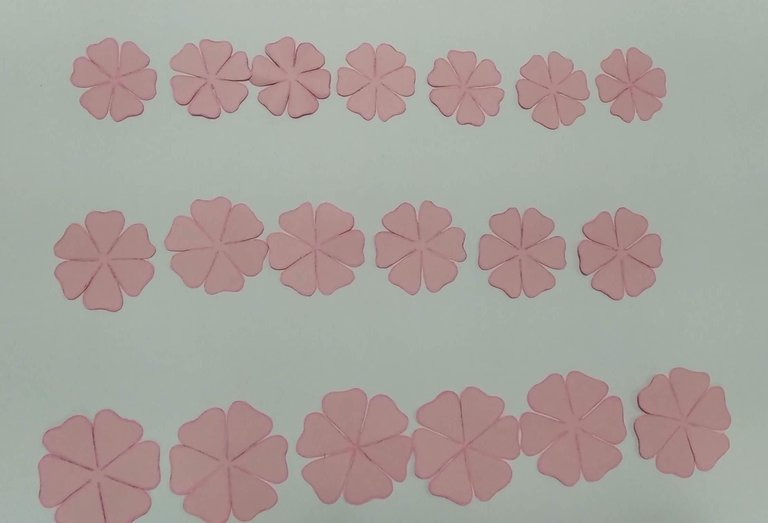
- Como son tres flores, para cada flor se deberá marcar y recortar seis siluetas (dos de cada tamaño) en cartulina rosada, es decir, en total deberá recortarse 18 siluetas de flores (6 para cada tamaño).
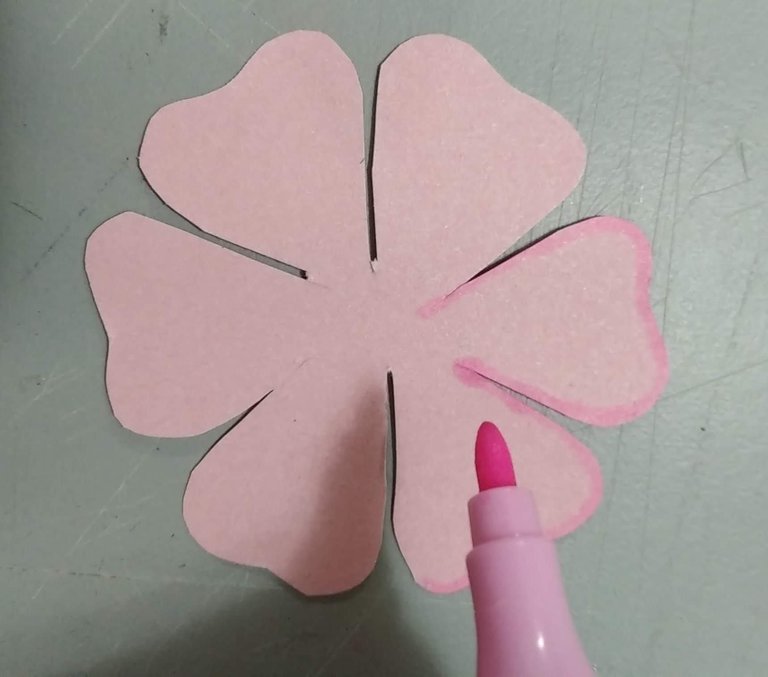
- Sombrear los bordes de todas las siluetas con marcador de color rosado (opcional).
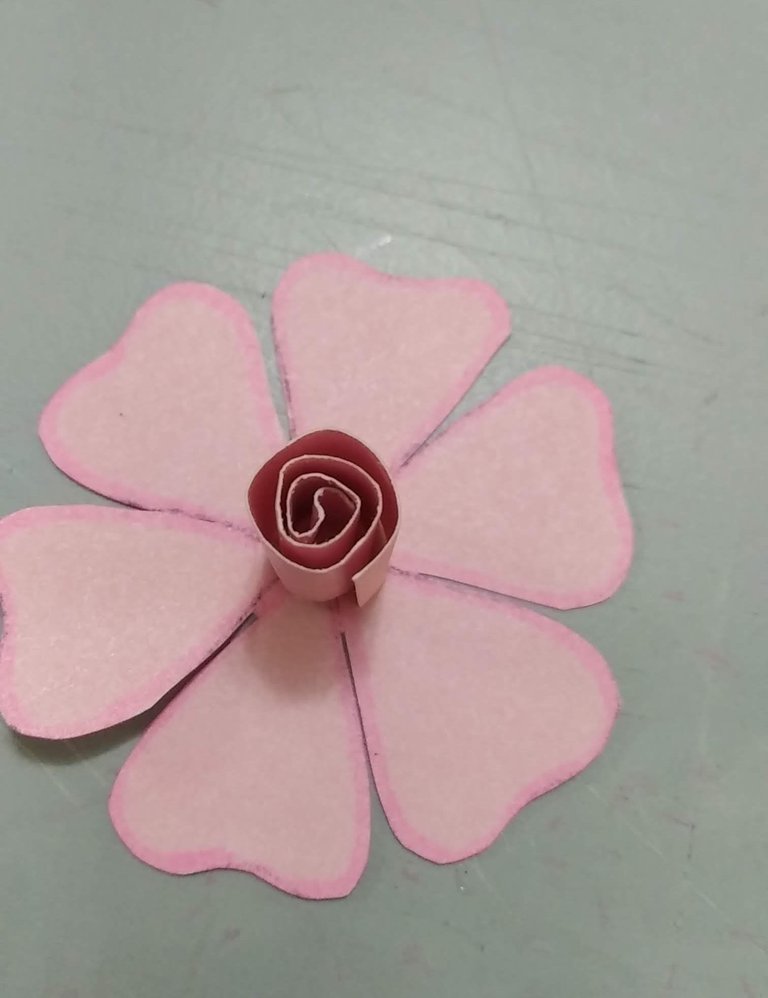
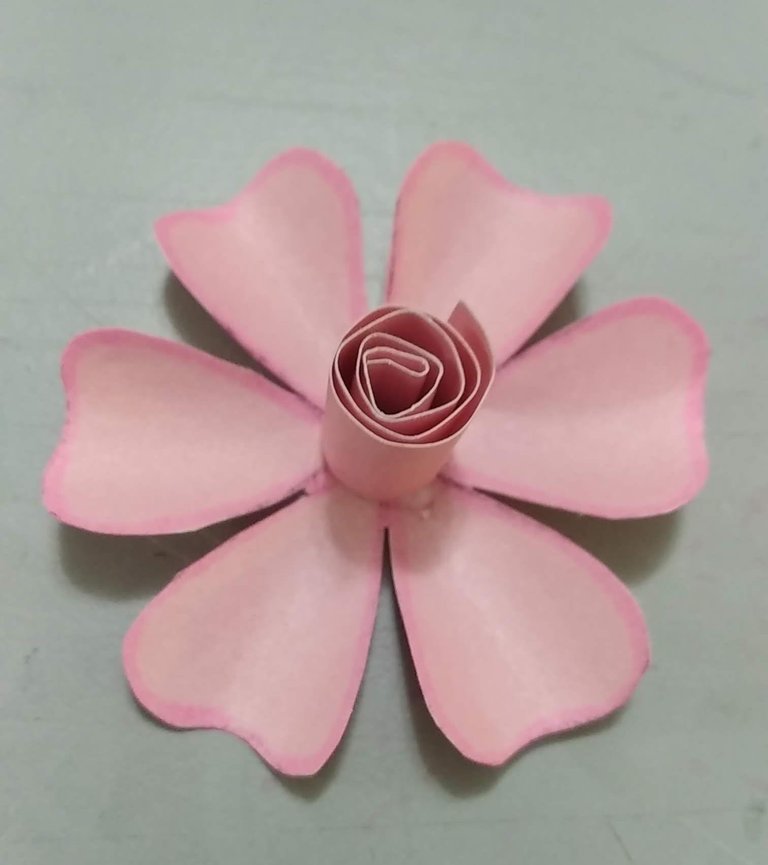
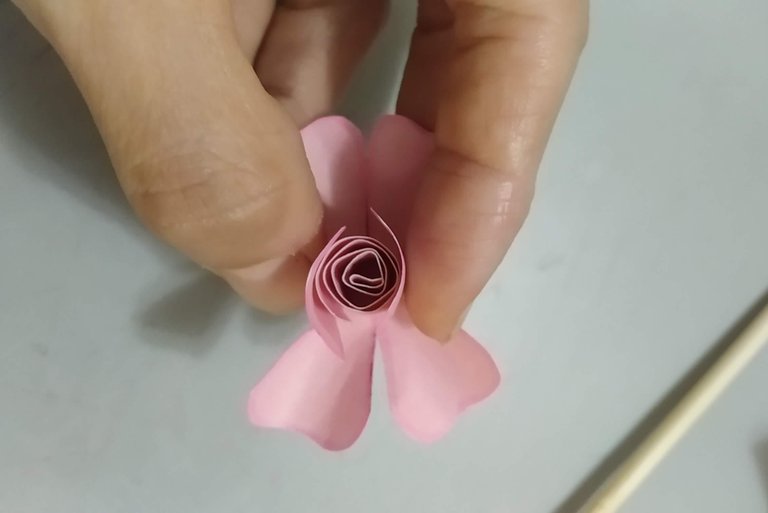
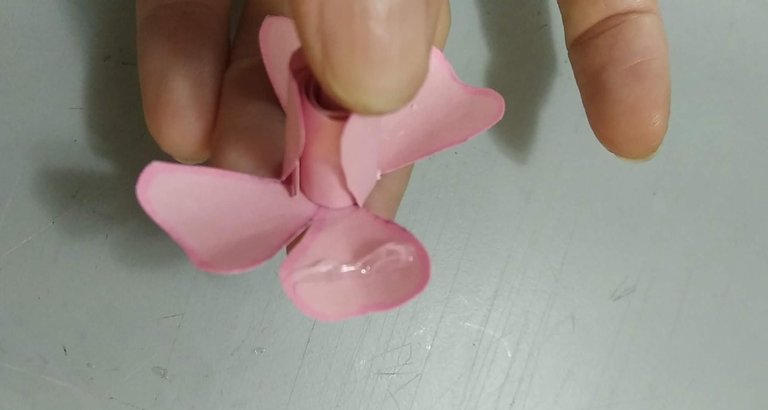
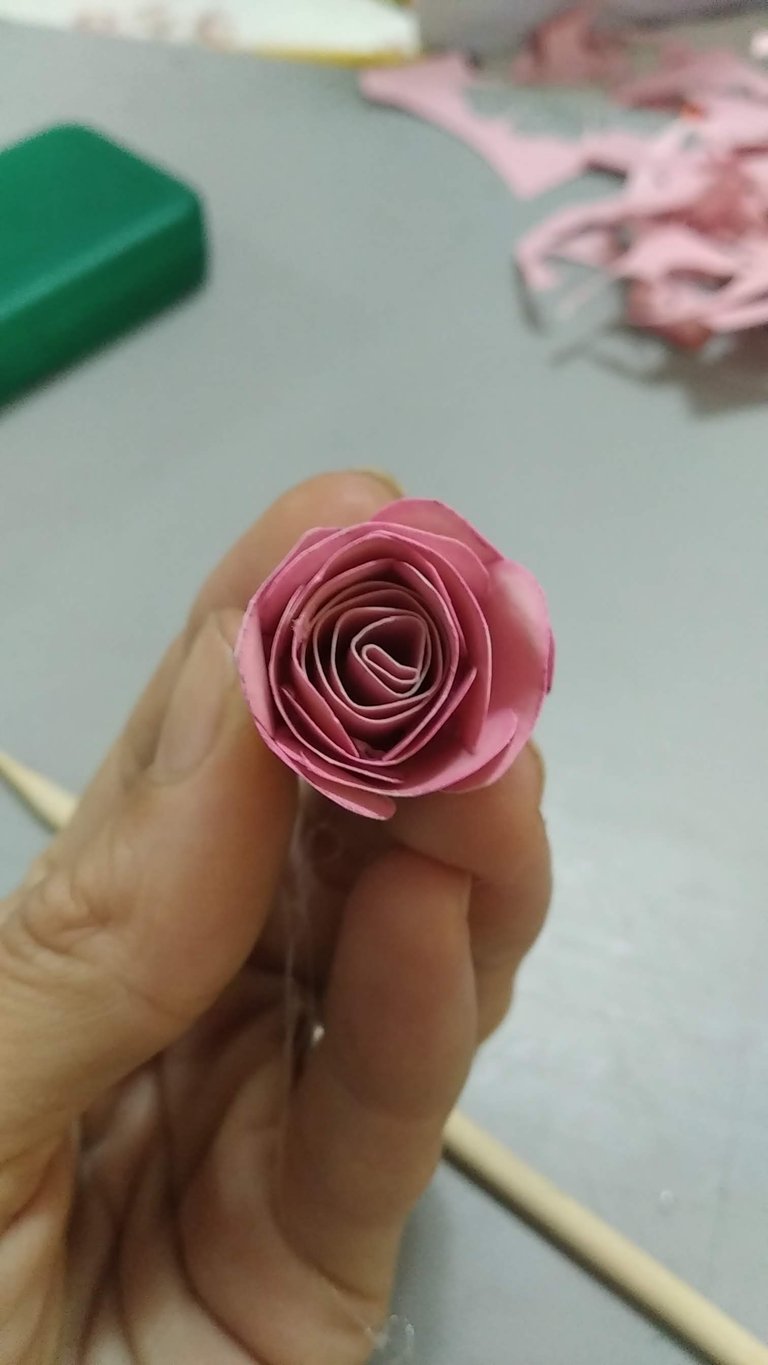
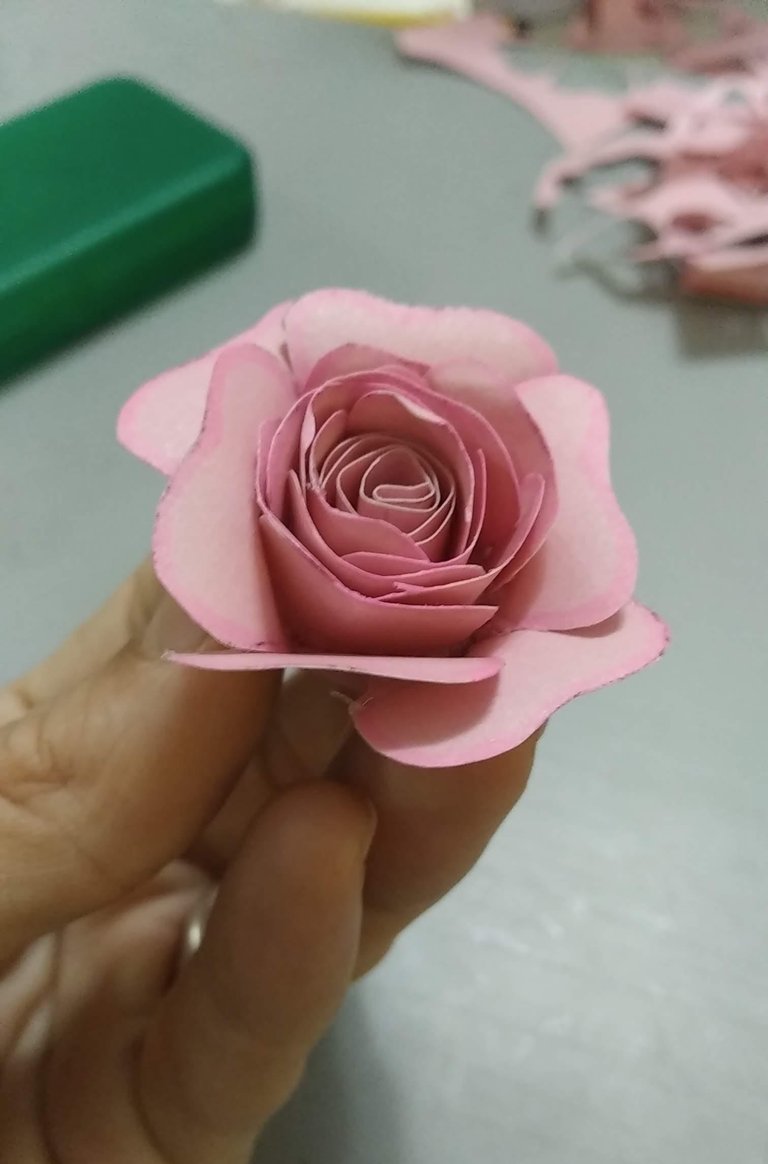
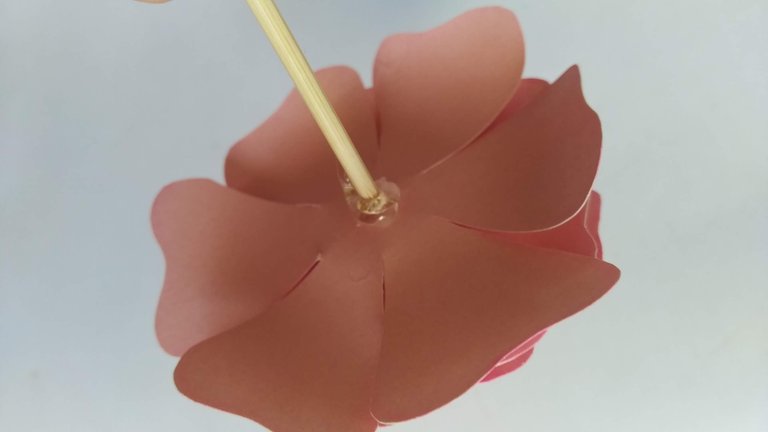
- Se comienza con las siluetas más pequeñas, pegando sus pétalos entre si; luego éste capullo se pega sobre la siguiente silueta y los pétalos se van pegando uno a uno sin pegar del todo al capullo anterior y así sucesivamente las siguientes capas. El pegado debe ir de cerrado a abierto los pétalos y se debe asegurar que el silicón caliente se aplique solo en el centro de cada silueta.
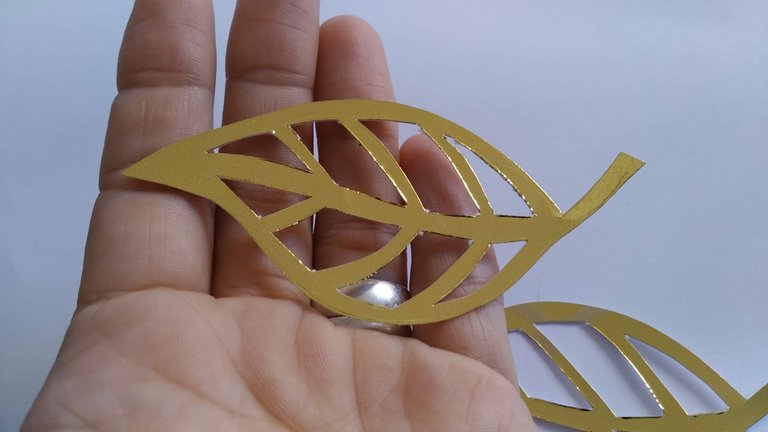
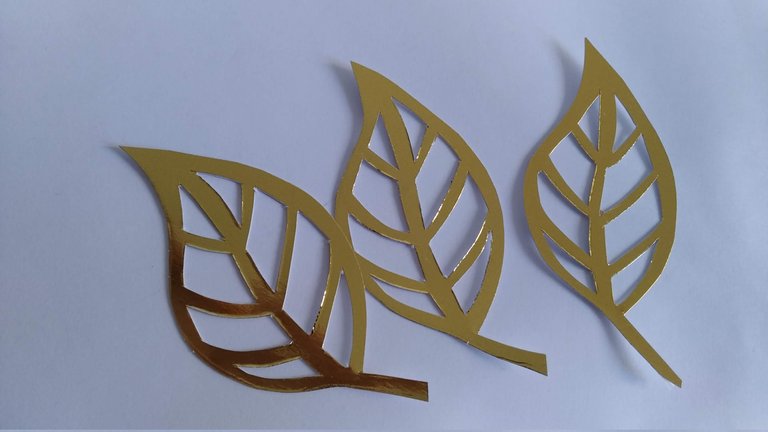
- Marcar y recortar de forma calada en la cartulina dorada , pequeñas hojas una para cada flor.
- Pegar las hojas doradas entre los últimos pétalos de las flores.
- Perforar un hoyo en la parte inferior de cada flor y pegar el palito de madera con silicón caliente.
- Una vez lista la flor , en la parte inferior se le pone un pedazo de acetato en círculo para proteger la flor de la humedad del pastel.
EDAD Y NOMBRE:
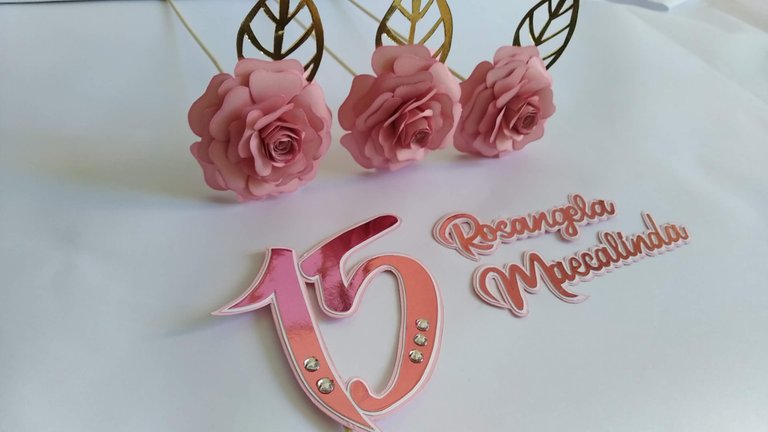
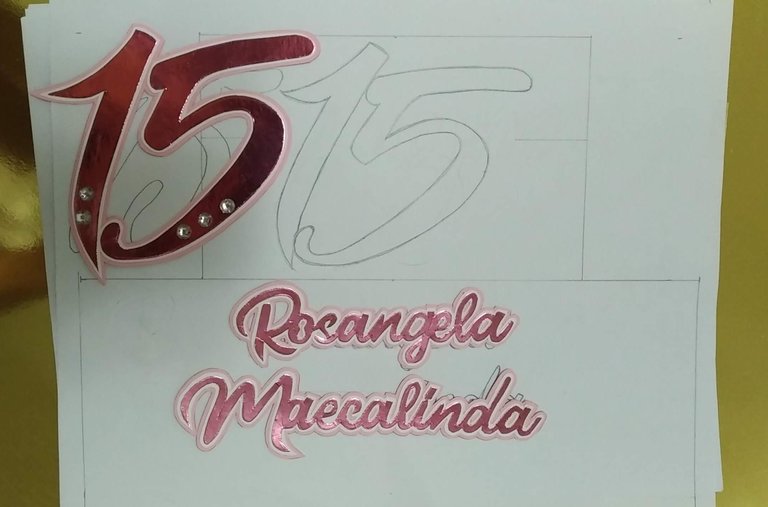
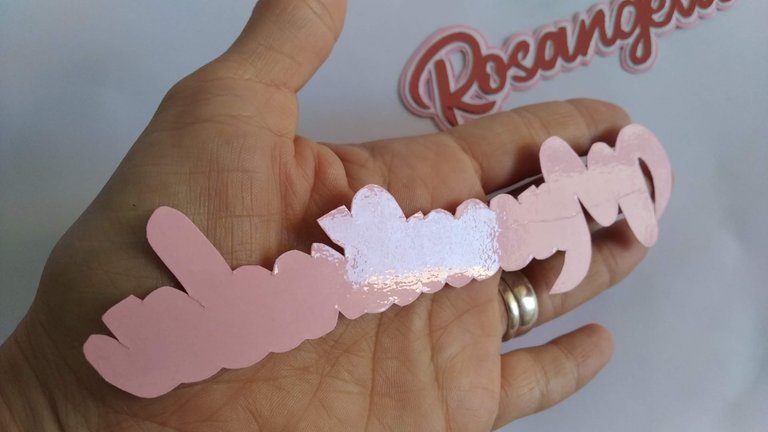
- Marcar y recortar sobre la cartulina fucsia el número 15 y el nombre de la persona.
- Un vez recortado, pegar sobre cartulina blanca y luego recortar dejando un pequeño borde blanco que sobresalga.
- Con el borde blanco listo, pegar sobre cartulina rosada y luego recortar dejando un pequeño borde rosado que sobresalga.
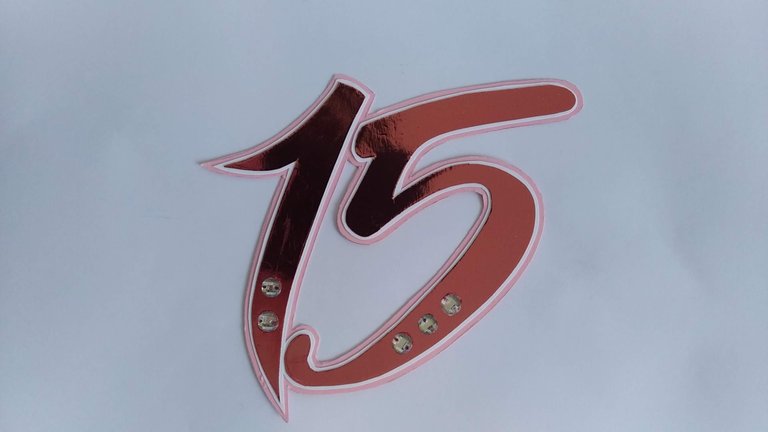
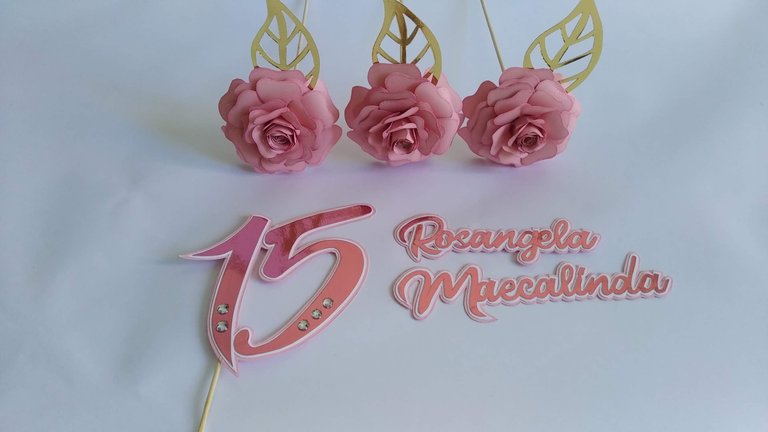
- Al número 15 pegarle gemas plateadas en la parte inferior del mismo y pegar el palito de madera en la parte posterior.
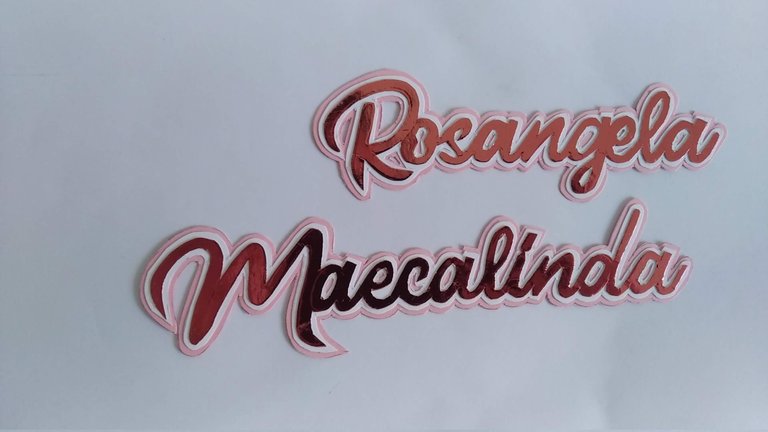
- El nombre como se pegaría de frente en el pastel, se protegió con papel adhesivo para evitar la humedad del pastel.
¡listo! a disfrutar de la magia de lo creado con amor…
English
Hello my dear readers, happy and blessed day.
To celebrate Rosangela's beautiful fifteen (15) birthday we made her a beautiful and simple topper that gave her birthday cake a unique charm since it was only decorated with three (3) flowers, the age and the name. The cake as always, created by my favorite super pastry chef Mayda.
All the decoration was made with lots of love and was basically made with colored cardboard. I hope you can appreciate this cute topper, and you can tell me in the comments what you thought of it.
Without further ado and hoping you enjoy the work done I leave you the materials used, the process and the images of the work.
- Colored cardboard (pink, white).
- Fuchsia cardboard mirror type.
- Gold mirror cardboard.
- Silver plastic gems.
- Pink marker.
- Acetate.
- White sheet.
- Wooden sticks.
- Hot Silicone.
- Cold Silicone.
- Cutter.
- Scissors.
- Pencil.
FLOWERS:
- On a white sheet, we design the silhouette of the flower we want and repeat it in three different sizes. In this case the flower is 6 petals and the largest one measures approximately 8 cm in diameter (from petal to petal).
- As there are three flowers, for each flower six silhouettes (two of each size) should be marked and cut out on pink cardboard, that is, a total of 18 flower silhouettes should be cut out (6 for each size).
- Shade the edges of all the silhouettes with pink marker (optional).
- Start with the smallest silhouettes, gluing their petals together; then this bud is glued on the next silhouette and the petals are glued one by one without completely gluing the previous bud and so on the following layers. The gluing should go from closed to open petals and it must be ensured that the hot silicone is applied only in the center of each silhouette.
- Mark and cut out small leaves, one for each flower, on the golden cardboard.
- Glue the golden leaves between the last petals of the flowers.
- Punch a hole in the bottom of each flower and glue the wooden stick with hot silicone.
- Once the flower is ready, put a piece of acetate in a circle at the bottom to protect the flower from the humidity of the cake.
AGE AND NAME:
- Mark and cut out on the fuchsia cardboard the number 15 and the name of the person.
- Once cut out, glue on white cardstock and then cut out leaving a small white border to stick out.
- With the white border ready, glue on pink cardboard and then cut out leaving a small pink border that sticks out.
- Glue silver gems on the bottom of the number 15 and glue the wooden stick on the back.
- The name, as it would be glued on the front of the cake, was protected with adhesive paper to avoid the humidity of the cake.
ready! to enjoy the magic of what is created with love...
Translated with www.DeepL.com/Translator (free version)
IMÁGENES / IMAGES


SALUDOS / REGARDS
Todas las Fotos fueron tomadas con mi teléfono Redmi 7A.
Contenido original de @keco (fotos y texto) - Todos los derechos reservados Publicado en HIVE así como en mi instagram : http://instagram.com/carton_pintura_algo_mas
All Photos were taken with my Redmi 7A phone.
Original content from @keco (photos and text) - All rights reserved Posted on HIVE as well as on my instagram: http://instagram.com/carton_pintura_algo_mas
Oye que lindo, me encanto el topper super delicado y mantiene armonia con el pastel...